DIY Golf Club Art Display Project; 33 Shades of Green
I have three golf clubs that once belonged to my Grandpa. They aren’t especially valuable or antique, but because they are meaningful to me, I wanted a special way to display them. They leaned up against a wall in my lower level until I finally came up with a simple idea to show them off a little better.
.

.
Supplies you will need:
– Plywood board cut to desired size (Mine is 22″ x 47″)
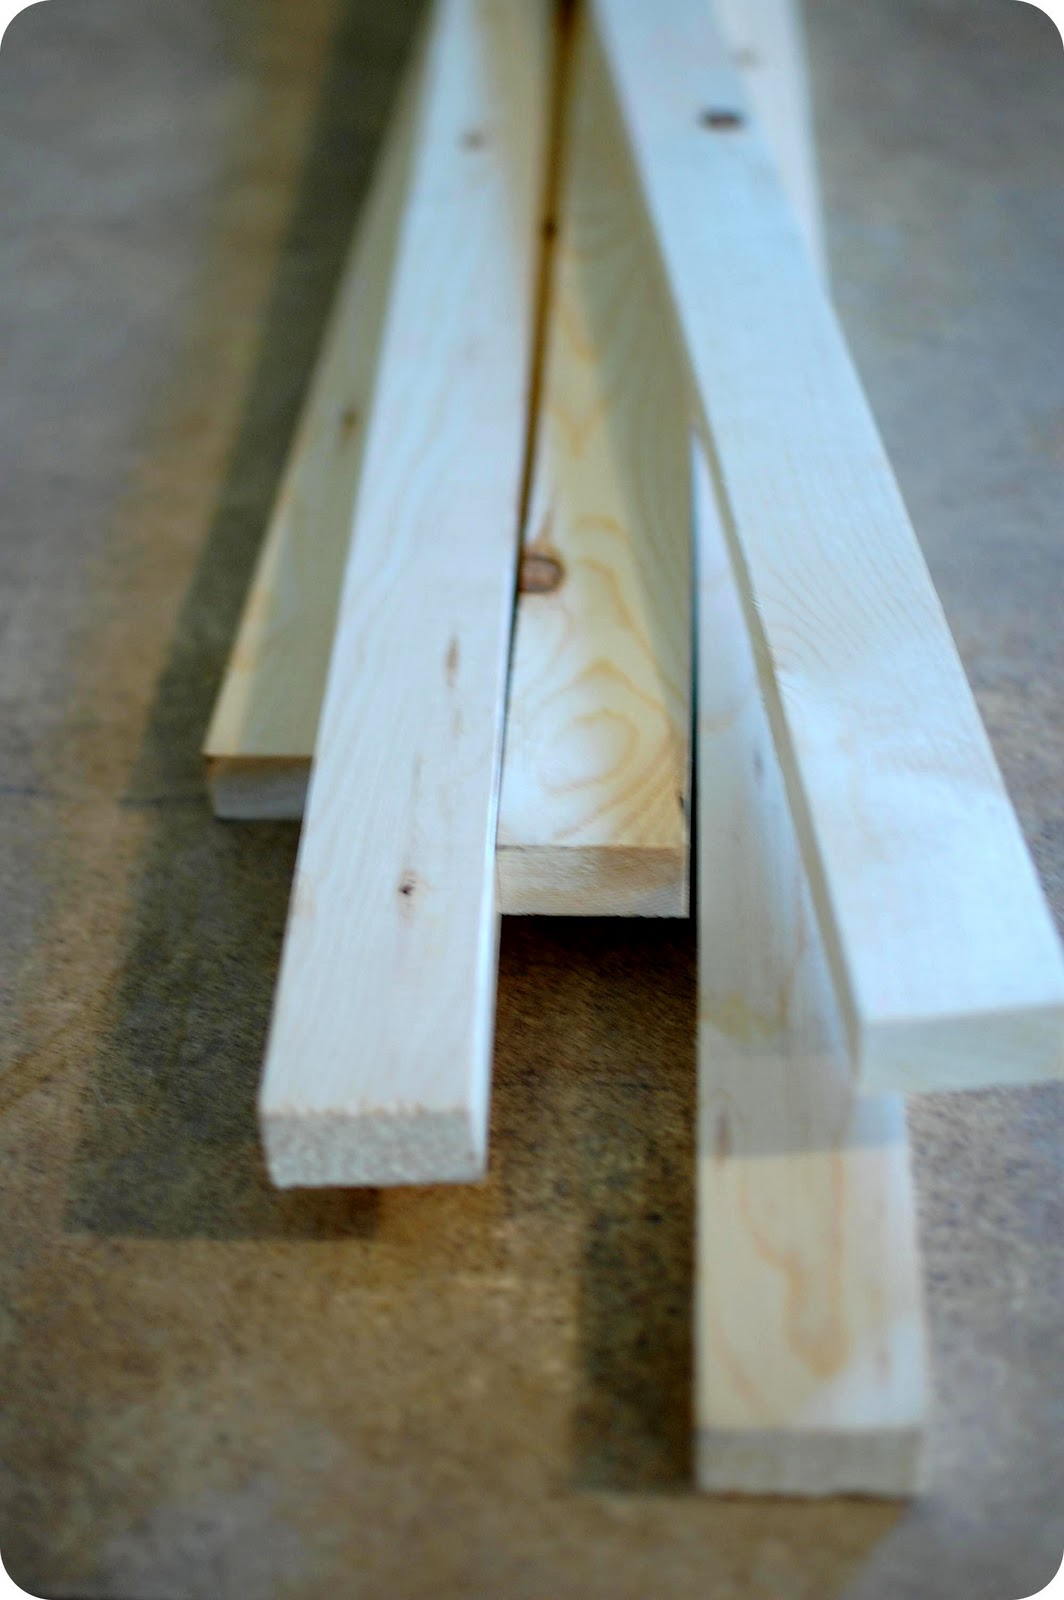
– 1/2″ x 1-1/2″ moulding strips
– miter box
– nails
– mending brace
– fabric to cover board
– staple gun & staples
– nail head trim
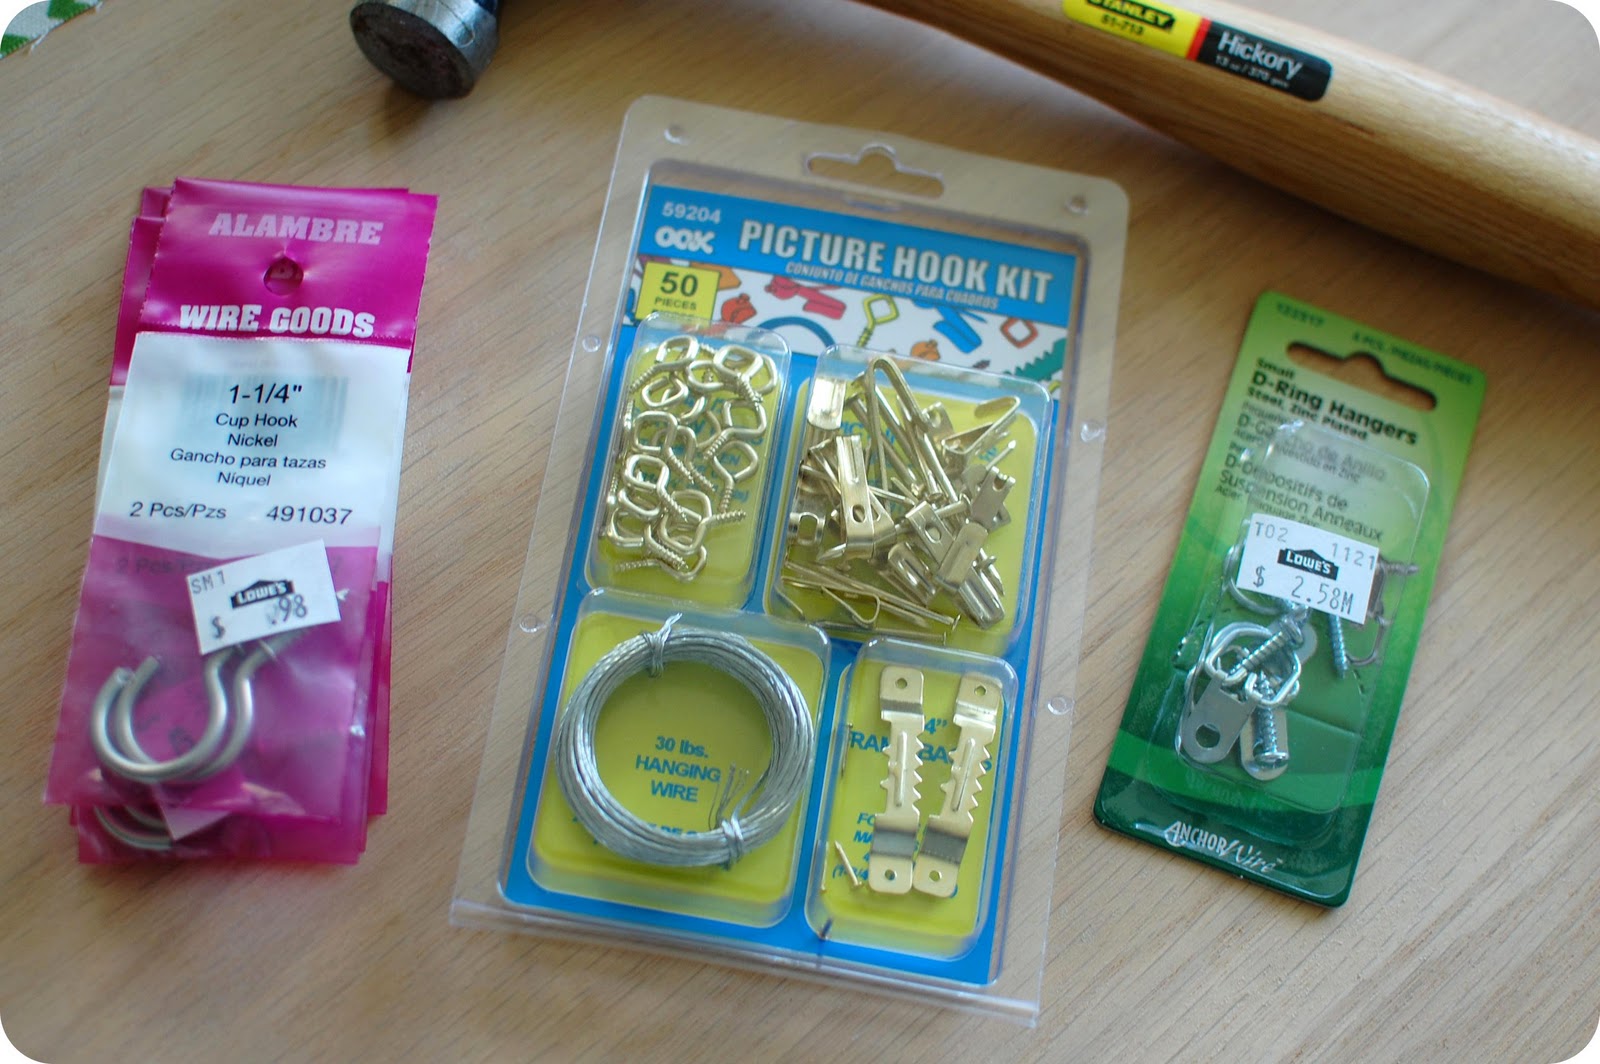
– cup hooks
– picture hanging supplies
.
.

.
Measure moulding strips and miter corners. This is not hard but requires a little bit of thinking to ensure that your measurements for the mitered corners are correct. As the old saying goes – measure twice – cut once!
.
.
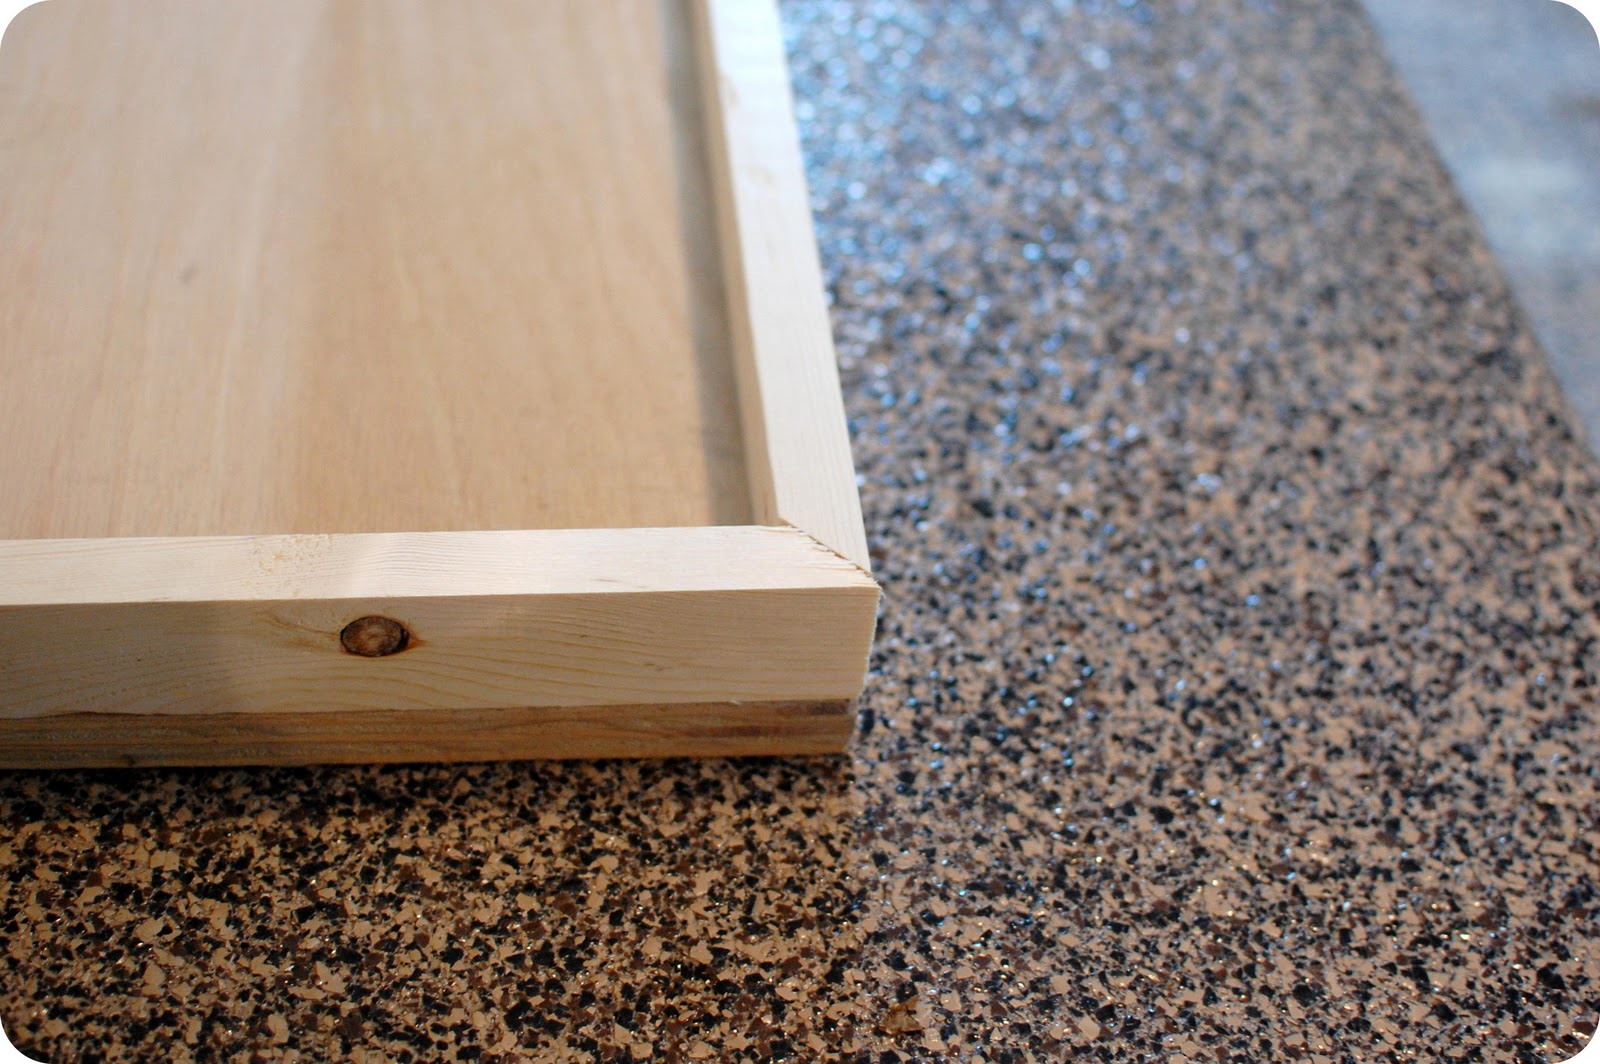
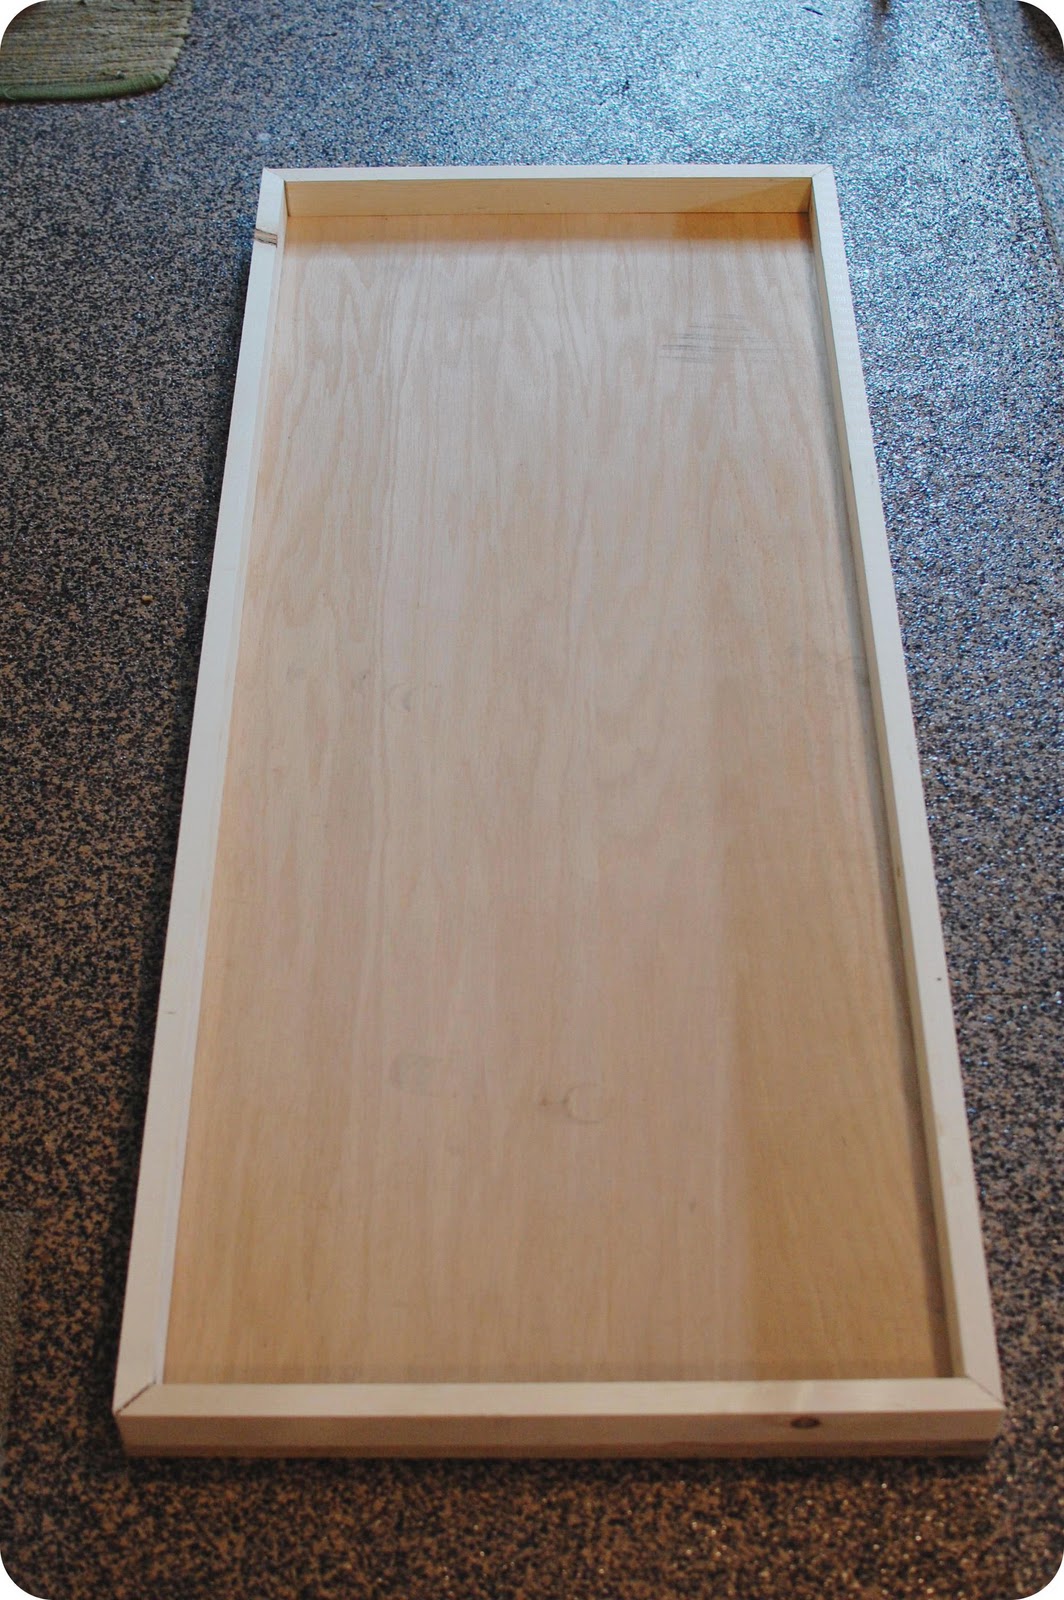
Once your moulding strips are cut & mitered, and the fit is good, you will need to attach them to your board. Use wood glue to attach them to the back of the board. Once dry, turn over and nail along all edges to secure from the front side of the board.
.
.
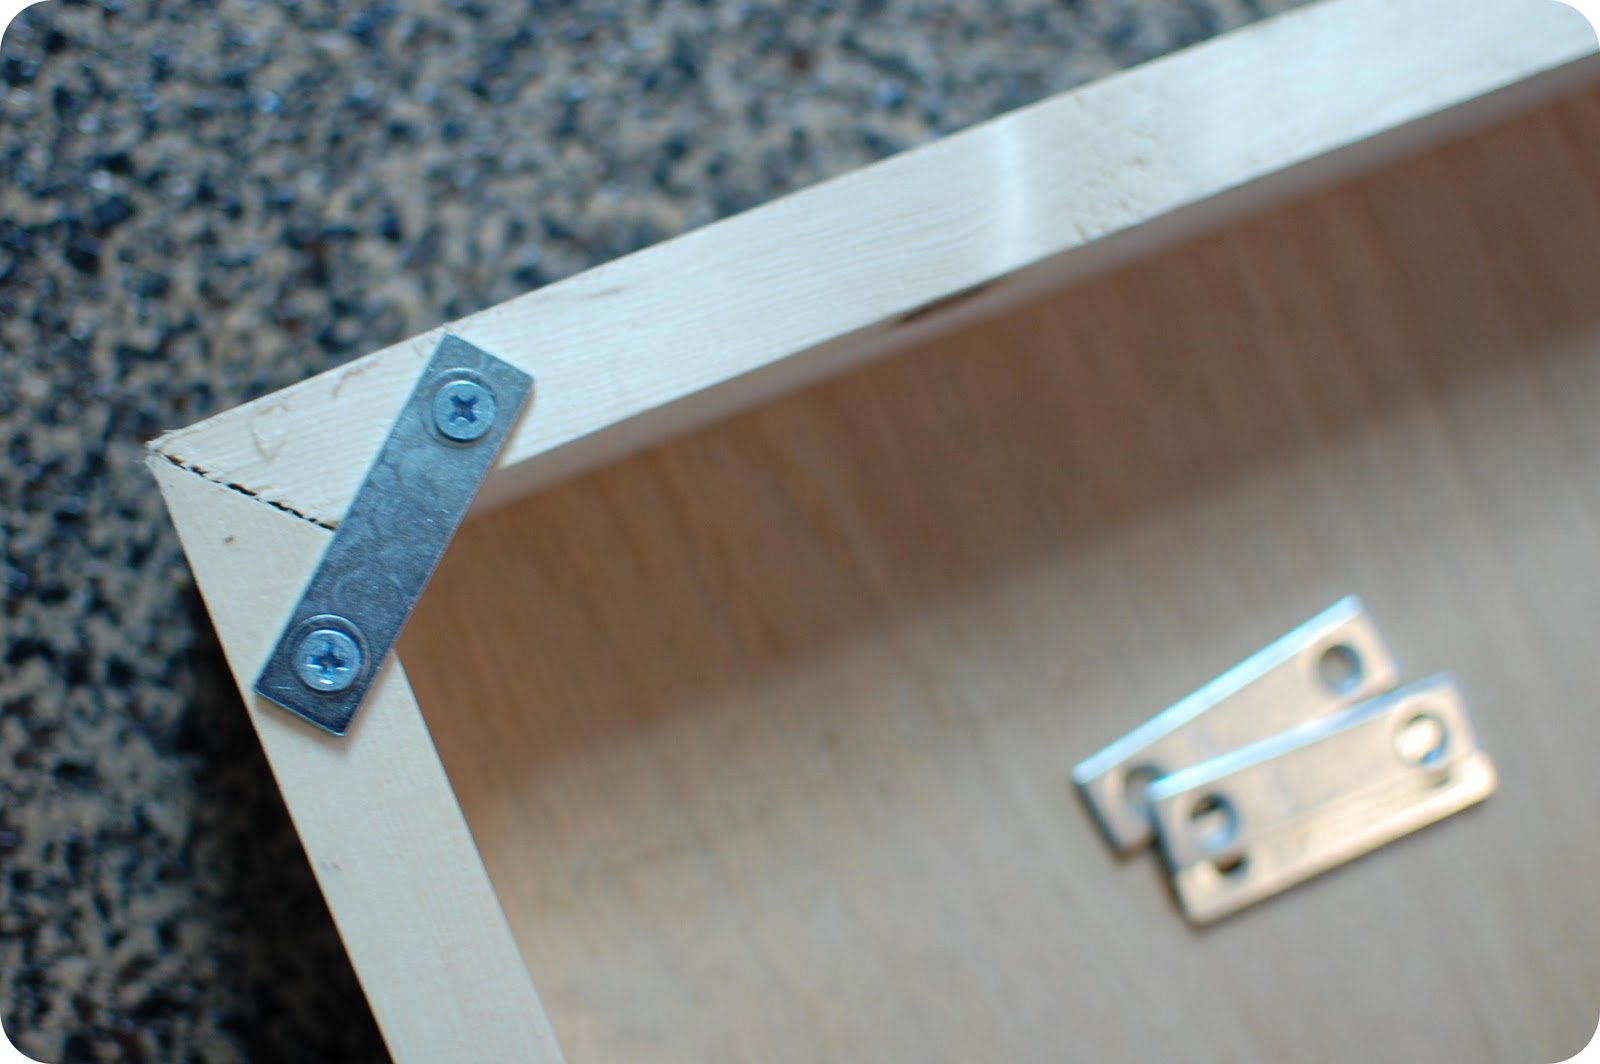
Attach a mending brace at each corner to ensure a sturdy finished piece.
.
.
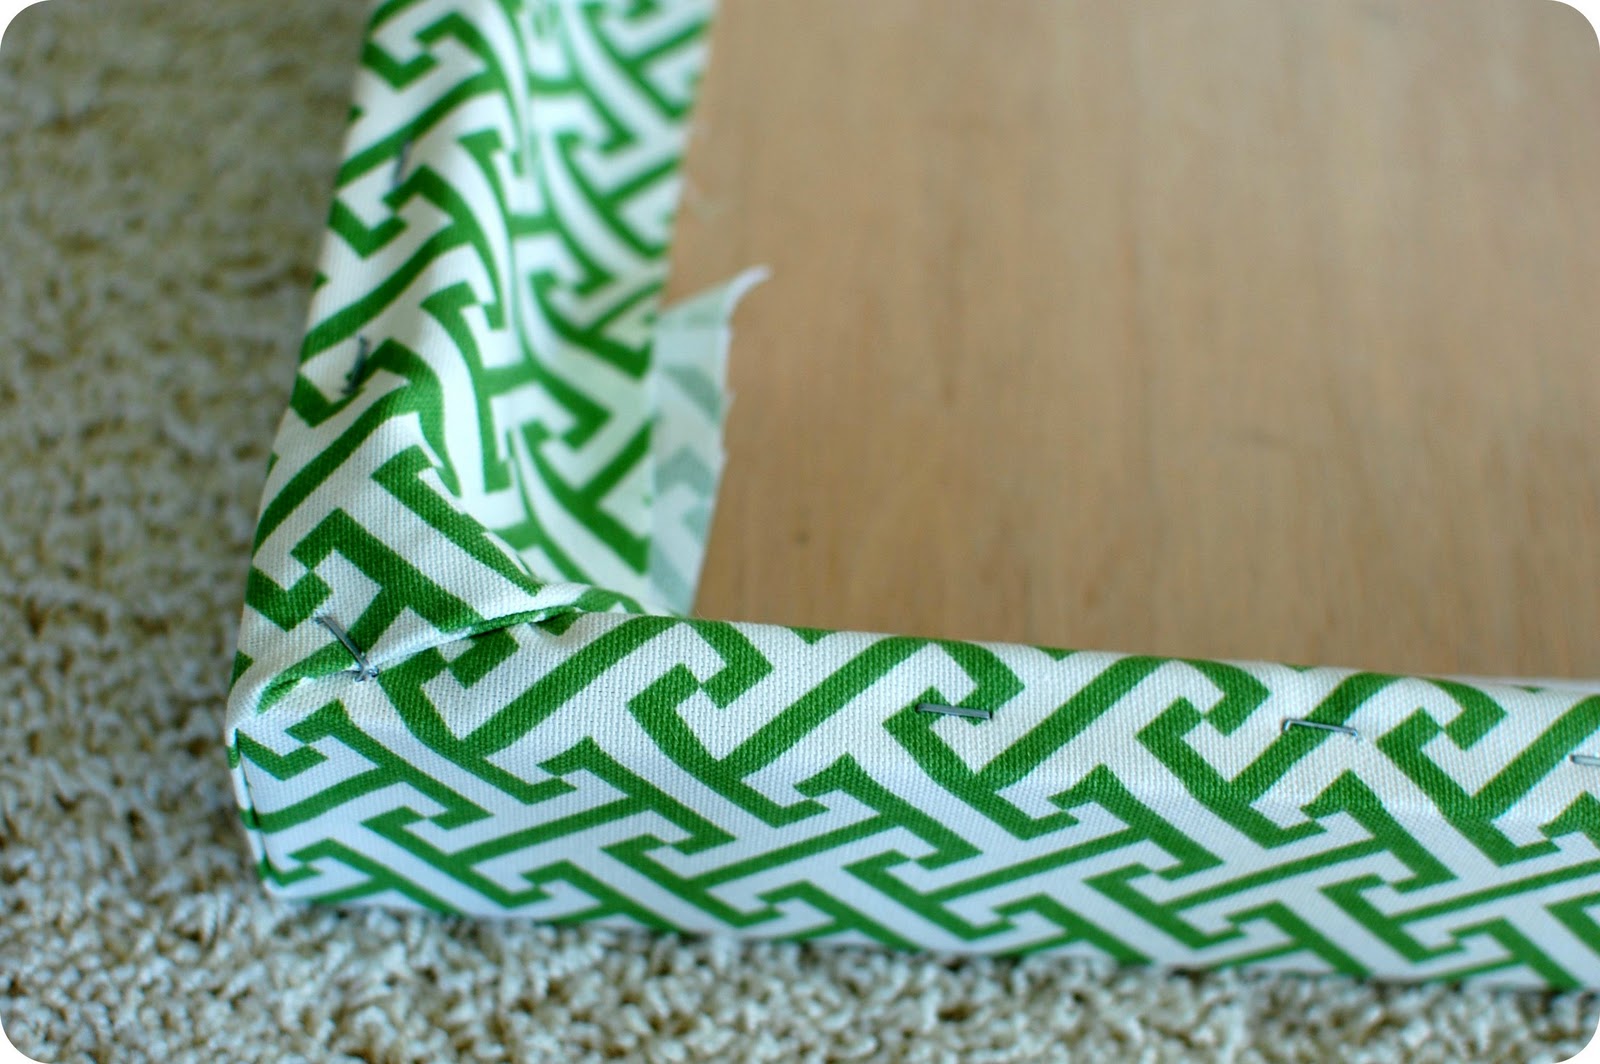
Now it’s time for the fun part! Use a staple gun to attach fabric to board.
.

.
.
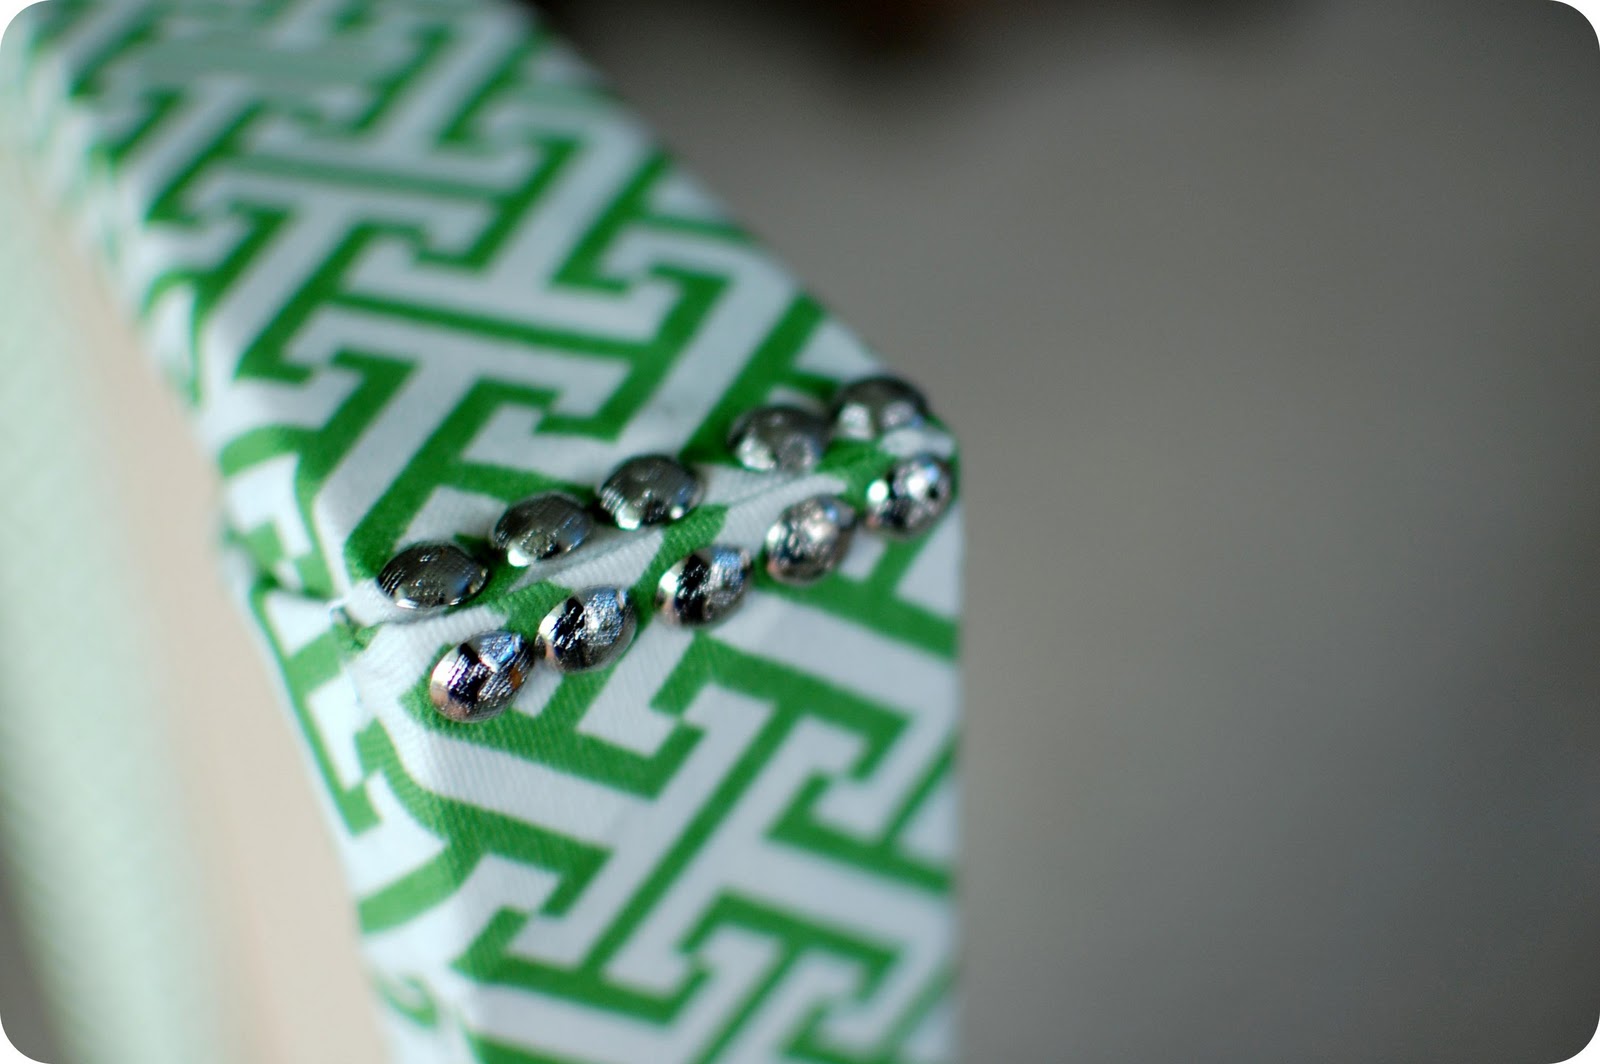
I decided to add a little nail head trim at each corner for a decorative accent.
.

.
.
.
.

.

.
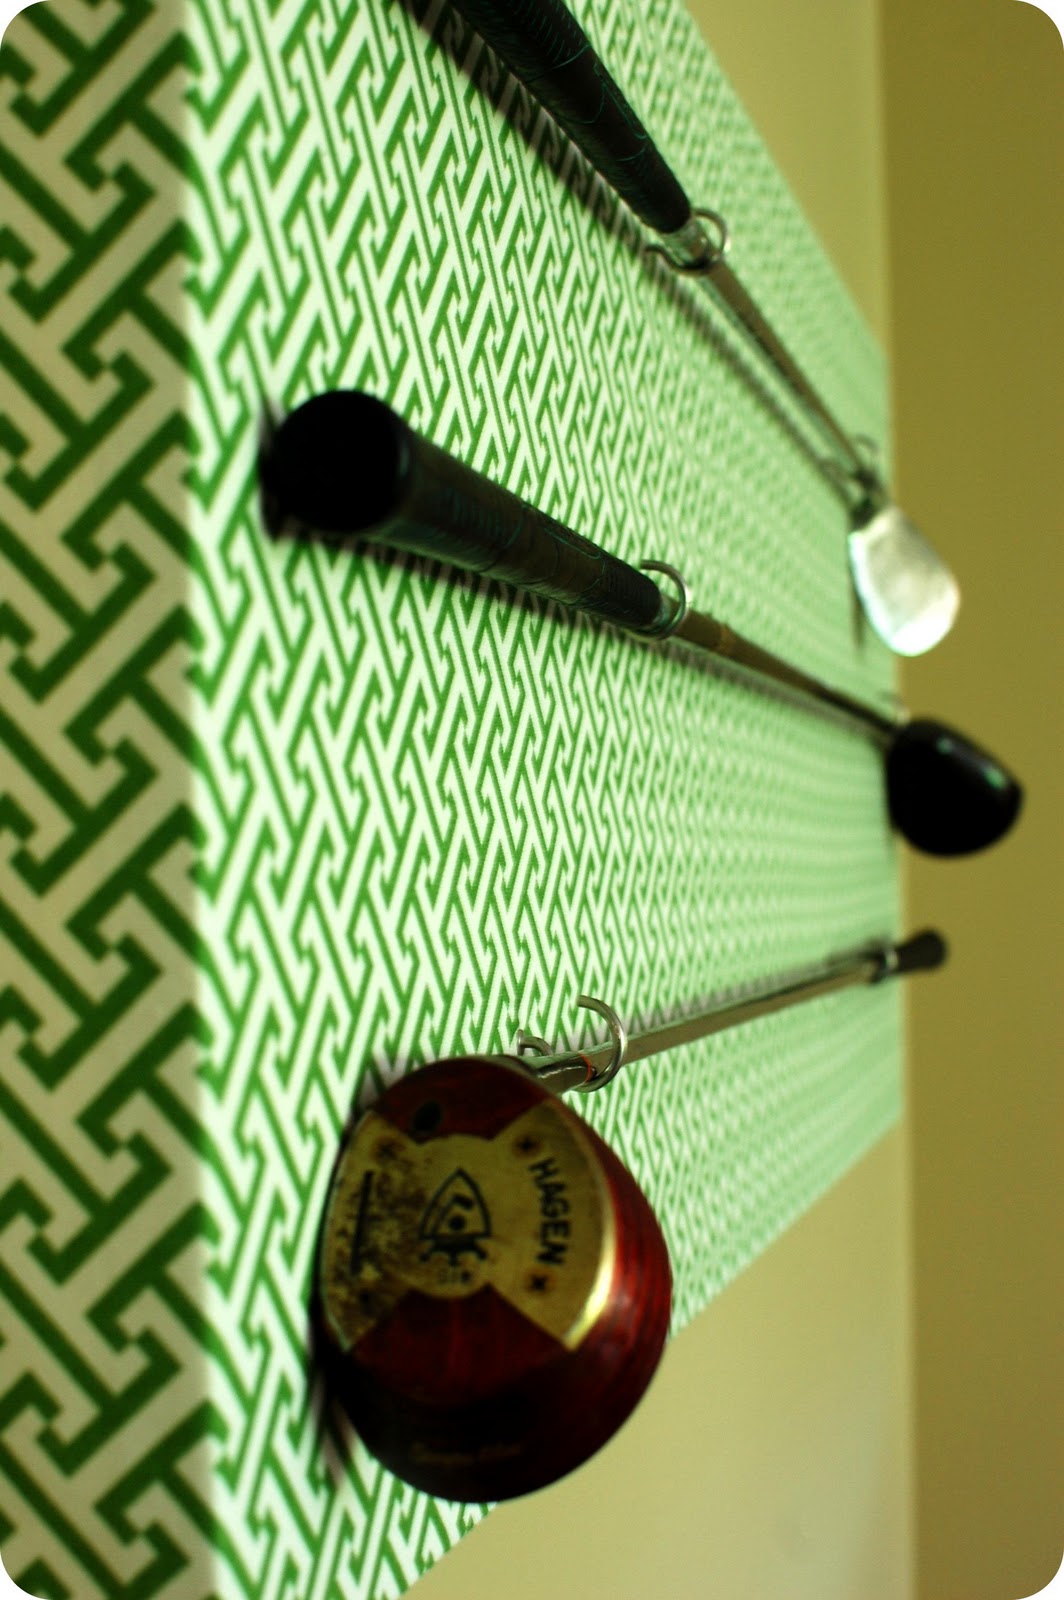
Next, determine where you want your golf clubs to lay on the board.
.

.
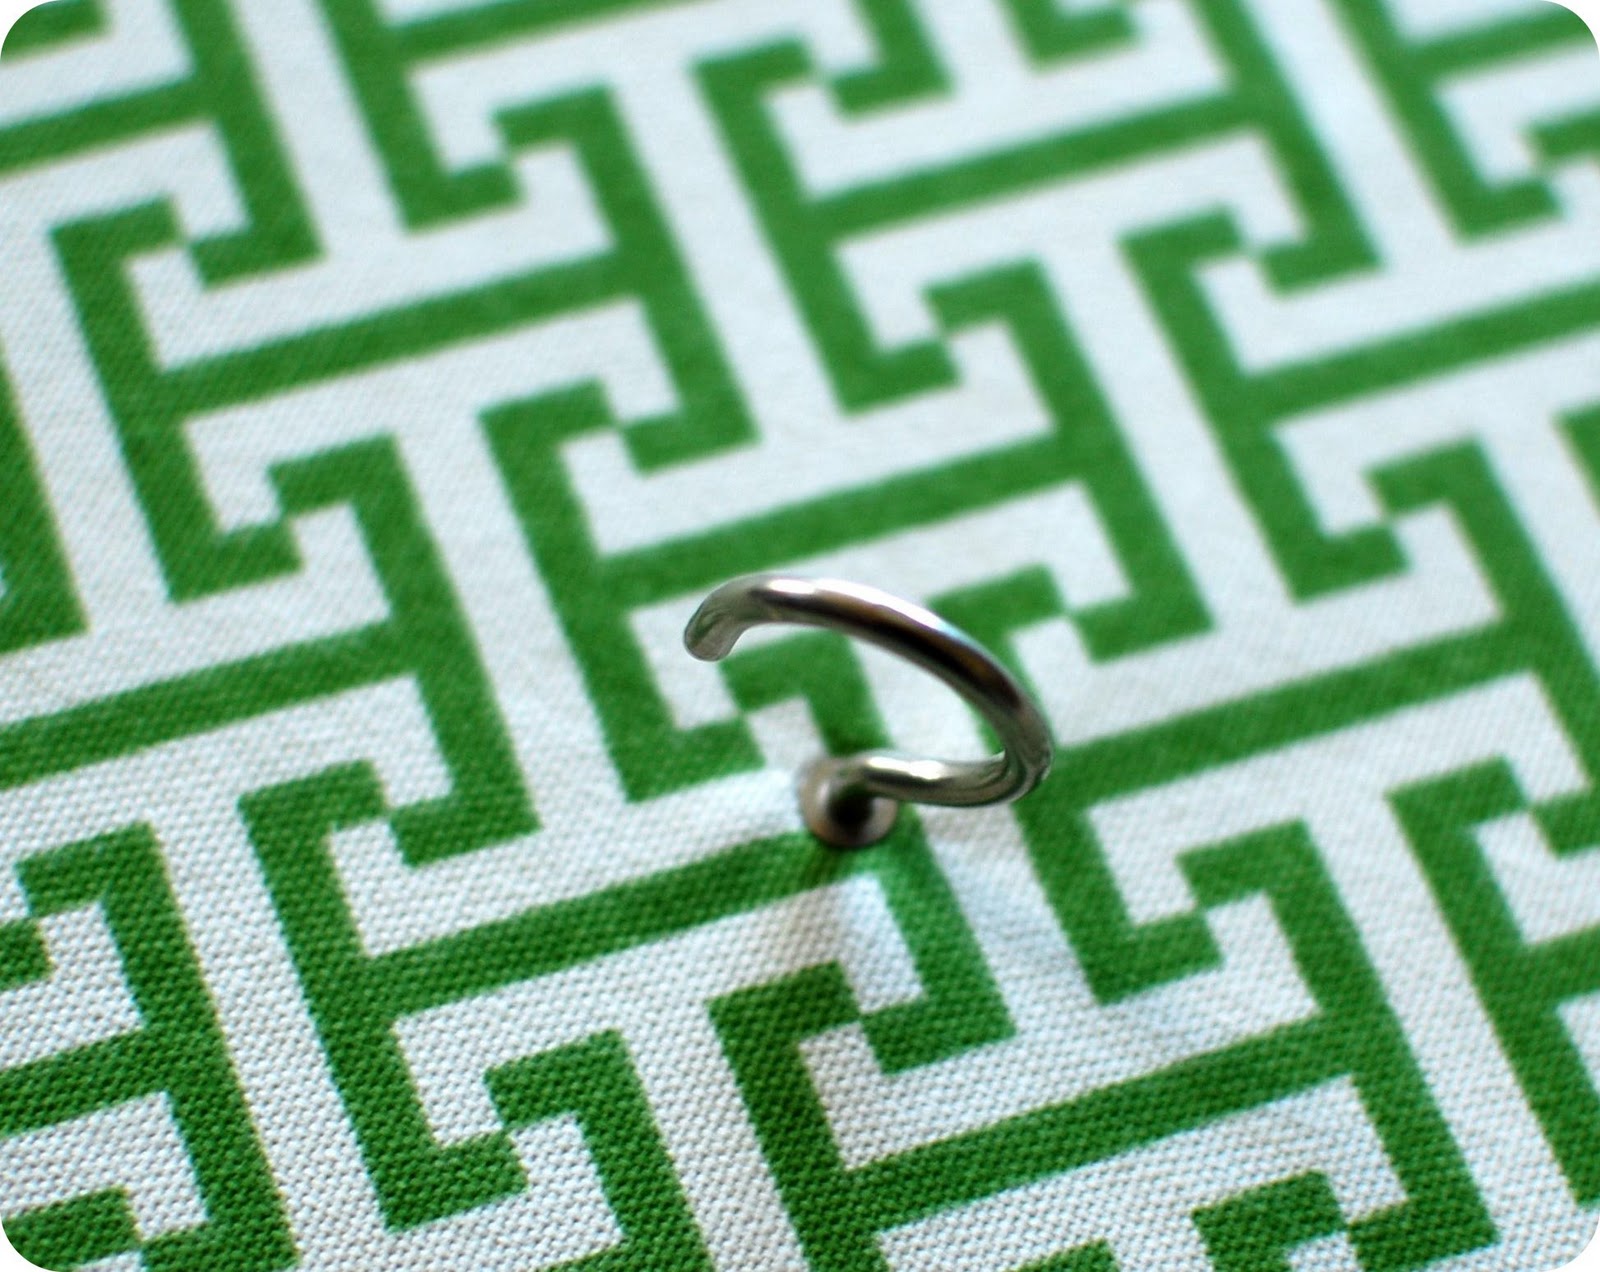
Use a pencil to mark where you need to install the cup hooks.
.
.
Attach cup hooks and your project is finished and ready to hang!
.

.

.
.
This project could easily be modified to for many sports – I think tennis rackets, hockey
sticks, or baseball bats would be fun.
.
The fabric I used is by Waverly and is called Cross Section, color: green. You can purchase it here.
.
I hope you enjoyed this project! If you have any questions or would like to know more, visit me at 33 Shades of Green.
.


>What a fun, unique project! (LOVE the fabric). Great job!
>I LOVE this project!! I will be making this for sure! The Goodwill always has a ton of old golf clubs!
>This is awesome! Alissa! Look at you and your power tools ;)! MOVE TO CHICAGO!!! 🙂
>I have some old clubs on the wall in our office…between our prints of the 13th hole at Augusta!
LOVE them against that fabric. Great idea, Alissa!
>At our last house, I used golf clubs for a curtain rod! It turned out great. I like this idea too!
Becky B.
http://www.organizingmadefun.blogspot.com
>I think there is a way to modify this just a little to hang advertising yardsticks….Thanks for the great idea!
>Aww this is a great project! I love it!