Scrabble Living Large: Family Names Art Project
")

This post contains some affiliate links for your convenience. Click here to read our full disclosure policy.
Supplies:
A 2″ x 2″ or 4″ x 4″
Vinyl lettering (could use paper, or paint if not available!)
Modpodge (satin finish if you can get it) or Polycrylic finish
Tools:
Silhouette SD machine (“Ahhh” can you hear that? the heavens are singing…)
Miter saw (or hand saw, a mitering box and A LOT of patience!)
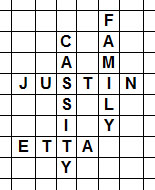
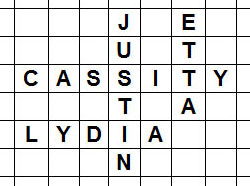
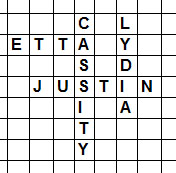
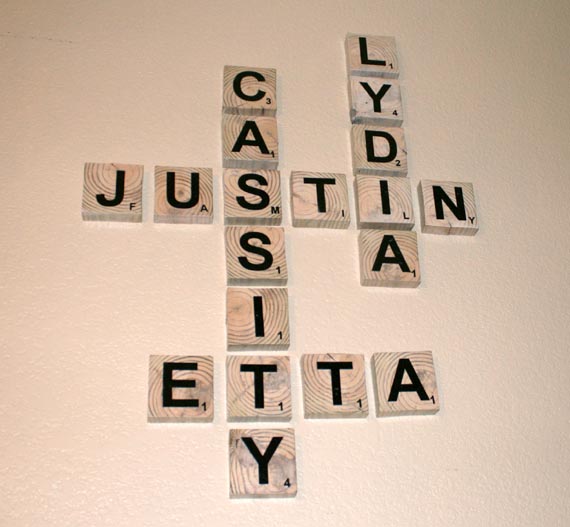
Okay first on a piece of paper, or in a spreadsheet on the computer you are going to have to figure out the layout of your family names. This can be fun and frustrating. When I started last year and we only had the three names I thought it would be fun to add the word Family too. So, if you have to add some adjectives or other nouns in there that works too!
Here are some of the options I came up with:

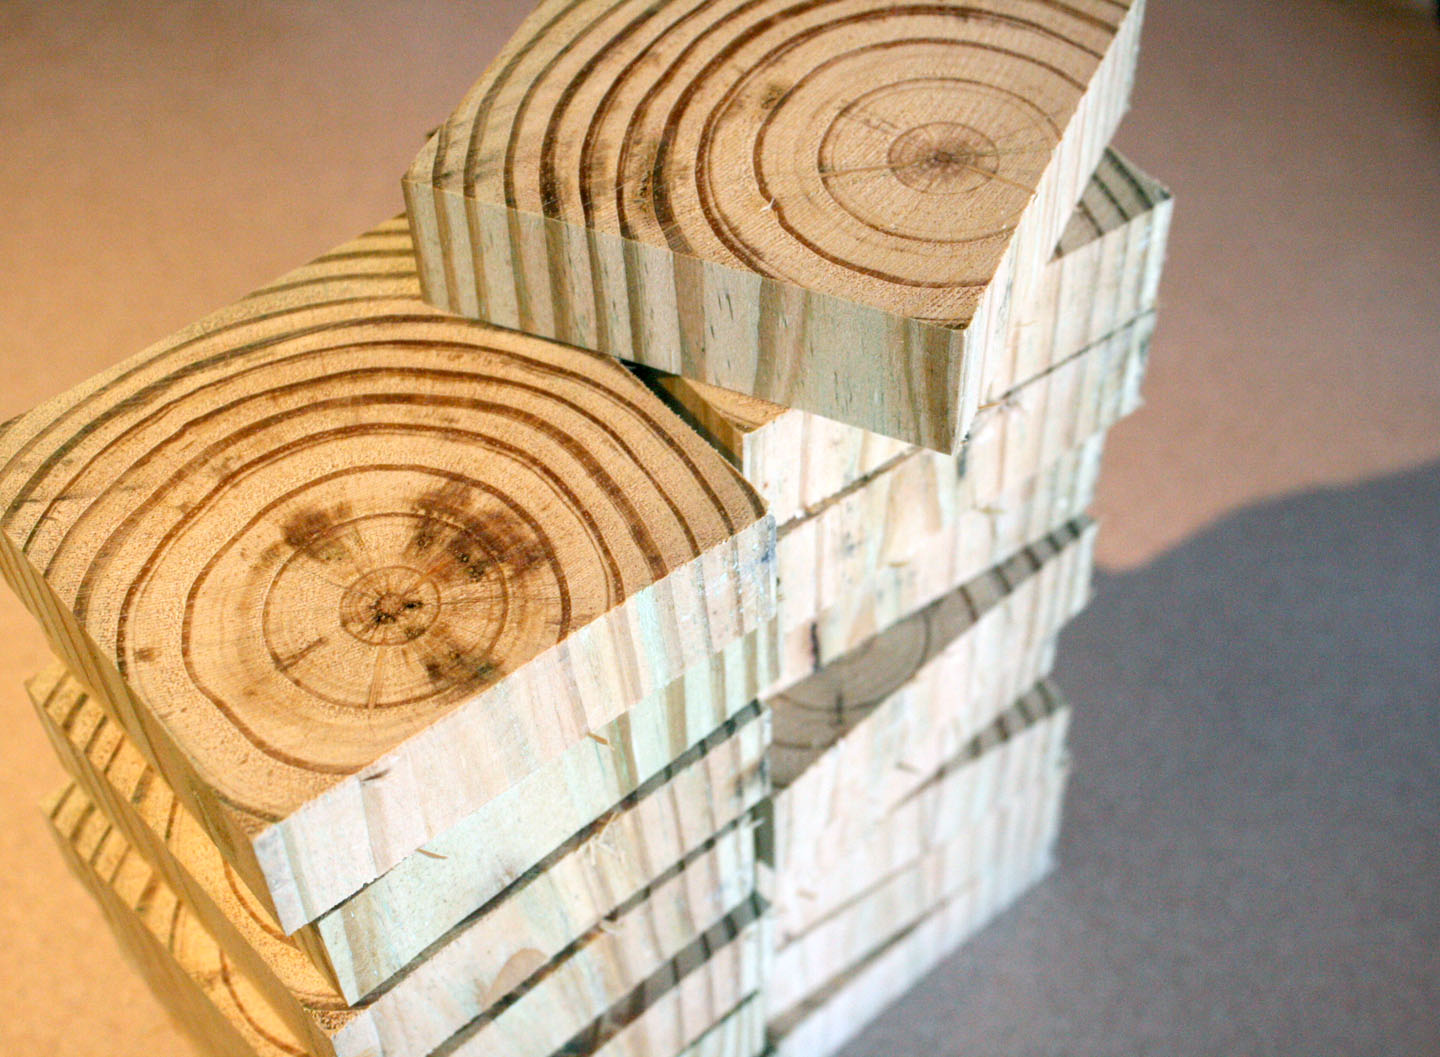
You need to decide on a good thickness to cut you scrabble tiles. I did mine at 3/4 of and inch, for a 4″ x 4″ that I had left over from our headboard project. You simply cut these slices from your wood, but be careful, Remodelaholic is not liable for your injuries…
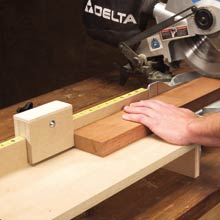
In order to get uniform pieces it may be easiest to set up a 1/2 inch or 3/4 stop and then you simply push your wood through to the stop and cut, cut, cut! That way you don’t have to remeasure every time. A stop looks something like the image below only in our case a lot closer to the blade. For your safety you do not want to handle the small piece that you are cutting off until it had been cut and the blade has been moved away.
I found a little video on a wood working site that explains stops if you have a question about it. ** On the video he uses a really tall piece of wood, that isn’t necessary in this case, and may get in the way of the saw blade, just FYI.
After you’ve made the cuts your edges are a little ragged and need to be sanded down to clean up the edge.
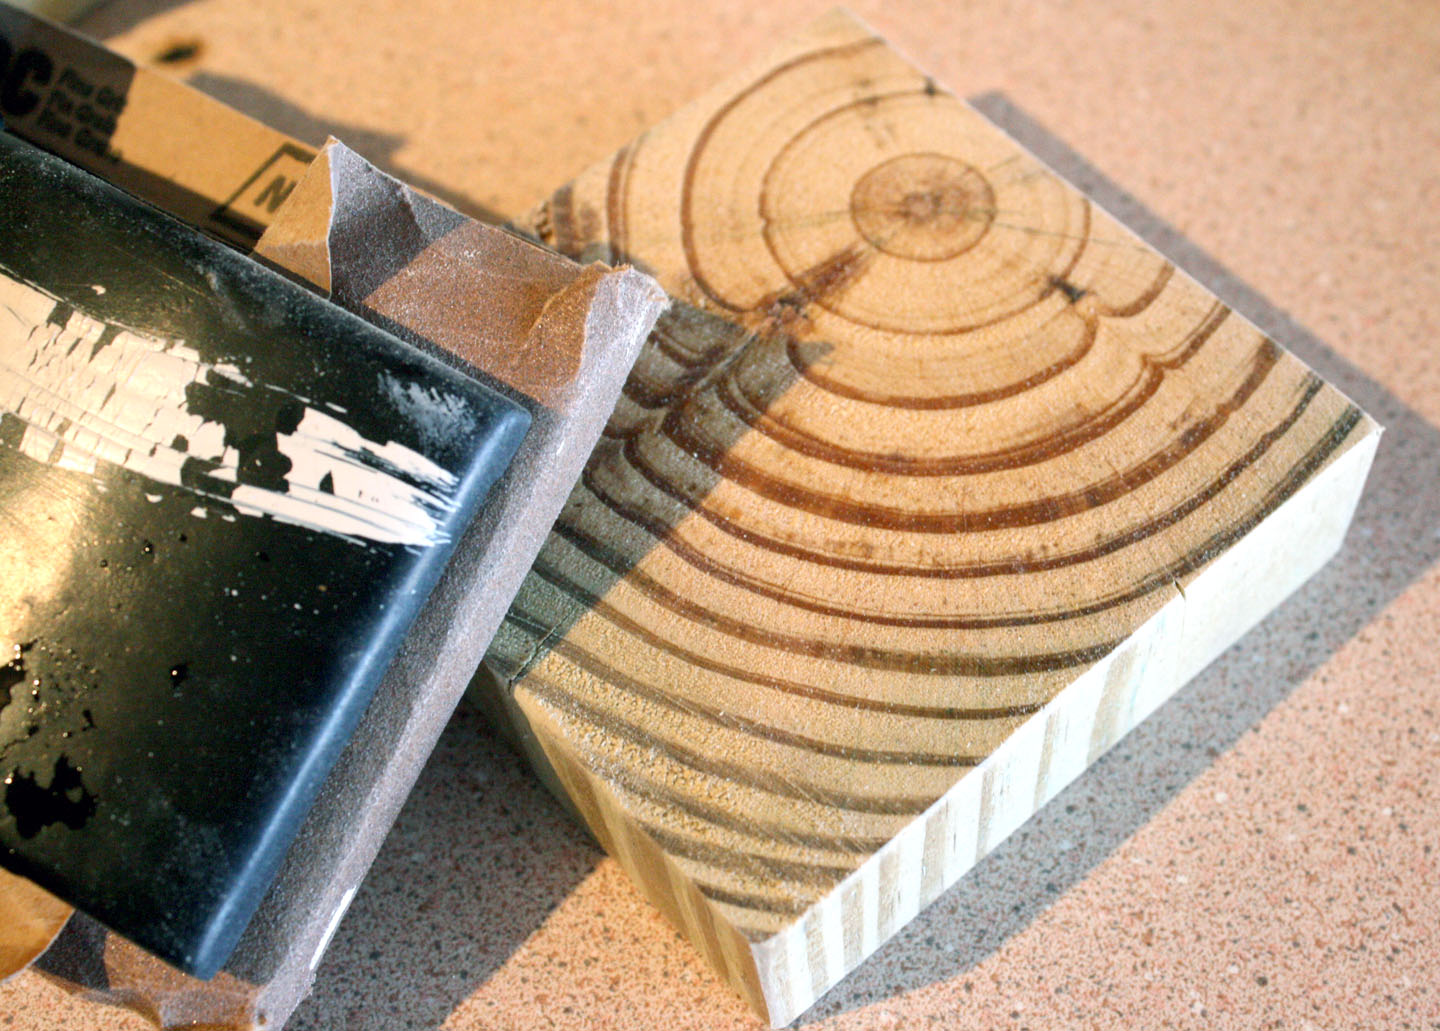
Now you have your perfect tiles ready to be painted (optional) and sealed. The wood I had was dark, and I wanted the letters to pop, so I did a light wash of white acrylic paint to even out the tone and make the letter stand out.
In previous attempts, I learned the hard way that not sealing the wood first will result in vinyl or stickers of any sort from sticking, and you will get bubbles and wrinkles and basically one hot mess. So, seal front and back your tiles if you are using vinyl. I choose to use Mod-podge since I was pregnant and didn’t want to fume up my house.
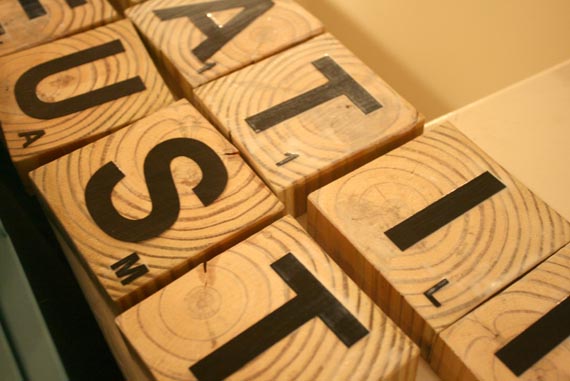
But also, I didn’t have black vinyl… no problem I used my Silhouette machine to cut out black cardstock and mod-podged it on there… (the lighting for this picture is bad, the tiles doesn’t actually look that white)

And while doing research for this project I came upon the image below… you could make that in a snap! And with the money you saved you could take me out to dinner and really nice steak dinner, I’m just sayin’ is all.


EXCELLENT idea! I’m going to do this going up the large staircase I have in or family room – I think it will look terrific! Wish I had that letter cut out tool you have! that would make this project so much easier than me hand painting each letter! will you sell me the letters, by any chance??? vinyl or cardstock – I don’t care which : )
I’ve got lots of creative projects on Pinterest (Michelle Platt) and on Facebook (Michelle Missy Lewis Platt) – be sure to check them out for inspiration : )
Thanks for your craftiness!
Michelle, I don’t really have the time to sell the letters, but I am sure a vinyl shop on Etsy would do it for ya! Good Luck
thanks for the suggestion : )
GREAT job on your project.
Can you tell me what FONT you used for the large letters (and what size, too) as well as the smaller numbers/letters and size, too – that would be very helpful in having someone make these for me, Cassity.
Michelle, I think that I mentioned I used Arial font, and it has been a few years so i can’t tell you the size of text it was somewhere between 200-350. Do some test prints from your computer til you get the look you want. (you could even trim those out and use them for the letters on the blocks!)
I was just seeking this information for a while After six hours of continuous Googleing, at last I g
We are glad that you found us.
Hi there! I love this project – question – how did you hang them? Did you use those 3M strips? I was thinking that would be the easiest, but it gets really humid here and they sometimes come unstuck. Just wondering if there was a better method. Thanks so much 🙂
Sarah, what we did was glued 4 tacks on the back of them, with hot glue. You just have to get long tacks to stick in the wall as far as you can. You can also use 3m strips as well. They would hold better.
Hi, I have been scoping out the scrabble idea for years, I think I may have seen it in a Pottery Barn Kids catalog years ago, but the tiles looked like they were made out of one piece of wood (yours are soooo much cuter!). When my step dad tried to make it he gave up, he never gives up, he made my babies their crib in like a week! So I thought ever getting my family’s names in scrabble pieces in my wall were over, that is until I found your awesome blog! Thank you in advance 🙂
Ok, so I have my tiles cut and I’m going to stain them today, I have a couple of questions before I go further. I have previously had issues with black cardstock smearing when I modpodge, but have never tried on wood, did you have any problems? Can you tell me what size the letters and numbers are that you used? Last but not least, I have only used a friend’s Cricut before but read that you like the Sillouette. I am researching to my own cutter of some sort and just wanted your opinion. Please give me a reply when you have a minute, and I will continue to read anout your awesome remodeling ideas:) Thanks so much, Ciara Ragains
Hi! I love your Scrabble art…Can you tell me how you do an acrylic wash? Do you mix the paint with water? What is your ratio?
Thanks!!
Rachelle
Yes, I just mixed the paint with a little water so that it wasn’t a solid color. basically even parts water and paint, but you can do it at any thickness that you think looks good!
What is a silhouette machine?
Tanya, a Silhouette machine is a digital cutting machine, similar to a Cricut.
I am really late with this comment, but people are still finding your post on Pinterest. There are several sites that create your “crossword puzzles” for you. Here are a couple: http://www.puzzlemaker.com/, http://www.education.com/crossword-puzzle
Thank you for the links, Deb!
I know this is a really old post, but I am in the process of creating our own scrabble wall art, and am having trouble deciding which is the best way to hang the decor. It is for a gift for my step daughter. we have made extra lettering for her and her boy friend for when and if they get married so they can add the family last name. So the way I hang it needs to be able to be manipulates and changed around. Any suggestions?
I am considering these. Could you please show me how the wall layout would look with these names? Solomon, Anna, Abigail, Aimee, Angelina, Justin
Hi Ruth – thanks for your interest. It’s easiest to find an online crossword creator and play around with that to get the look you’d like to fit your wall. (If you search “crossword creator” there are many free ones available.)