The very first project just sort of happened. It started like many projects do, with me saying, “I think I will just change this one little thing….” Then when I begin “it” I find a problem with “this”, which leads to “that”. Or in other words the rooms secrets begin to come out and the “tiny project” turns into nothing less than our very own Everest.
Actually, this project all started from me getting food poisoning. We had just moved in, and were basically camping in the one clean room in the house. We were about to go to sleep when the dinner I had decided it didn’t like me. I ran to our porcelain receptacle, and I had to sit on the most disgusting floor you can imagine, in my underwear. YUCKY!
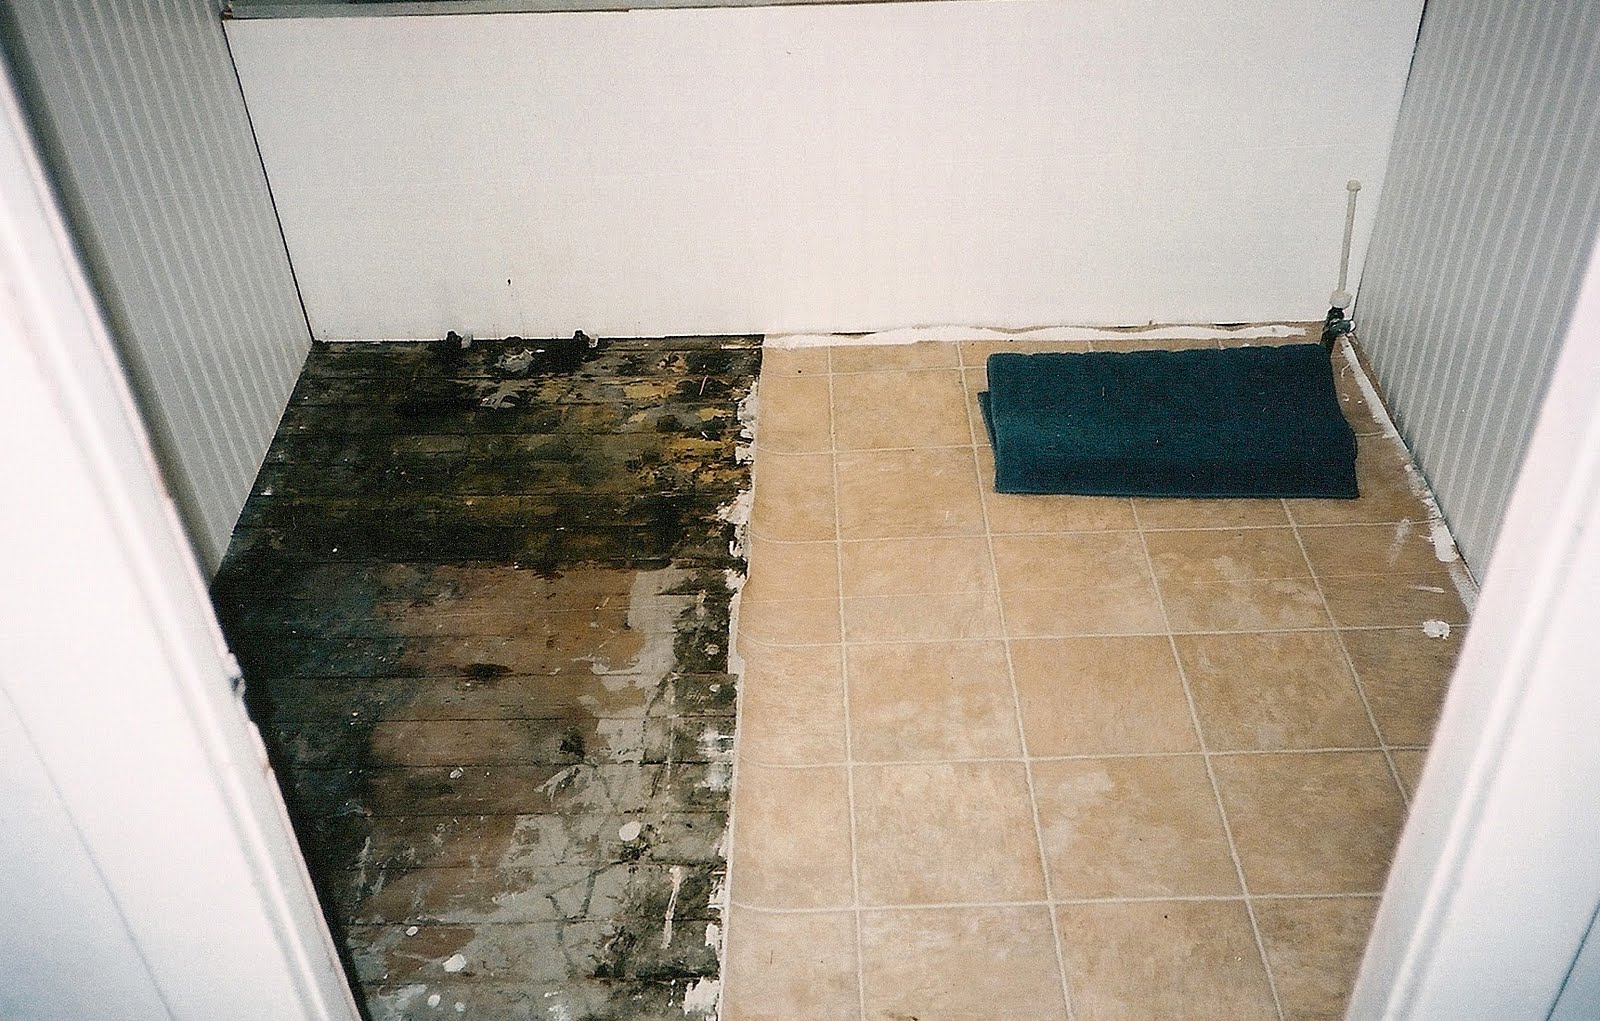
So, the next day, while working at the Home Depot, I grabbed some clearance peal and stick tiles. I planned on giving us a clean surface for the mean time. (school was about to begin after all, so we didn’t have the time to start a whole project) While being miserable the night before, I noticed the floor was a not level and had dips and voids in it, so along with the tiles, I purchased a leveling compound. When I started the project I thought, I’ll just rip out the old vinyl, spread the leveling compound on the floor and slap on these new babies and we’ll be in business.
Well, when I got the vinyl up, I saw that they had patched a section of the floor just around the toilet with plywood, and it was sinking. A closer look in the cellar revealed that when they replaced that section of the floor, they cut come joists. Basically, our whole bathroom floor was being supported by nothing but the plumbing! Oh and by the way, this was our only bathroom.
Let the remodel begin!
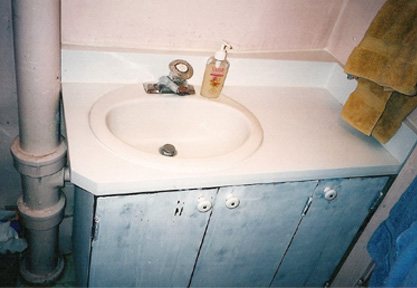
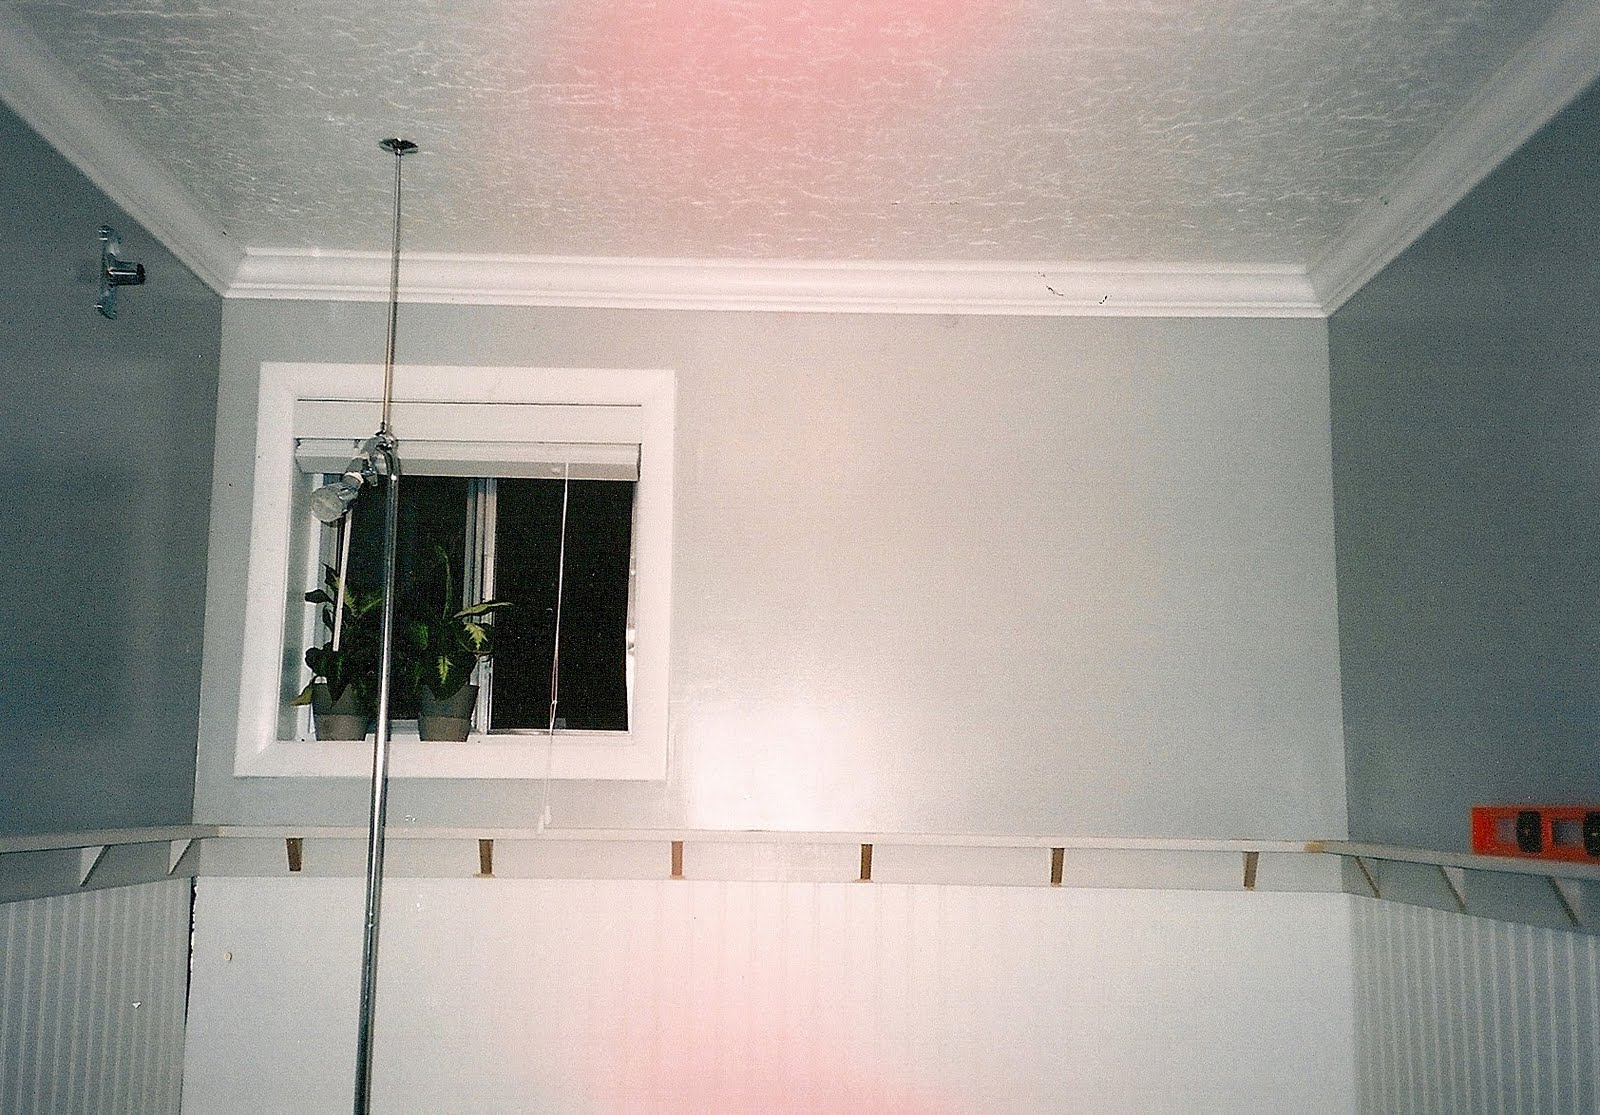
Here are the before pics:
You can see that there is a huge pipe that runs through the room to the roof for air. It was a huge, 6 inches around, cast iron beast! Also, if you look above the sink there is a weird kink in the wall? Who knows why? Oh and no plugs at all in the room, there was an extension cord running up to the light, that had an outlet on it! (Things we failed to really notice when buying the house, we just loved her and couldn’t help ourselves! and I am still glad we did it)
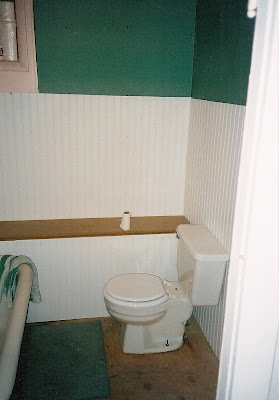
Here is a little quick fix idea, I did right at first just to make myself feel better. **This is a great idea if you have ugly counter tops and no budget to spare. I used some self adhesive shelf liner and covered the old counter top, then I caulked the seam around the sink. At least I knew it was clean.
**I have a friend (Hi Em! if you are actually reading all this) who did this in an apartment she rented. She used a marble look shelf liner and it lasted for a few years, and I actually really like the way it looked.
After we cleaned out the floor and saw the big problem, we decided that we had to just begin the remodel. Especially before someone fell through the floor, with their pants at their ankles, while sitting on the commode.
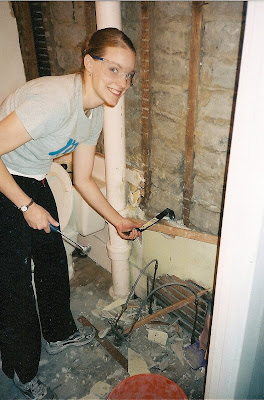
We began by ripping out the wall of cabinets, then the walls, which meant we had to get rid of the vanity… By the time we were done all we had left was a tub, a toilet and bare stud walls.. Then guess what, school started and we had to live like that for about 4 months, or until Christmas break. One thing we learned, **You can adapt.
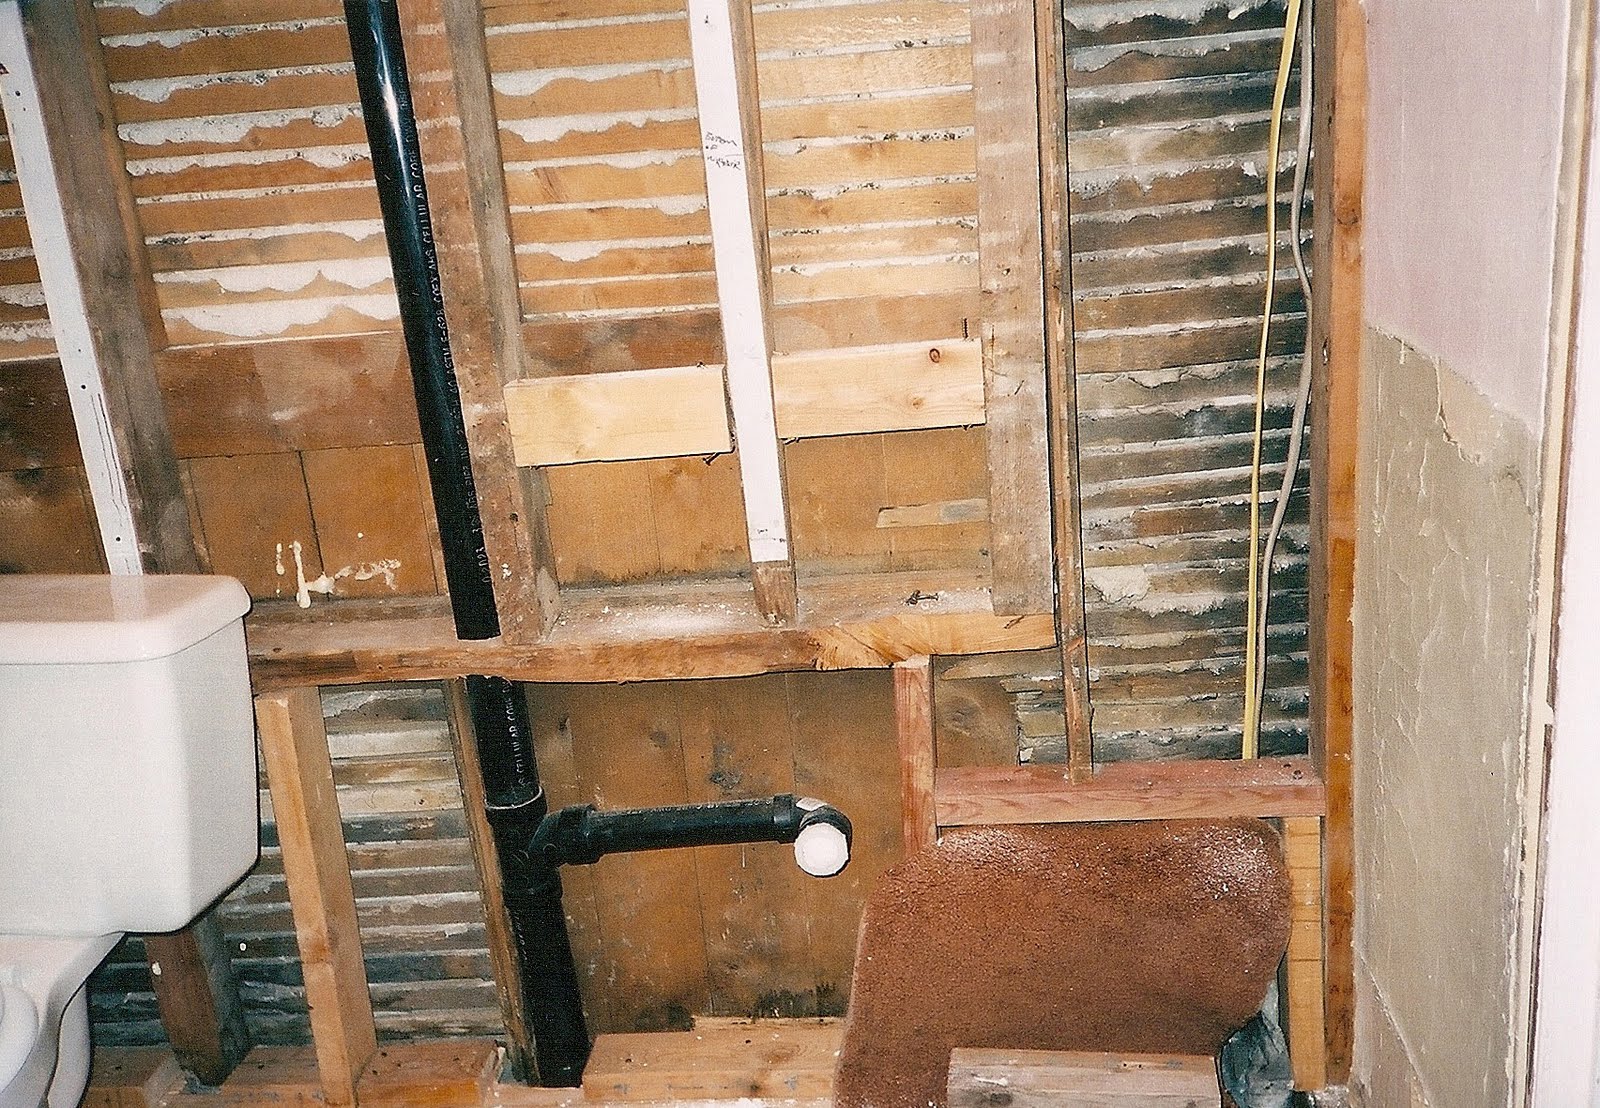
We found some really interesting framing in the walls. For example the wall above had the 2×4’s on their side. The wall behind the toilet had also been tampered with. It was missing the bottom half of most of the studs. It was fun to see the old adobe bricks that had been the insulation. We think that at one point this had been an exterior wall.
When we began to remove the huge wall of cabinets, we found one of the reasons they were there. The old foundation that came into the room about 8 inches deep and 18″ high. So we had to work around that too.
One thing we decided not to work around was the huge pipe that ran through the room. We chose to put that in the wall. That was when a Sawzall with a cast iron cutting blade came in real handy!
**p.s. Sawzalls are one of the tools that every remodeler needs, you can use them for about everything! We borrowed my sisters, a year later when she begged to have it back, we bought one for ourselves. My other tip is don’t go too cheap, like we have, we are on our third, but we use it that much, so we always need one!
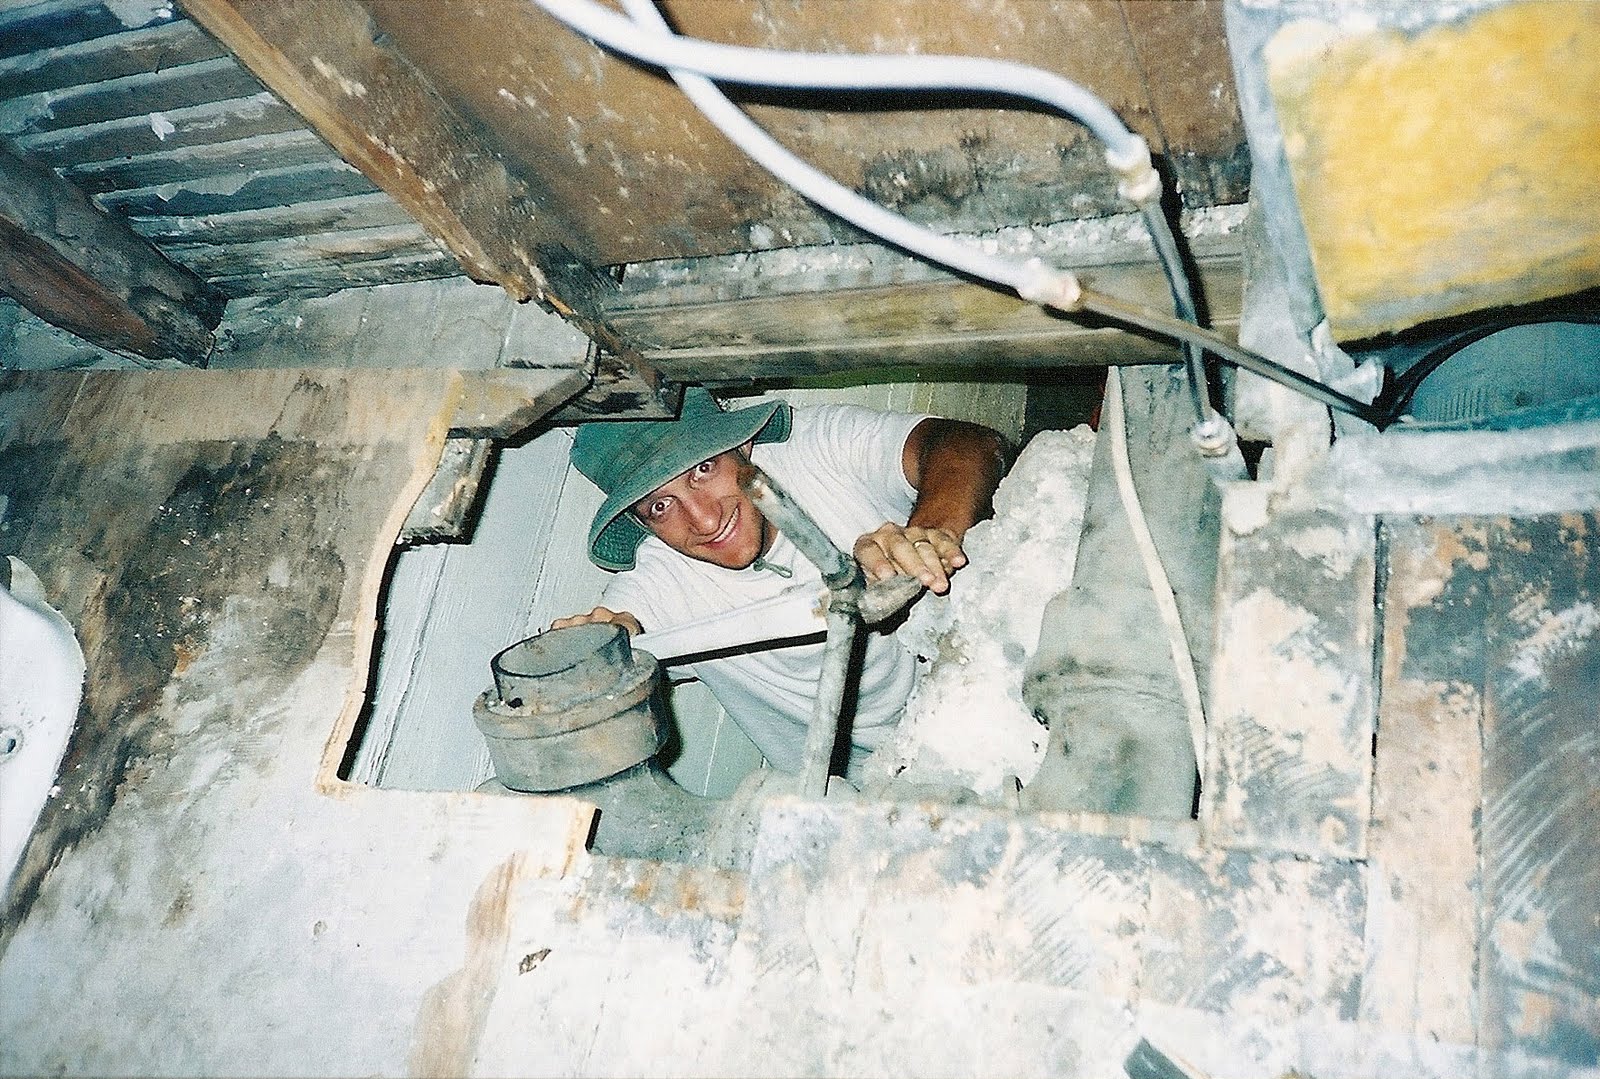
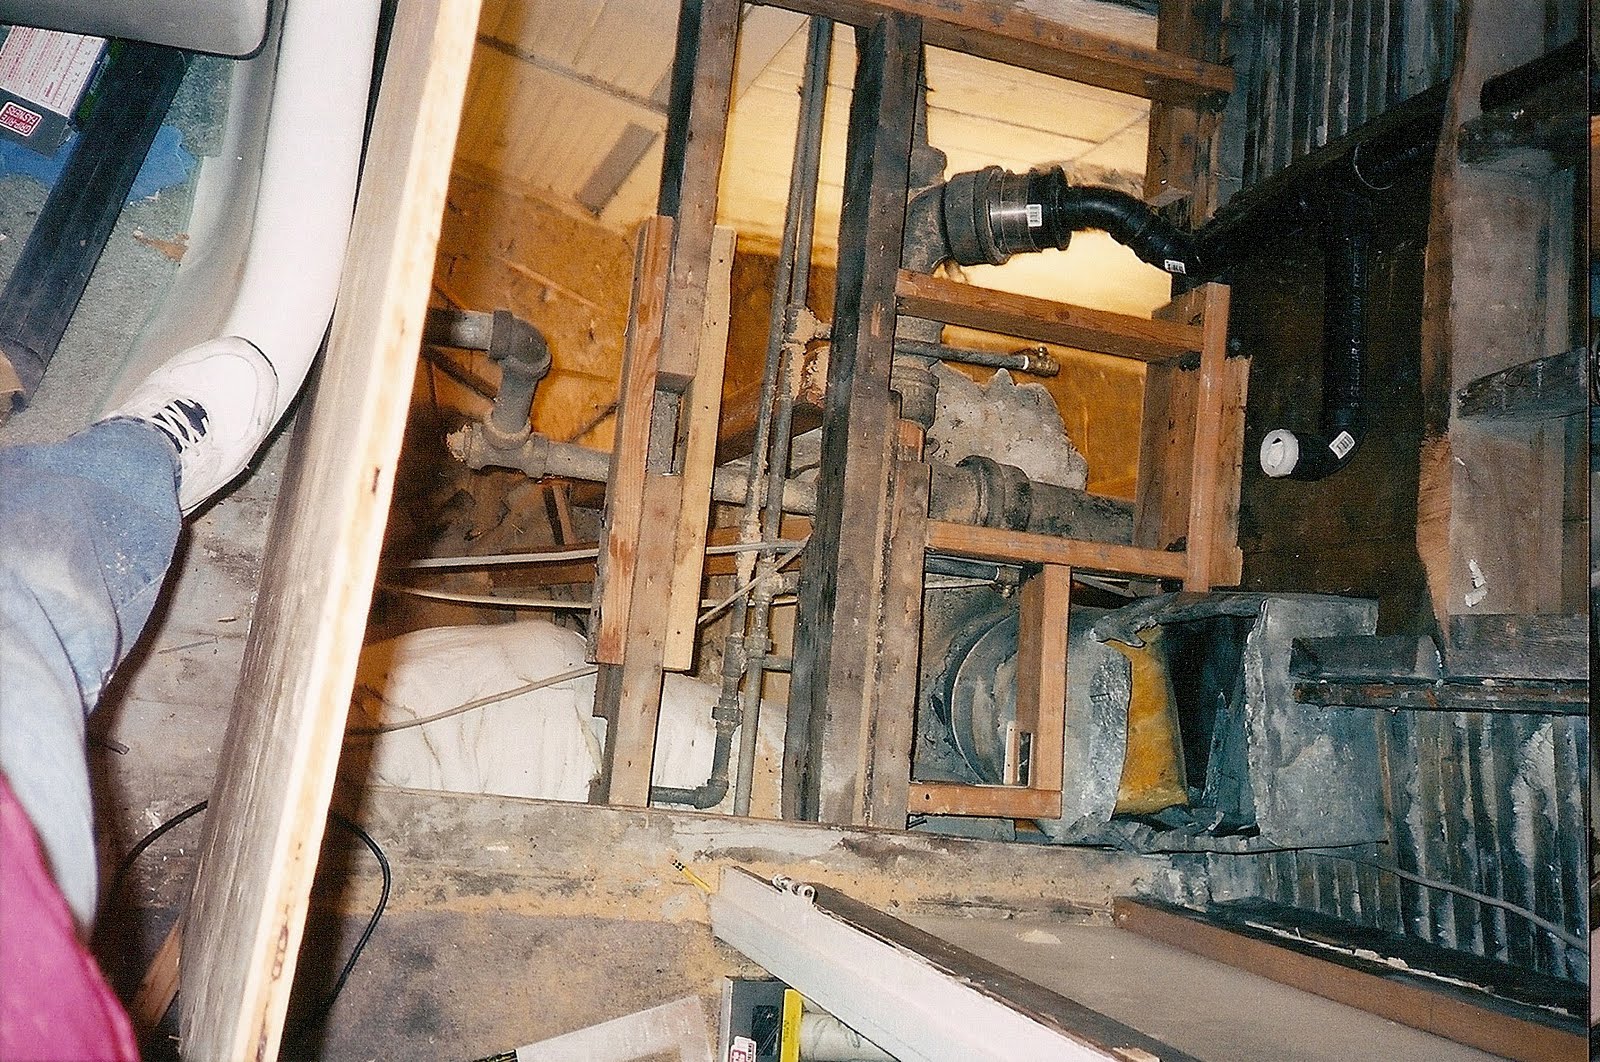
(Notice the Cheerio box covering the access to our heater vent. Kitty, really wanted to get in there! You have to be really careful when remodeling with pets in the house and children, but we didn’t have those yet!)
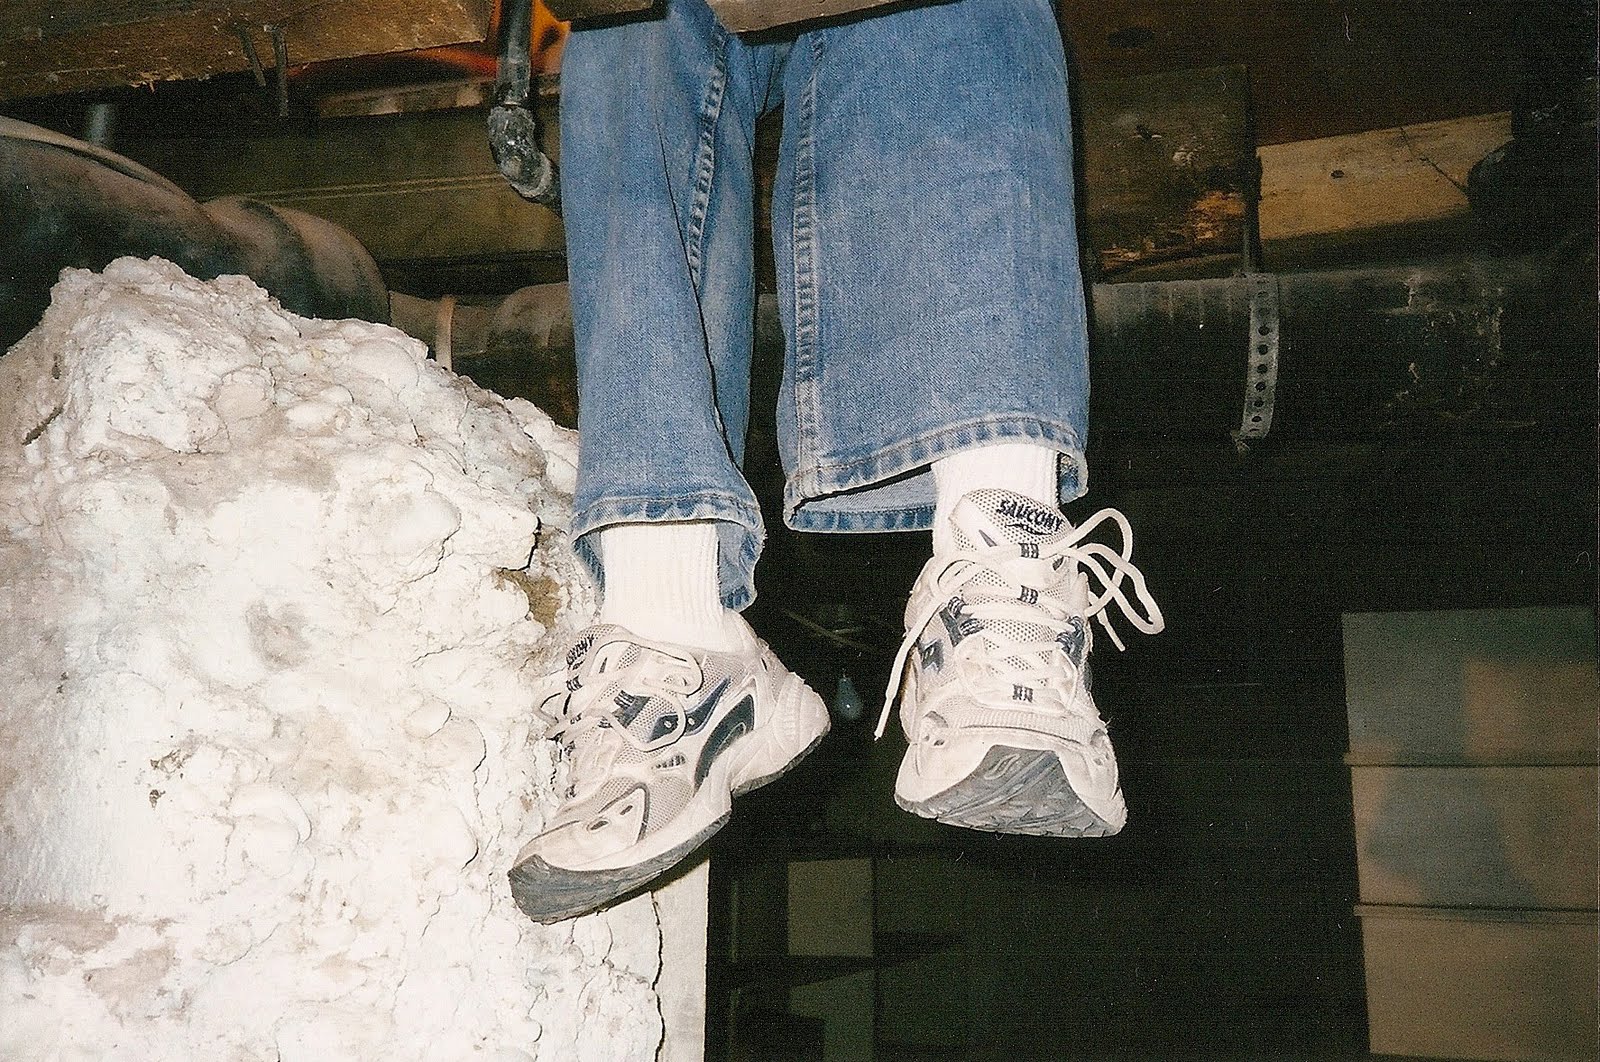
I had to throw that last picture in of my feet hanging through the floor because, it became a classic picture that we imitated ourselves doing over and over through the remodel.
Next step, after the pipe was in the wall, was shoring up the floor which was a little tricky. We had to get sort of creative because the pipes and heating vents were in the way (which we think is the reason they cut the floor in the first place!) Also we had to find full boards to support the floor with. Then we replaced the floor with thick plywood, trying to reach the same thickness as the flooring under the tub, which was in good condition so we left it in place.
While the toilet was out I took the opportunity to get all the pink paint off, and Kitty helped. What a mess!
Once the floor was all in place and actually doing it’s job, safely, we built in the wall behind the toilet. This required us to replace the studs that had been cut. It also had oddly sized studs, due to the age of the house, so Justin had to shim them to get an even wall.
Lets give Justin a big round of applause by the way, cause he did ALL the hard stuff!
The picture below shows all the weird framing. The new 2 x 4’s are what we put in, the white is strips of panelling used to fir out the existing studs wall, the rest is a hodgepodge of wood that they used to frame it all in the first place. SCARY!
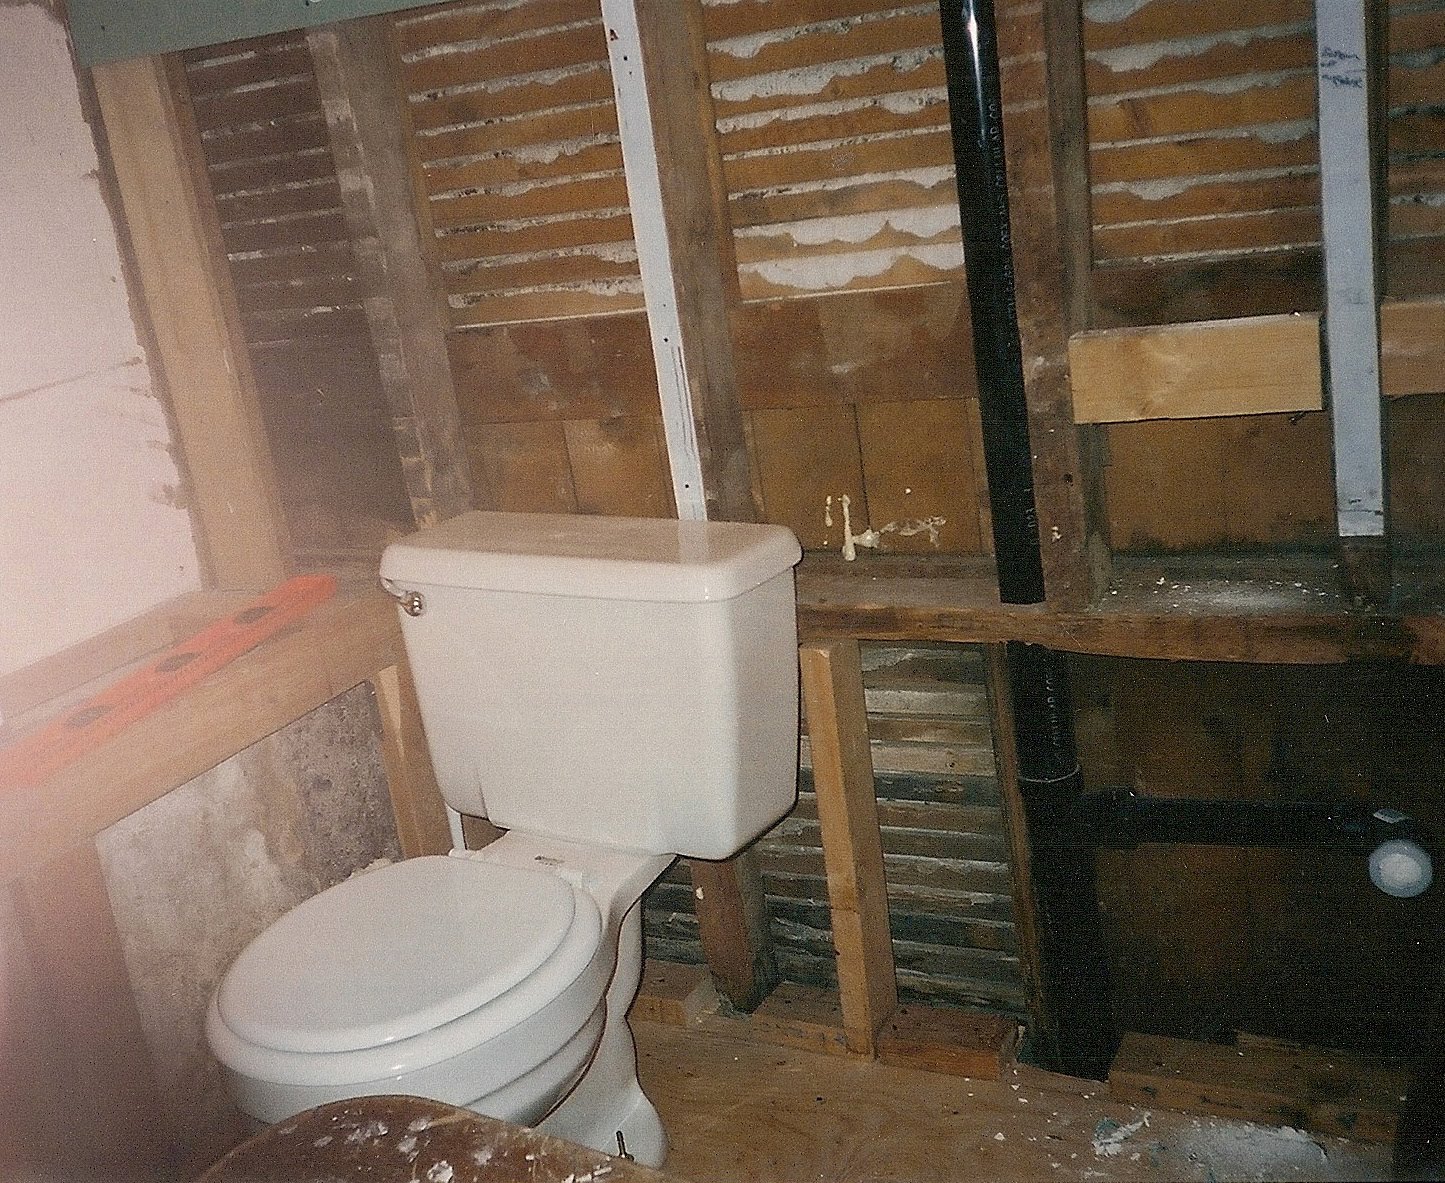
We also framed in the foundation. ** Notice the new plumbing air pipe in the wall!! I think we were excited about that for about 3 weeks. It is funny what you get excited about when doing a major remodel.
Justin took the chance to add some more lights and an actual plug in the wall! Welcome, Mr. bathroom, to the real world! Then we started installing drywall.
We decided to add a bead board wainscoting. Since the house already had bead board we thought it would compliment the rest of the house as well as the age.
Did you notice our awesome window treatment (stacked toilet paper rolls? huh? pretty good!) You can see our hand soap and towel on the tub were we had to wash our hands because we had no sink. I think it is pretty funny!
**Something I learned from this project is that it is much nicer to paint the walls before you put in your moldings. (which we didn’t do, but I did later because of how annoying it was to paint and get clean lines after the fact) If I did this project over, I would have painted the drywall it’s final color at this point, before putting up the top to the wainscoting and the crown. It is much easier to spot paint if necessary, than doing it after the fact. ** I also learned to paint the moldings themselves before putting them up, and spot patch and paint them, it is SO MUCH EASIER!
Here is the cap for the wainscoting. We wanted those little corbel looking supports even though they weren’t necessary. We found that we couldn’t nail them, cause they would split, instead we had to glue each one in place!
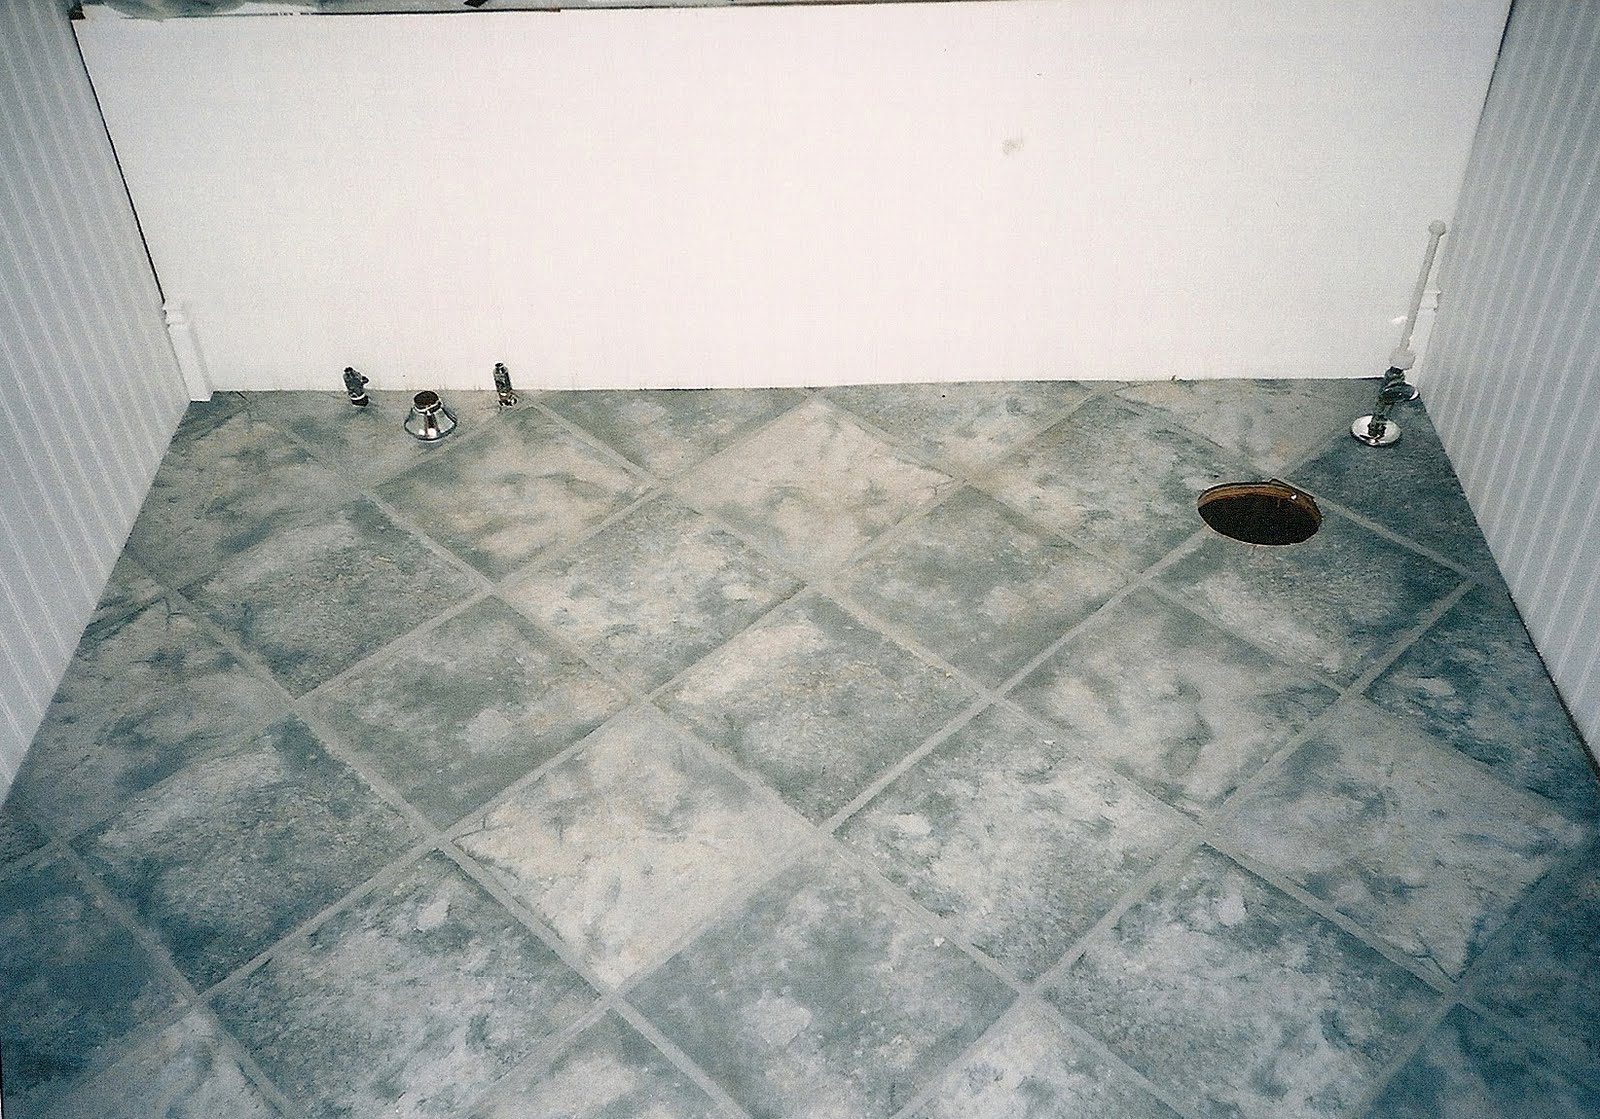
Next we installed the floor. There was a bit of a problem. The existing floor under the tub was a strange thickness (back before lumber sizes were standardized) We patched part of it with some vinyl flooring, then covered it all with new wood. (We figured the ghetto layers would just match the rest of the house, a little project for the next remodelers to find!)
We wanted to do tile, but since the floor joists system was so weird we were afraid it would move to much for tile and cause cracking. Instead, we did peel and stick vinyl tiles. Looking back, we probably should have done real tile, but the floor looked good, so oh well. (We used the commercial grade peel and stick tiles, so it would last longer at least)
Oh, and doing the floor meant moving that huge tub! We took the opportunity to switch the front feet with the back feet. As you can see, the back had never been painted. I took them and spray painted them silver, it looked pretty cool.
We finished the walls, by installing all the base and corner moldings then painting. Then reinstalled the tub and toilet, it only took us one day. And really, since we only had one bathroom, that is all the time we could spare.
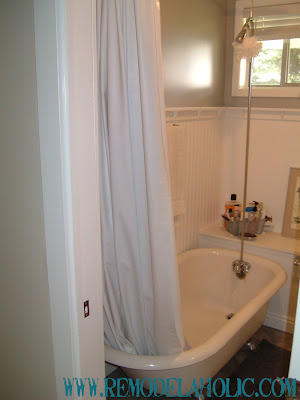
We also put our shower back in FINALLY. We special ordered a new bar system for the shower. And forget to get a picture of it. We hung it really high so that is didn’t take up visual space in our tiny bath!
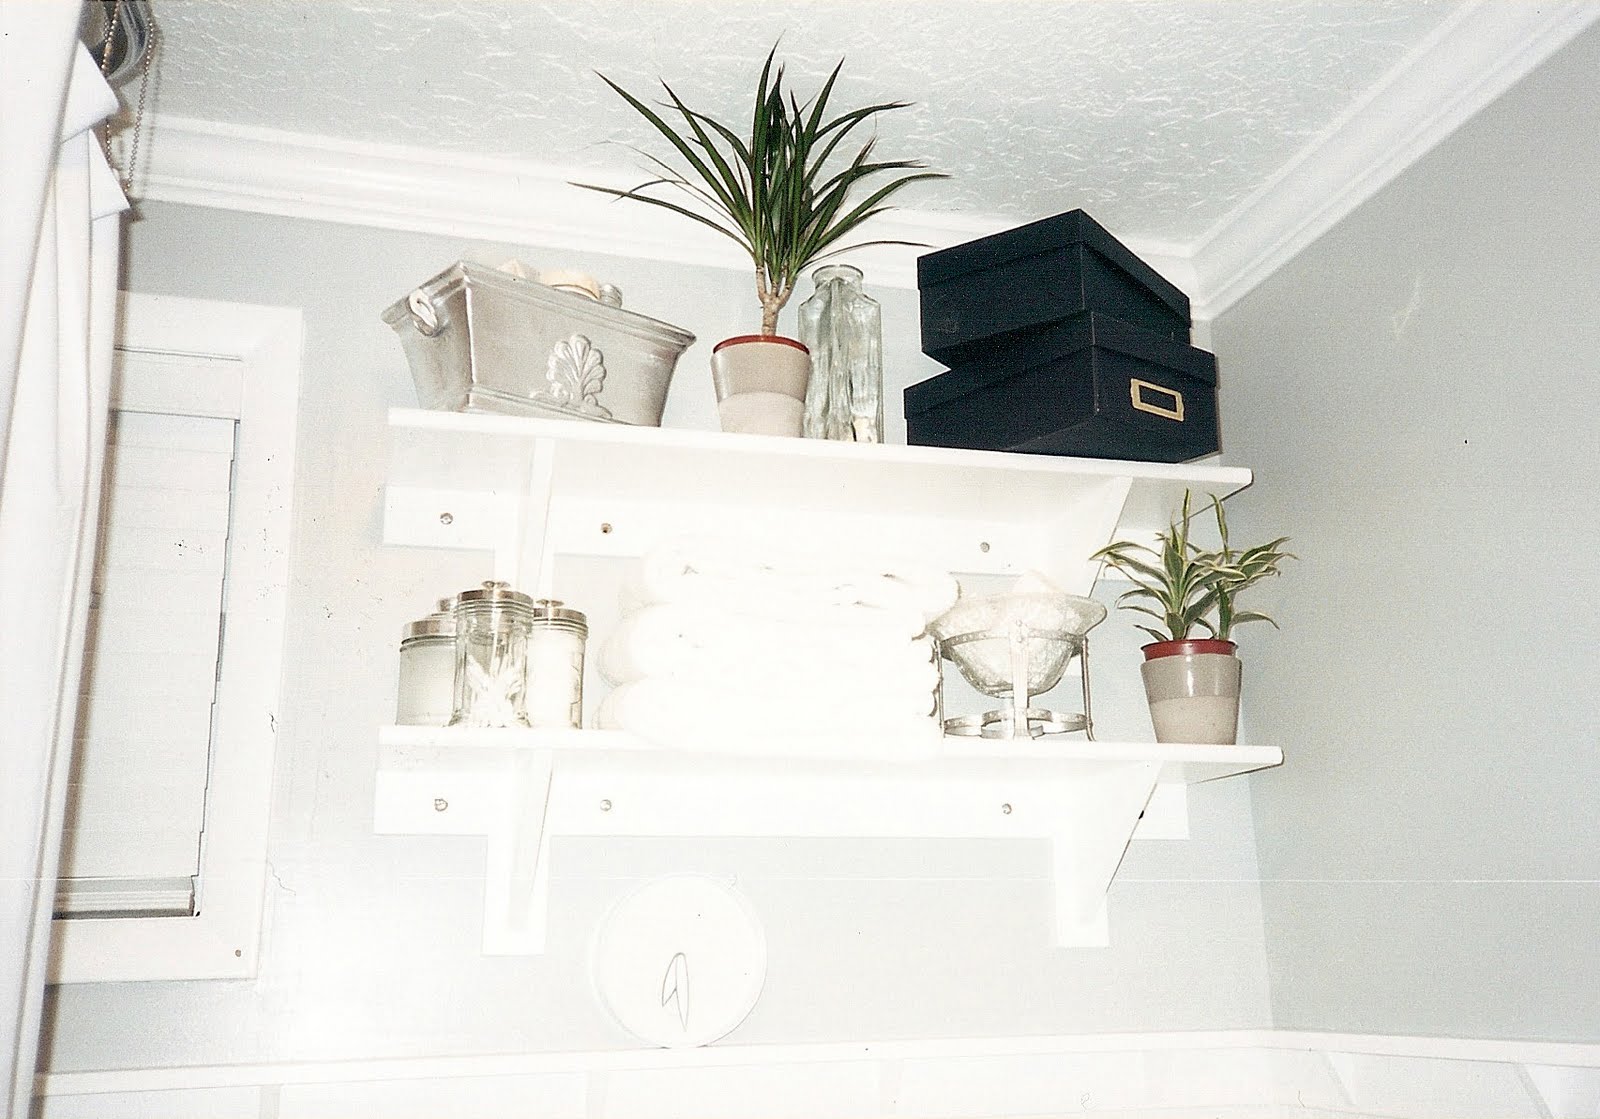
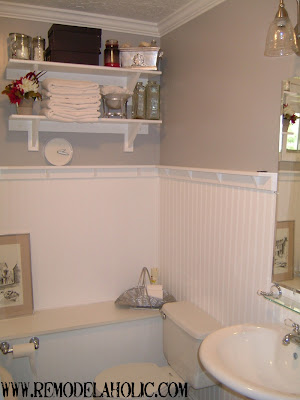
Last we put in a very small pedestal sink, the mirror, lights and some storage shelves. Presto whammo! After about 9 months…. we finally finished! (the reason we did a small pedestal was the small size of the room only 6′ x 5′ tiny, especially with the huge -but awesome- claw foot tub!)
**in that mirror picture you can kinda see the shower bar! I just noticed that! Here are the shelves we built, mostly out of scraps.
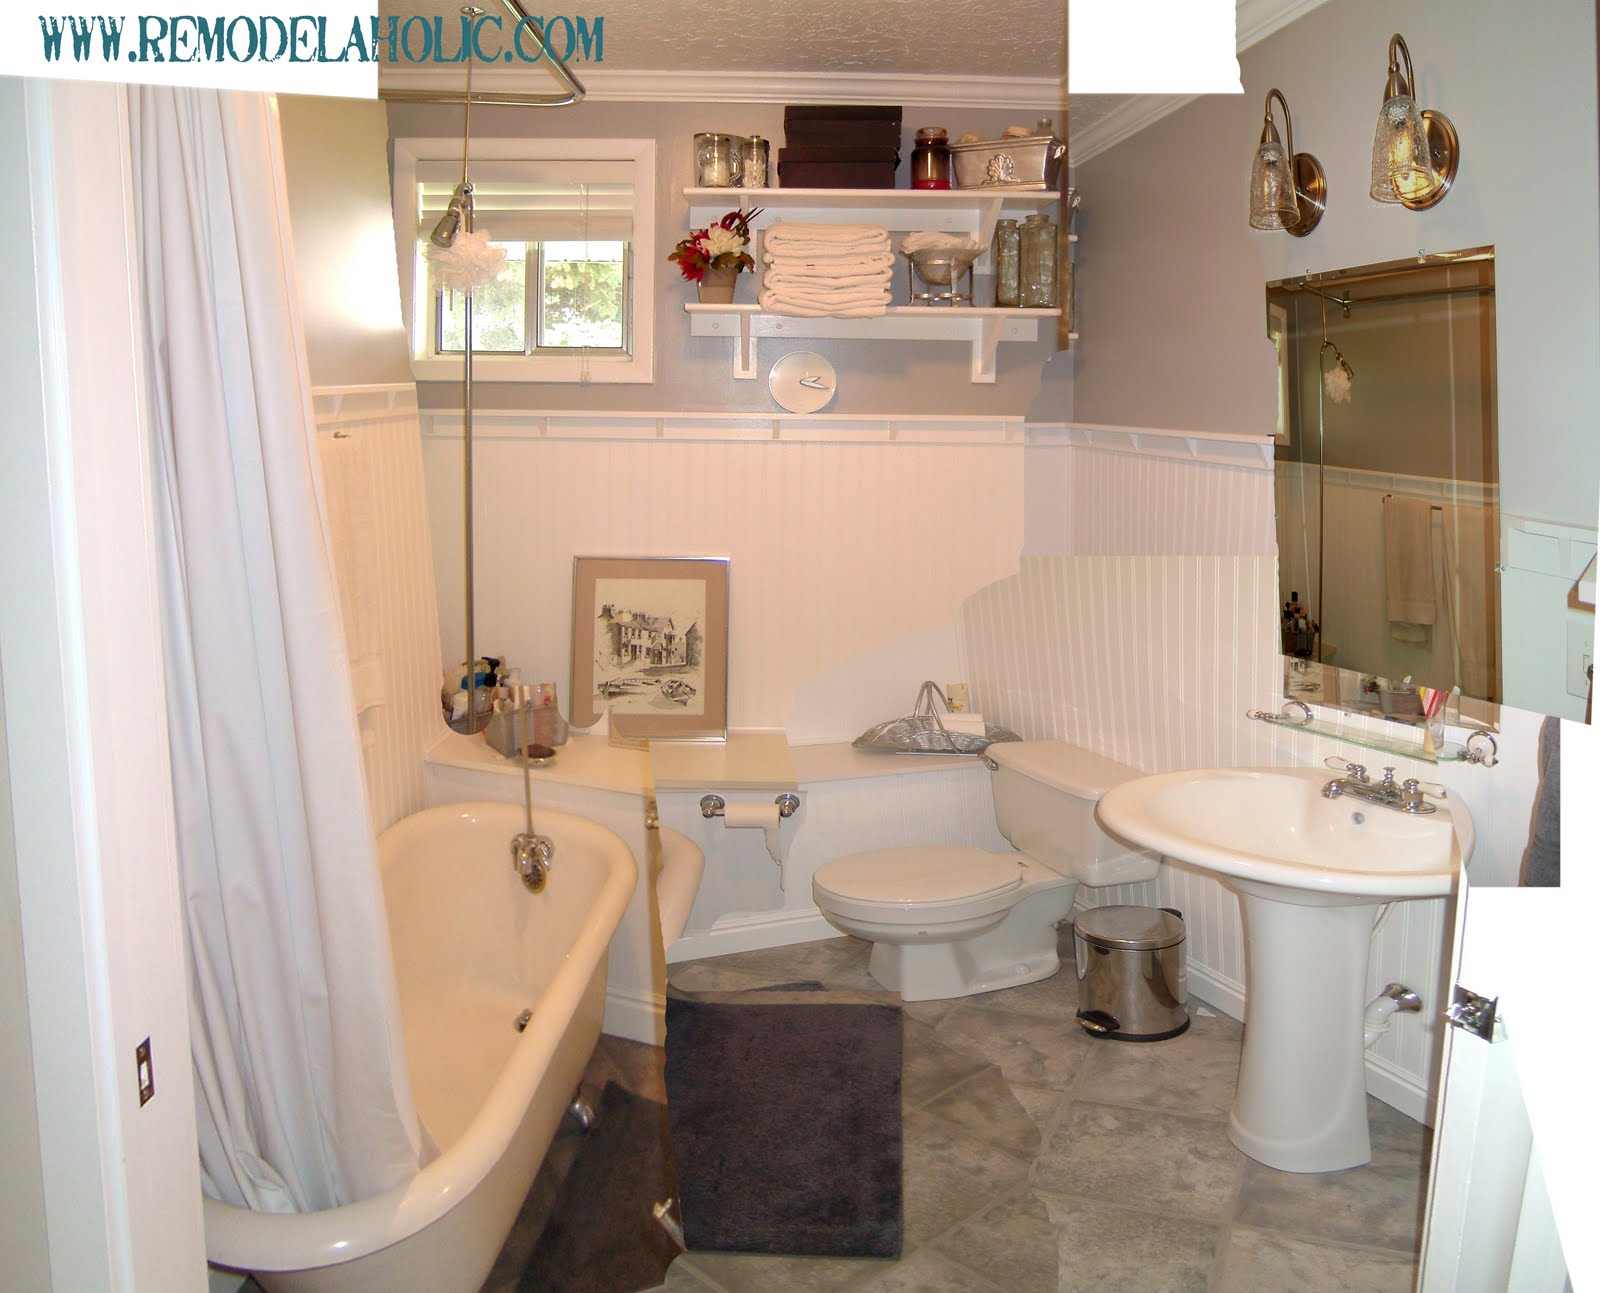
And the final images:
I tried adding them all together so you can get an idea of how the whole room worked!

Stay tuned til next Friday’s Retro Remodel, what we called the “
Yellow Room“.
Related


>wow that is fabulous!
>I'm so impressed, you guys do fabulous work!
>That looked like a lot of work…and you were still in school! I'm impressed.
Looks awesome.
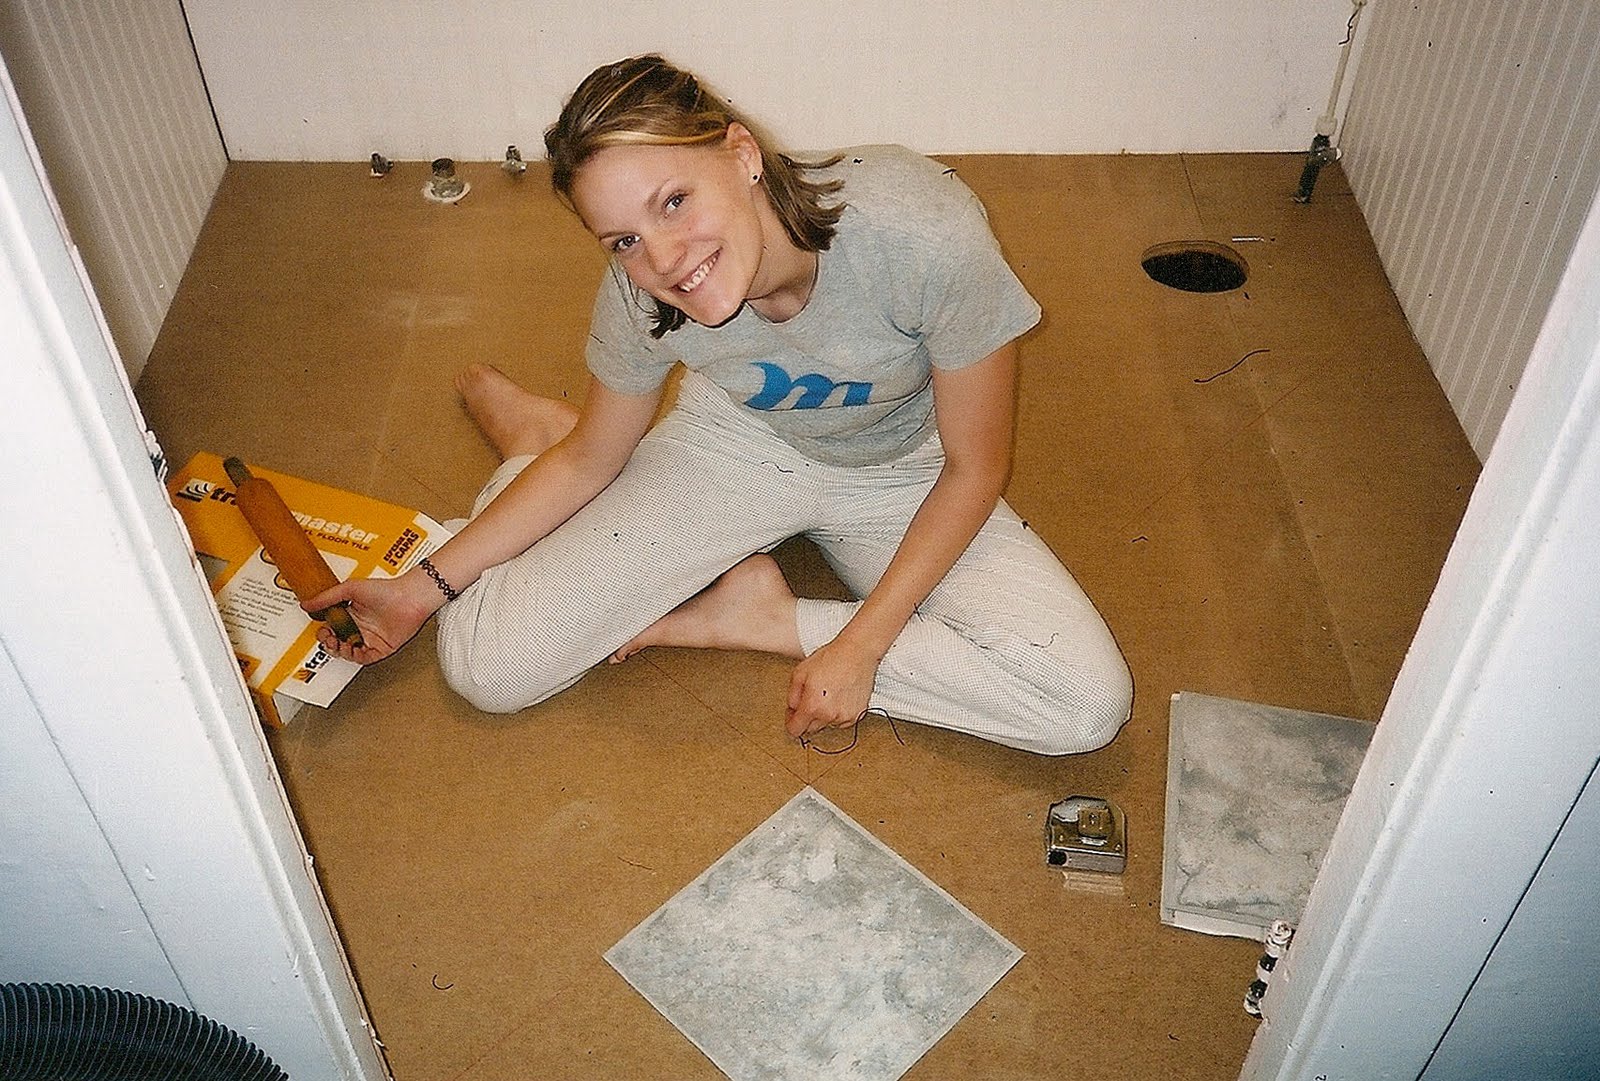
>haha awesome!!! looks like fun! i love that one of you sitting on the floor. cuute.
i love you aunt cassity. besos!
liza
>beautiful remodel! i love how you pieced together the photos at the end. great tip about painting the walls. i love that about the great world of blogging… learning from other people's experiences. thanks for sharing all of the details and pictures! :o)
blessings,
nori
>Obviously, you're your father's daughter. Great job. Dad
>We found that painting before installing molding was MUCH easier as well. I think I remember washing my hands in your tub so we must have been around during that 9 month span. 🙂
>holy cow, what a huge undertaking, but wow, the finished project is wonderful!