Chevron Painted Dresser Makeover
Submitted By: Michaela Noelle Designs
Hi loves! I’m finally sharing one of the major projects I’ve recently completed for my new room! It took me a week, but I did find a dresser! A little antique white dresser was calling my name at the local consignment shop. When I bought it, it looked like this:
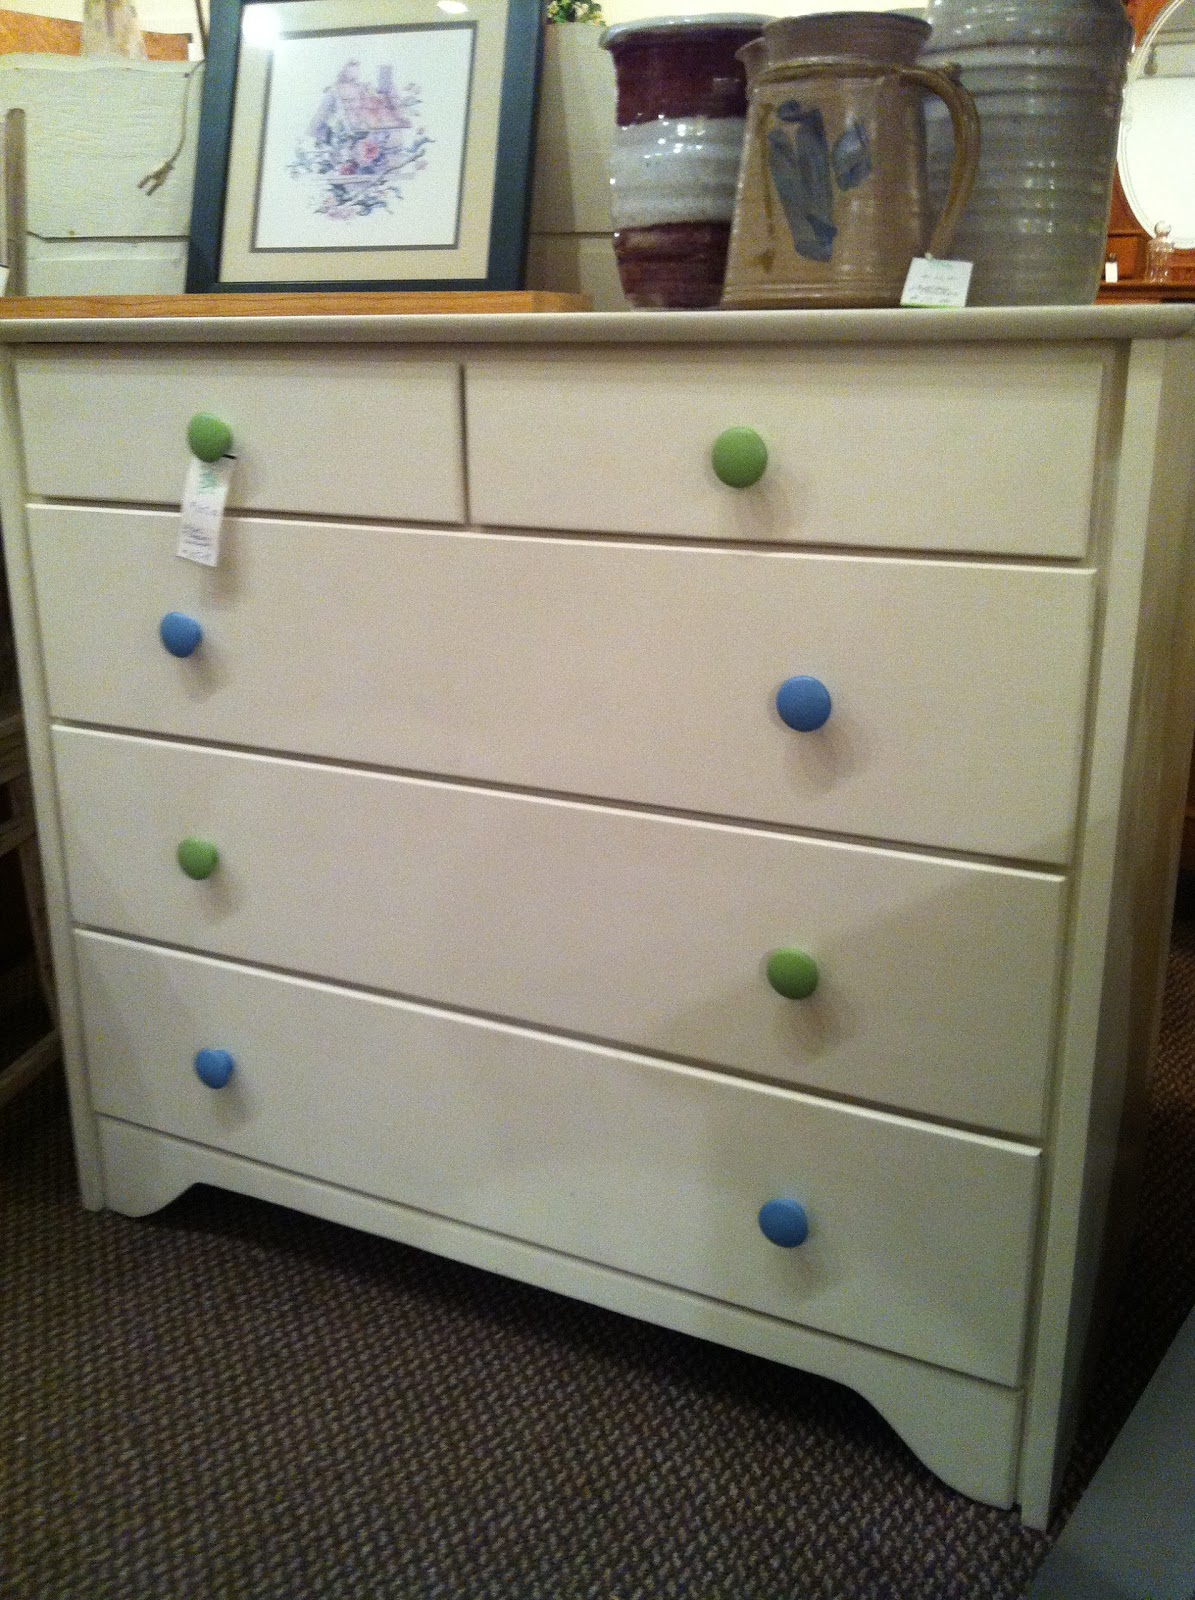
Straight out of a little kid’s bedroom, I’m sure. I consulted my girl Michelle {Ten June} about what to do with the plain white dresser, and at first I was just going to get some new knobs and call it a day, BUT Michelle is a genius! She suggested I paint a chevron pattern on my dresser like the one she showed me from Pinterest, so I took the challenge. I didn’t know how it would turn out, considering measuring and taking my time were all ingredients to this recipe coming out to perfection {I’m not really good at either sometimes!}
Guess what?! It came out well. I am still in shock the measurements worked out! I have to say, 2 hours of measuring, taping and carefully painting that little thing was so worth it.
Here’s how I did it:
1. Taped off the pattern.
I started by measuring the dresser drawers and dividing the length of the drawer into 3 {allowing for 3 tips of the chevron per drawer}.
2. Next I measured the height of each separate drawer and divided that into 2, so I would have a starting point for my first diagonal line. Each diagonal tape when from the drawer mid-point to the top, then back down to the mid-point, then back up…creating the even zigzag pattern.
3. Then after taping the whole top row of zigzags, I measured down 3.5 inches from the tip of the chevron. 3.5 inches directly underneath would be where the next row of chevrons would meet.
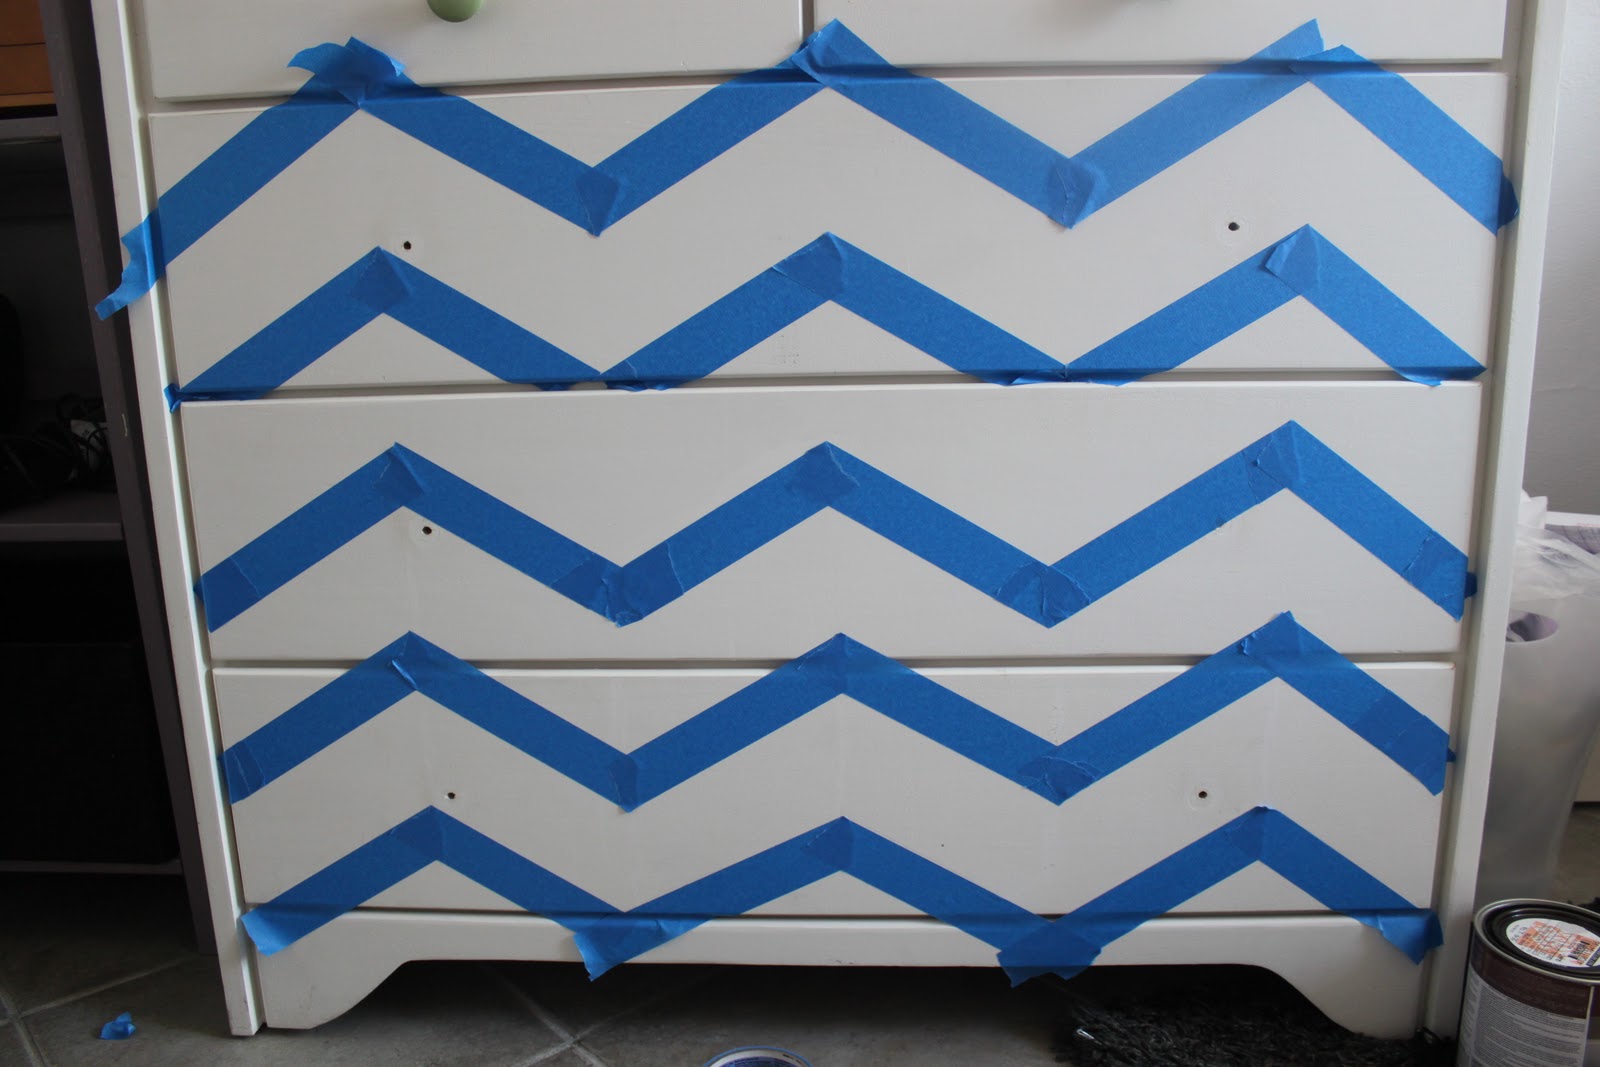
After repeating this same formula all the way down the dresser, I realized a miracle had occurred and the chevron pattern had perfectly fit on all 3 drawers. Praise the Lord!
4. Make sure your tape has nice and clean lines and edges.
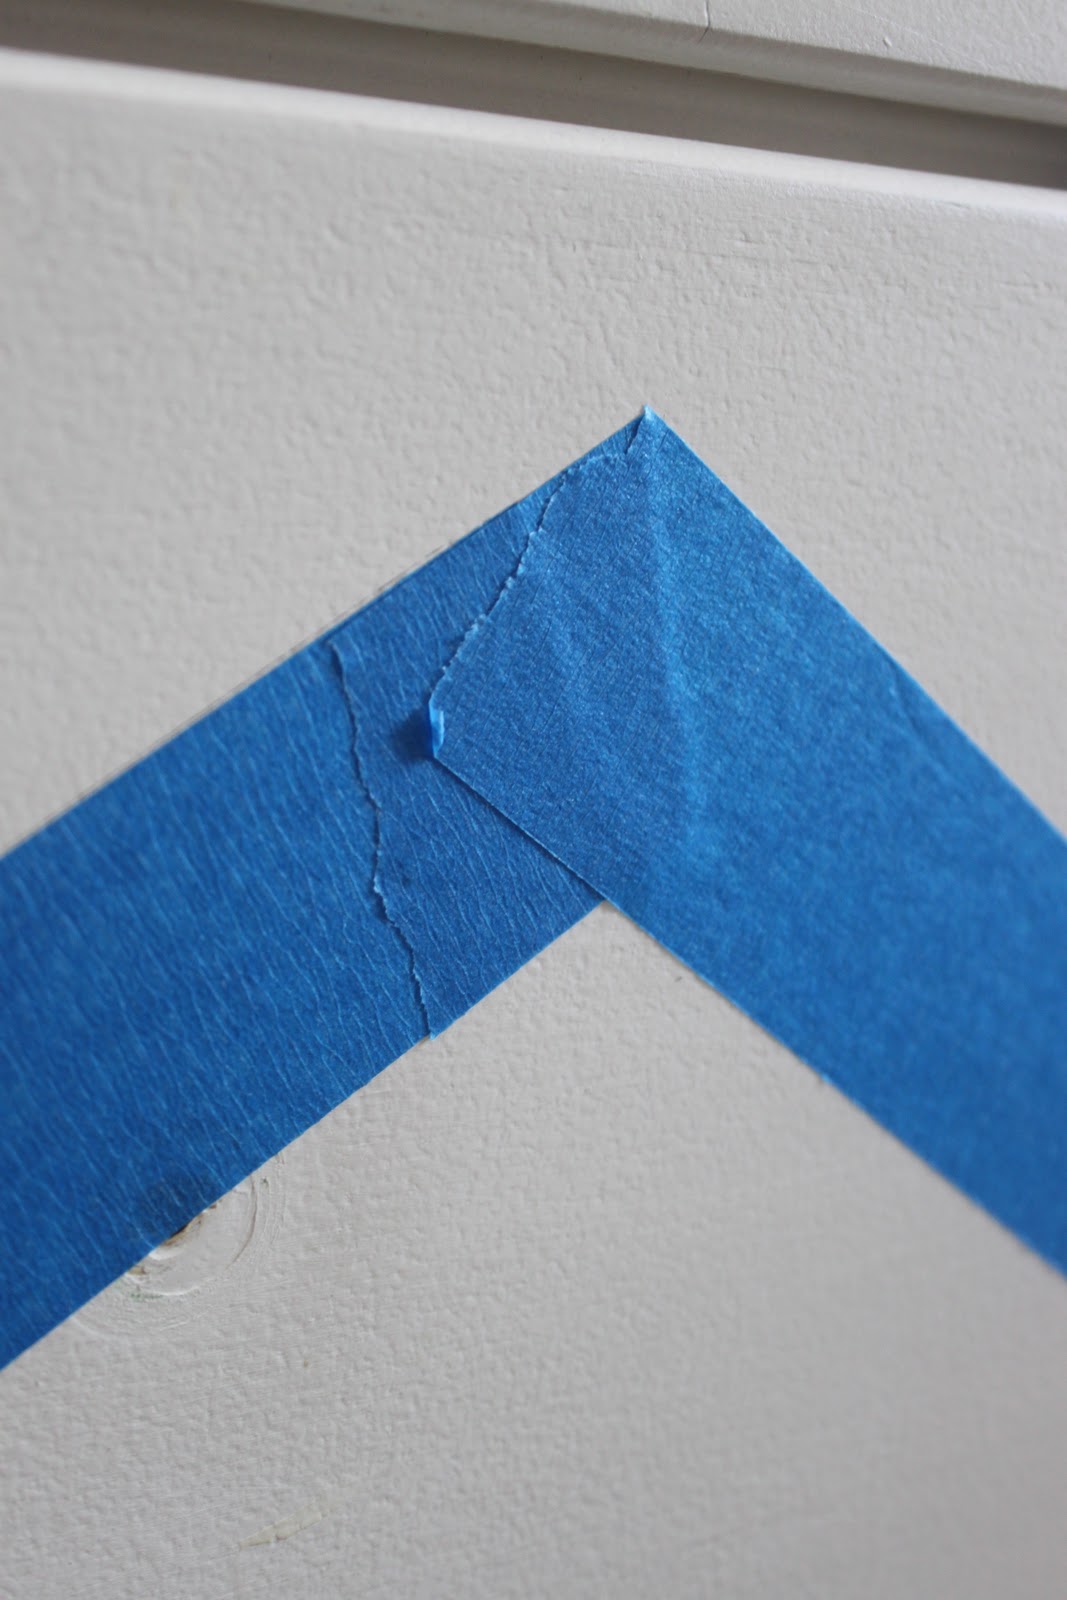
5. Using an artists brush, I painted the edges closest to the tape first, ensuring I was careful in not getting any paint up under the tape. {I had no white paint to fix mistakes so this was important!}

6. Paint two coats of the chevron pattern color {I choose gray to go with my walls}. Immediately remove the tape after the second coat. This helps get a clean tape line, and if there are mistakes, a small damp paint brush will clean it right up.
7. Add new fun knobs! The top two are from Anthropologie and the bottom 6 are from Meadow Boutique.
I’m really happy with the end result. Just shows that a fun pattern, little bit of paint and a whole afternoon of tedious measuring can totally change the look of a plain white dresser!
Here she is:

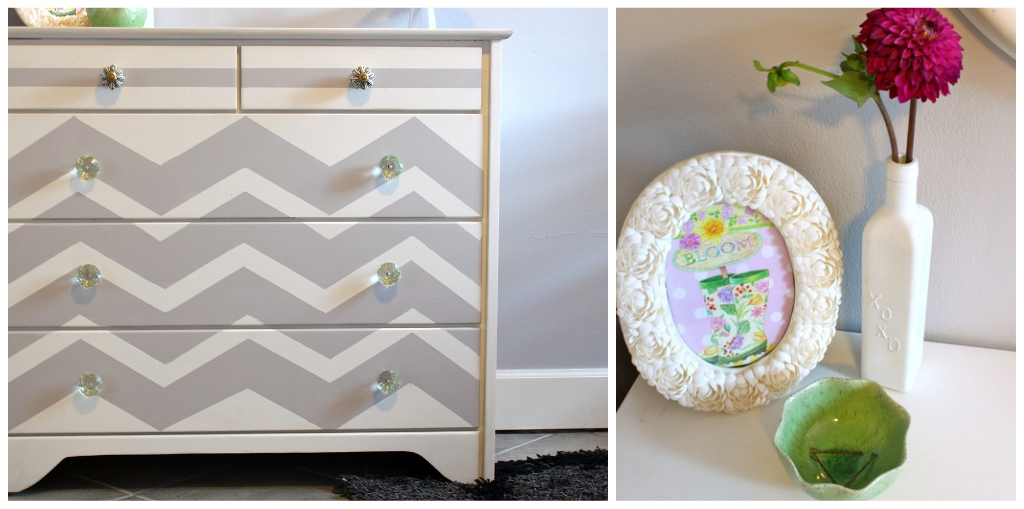


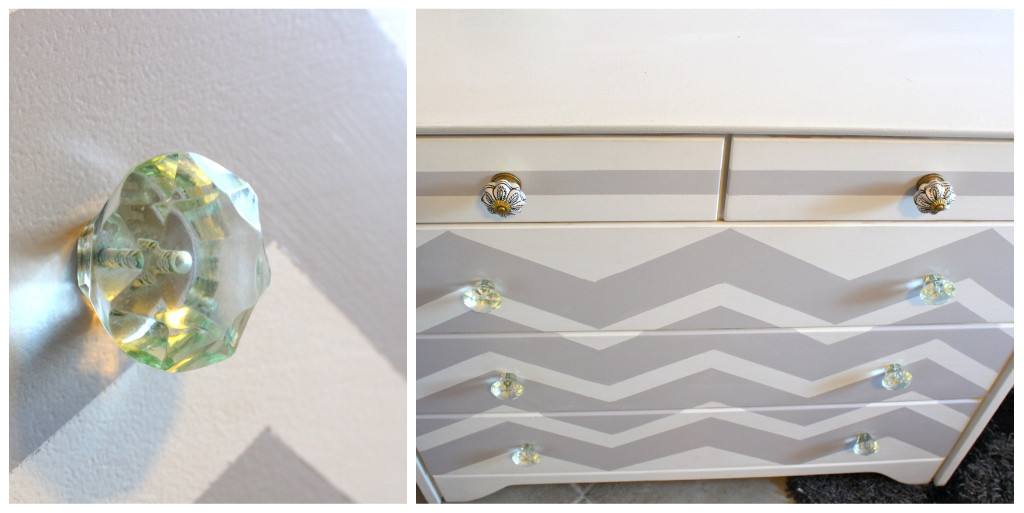
The best part? If I ever forget what my blog looks like, I just look at my dresser. They’re twins! Guess you could say I love me some chevron (:


Thank you for featuring the dresser, Cassity! So fun to see it up here 🙂
Beautiful! What a difference some clever painting makes.
Great idea – the result looks fantastic!
can you tell the name of the gray paint?? looks fantastic!!!