Creating an Open Kitchen and a Winner
Project Submitted by That’s My Letter
Kitchen renovation complete
The kitchen renovation finished over 16 months ago, it was the reason I started this blog in the first place.

And since then things have snowballed into all the projects you see on the blog today.
I’m sharing the kitchen makeover as it looks today because I get lots of questions about all the details, here’s the full story.
Behind this wall on the right is the old kitchen:

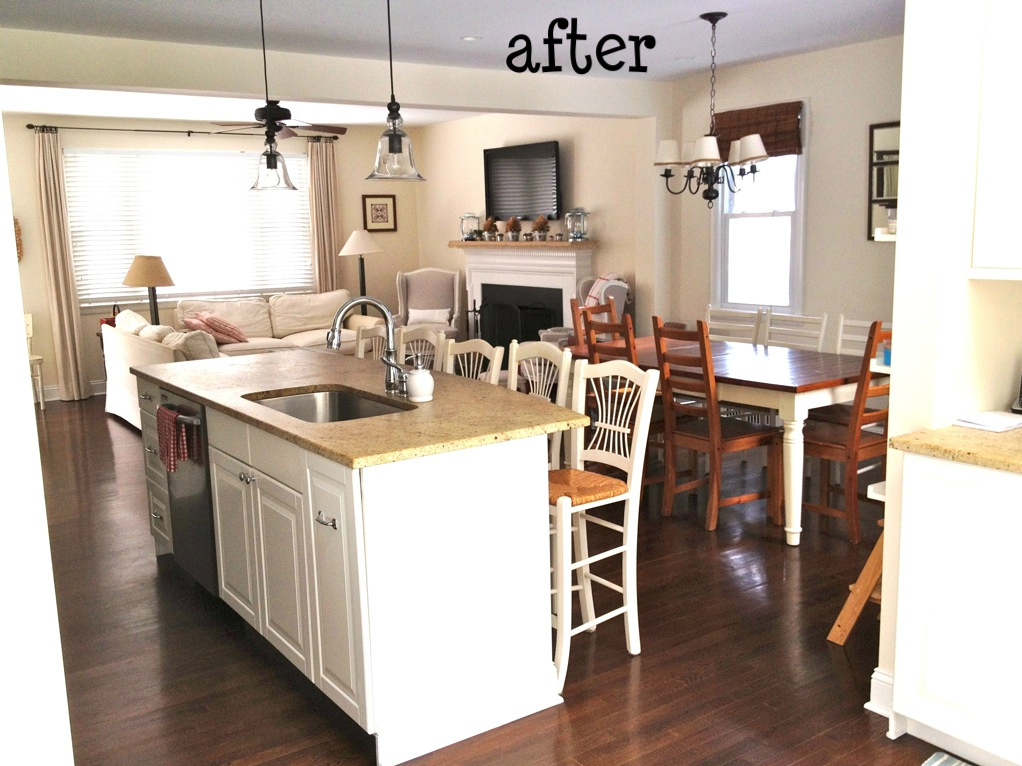
We took down the wall and now:

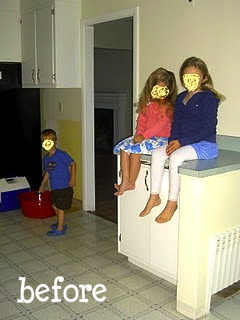
From inside the kitchen before (the girls are standing against the wall that came down):

Bye bye linoleum and bisque appliances:

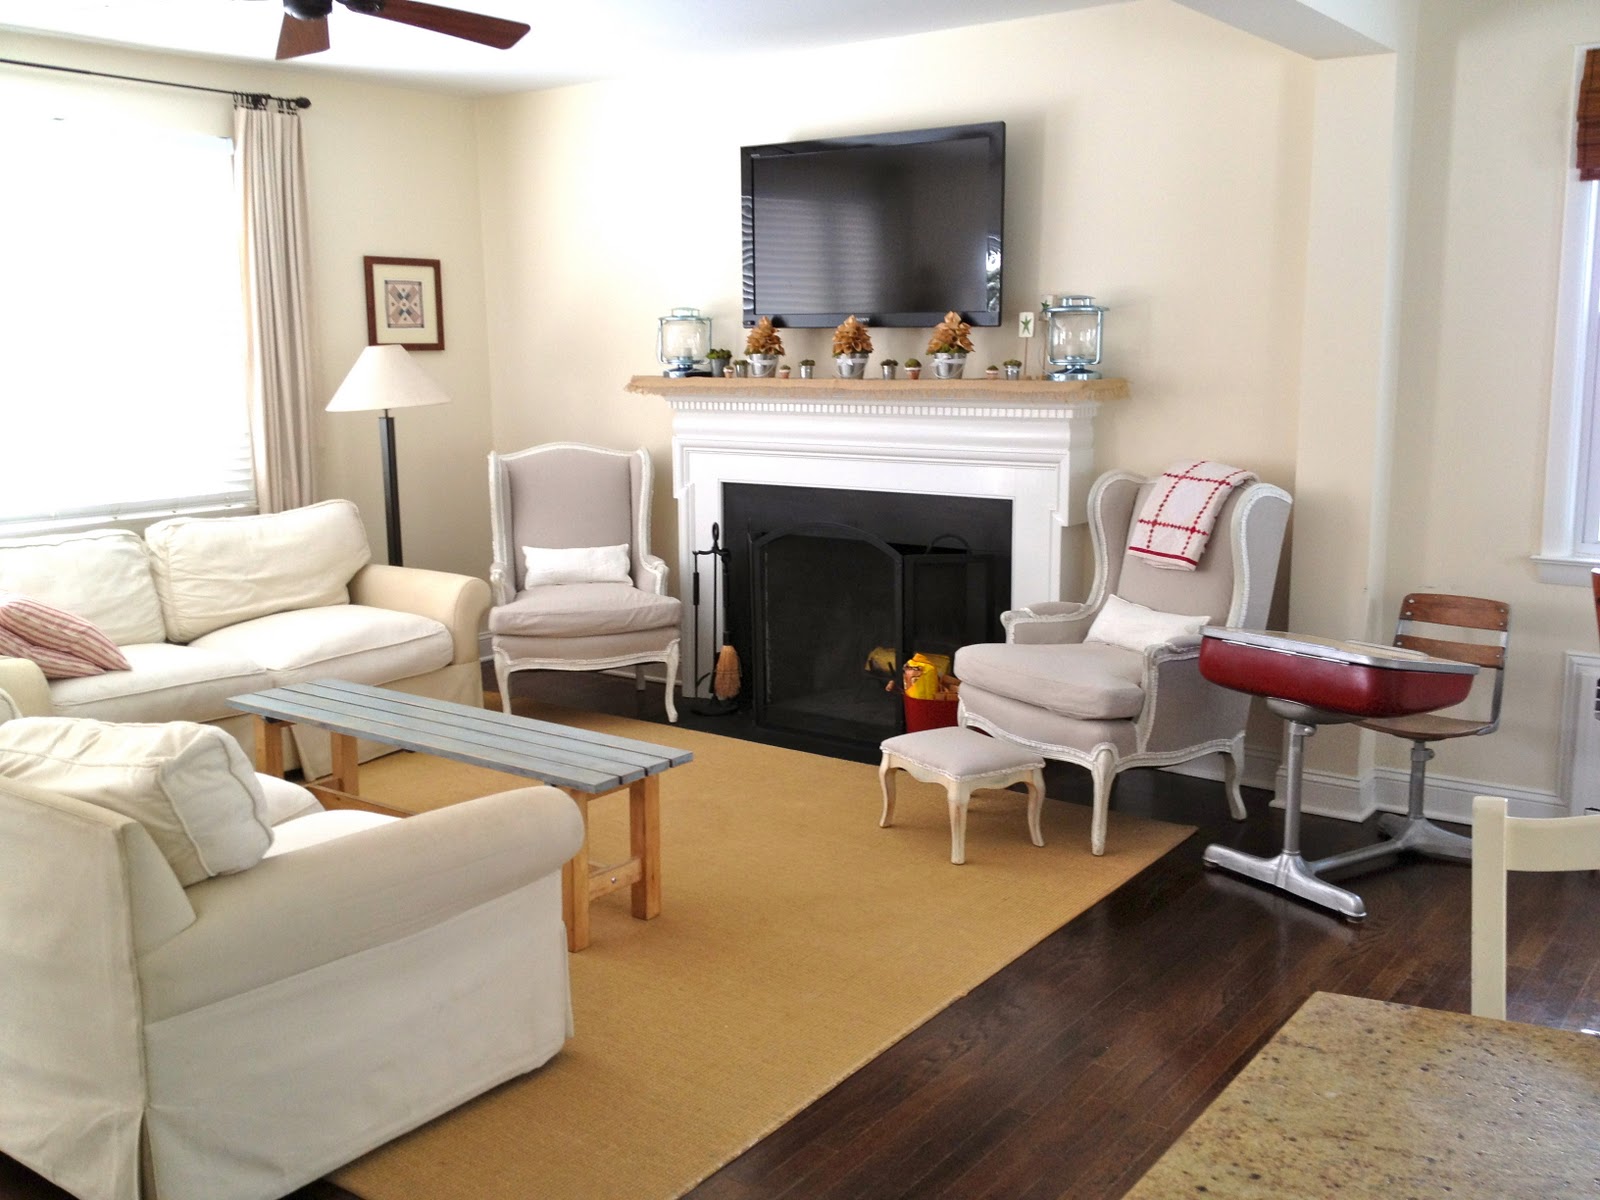
What used to be three rooms – living room, dining room and kitchen is now one great room.
Living room into dining room and island:


To see how I made the knock off mirror click here.

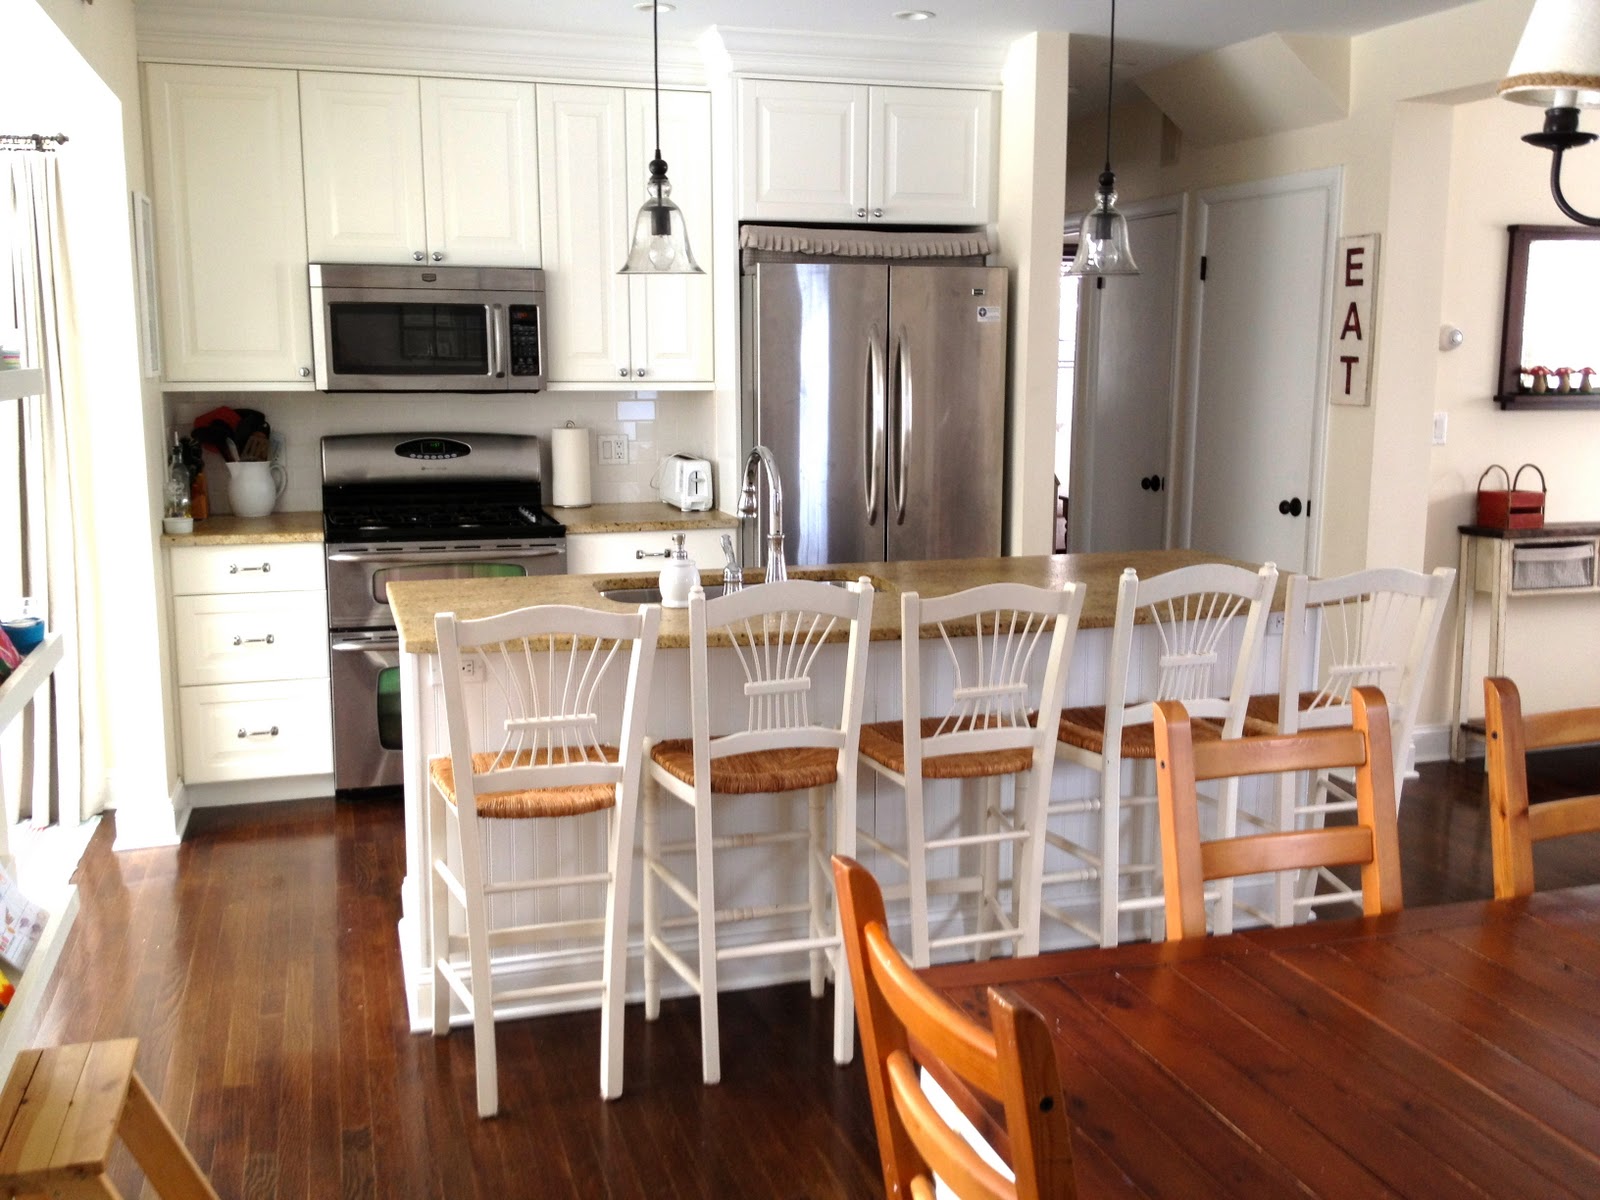
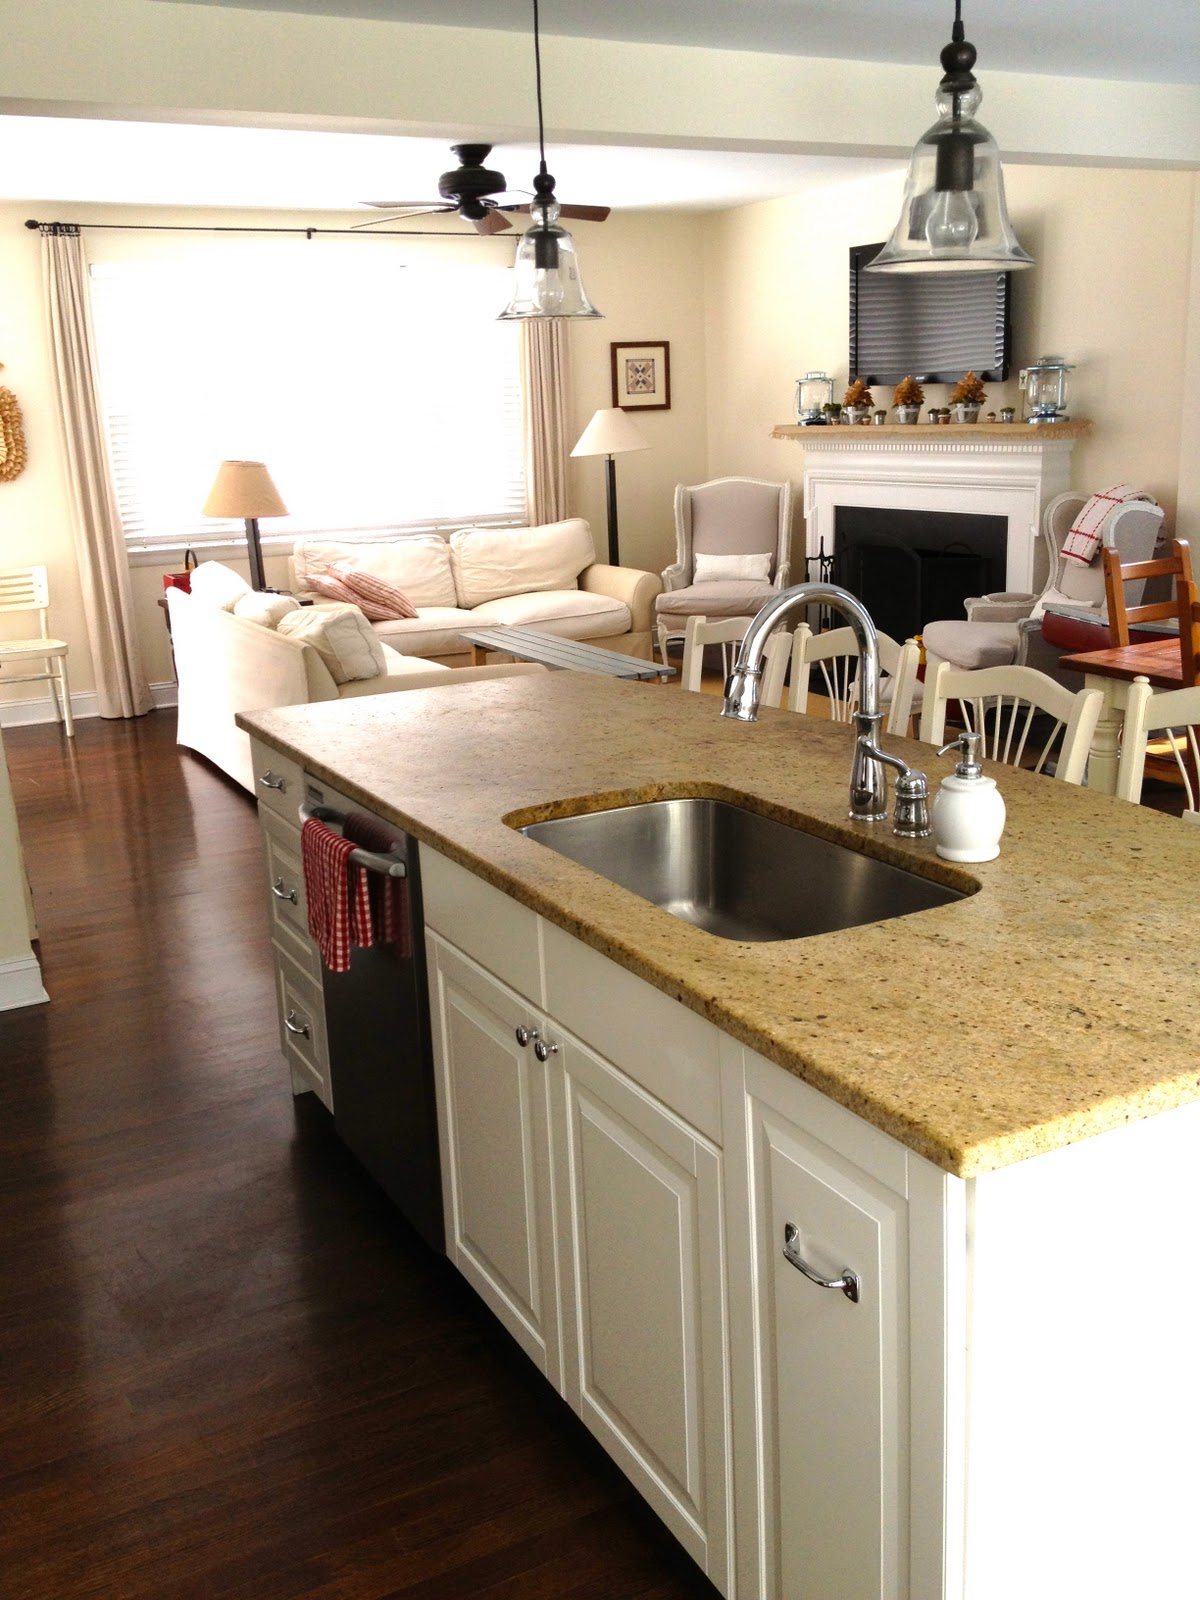
From the island into the kitchen:
(I highly recommend the double oven, I use the small top one all the time – it heats up faster and uses less gas in general.)

The cabinets are Ikea Lidingo.
They did come flat packed and I put them all together in our garage, you can see some pics in a short post here.
The contractor installed the cabinets on 2×4 bases hidden behind this toe kick rather than the plastic feet that come with the bases:
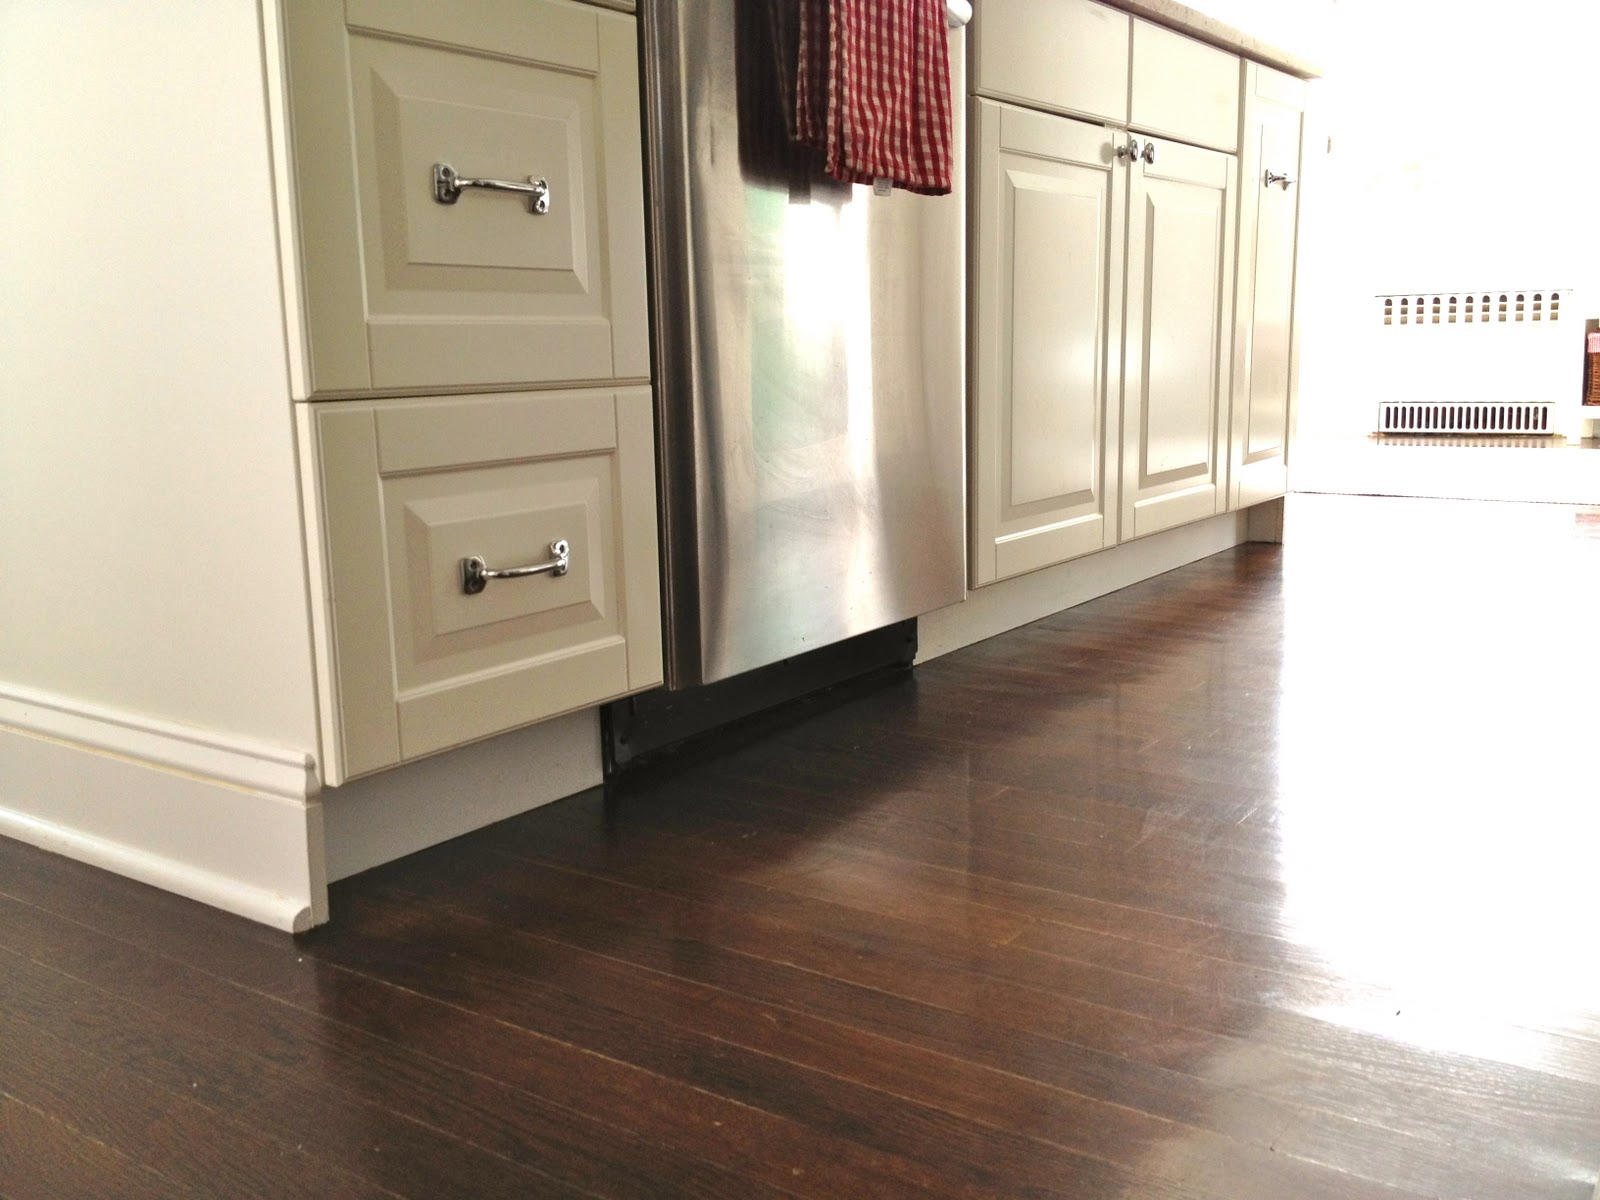
and he added lots of crown molding for a more custom built look:


The hardware is Aubrey from Restoration Hardware.

Back to cabinets for one minute, we don’t have a mudroom space therefore part of the kitchen was designed with three locker style cabinets:
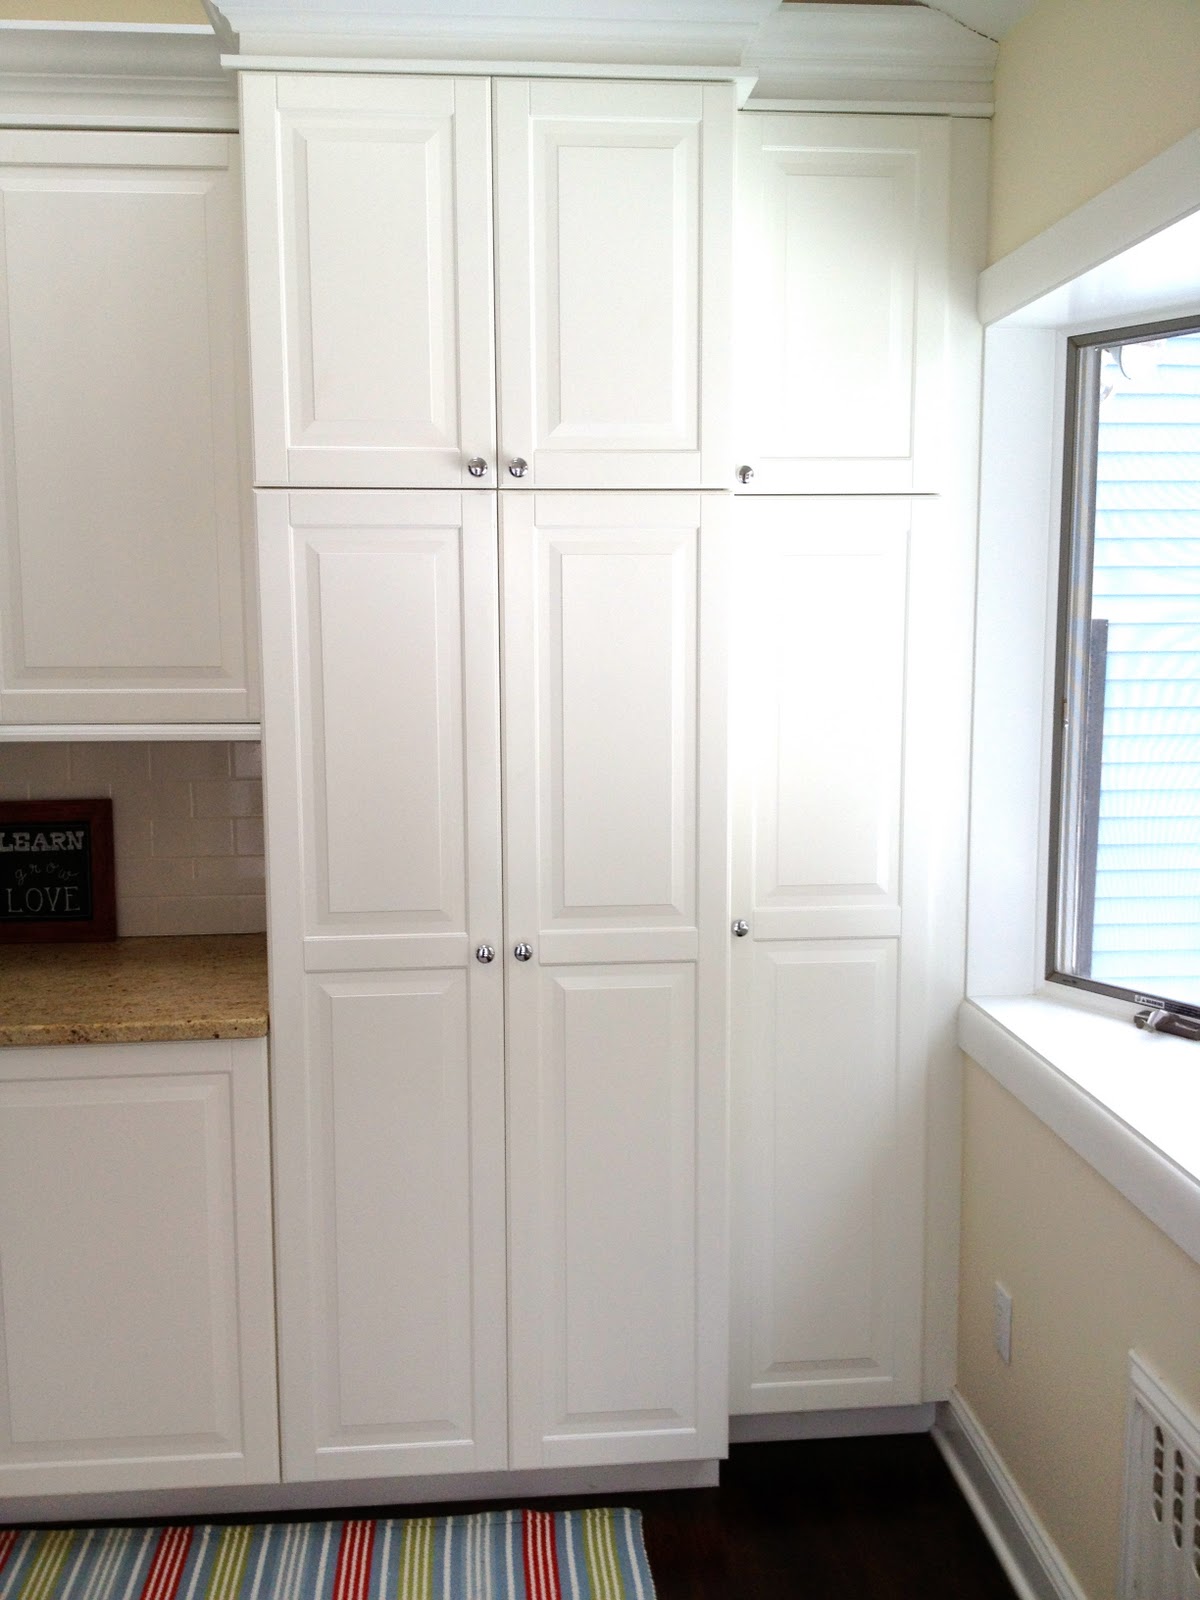
For three kids to each have their own storage:

More details, the sink is double wide and I don’t think I will ever go back to a single:

For more storage I added a sideboard by the dining table with open shelving:

Found in the basement when we moved in, solid but needed some work (see that post here):
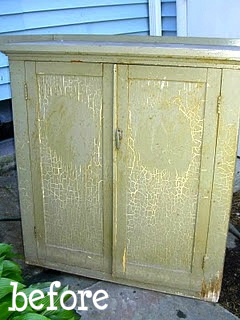
Now more useful here:
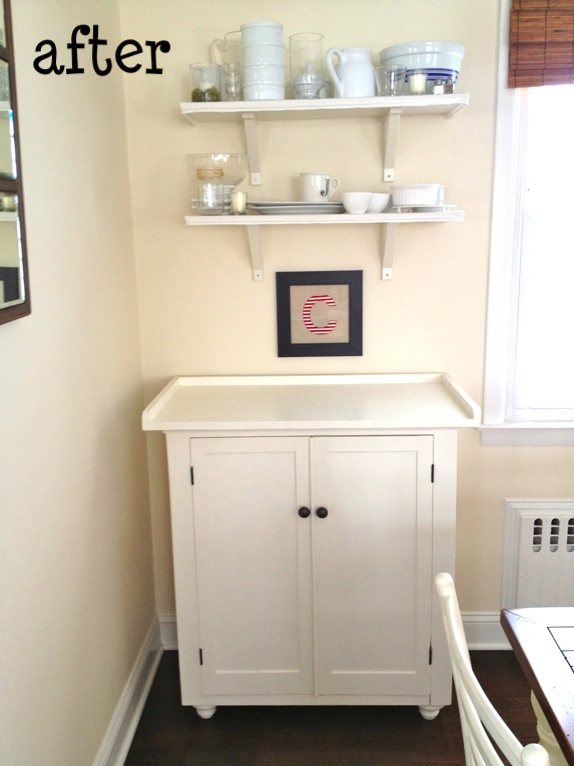
With some simple shelves trimmed with eyelet fabric:

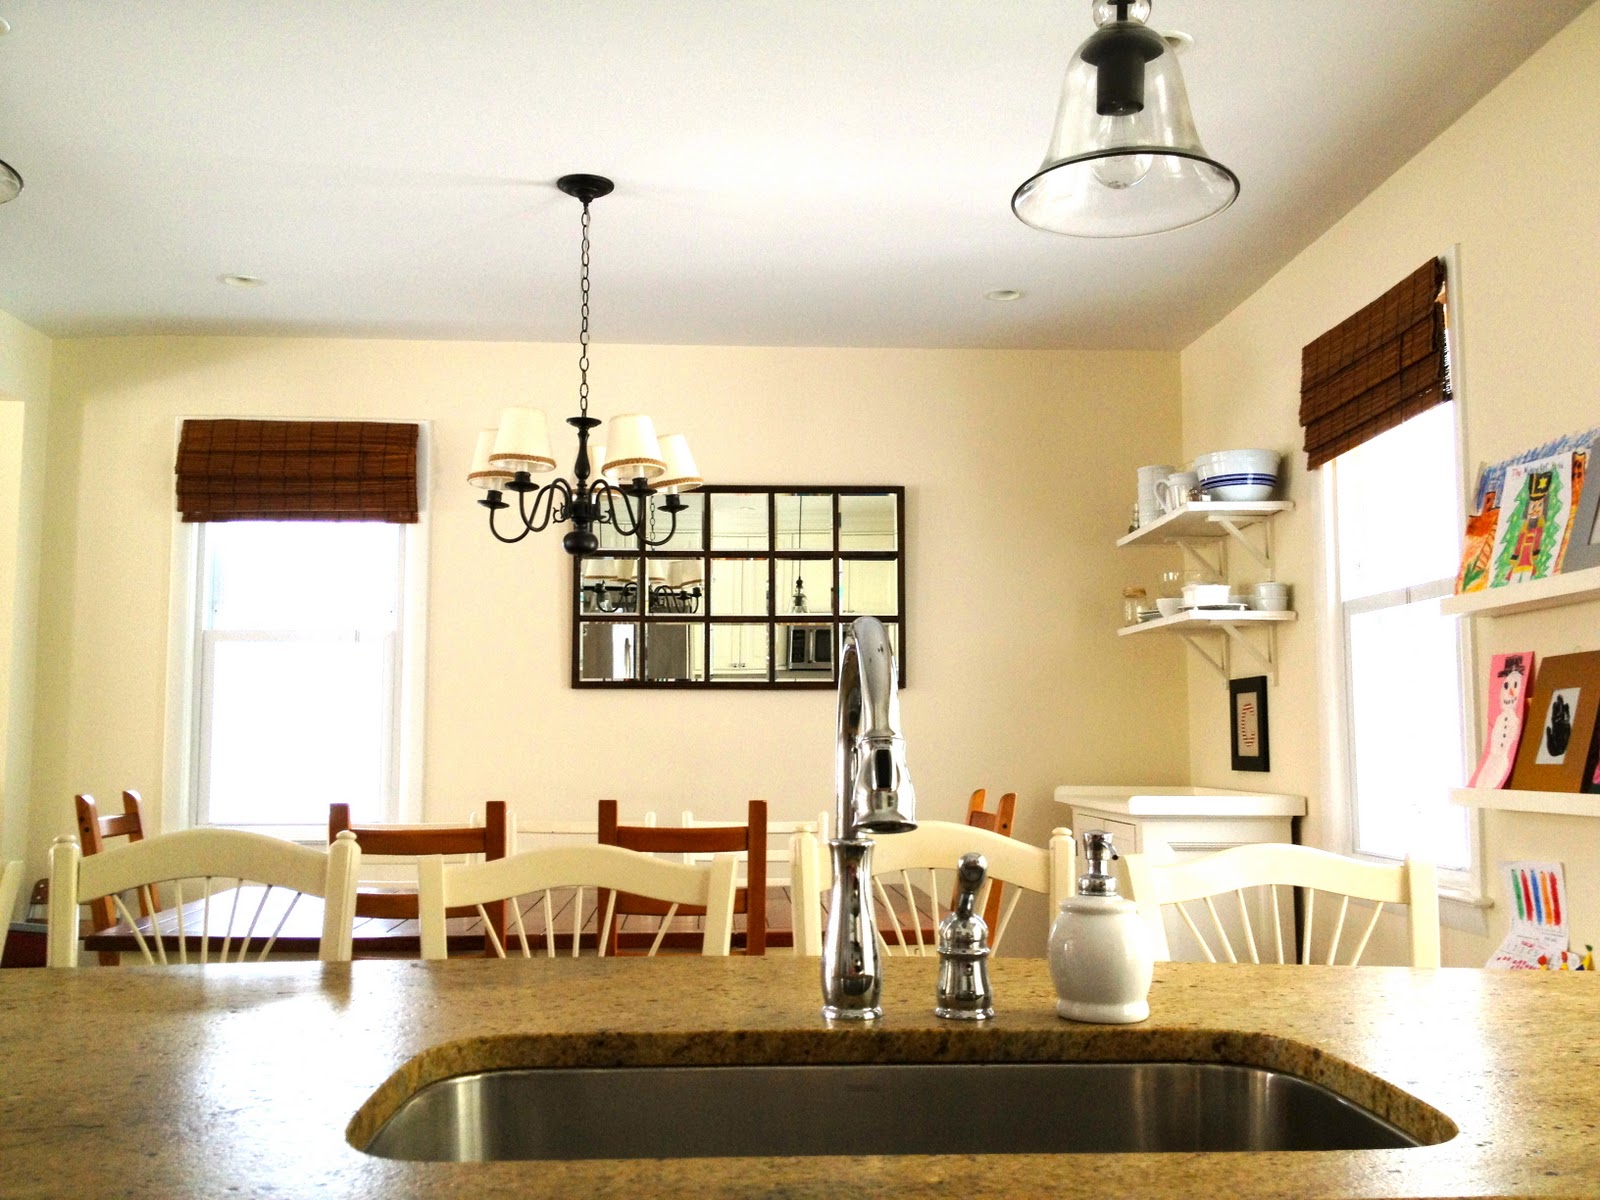
A view from the dining table:
(The hanging pendants are Pottery Barn rustic glass pendants.)

But it wasn’t always so pretty:

After day one of demolition:

And now:

The chandelier came with the house too, mounted above the door practically flush to the ceiling:
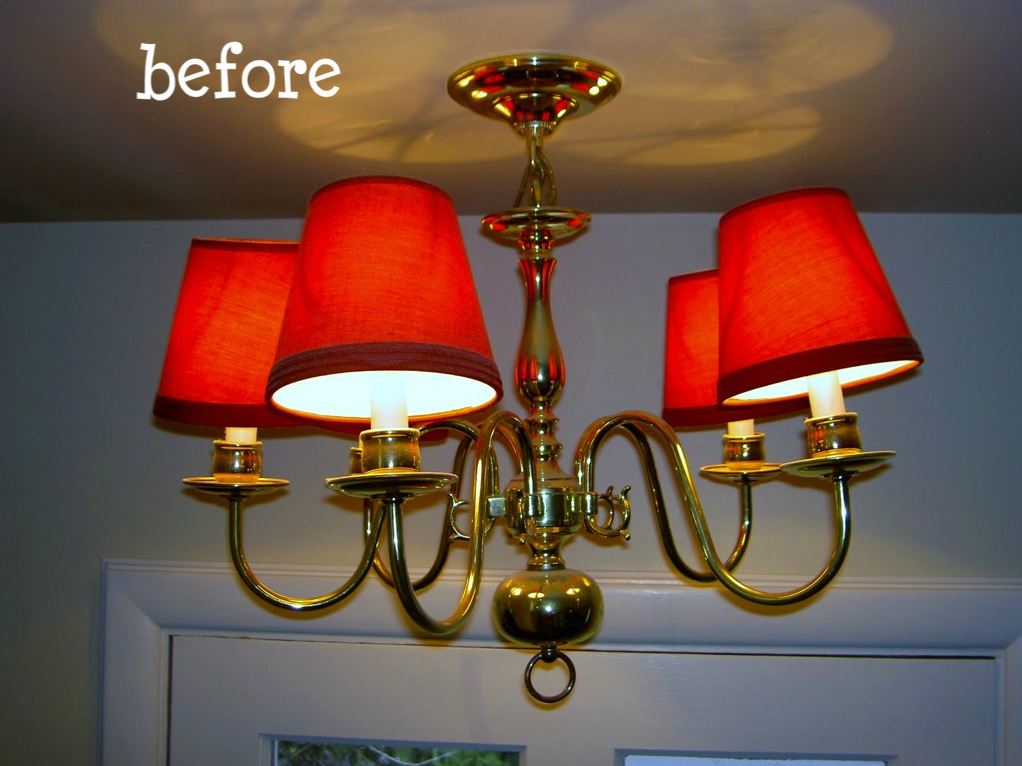
After some ORB spray paint and recovered shades with braided jute trim:


Here you can see the wall dividing the kitchen and dining room before:
That wall came down too, they moved the radiator and added a new support beam:

The wood floor was continued throughout and the entire first floor was sanded and refinished in Antique Brown.
We tried to make the space we have work the best for our family.
Now it’s where we spend all our time and it was worth the wait.
Sorry about the delay on the Shabby Apple dress winner,
Congratulations comment # 11 Jennifer!


Love this! So open and bright. Very well done.
Wow! So many transformations! Great job!
i really like wha you’ve done with your kitchen and dining area, but i think you need some chair cushions are more textiles for warmth in your dining room, there is to much wood in there. otherwise i think you are very talented! rmw
Thanks Rose, believe me I’d love to add some seat cushions especially to those bar stools but with 3 little kids under 7 there’s just way too much spilling going on. They ruin every fabric and carpeted surface in this house so we go without for now. Maybe someday.
I totally know what you mean about the spilling on fabric!
I’m jealous! That kitchen/living space is gorgeous!!
wow! that kitchen is beautiful!!! I need TWO of those drawer pulls! Wondering where you got them.
gail
Thanks Gail. The drawer hardware is from Restoration Hardware, Aubrey line. Good luck!
Oh how beautiful! What a great job, thanks for posting.
Wow! What a makeover. Lots of good ideas, too.
Beautiful remodel! Could you tell us what kind of floor you went with? Is that hardwood, vinyl or laminate? We are selecting our flooring and was just wondering. Thanks!
Where did you get the pendant lamps that hang over the island? Gorgeous!
I love what you have done! We are finishing up our Ikea Lidingo kitchen. We also added crown molding, but I am having trouble matching the paint color. It looks good straight on, but when you see it from the side (where the molding meets the fridge panel) the color looks off. Your looks fantastic. We used BM simply white as recommended by people on other websites. What color did you use?
Fantastic! Just wondered when you picked up the Lidingo tall doors (with the two raised squares)? I have been looking for the past three months for a door (15 x 64) to match my current set. Apparently Ikea has discontinued this door for the past year and a half – it is now a “3 box” door – which means I may end up replacing my existing 3 doors with 4 new doors to get a uniform look :(. Any suggestions would be welcome! Ikea’s kitchen planners did not have much to offer – one suggestion would make my doors offset and leave a gap.
Love the kitchen! What did you use for your countertops?
I know this post is from awhile back, but my kitchen has a very similar layout, and I was wondering how you organize all of your cabinet space? What do you find to be the best locations for all of your serving and cookware? Thanks!! Great job too with the remodel :).