Faux Bois Hand Painted Wall
Hello Remodelaholics! I am Cassie from Primitive and Proper and I am back for my monthly contribution. Today I am sharing a wall I painted in my daughter’s room!
I love me some faux bois! I love the graphic yet rustic element it adds to a room. And I should be clear here…. I love the graphic design of faux bois. I do not love faux bois like this….

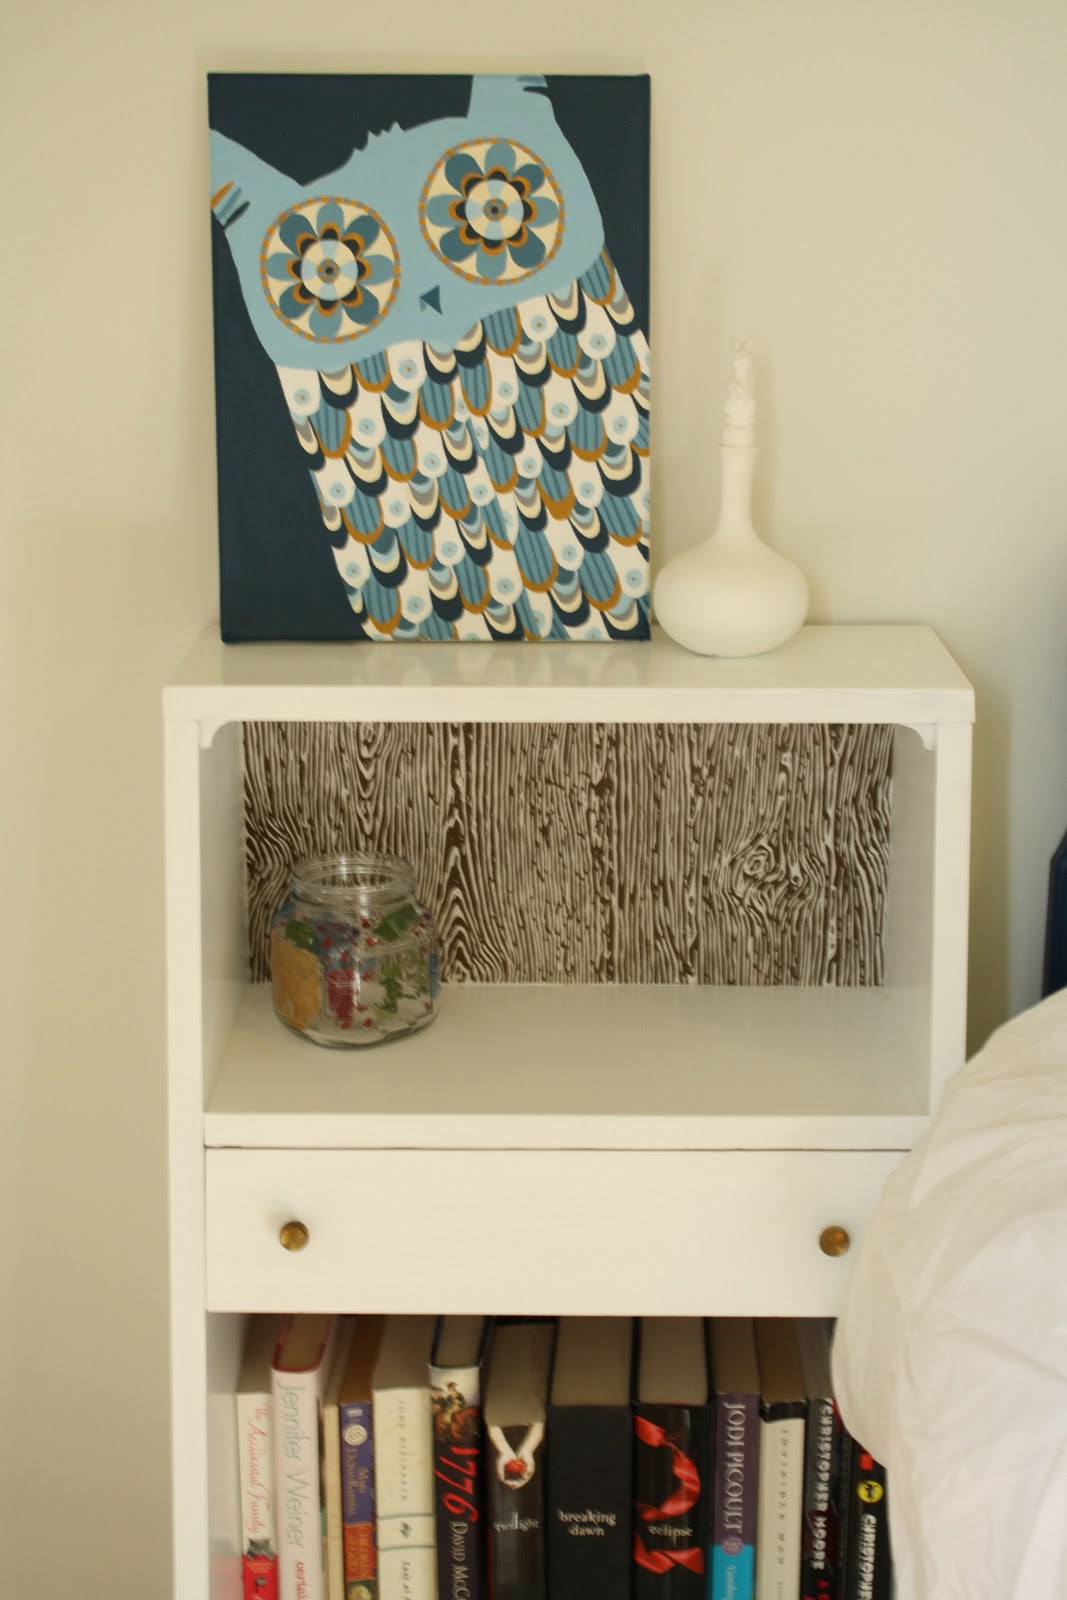
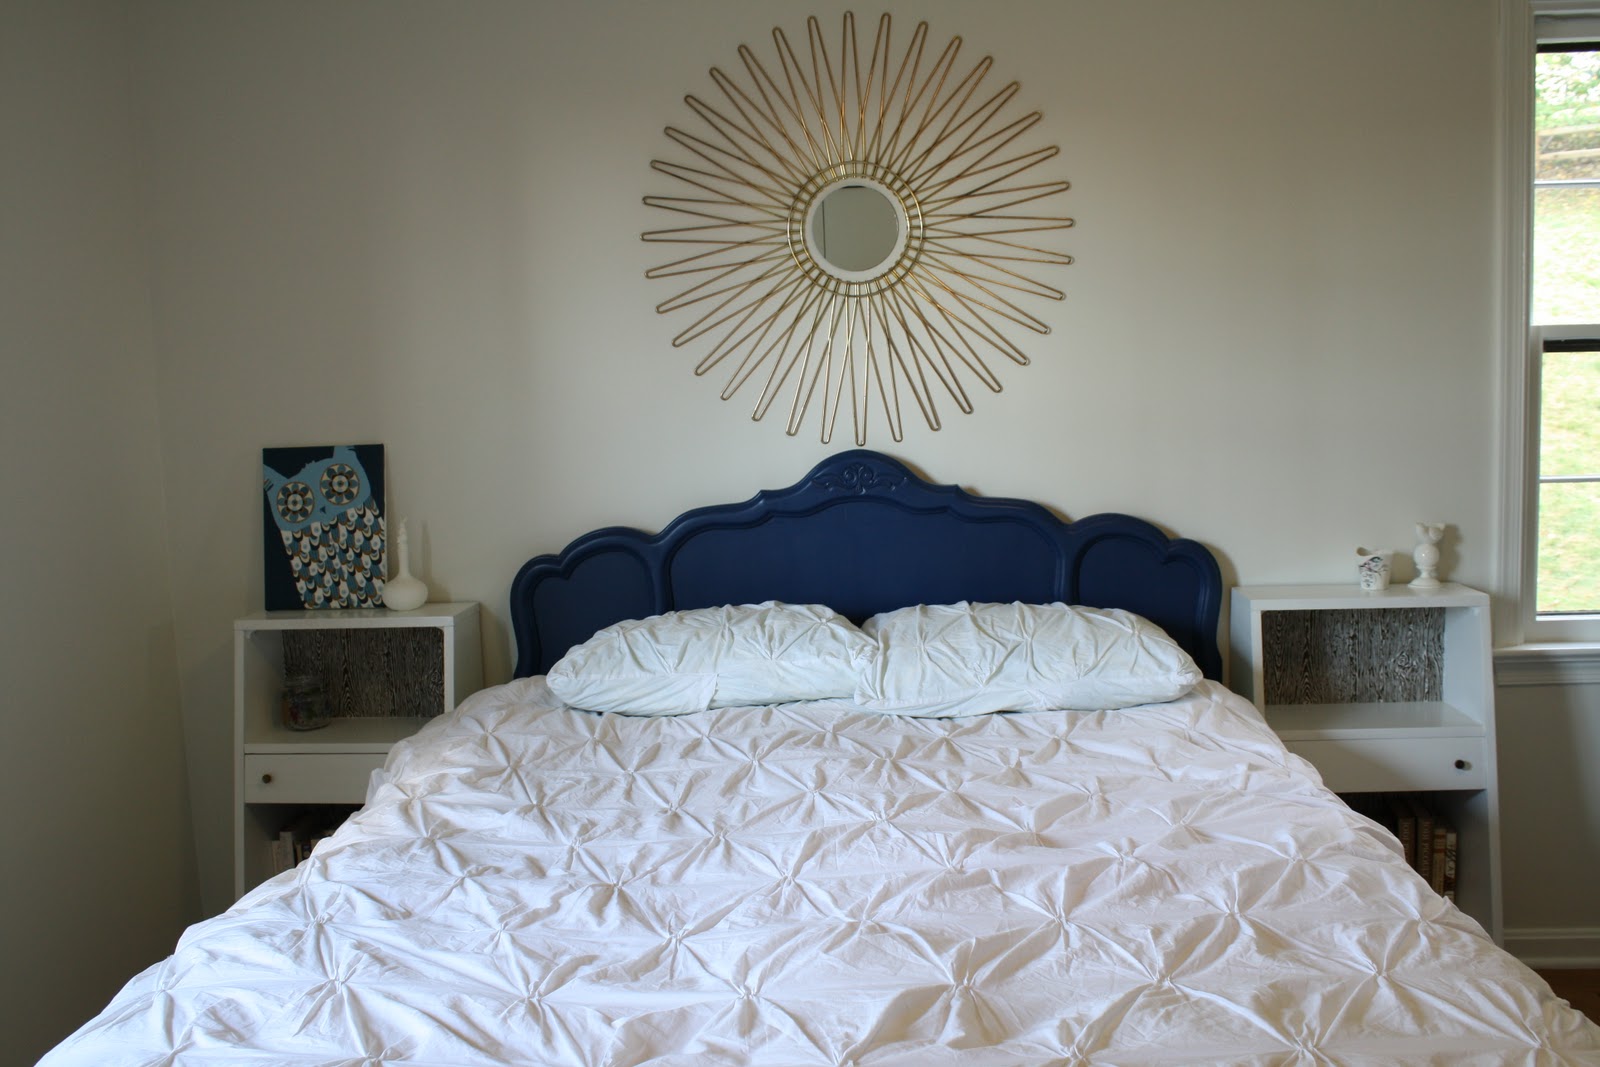
Yikes, definitely not like that! I am thinking more along the lines of these nightstands I have in my guest room, with faux bois paper backing….
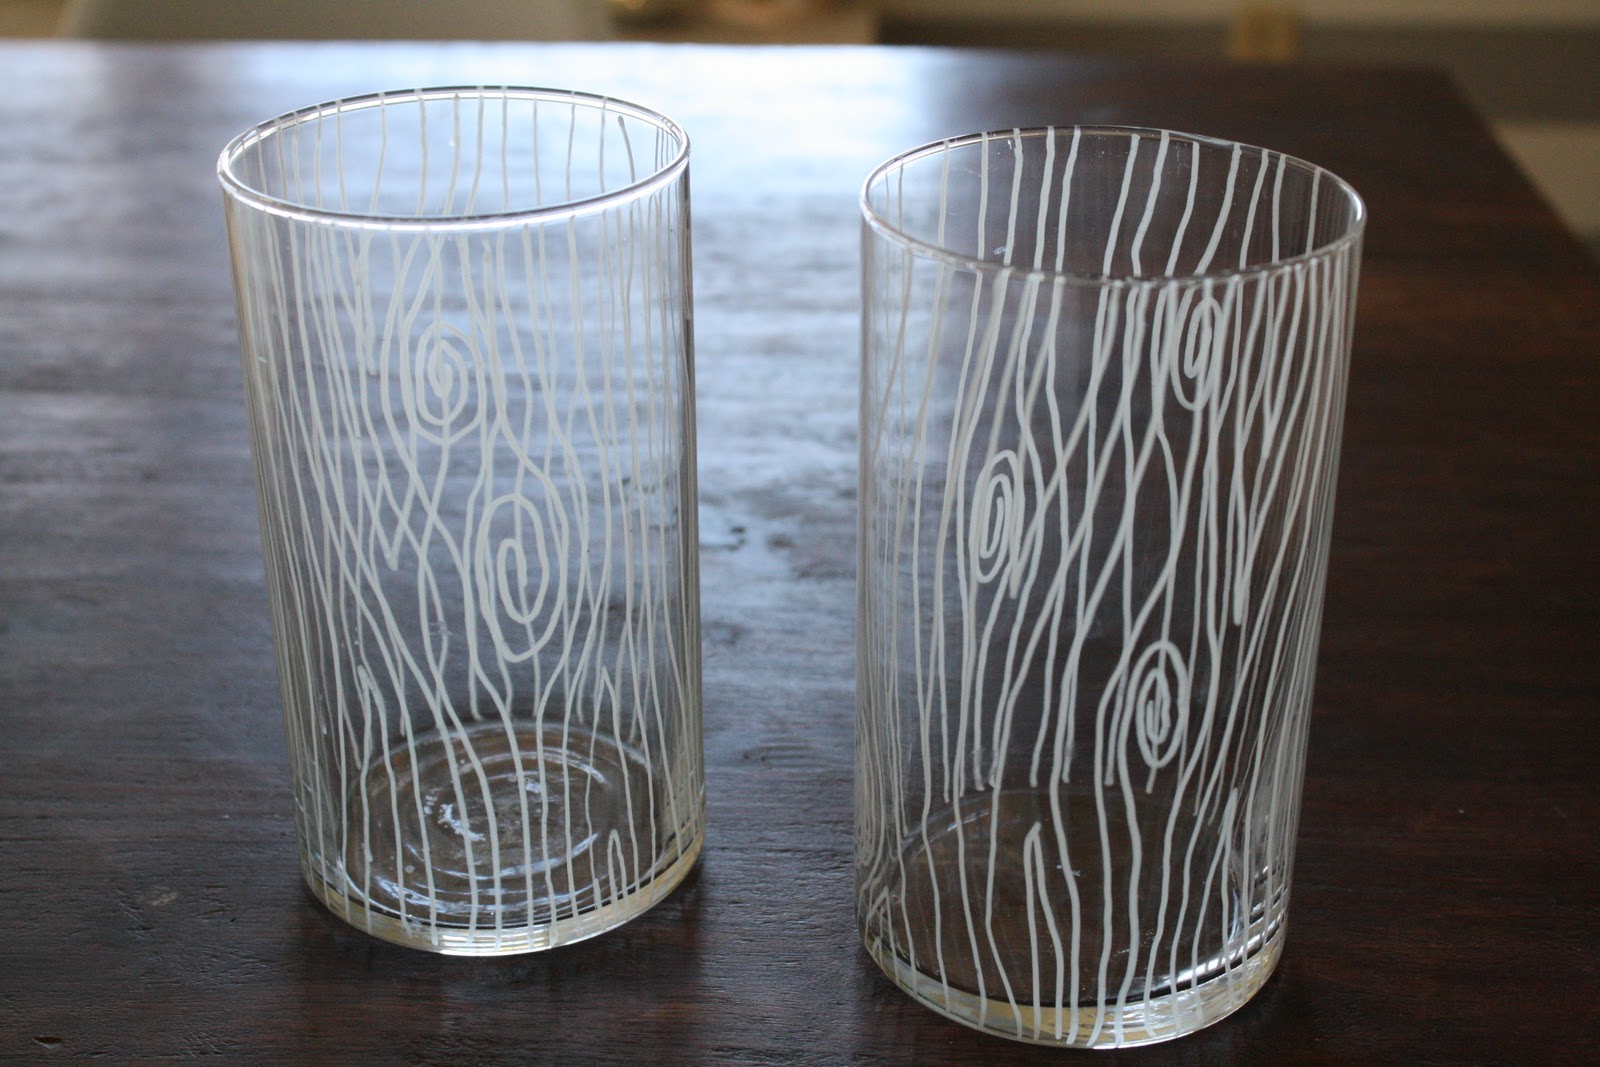
And like these candle holders I painted in a faux bois style….
That is more along the lines of what I think when I think faux bois! Well, my daughter’s room is headed in a very woodsy direction. There will be woodland creatures, whimsy, romance….FUN. I have painted a toadstool table for her, and her closet doors feature a fawn.
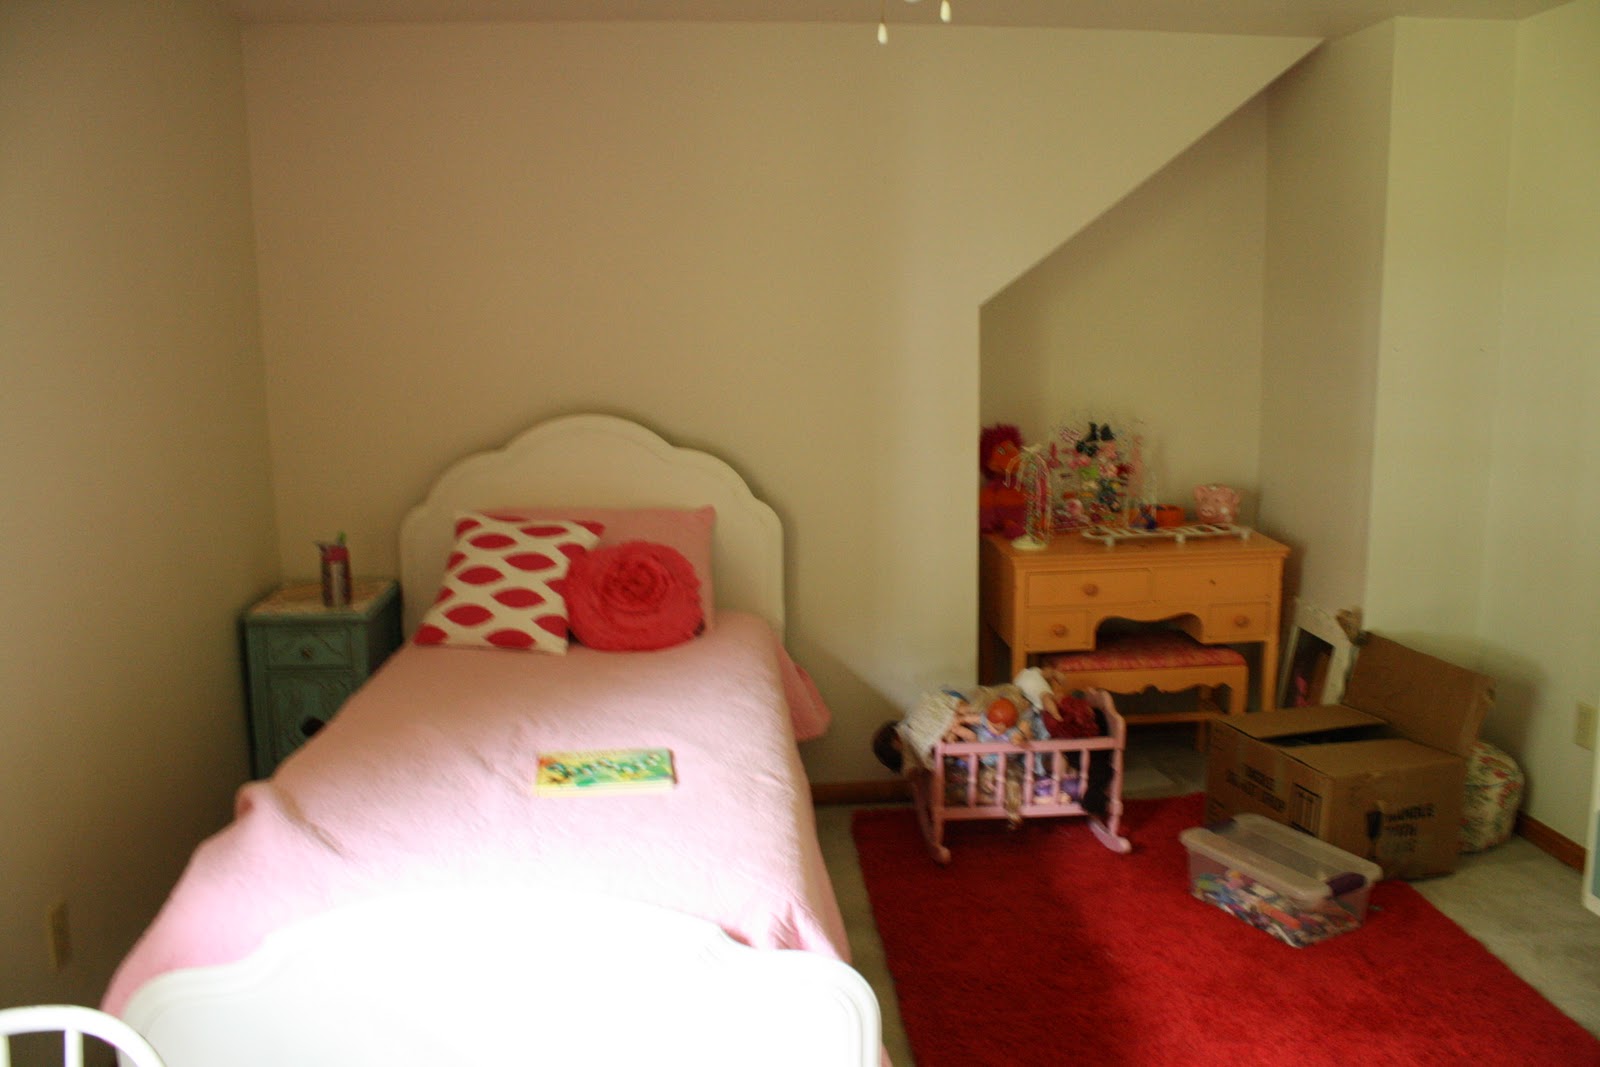
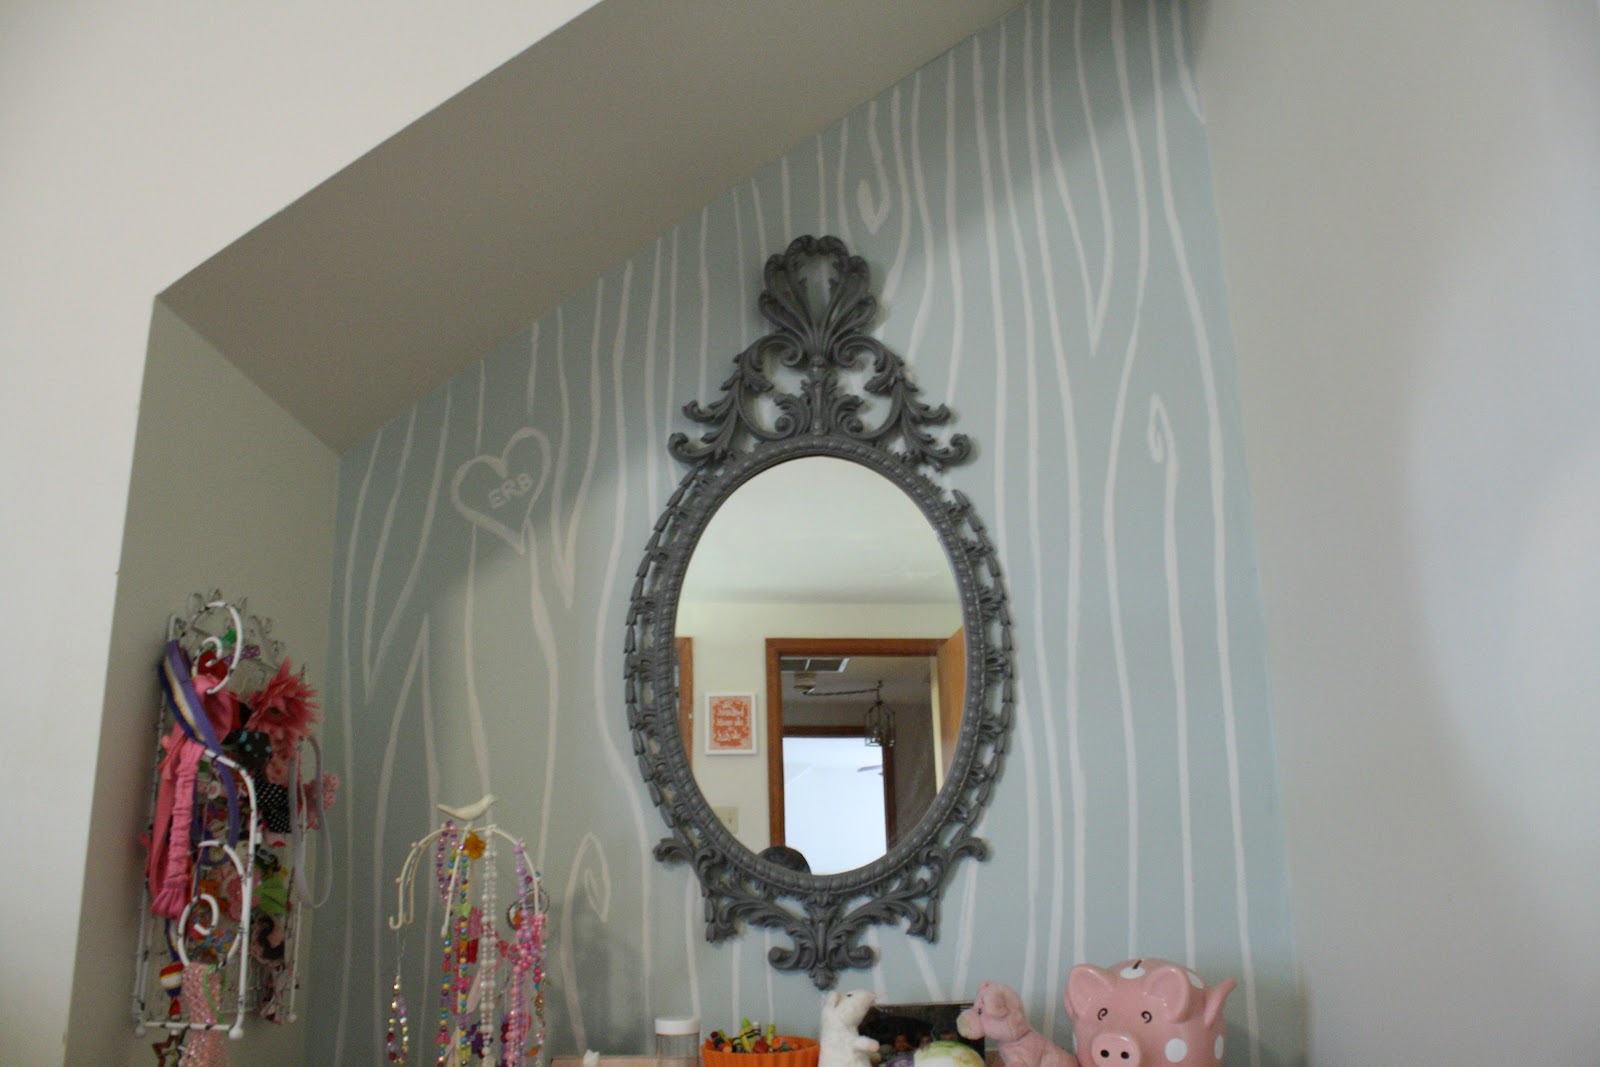
We have a Cape Cod style house and it features some fun little nooks in the bedrooms. Emmy has a nook in her room, and I knew I wanted to do something fun with it, like a stencil or wallpaper. this picture is from when we moved in last fall and SO much is already different, but at least you can see the cozy little nook….
So back to the wall in the nook- I wanted to have something graphic and awesome and fun! Here is the thing though…. I am working on a very limited budget and I couldn’t fork over the money for a good stencil or the money for wallpaper. So I decided to paint the wall by hand in a faux bois design! The great thing about faux bois is that it doesn’t have to be even hear perfect!
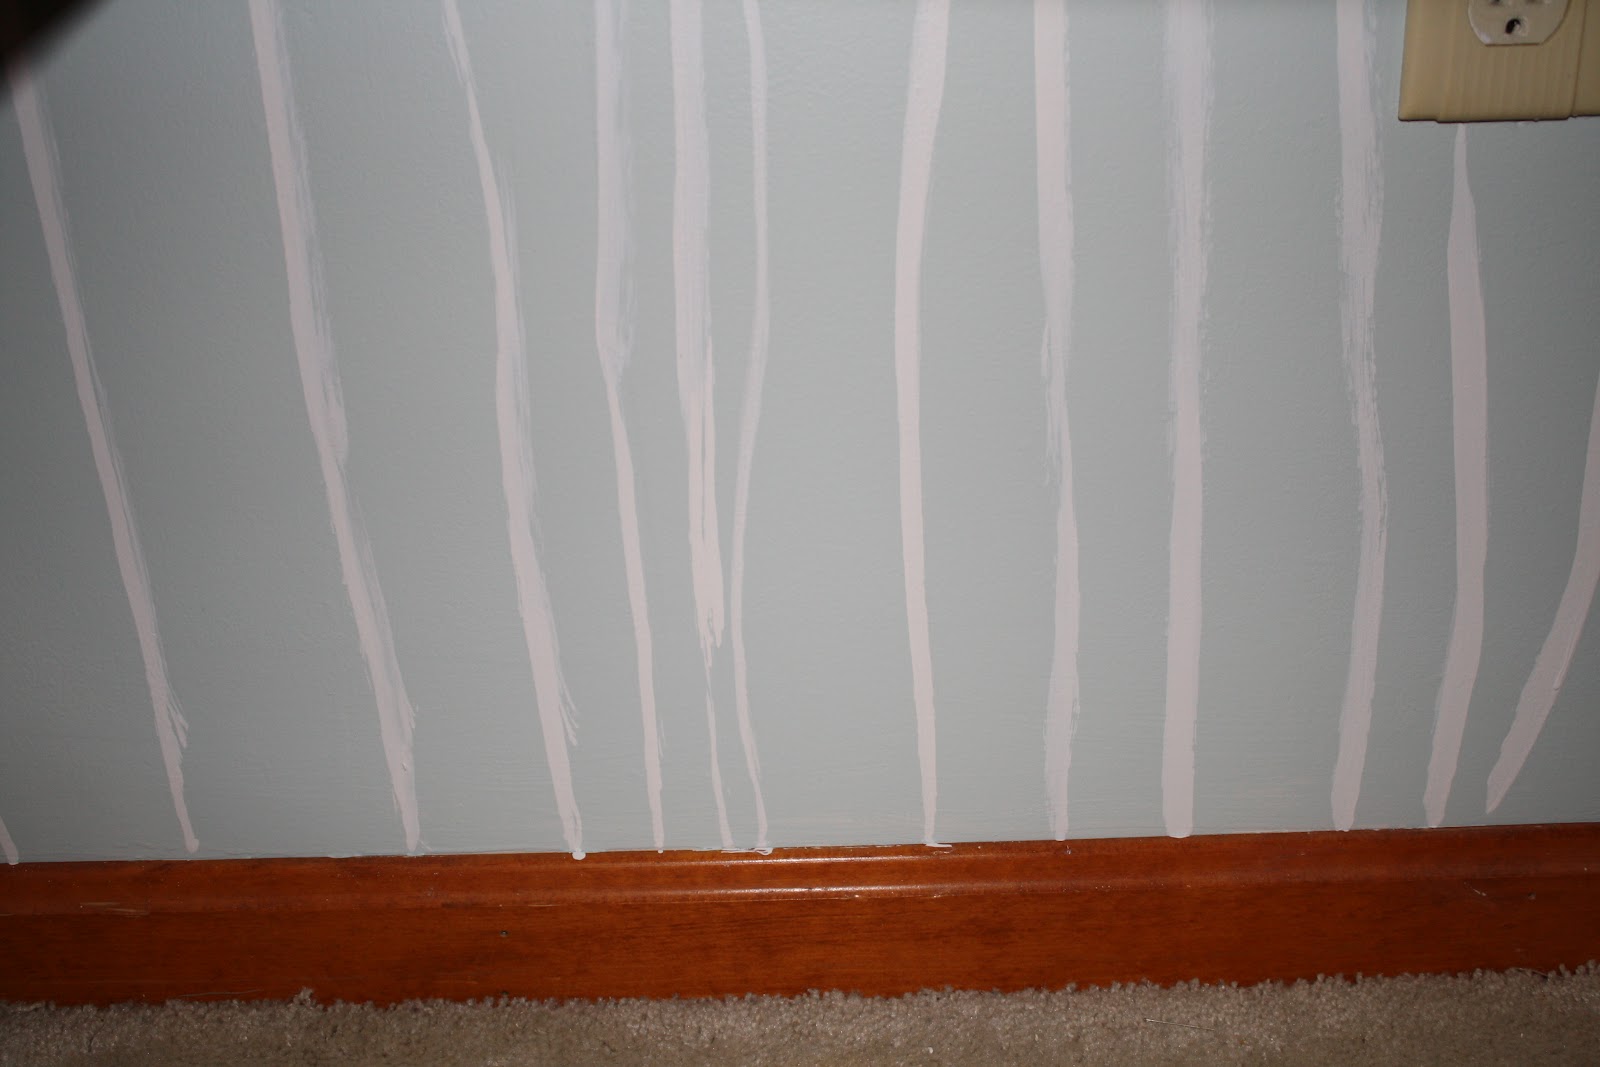
I started out by painting the nook with two coats of Benjamin Moore’s Palladian Blue. I never tape walls and use a great angled brush to carefully cut in. After the wall dried, I used Benjamin Moore’s Cloud Cover (one of my favorite wall whites!) and used my angled brush to free hand my design. I started each line at the top and worked my way down to the middle, or to a point where I created a knot in the graining. Then I would start from the bottom and work up to meet where I had stopped. I do not have any pictures of the process as I was the one painting, and couldn’t capture and paint at the same time, but I have a bunch of close up shots. It is nowhere near perfect, but it doesn’t have to be because when has wood-graining ever been perfect? Also as a side note, I can only share the top half of her nook as the piece at the bottom half will be revealed in a local magazine later this month and I have promised not to share any pictures of it until publication. But you can get the feel for the wall….
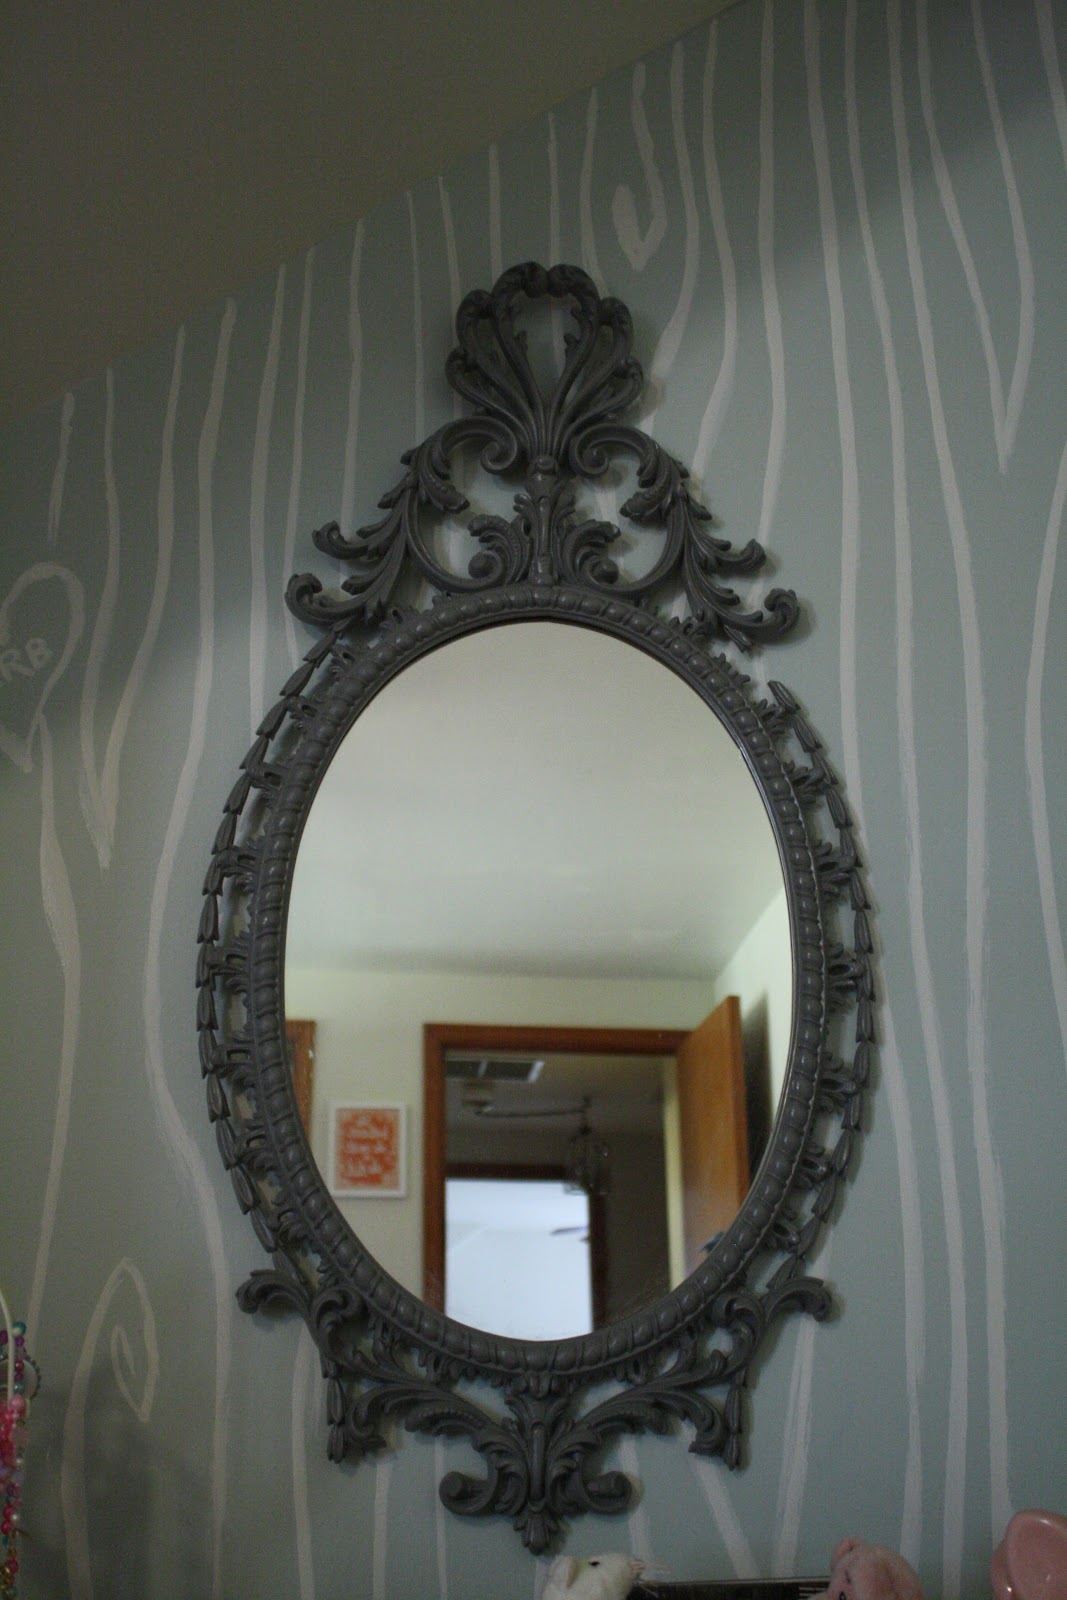
I chose the light color because this nook doesn’t get much light, and I wanted her gray mirror to pop.
Her trim will be painted next, but here you can see that it is not perfect, but like I said, it doesn’t have to be….
My friend Ali came up with the idea to add her initials in a heart and I loved that!

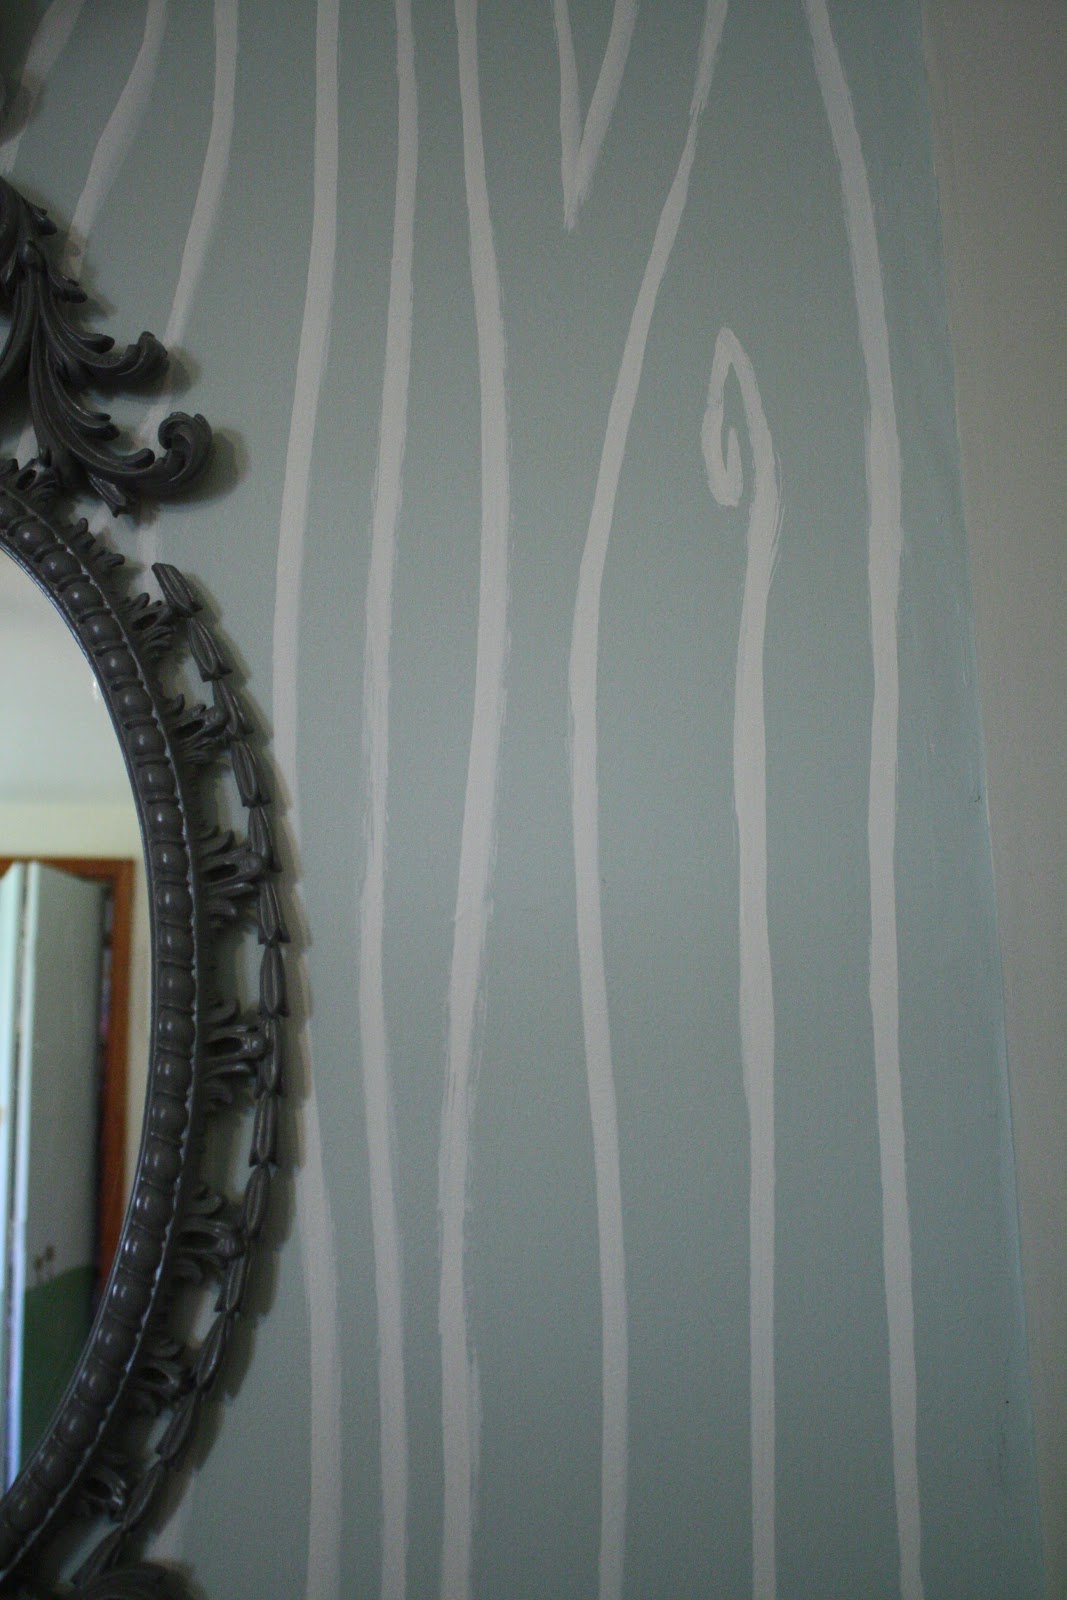

I really love the graphic feel it gives to the room! And it was so easy to do- no measuring, no taping. All you need is good paint, a good brush, and some confidence! But remember that it doesn’t have to be perfect to look great! I plan to get close to completing Emmy’s room this month…. I would love for you to come over to my blog and follow along!


Ooooooh, this is amazingly awesome!!! Cassie has some serious skills!
This is such a cool idea!
This looks fantastic! I want Cassie to do my wall next! Cassie is so talented. Love the initials in the heart….nice touch! What a fun room.
I love it Cassie! It looks so great! Love it paired with that mirror!
So adorable! As always, Cassie comes up with the cutest ideas 🙂
Cassie is so talented! This wall is amazing!!
I LOVE it! And she did it freehand, too. What talent! I really like the color, too.
So great Cassie…the personal touch with the initials is perfect. 🙂
This is so cool! I especially love the heart … so sweet:)