French Twist- Giving a Table a Vintage French Look!
I am tickled to be writing a guest post for Remodelaholic! Thank you, Cassity, for asking me. I write a little blog called Red Hen Home. Why “Red Hen”? Well, my husband thinks I have a little bit of a “red hen” complex–that is, I have a “Well, then I’ll do it MYSELF!” kind of attitude.

I started blogging close to a year ago so I would have someone to share my little projects (mostly furniture, a little decorating, and even sometimes…knitting) with…my husband tries, but he just isn’t able to generate a lot of enthusiasm for my obsession! I have a definite love for typography…letters, numbers, symbols, whatever! When I saw a beautiful piece of clip art at The Graphics Fairy, I used it to turn this table into a beautiful vintage french table!

I found this little table at Deseret Industries (that’s Utah’s “Goodwill”). It was only $5! Do you see those legs?? I love that barley twist!
 Oh…here’s why it’s only $5…the finish on the top is shot, and one of the planks is completely unglued. I couldn’t be happier!

The first order of business was to sand down the table top to remove the old finish–but I didn’t worry about any dings or scratches. That’s just character! I re-glued the plank back with it’s brothers. This is the first time Liquid Nails has failed me. Gorilla Glue came to the rescue!

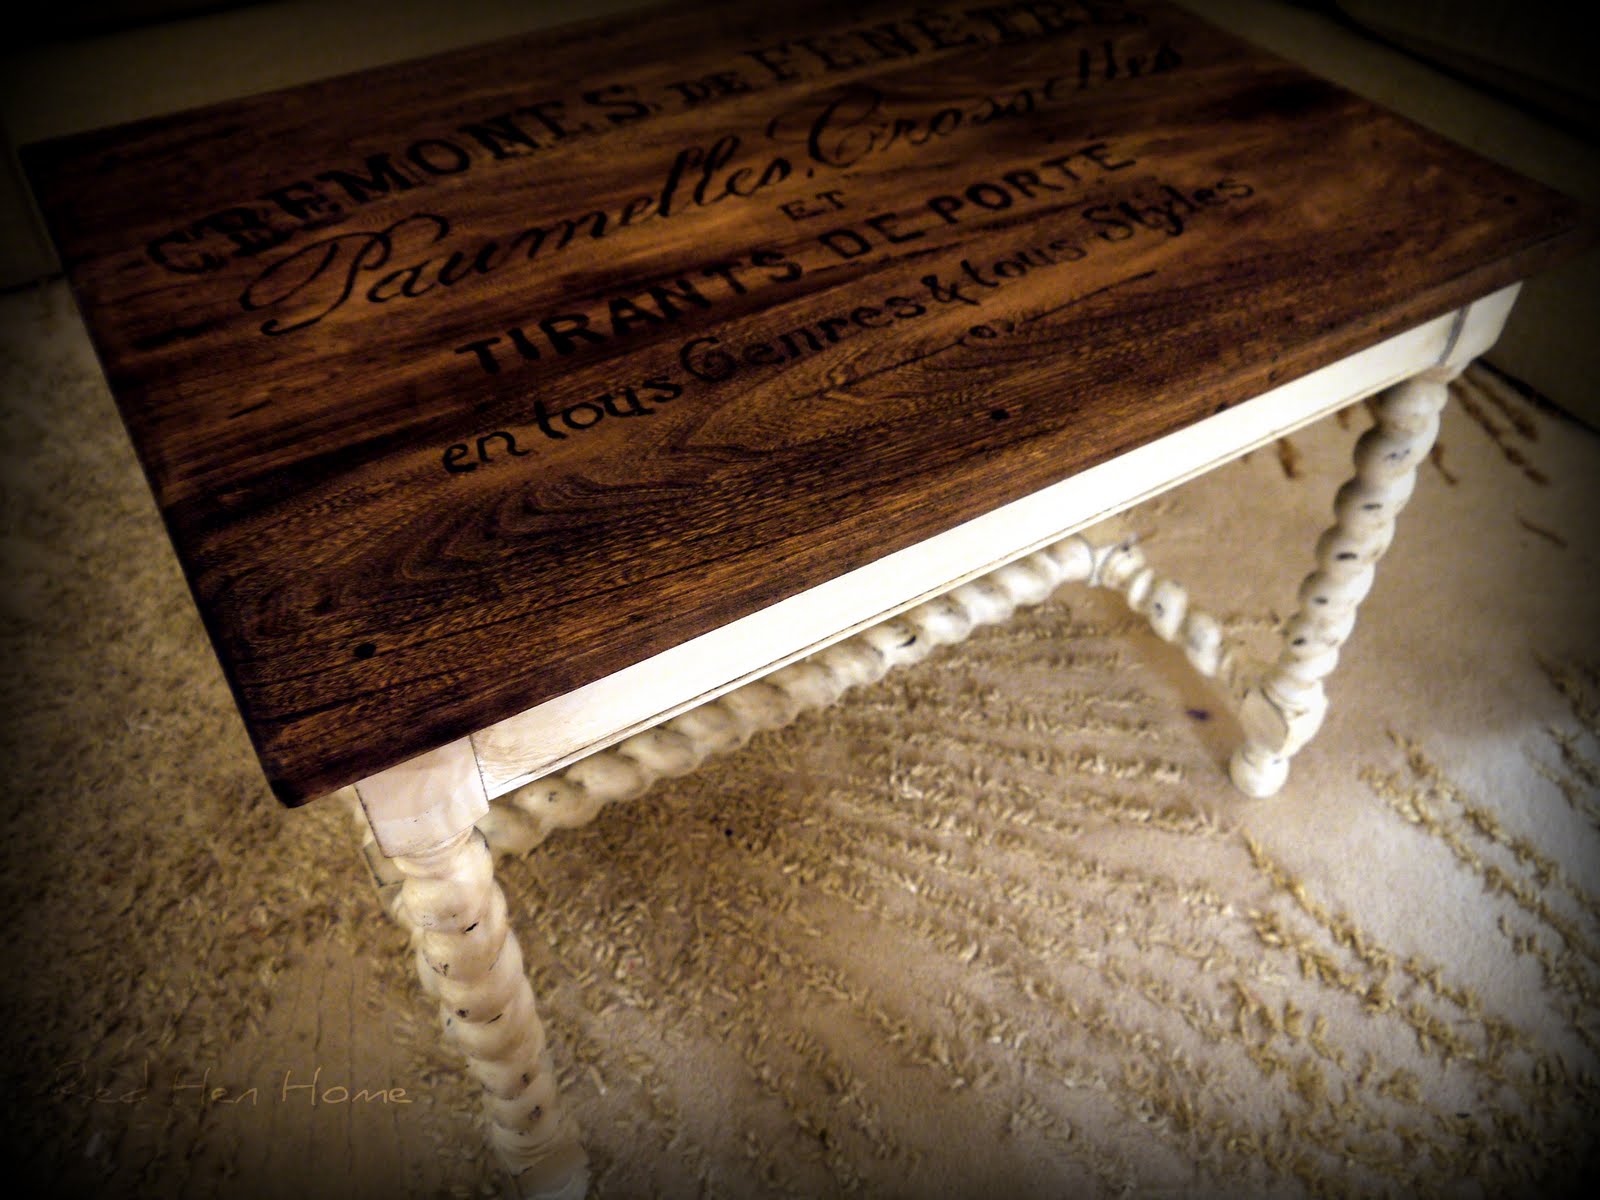
Then I spent a happy couple of hours searching for just the right graphic at the Graphics Fairy again. This is the one I chose.

And no, I have no idea what it means! I even tried an on-line translator, and all I can tell you is that it may have something to do with hardware, and the last line says “of all kinds & all styles.” Works for me! After printing my image, I took it to Office Max and had it copied onto overhead transparency film. Using a borrowed overhead projector, I set up shop on my kitchen floor after my little ones had been sent to bed!

A smart person, a wiser person, a less-impatient person, would have figured out how to raise this setup off of the floor after the first table. I…am not that person. So I planted myself on the floor with my little bottle of acrylic paint and a brush, and spent the next couple of hours in all sorts of contortions on the floor.


 It’s another sign of impatience that I painted with the clamps still on! Here’s the initial result:

Next day I painted the bottom with Sherwin Williams Creamy paint, distressed the black lettering on top of the table, and applied a coat of Minwax Antique Walnut with an old rag.

Later I distressed the paint and glazed the table legs with Minwax Jacobean stain. And here’s what it looks like now!

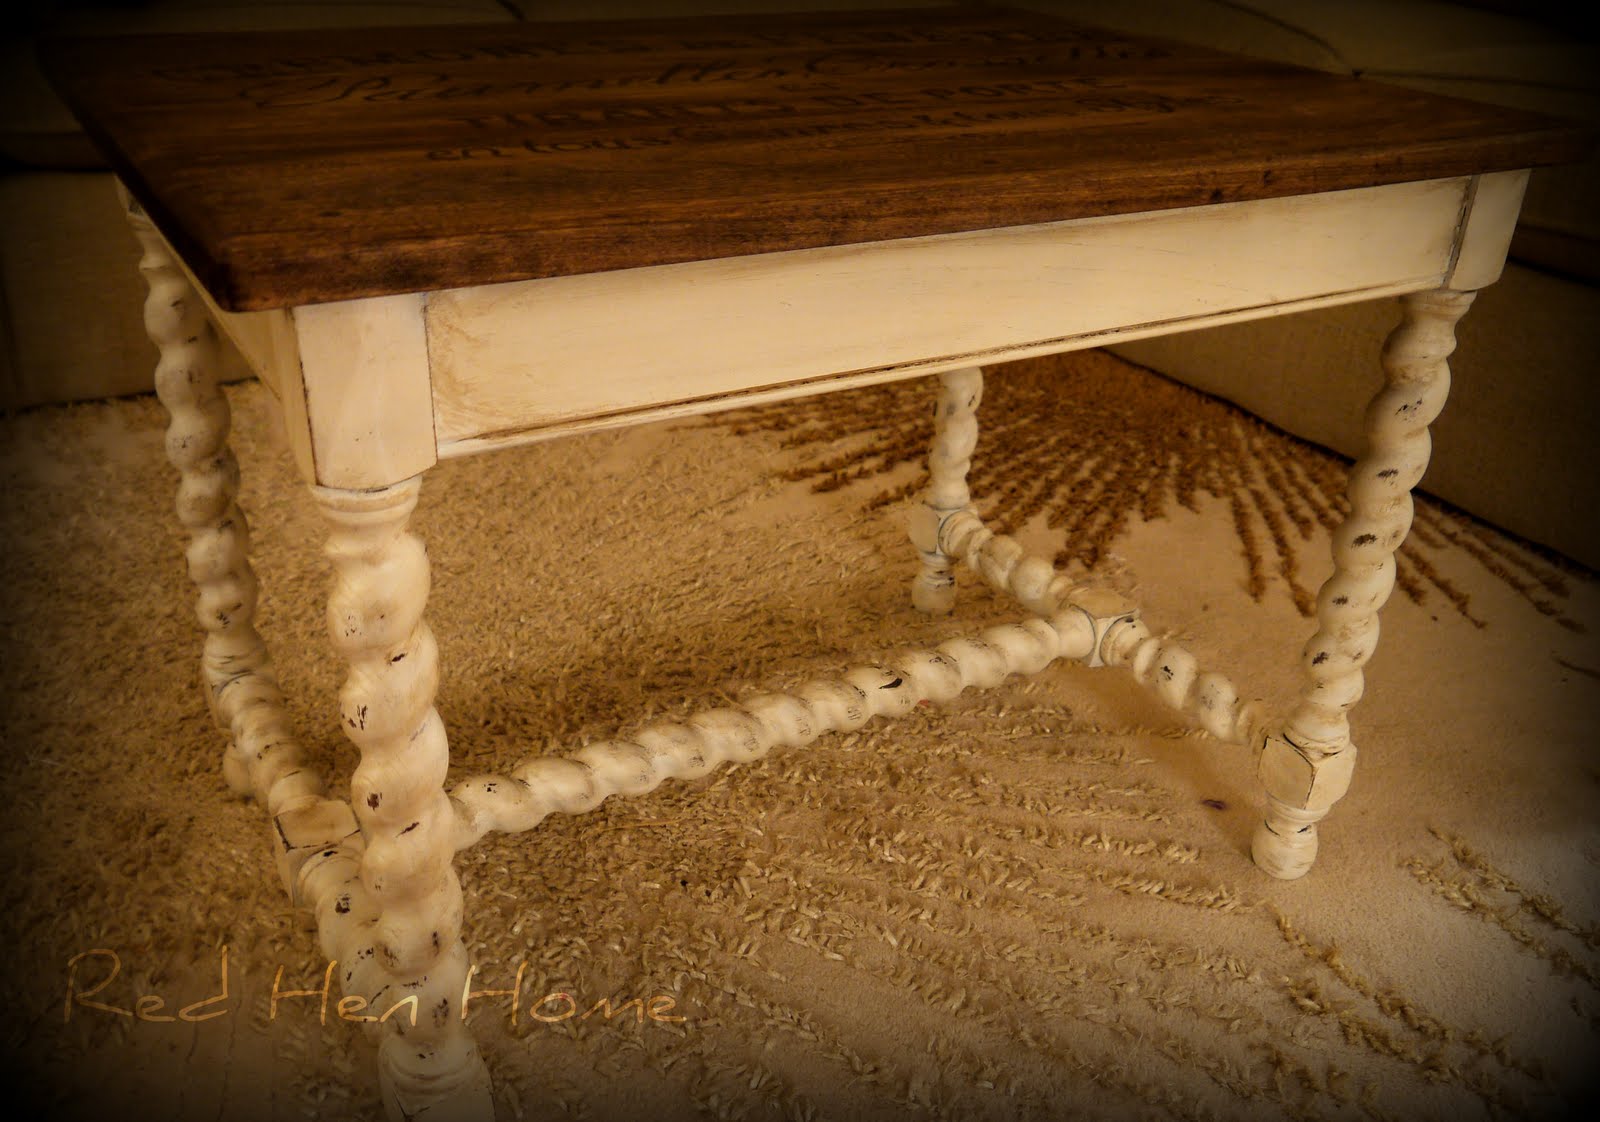
I moved the table into my front room to get some additional shots. I have two arm chairs in there with one of the first tables I ever painted in between them (painted in the days before I knew about distressing or glazing). I moved the old table (that looks newer) out, and put the new table (that looks older) in…


Wow! What a great table… I am impressed. I have to say I don’t know if I would have the patience to paint the words out.
I love your table! Roughly translated it means : Window latches, split-hinges and door handles of all genres and styles, or of all shapes and sizes. 🙂
I love this! I’m really wanting to try something like this to jazz up my old china hutch. My question is this: How do you get crisp lettering? I know a steady hand makes a huge difference, but is there a particular type of brush that you prefer? And do you thin the paint at all?
Hi Rebecca! This post is from a guest, so if you’ll click over to her site (linked toward the top) then she can give you details about her technique! Thanks!