Picnic Bench to End of Bed Bench
Submitted By My Old Country House
Recycle the Old and Bring on the NEW!!!
This has been perhaps one of my MOST rewarding makeovers- EVER!!!
Rewarding because I took a piece of furniture that was truly a nothing piece…just a bench…
yes it was cute-ish, I had painted it high gloss yellow after I bought it for $20 at a used furniture store in D.C. . It has been at the foot of our bed, all but forgotten and certainly not high on the list of “MUST-DO’s”!!
")
BUT NOW!!!!!
it is a gorgeous piece!
")
TUTORIAL!!!
Gather all of your supplies:
You will need:
1. Picnic Bench or long bench or even a short bench!

2 .fabric
3. scissors
4. soft cotton batting
5. staple gun and staples (1/4″) I highly recommend investing in an electric one
6. measuring tape or yardstick and a pencil

7. foam
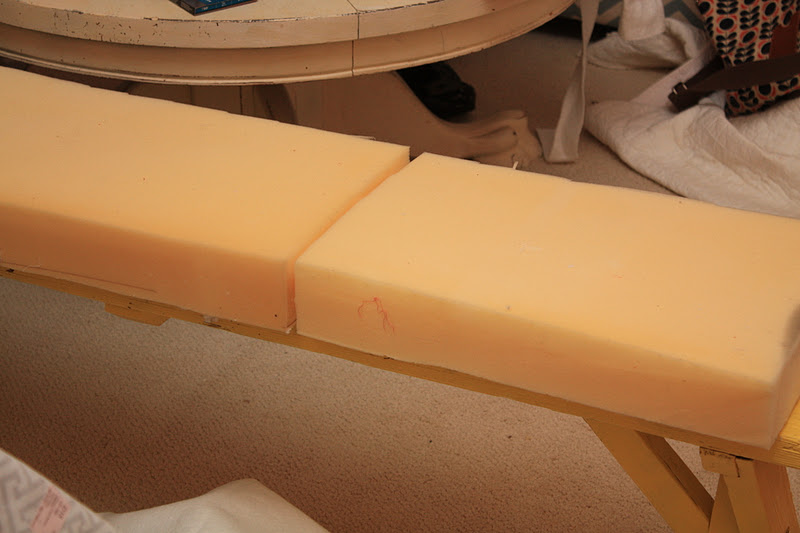
This foam was part of a sofa a cushion that I no longer use.
I cut and pieced it together. Reduce – Reuse- recycle!!!
optional
8. nail head tacks – this foot bench took 9 packages of 25 tacks/pack.
9. sheet or drop cloth for floor
10. Dog sleeping on the sofa to keep you company …

TUTORIAL-
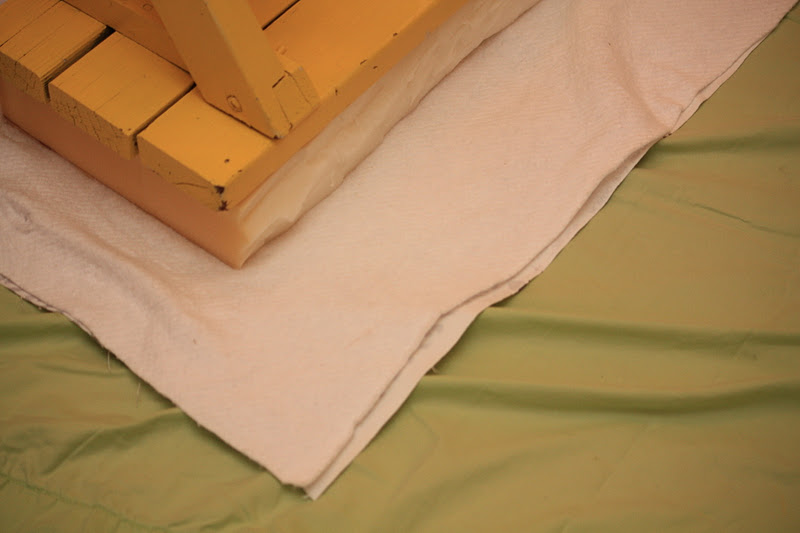
Lay down your drop cloth .
On the drop cloth (This will help catch random staples and tacks and keep the fabric clean as well) And lay down inthis order–
1.fabric (cut to size) face down,

with 2. batting next and then lay the
3. foam and then the
4. bench top down upon the foam.
As far as cutting the fabric – my bench is 10″ wide and 50″ long so.
I cut my fabric 20″ wide and 70″ long this gave me height for the foam, and leftover the wrap below.
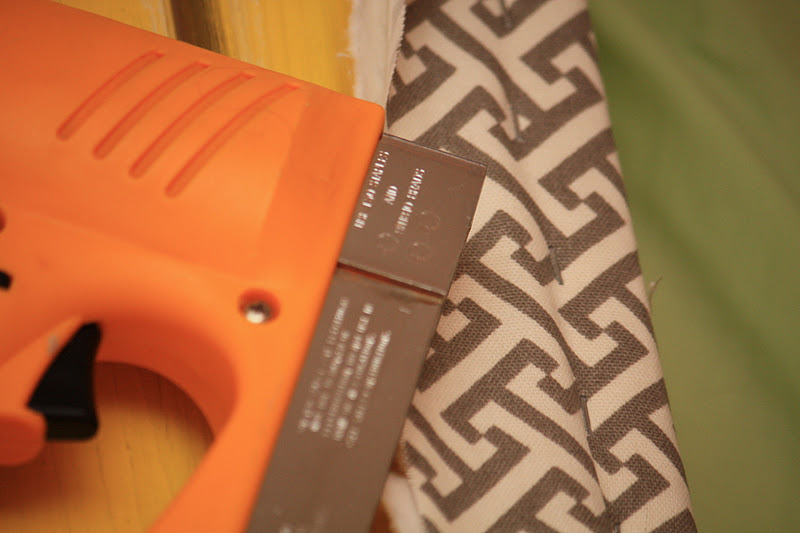
I began stapling by alternating side to side, to make sure the fabric pulled evenly. I discovered that if I kneeled on the bench it would depress the foam, eliminating the need for me to PULL the fabric so hard. I finished the bench this way and it gave me a nice tight pull of the fabric. I got a few lumps, but oh well.
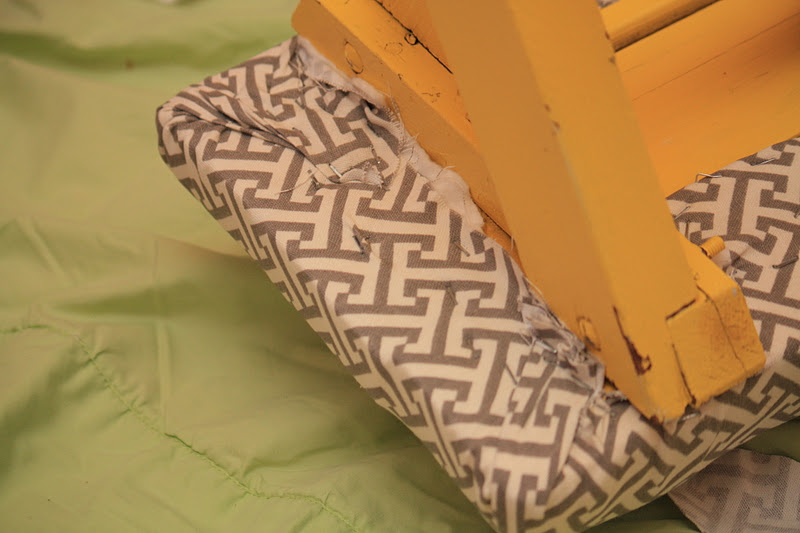
when I got to the end, I wanted to cover up the area where I had lots of stapling…I took a piece of the batting and glued it on top.

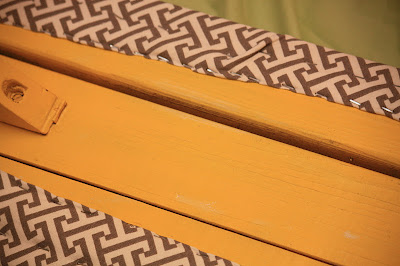
I took the fabric and folded it over and stapled it down underneath.
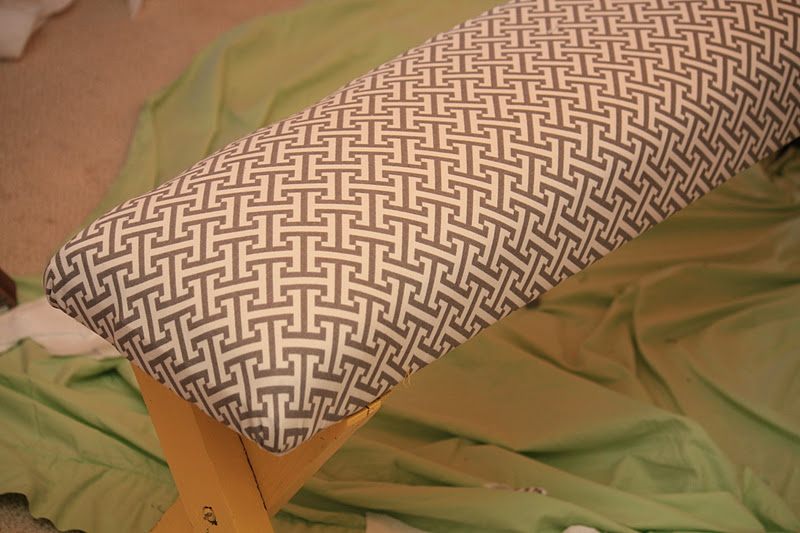
View of the bench, PRE NAILHEAD TRIM…I love the gray and yellow!!!!
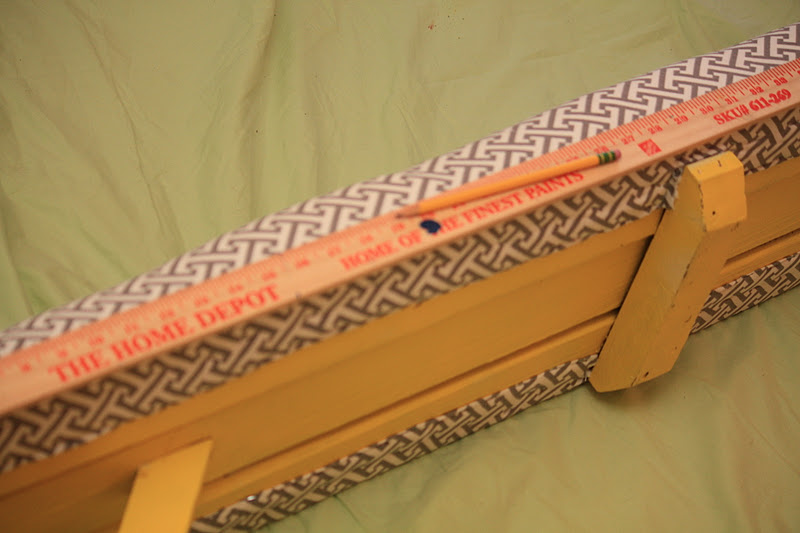
I drew a line across the bottom edge of the sides, and followed that line with the nailhead trim. I discovered that if I used my needle nose pliers, that I could move faster and I avoided
hitting my fingers with the hammer.
I purchased a magnetized tack hammer for this project
($6.50@ Lowes ) and I am IN LOVE with the difference it makes!
Because I pieced together two pieces of foam, I ended up with a teeny lump, but hey, this is going in MY bedroom, and NO ONE will notice it…In fact…my husband may not even notice that I upholstered it to begin with!!!!

My Son Cooper was a HUGE help, I held the tacks with my pliers and he did the tapping!
It made a difference following the pencil line, I have done it without…
and I would not recommend it.

The final result..!
I love how it looks, especially, when placed at the foot of my/our bed!!! I am so excited about how great it all looks together.
")
")
")
")
Project Breakdown:
Cost: Fabric, Batting, Staple Gun, pliers, foam, bench, – recycled – I had all of these supplies.
Tacks – $12.00
Hammer – $6.50
I bought the fabric over a year ago, with something else in mind that never materialized.
The batting I had leftover from an upholstery project a few years ago.
I bought the nail head trim yesterday at Lowes for $1.30/pack and everything else I had.
Total time 2 hours, and it probably could have taken less time… had I not had to take breaks to pick up kids from school, teach a drama class, drive to Track Practice, take my son to a hair cut appointment, make dinner(okay… so I ordered pizza!!!)…but I did get it all done in one day!
It is most assuredly a great weekend project!
Take a look around… do you have any benches that might be improved with upholstery?
I am already looking for my next project.
If you liked this post please check out these:


![IM000565_thumb[9]](https://www.remodelaholic.com/wp-content/uploads/2012/02/IM000565_thumb9.jpg "IM000565_thumb[9]")


Looking great! A Nice Idea! And thanks for the photo with nose pliers: Will save my fingers, since I have been wondering the process 🙂
Great job! I like how it coordinates with the rest of the room too!
I know the focus of this is the bench but I absolutely love the color scheme and bedspread. Beautiful! I pinned it!
OMG!!! I am so jealous of this room! I LOVE LOVE LOVE yellow and gray and I LOVE all the patterns! This is a gorgeous room and I absolutely love the bench too! Great job…looks so simple!
I would love for you to stop by the Naturally-Nifty Linky Party #3 and link this and any other great projects up!
-lover of yellow & gray 🙂
https://natural-nester.blogspot.com/2012/02/naturally-nifty-linky-party-3-features.html
SO CUTE!!! I may have to copy it…
I just discovered your blog and love it! The bench looks super! Love the fabric and the nailhead trim.
What a great idea! LOVE it!
Teresa
xoxo
This bench is awesome. I’m LOVING yellow right now. 🙂
Cleaver!
Gorgeous!! I love your color scheme, and you did an excellent job!
Leanne @ Because (I think) I Can
Very cool idea! I’m adding a picnic bench to my wish list!
:-0 I am floored! Well, maybe benched…. that is just beautiful! Thanks for the tutorial!
I love it! I know you said you got the fabric a long time ago, but I have that same bedspread from Target (and the cutest rosette pillow of my life) and I was hoping you could tell me what yellow paint you used?? Do you think it goes well with the bedding? (in the pictures it seems like it!!) just checking 🙂
Thank you so much for the inspiration. I just painted an old bench white last week. What was I thinking!?
Please email me your reply. and thank you!
very cute!
i know you said your son did the hammering, and that’s totally cool, but just for future reference :: you’re using the wrong end of the hammer. the side with the hollow is the nail pull. the other side is the work face. ^^;
yobo
the girl from the hardware store
Where did you find that bench? that would match my room perfectly!
This bench turned out beautiful! I’m so excited to build one to put at the end of our bed! I’m featuring this on my blog today! Thank you!