Reclaimed Wood Kitchen Backsplash
Vintage, reclaimed, antique, salvaged, rustic — they all just mean OLD and they are all definitely trending in home decor right now. I love working with wood, and reclaimed wood from old buildings and fences just has so much character before you even do anything with it. You can fake the old wood look, but truly old wood has life of its own. Our guest today took a pile of old fence posts and turned them into this wood kitchen backsplash:


Even if you’re not ready to go full rustic in your home, you can still use reclaimed wood for other smaller projects and blend it into the other styles of your home. See all the reclaimed wood projects here on Remodelaholic, and check out these reclaimed wood projects that I love:
 Reclaimed Wood Kitchen Letters | Sweet Pickins
 Reclaimed Wood Ceiling | Maple Leaves and Sycamore Trees on Remodelaholic
 Reclaimed Wood Kitchen Shelves | Keeping It Cozy
 Reclaimed Wood Headboard | AKA Design on Remodelaholic
 Reclaimed Wood Stairs | via Freshome
And here’s Marty to show you how she turned a truly old pile of wood into this great wood kitchen backsplash!
Reclaimed Wood Kitchen Backsplash

Hi! I’m Marty from Marty’s Musings and I write a DIY/home blog featuring our DIY projects completed on a budget, often with found or repurposed items. My husband and I do many of our projects together, with him providing cheap labor (ha!) and me providing input and clarification as needed. We have transformed our kitchen one project at a time over a period of several months. You may have seen our Mason Jar Chandelier or our Chalk Paint Furniture tutorial. My husband salvaged this rather grim looking fence wood from a neighbor’s yard, not knowing what to do with it but not being able to stand the thought of leaving it on the trash truck. Using it to make a table, or something requiring at least some degree of structural integrity, was out because it was a thinner wood and just too far gone. But, the possibilities were endless for decorative use.  From Tim: the key to using salvaged wood is to at least try and use absolutely every available inch. I don’t throw anything away until the very end and preserve everything in between. This particular wood ended up being quite fragile, and (honestly) I wasn’t even sure I had enough to complete the entire project. Generally, that’s a really bad idea!

So, the challenge was really to just get “pile A” transformed and installed onto “wall C” via my Pinterest magic at “point B”. The picture below is the backsplash we were covering up. By the way, that was another great idea – peel and stick flooring applied to the wall! Super cheap and, at the time, looked great. But, alas, its season was over with the new decor. These are 12″ x 12″ squares from the big box store with adhesive on the back. You peel the paper off and stick it where you want it. I had reinforced with finish nails, since the tiles were applied vertically. 
The tiles were easy to score and cut but just couldn’t hang with the new yellow color on the walls. No need to take them down, and they really were an appropriate back to what would come next.

This was the, “Hey, whatcha think about this?” stage. I had cut the wood to go from the bottom of the cabinets to the top of the turn on the counter top, then lightly sanded each piece to eliminate slivers and splinters. Clearly the dark color was too much and pulled too much focus, but the effect was awesome!

So, I lightly sprayed each cut and sanded piece with an aerosol primer, just enough to lighten the wood and retain the beautiful character of the weathered surface. This also allowed for a degree of uniformity that I could control. I didn’t fill any nail holes and actually preserved knot holes and cracks. The more imperfection the better!

One very important allowance was that I did NOT remove the light switch and receptacle covers as each piece was fit into place. Because the wood was thick enough to render the covers useless if installed behind them, I just made a hole for them. They were then recessed, in a way, and still totally functional. We would later make them all a uniform color – the same “Rustic Mist” color we did on the cabinet knobs. I just nailed each piece to the wall with finish nails – one at the top and one at the bottom. No glue.

Now, you might think that we sure are going to a lot of trouble and still not addressing those gross countertops. You would be right! That is still down the road and will surely be another post. But I can tell you that it will involve a transformation kit and new sink and faucet…woo-hoo! For now, the fence wood backsplash is totally unique and a great addition to where we are headed with this re-do.
I love the character of each piece of wood! The blue accent really pops and is such a nice contrast to the natural roughness of the backsplash. 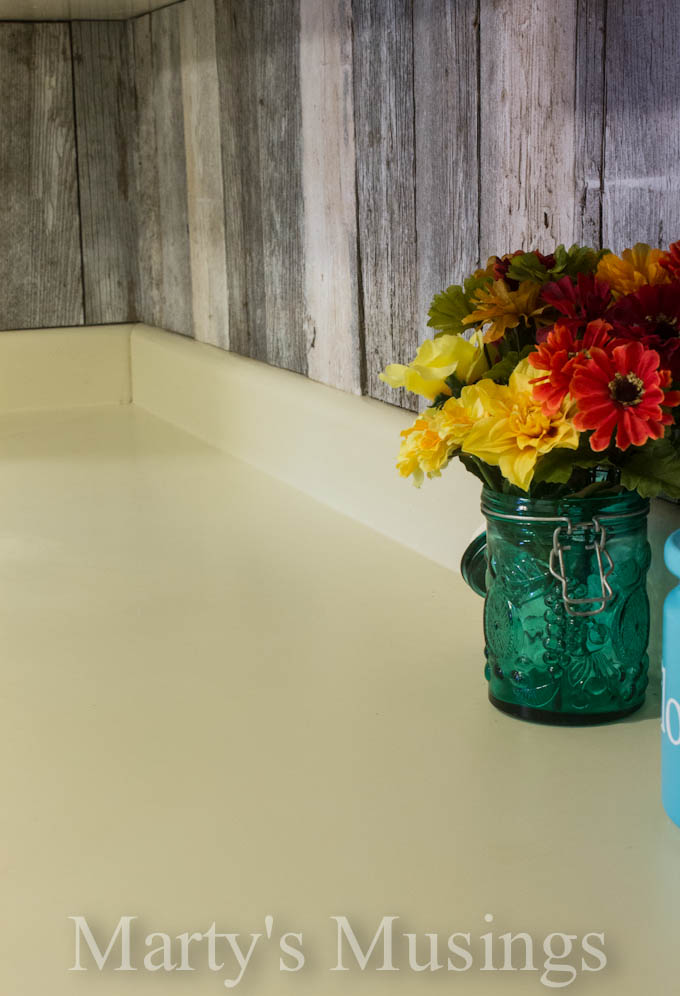
Marty here: the finished product is amazing! My husband took some castoff wood and turned it into a beautiful backsplash worthy of a beach cottage.

The fence board backsplash only took a few hours of my husband’s time and it was free! Can’t beat that. The fence boards have held up well through these last months, but one of the questions I get most is how to clean them, especially behind the stove. I just use a wet rag with some dishwashing soap and wipe it down. We do not cook a lot of greasy foods and there have been no noticeable stains or splatters behind the stove. Thanks to Remodelaholic for allowing me to share this fun and creative repurposing project.
Thanks for sharing with us, Marty! Your wood backsplash gives the whole kitchen so much character!
See what else Marty is up to over at Marty’s Musings.


Great tutorial and beautiful pictures! I love your blog!
This is the best back splash I have ever seen. I LOVE it, it’s my favorite.
cool!!.. i like it much… can do for my kitchen….
What about spraying the section behind the stove with some kind of acrylic spray or polyurethane? That would make cleaning it much easier, what do you think? j/s
Just wondered how the old wood would hold up if behind a sink. Love it but Leary of possible water issue?
Can you provide a little more detail about the “Aerosol primer” that you used to lighten up the wood? I love this effect!
Hello! I love this, and we are in the process of doing it on our kitchen now! already have the old wood fencing and my husband is ready to start cutting it! Any way you can post some more photos of the areas where the outlets are? Im worried they will look “off”. Want to see how you did it. Also what type of spray primer did you use?
Hi Lindsay! This is a guest post, but if you’ll head over to Marty’s blog (linked up toward the top of the post) then I’m sure she’d love to help you out! Thanks!
Your backsdplash is gorgeous!! Love this idea! Kudos all around!
Awsome Ideas! Love the recycling angle the most. Keep doing your part AND inspiring/teaching us to do ours’!
Thanks Janalyn!
Love the backsplash but as far as the electrical outlets go you can get electrical box extenders and any home supply for about 50 cents each. The cover plates will fit flush with the wood that way.
Thanks for the tip!