Recycling Glass Insulators Into Pendant Light
Recycling Glass Insulators Into Pendant Light
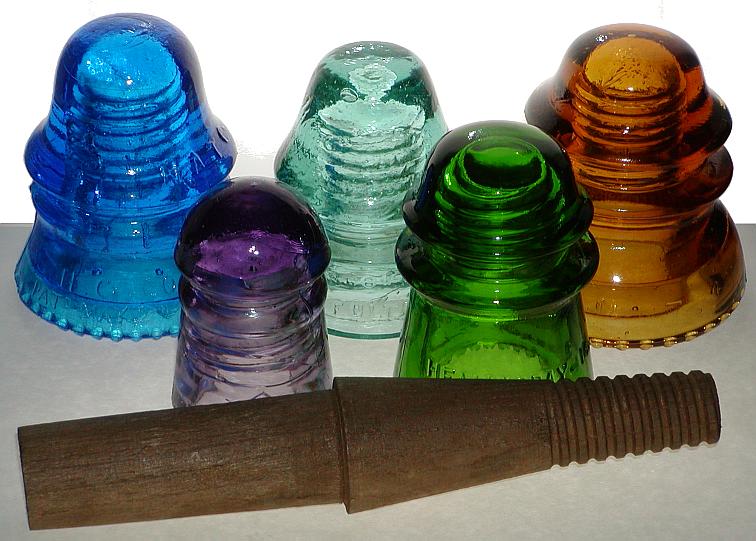
Oh how I wish I had all these fabulous colors!!
Ever wonder what you could do with those old glass insulators??
How about a pendant light!?
I am really into re-purposing things right now….and I had a box full of glass insulators just calling my name.

Three of these beauties will soon be hanging above my eat at bar!

I will update with the after picture as soon as I
hang them this weekend.
I just couldn’t wait to share how to make them…..
I am entering this project over at the DIY PROJECT PARTY

First, I looked up on the internet how to drill glass
and found this helpful info below
You’ll use these tips and techniques to drill glass, sea glass, wine bottles, glass block, tile, stone, granite and marble.
- Use diamond bits to drill your glass, not carbide bits.
- Use diamond hole saws to drill holes 1/4″ and larger or to drill holes in thick glass like glass block or wine bottles.
- Use plenty of lubrication/coolant to keep your drill tip cool and the hole clean.
- Use less pressure! Let your drill bit drill at it’s own pace.
- Start diamond hole saws at 600-900 RPM
- Start diamond drill bits at 2500-5000 RPM
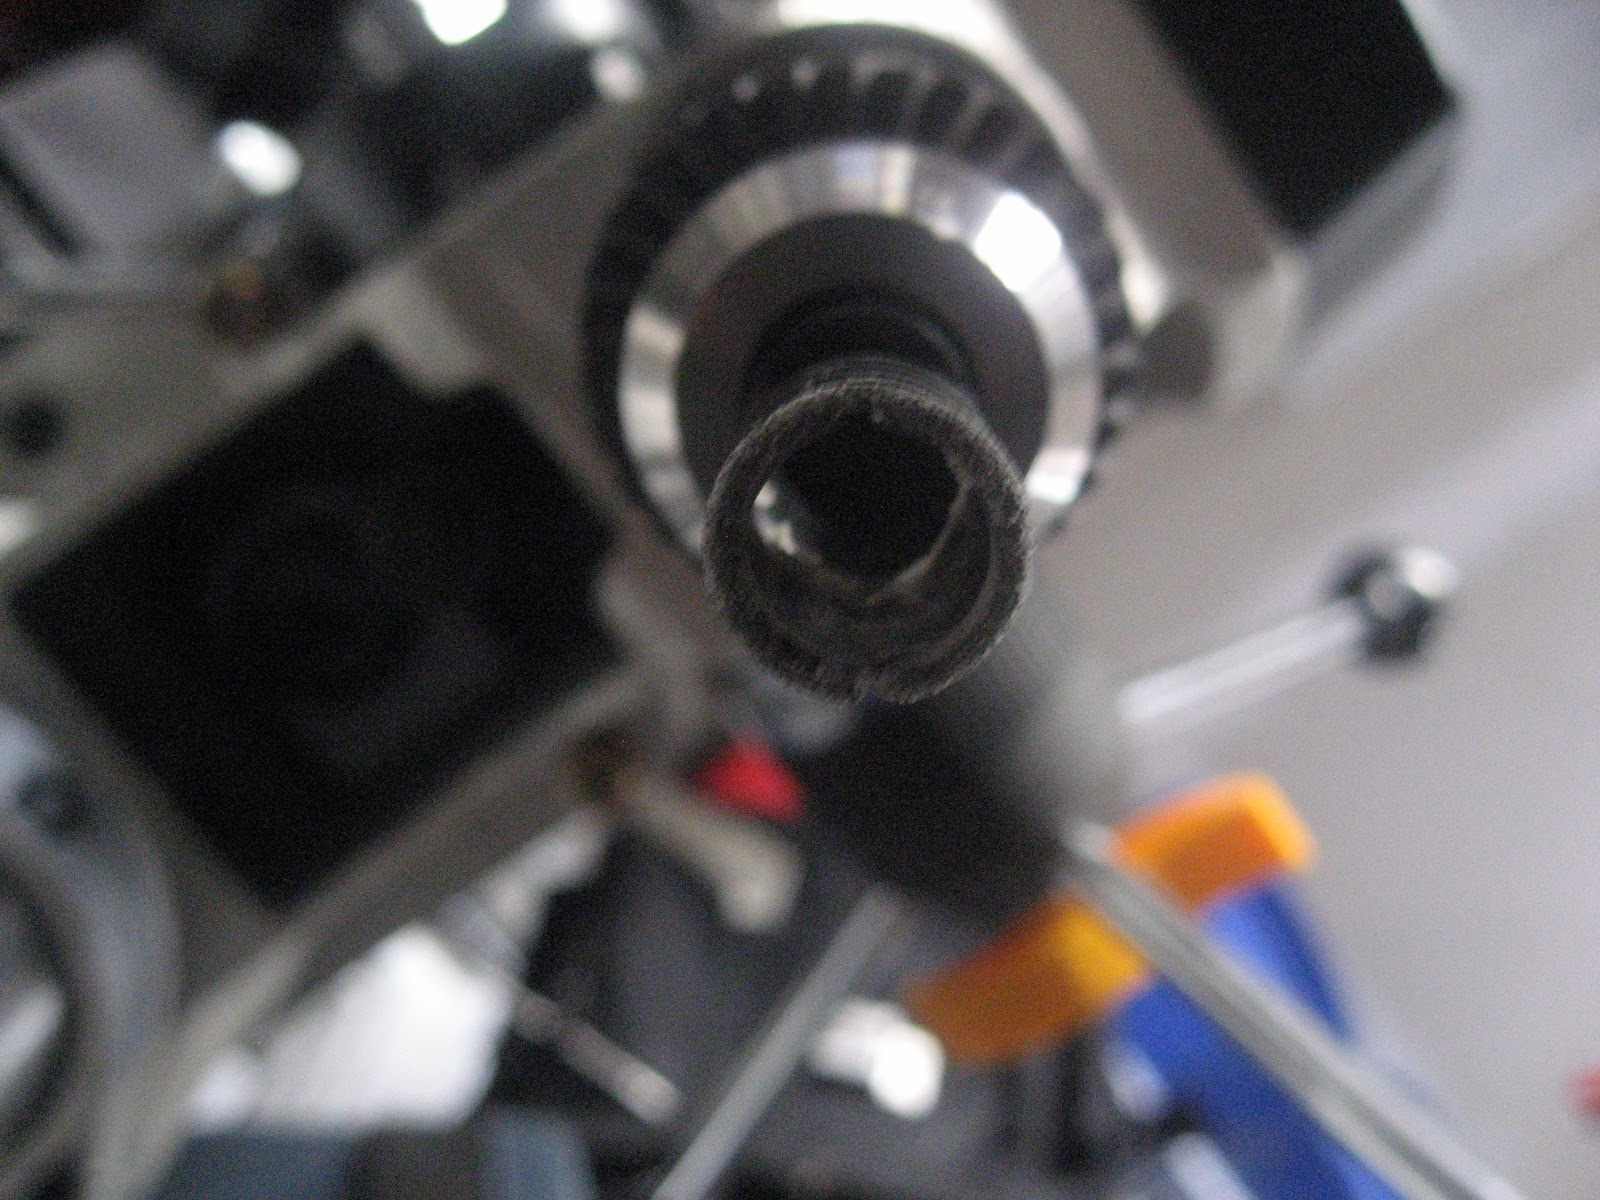
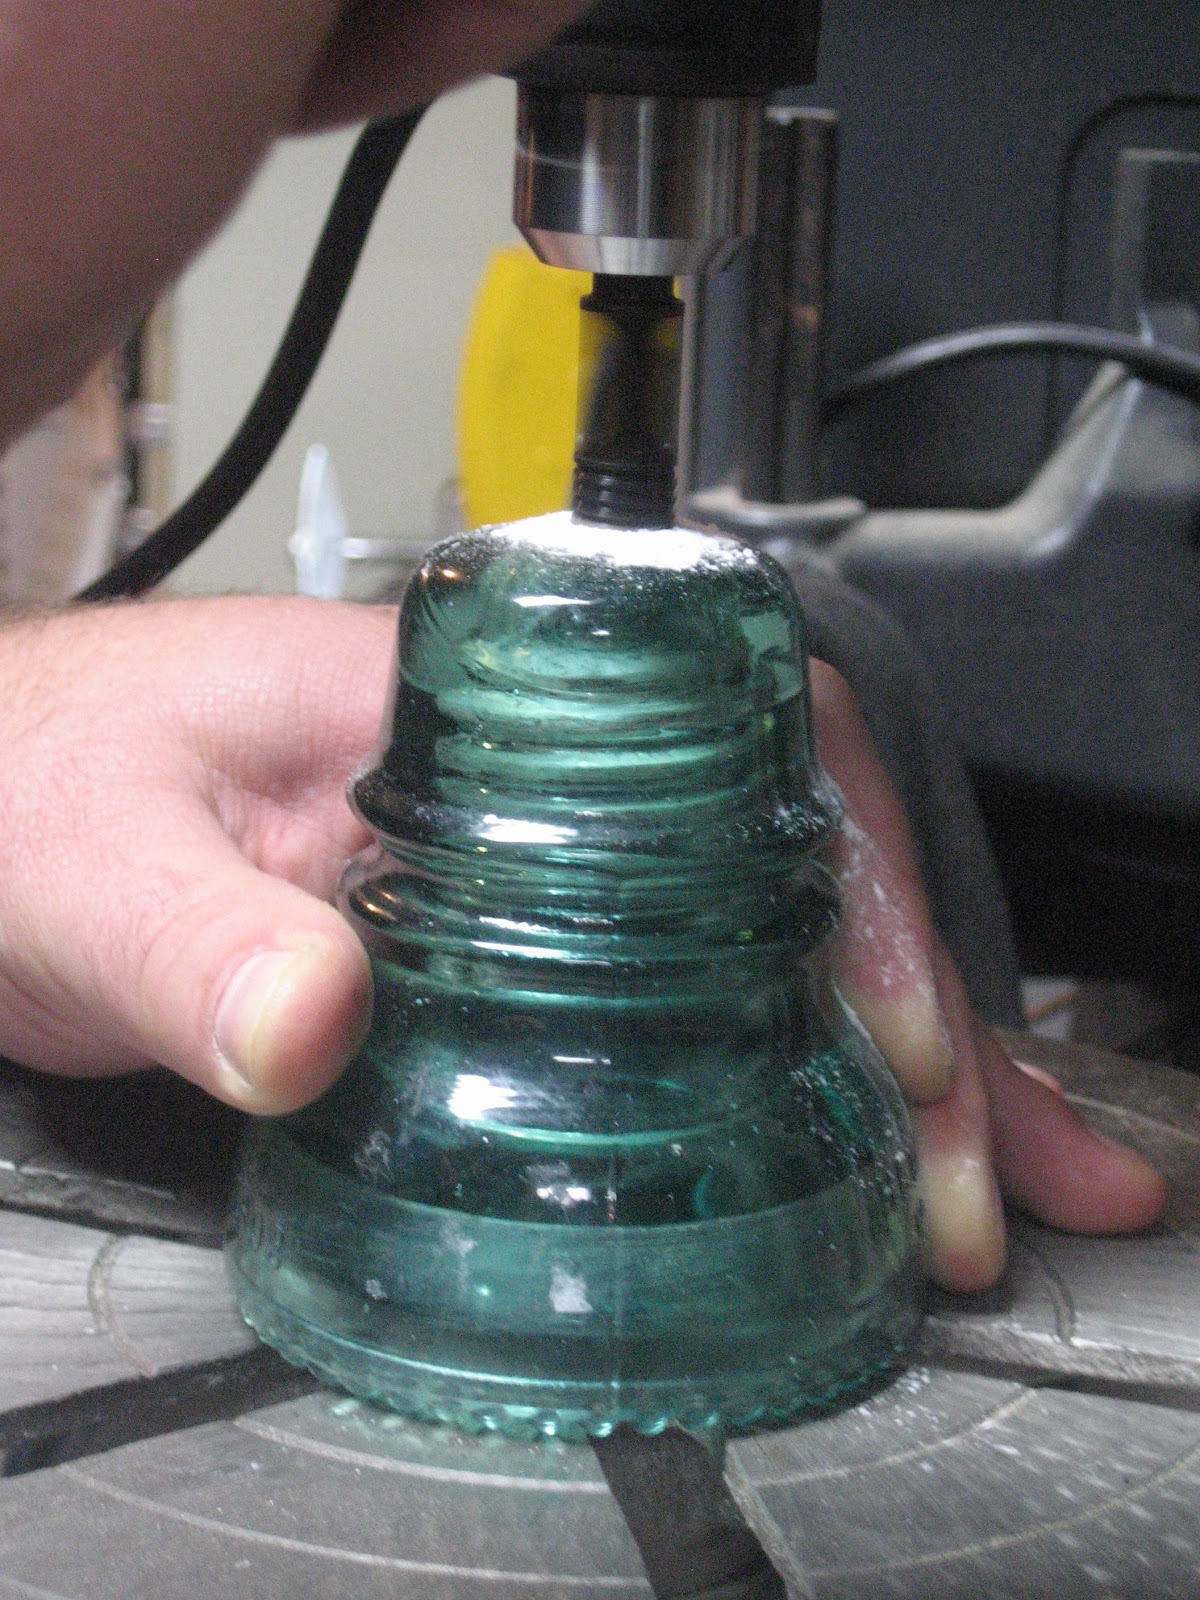
 I used a 1/2″ diamond bit I got at the home improvement store for $7.Now let me try and expand the difference between a bit and a hole saw….Cause this is where I got very confused and maybe you are too…They both are bits to use in a drill….The hole saw cuts a ring to make a hole and a bit drills a hole and works outward tomake a bigger hole.
 See?The bit I bought is considered a hole saw….Make sense???
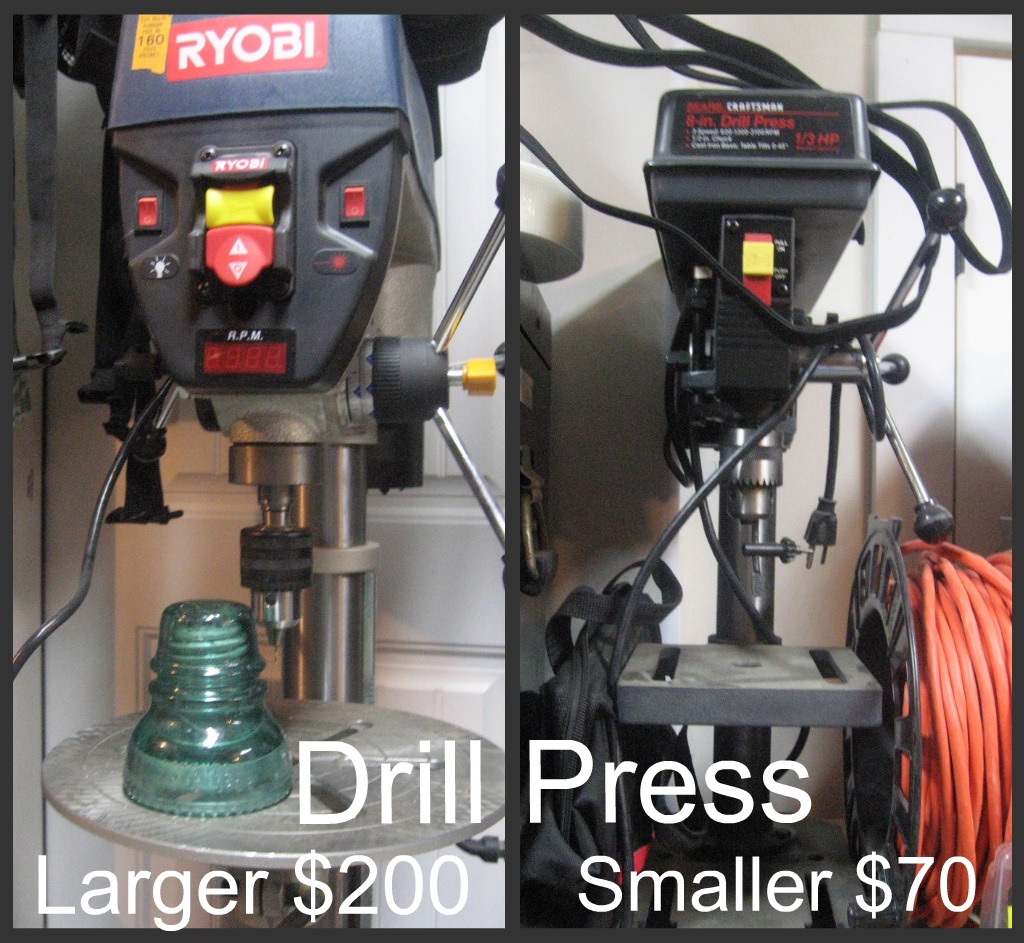
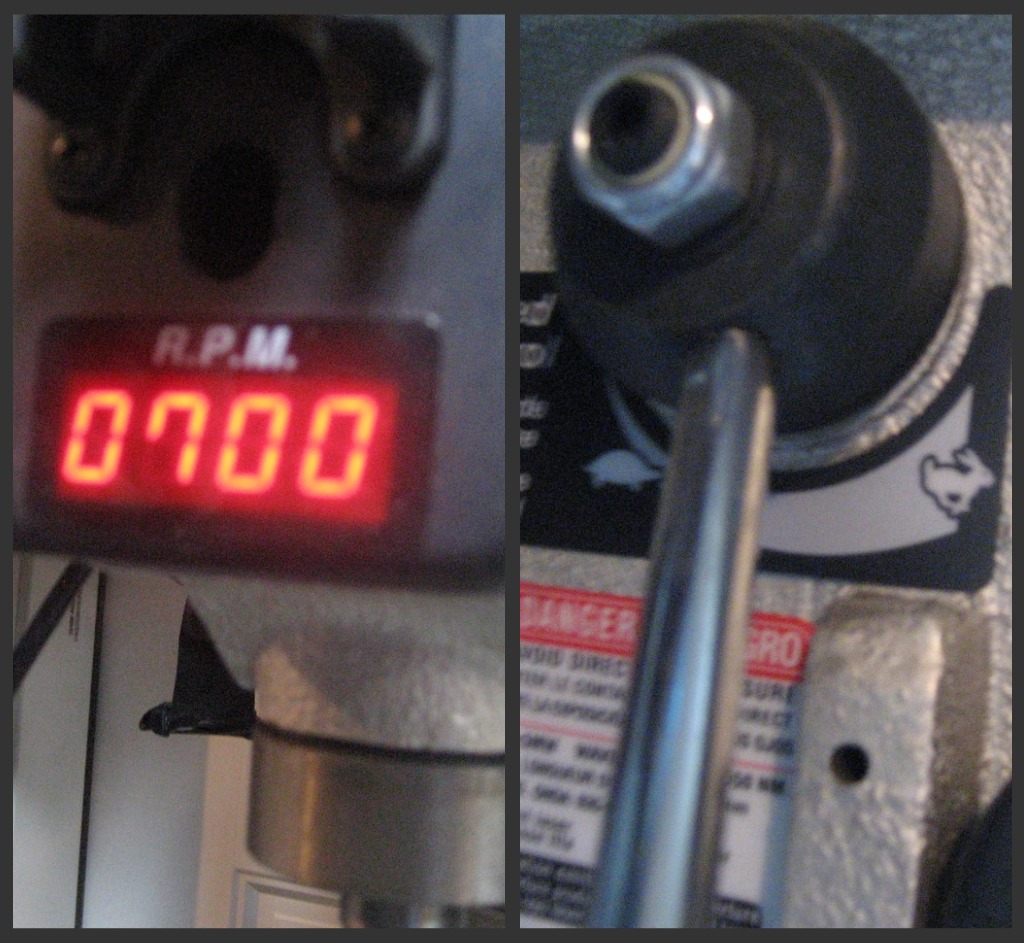
 Then I got to know the hubby’s drill press a little better… I used the larger one for this project.I’ve always been shy around power tools but this one is so easy to use and I’ve been using it for lots of other crafts too. See how you can set the speed for working with glass….the turtle for slow and rabbit for fast is how you change the setting on the R.P.M.
 Put in the diamond bit.Make sure you wear your safety glassesand don’t apply too much pressure….let the drill do the work.
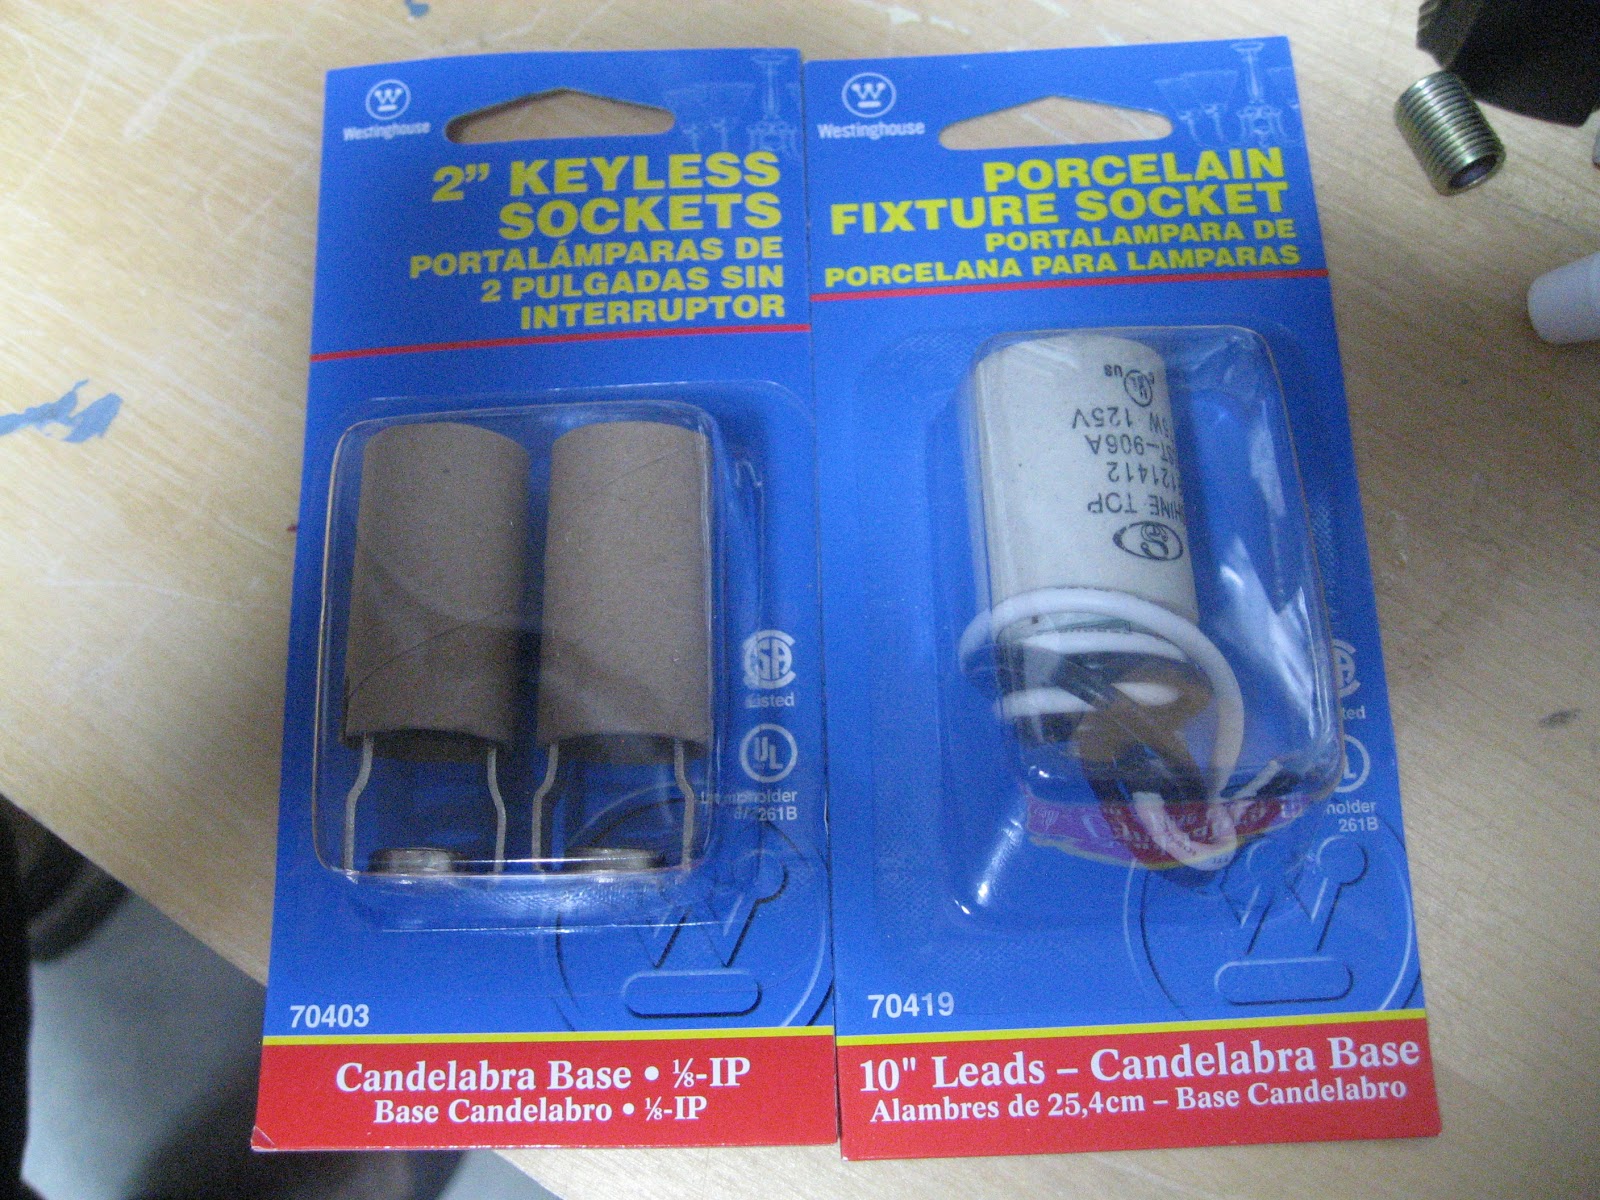
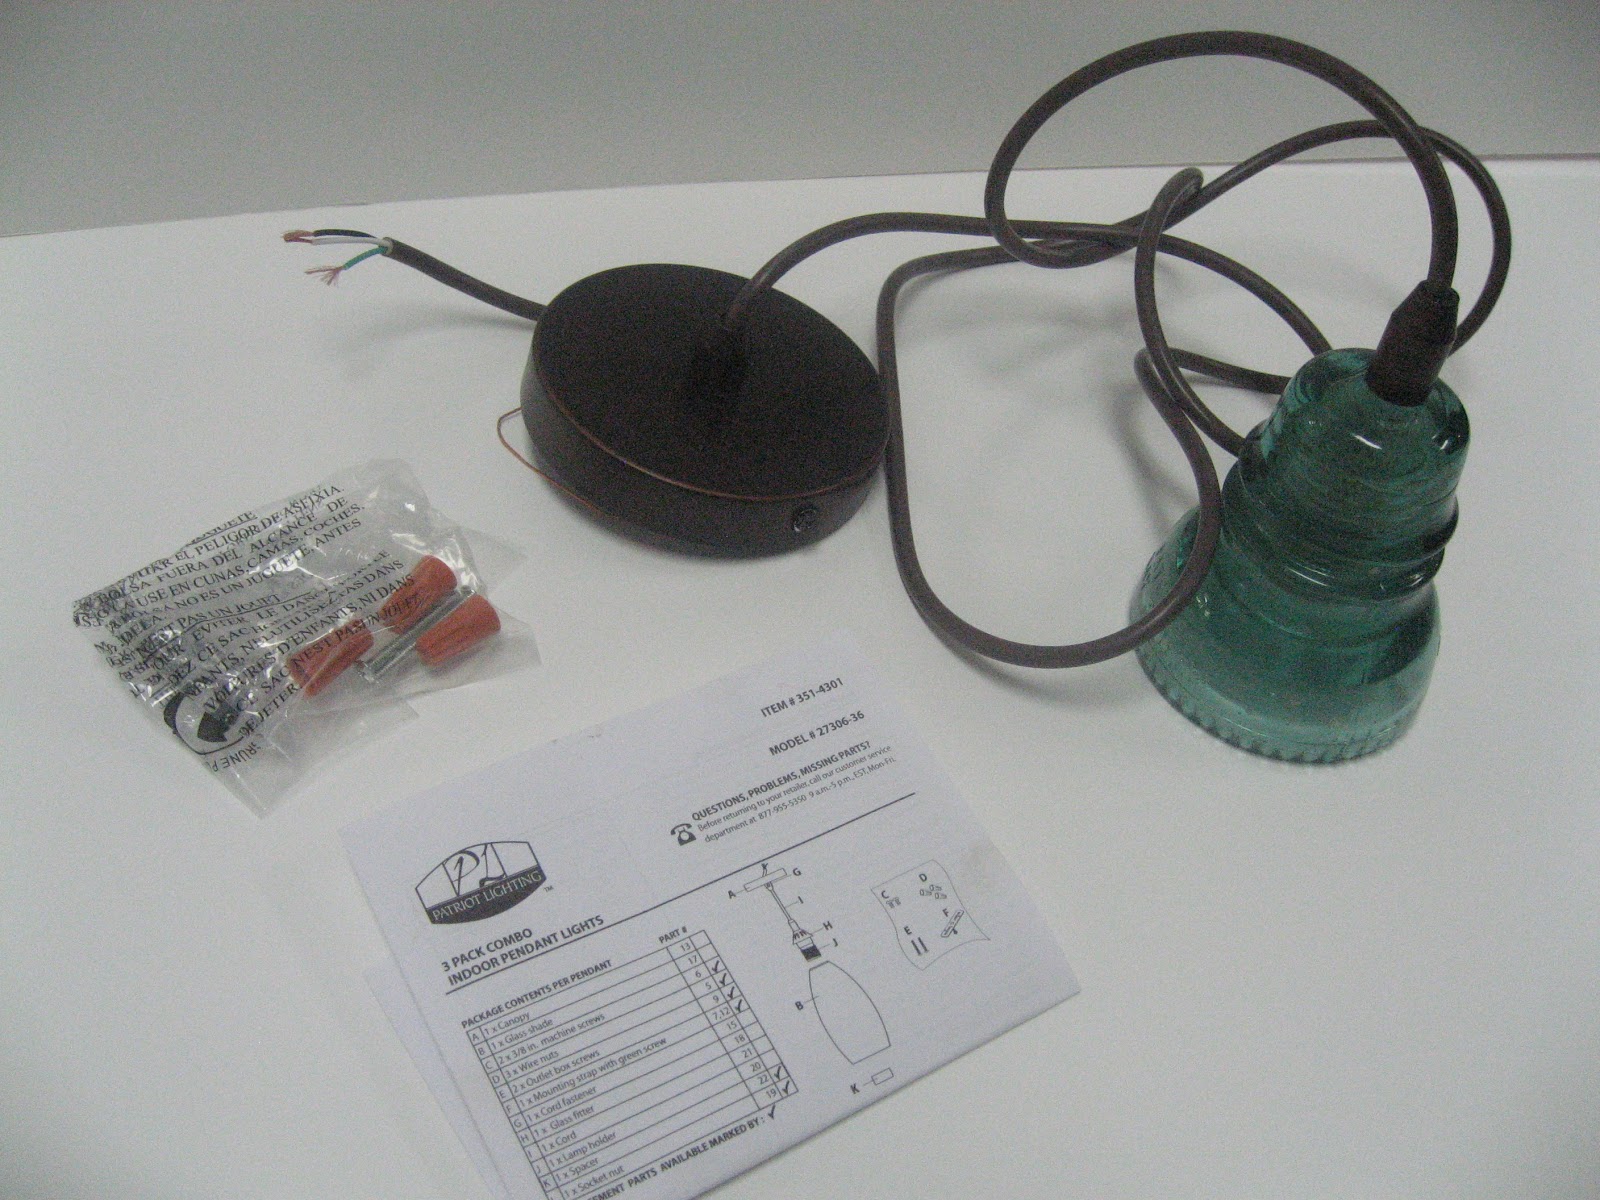
 We bought 2 socket kits($2 each) not sure which one to use…ended up using the smaller one without wires.There are a lot of different type pendant kits you can buy…like the one I bought to make aBut I found this on sale for $40 with a $20 rebate at Mernard’sMy plan was to replace the globes with my glass insulators
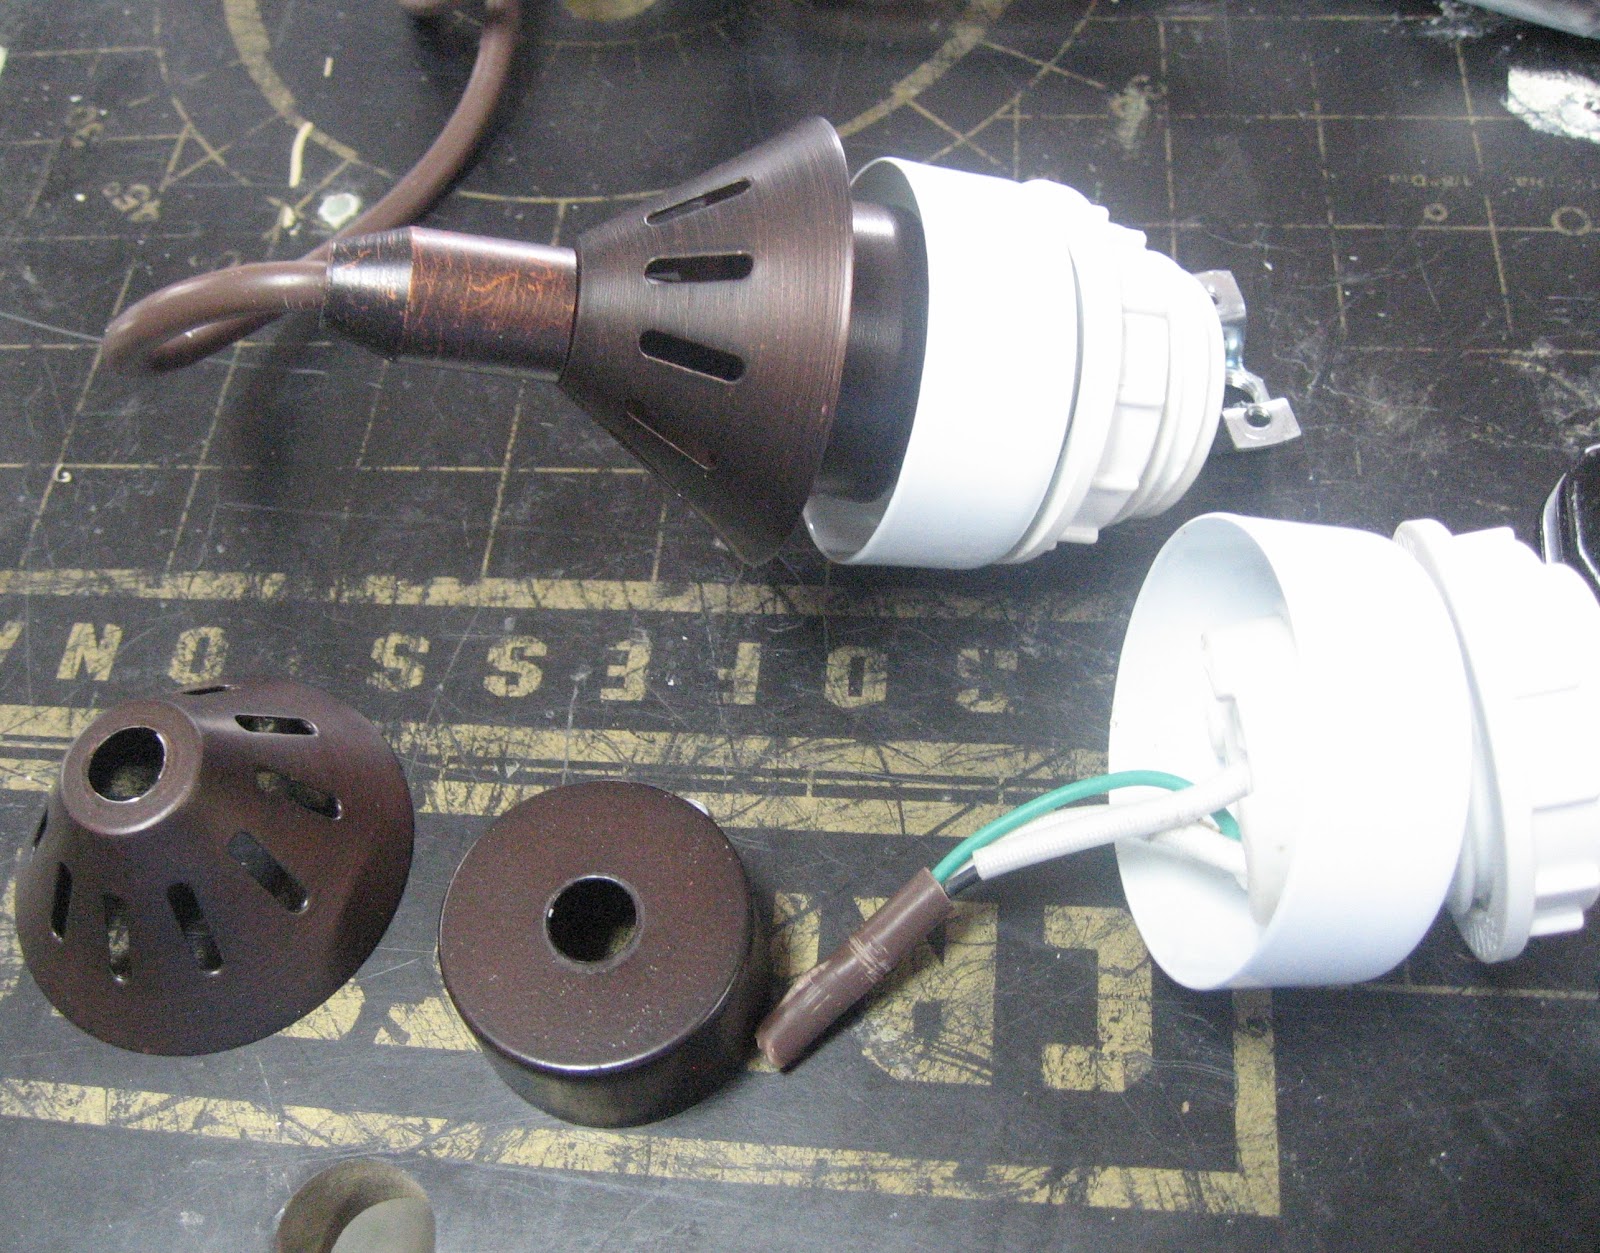
 Here are the ends of the pendant light…One still attached and one taken apartYou will need to use pliers to pull off the socket, wire strippers to remove the wires and then unscrew the other two pieces.(I’m sure had I found a pendant kit with a smaller socket I could have skipped this step and simply changed out the globe with the glass insulator.But a lighting kit with a small socket could not be found in my small town.)
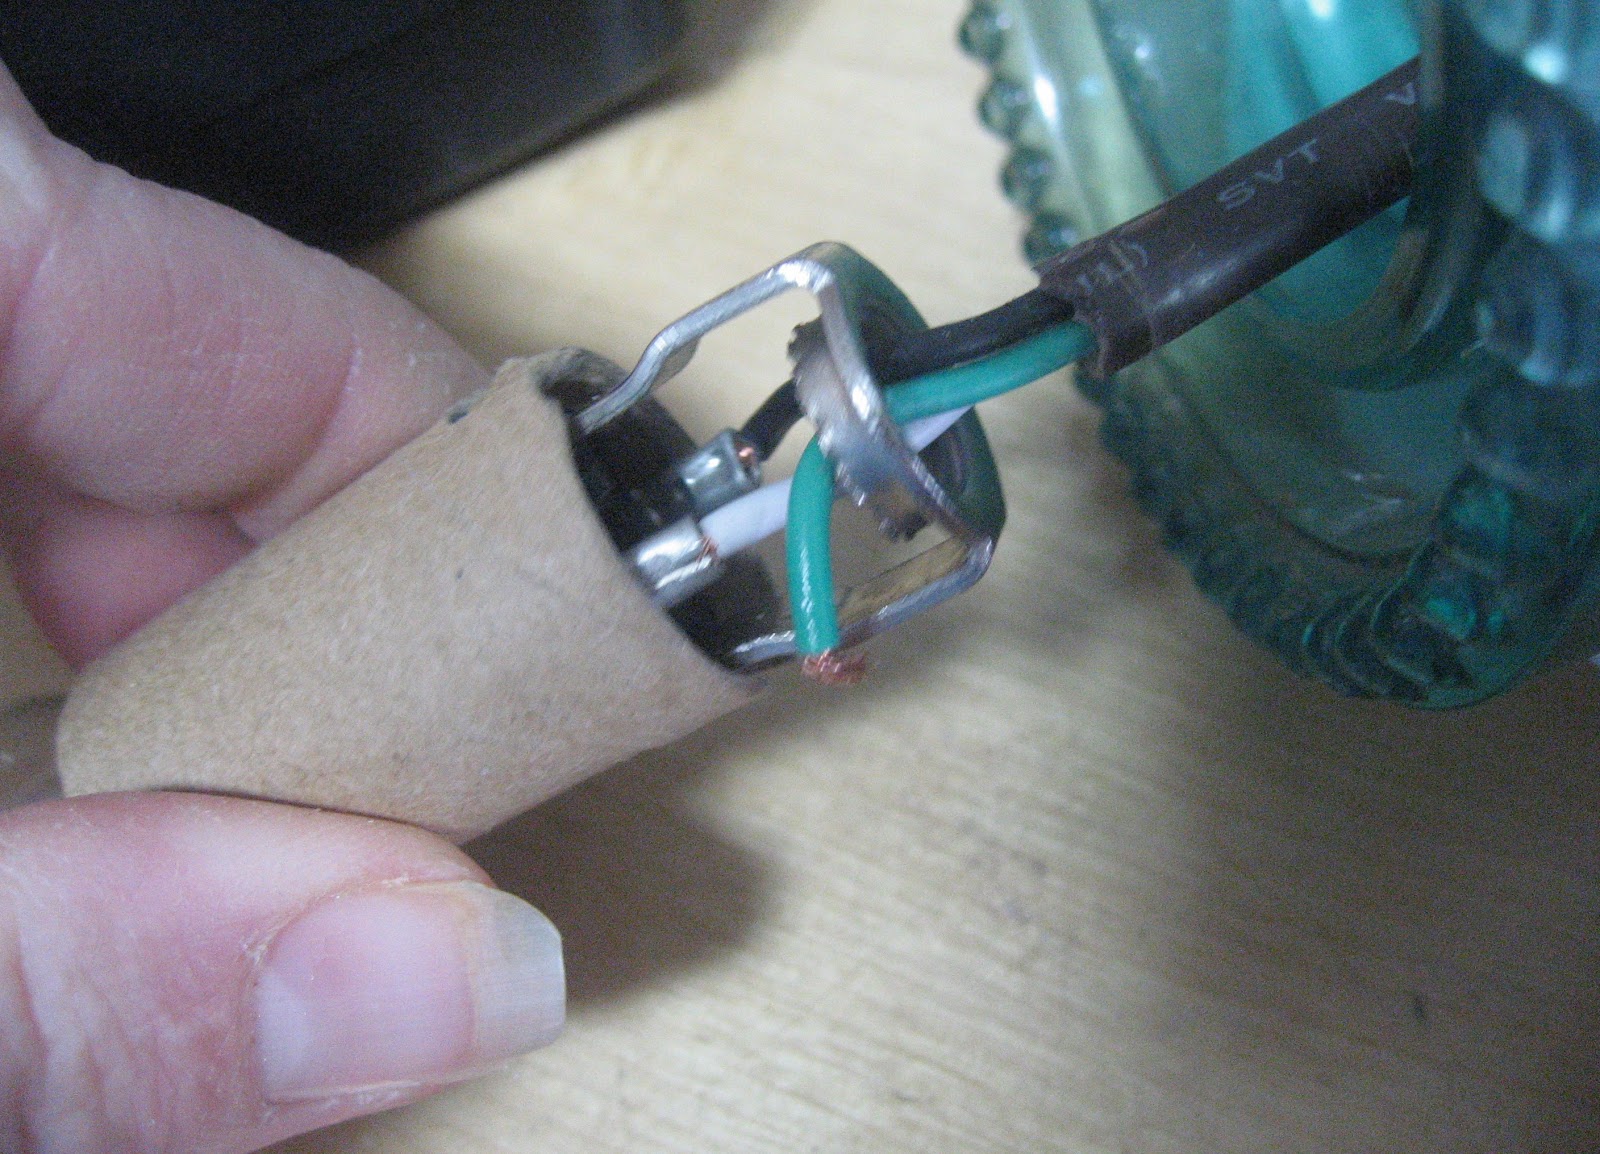
 So you will have these two pieces left….Thread the wires through the hole you cutand attach the socket
 There are instructions on the back of thesocket packaging.
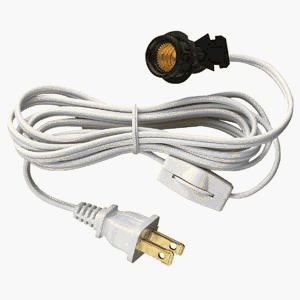
 I used an LED energy efficient long life bulbThere is also tons of helpful video’s on the internet about how to wire a socket.Ready to install…..This pendant kit comes with assembly and installation instructions.Remember you can also turn a CAN light fixture into a pendant light with a $10 converter kit. Here’s another single mini pendant kit you can purchase. I have seen these priced $10-$20 in White, Nickel and Black finishes.Don’t have a place to hang a pendant???
 Then you could pick up on one of theseclip on socket cord sets for around $5 at your home improvement store and make a lamp!
 So for around $35(light kit, diamond bit, sockets, LED lights)I made 3 charming pendant lights to hang in my kitchen


>So beautiful. I am really jealous because I have never seen these glass insulators before. If I ever come across any I will definitly make a pendant or two.
>Oh thank you so much for sharing!!! I really appreciate it!
>Fantastic idea! Love the colors – bet they give off a very nice sheen when lit. Great step-by-step instructions too.
>These are great! I have a few of those in my attic and that would be such a cool way to reuse them.
>This is fabulous!! I love the look and can't wait to see them in her kitchen.
>I love this– I have always looked at those glass insulators and loved them but was never quite sure what to do with them- thanks so much for the awesome idea!
>Hi!! I awarded you on my blog! Check, check! 🙂
>Fantastic idea for those insulators. They are so pretty!
>Love those lights. Am building a new house and have just the place for them. Thank you for the idea and thanks to my friend for pointing your blog out to me!
Great Detail. I have a box of these too. I have been making nightlights out of them!
If you don’t have the time or tools i’m selling these in my shop, with cloth covered reproduction wire.
https://www.etsy.com/shop/adamgatchel
Do you have updated photos of your railroad insulator pendant lights? Could you show the actual bulbs you used?
Sorry I don’t!!
Just bought 16 of these and we’re trying to figure out how to make them into a cluster of lights hanging at different lengths for the hair salon were building….can’t figure out the cheapest way to use all of them
You did a great job! I’ve been wondering how to make the holes in my insulators to make a couple (maybe more) of these hanging lights.
Thank you for sharing
When using a diamond bit to drill a hole in thd top of the insulator, unless you plan on only using the bit a few times, you should always try to submerge the area being drilled in water. This can be done by either submerging thd insulator in water just enough to cover the top, or build a small dam around the top of the insulator with plumbers putty and fill with water. This method prolongs the life of the bit by reducing friction and removing thd glass particles away from bit. It aso reduces the risk of a stray glass sliver flying out from thd bit.
Thank you for the tip, Robert.
I found diamond bit hole saws @ Amazon Dril-it I do believe they work much than a bit. Try turning insulator upside-down and put 1/4″ soapy water in tor lubrication. Go slow and easy.
As an avid collector with over 40 years in the hobby, i beg that you please check the value and rarity of an insulator before you drill. I saw a lamp made from a very rare insulator. By drilling this insulator, it’s value went from $4,000 to zero! Many collectors value these and you can join one of the many insulator groups on Facebook to become educated as to the value of what you have. Even a common Hemmingray 42 in certain colors can become a very valuable piece.
Thank you for the info, Jack.
I tried 7 insulators but every one of them cracked when I drilled them.