Rustic Vinyl Wall Decal Art Tutorial
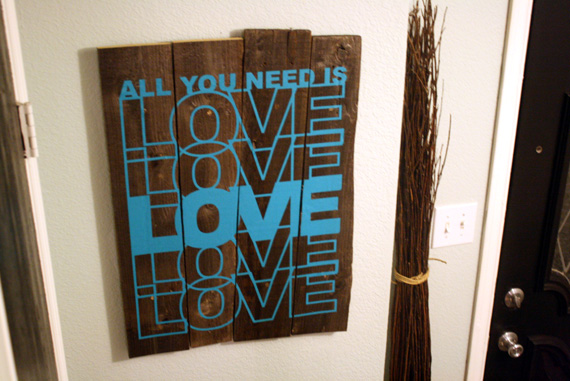
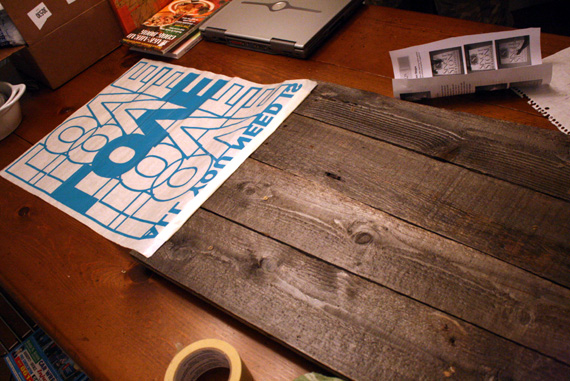
I was lucky enough to be able to be able to try this awesome vinyl decal for myself and and so happy with the results:
Want to make one of your own? Okay here is what I did, so you know where to start!
Supplies:
Beautiful Vinyl Want Decal from Single Stone Studios
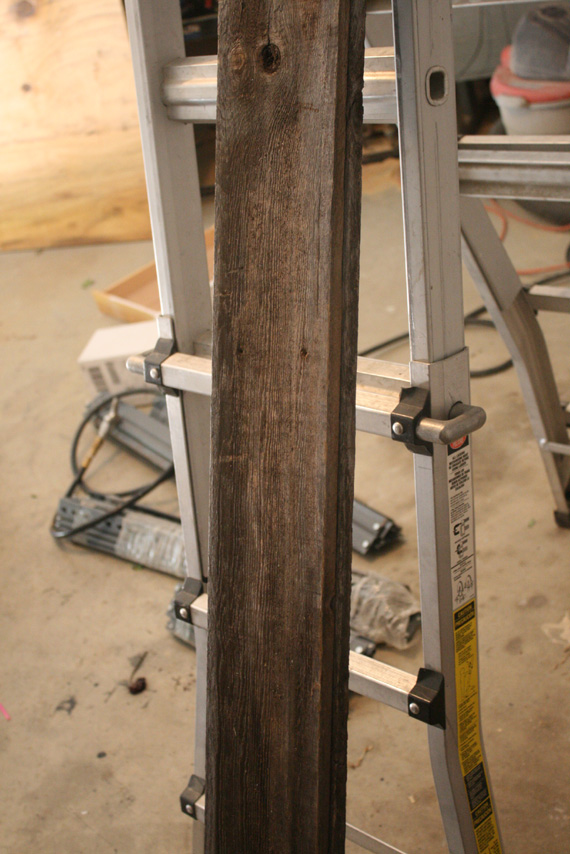
2 Salvaged wood boards (found on bulk garbage pickup day!)
several old screws
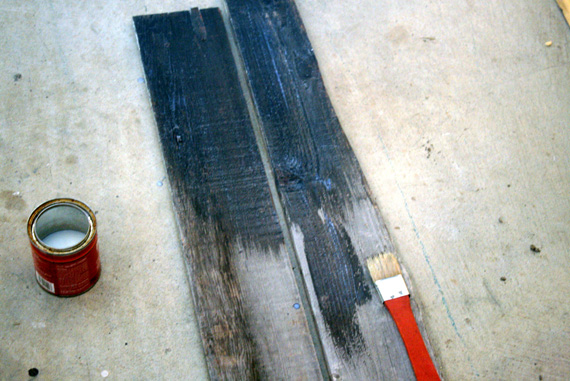
Water Based Polyurethane
Tools:
Credit card (put them to good use!)
Cheap paint brush
Drill
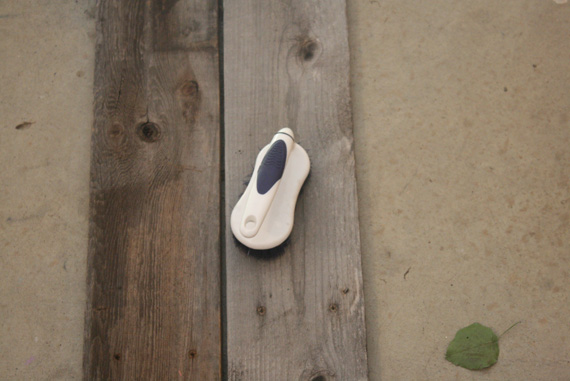
Scrub Brush
Exacto Knife
Saw (for cutting boards)
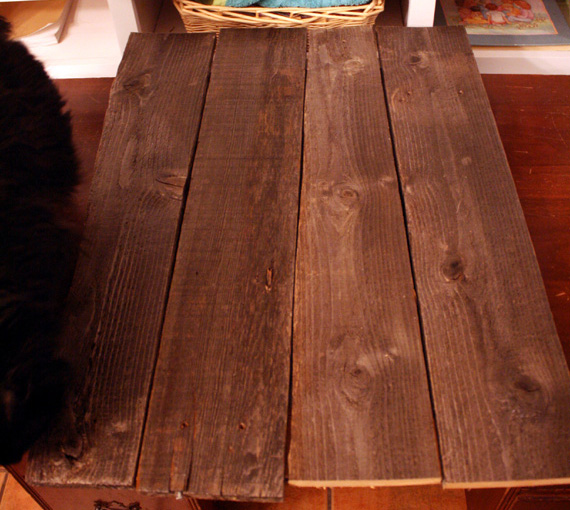
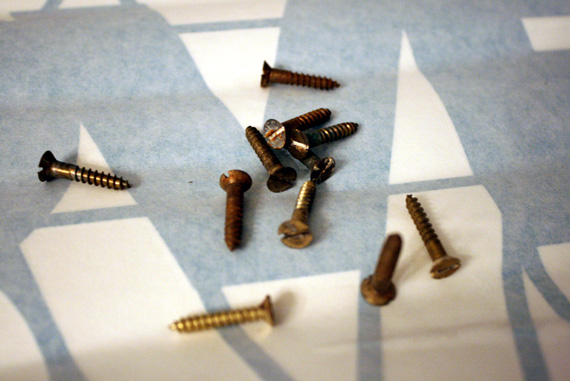
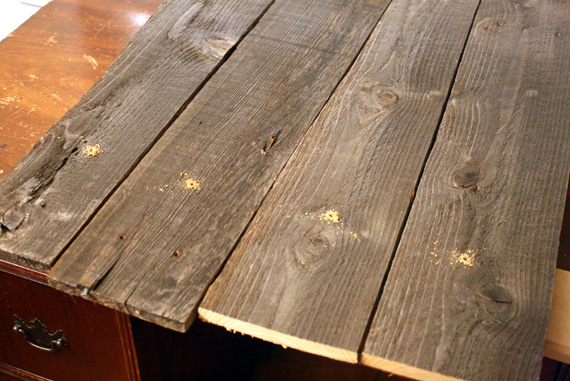
Pre-drill holes for screw to avoid splitting the wood. We screwed the boards into a horizontal piece of the same wood, that we placed on back. We had one on top and bottom (forgot to photograph it sorry!) Leave the screw exposed, that is part of the beauty!
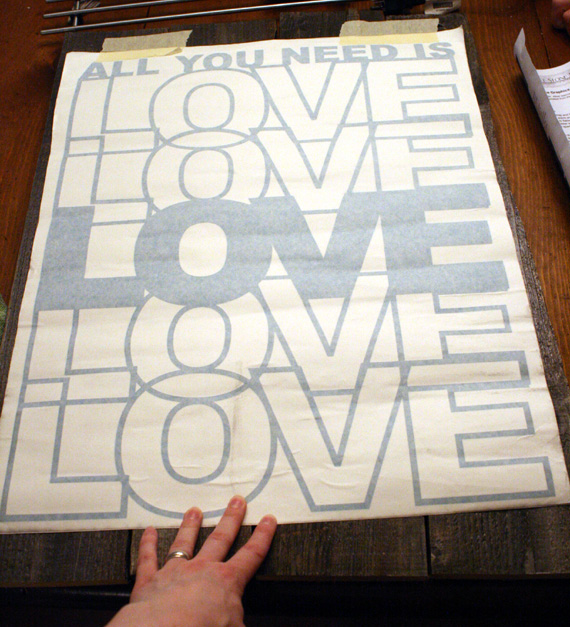
Follow instructions that come with your vinyl, making sure you have gone over all of the art with a credit card or similar tool to adhere the glue properly. Once that is done, position your art onto your boards and tape at top to secure in place. Flip over and remove the paper backing.
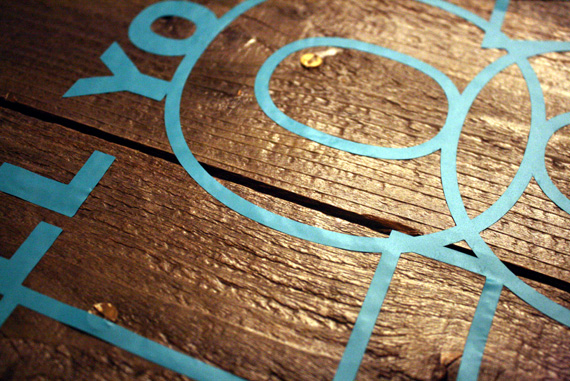
Carefully turn it back onto the wood, and rub that baby with all your strength!! You may have to do a little extra rubbing after you peel off the paper to make sure it is adhering well. The polyurethane will help the vinyl stick (so I hope you didn’t sick that step!)


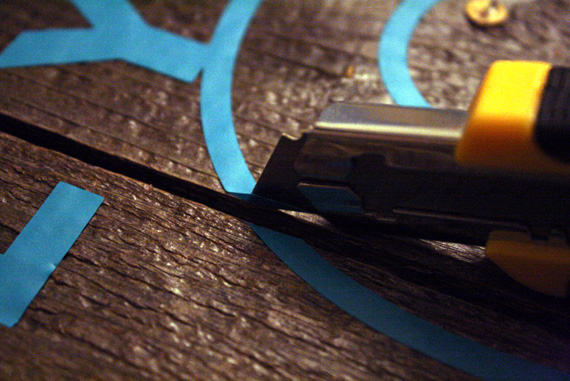
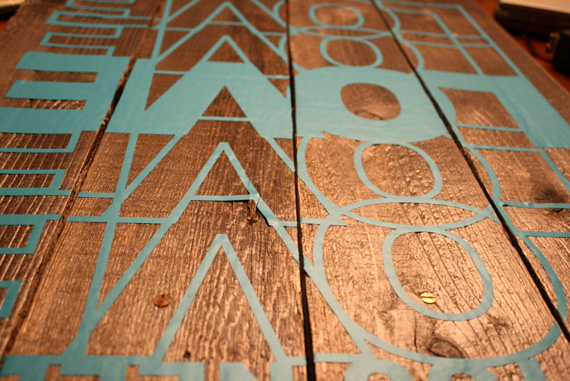
Slowly and carefully cut the vinyl that spans between the gaps of the boards. Just let the knife follow along the edge of the wood. If the vinyl pulls instead of cuts, replace your blade and I found that it also helps to start your cut just inside the vinyl (not from edge to edge). Experiment cutting the small portions before moving on to the bigger sections, so you feel comfortable.
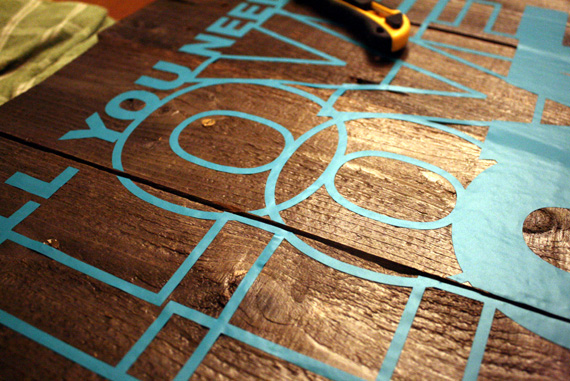
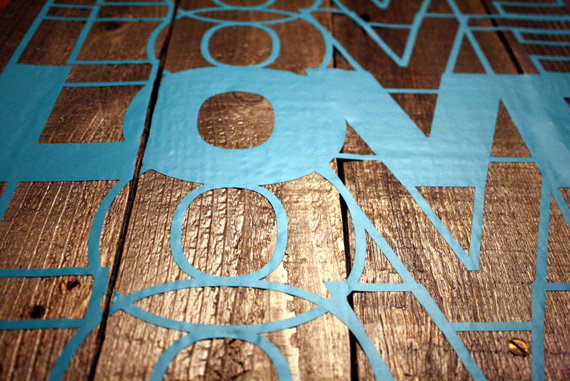
You can see in the picture above what a difference it makes to cut out the gaps. Like it was meant to be together, no applied afterward!!
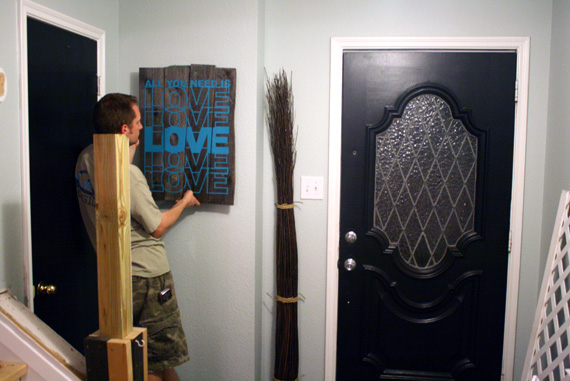
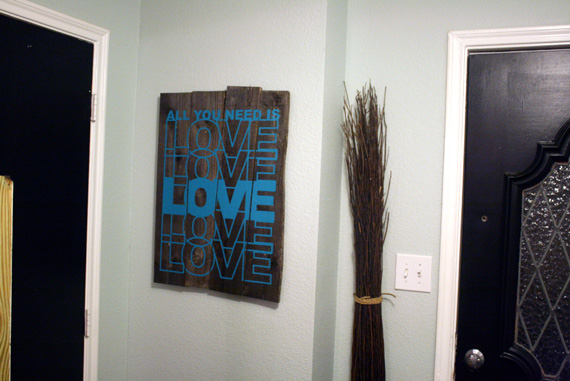
We found the perfect place for this in our entry (right next to my still unfinished stairs!!!) To hang it we took the easy way out. Simply screw a 2 1/2 inch screw right through the entire thing into a stud. It is rustic with exposed screws already so you won’t notice it at all!


Hi Cassity!
I would like to do something like this on white-washed wood for a wedding present, but I’m concerned about how it will hold up long-term. (It’s a blended family with 5 active boys between them). Has the vinyl lettering stayed on? Did you put any top-coat on?
Thanks!
So I just watched the tutorial on wall decals to scrap wood (HUGE help!), I don’t have to put a protective seal on it?
Nope, no sealant required. 🙂
Hi!
So far your cutting decals with gaps is the only tutorial I can find.
I have a child’s gapped bottom seat rocking chair I’m applying a 5 inch Disney decal to the seat and I’m not sure how to cut gaps without cutting out an eye or other part of decal.
Any ideas?
Hi Sue, I think you’ll just have to estimate and be really careful about where you place the image. You could use a printed version of the decal to estimate the placement and mark the corners so you know right where to place the decal, maybe? I hope it works for you — good luck!