Smooth Sailing, Driftwood Sail Boat Project
This little project is so cute and fun. I actually would love a beach house someday ( wouldn’t we all…) and when I get that beach house I am making these for sure! They are by Rachel and Holy Craft, what do you all think!
My father in law just celebrated his 60th birthday. My sister and law and I planned a little gathering to celebrate this milestone. We went with a beachy/sailboat theme since we were giving him sailing lessons for his birthday. I was in charge of decorating, and one of the things I came up with were these driftwood sailboats.

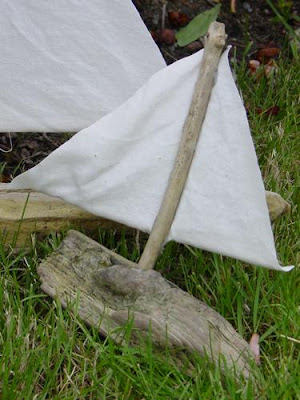
After about a half an hour of beach combing, I picked up nearly all the supplies I needed. I grabbed various sizes of driftwood and as many long skinny straight sticks as I could find. The rest of the supplies, I had on hand. I used muslin and a glue gun to piece them together.
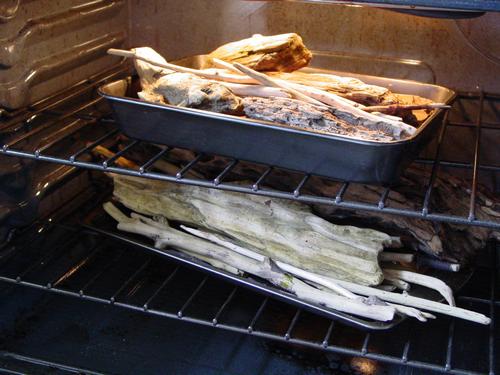
I live in the Pacific Northwest. It’s springtime…everything is wet. The driftwood was no exception. I wanted to expedite the process so I took my driftwood and sticks home put them on cookie sheets and cooked them in an oven on 250 degrees for about 2 hours.
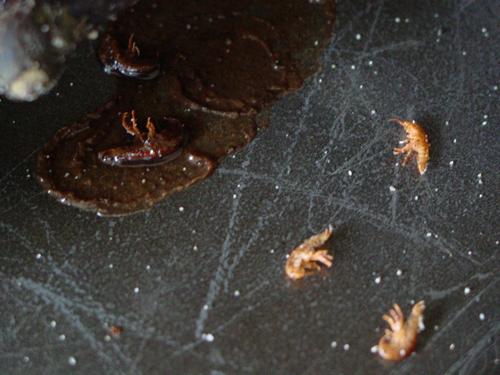
The only real benefit from the cooking it seemed was that the bugs got cooked out. Yummo! Other than that, it didn’t seem to dry the wood out any faster. It only succeed in making my house smell like a stinky beach on a super hot day!

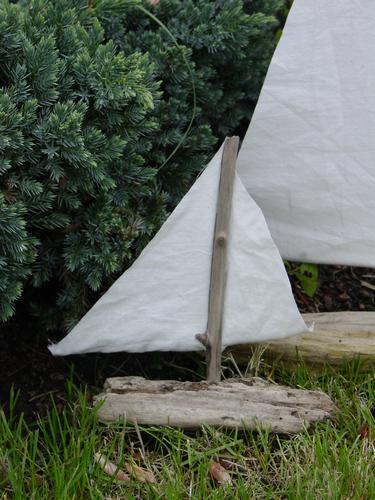
I then paired up the driftwood and a stick, and sweet talked my hubby into doing the hard part.
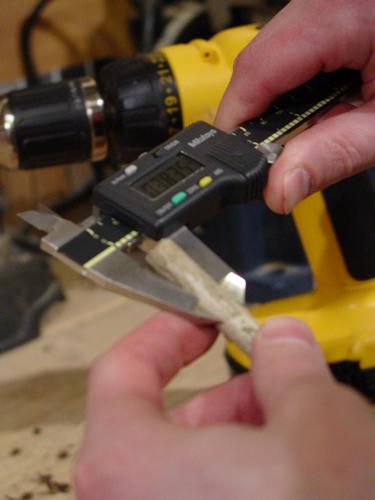
He took calipers to the wood stick, measured it and found the right size drill bit (he tried one smaller than the measurement) and drilled a hole making sure he didn’t go all the way through to the bottom. You need a real tight fit so the stick fits snugly in the drilled hole.

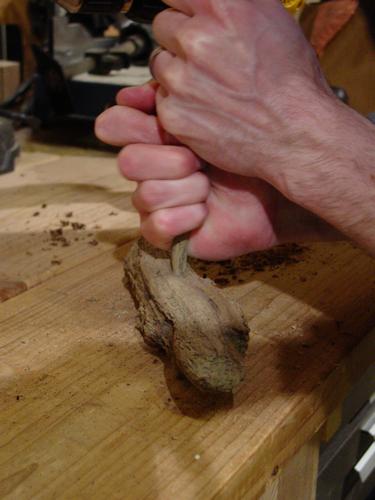 Don’t you just love man hands doing all the work?!
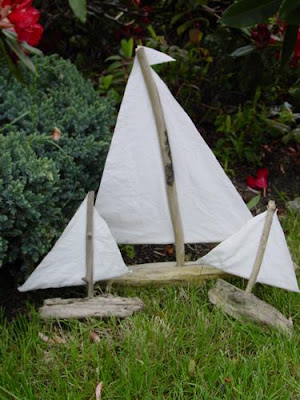


>These are really cool and easy! Thank you for sharing.
>love the idea! Thanks for sharing!