Stenciled Drapery Tutorial
Stenciled Drapery Tutorial by Heather

Hi Remodelaholic readers!!! I am so glad to be guest posting today, from one remodelaholic to another!!! I blog over at {twenty}something where I write about turning a builder beige turn-key into a home through lots of DIY projects and lots of great Pottery Barn and West Elm knock-off tutorials…all done on a teacher’s budget!

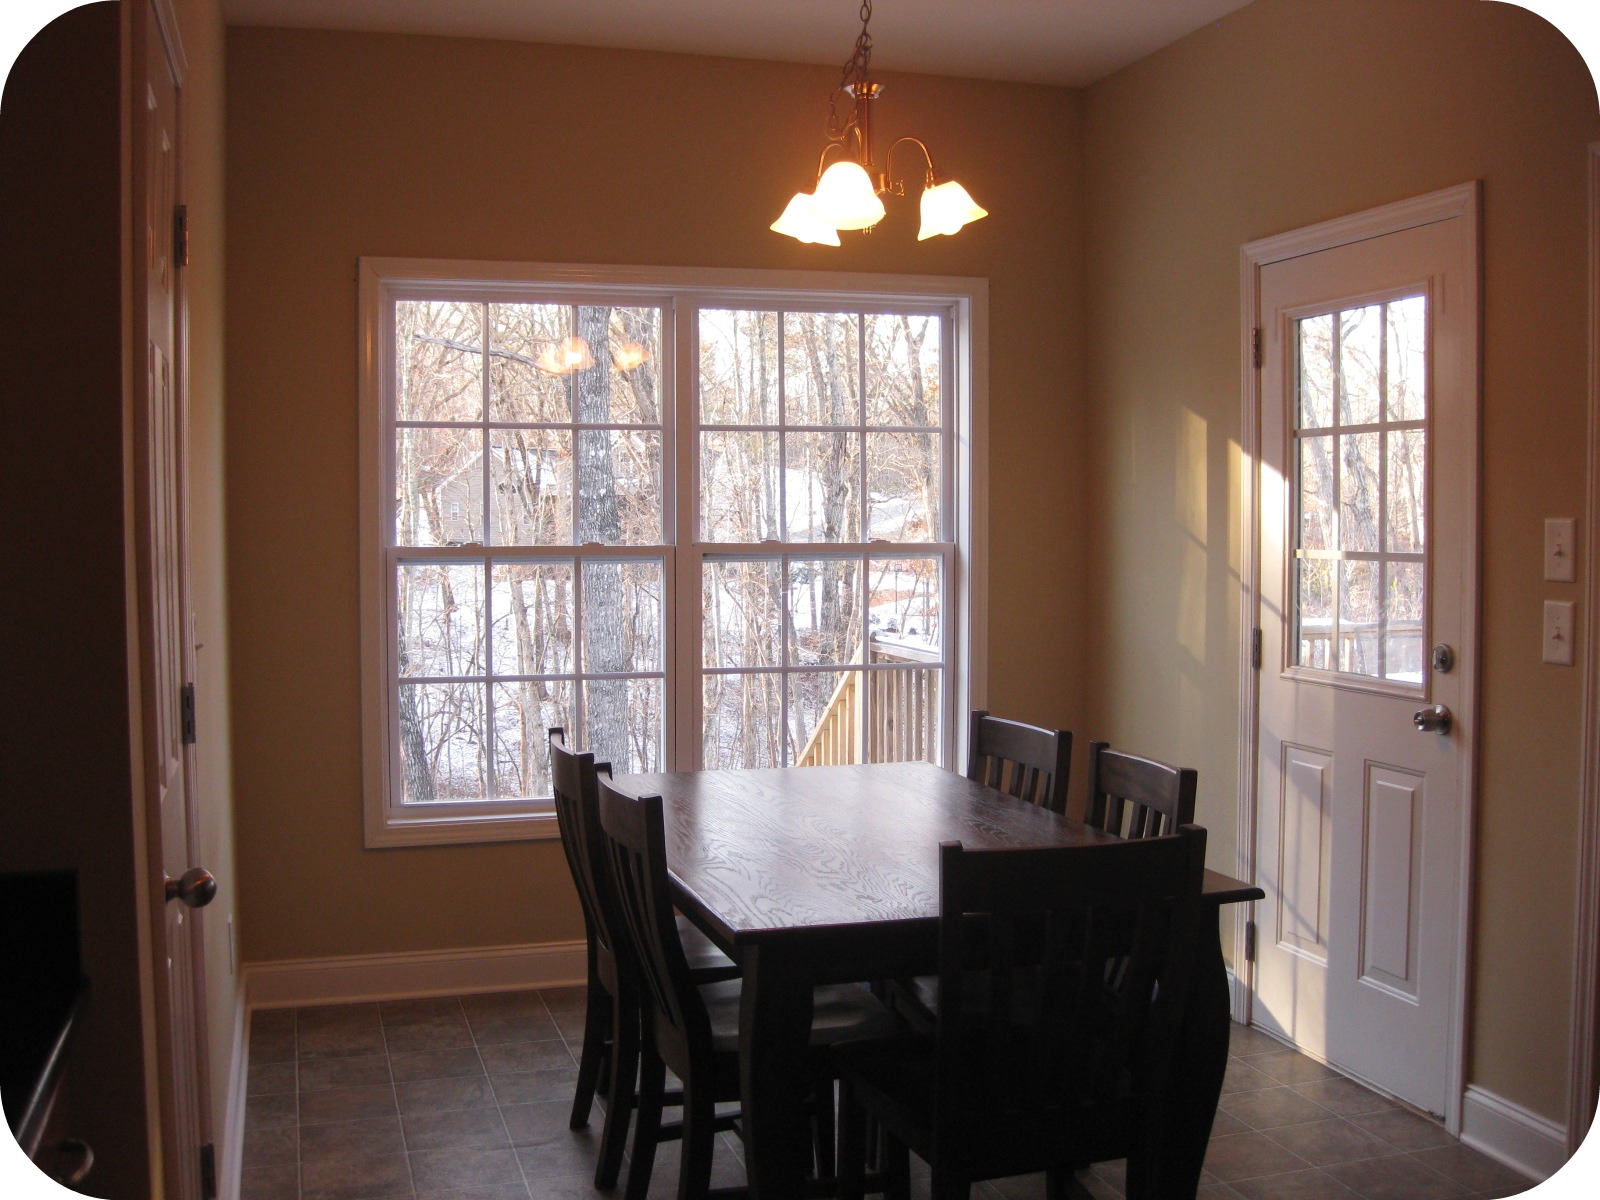
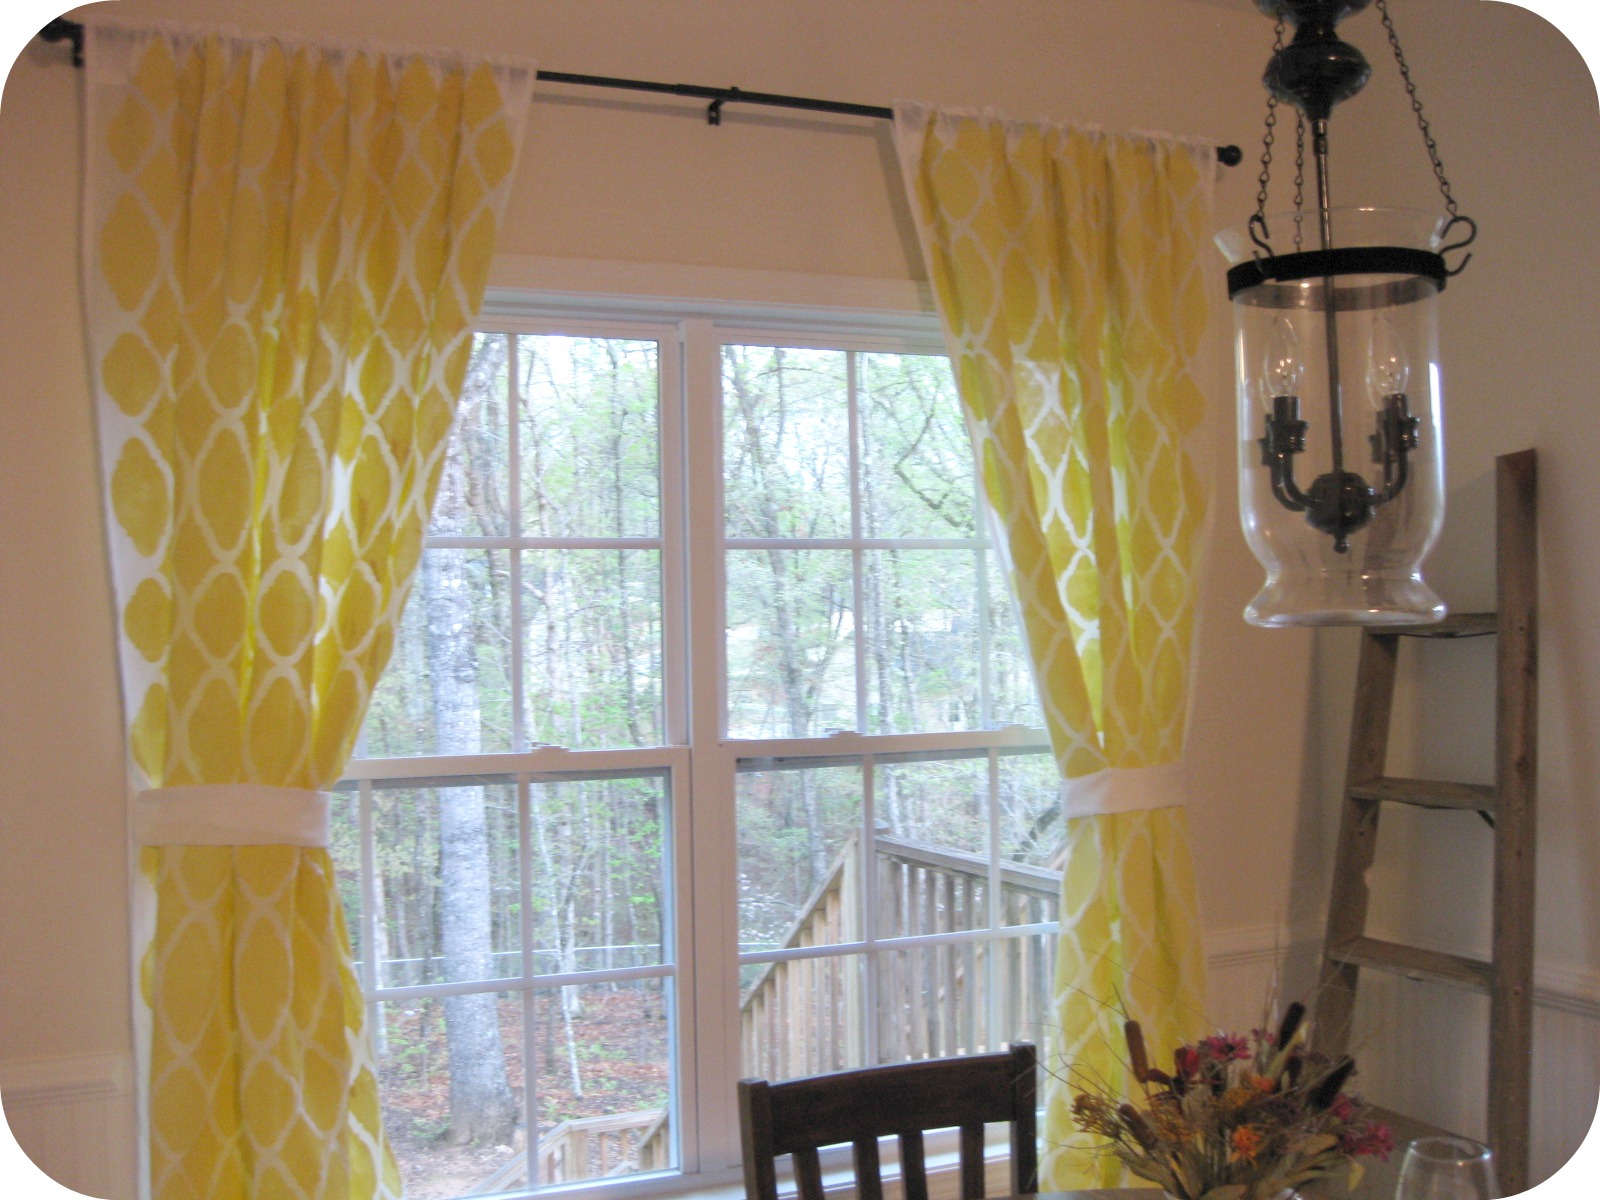
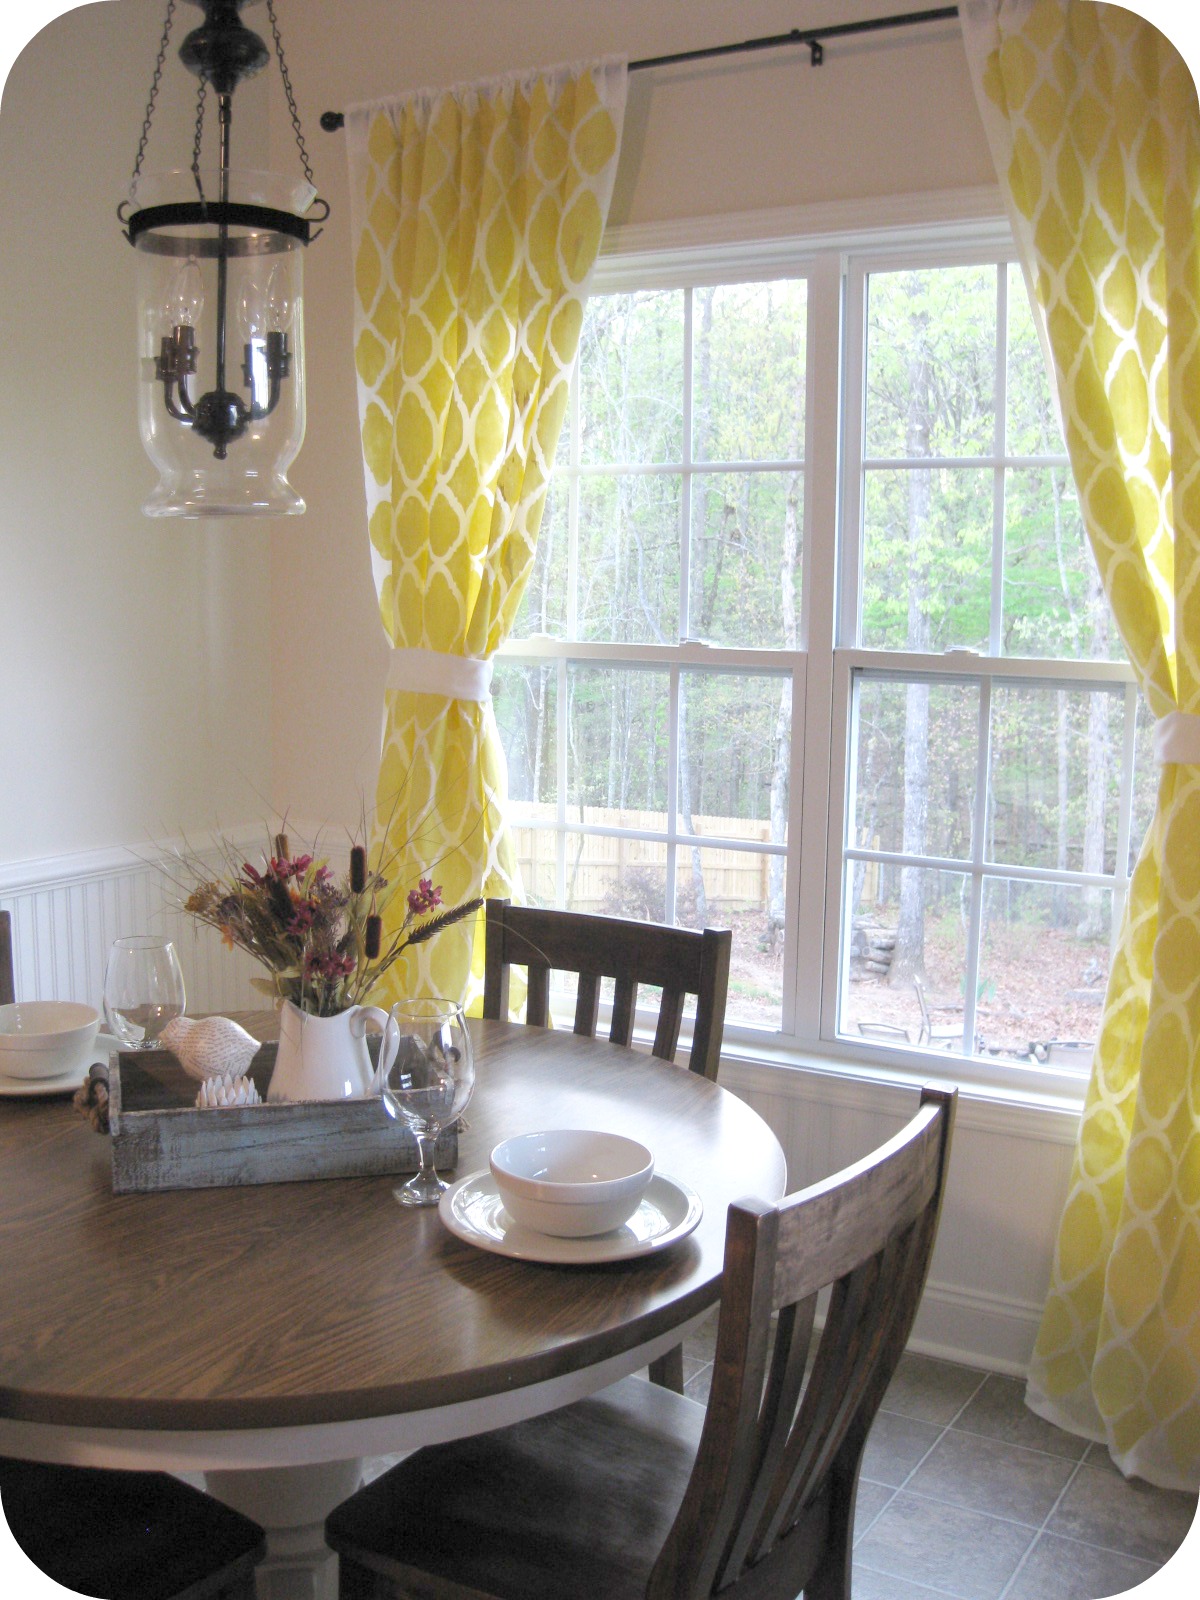
Here is the project I am sharing today. I took my breakfast nook from this:
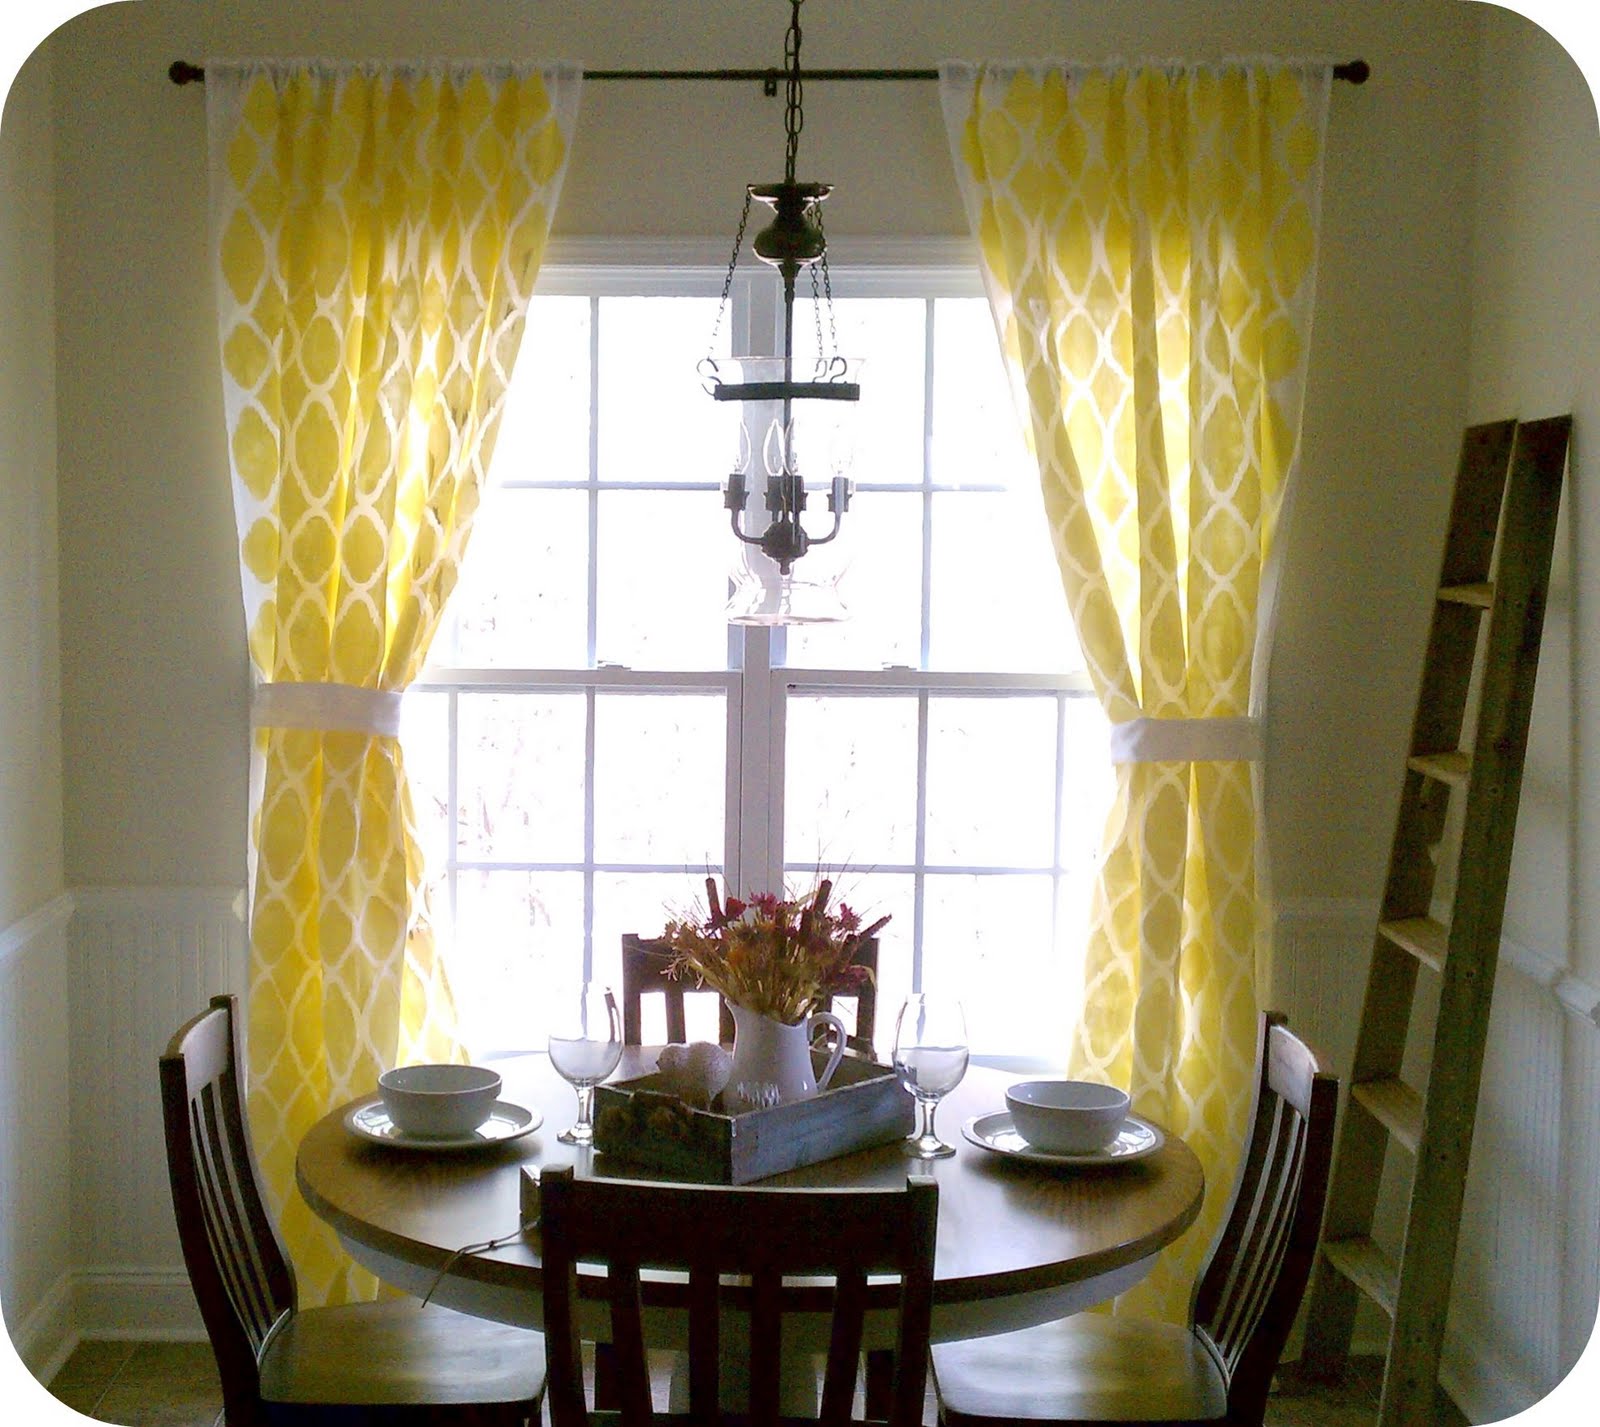
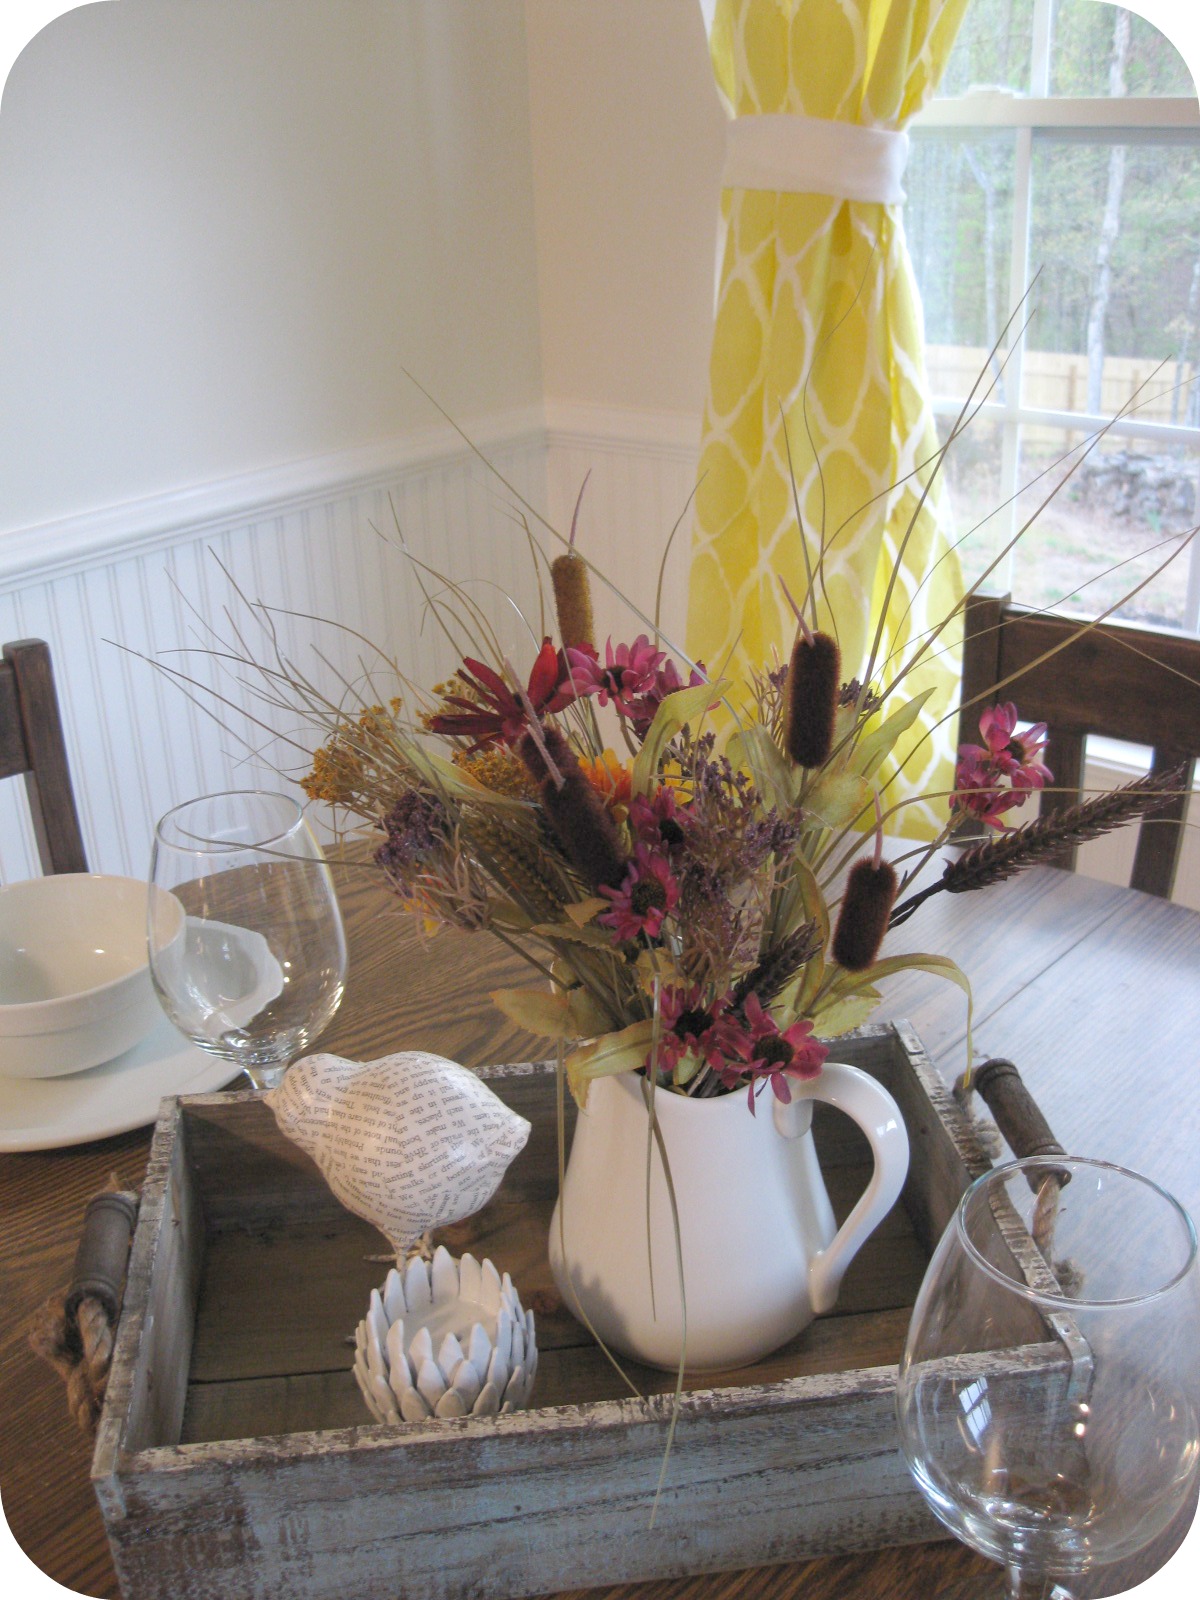
To this:
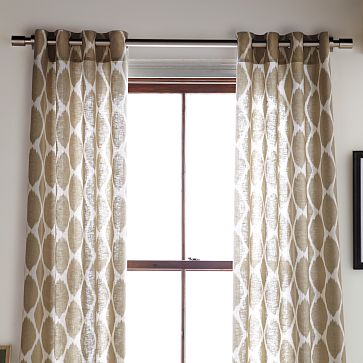
Since Christmas, we have been redoing our breakfast nook. Since curtains are the next most dramatic thing you change in a room besides paint color, I set out to make some curtains inspired by this West Elm photo:
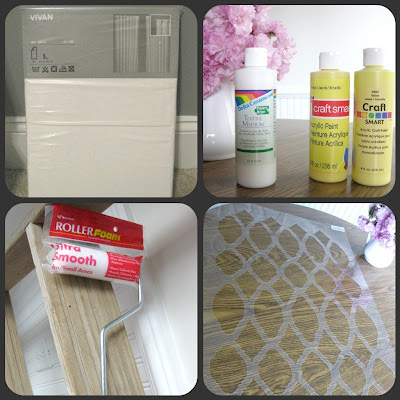
Stenciled Drapery Tutorial Supplies You Will Need:
- Curtain panels (Ikea Vivan in white)
- Acrylic Paint (Craft Smart, Yellow)
- Fabric Medium (Delta Ceramcoat)
- Stencil (Zagora Allover Stencil from Cutting Edge Stencils)
- Foam Roller
- Brown Craft/Painter’s Paper
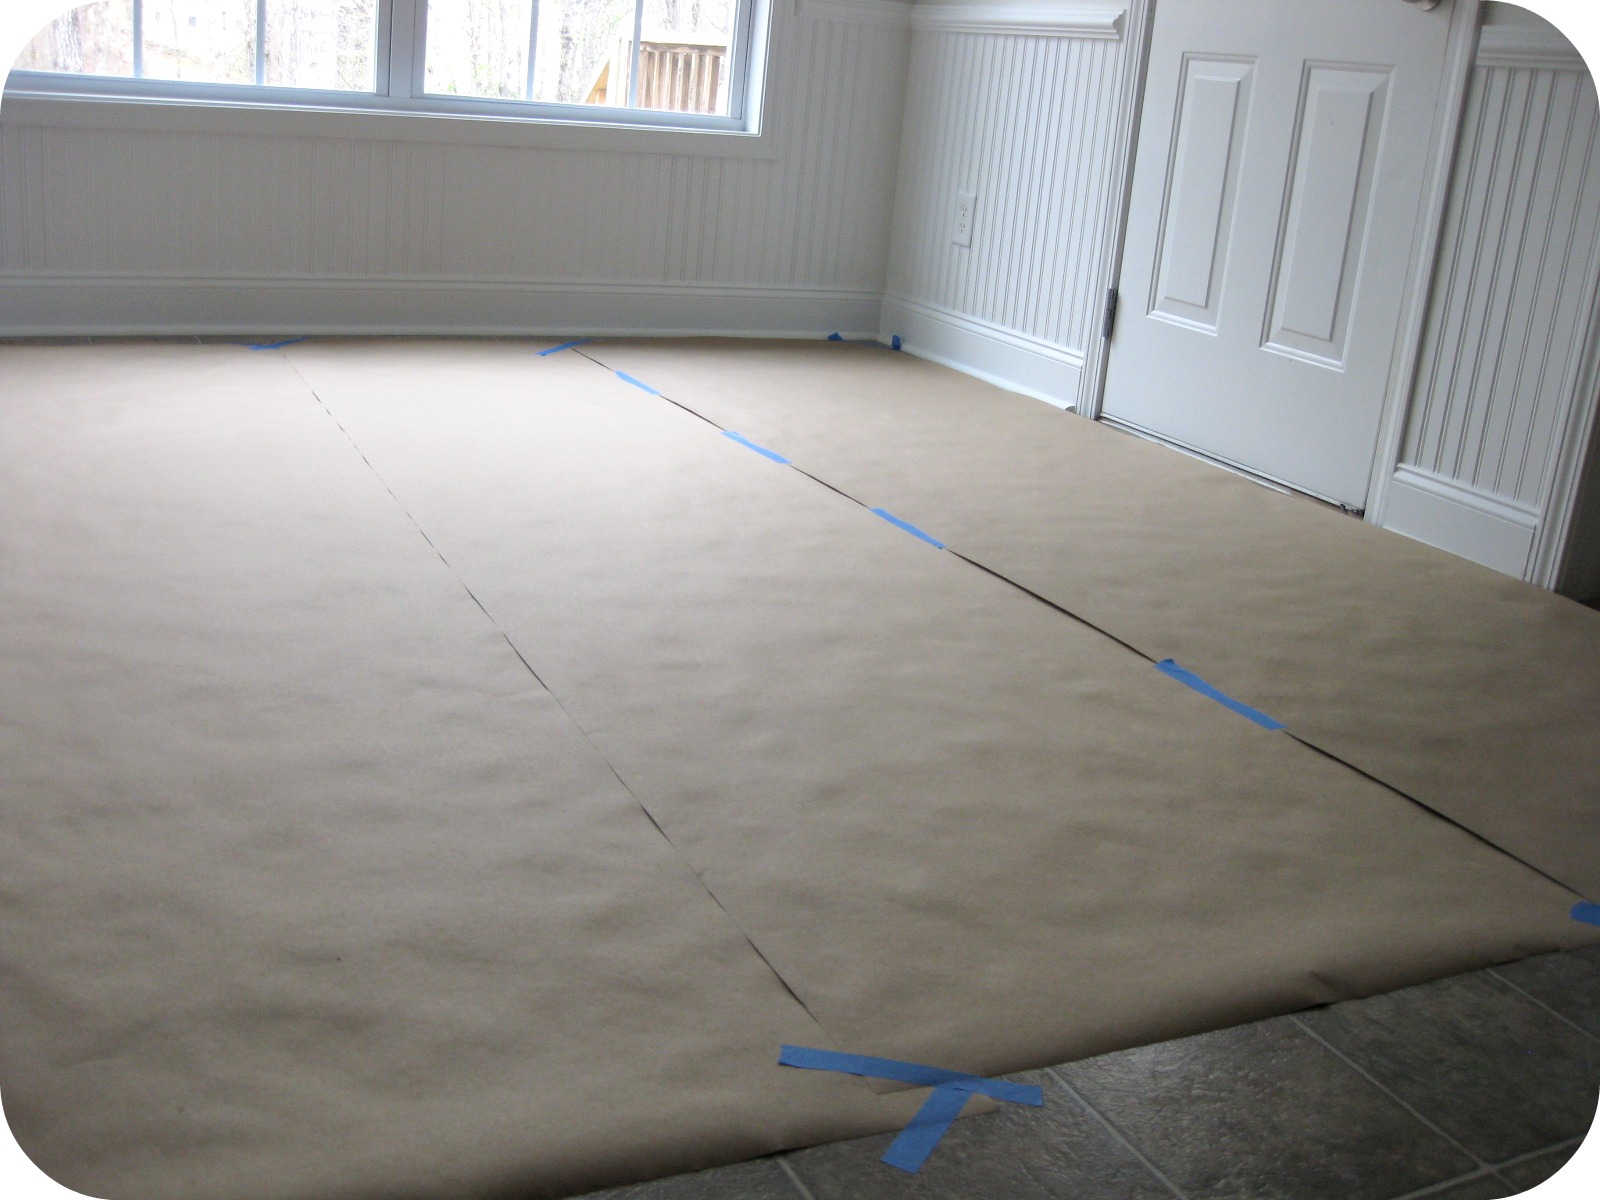
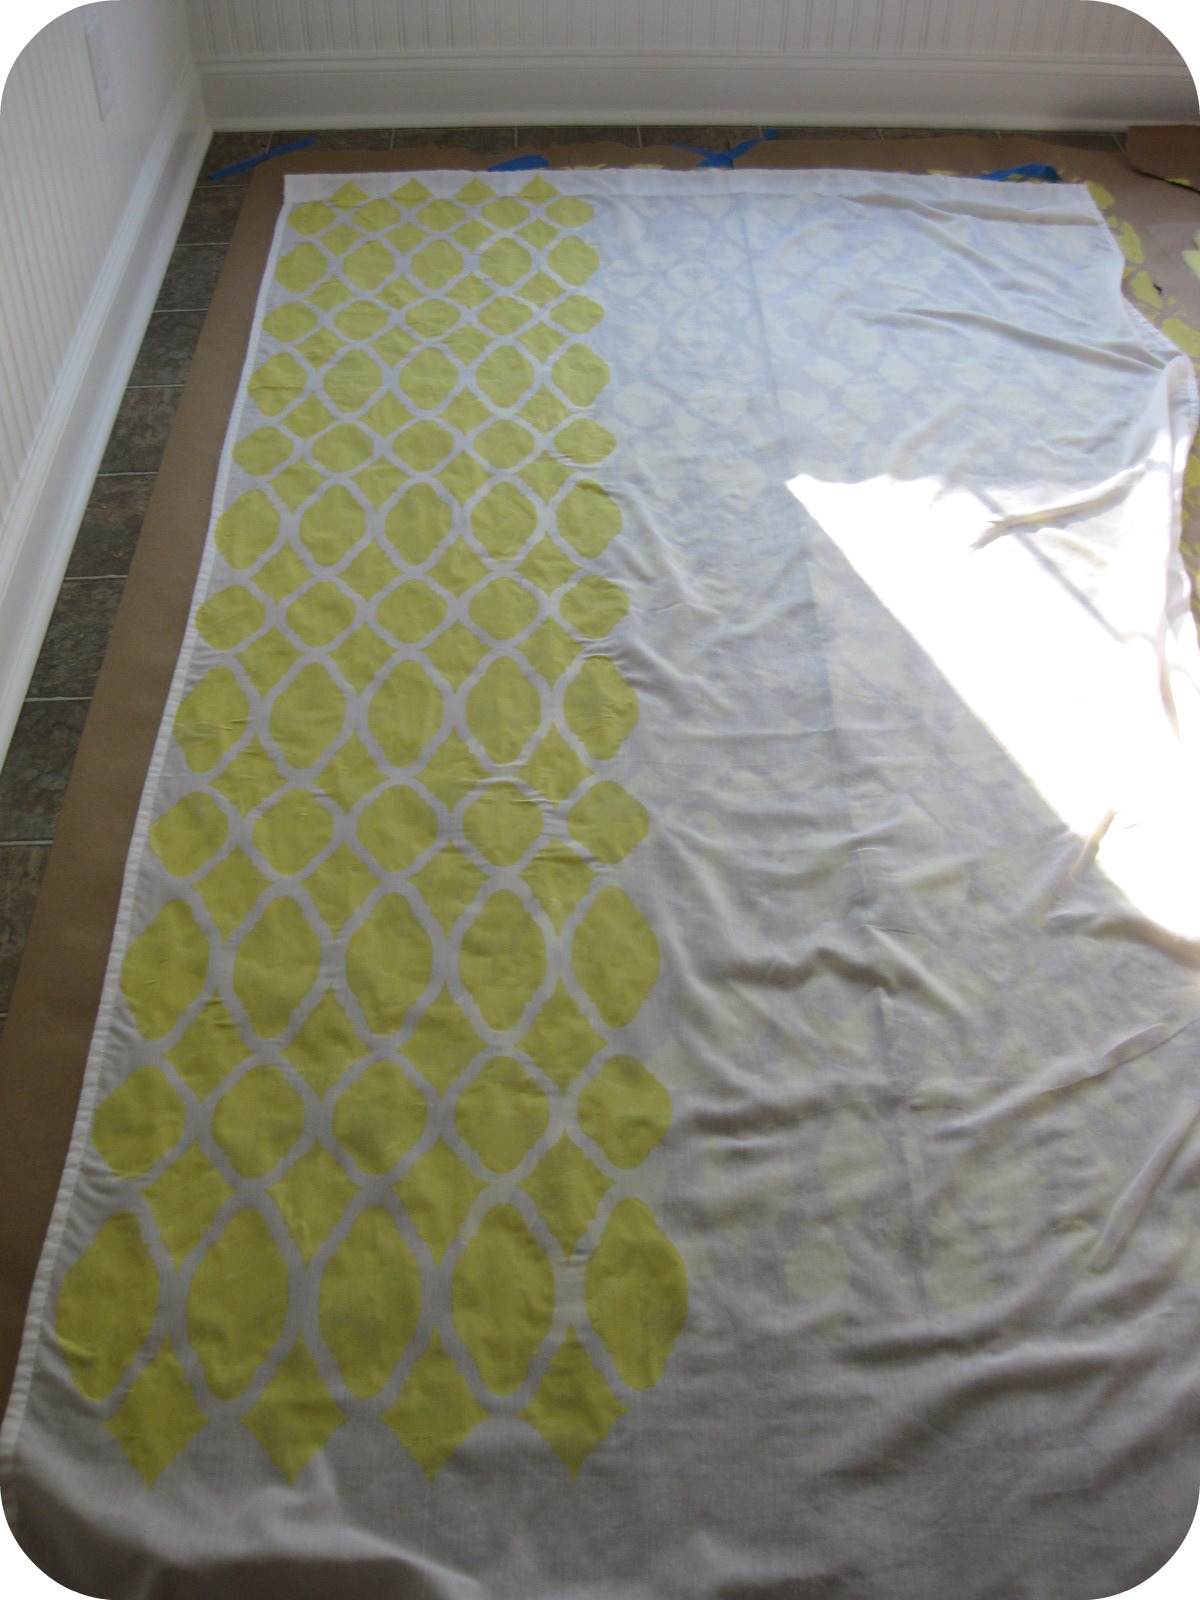
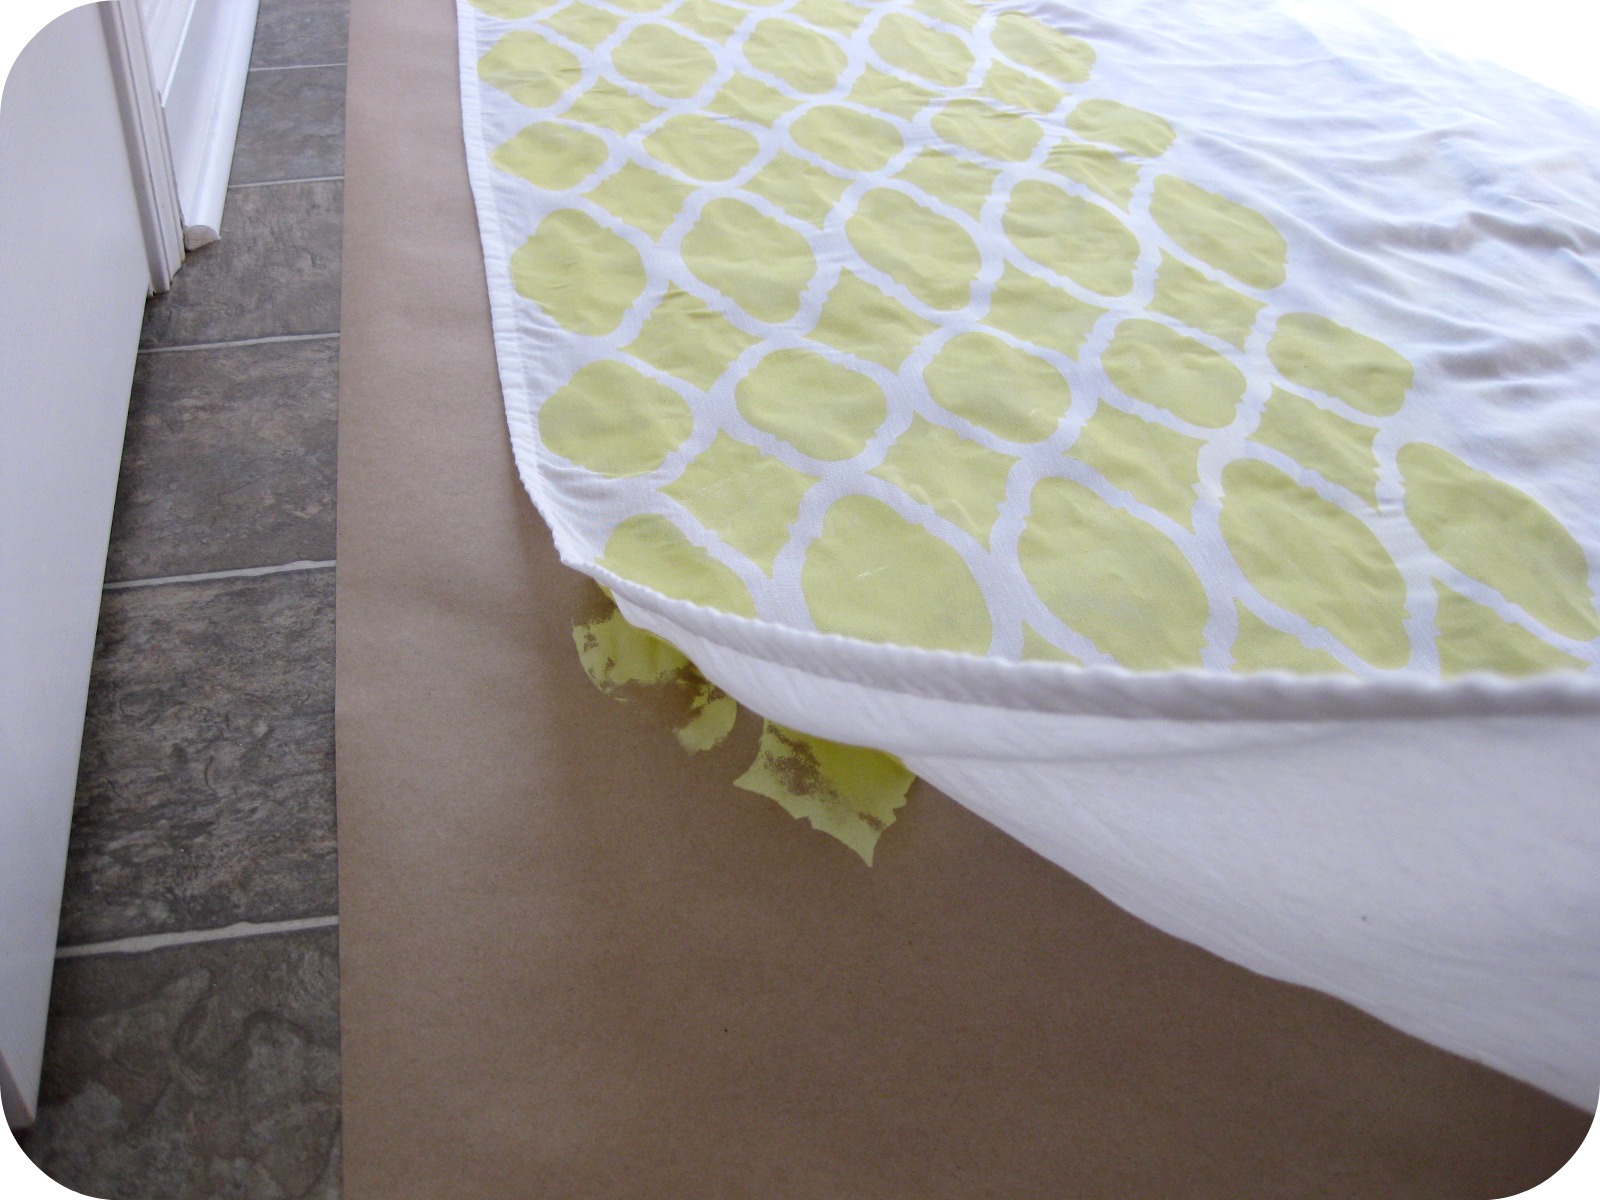
Step 1. Cover a large, flat working area with heavy paper to catch all paint that might bleed through. I used my breakfast nook floor.
2. Wash and dry curtains. This will keep the curtains from drawing up later on when you go to wash them.
3. The directions say to iron the curtains. Mine were not wrinkled when they came out, so I just skipped this step and smoothed and tugged out the wrinkles.
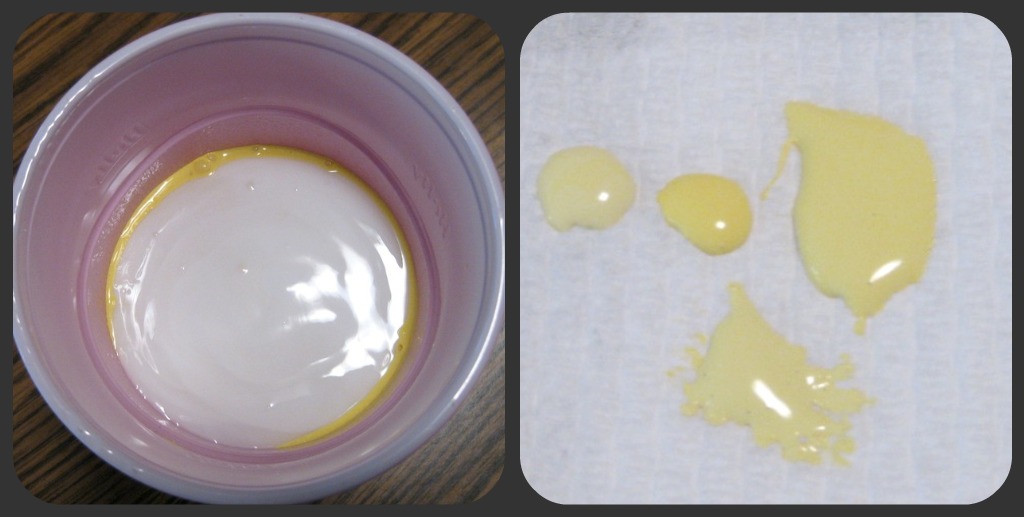
4. Mix your paint. You can use fabric paint, but I found that it was too expensive. I just bought acrylic paints and a product called Fabric Medium. You just mix 2 parts paint to 1 part fabric medium, and you will have tons of fabric paint for next to nothing! Play around with your shades by adding colors together until you get the color your want. I took my yellow to a more muted yellow by adding some leftover wall paint from when I painted my kitchen.
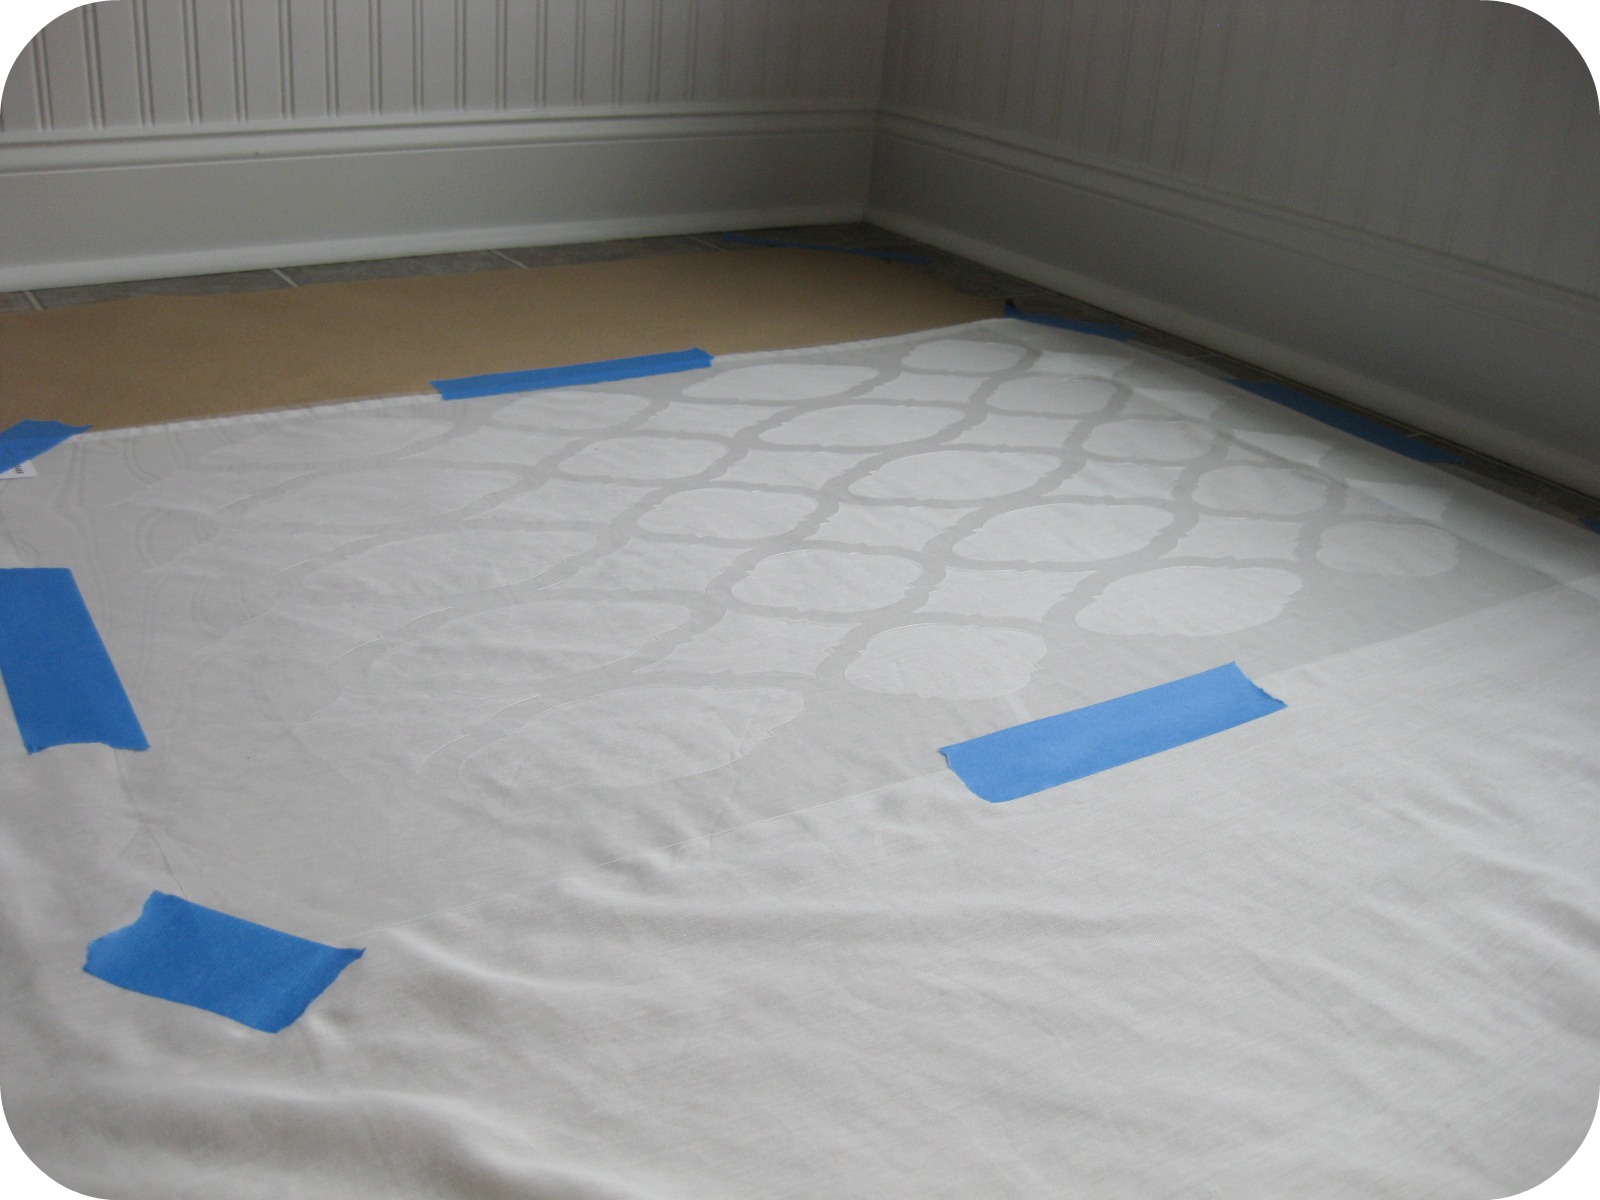
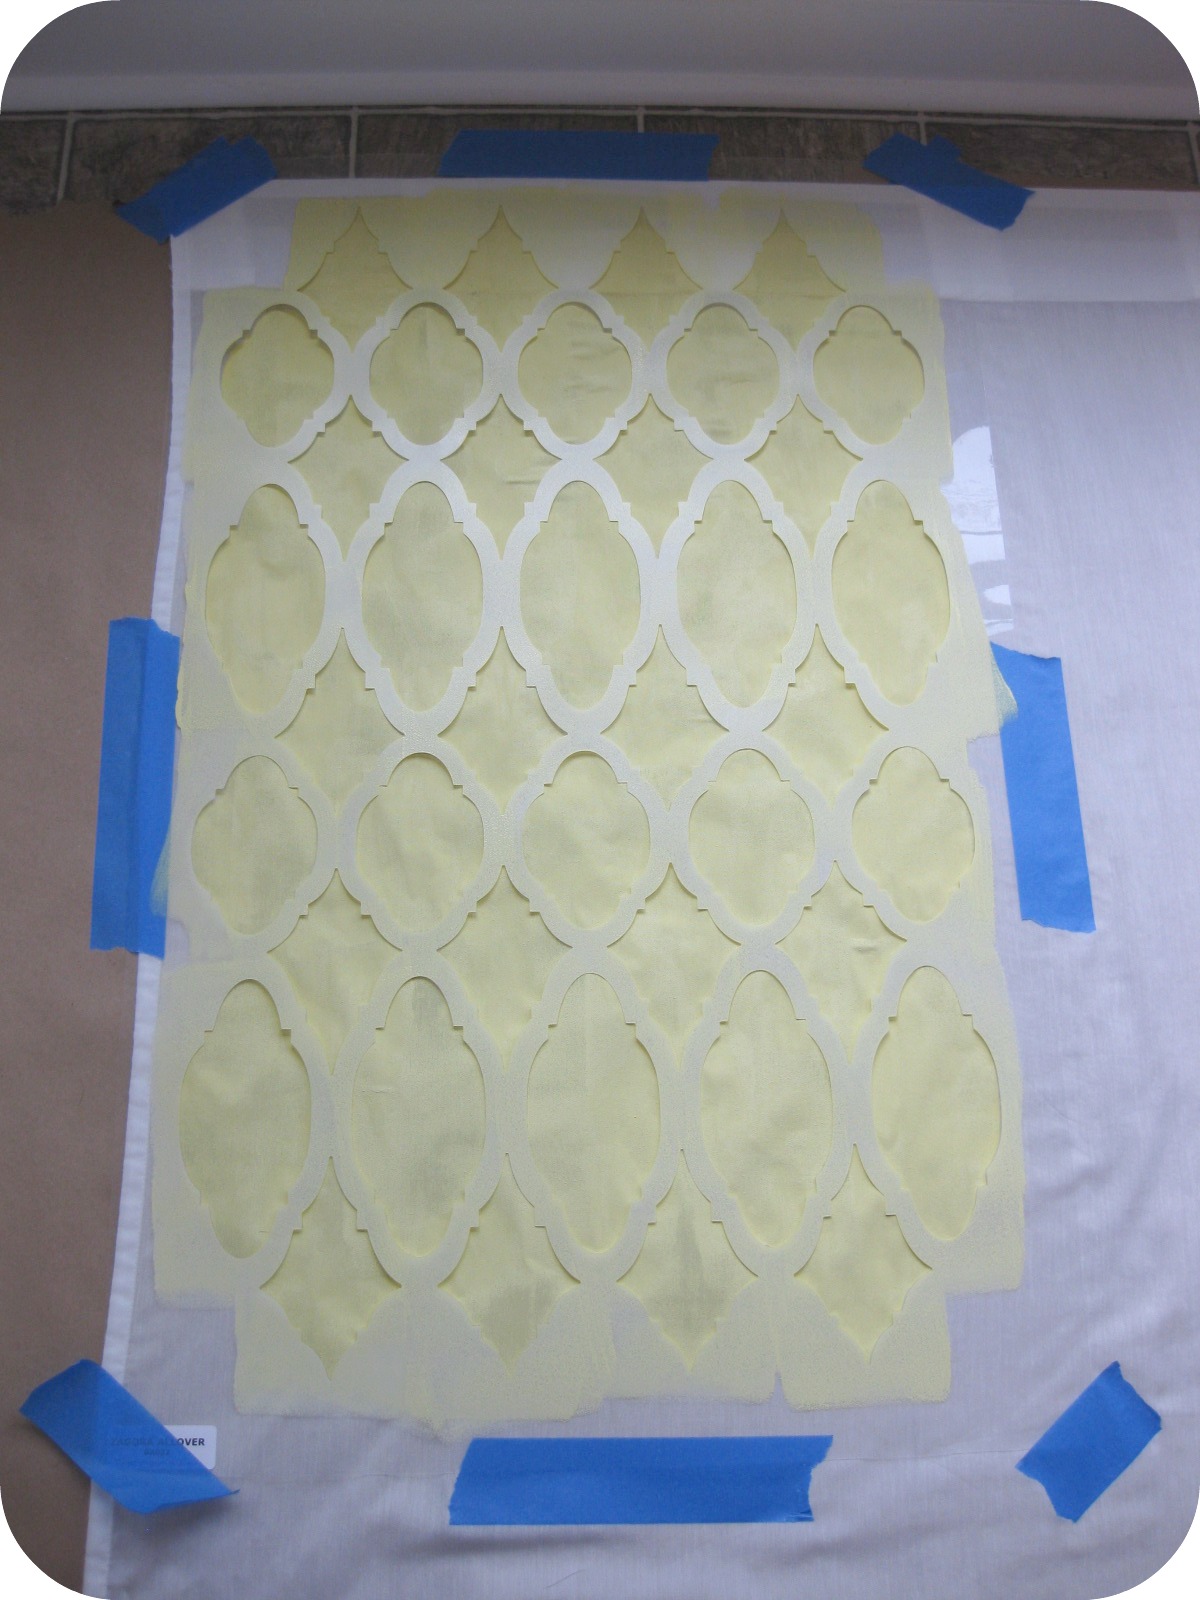
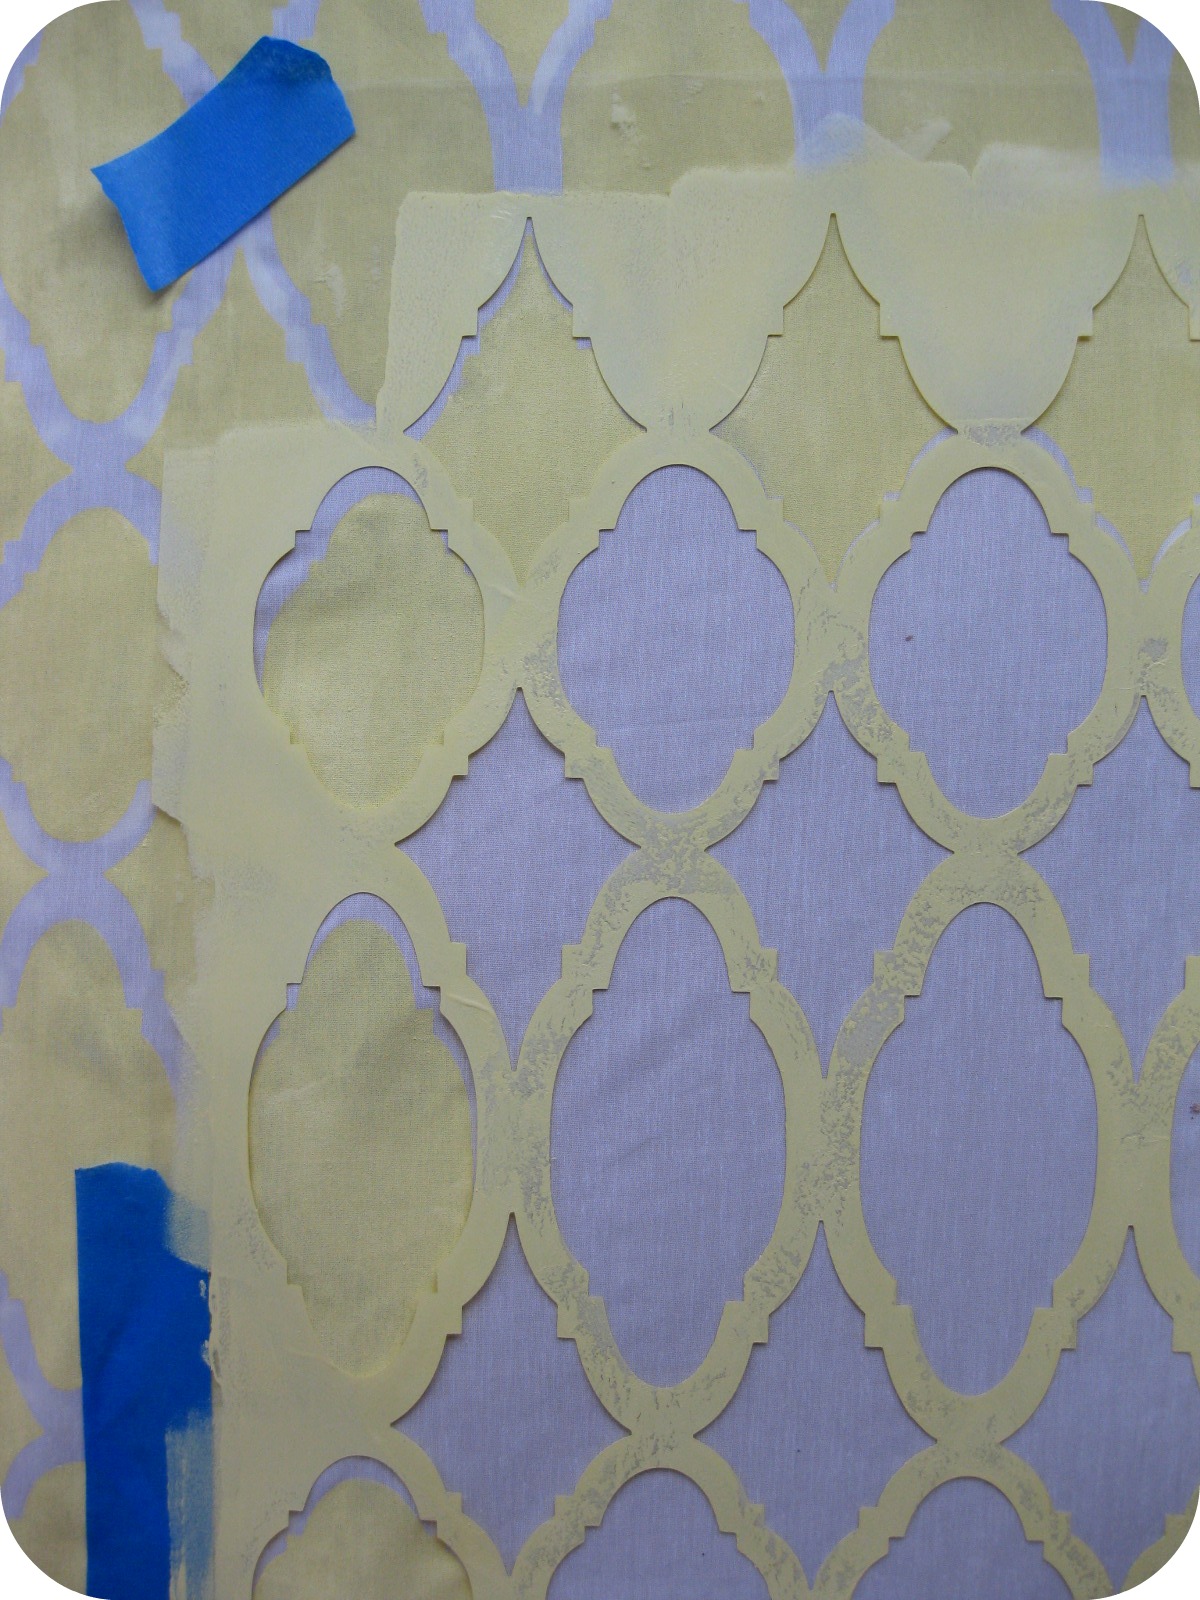
5. Place your stencil in the upper left hand corner (if you are right handed like me) and add a few pieces of blue painter’s tape to hold it down.
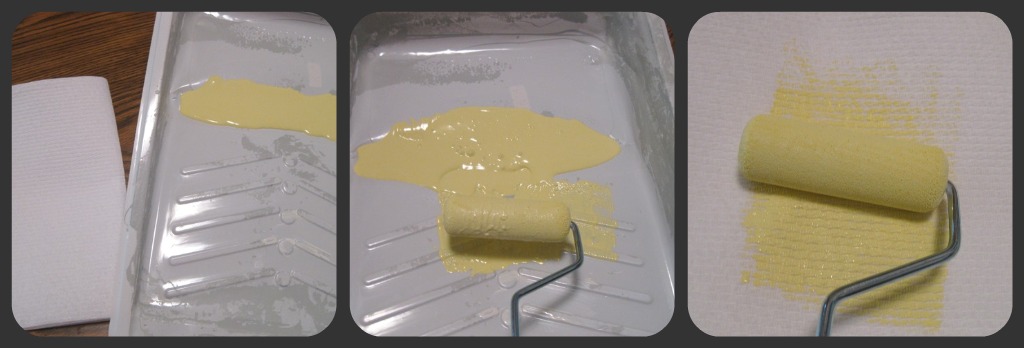
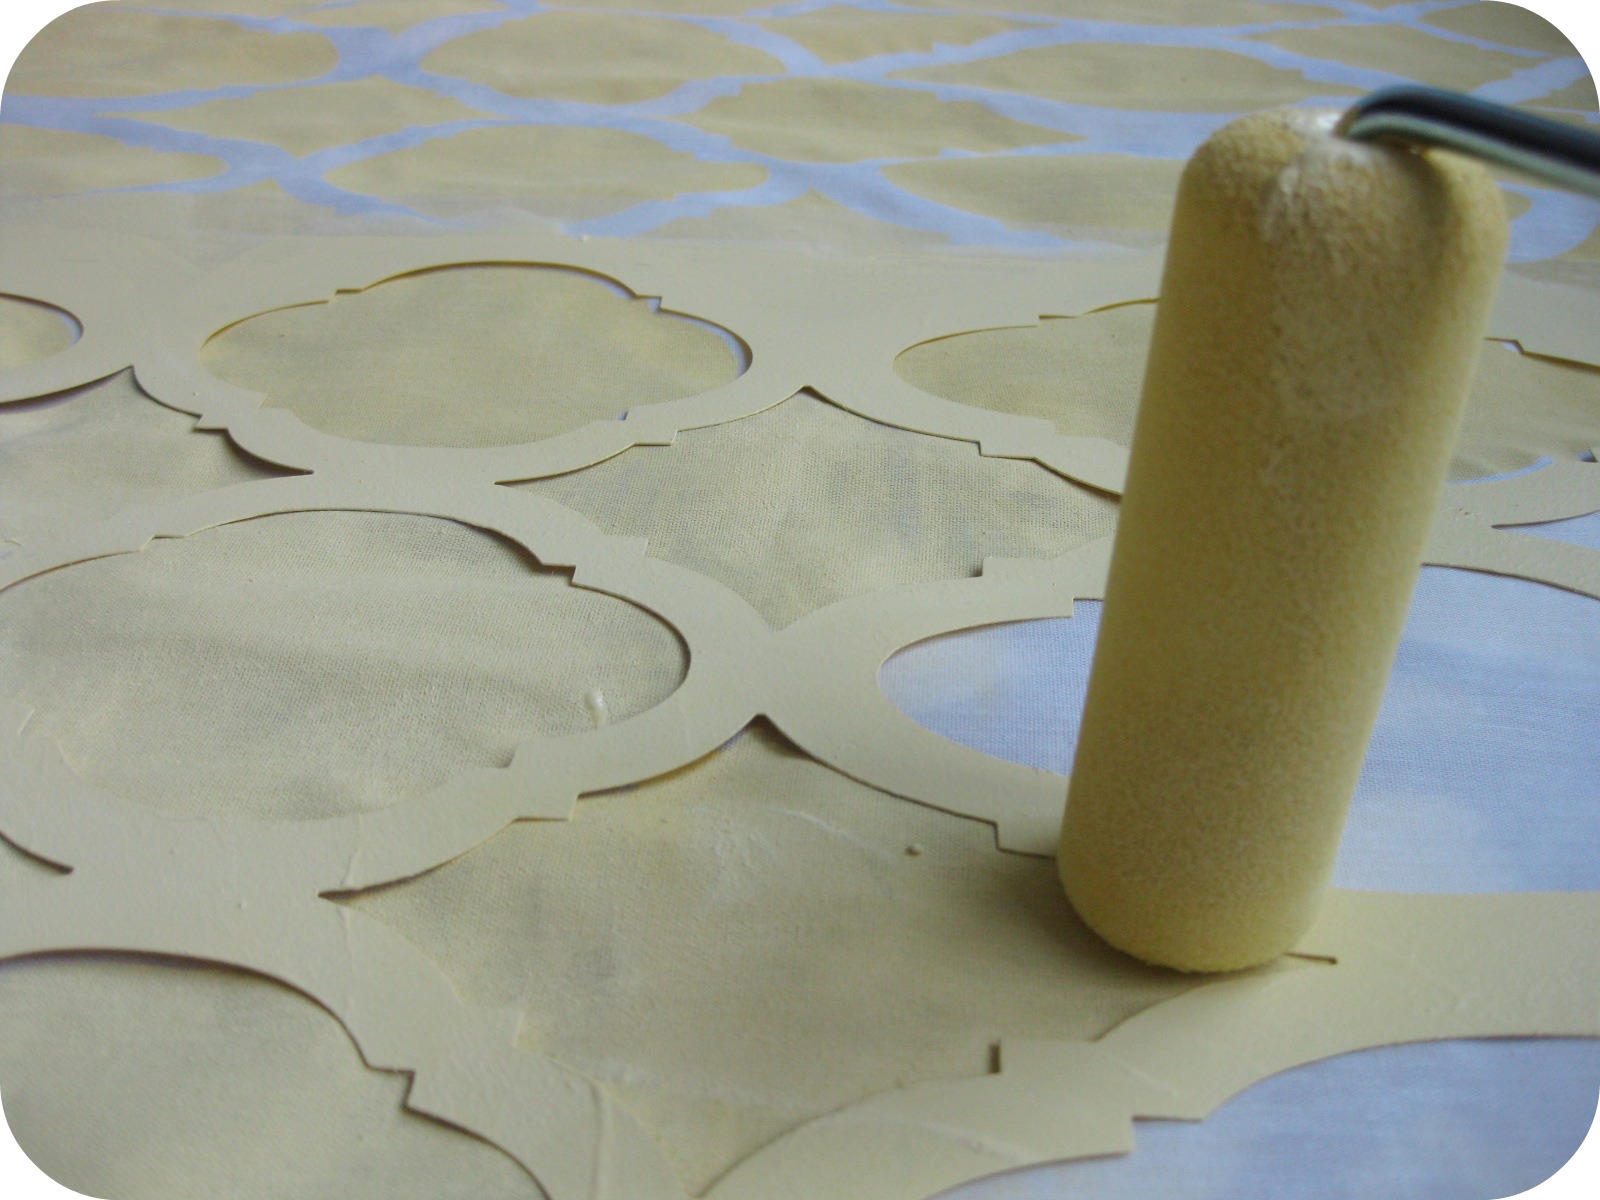
6. Prepare your brush by rolling into paint and removing excess on a dry paper towel. You could also roll right on for a faster, thicker coverage.
7. Stencil your first section.
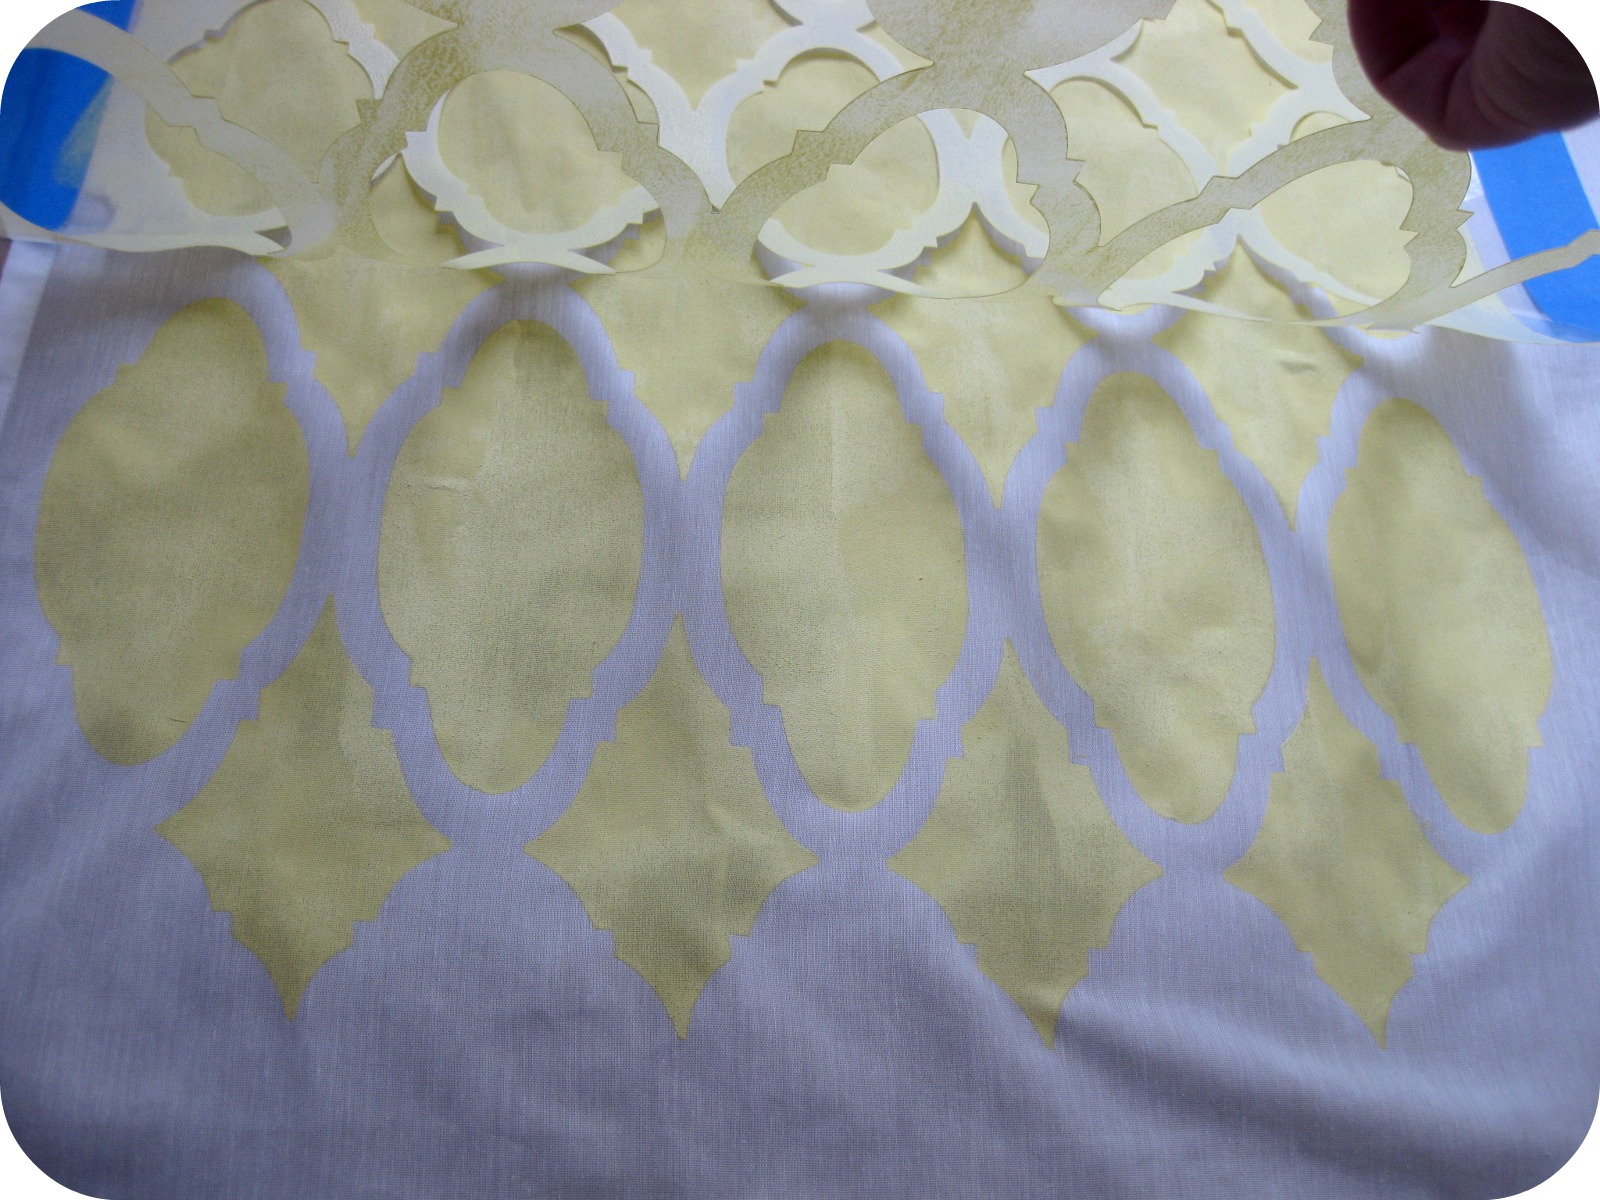
8. Repeat last two steps until your are done!
Stenciled Drapery Tutorial – helpful tips:
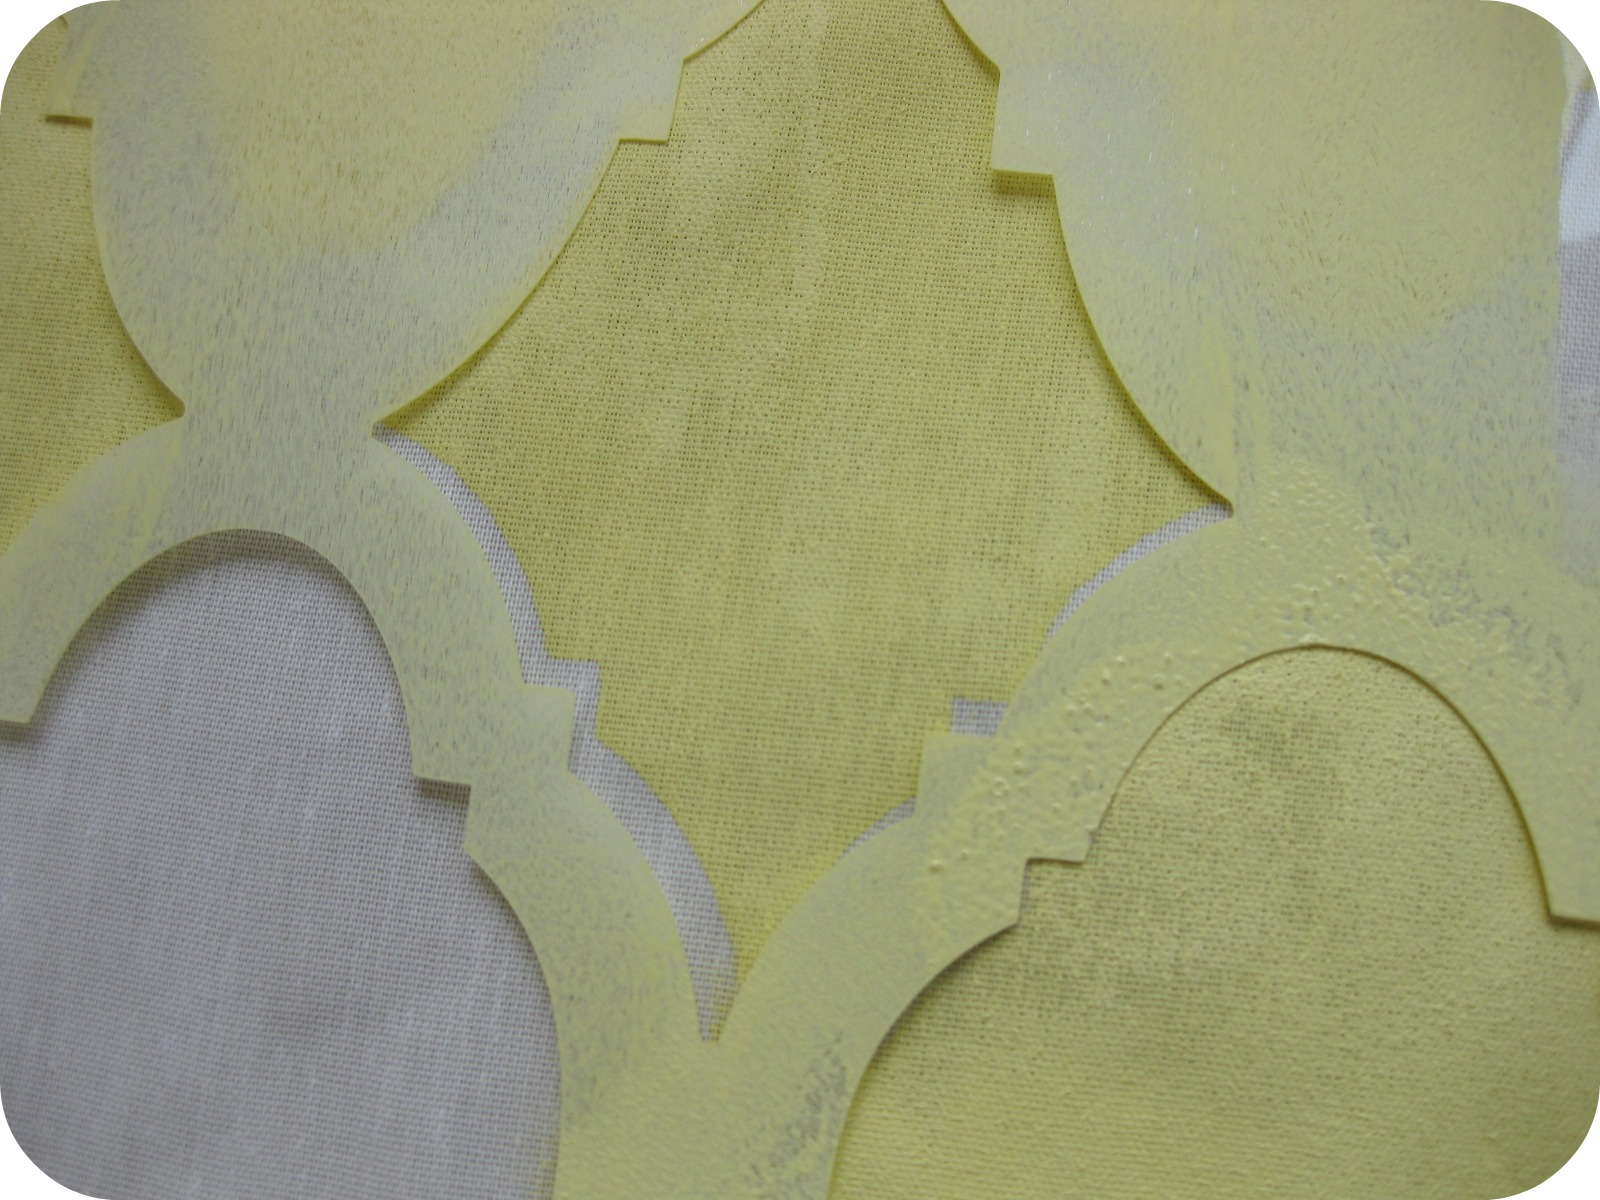
It is very possible for the fabric to misbehave and ripple under the stencil or behave perfectly. Both are fine because you can’t tell when you are done!

When you are done stenciling a row, pull the whole curtain up and lay it back down to keep the paper from drying to the curtain. I wouldn’t pull your curtain down after each square because it actually helps keep your fabric tight and makes it easier to align.
Once you have lined it up as much as possible, carefully stencil the pattern beside it without going over the pattern in the overlapped areas.

I really love how they turned out. If this project really matches your style, come join me over at {twenty}something as I dive head first into my summer off with lots more cheap-o DYI projects and knock-offs! You can also check out 8 DIY Floor and Rug Tutorials


Liked it a lot! Great tips!
Absolutely Gorgeous….. Love them . Thank you for sharing!!!