Upholstery for the Impatient DIY-er.
Submitted By: Crafty Texas Girls.
Well for months I have been looking for the ‘perfect’ chair. I recently redecorated and now I have a lovely antique white desk for my computer. But I had to yet find the chair. I was wanting something with curvy legs and a little detail. I spent time in Goodwill, Thrift Town, and just looking on the side of the road, searching for that chair.
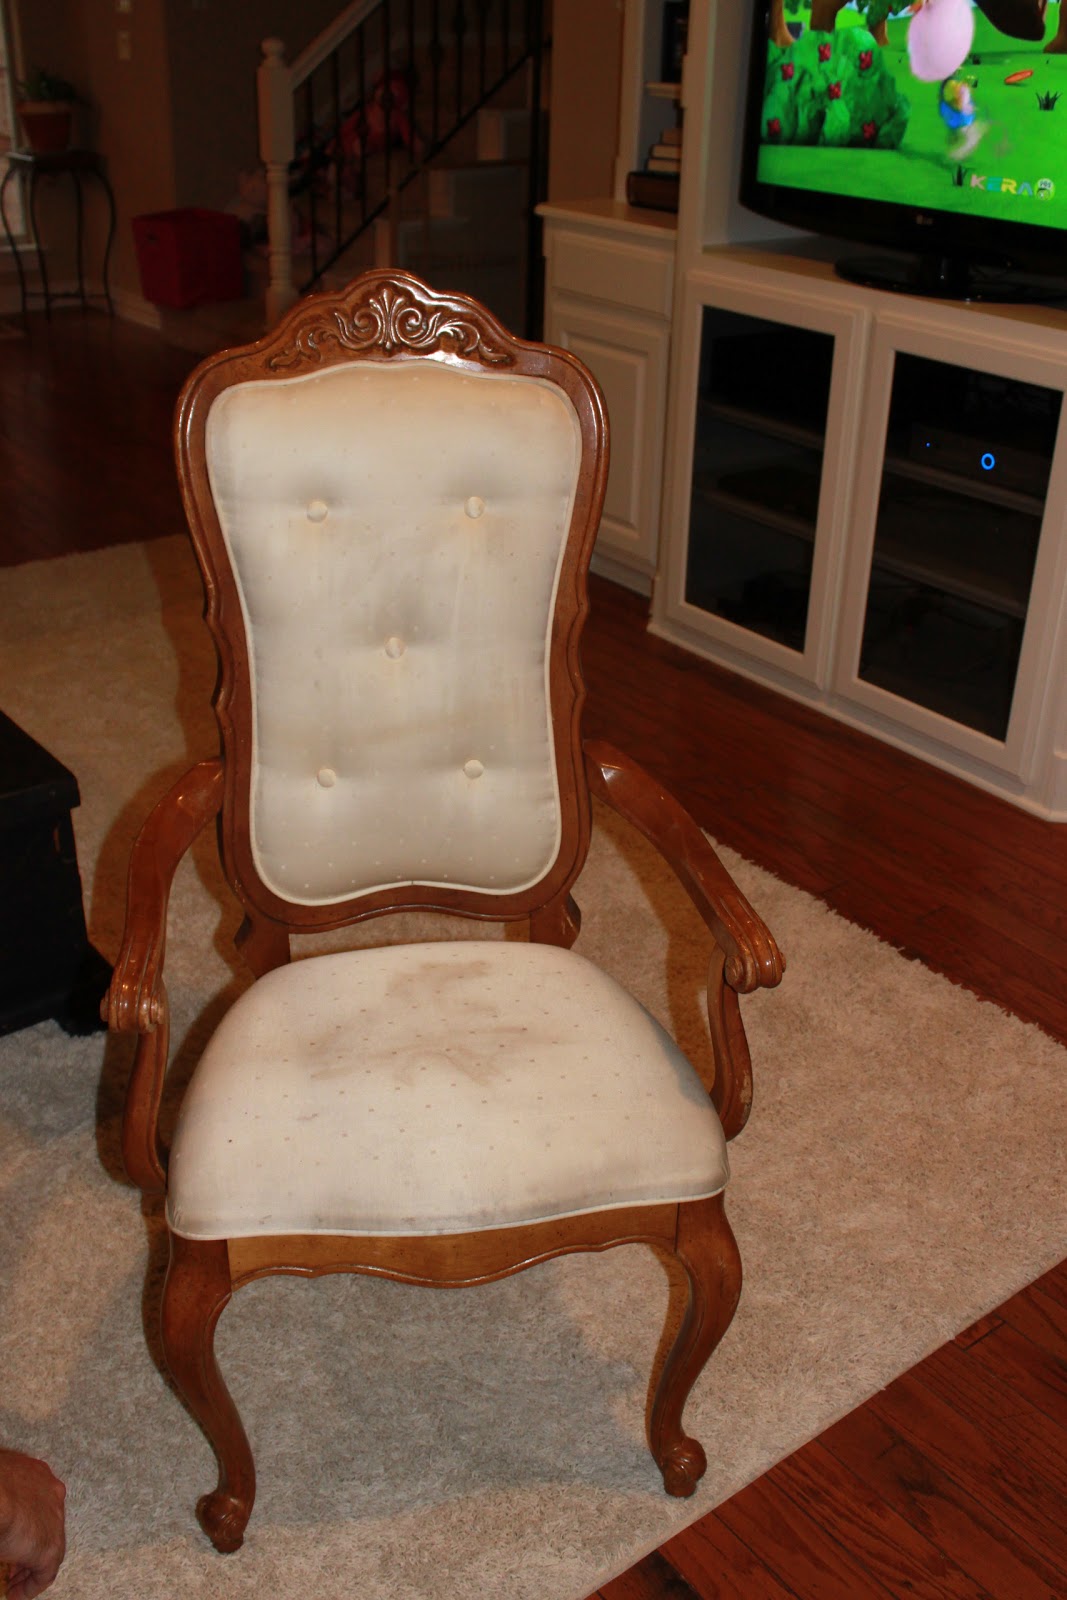
Then I went to The Vineyards Antique Mall- and there she was- the ‘perfect’ chair. For only $22 I took home this beauty. Sure she had brown stains, a loose arm, and couldn’t quite stand straight- but for $22, I knew I had to give her a chance.
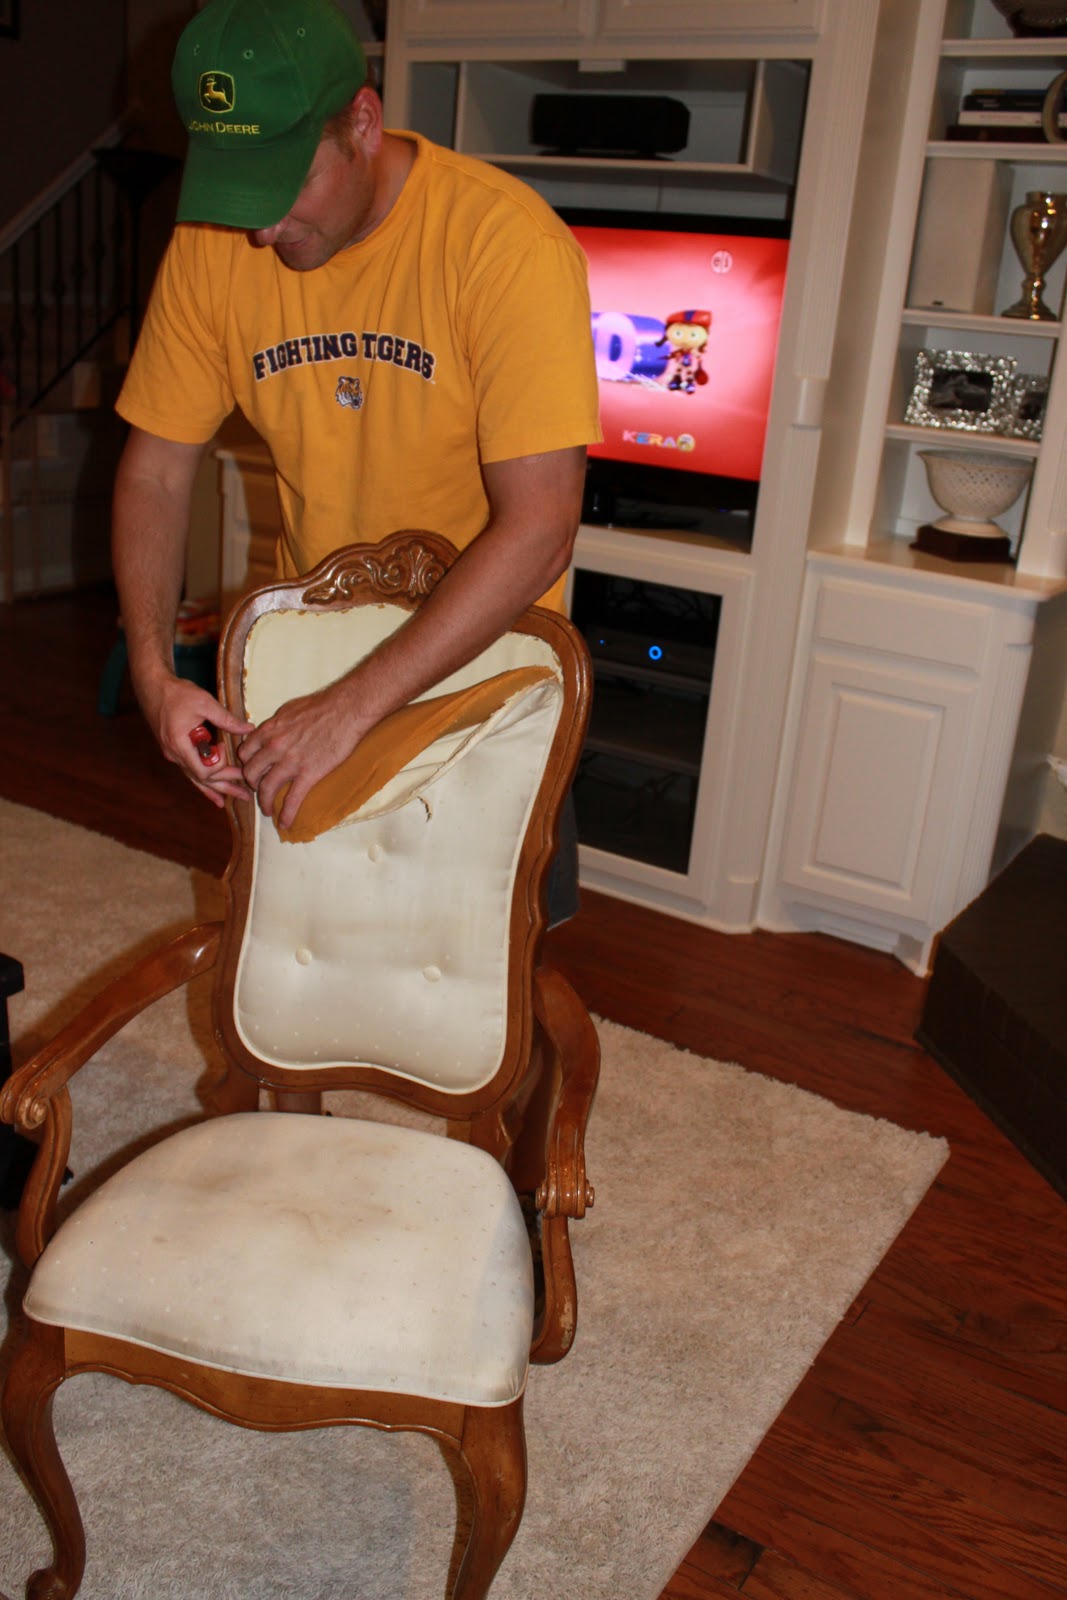
Lucikly my hubby likes a good project. So he got us started. He took her into the garage, mended the loose and wobbly parts. Then ripped out all the fabric and staples with needle nose pliers. The staple removing takes a while and it not so much fun. Finally he painted her black.
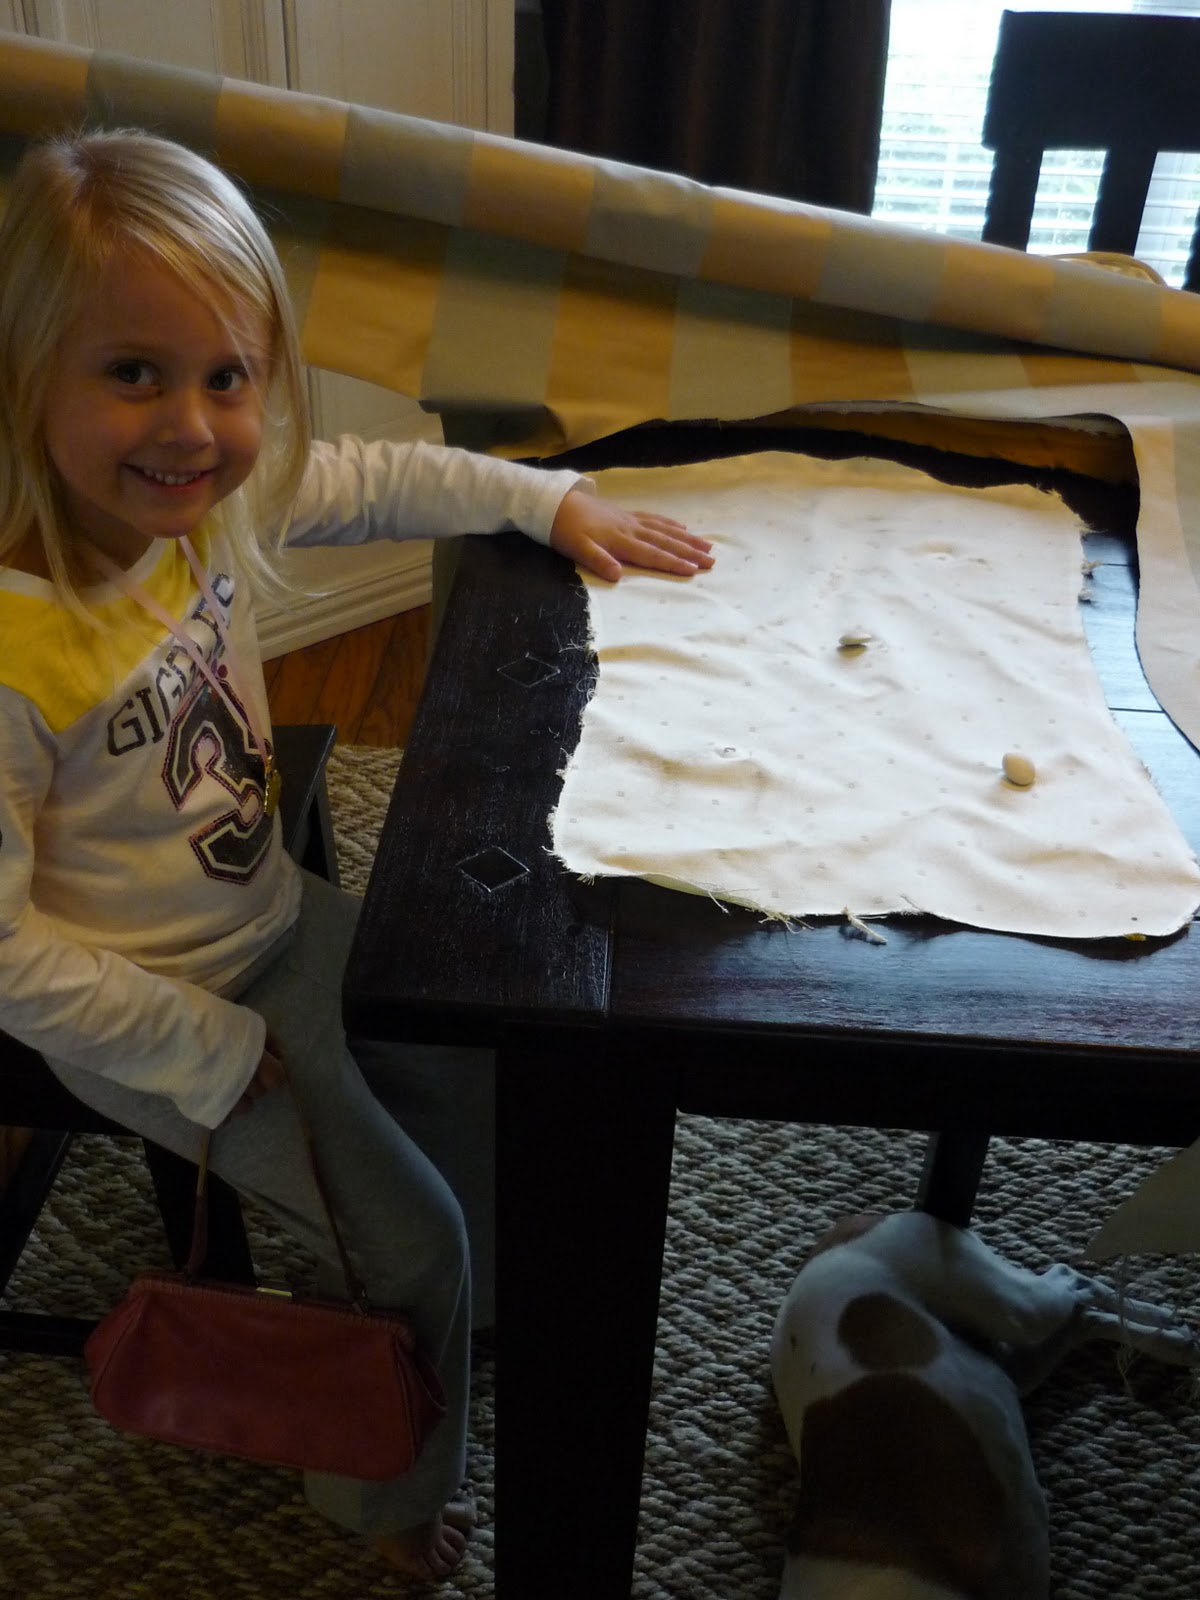
If you choose to take on this project too- remember to keep all the fabric you tear off, it serves as a good pattern later on. We were also able to use the foam from the back of the chair. Don’t throw away anything but the staples you remove.
I then went to Cutting Corners and bought upholstery fabric and trim to use as the cording. The fabric was a remnant, $5.99 a yard- I needed about 2 yards for this project. The trim was on sale for $1.95 a yard- I bought 2 yards.
Next he brought “Sophia” back inside and I used my ‘pattern’ to cut the new fabric. I went about one inch outside of the fabric to give myself something to grab and staple down. (When using stripes, be mindful of which direction they go when you are cutting. )

First I stapled the back piece on. Lots of staples, keep the fabric straight and tight.
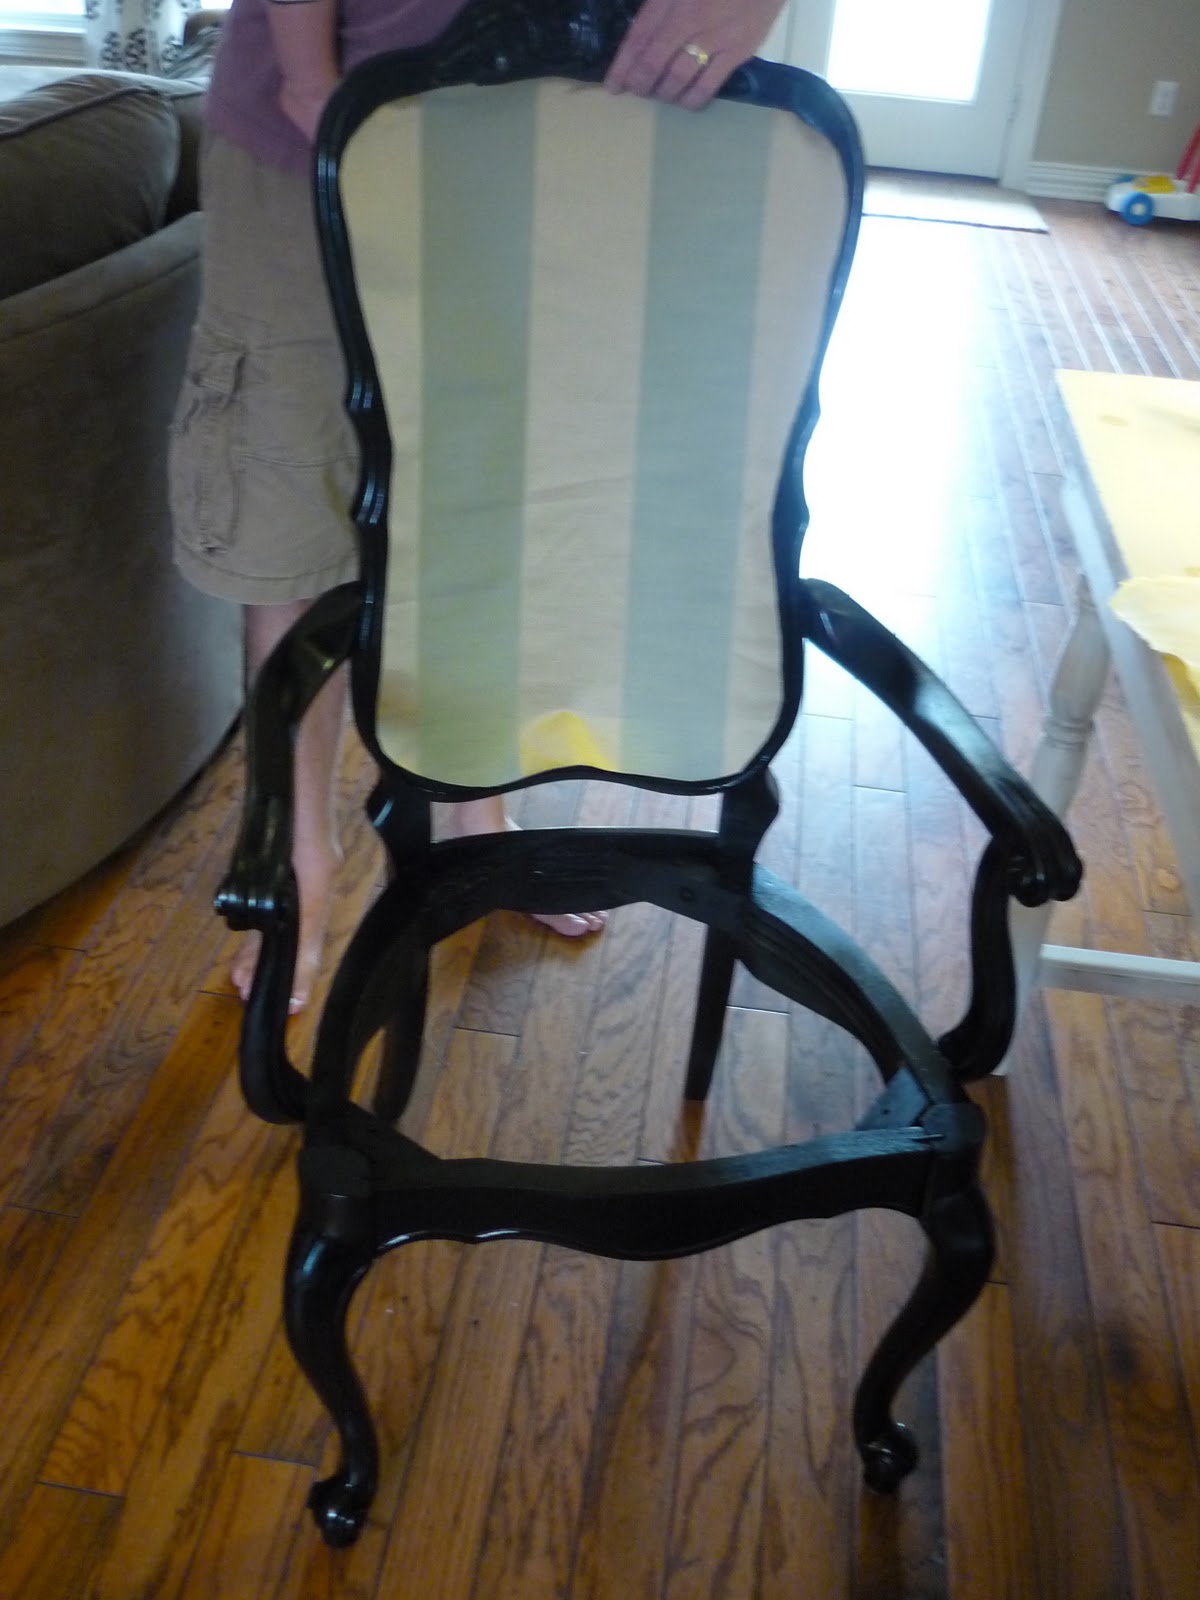
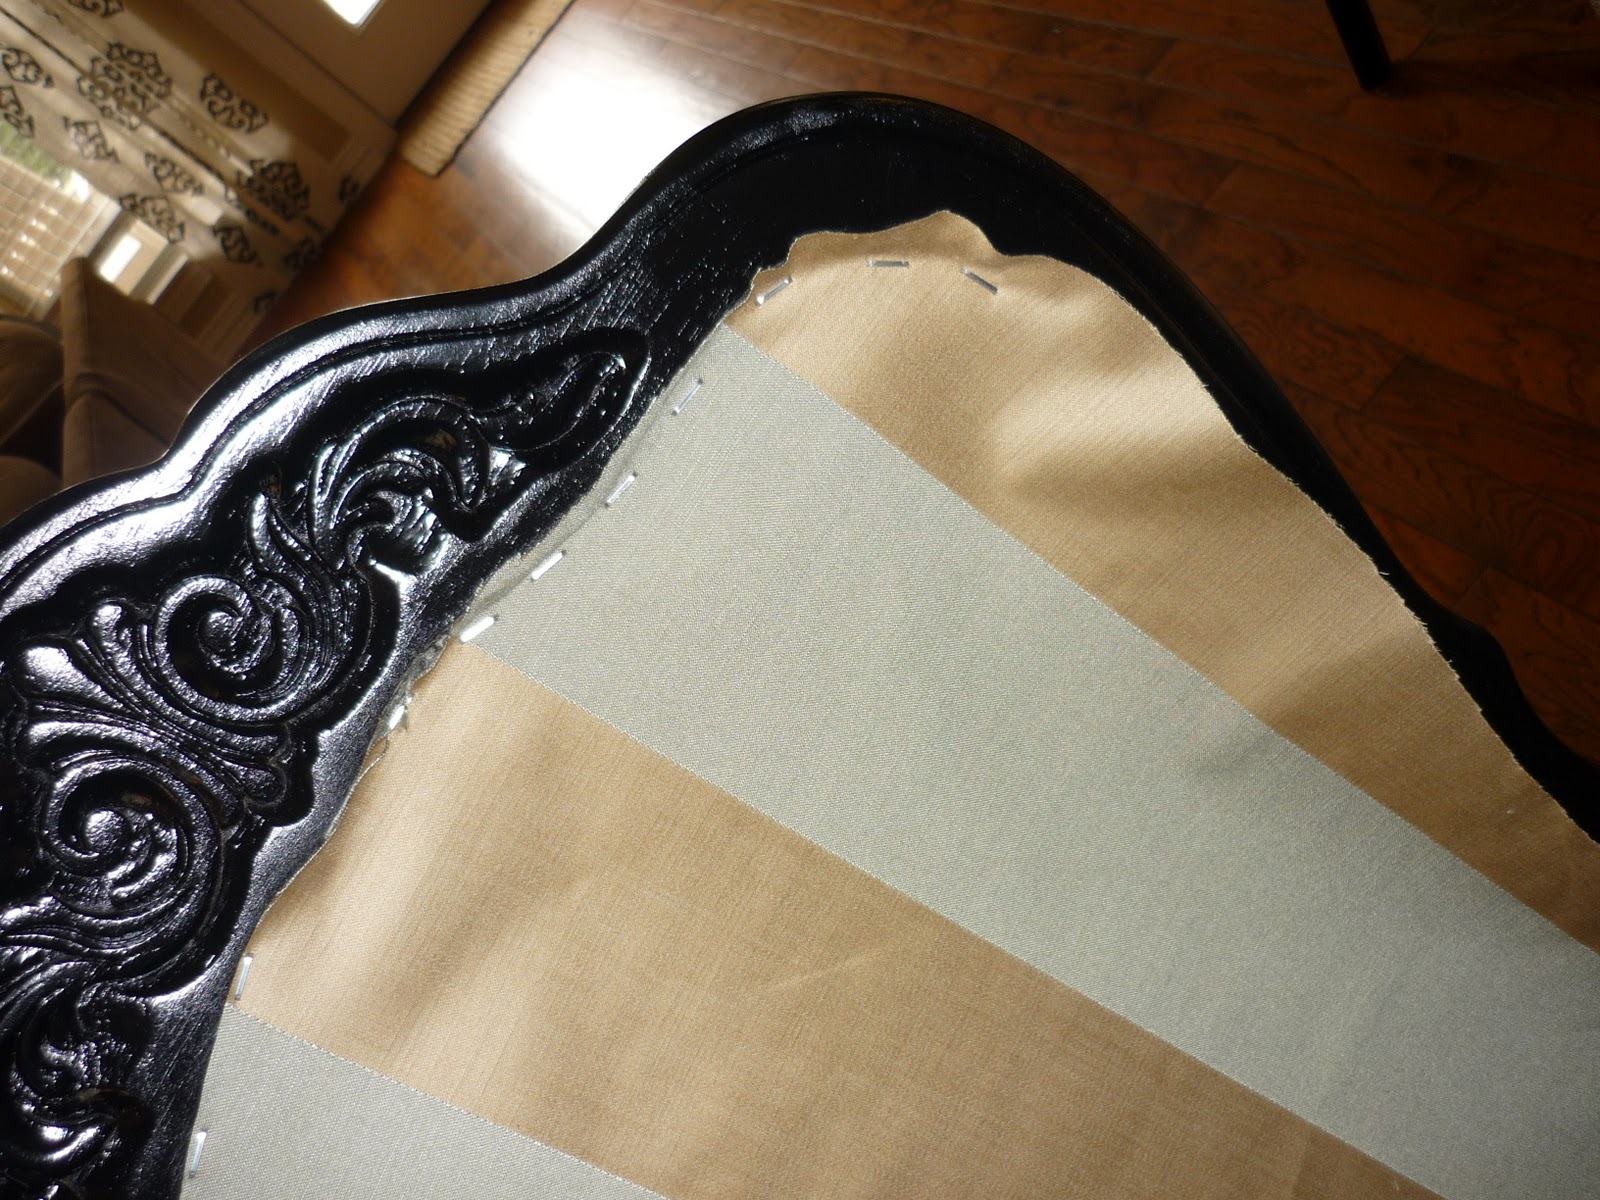
Any excess can be cut away afterwards.
I then covered the seat cushion. (No photos -sorry!) But I basically removed the cushion, wrapped fabric over it, and stapled it down on the bottom. Then Jeff screwed the seat cushion back in place.

Now I added the foam piece back in and topped it with more fabric. (The back of the chair was like an oreo- fabric, soft foam middle, more fabric.) Jeff had to help me hold and staple at this point. Everything had to be pulled tight and kept very straight.
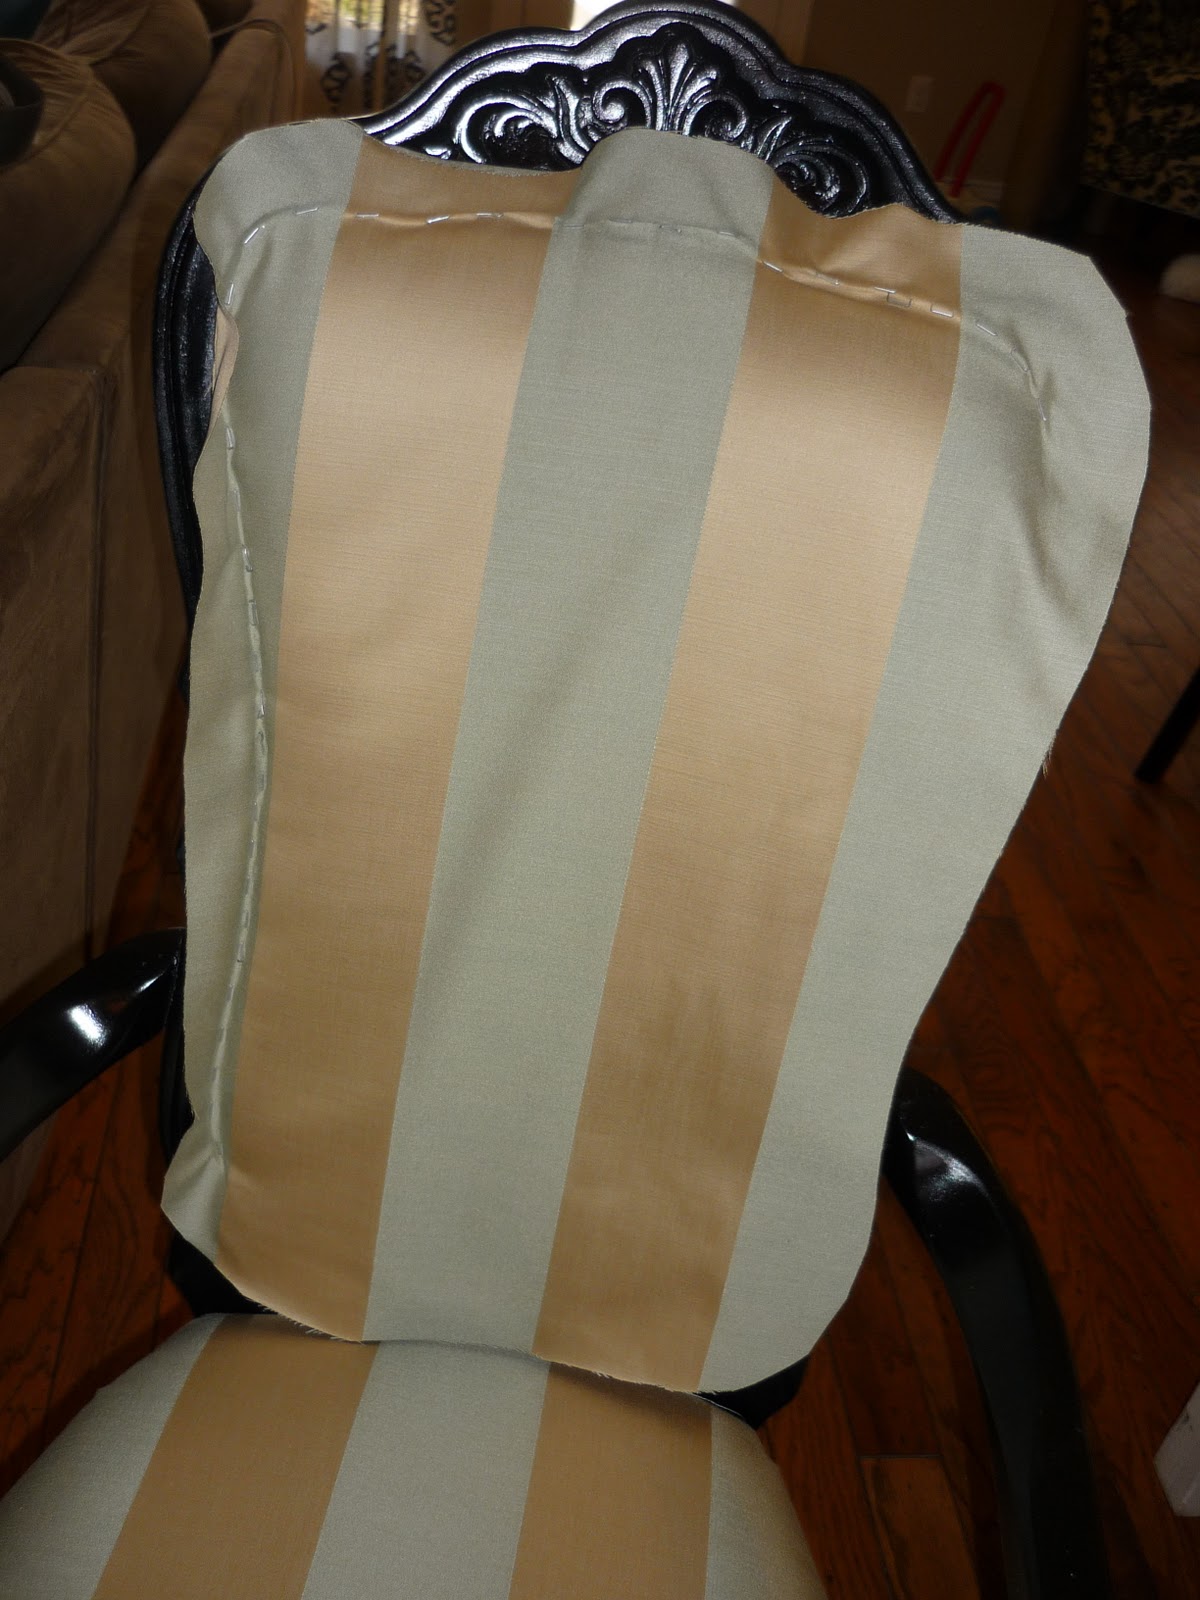
This is why matching up the stripes during the pattern cutting is so important- looks best when they line up!

Cut away any excess using tiny/sharp embroidery sciscors or an exacto knife. Then simply hot glue your trim around the chair- to cover up all those staples! I would start gluing at the bottom of the chair, so the beginning/ending of the trim is hidden.
I had to remove the edge of my trim so that only the twisted rope part was seen. Looks like this…
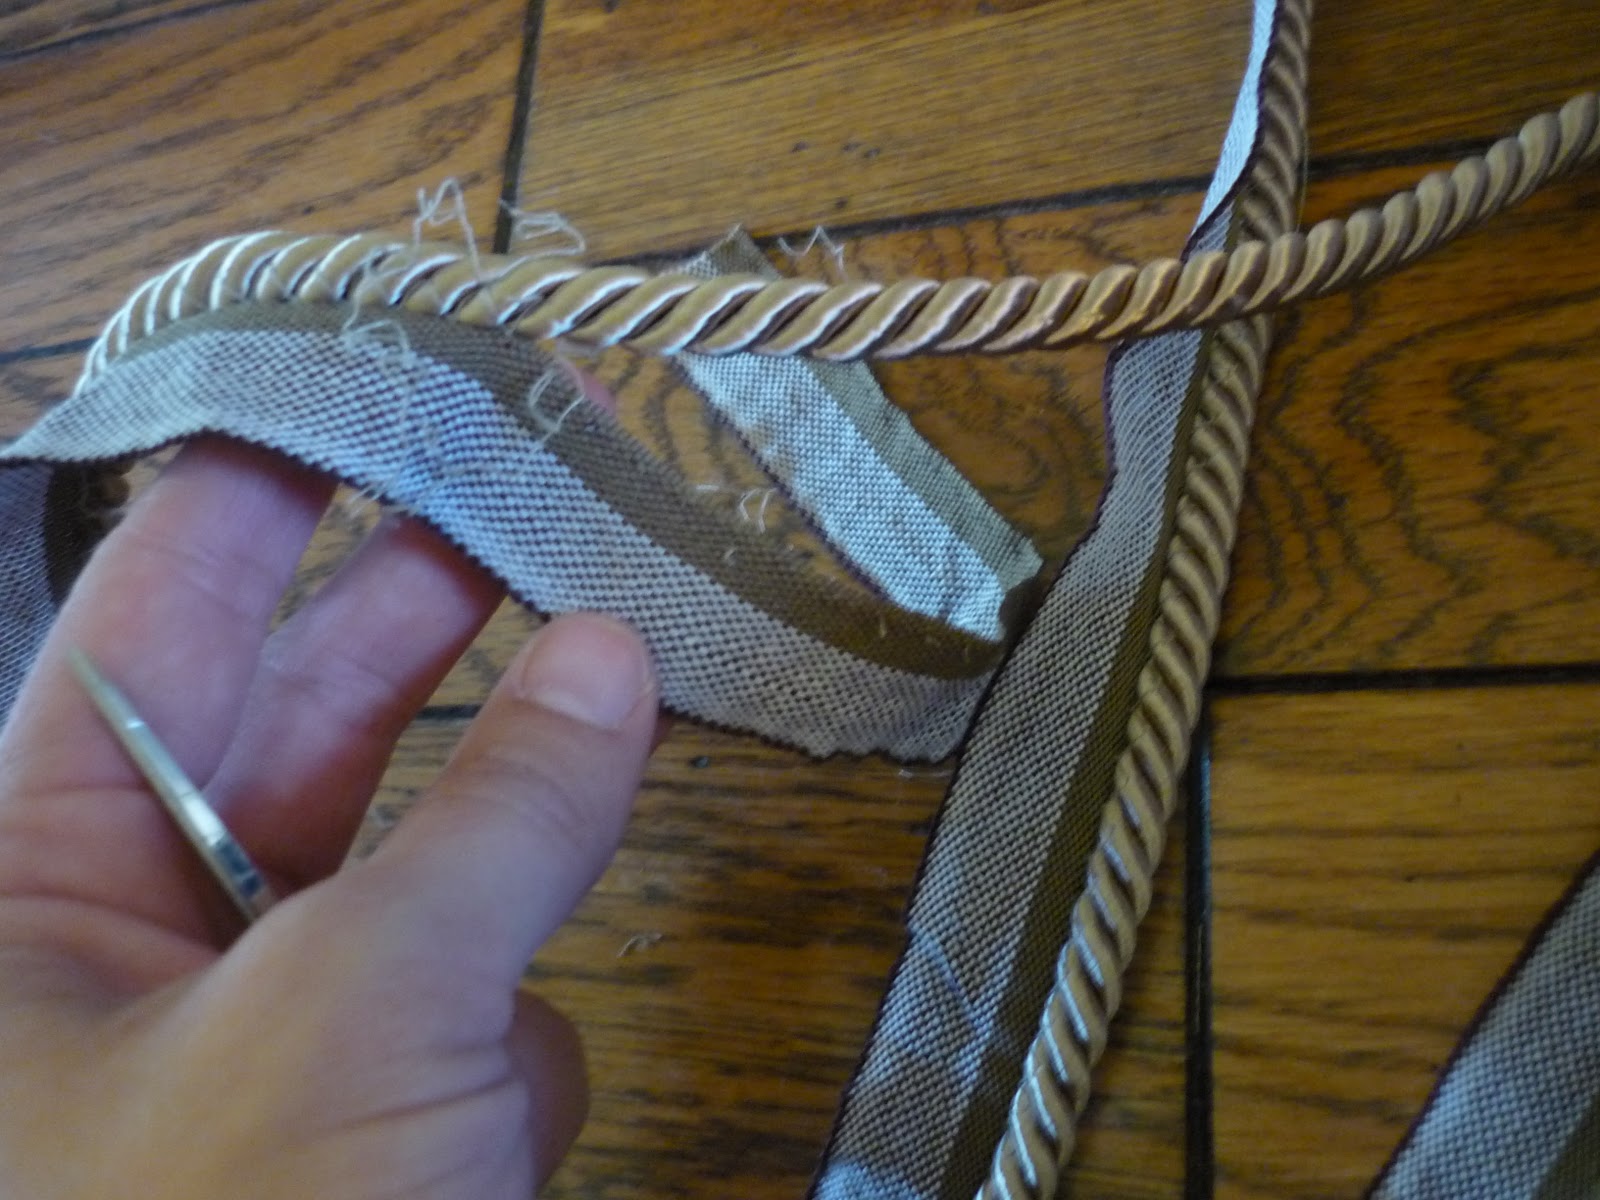
Now when you hot glue the trim down, go easy on the hot glue so it doesn’t squish out of the sides. Hold it in place for 10 seconds. Oh and make sure you like where you put it- it’s not coming off until you decide to re-cover the chair again!
And here is the finished project. Not so hard when done with a handy guy and a really good glue gun!


Have you ever given your furniture a ‘make-over’?
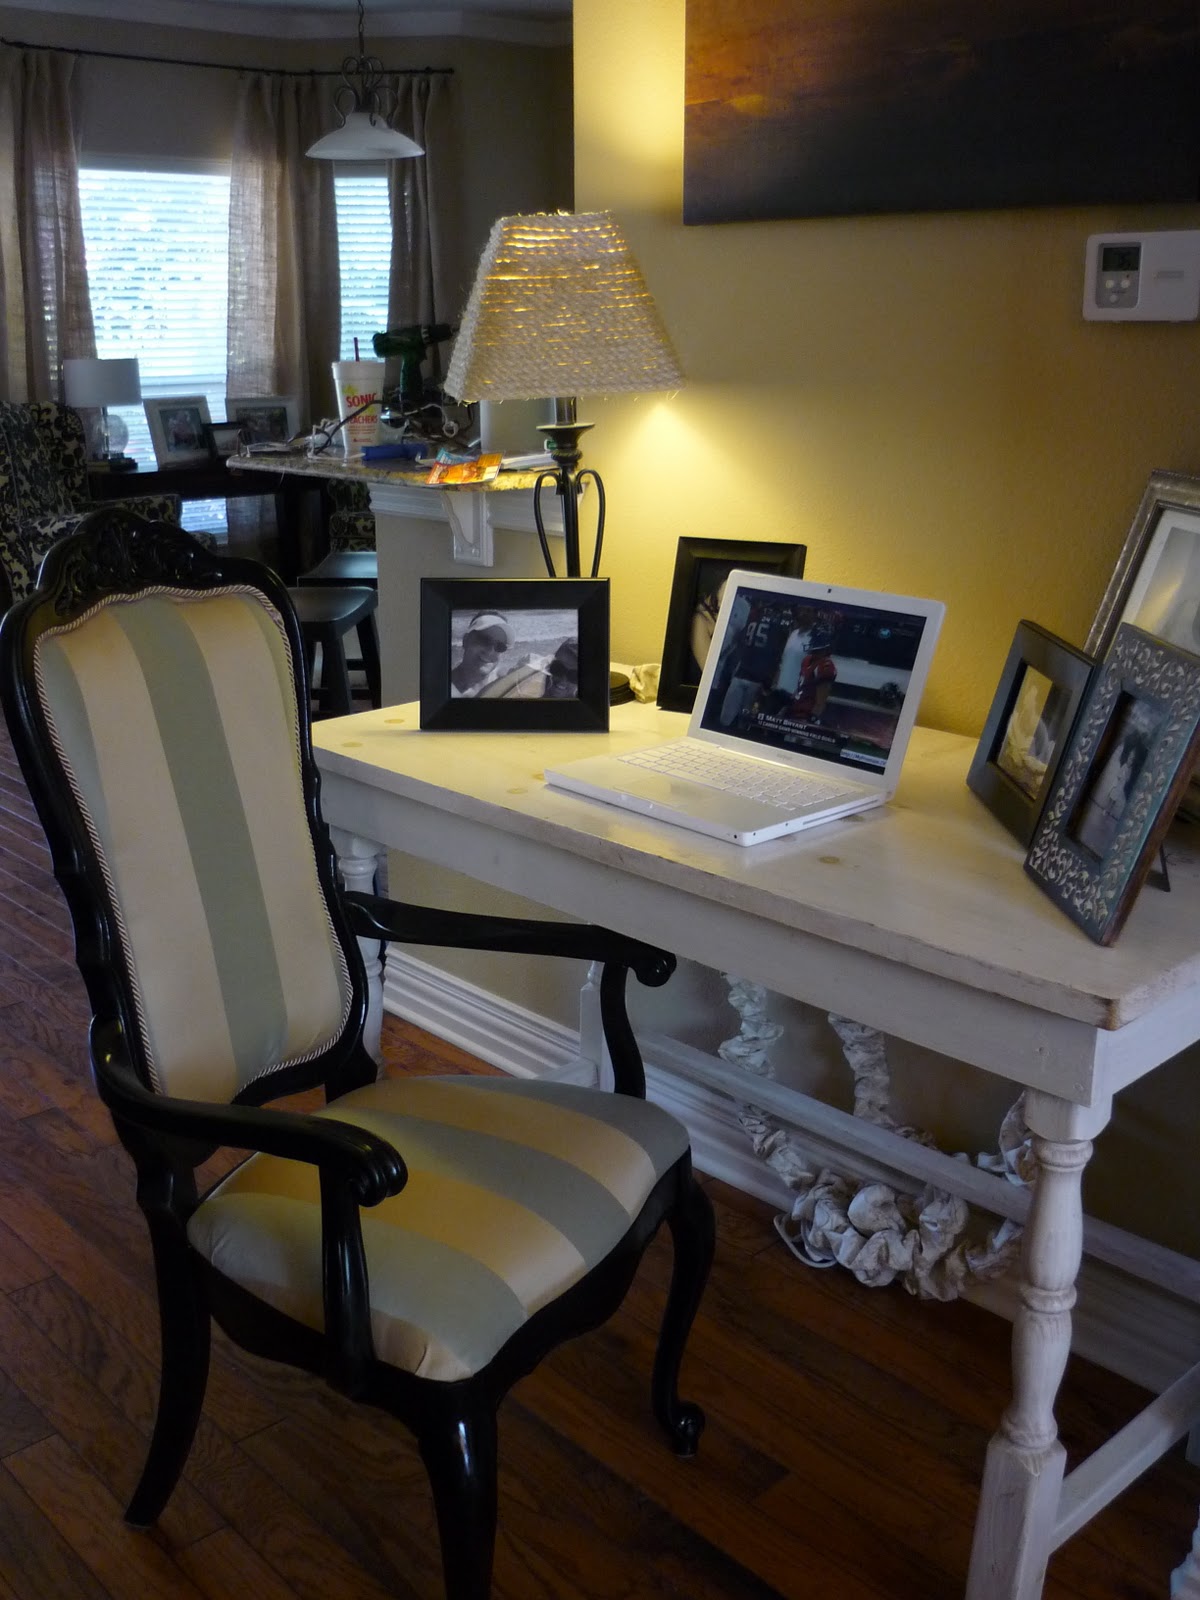


This is my desk dream chair…I love it!!!
http://www.mydailyphotojourney.blogspot.com/
http://www.facebook.com/MyCrazyBeautifulLife.13
http://www.pinterest.com/denyse13/
THANK YOU for your tips and images! I found this post searching for tips on trim finishing for fabric chairs (attempting it was causing me heartache, lol) The chair I’m redoing was progressing very nicely till I arrived at attaching the trim ~ then it became a bit of insanity… Your suggestion of hot glue is, I suspect, precisely the missing step in my trim-attachment adventure to alleviate my trim gaping.
Again, thank you!
PS A beautiful finish on your chair – it’s stunning – and a chair that’s very happy to have been revived from it’s previous fabric existence 🙂
Wow that looks amazing! Great idea to cover the staples with a trim too! I’ve seen chairs in Goodwill that I loved and really wanted to redo, but I couldn’t think of how to recover the back cushion. Thanks for the tips!
Thank you for your sweet comments! When in doubt, hot glue!!!