Get organized! See our favorites in the shop

Remodelaholic

DIY tutorials, Woodworking plans and more.

FREE BONUS: Kitchen Organization Boot Camp
  • Home
  • About Us
    • About US
    • Contributors
    • Facebook
    • Pinterest
    • YouTube
    • Instagram
    • Disclosure and Advertising
    • Contact Us
  • Shop
  • Project Ideas
    • Our Houses
      • Birch House (current projects)
      • Canyon House
      • Park House
      • Downing House
      • Logan House
    • DIY Project Plans
    • All projects
    • Barn Door Baby Gate
    • Dutch Door
    • Framing A Wall Mounted TV
    • Indoor Playhouse
    • Beach Themed Living Room Design
    • Chicken Coop Building!
    • Computer Desk
    • Computer Desk Plans
    • Custom Newel Posts and Stair Remodel
    • Family Room Sneak Peek
    • Headboard Tutorial
    • Living Room Progress
    • Mood Boards
    • Scrabbled Family Names
    • Pets
  • Design By Room
    • Bathrooms
    • Landscape
    • Kids Bedrooms
    • Kitchen
    • Living Rooms
    • Laundry Rooms
    • Master Bedrooms
    • Mood Boards
    • Office
  • Holiday
    • Christmas
    • Halloween
    • Patriotic
    • Easter
    • Fall
    • Saint Patrick’s Day
    • Thanksgiving
    • Spring
    • Valentines Day
    • Winter
  • Crafts
    • Printable
    • Art
    • Paper Crafts
    • Kids
    • Fabric Crafts
    • Decorate
  • Recipes
    • Appetizers
    • Beef
    • Beverages
    • Breakfast
    • Chicken
    • Desserts
    • Dinner
    • Fruit
    • Healthy
    • Holiday
    • Lunch
    • Main Dishes
    • Salads
    • Sandwiches
    • Sauces
    • Seafood
    • Side Dishes
    • Soup
    • Vegetables
  • Videos

Using Custom Made Slipcovers to Unify Your Room

Written by Cassity

  • Facebook
  • Twitter
Using Custom Made Slipcovers to Unify Your Room
contributed by Shelley Slipcovers by Shelley


So the other day, when my kids started school I decided to scrape all the junk off the kitchen floor and mop and wash my slipcovers. My three boys make things pretty gross. Anyhow I realized I have never posted what my furniture looks like underneath my slipcovers. SO here it is.
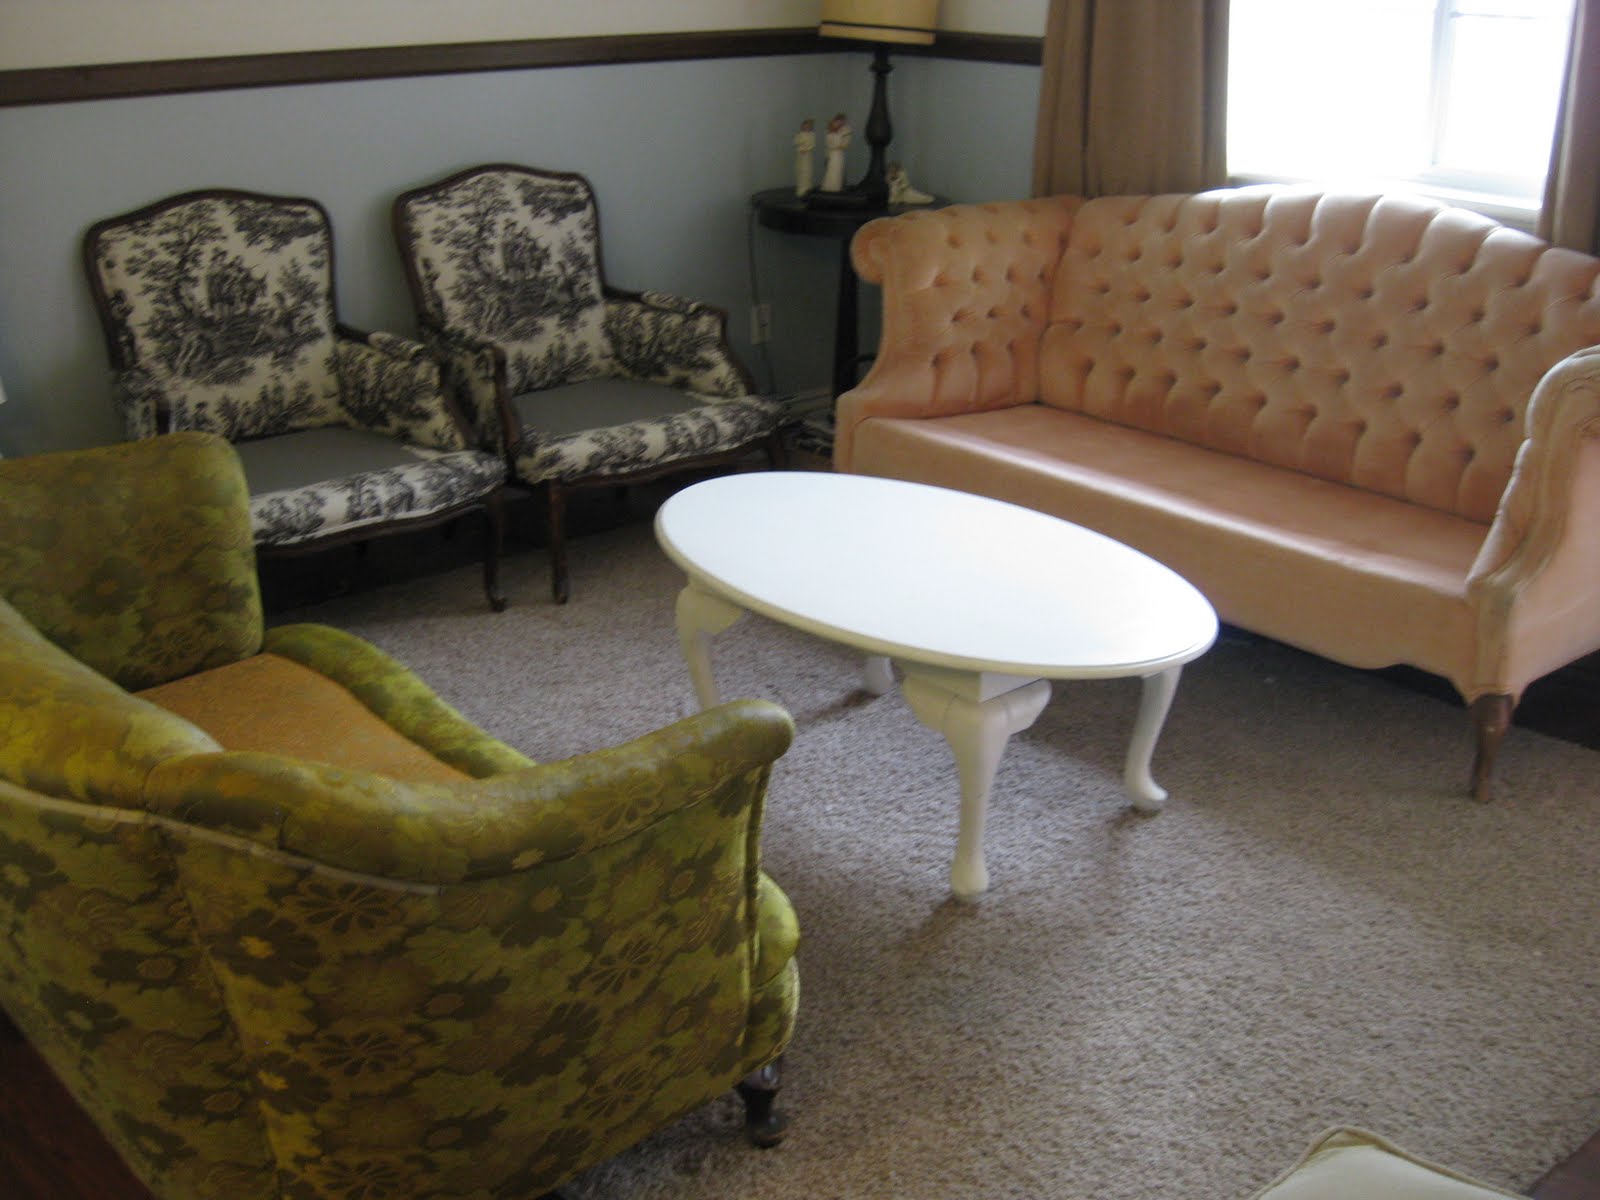

Front room before


Here is a photo of my room without slipcovers. My nice peach velvet tufted couch I picked up for $13 from Savers (local thrift store). My nice green loveseat is from a yardsale for $20. They two toile arm chairs I picked up from DI (local thrift store) for $10 each and had to have the springs fixed and the legs reglued. My upholsterer told me I might as well reupholster them…it would be the same price. So I hurried to the fabric store and chose this black and white toile. I still wanted to slipcover the chairs to protect them from my little ones.
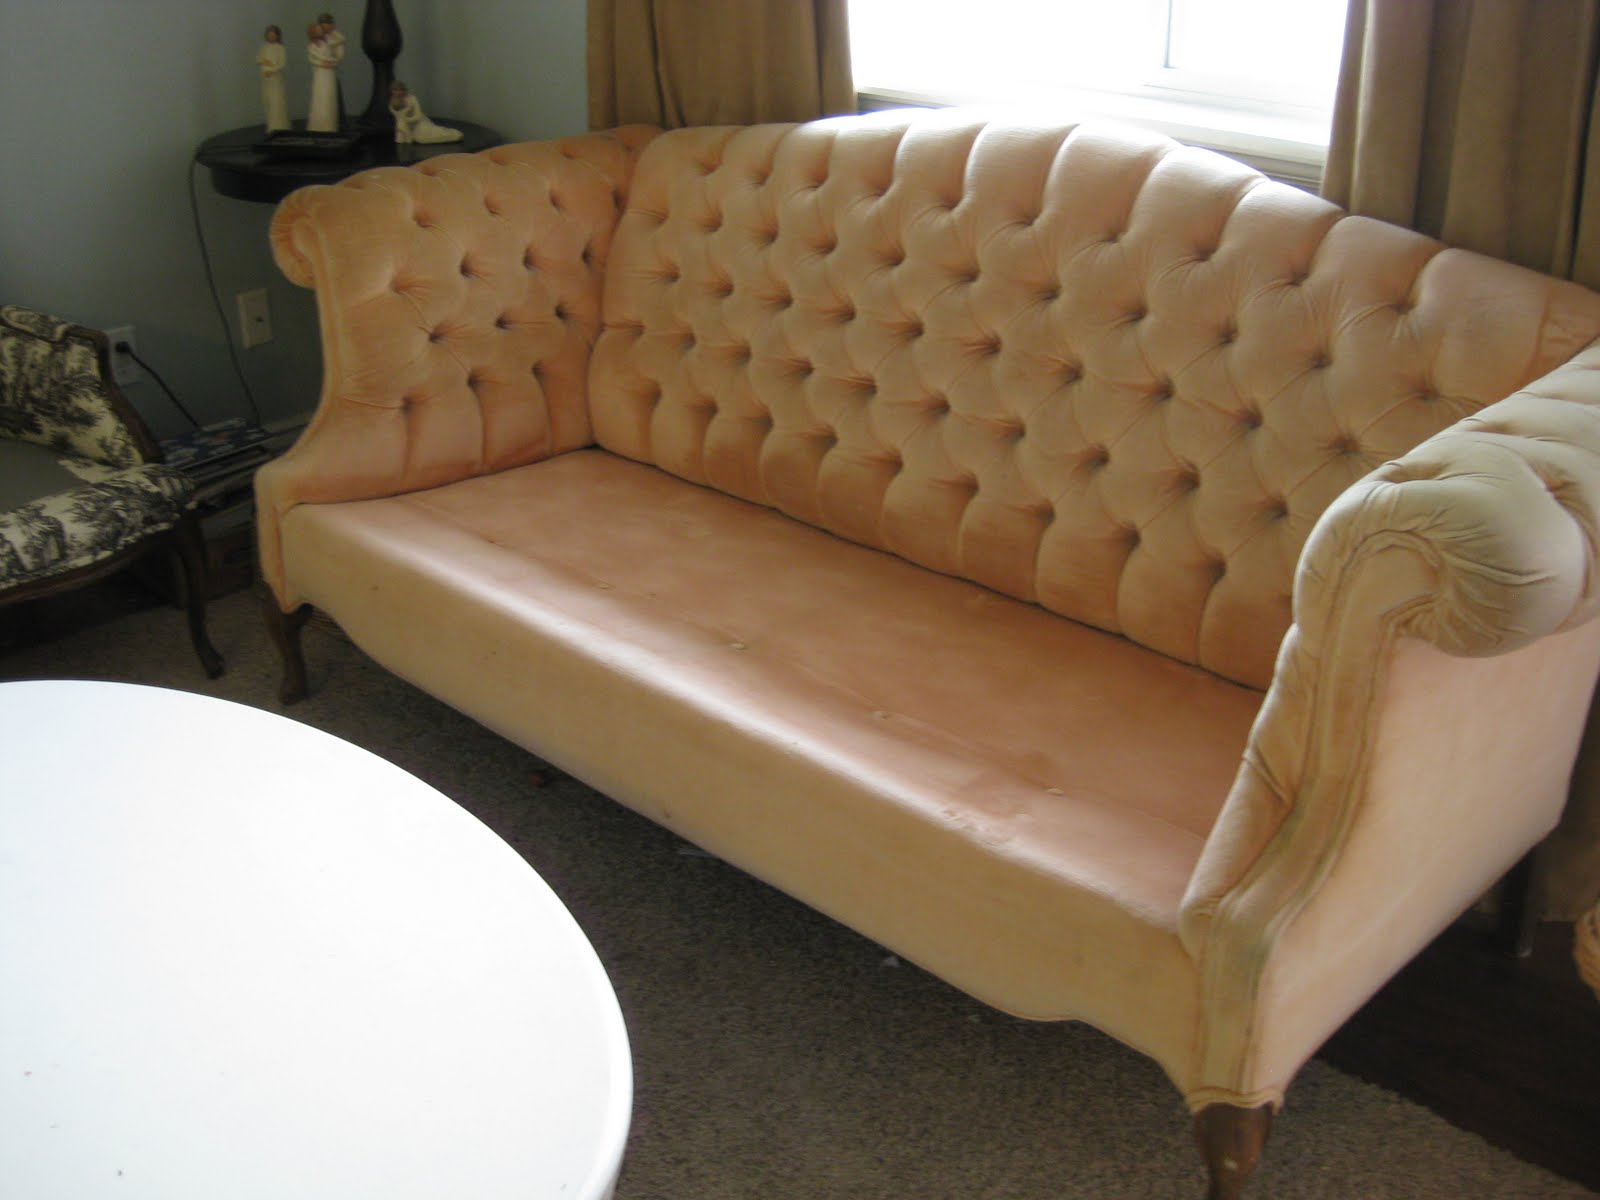


couch before


Here is a close up of the couch. I really love the tufting and while the slipcovers were washing I was trying to figure out some color scheme that would make the peach color look “cool”. Then I gave up because I was remembering my childhood bedroom that my mother decorated in peach and light green. I think I’ll stick to the tan slipcover.
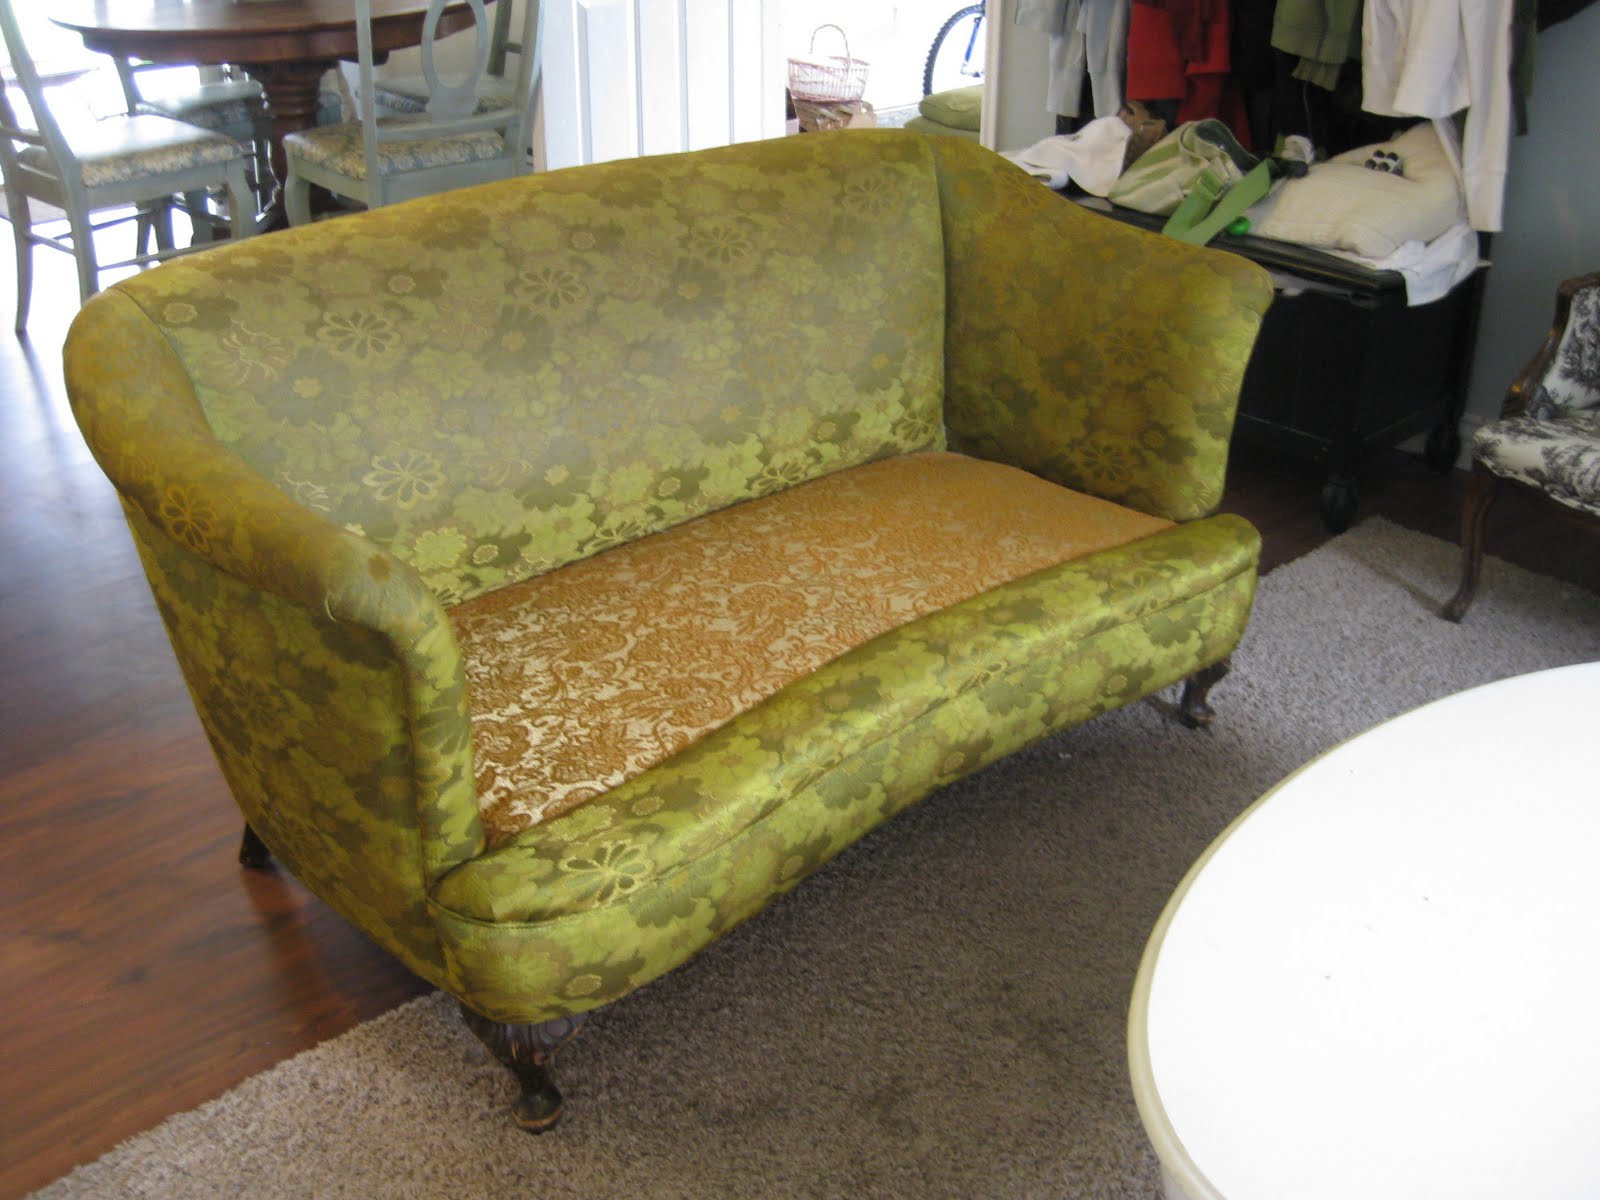


loveseat before


This loveseat’s fabric is really slick and when you’d sit on the slipcovered loveseat the slipcover would pull and shift way more than normal, so I sewed some velcro onto the seam allowance of the top inside back. Then I staple gunned the other side of velcro to the loveseat itself, now it stays in place perfectly. I love the arms on this piece.


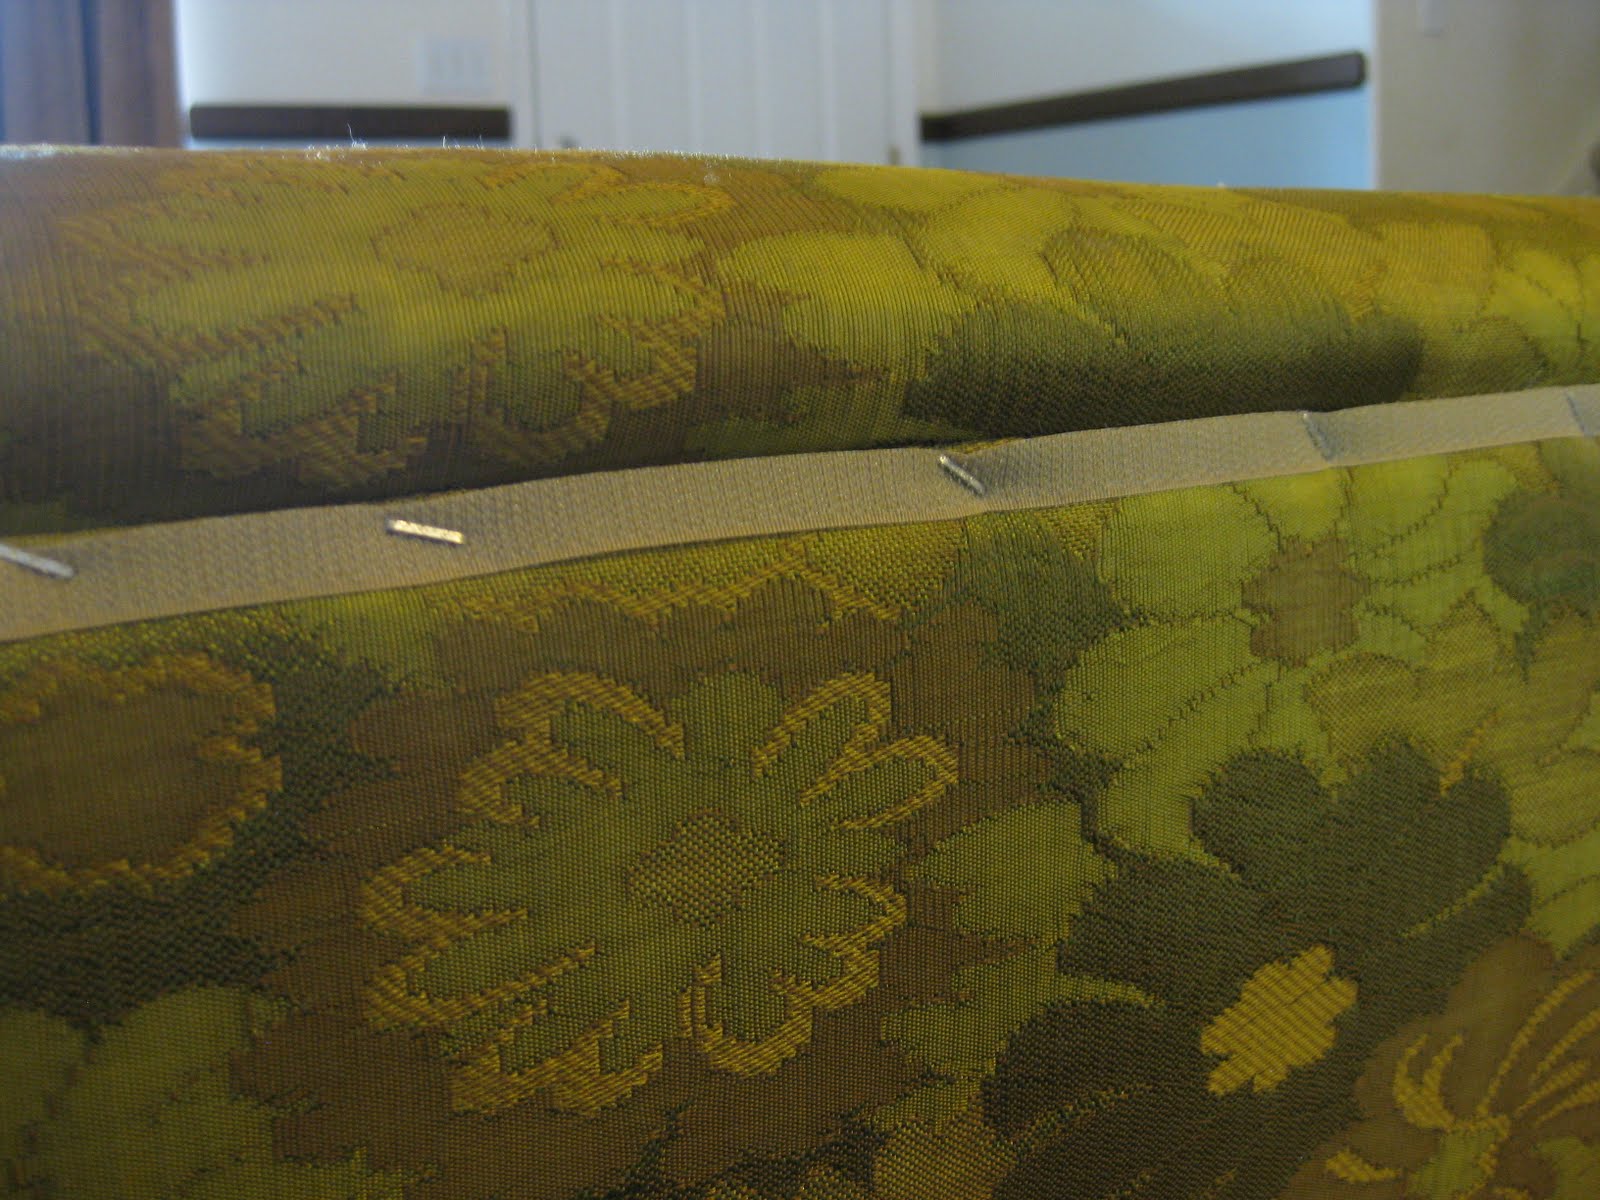
velcro on outside back of loveseat
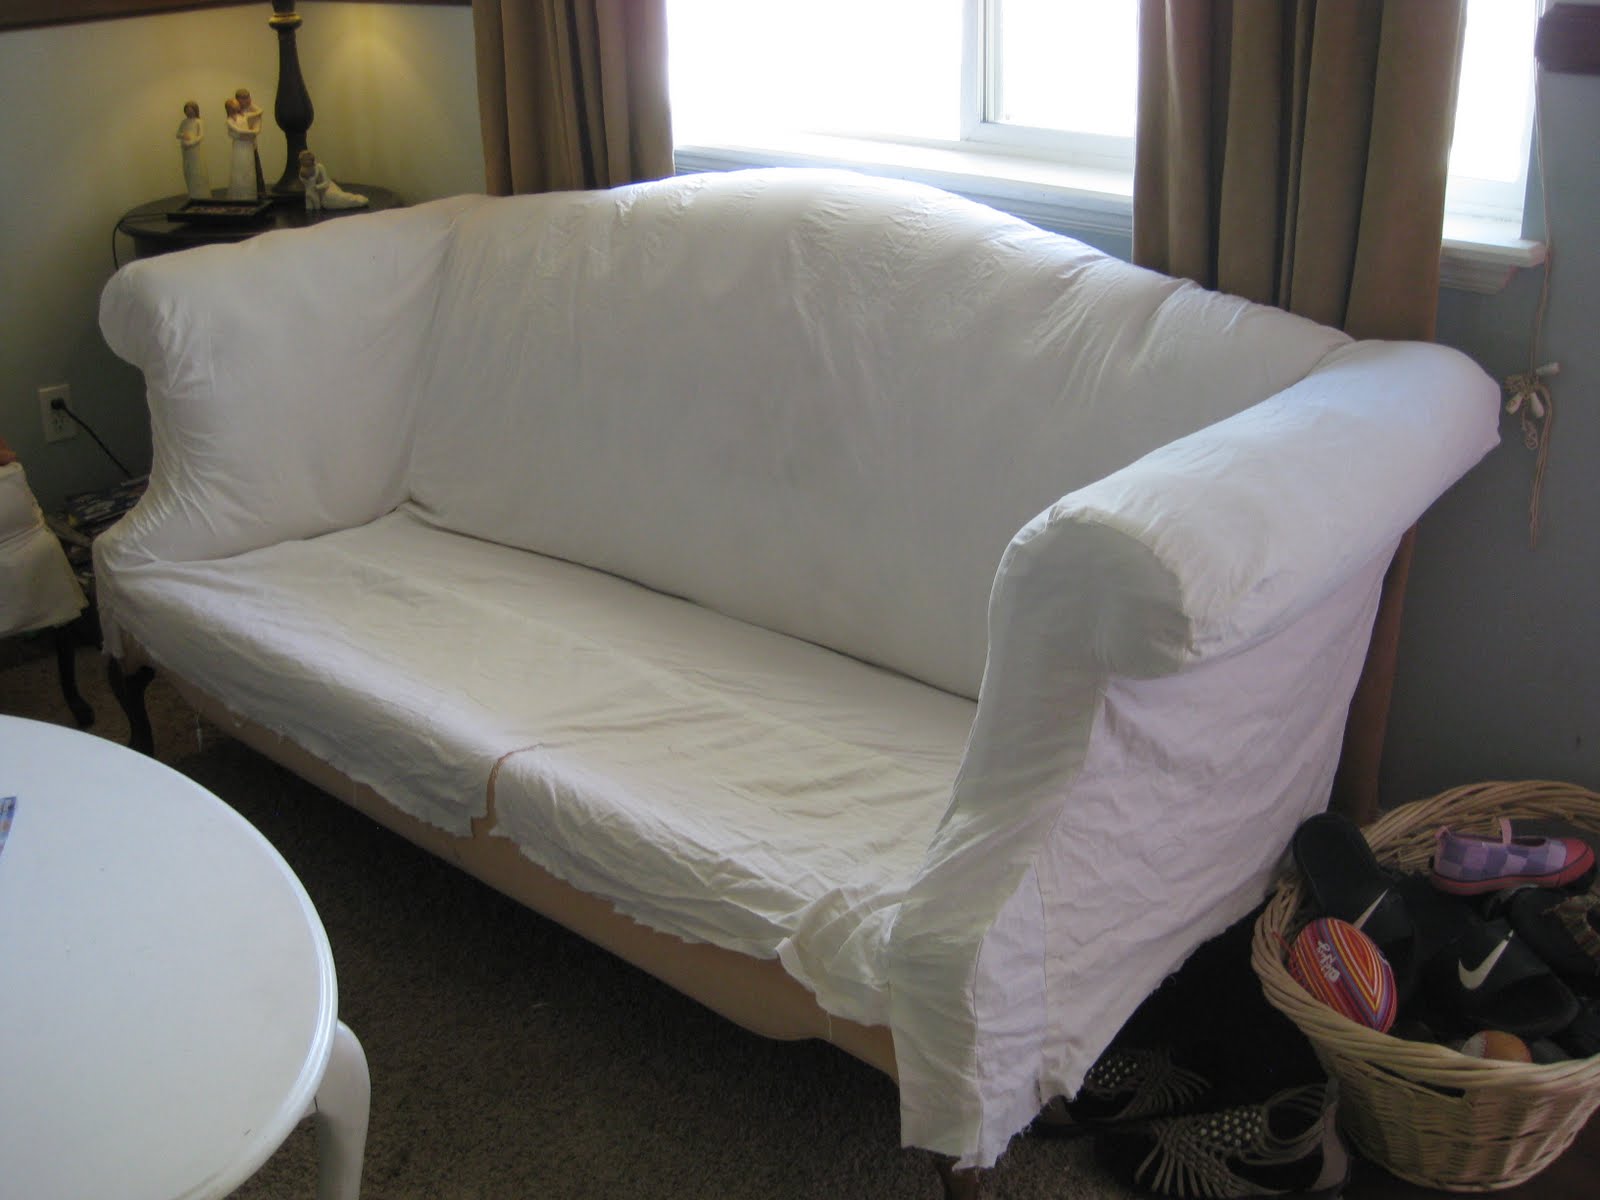
Muslin slip for couch to keep the velvet from sticking and pulling the slipcover funny


I got tired of the slipcover sticking to the velvet and pulling weird, so I made this underslip out of scraps of muslin.
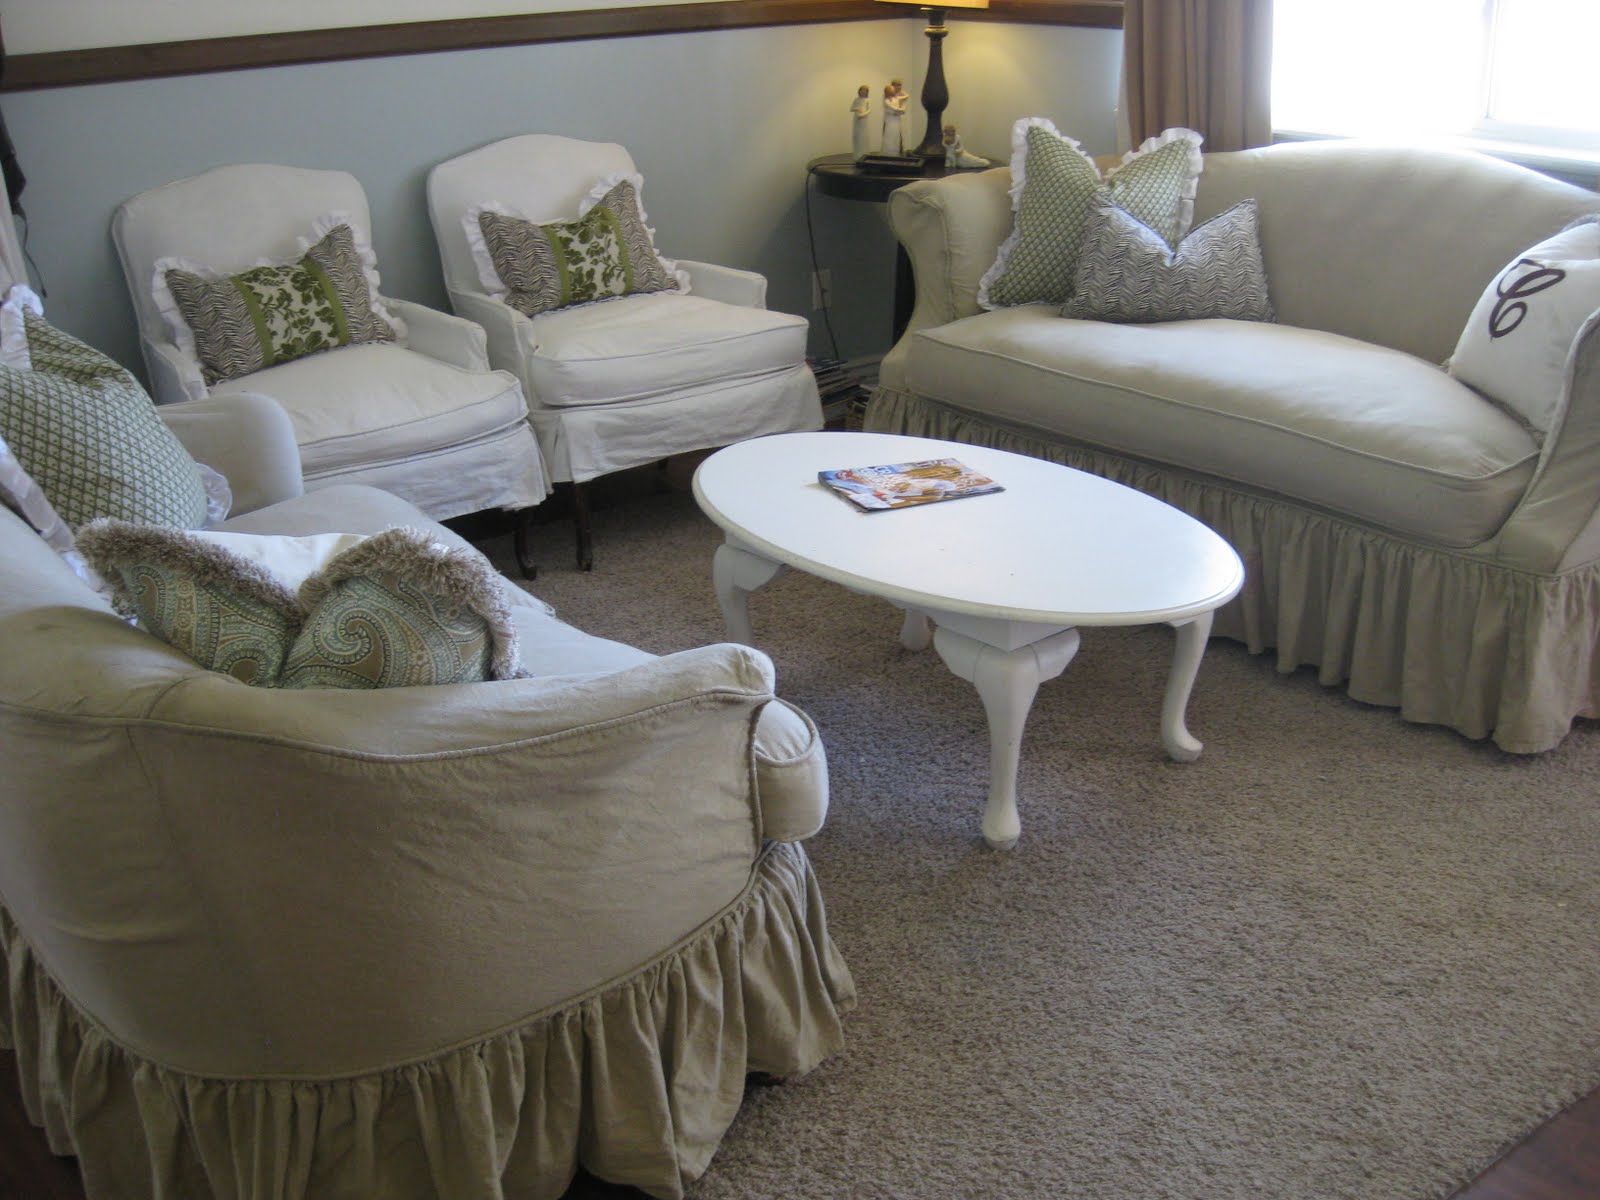


Front room after


The couch and loveseat are slipcovered in a tan cotton fabric. The chairs are out of white duck cloth. I always like to finish a room off with pillows, so I used some white pottery barn linen napkins to back most of the pillows and pieced the ones on the chairs out of scraps.
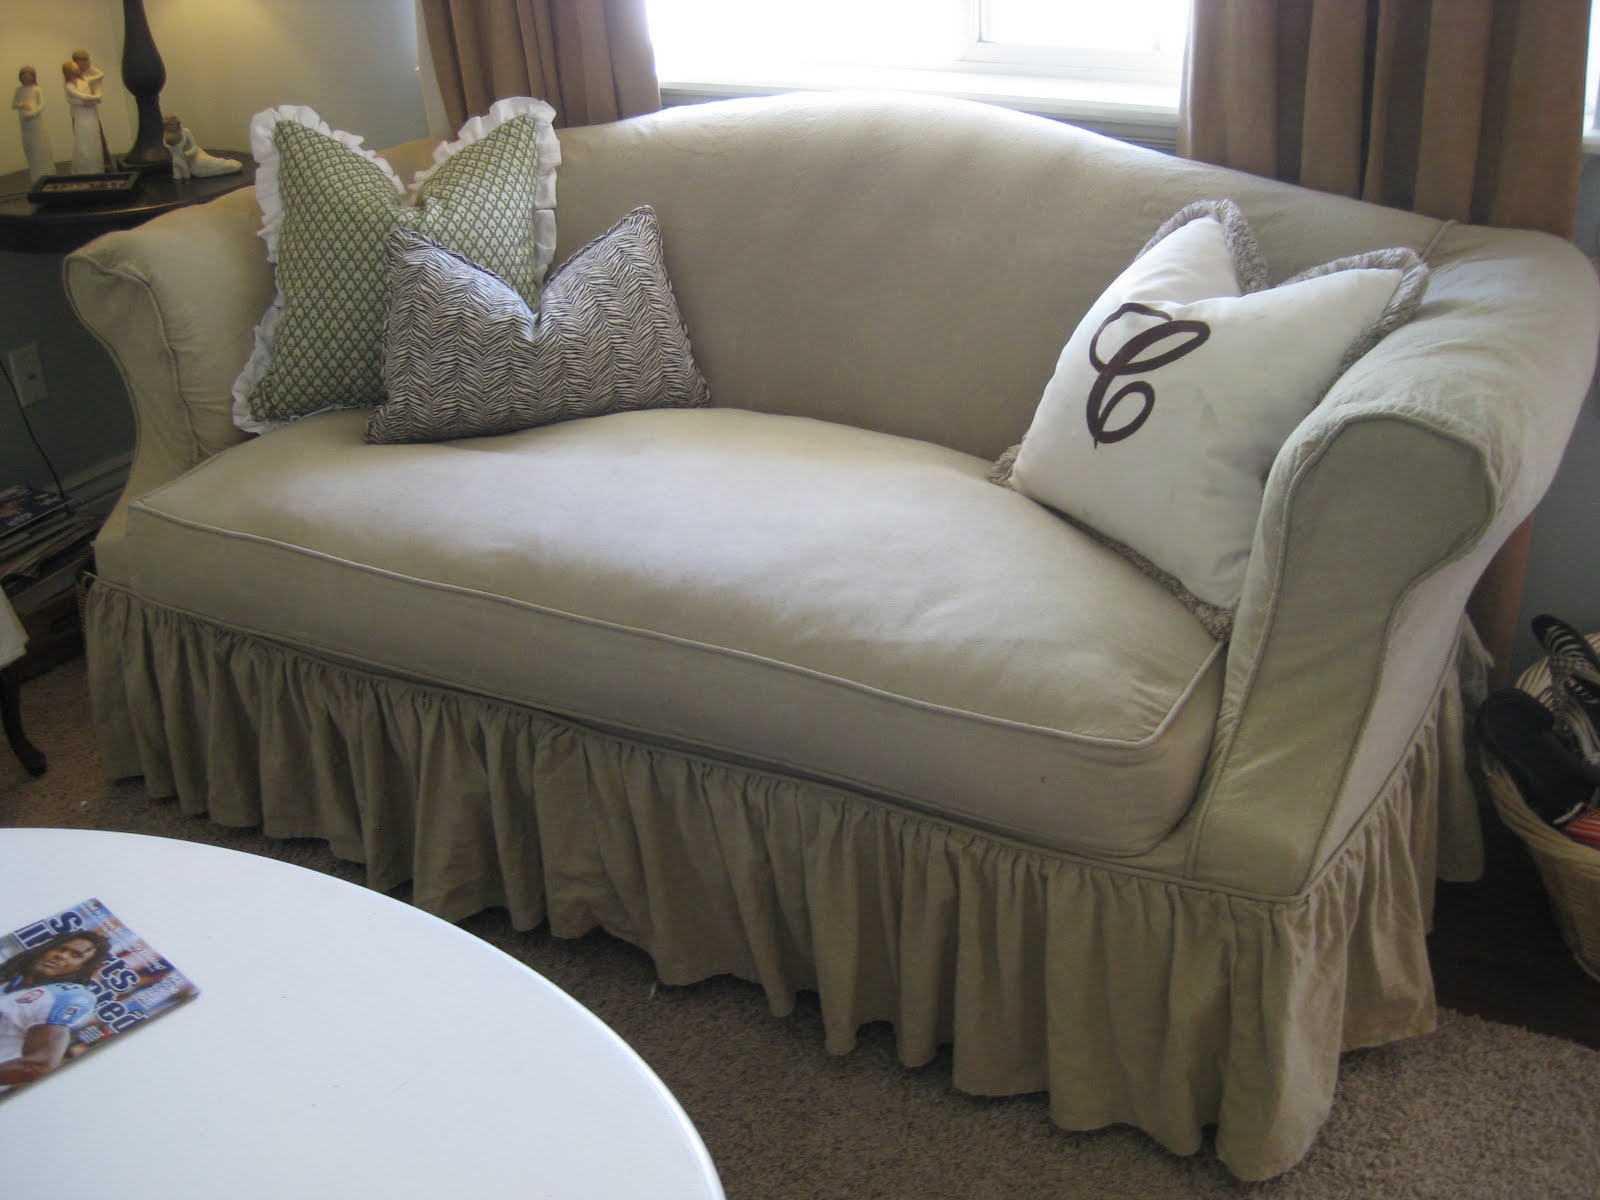


couch after


I ended up replacing all the cushions with down. The couch and loveseat are down envelopes  with a foam core (extra support). The chairs are solid down with no foam.
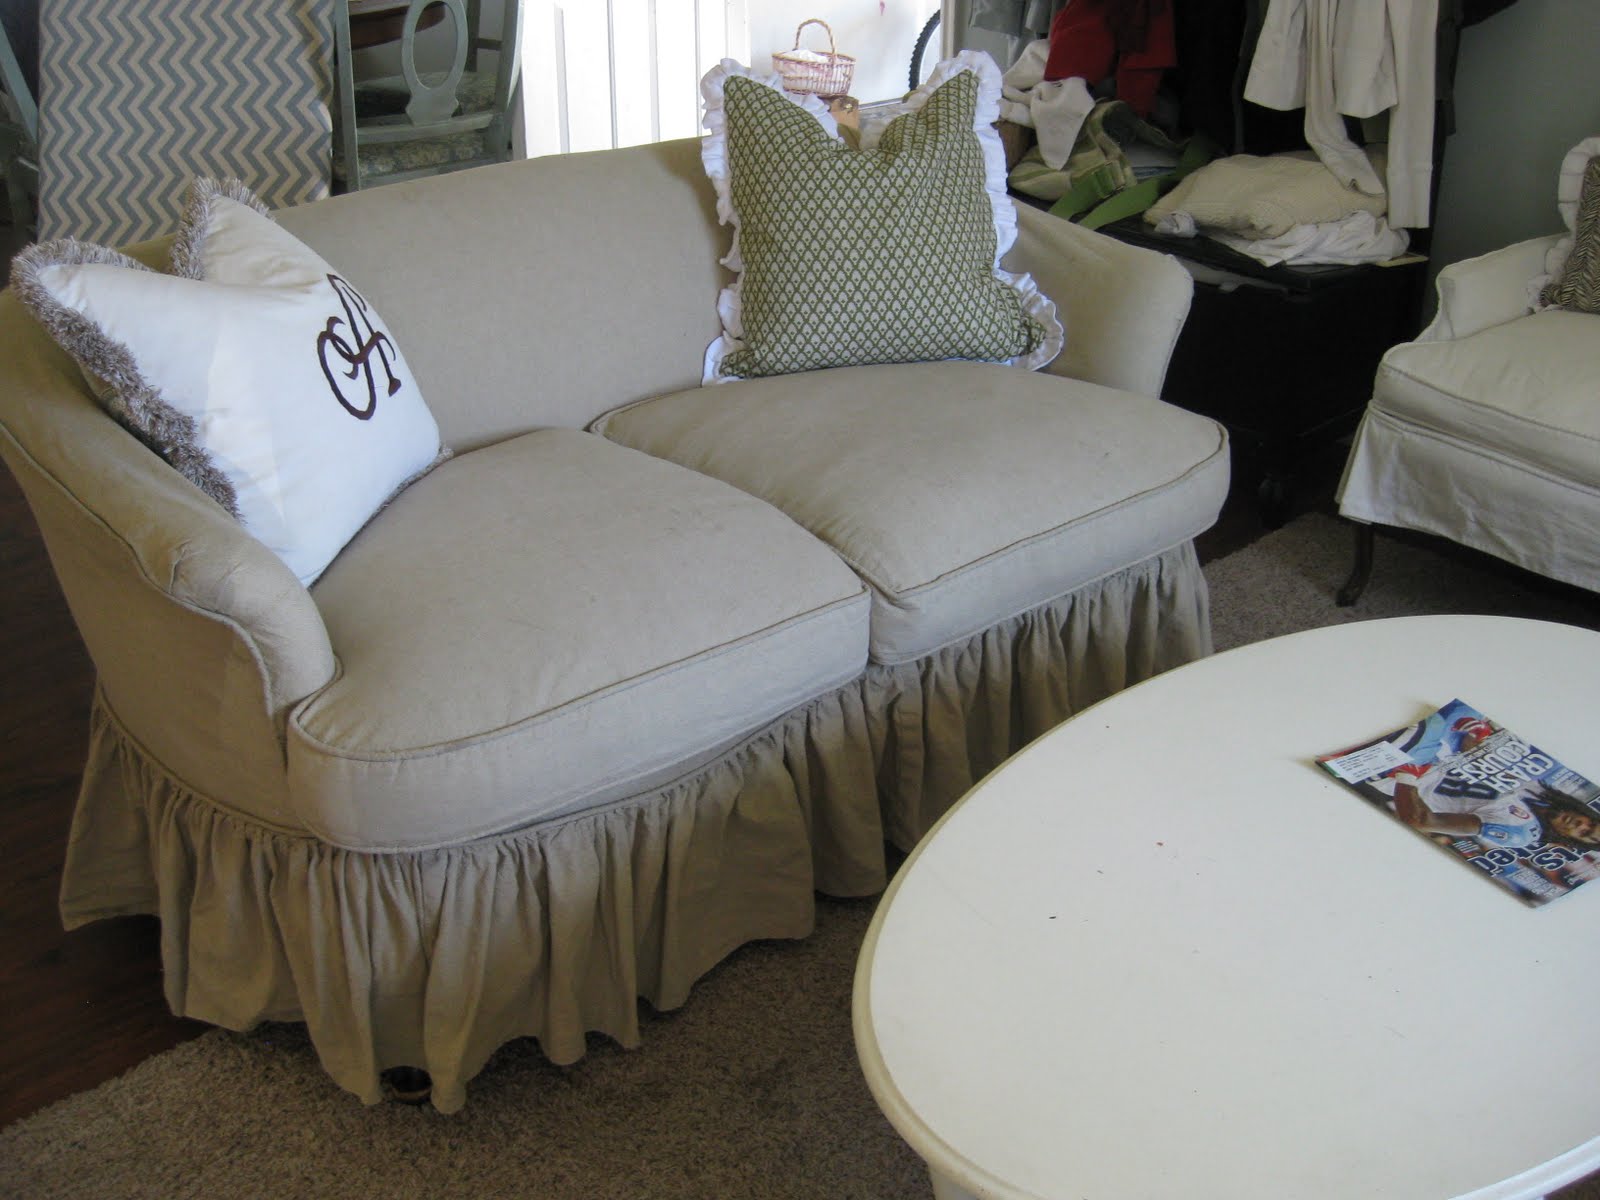


Loveseat after


I did gathered skirts on the couch and loveseat…they are completly different shapes but with the same fabric and skirts they look like a set.
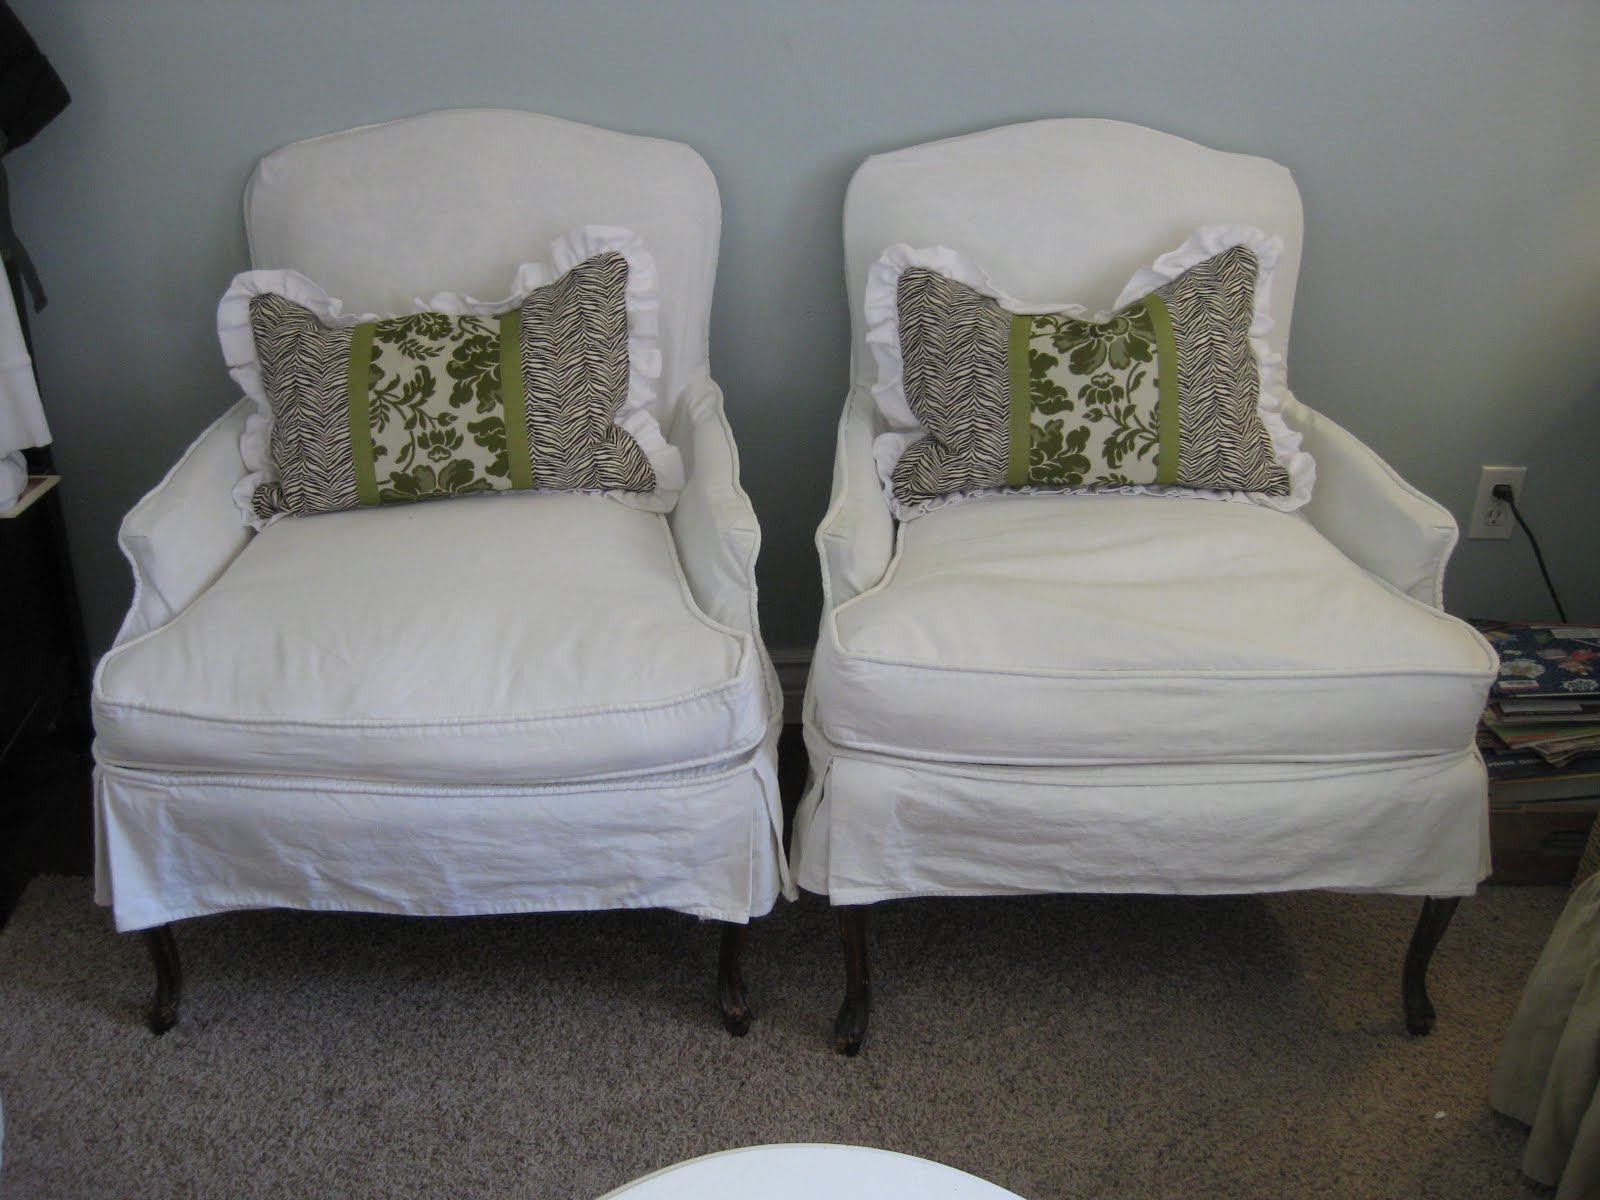


chairs after


I decided to do a short kick pleat skirt on the chairs and let the legs show.

IF you are interested in learning to make slipcovers yourself click on the button (HOW TO SLIPCOVER DVD)to purchase.

Photobucket

  • Facebook
  • Twitter
Remodelaholic is a participant in the Amazon Services LLC Associates Program, an affiliate advertising program designed to provide a means for sites to earn advertising fees by advertising and linking to amazon.com. Please see our full disclosure here.

Published: December 9, 2010Filed Under: Furniture Building Projects and Plans, Living Rooms Tagged: Furniture, Living Rooms, Reupholstery, Sewing Projects, Slipcovers, Sofas

About Cassity

Cassity started Remodelaholic with her husband, Justin, to share their love for knocking out walls together. She is an interior designer, wife, and mother of two. She and Justin have remodeled three homes from top to bottom and are working on their fourth. Making a house a home is her favorite hobby.


free email bonus

Kitchen Organization Boot Camp

Is your kitchen a zen paradise? It can be. I'll show you how.

Previous Post
Fully Operational Roman Shade Tutorial
Next Post
Fun Kids Bathroom Reveal; Before and After

Comments

  1. Susan says

    December 9, 2010 at 2:04 pm

    >Nice job!! Beautiful

    Reply
  2. Sanctuary Home says

    December 9, 2010 at 4:52 pm

    >I love slipcovers, they really do unify a room. I want slip covers on all my furniture. I don't know if I have the nerve to do it myself though. : }

    Reply
  3. Gina says

    January 3, 2016 at 6:49 pm

    Shockingly wonderful!!!!

    Reply
  4. Paint It White says

    January 4, 2016 at 8:04 am

    Wow, this is a fabulous make over. I love it and what a huge change. Well done.

    Reply
    • Cass says

      January 4, 2016 at 1:49 pm

      Thanks for the commment, Marie!

      Reply

Leave a Reply Cancel reply

We love hearing from fellow Remodelaholics, so let us know what you like about this and leave any questions below in the comments. If you have followed a tutorial or been inspired by something you have seen here, we would love to see pictures! Submit pictures here or by messaging us over on Facebook.
Recipe Rating


Hey there, I am Cassity! Nice to virtually meet you!

This blog is about DIY at its finest. We are obsessed with it and so are you, so while we're working and have nothing to show you of our own projects we show off yours. So submit your projects! More About Us…

Categories

  • Facebook
  • Instagram
  • Pinterest
  • RSS
  • Twitter
  • YouTube

Meet The Team

Privacy Policy

Remodelaholic is a participant in the Amazon Services LLC Associates Program, an affiliate advertising program designed to provide a means for sites to earn advertising fees by advertising and linking to amazon.com. Please see our full disclosure here.

© 2005-2016 Remodelaholic LLC, All Rights Reserved

  • Facebook
  • Instagram
  • Pinterest
  • RSS
  • Twitter
  • YouTube

Copyright © 2021 · Remodelaholic

  • Pinterest
  • Facebook
  • Twitter