Wingback Chair Reupholstering Tutorial
Wingback Chair Reupholstering Tutorial
It is done! Done! Done! Done!

I mentioned earlier this week that I started the actual upholstering part of my wingback reupholstering this weekend and finished it in two days!!!! It was on my “list of things to finish before my parents get here” so I thought, once I start I have to get this done.
I started this project over 3 months ago {see first post here} and like many things in design it never turns out exactly the way you think it is going to go. I first started out {in May}wanting to write a really detailed tutorial about how to reupholster a piece of furniture; even though at that point I had NEVER actually upholstered anything before… I thought, if I can do it anyone can. BUT I was not as detailed as I thought I was going to be at documenting my progress… and in the end {with a great chair but not a great “How To” post} that is the best advice I am going to give you…. BE DETAILED!!!
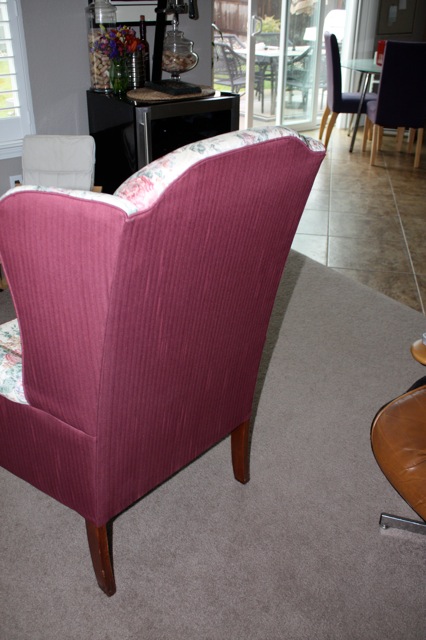
I started with this:

and in May I began tearing the chair apart.
I intended to document all pieces of fabric and such I took off the chair, and completely label them so it was very easy to put back on.
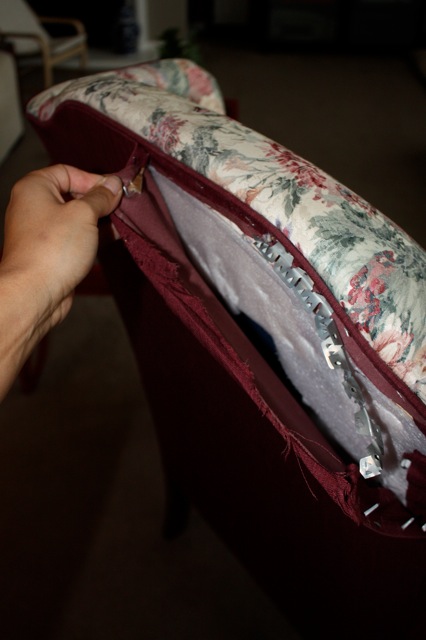
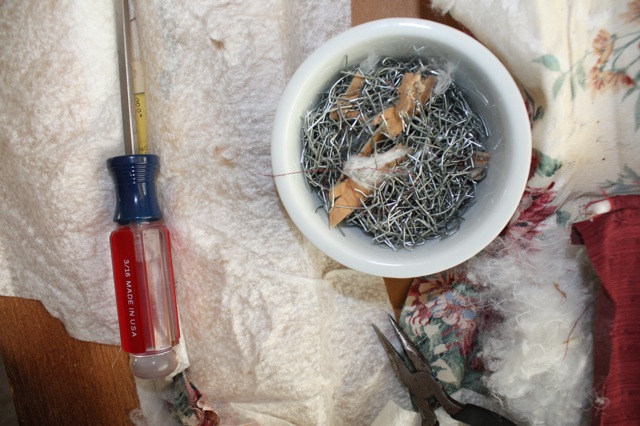
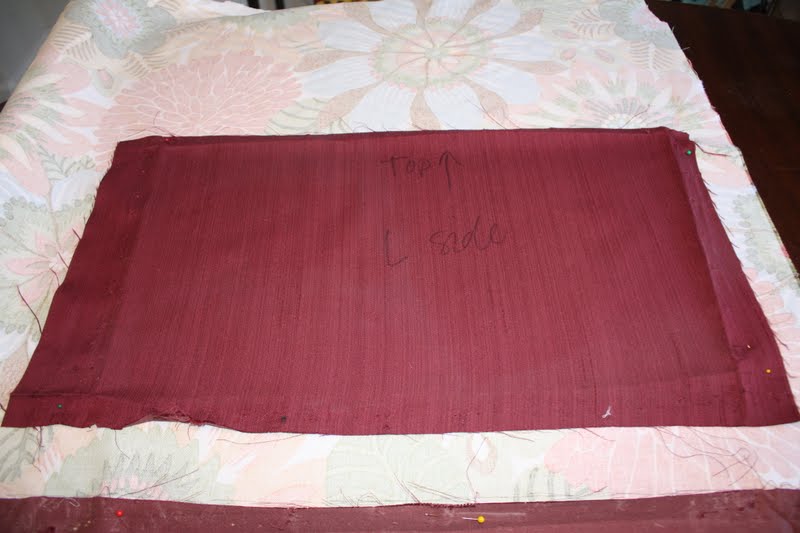
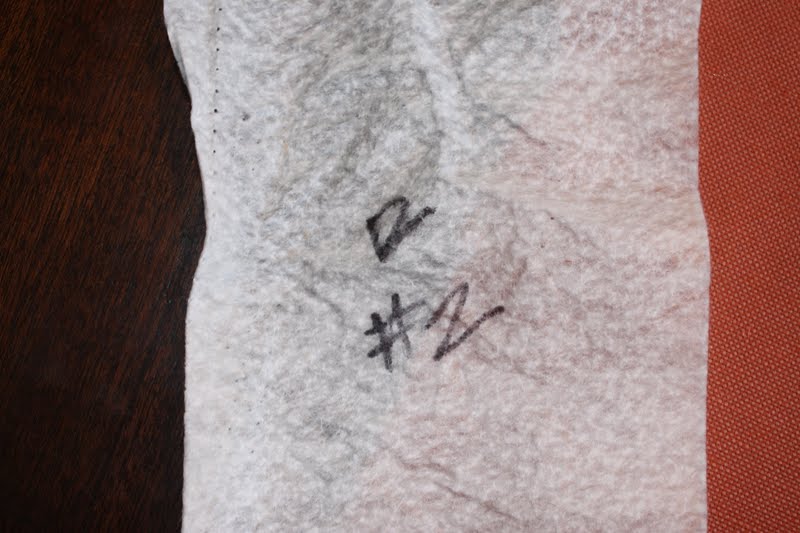
As I began to carefully tear the fabric off of the chair {because I wanted to use them for pattern pieces} I took pictures and labeled with a sharpie…
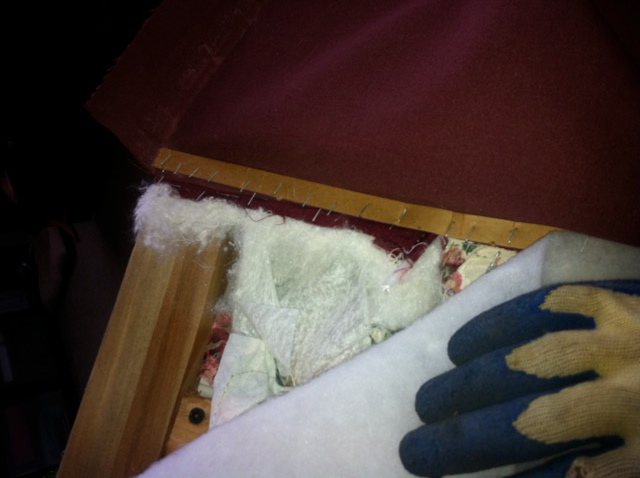
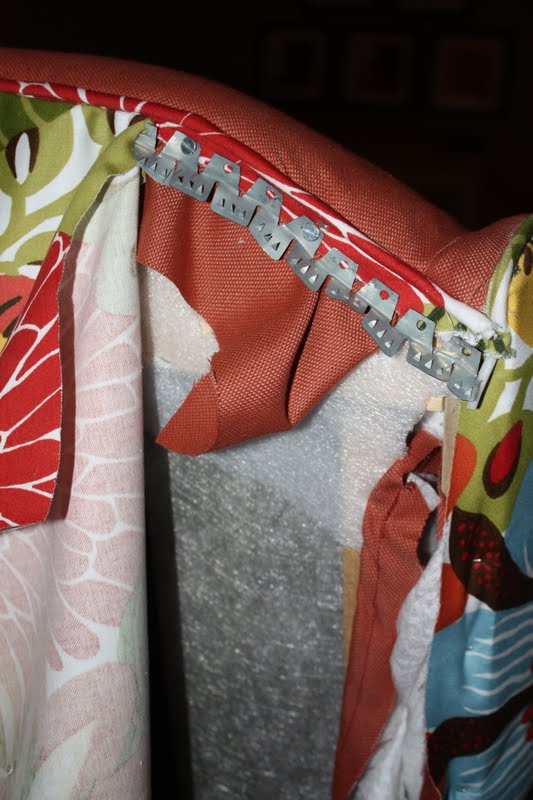
I tried to keep all of the metal teethy parts and cardboard strips to reuse…

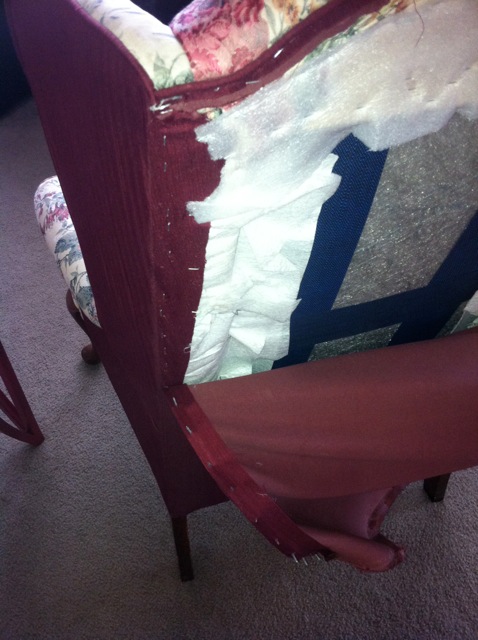
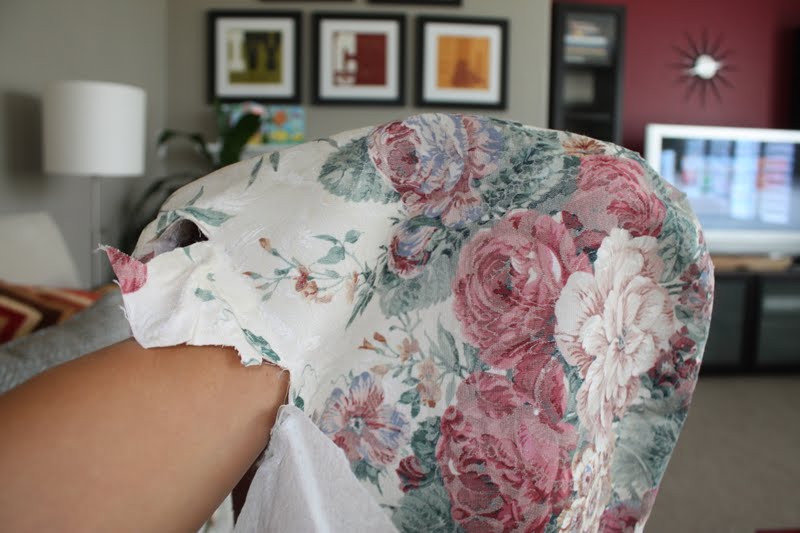
But as I would try to finish removing all of the fabric pieces from the chair here and there {whenever I had the chance, daytime, late at night, in the garage, etc} I became less detailed.
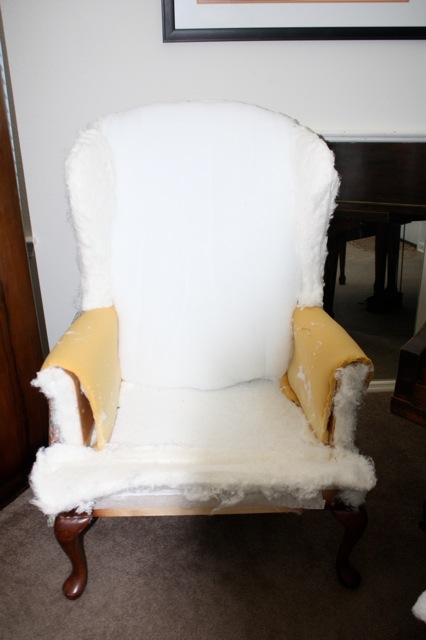
And soon my chair looked like this… and then it sat for a month and a half!!!!
All this time I was trying to narrow down what fabric I wanted for the chair… it was quite a process! {see my selection process, here} I wanted something I was going to love, but fabric that I wasn’t going to spend a fortune on. I know doing the work myself was going to save a ton of $ but this was my first big project like this and I didn’t want to have to buy more if I f*cked it up!!
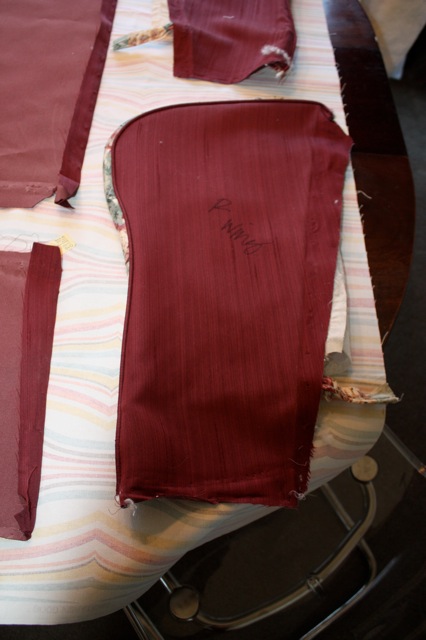
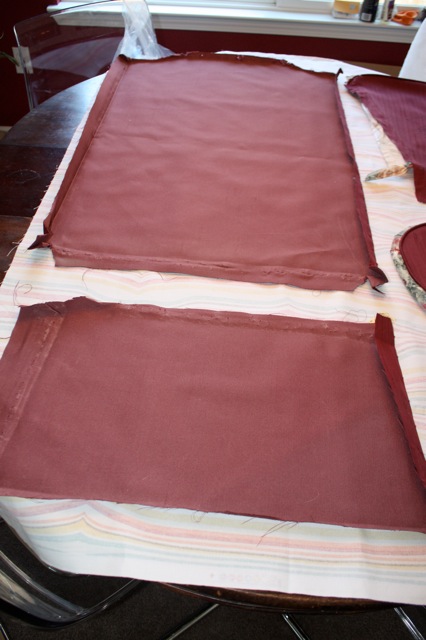
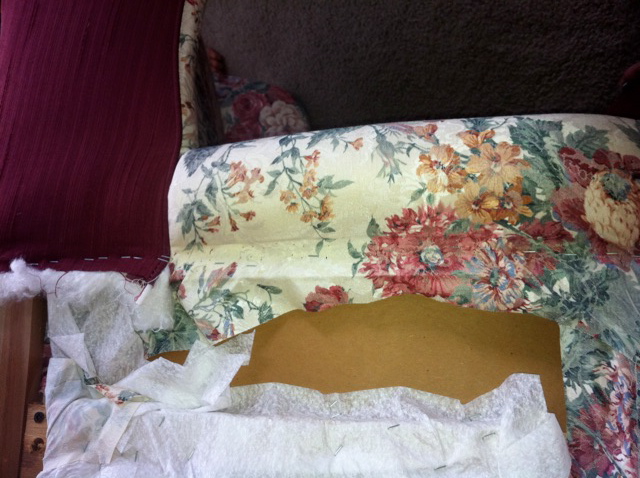
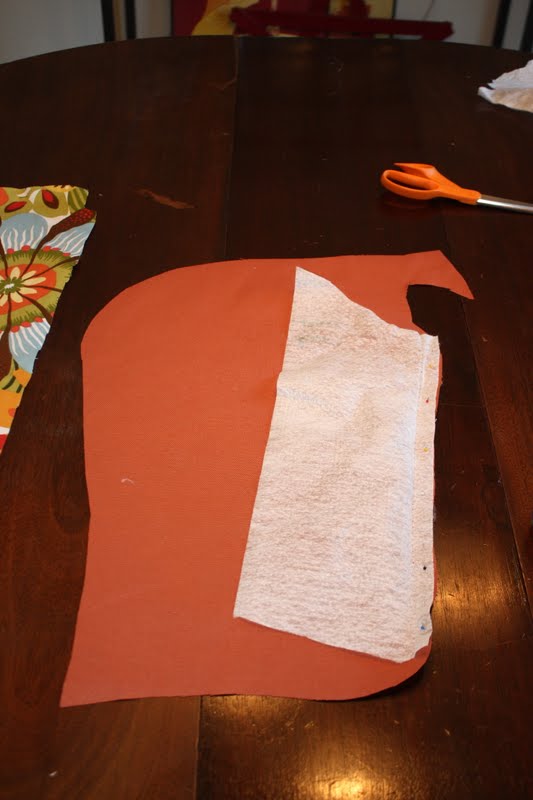
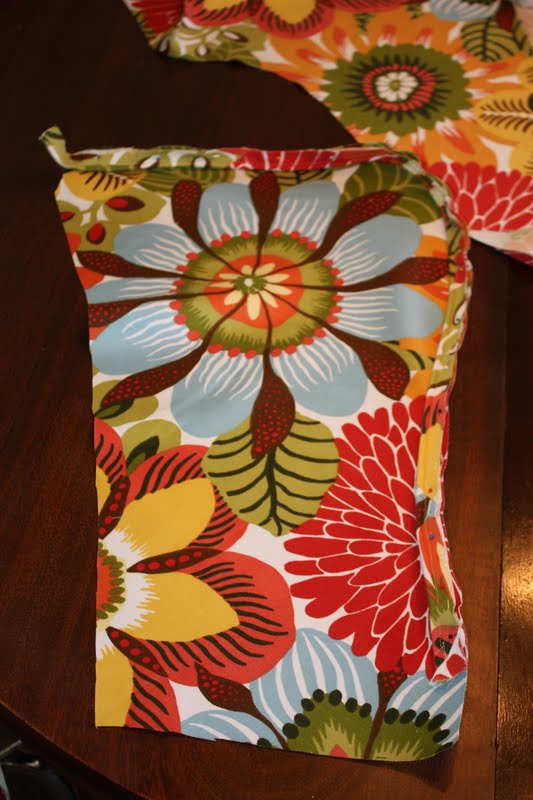
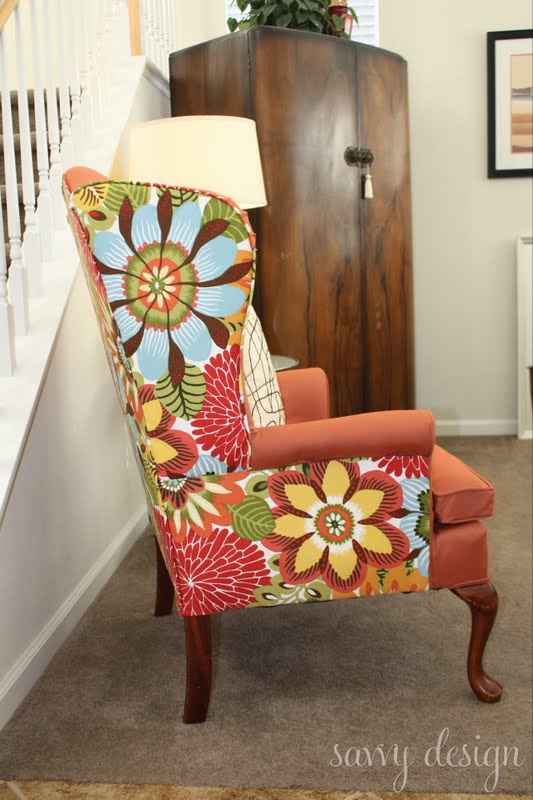
After I read a few blogs on the how tos for reupholstering to figure out how much fabric I needed {not a whole lot of help because every chair was different!} I took a yard of fabric I had from a client project and laid out the pieces for each fabric. I knew I wanted to have a print on the back and a solid on the front… so after some measuring I came up with 2 yards for the print and 3 yards for the solid. Did I mention I have 2 wingback chairs, but only one fits in my current living room? SO that meant I had to double that to make sure I had enough for both.

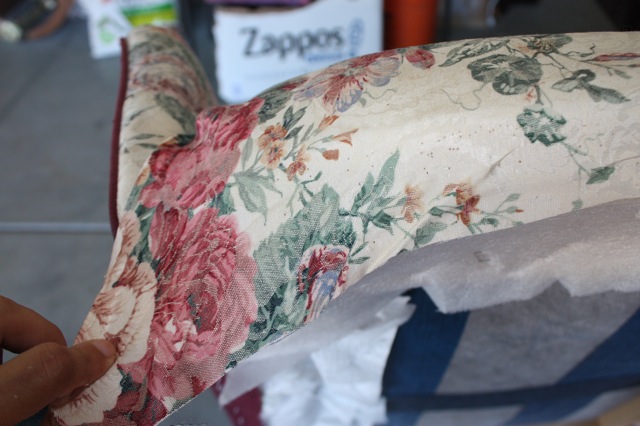
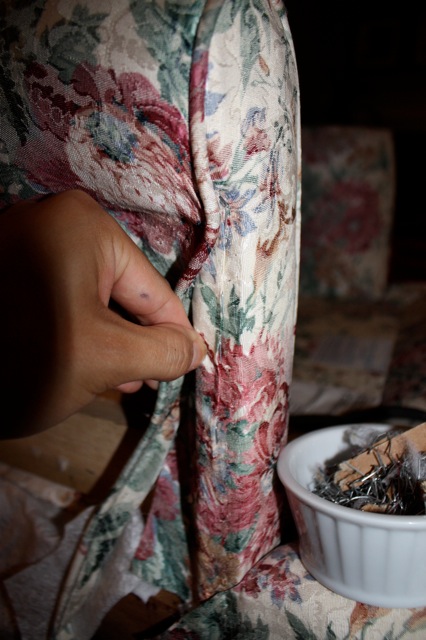
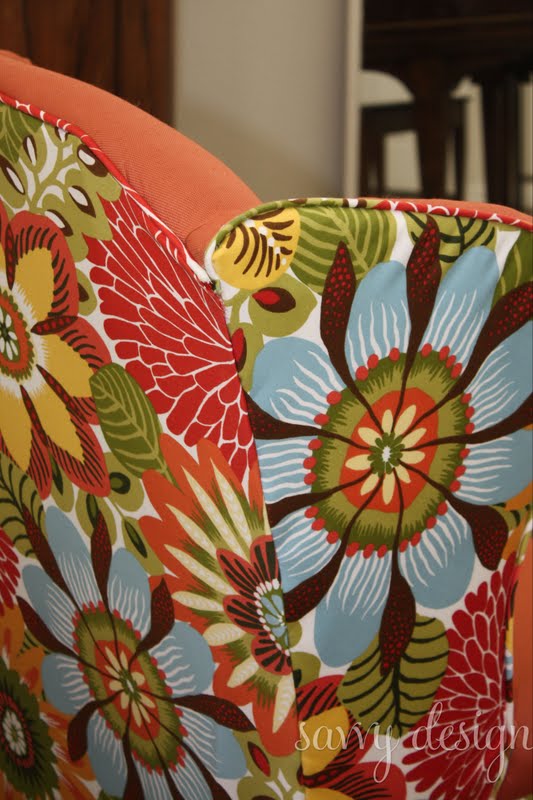
Remember how I wanted to use the old fabric pieces for patterns and the metal teeth again… well I started to think why not use ALL of the stuff over again? So I ripped everything apart and used the piping, the felt {that was attached to the fabric to pull it through}, the scary metal teeth, the foam, dacon wrap and even the zipper from the old chair.

I am beyond thrilled with the way the chair turned out! I definitely know what to do differently for the other chair… and that is the one that will probably end up being the actual chair in the living room, but for my first time… it is awesome! I seriously smile ear to ear every time I walk up and down the stairs!
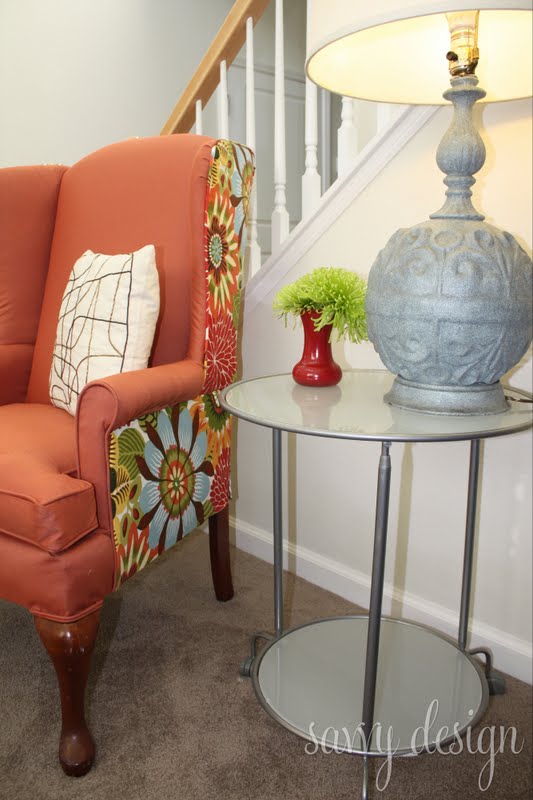
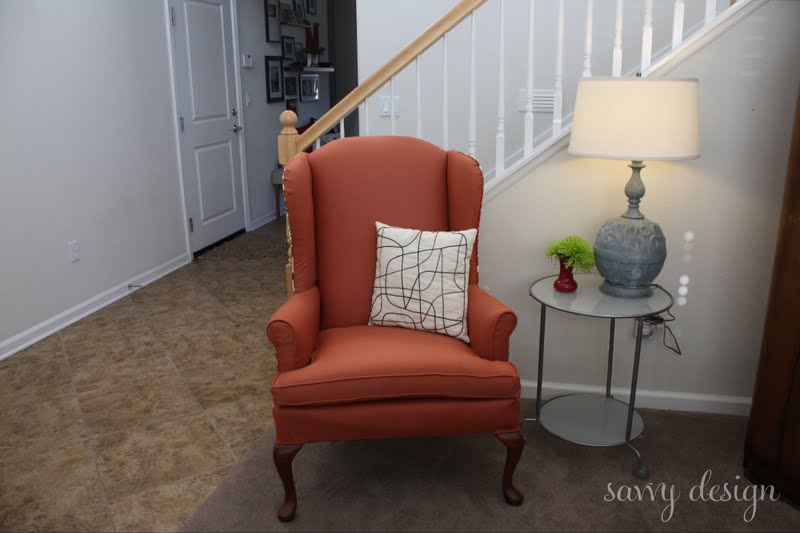


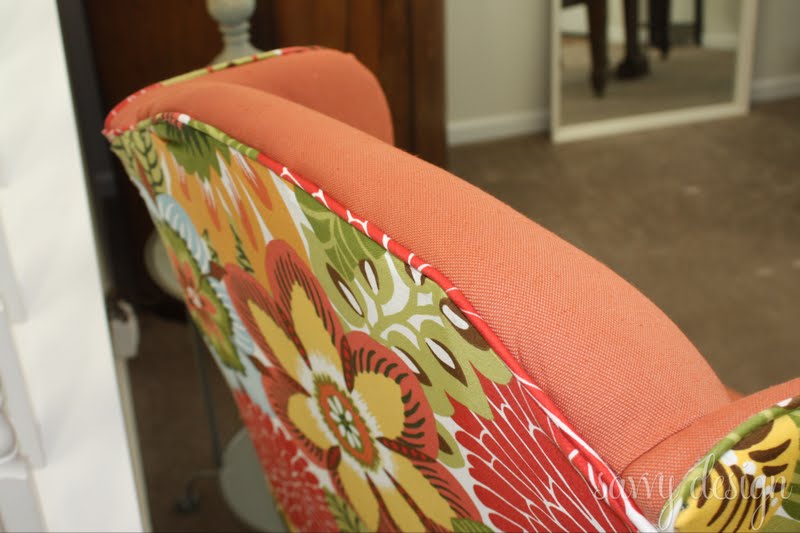

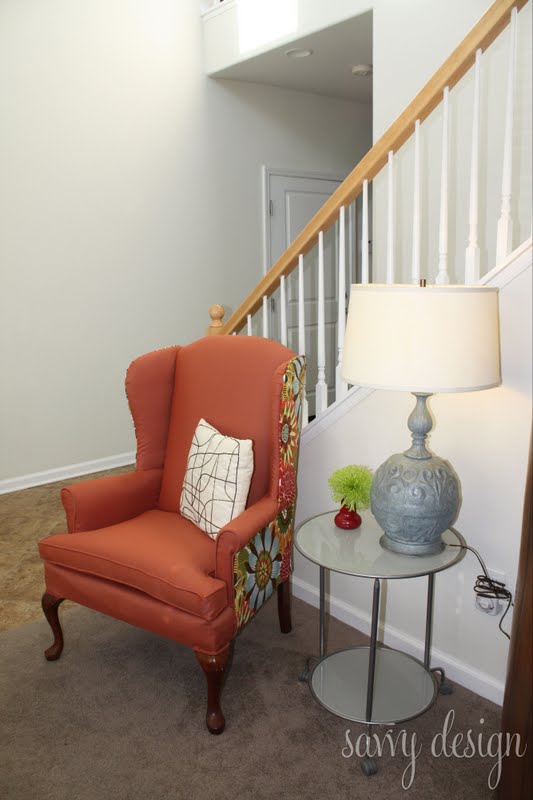

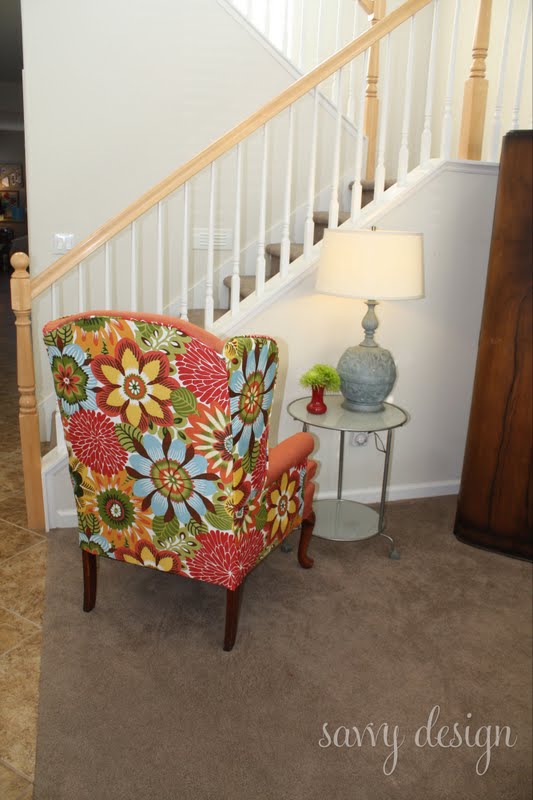

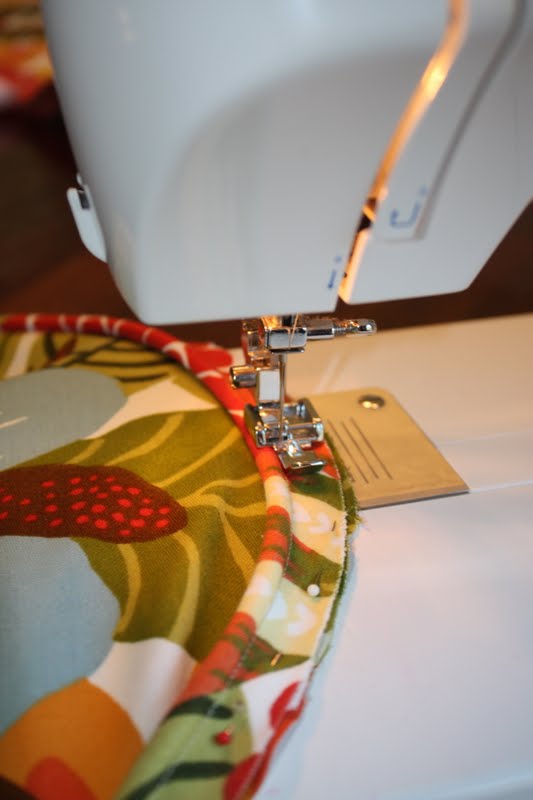
Sorry for pic over load… but that is how happy I am with it! It totally dawned on me the minute I was finished putting on the double welt to the legs that I should have refinished the legs of the chair…. oh well! After talking to my Mom about when exactly she bought them we narrowed it down to about 20 years ago… so in 10 years when I am tired of the fabric and want to tackle this again I will, but the legs are fine for now!
This was an amazing chair upholstery project! To see more chairs like it check out these links:
———— Reader Submission 2/8/18 ————
Maybe you’re not up for a complete DIY Reupholster of a chair you have (you know, that one with the “good bones” that you dumpster dived for? Or was it from that yard sale last summer two summers ago? 🙂 Check out this amazing DIY chair upholstery project:

Our reader, Joan, shared the final pic of her DIY reupholstery job and shared this:
“I had an old wing back chair (probably from the 50s or 60s) covered in rust-colored velvet. The seat cushion was in bad shape and I didn’t feel able to reupholster the entire chair. I covered just the back and seat cushion with a Navajo rug. It turned out great and adds just the right “pop” to the area above our stairway.”
Wonderful, Joan! Thank you for sharing!
Cassity Kmetzsch started Remodelaholic after graduating from Utah State University with a degree in Interior Design. Remodelaholic is the place to share her love for knocking out walls, and building everything back up again to not only add function but beauty to her home. Together with her husband Justin, they have remodeled 6 homes and are working on a seventh. She is a mother of four amazing girls. Making a house a home is her favorite hobby.


Thanks for the great tutorials! I also read your tutorial on the “Slipcovered Wingback Chair” here: https://www.remodelaholic.com/2011/04/slipcovered-wingback-chair-that-i-want/. I have two wingback chairs that I was planning on reupholstering until I read your slipcover blog. Pro/cons for each? Any recommendations? Thank you!
April
If slipcovers are done right they can look fabulous, I am not a fan of really loose fitting covers. They need to be fitted, but the really good thing about slip covers is that you can wash them… So I guess the question comes down to what features you want the most!
I love the modern take on a classic style
Thanks for the comment, Laurie!
Great job and fabulous use of colour. If you don’t want to reuse the metal spikes you can always do what I do and hand stitch the pieces using quilting thread and a blind stitch, it holds up very well and when you steam the seams it always is smooth and beautiful
Love the chair! I am about to tackle a wingback myself & was wondering if your fabric estimate was alright? Think you said 3 yards for the front and 2 for the back, was this enough?
Thanks,
Holly