Bathroom Mirror Frame Tutorial
Did you notice my call for projects yesterday? Katie from Impatiently Praying for Patience did, thank heaven!

She sent this tutorial over and I think she did a perfect job. And now you can do it too, because the tutorial is awesome, check out how she did it:
Just like I promised here is the tutorial on how to make a custom looking frame around your bigger then life mirror your builder put up in the bathroom.
Are you ready for probably a more detailed tutorial then you ever thought you would need and more pictures then you care to see?
Well here goes.
Now we are not professional…by any means. I have never used a miter box nor have I even sawed anything myself before this weekend. So, if my mom and I can do this in a weekend. You can do it too.
After you have measured your mirror to know how much trim you will need go to home depot or lowes or where ever your little heart desires to get your trim.
Pick out the trim that you think would make the best frame for you.
Mom wanted a fairly thick frame since it is such a big mirror so the mirror wouldn’t swallow the frame.
So she picked out two trims to pair together. The thicker one is usually used for a chair rail and the smaller one is usually used for details with making wainscoting.
You can piece together a bunch of different trims to your liking.
There really is an endless amount of combinations you could make.
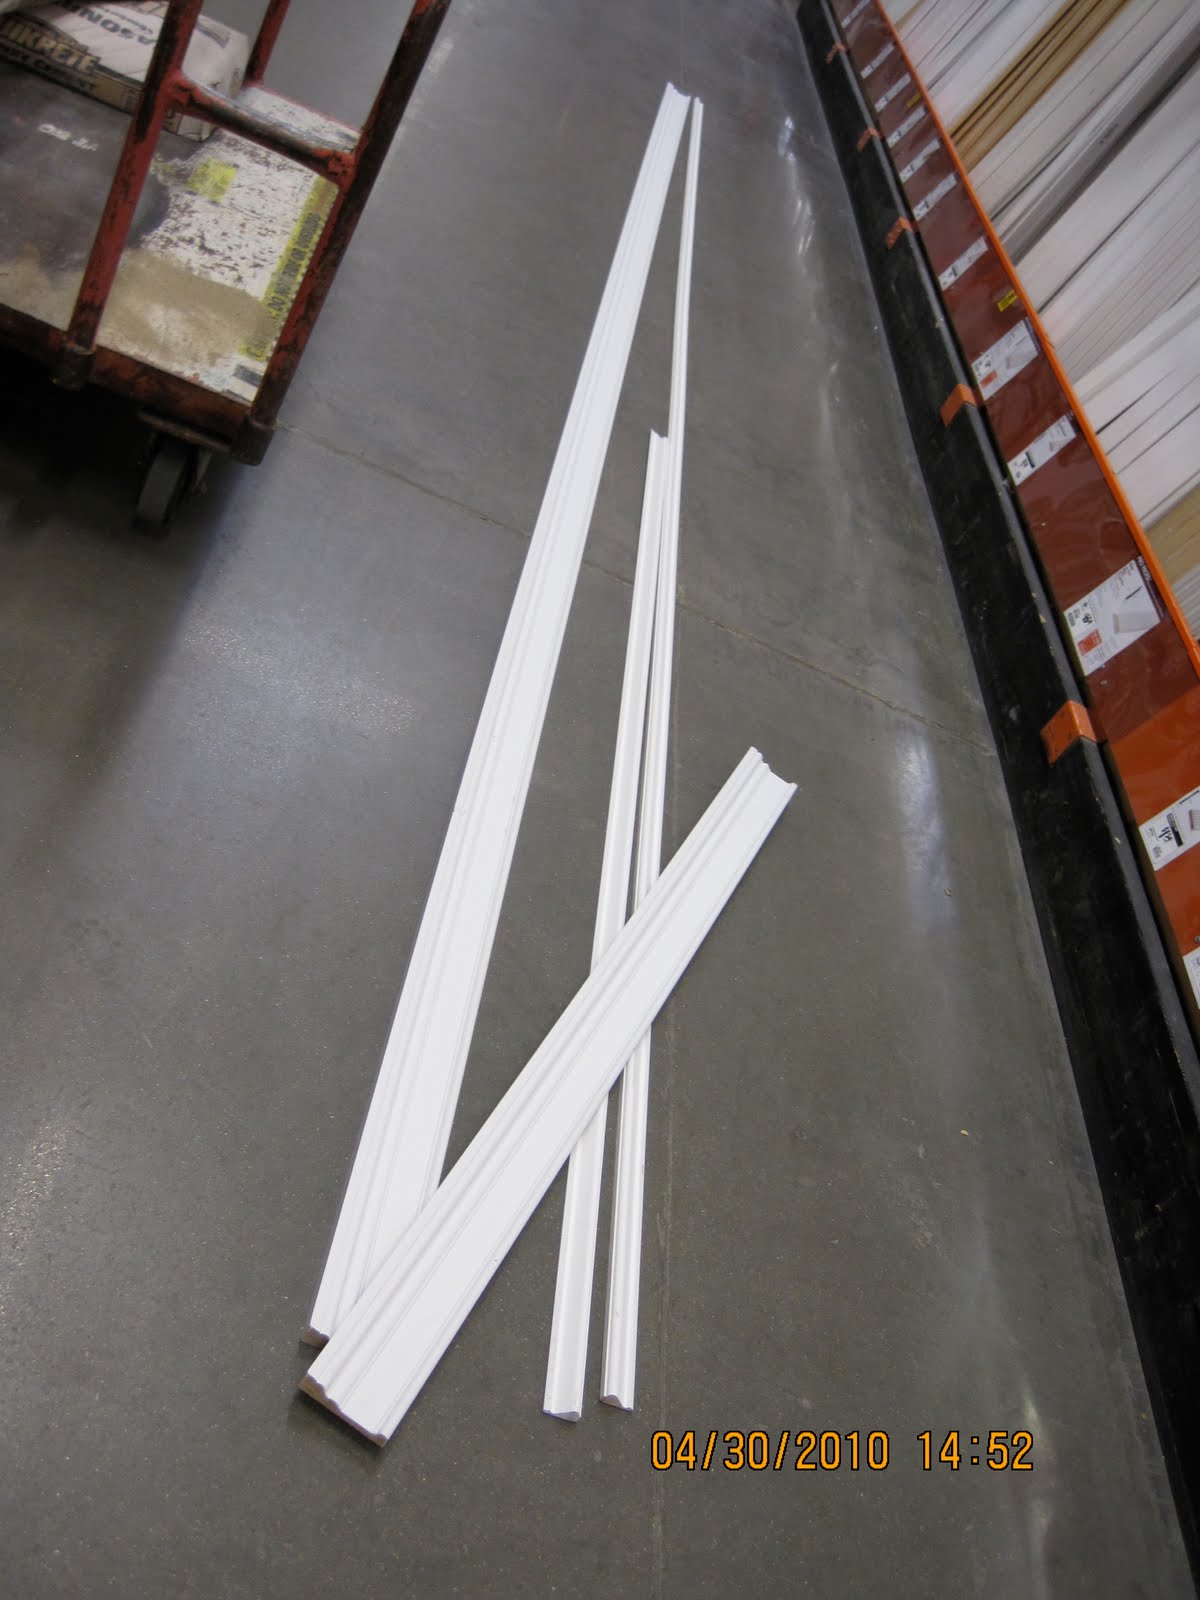
The pieces come in 16 feet long pieces (at least at Home Depot they do). But, you can cut down the piece to the length you need at the store.
Be a little generous with yourself on the length in case make a boo boo.
If you are so blessed to have a big and long car to put the Loooooong pieces of wood in then that will be perfect.
If you are not so lucky. Your car will look like this.
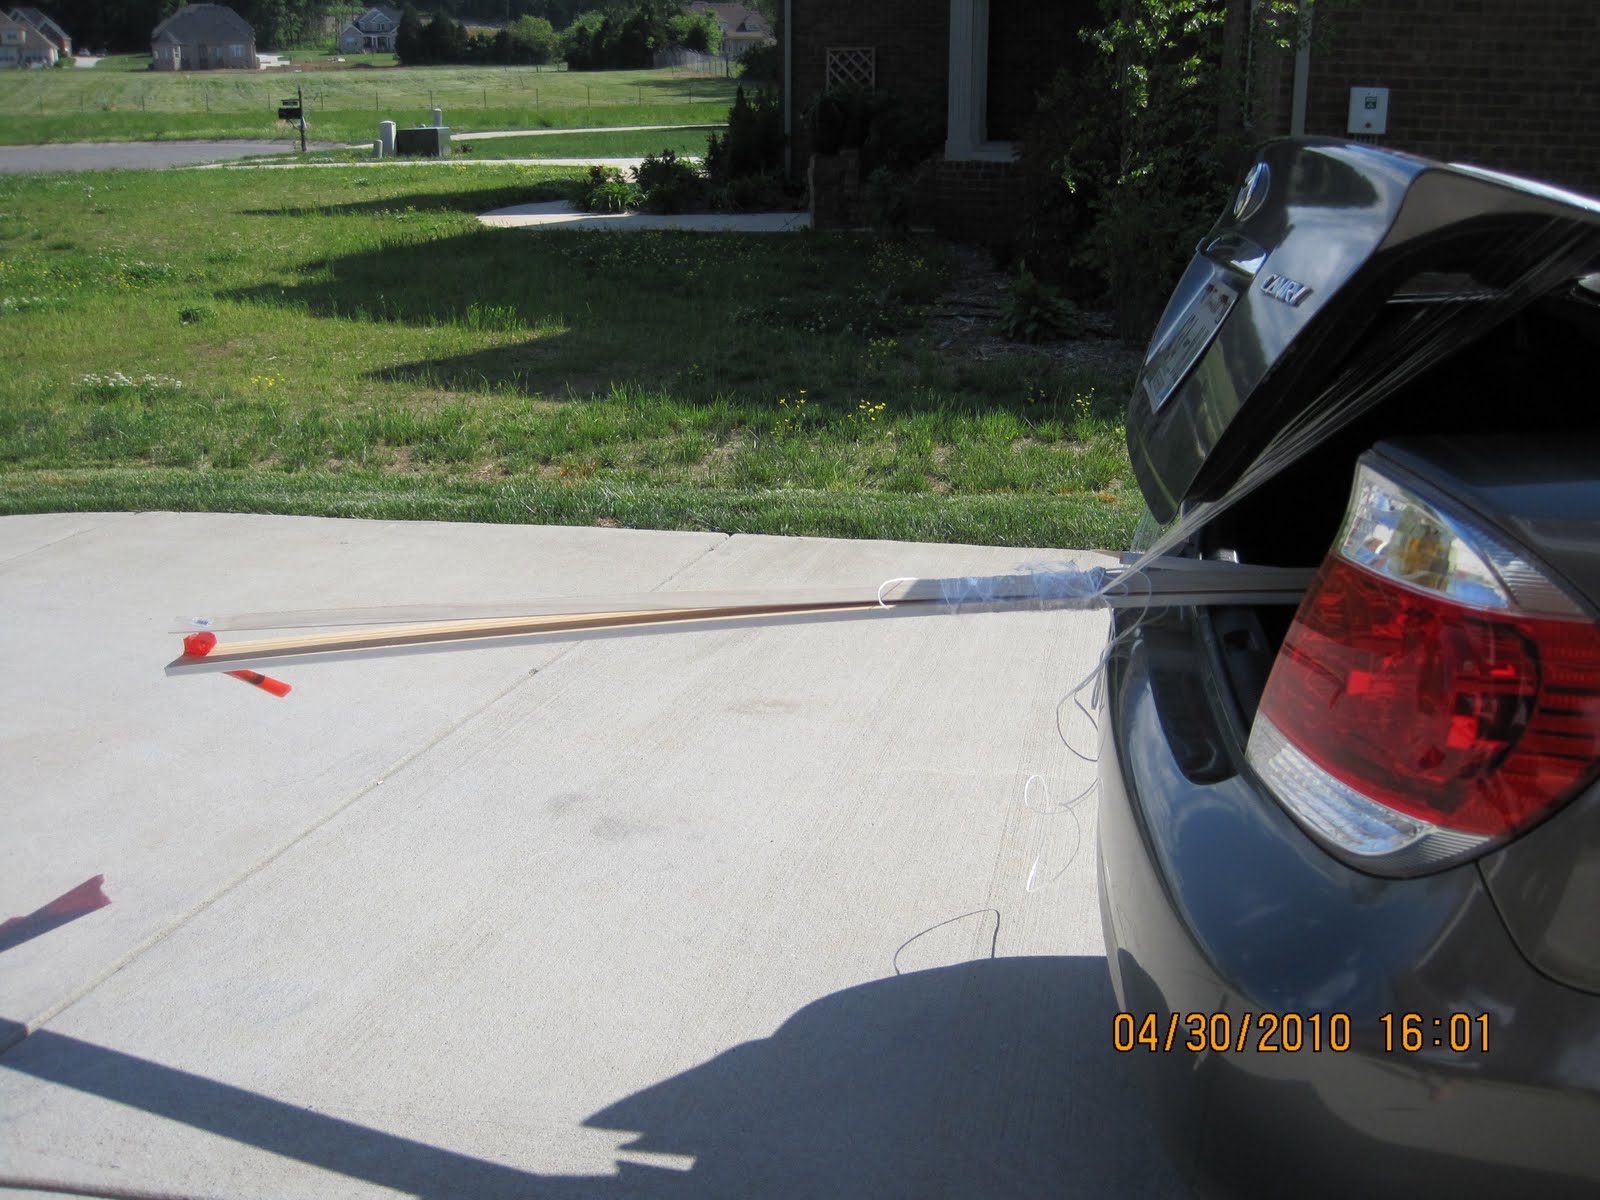
Then say a little prayer that no one runs in the back of you.
The nice people at Home dDpot helped us put the wood in securely.
I just need to say that mom and I were all dressed up from going to a bridesmaids luncheon and sportin’ our high heels in the trim section of Home Depot.
See… told you we weren’t professional.
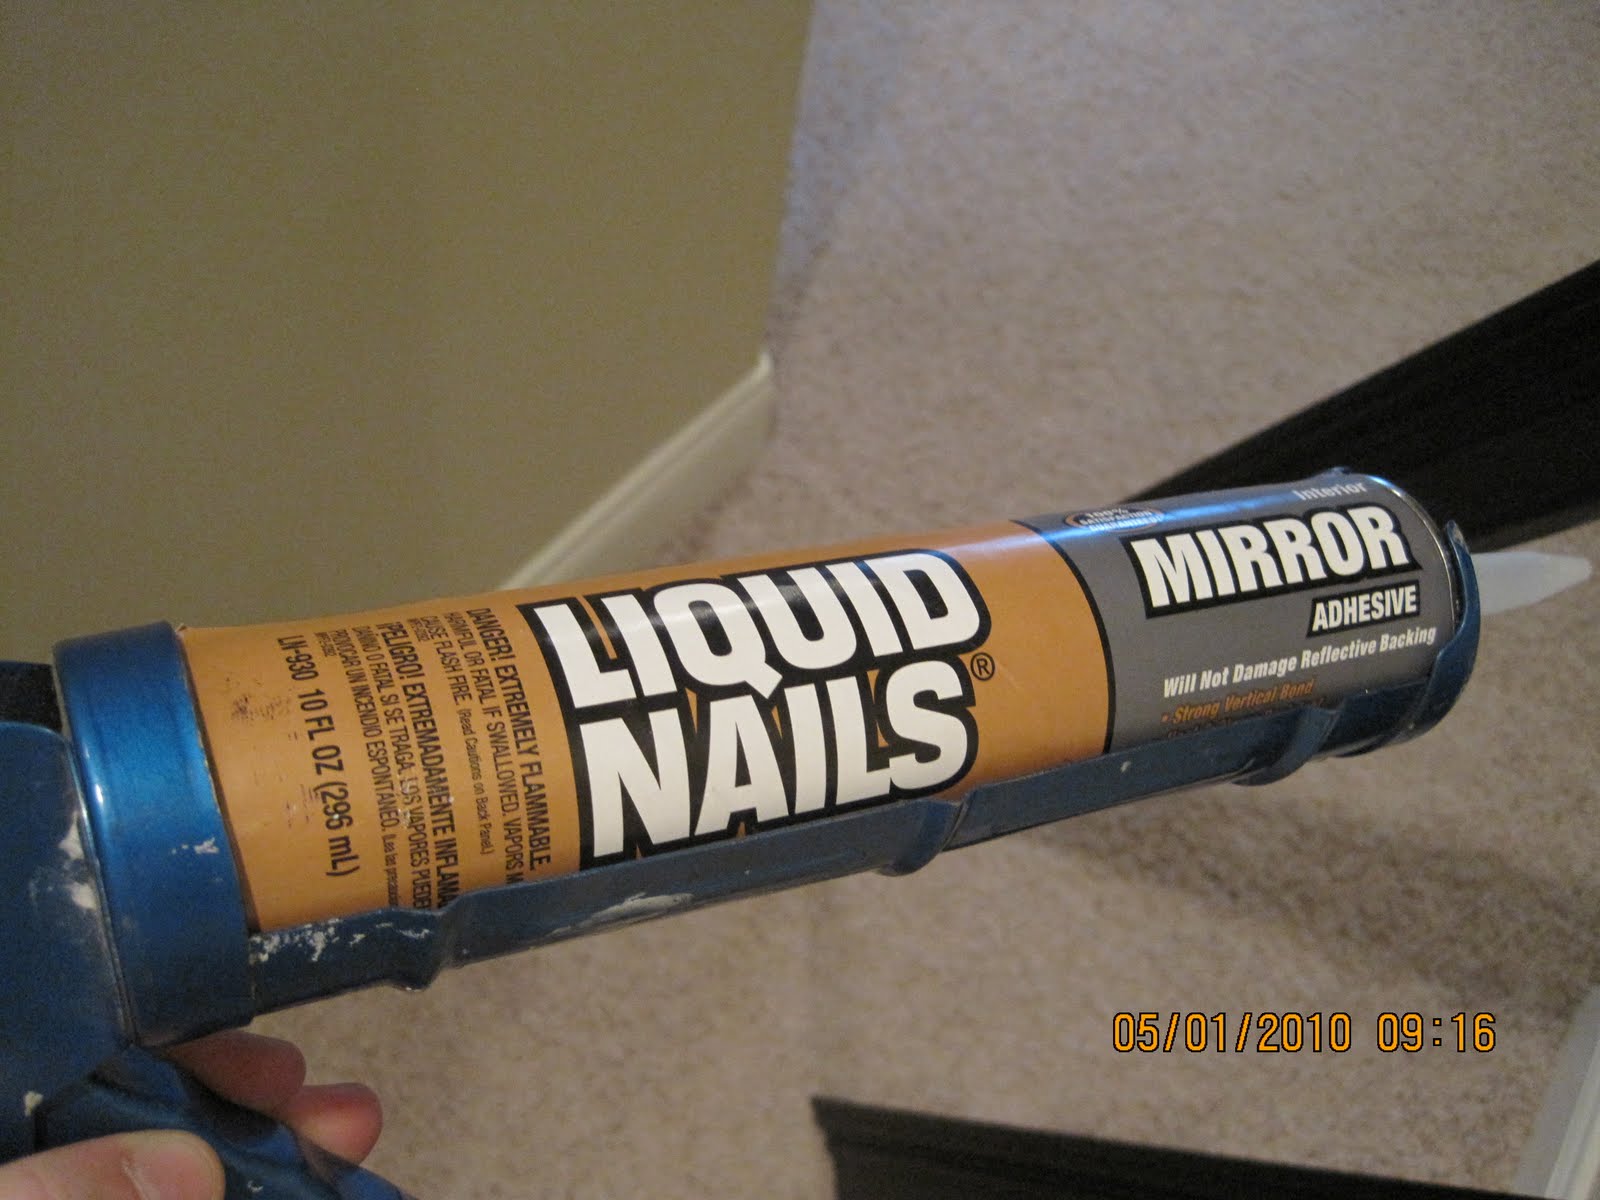
We also got some Caulk, spray paint, liquid nails and pro caulk helpers (I don’t know what you are suppose to call them but they help you put the caulk on smoothly).
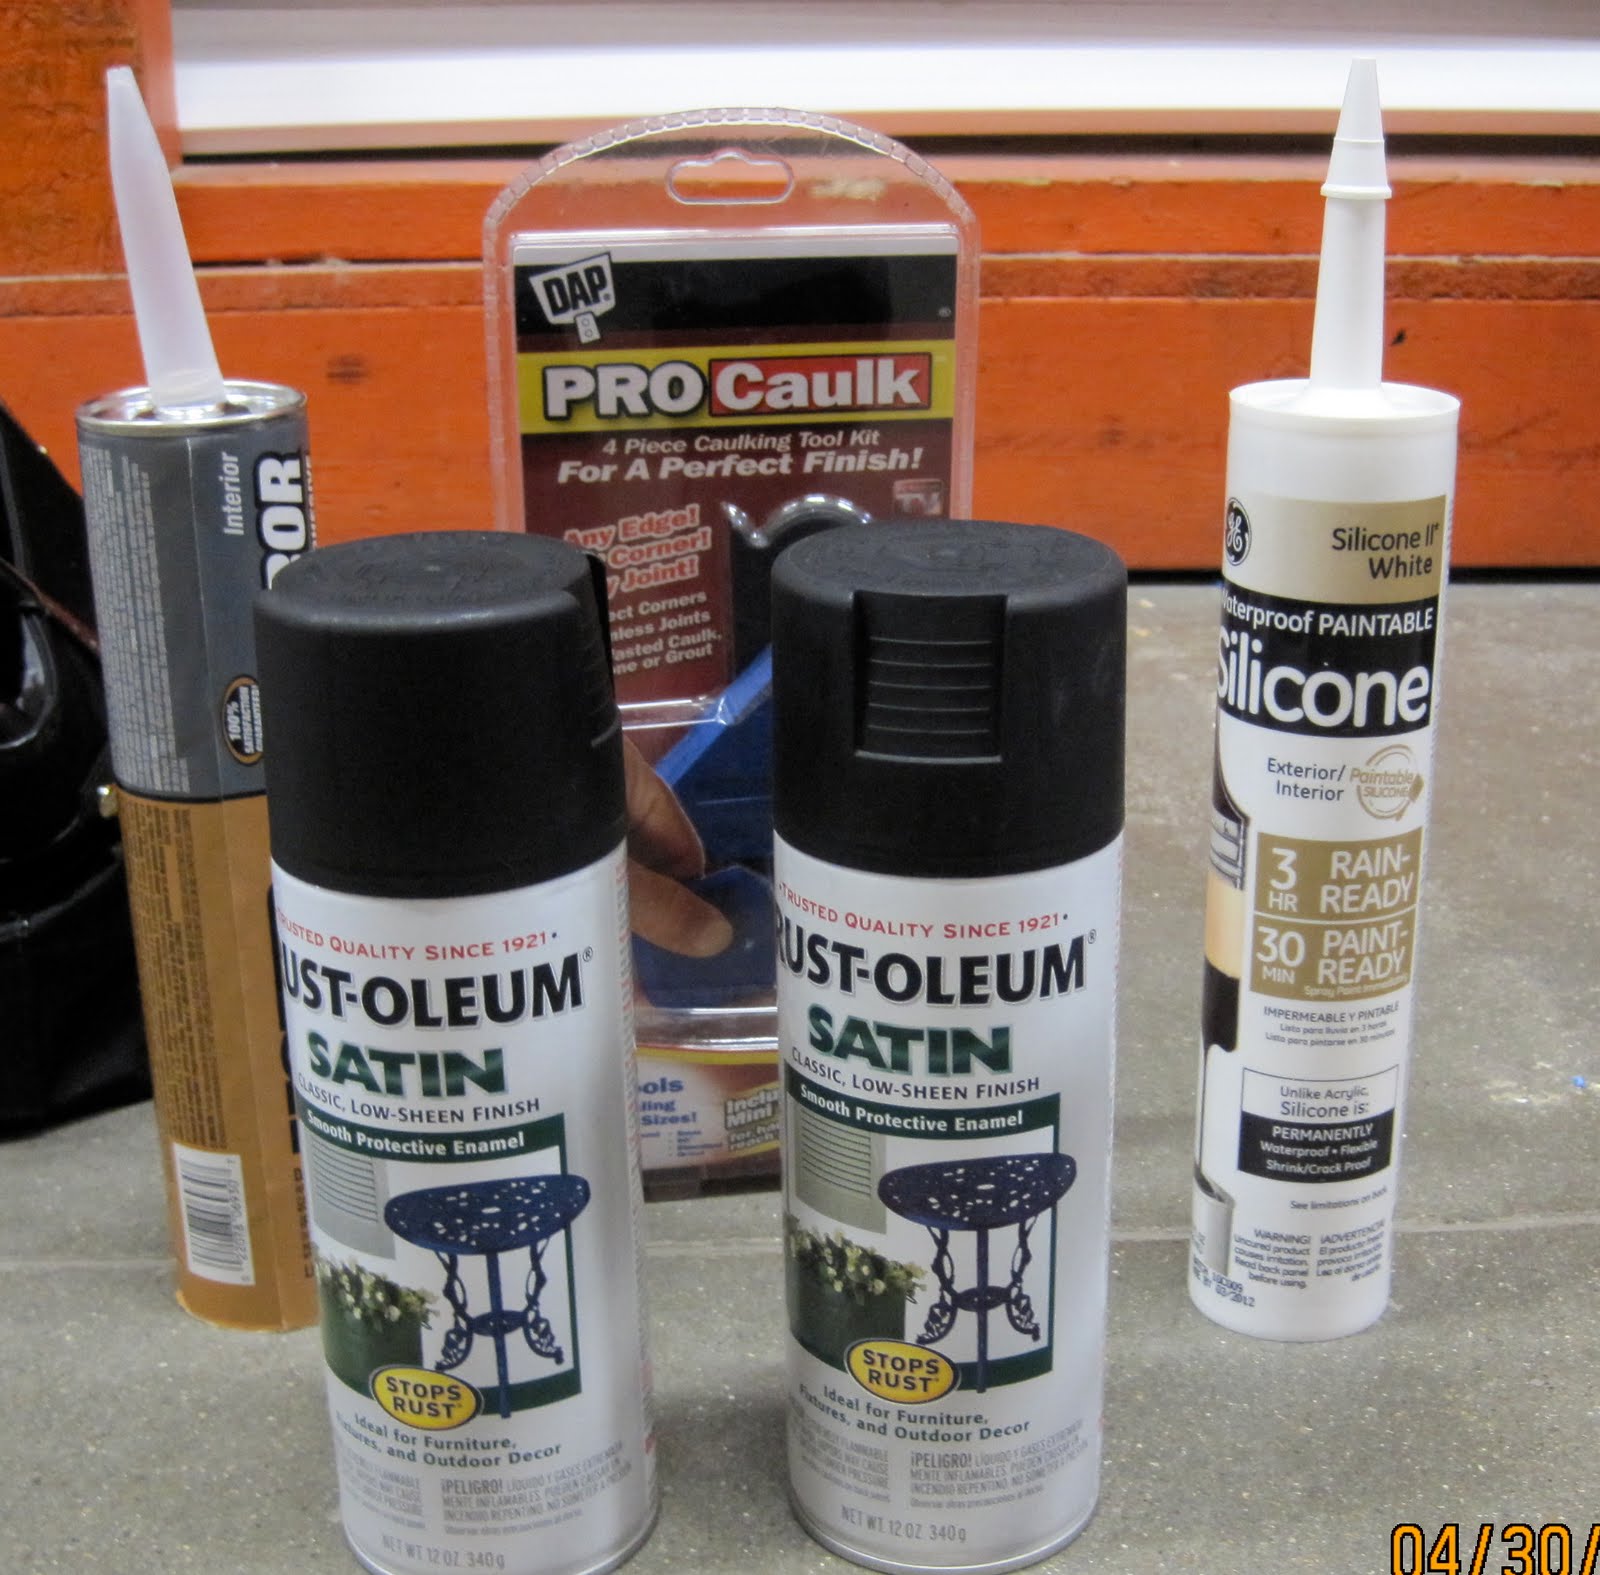
Then Home Depot worker said that he likes the spray paint above better then the 2 coat one by rustoleum. I personally like the one that says 2 coat on it.
Once you are home measure the length of the frame again.
I have always heard that you measure twice and cut once.
Then measure the wood that you will want to be your outer piece.
Mark the wood measurement on the outer edge of the wood. This will be the longest part of the wood.
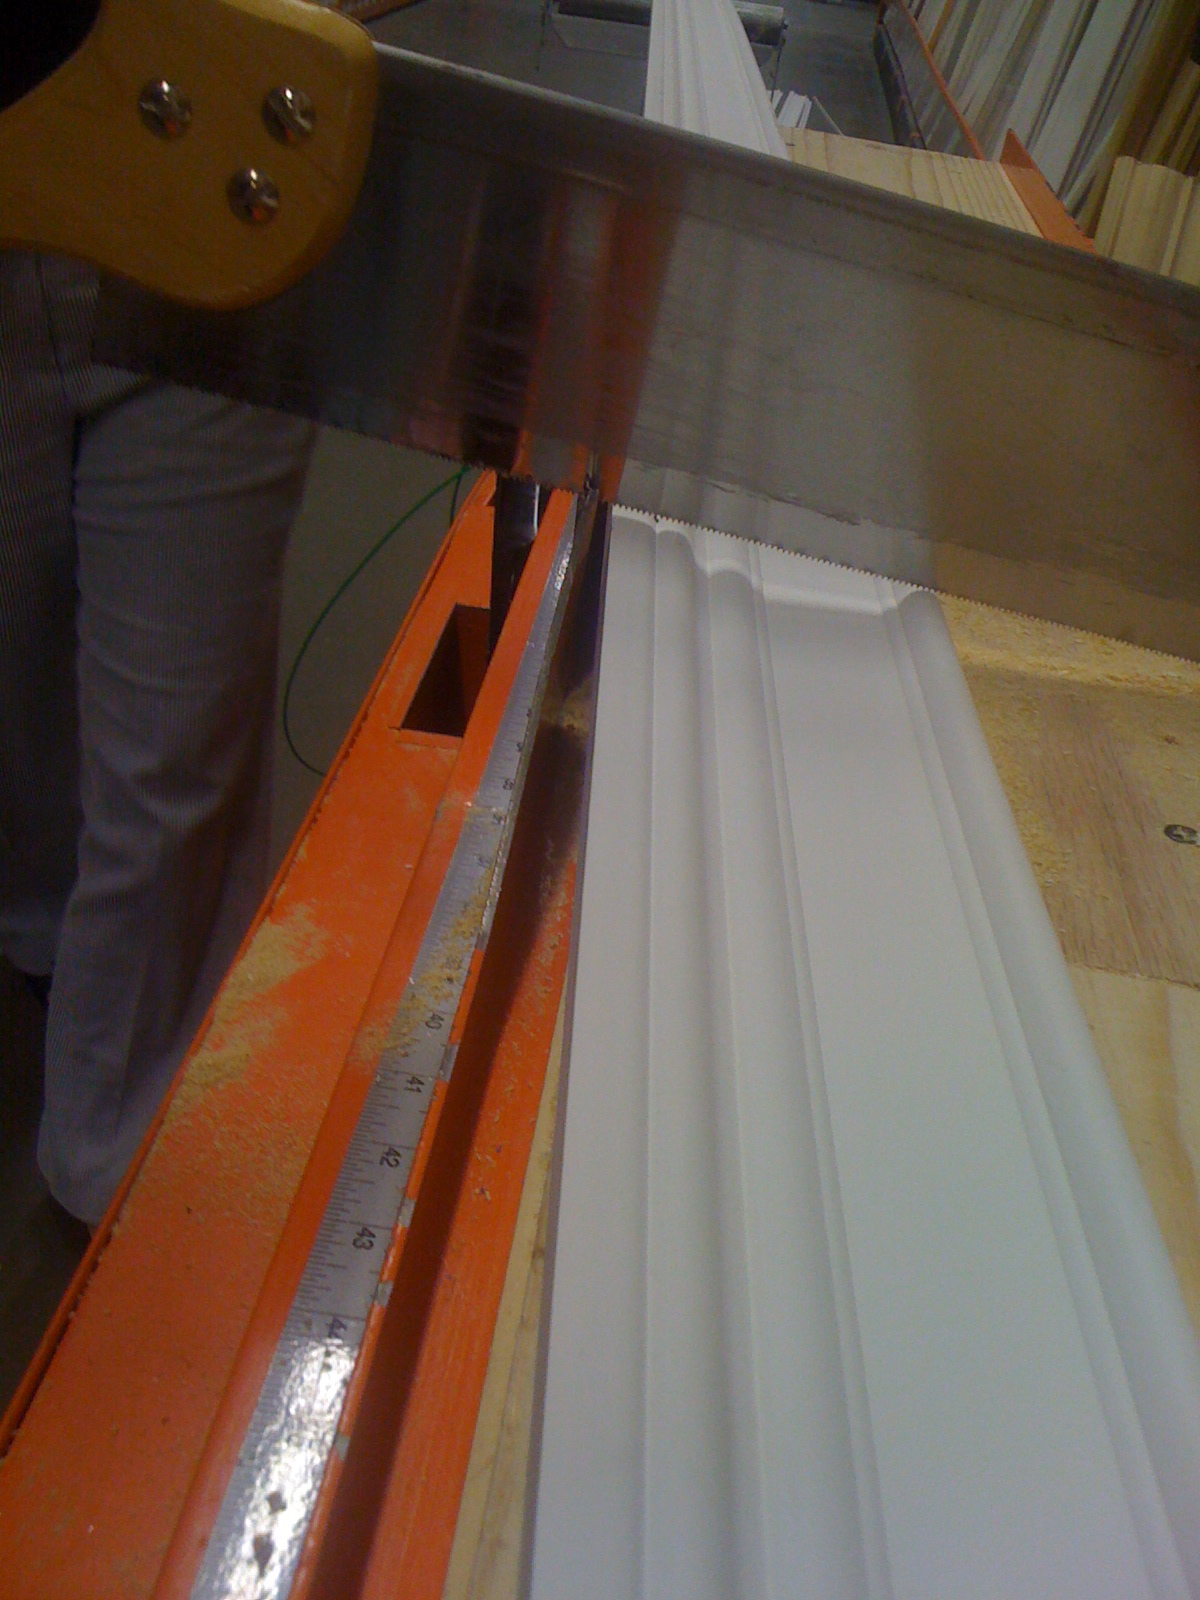
Then cut a 45 degree angle cut using the miter board and saw.

Use the mark you made as the outer part of the cut then cut inward.
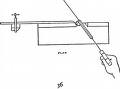
Cut the 45 degree cut going the other direction at the other end.
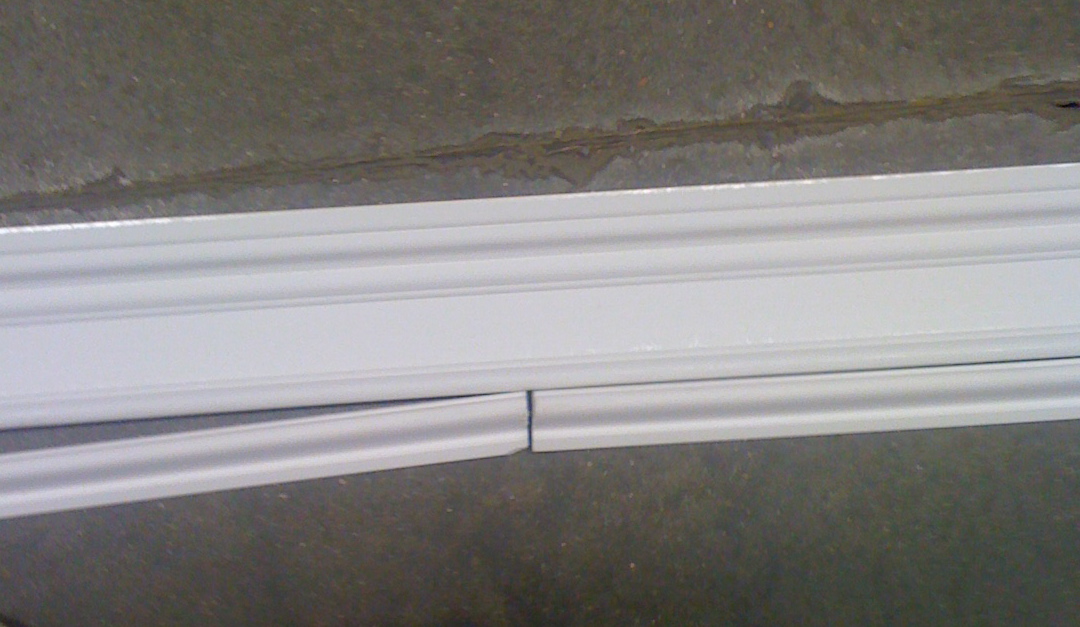
Continue measuring and cutting all four sides.
Take to mirror to make sure it fits together.
Do NOT Worry if it doesn’t fit perfectly. Caulk is a wonderful tool that makes you look like you are a professional woodworker.
After cutting all the wood we spray painted it in the garage. This is a personal preference. If you want to paint the frame go on and get ready to glue it to the mirror.
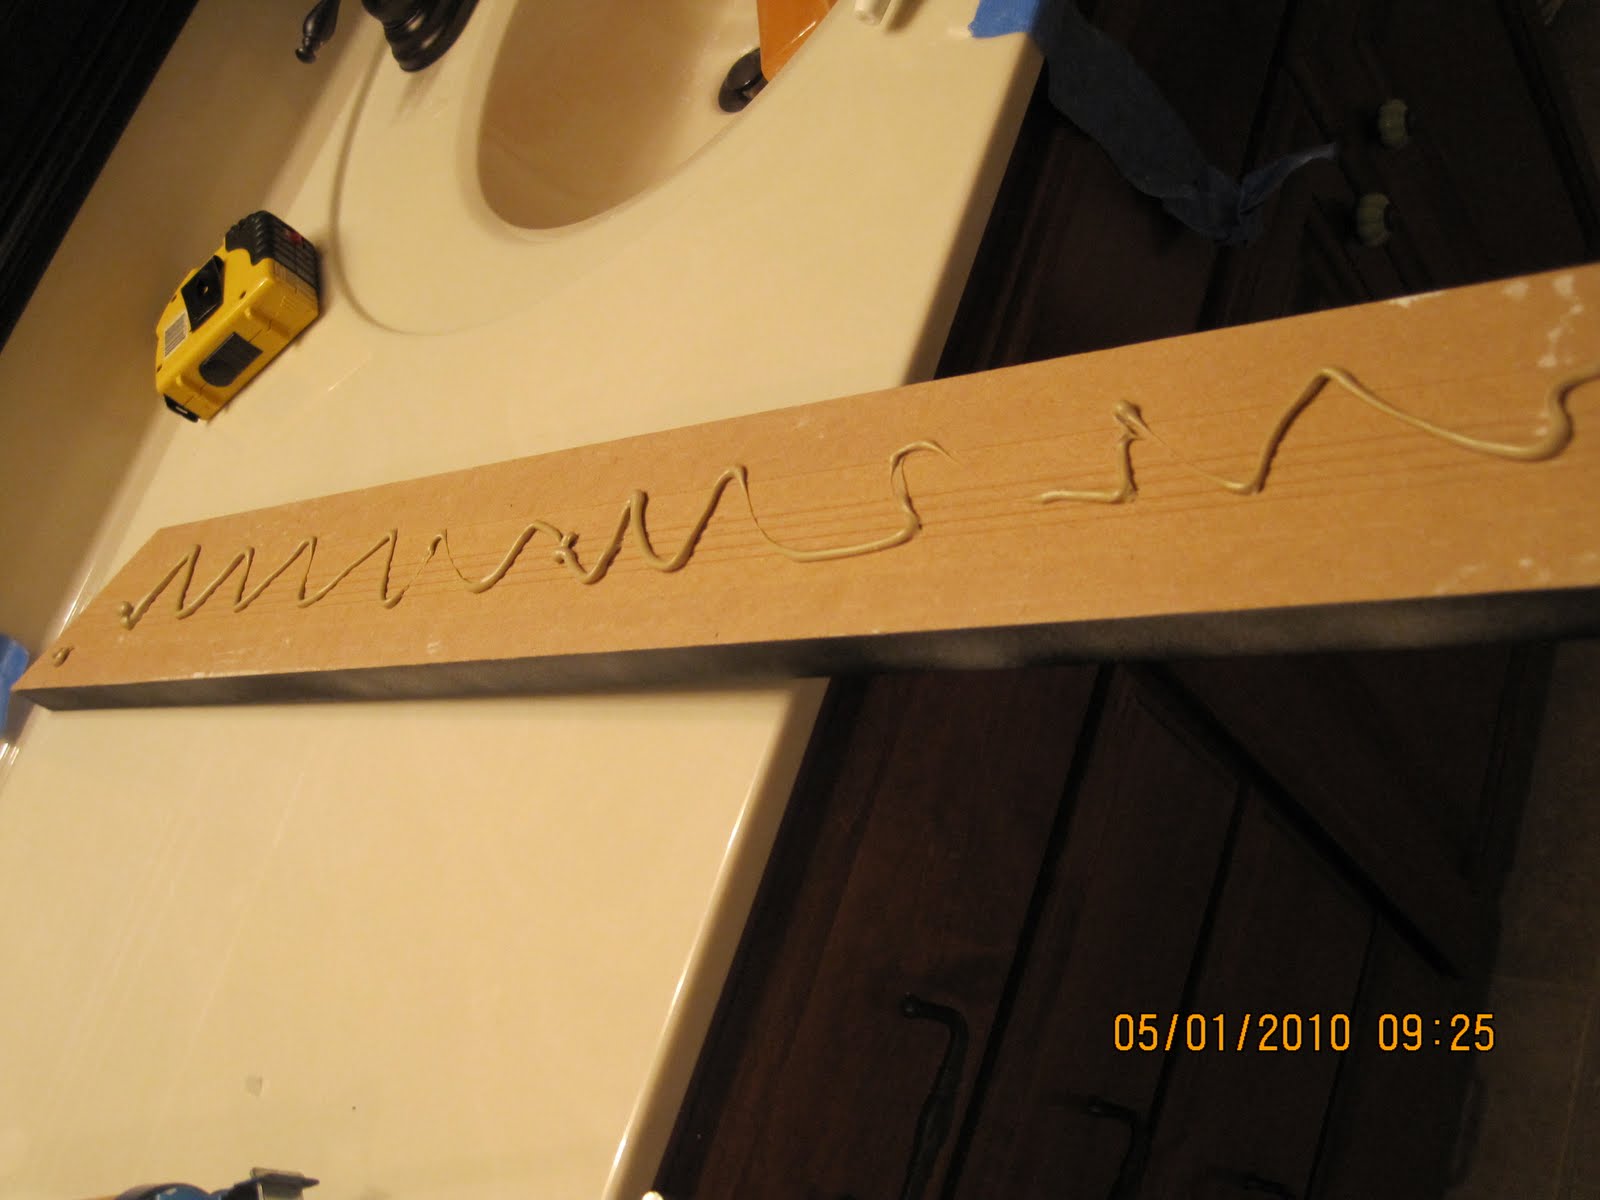
To glue it onto the mirror we used Liquid Nails that is for mirrors.
Keep the glue in the middle of the wood. For when you place it on the mirror you don’t want to see the glue in the reflection of the mirror after all your hard work.
Once we glued the outside piece of trim we moved onto the inside piece of trim.
Measure the wood and then cut the pieces like you did the other.
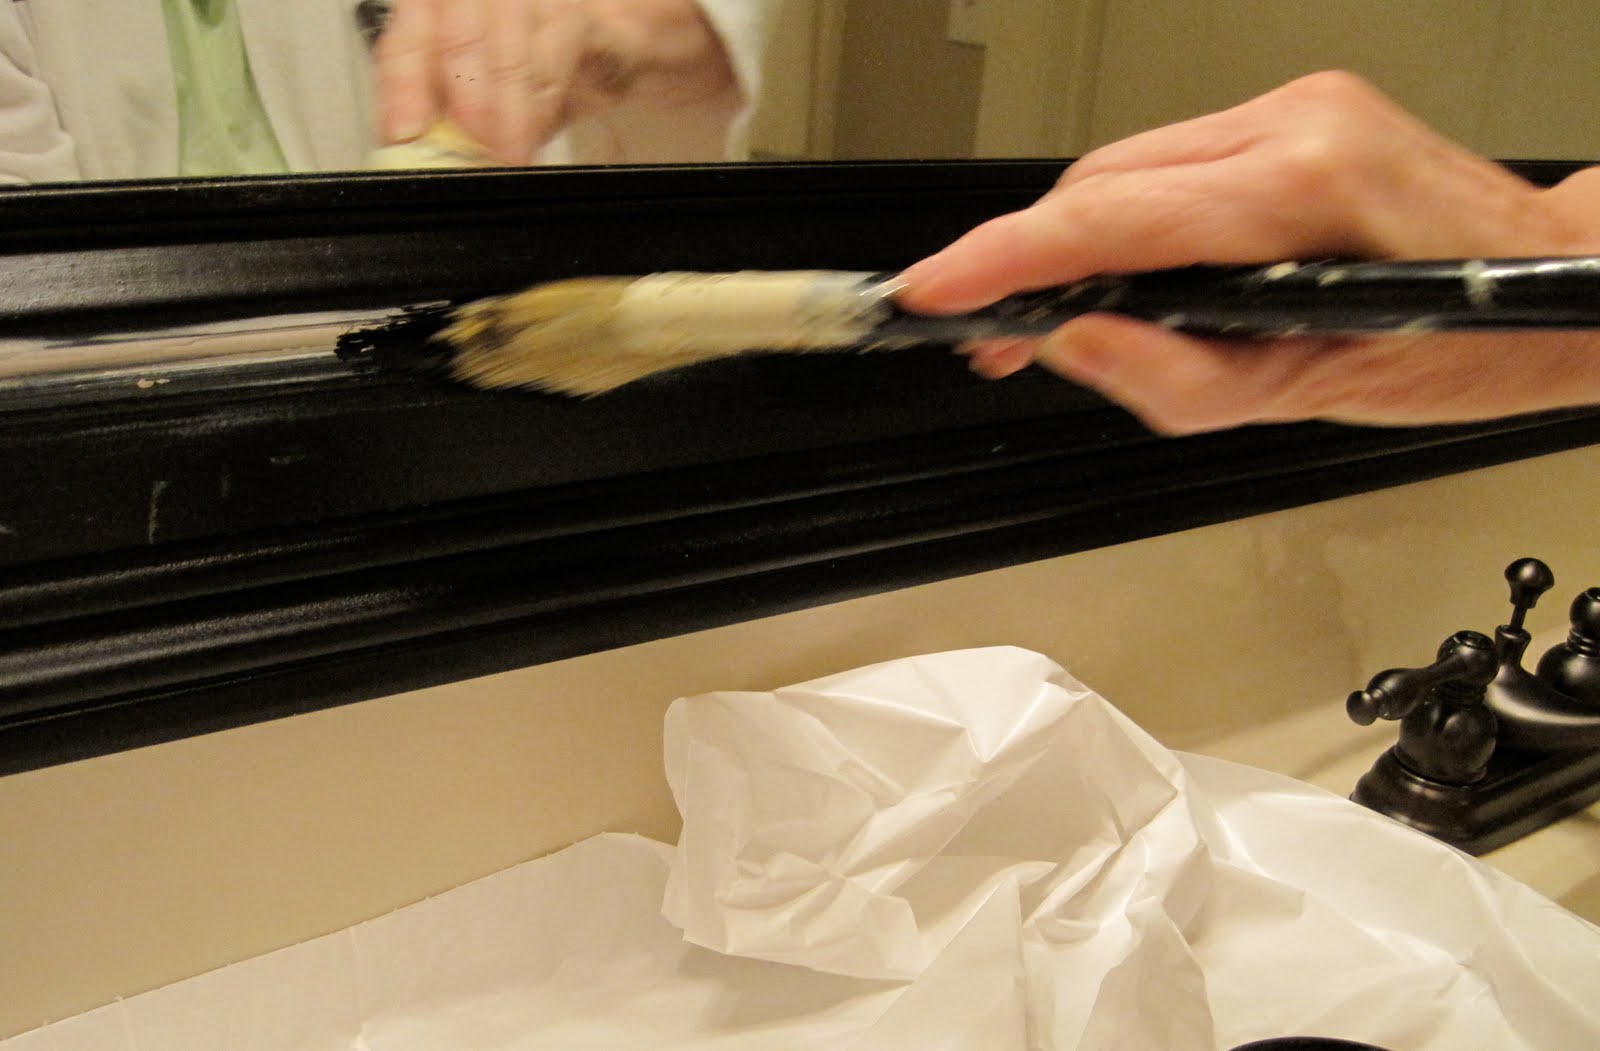
Once the wood is cut and you are ready to paint, paint the back of the trim too. You will see a little of the back from the reflection of the mirror. Just like the glue.
Put your wood up on the mirror.
Then get your caulk out. We bought paintable caulk.
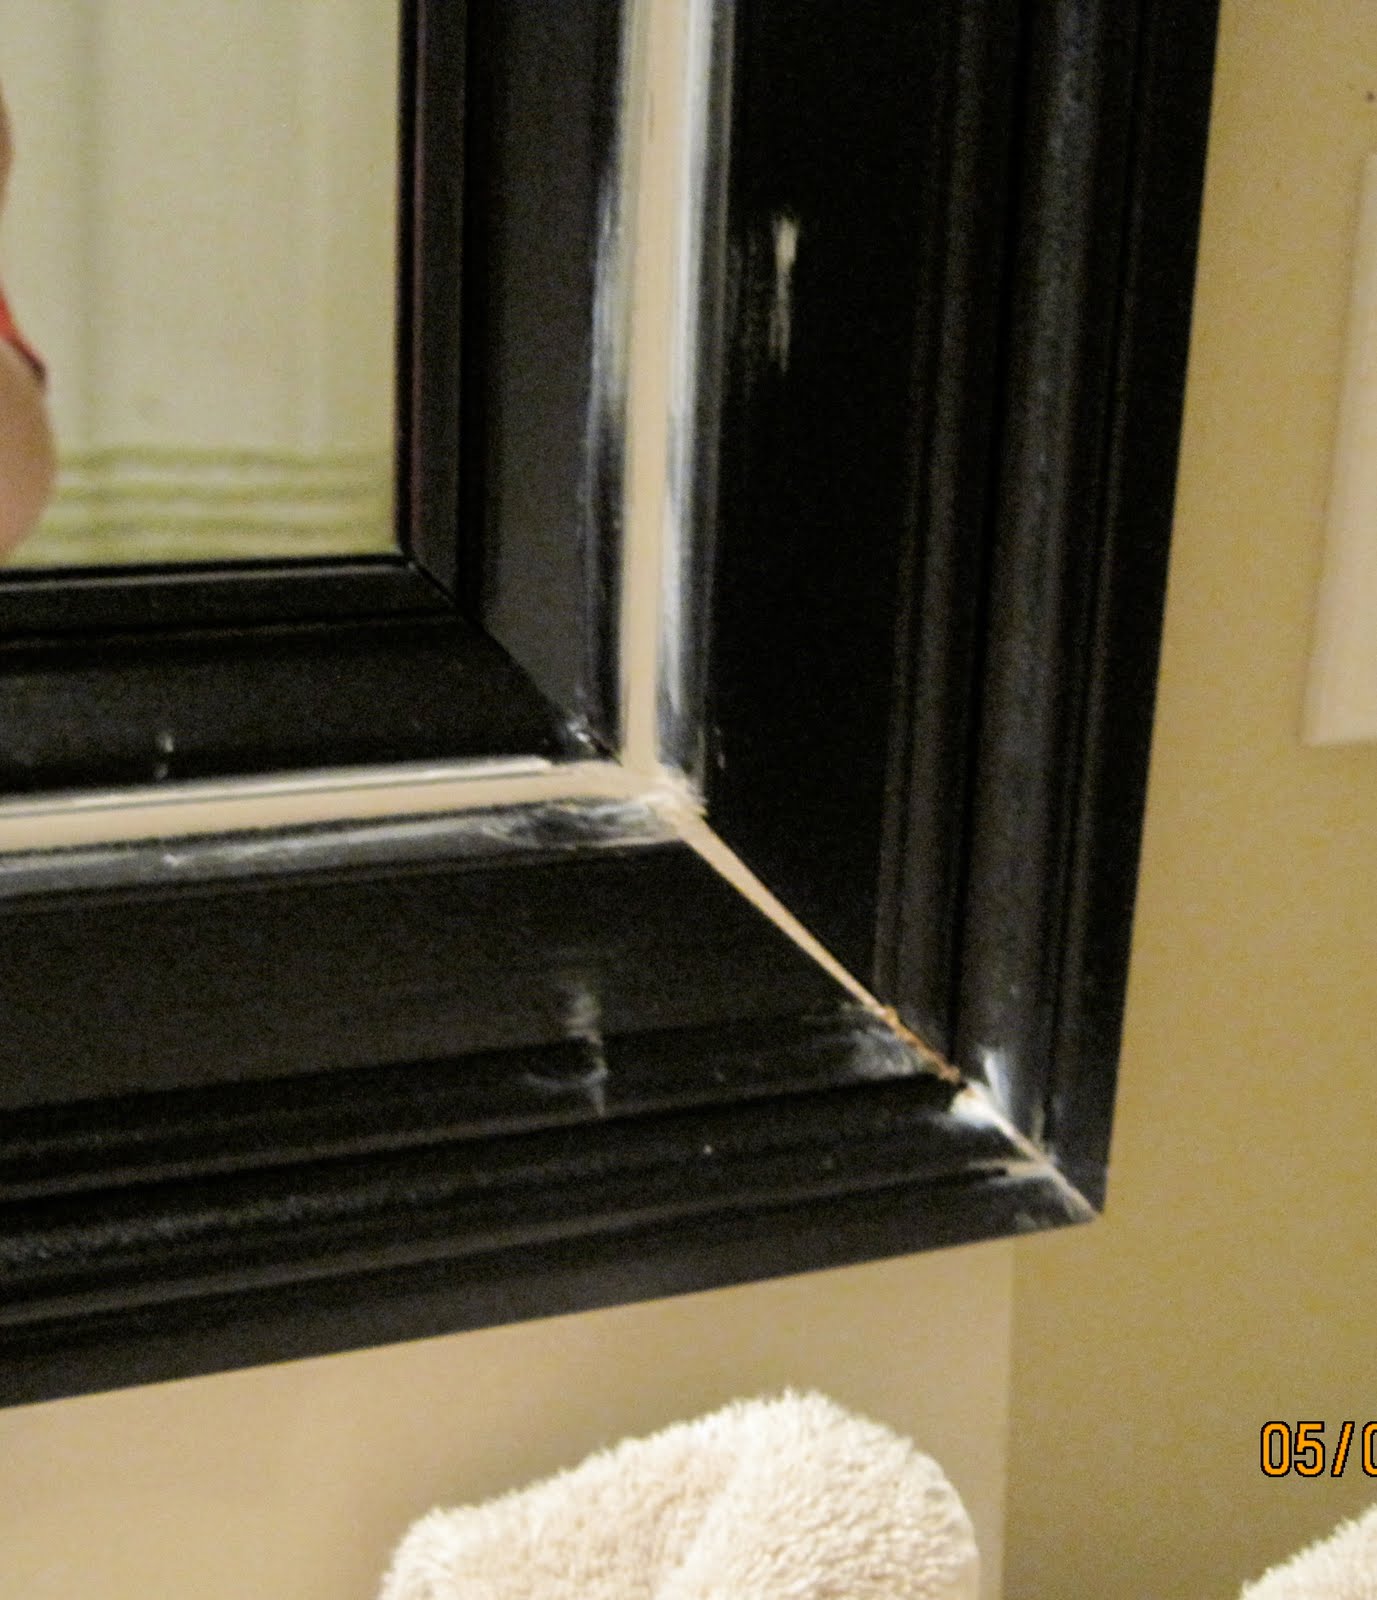
This is the best stuff ever invented. It can completely covers up your mistakes.

After the caulk dried we painted it.
Then we stood back look at our master piece, declared it was good and then did the happy dance.

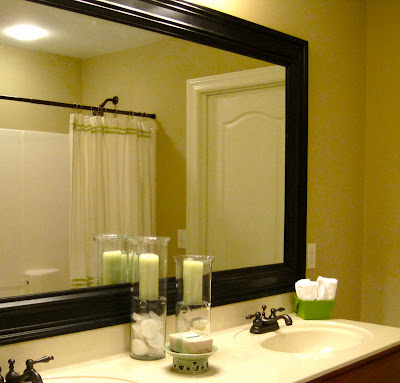
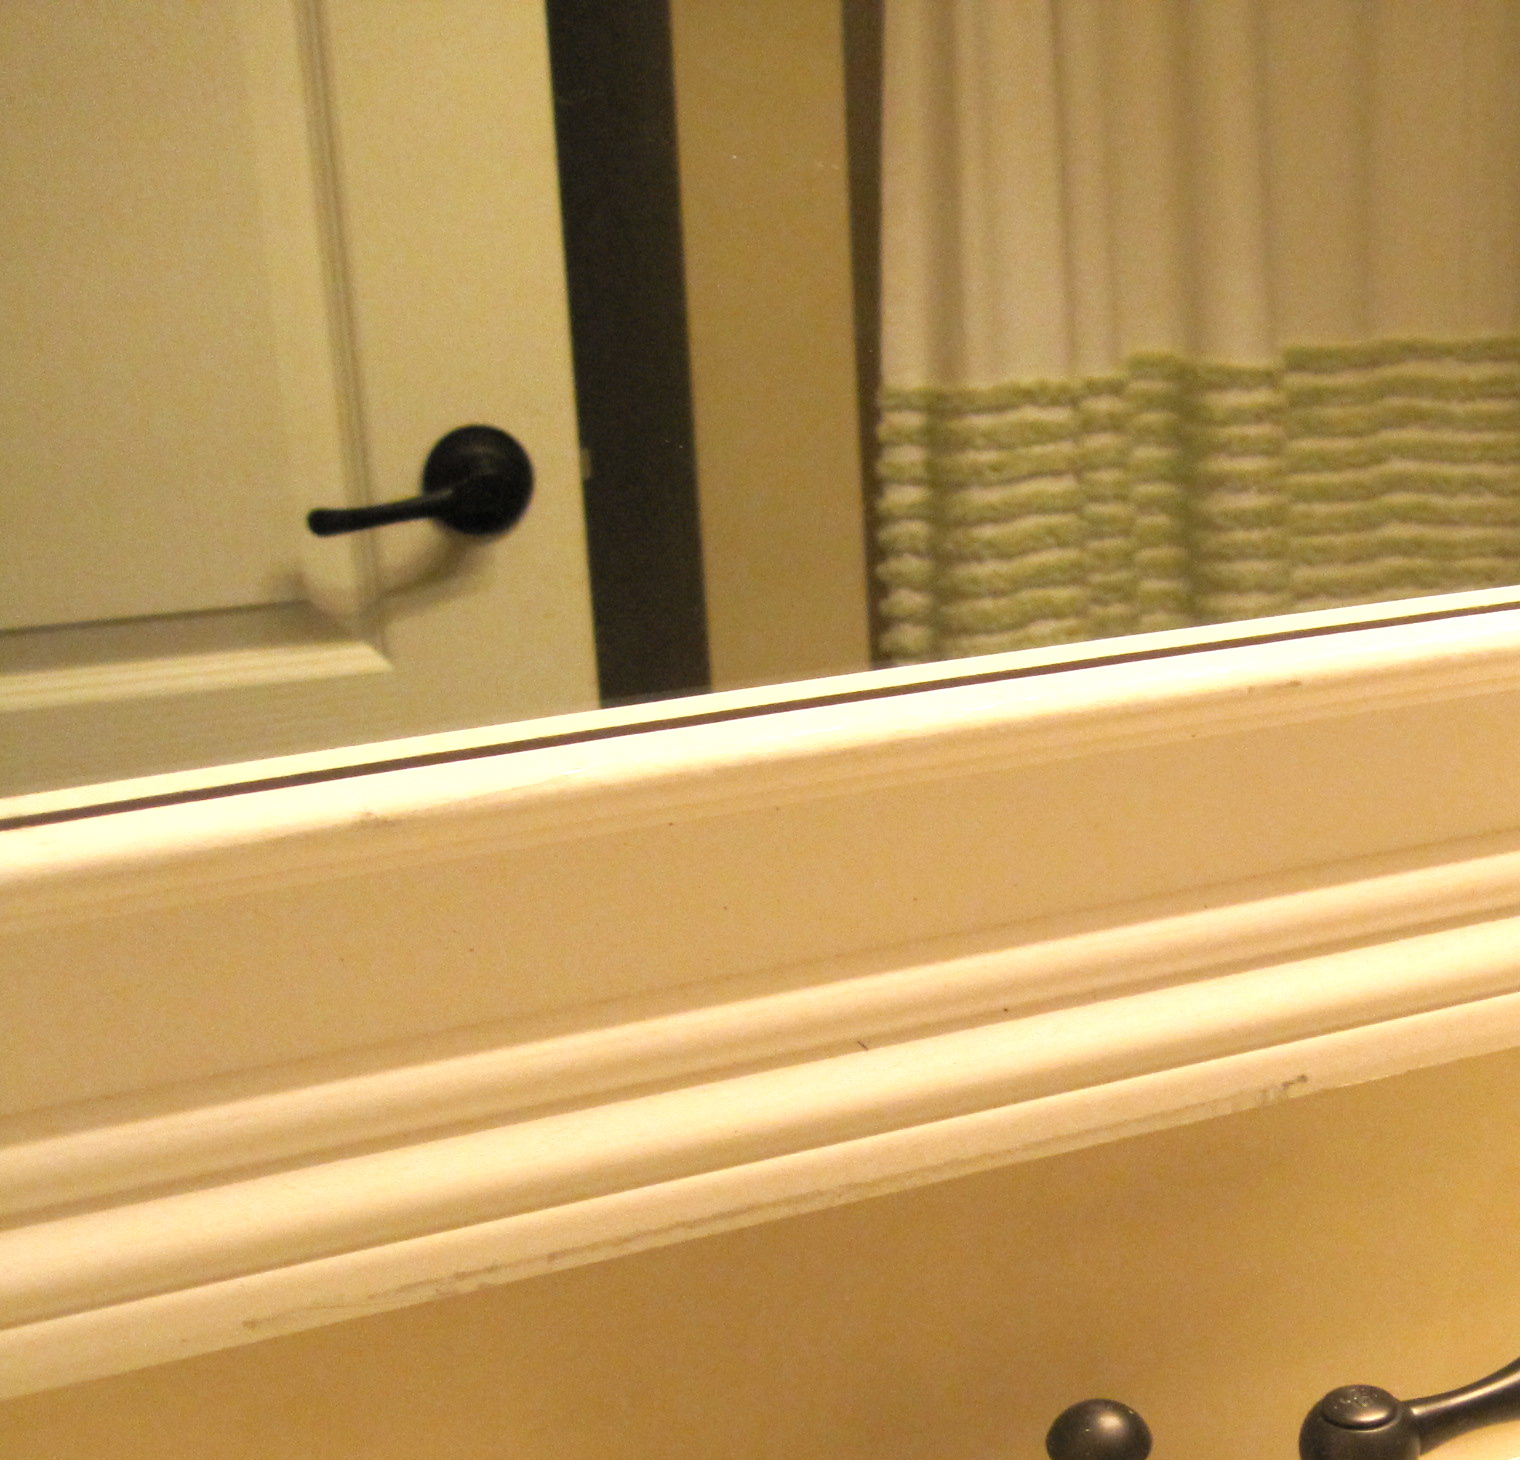
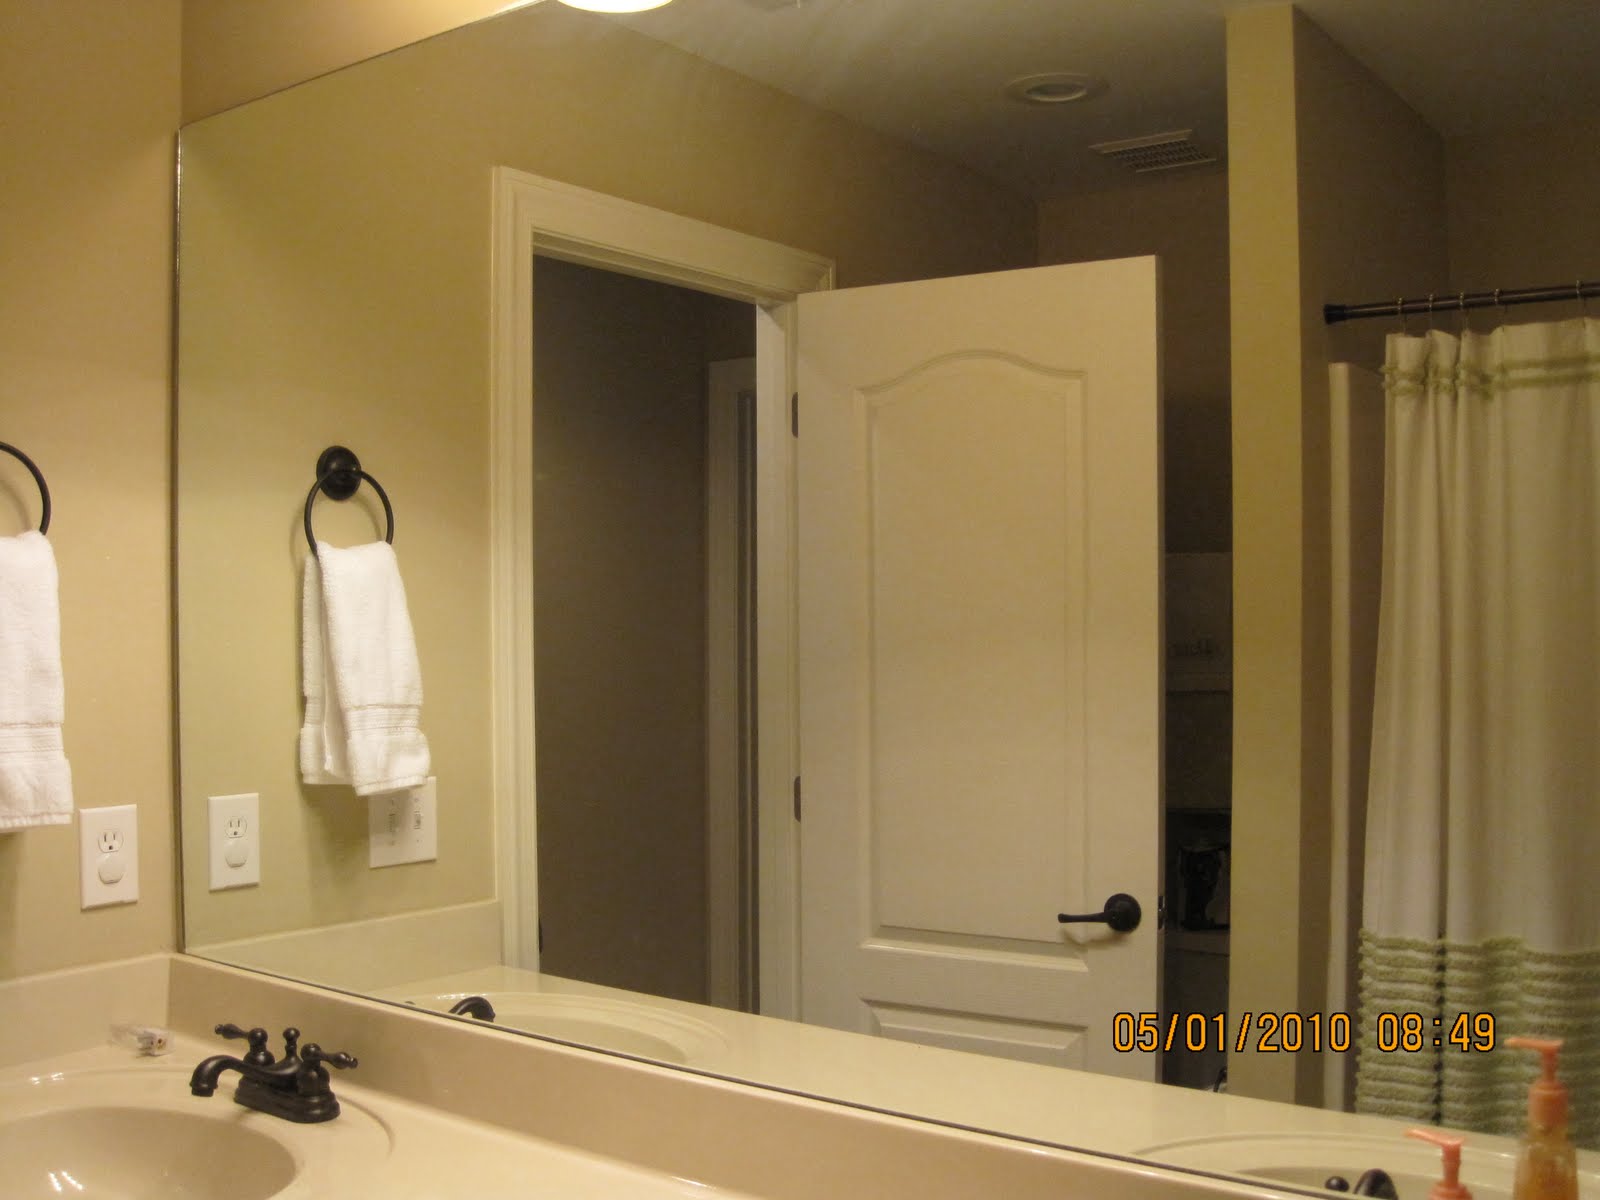
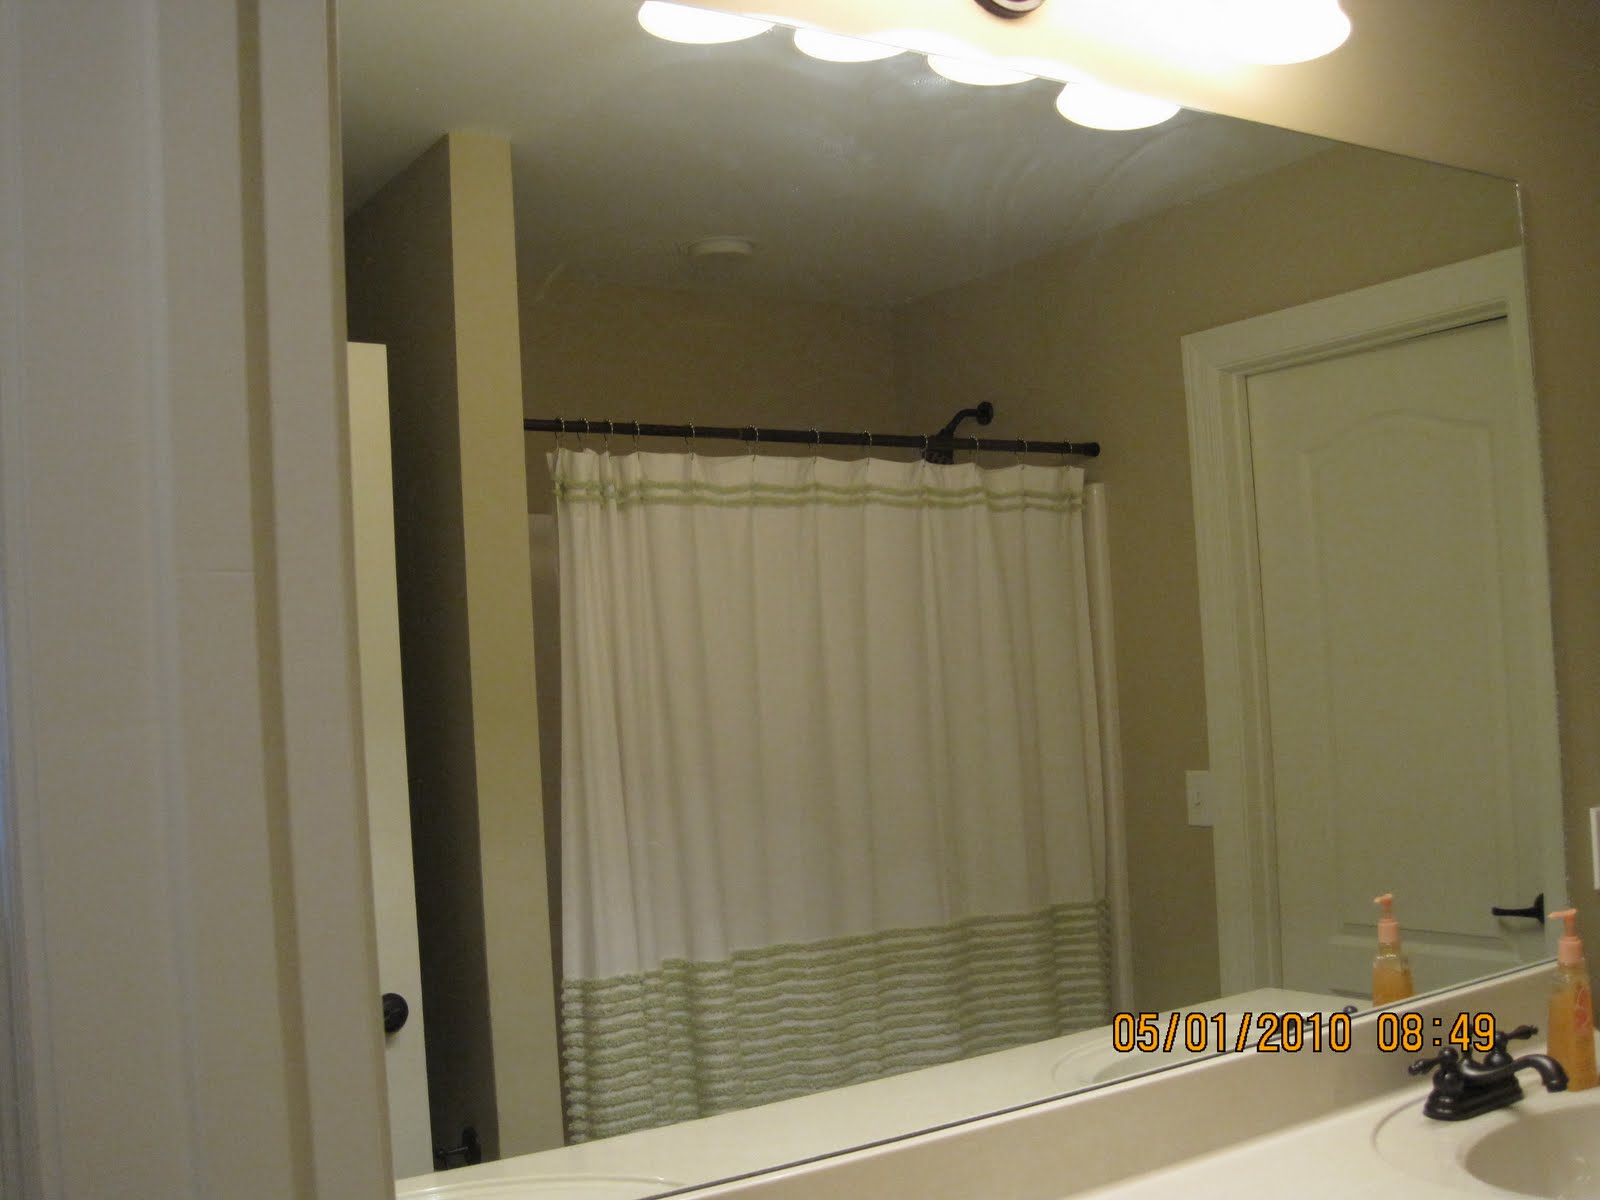
Here is the before again.
And the after!


It is really easy. I know there are a lot of steps, but I got a lot of comments and emails from people wanting to know exactly how to do it.
That is so perfect! Thanks Katie!
I think you and your Mom did this project perfectly,
thanks for showing us how it is done!
That is so perfect! Thanks Katie!
I think you and your Mom did this project perfectly,
thanks for showing us how it is done!


>I love this! Of course I would have painted it white! Great job and EXCELLENT turtorial!
Hugs,
Olivia
>Awesome! We are in the planning stages of a bathroom remodel. I had already decided that I wanted to do just what you posted here, and now I have the know how!:-)
>fantastic! totally fancies it up. Love it.
>Could you share the total cost of this project? I've seen products sold that do this for you, basically, and I was trying to figure out how much it would cost to DIY? Yours turned out fabulously!! 🙂
>THis is SO great! I've seen the mirror frame you can order on-line, but this is very easy and MUCH less expensive! I've doing this for both our bathrooms! Thanks!!
>Nice job on the mirror update. I have a question. We have a mirror that is about this size in the Master bath. It is secured to the wall with those plastic mirror clips.
Does the wood framing fit over the clips?
Thanks in advance.
Carol
>I love it! I had the same thought to use crown molding trim, after pricing a frame at one of the big craft stores (about $415 for one bathroom!). I'm so glad to see that you did this without any miter saw experience. I can't wait to try it myself!!
Love it! you are amazing! And wonderful tutorial, I am doing this next week!
I have a couple more questions, though this was wonderfully detailed. I just want to make sure I understand; you glued directly onto the mirror, right? And is one of your pictures illustrating that you need to caulk between the mirror and the frame, not just the mitered corners? And one last question: at the end,when you were using a brush, what kind of paint was that and did it match your spray painting? Thanks so much! I can’t wait to try it!
Shea,
Looks like they did just glue it to the mirror. They put two moldings together so the caulk was just filling cracks between moldings. I didn’t hear anything about spray painting, only that they painted the moldings, so I imagine the paint they used to cover the caulk crack is the same paint they used to paint the moldings originally! I hope that helps. This was a guest feature, and if you want to ask the author, you can click over to their blog via the link at the top of the post!
Good Luck!
Hi Cassity –
Since you seem to know a little bit more about this – can I ask you a quick question? My concern is that if the molding was spray painted (in the garage) – what paint did they use to paint the caulking that filled in cracks? I imagine a big big mess if they used the spray paint for that – what are your thoughts? Think they took the gamble and used the spray paint? Think they used matching can paint and brush? Can you brush on spray paint?
Sorry, I’m a newbie at all this DIY home improvement – we moved into our house less than a week ago but already have a million projects lined up! I want to make sure I avoid any major mistakes since the list is already so long! =o)
Gladys, I think there could have been an issue, with matching the paint (unless they bought a can of the oil based paint, in the same brand to match it, sometimes they have that available) . I would personally probably just brush it- front and back, install the piece, caulk patch, then brush again to clean it up!
This is EXACTLY the type of tutorial I was looking for! I want to do something very similar, but for a big ‘framed’ headboard. Very helpful! Nice work 🙂
This is just what I was looking for! I’m in the middle of a bathroom remodel. We saved money by cutting down the HUGE mirror over the ugly vanity. Wanted to make a frame for it, but never even thought of just gluing the molding right to the face of the mirror. So much easier than having to rout out a lip for the edge of the mirror to sit into. I just picked up chair rail molding (only about $15 for enough for a 42″ square mirror). Will be going back to get the Liquid Nails for mirrors. I also bought mirror clips to hold my mirror to the wall…4 in a package for less than $2.50. This is dressing up my new bathroom a LOT and for almost no money! Love it!
I am starting to redo our bath…..our builder put in the same huge,wall to wall and counter
to almost the top of the ceiling. So in your pictures, I see yours were just like ours. Did you take mirror
down and cut it smaller, then frame it?
Nope, ours didn’t got to the ceiling, it was just the right size, all we had to do was move it up slightly. If yours is huge like that you could see how hard it would be to cut? I am not sure myself! Good Luck!
Thank you for sharing that . Its really nice and of course affordable .
I have only one question about what was the design of two molding you use , I mean its design number and its width ?
Cause your end up really nice and real looking , I would like to use the same ?
Thank you
Alex, you will need to contact Katie @ Impatiently Praying for Patience
Can I ask where you got the candle holder jars? Love the whole makeover.
LOVE the black framed mirror. I have been looking for. Large black Morrir for my living room and all I have found are so expensive! I think this may be my answer!
Yay! I love hearing that, good luck!
Love the frame! One question, how did you glue over the clips that hold the mirror to the wall?
Hi Janelle! This was a guest post so if you’ll head over to the guest’s blog (linked at the top of the post) then she can answer your questions! Thanks!
Love this idea. Been thinking of it for a long time.
My question is what do you do with the clips on the mirror?
Trying this today. Just bought all the stuff at home depot for around $45.00, i bought wide crown molding and will use left overs from the Rustolium Cabinet Refinishing kit that i used on the vanity. Which turned out amazing. Wish me luck!
Good luck! We’d love to see the finished product when you’re done!
This was a very helpful article. Thanks for taking the time to write up the steps. I’m framing the mirror in the bathroom and the bottom of the mirror is held in place with a metal track. The track pushes the molding out too far. The top of the mirror is held in place with plastic clips.
My plan is to remove the mirror from the wall, I don’t think it’s glued. I thought I’d remove the track, put a couple of dabs of liquid nails on the back of the mirror and put it back on the wall.
Your thoughts on this approach?
Best Regards
Paul
I am sure it would work, but you are going to need something to hold the weight of the mirror up. We kept our little clips on and cut around them on the back of the molding. It might be worth creating a dado for the mirror holder…
Couldn’t believe this came up of interest on my board. It’s exactly what I want to do to a mirror in my bathroom that has gone a little funky along the bottom. Given me the confidence to give it a go. Will try this project after I have finished my chalk paint project in the kitchen. Awesome job ladies!