Colorful Dresser To Kitchen Island Upcycle


Isn’t it great. And if you ask my Father-in-Law (Big Papa), he’ll tell you its great because its “so functional”! Ha. Well thanks to my Mum in law I have been reafirmed in my bold color choice, which I totally dig, as it appeared on the Nate Berkus Show recently! Not to mention this color scheme has made its way to Pinterest a bunch!
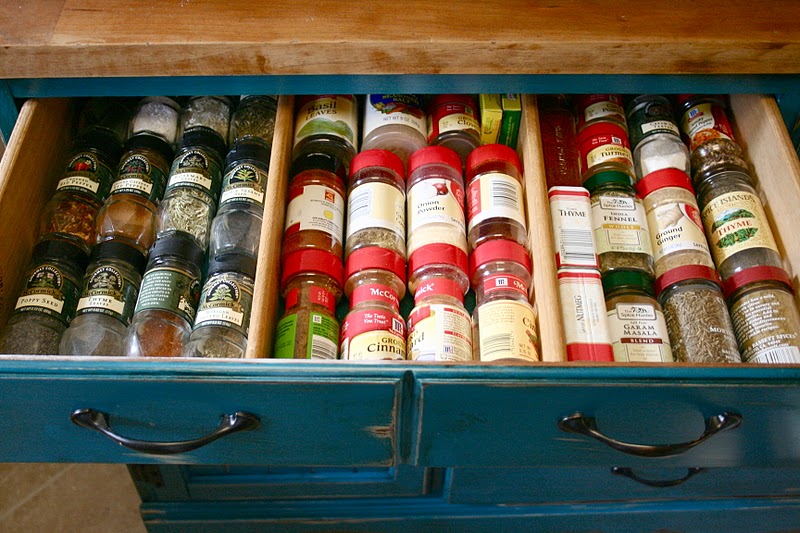
This whole project started with the fact that I have more kitchen items than some people have clothes. I love to cook, bake, decorate cakes, make homemade pastas, you name it and I like to try it! So how was I going to solve my problem. Lucky for us we have a great sized kitchen which gave us a chance to have an Island. Not a huge one, but one big enough to offer more counter space and storage for my odds and ends. So let’s begin.
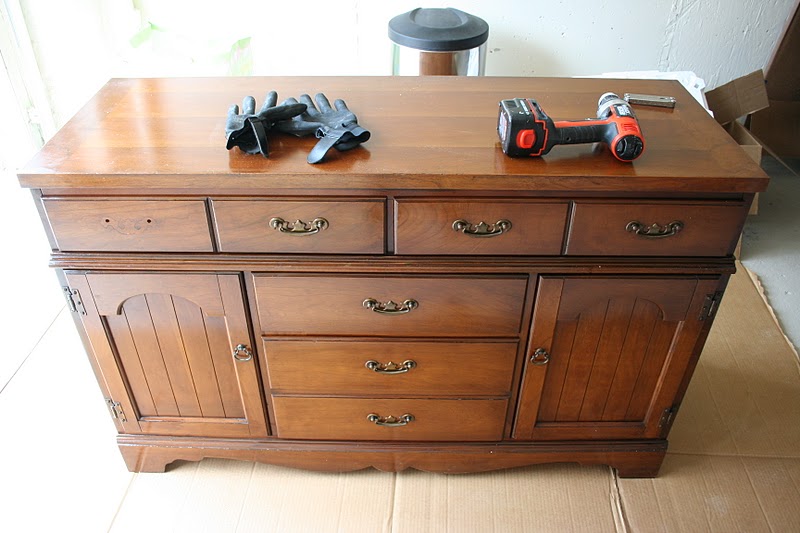
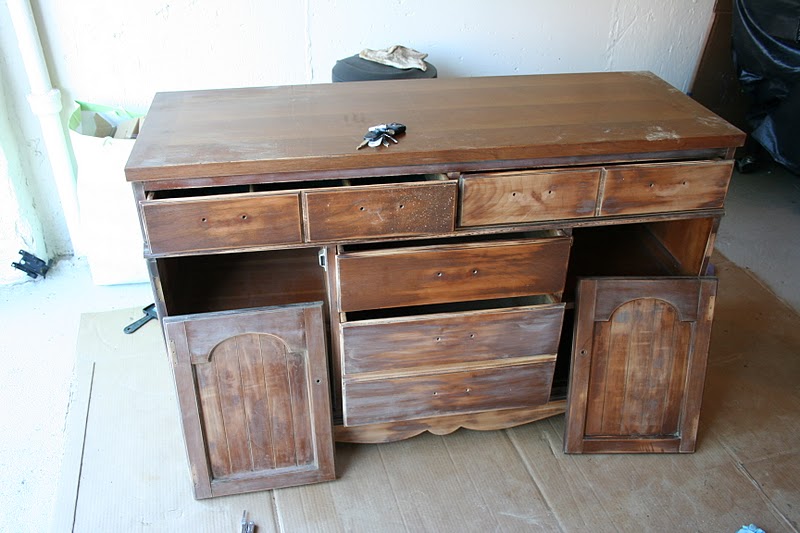
Step 1: Find a piece to fit your needs and budget. At just $45 we found this beauty on craigslist. I was drawn to the price and the small bead boarding design on the doors that could make it more casual farm once painted. Plus the whimsey detail on the toe board.
Step 2: Use a paint thinner to clean off the grime and as many layers as possible. Or in our case the new and terribly done stain the seller put on the same day we said we were going to pick it up. STICKY pick up! Then sand that bad boy down till it’s nice and smooth, in my case by hand! My fingers hated me after!
2a. (optional) Add wainscot to match the details on the front doors and to give me the option of having the island rotate to show the back side and not be ashamed!
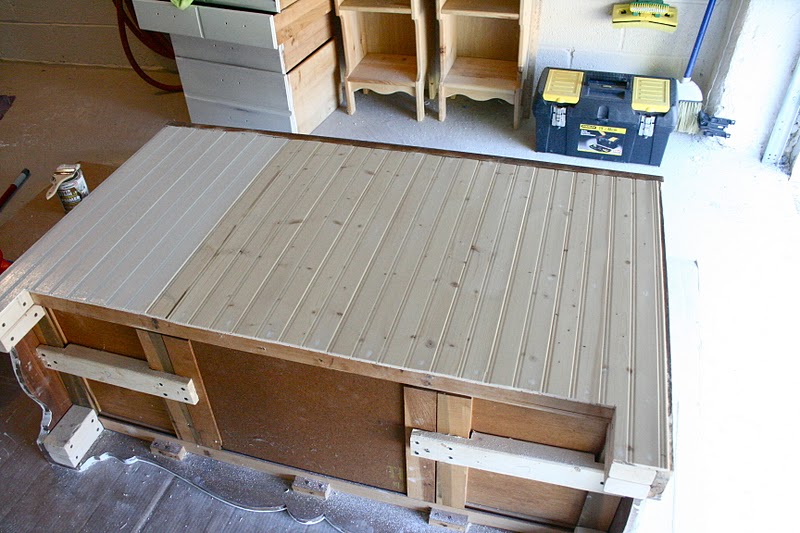
2b. (optional) Add support 2×4’s. We planned on adding granite on top so we were going to need the support.
Step 3: Get a solid primer and prime all surfaces you’re going to paint then sand till smooth. Repeat for good coverage. (note: don’t leave your brush out like me! It might dry out if its super hot out)
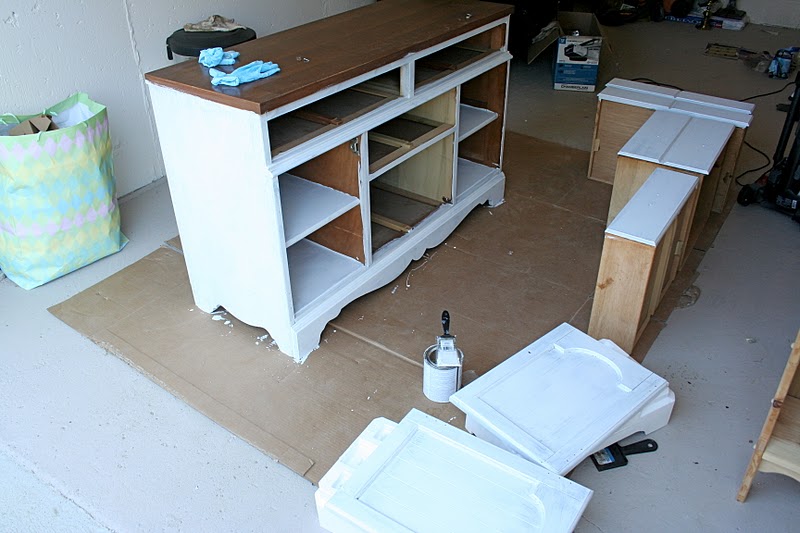
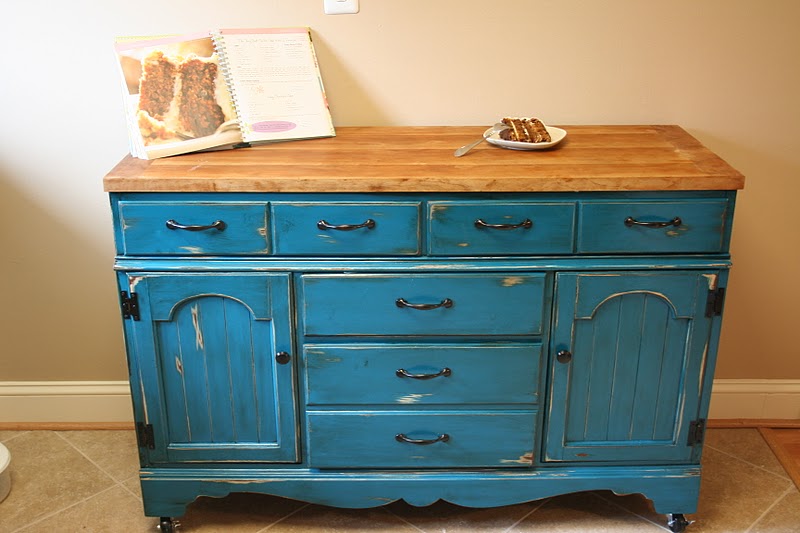
Step 4: Paint it!! Yay. We use spray paint. Why? It’s inexpensive, user friendly and you can change the color if you don’t like it and you’d only have wasted $3.
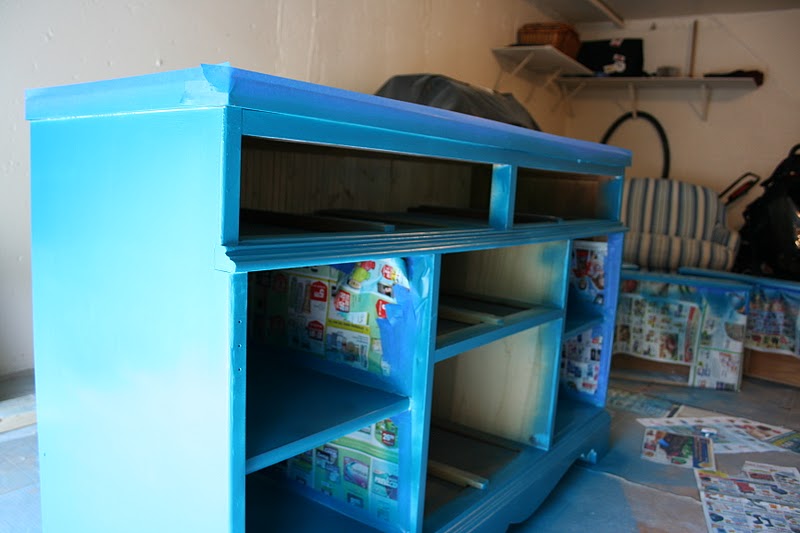
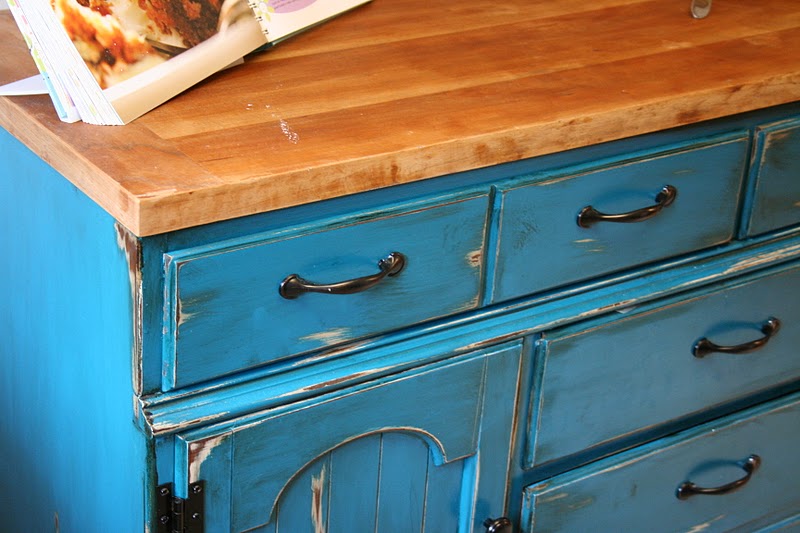
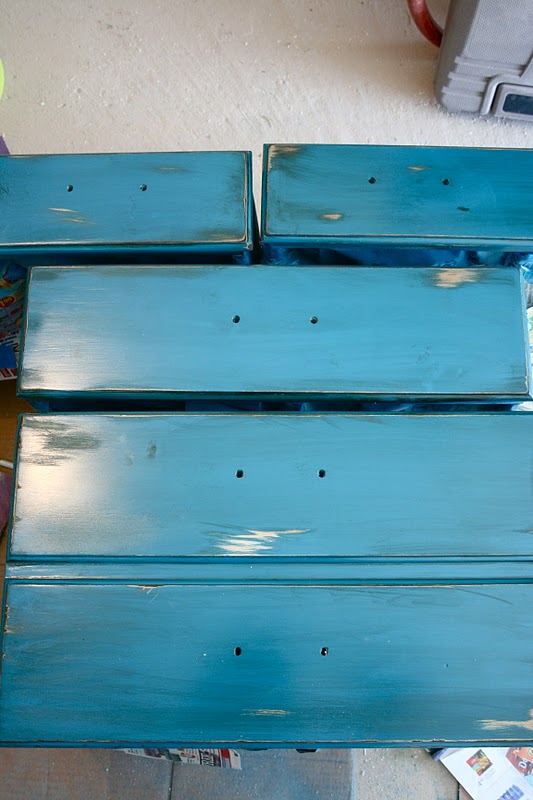
Step 5: Distress. I just took a razor blade and some sand paper and had at it. I’d never done this technique before and from what I read there is no bad move. Just try and wear it down where you think it would have naturally been worn down. Or in my case…EVERYWHERE!!
Note: sandpaper does leave some tracks of roughness if that matters to you. If it does then just stick to the razor blade.
Step 6: Add stain (Sorry no photo). Just pick your color, we chose Dark Walnut by Minwax, and wipe it all over the place with a clean rag. The longer you leave it the darker it gets. For this part I realized I liked the exposed wood alot since it shows nicely with the contrast of the teal color we picked. Also, if you live somewhere very warm then your stain will dry MUCH quicker so don’t go have a lunch break or anything!
Step 7: Wipe off excess stain to reveal your new finish. You can always add more later if you think it’s too light.
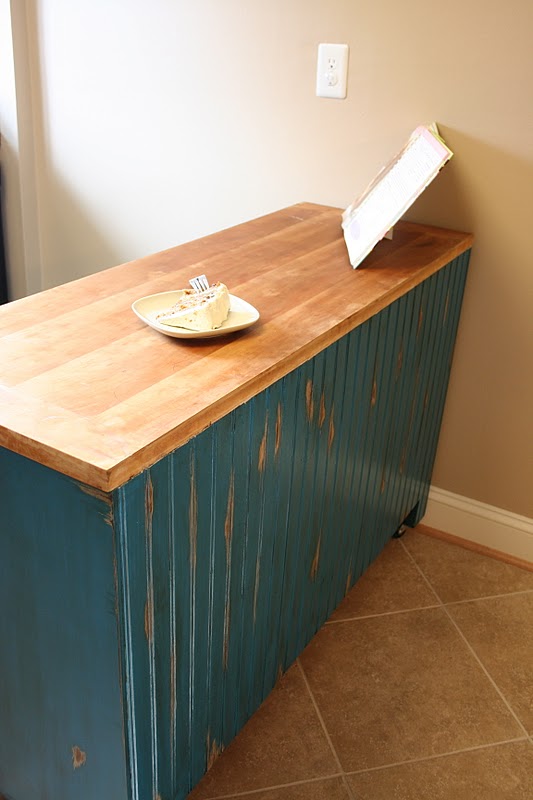
7a. (optional) Then add some casters to your bottom frame to make the island mobile. With lock option of course.
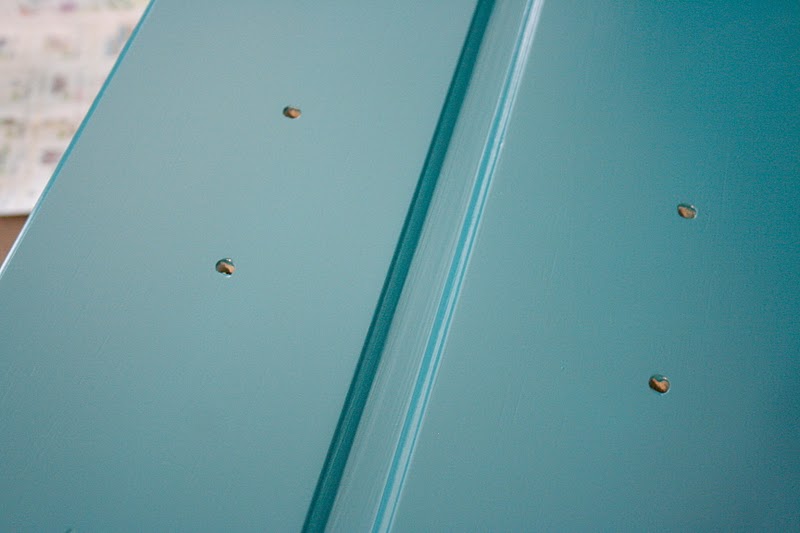
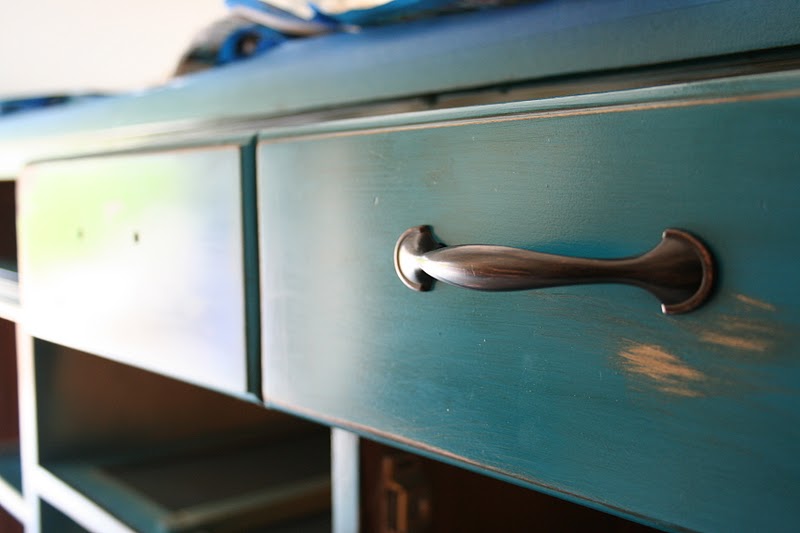
Step 8: Add hardware and admire your new Island.
Now we did want to add granite but it simply was not in the budget right now. So we cleaned and sanded the top down like we did the rest of the piece and got some wood conditioner that’s for surfaces that need to be safe for food preparation.
Breakdown:
Buffet (no tax) $45
Paint (3 cans) $2.98/ea
Sandpaper $8.30
Wainscot (2 pks) $10.79/ea
Wood Oil $12.44
*sandpaper $3.97
Nail setter $1.98
Hammer $0
Drill $0
Saw $0
Wood Filler $2.99
Stain $4.58
Hardware $22.61
Wood for Support $7.90
Castors** $21.48
+ Taxes $7.72
Total $169.49
* Not mentioned but needed this sand paper for the oil application.
**Hub retured original hardware for different and cheaper ones and lost the receipt so I’m keeping this for the sake of adding a total
Overall I love it!! The optional steps I mentioned made the piece so great for us. It gave it the diversity I wanted and made it mobile with the chance of a granite upgrade later. I must add a big thanks though to the Hubby. You know men, there are just certain things they’re better at and won’t let you do anyway with a their power tool. So he really gets the credit for the support, castors and wainscot application. And considering I tried for months to find an island this was worth the money. The best I ever found was for about $150 for an island half this size and no personality or color. For something that would truly have met MY needs it would have been about $400-$450. So that made for a $200+ savings.

Now I have a great new piece in the kitchen to give me just the extra space I needed to make my culinary adventures a bit more cozy and “funtional”! Love you Big Papa!

More marvelous dresser and counter makeovers:
Repurposing an Old Shutter Into a Bathroom Counter
Kitchen Remodel Refinishing Existing Counter Tops & Resource List
Updated Kitchen, counter tops, back splash and more: Guest
Dresser Turned Buffet; Furniture Revamp!
Red Dresser Makeover With Sheet Music Drawer Fronts


what did you do with the top piece? It is it the original, I notice the color is different
Hey Katia,
The top piece I mentioned in an earlier comment, yes it’s the same top piece, it’s just be stripped and conditioned to serve as a butcher block. See my last comment…
Sweet November
Actually the butcher block top is the EXACT same top that I started with. Although I would have loved to have added a thicker butcher block for more counter height it just wasn’t in the budget. So we just cleaned it up with paint thinner until it was even in color and then sanded smooth to the touch. After wards its best to put a wood conditioner, especially it will serve as extra food preparation space (ie. chop board). But your end color will depend mostly on the type of wood your piece is made out of.
Hope that helps!!
This piece looks great! I bought almost the same buffet from a thrift store and refinished it myself. Using it in my dining room.
Paulette
Working on this right now! So far, so good! Fingers crossed mine comes out half as good as yours!!!
Yay! Have fun!
This is the first movable island I found that would work for my kitchen. What are the approximate dimensions of the piece?
The only thing I would do is to add a larger piece of butcher block on top for a 2 stool breakfast bar on the other side. The storage is simply amazing. Great job.
Stephanie my dresser was about 50x18x36. Dressers will be shorter than counter height but when you’re in the 5’6″ and below club that the perfect height to kneed dough and do ample rolling for extended baking. Sorry for the delayed response. Hope your piece turned out great!!
Beatufil work! Just wondering if you seal the paint with anything once you’re done?
It’s always good to seal something that’s going to get heavy use and will need cleaning, like a kitchen island 🙂
I thought so, would you be able to recommend a sealer? I just noticed I misspelled *beautiful up there. Ooops…
Yes! We did brushed on polyurethane but a clear wax finish would be great, like what is common with chalk paint.