How To Build Faux Dresser Murphy Bed DIY
What do you do when space is limited but you need an extra bed? A murphy bed is the perfect solution. This credenza cabinet bed plan is magic for tight spaces.
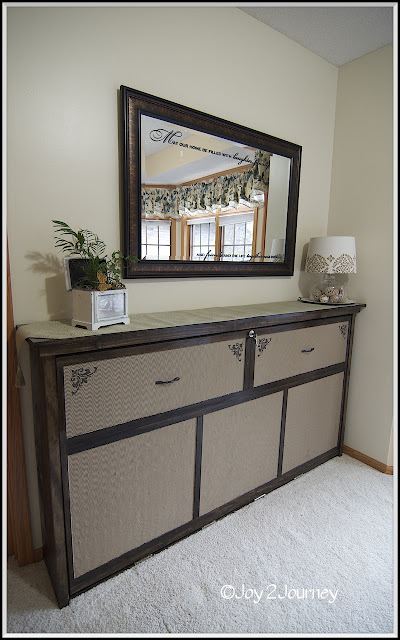
If you are short on space, you might have considered building a murphy bed. But many murphy beds are oriented so that the length rather than the width folds down into the room. But if you have a small room or are living in a one-room home that is small, that option may not work for you. In this post we show you how you can make a dresser look, sideways oriented, twin sized murphy bed, that gives you a great surface for decor or display on top with plenty of wall space for a tv or mirror above, which really helps to maximize space in a small room.
Another idea for using this bed is adding it as an extra bed to a guest room. It could possibly fit nicely opposite a king size bed. Giving a perfect location for TV viewing, on the available space above it on the wall. This means a small room could fit anywhere from 1-3 guests. This idea is great for guest rooms, vacation homes, airbnb’s and many other places you are tight on space.
If your room has a little more space, this could be done with a bigger bed, a Queen size bed for example however, for safety reasons, if you do a bigger mattress, I would add a spring mechanism to help control the weight transfer when opening. These murphy bed kit hardware will help to assist the person opening the bed with the weight and safety when bringing it down to the ground.
Today we will show you how to build this project easily without expensive equipment. Of course, if you wanted these could be added for extra safety.
For your convenience, this post contains affiliate links, which allow us to continue providing you lots of decorating and DIY ideas at no cost to you. Learn more here.

Submitted By Joy2Journey
M … is for Murphy Bed and it is finally finished and installed! Can I get a Woo Hoo?!
I have been asked quite a few times if I had finished my Murphy Bed, and the resounding answer is … Yes!
Let me take you back in time, if I may. I found a Murphy Bed plan on Ana White’s website (Ana-White.com) and thought, “I can make that!” I need an extra bed in the guest room for the little ones that come visit and this seemed to be the perfect solution. I love how this looks like a beautiful freestanding piece of furniture. So began the “journey”…
Building the DIY Murphy Bed:
Supplies:
- Plywood
- Pine or Hardwood 1×2’s for face frame
- Pine 1×4 cleat for attaching to the wall
- MDF or pine trim- for front to create drawer divider look.
- Screws
- Door Hinges( the type you need is called a Butt hinge, try not to laugh)
- Additional hardware (murphy bed hardware kit optional if concerned about weight of mattress)
- Glue
- Nails
- Bolts for wall
- Door Lock
Tools:
- Circular saw or Tables saw (or have the width cut at the lumber store when you buy the sheet goods if available)
- Screw driver
- Hammer
- Clamps (especially these amazing corner clamps to keep things square)
Instructions:
We are making this murphy bed without a murphy bed kit, spring mechanism to keep cost down, however, if you would like to add springs or a dual-piston system they are available on Amazon.
Build the Bed Frame
Start by building the dresser frame. This is a simple 4 sided rectangle. Built to fit the twin bed mattress inside. Place the bottom piece on its side and predrill holes into the side pieces through the bottom piece.
In order for the bed to fold out and not catch on the top shelf you will need a face frame on the dresser body. This face frame will also cover the raw edges of the plywood body, so that is a good bonus.
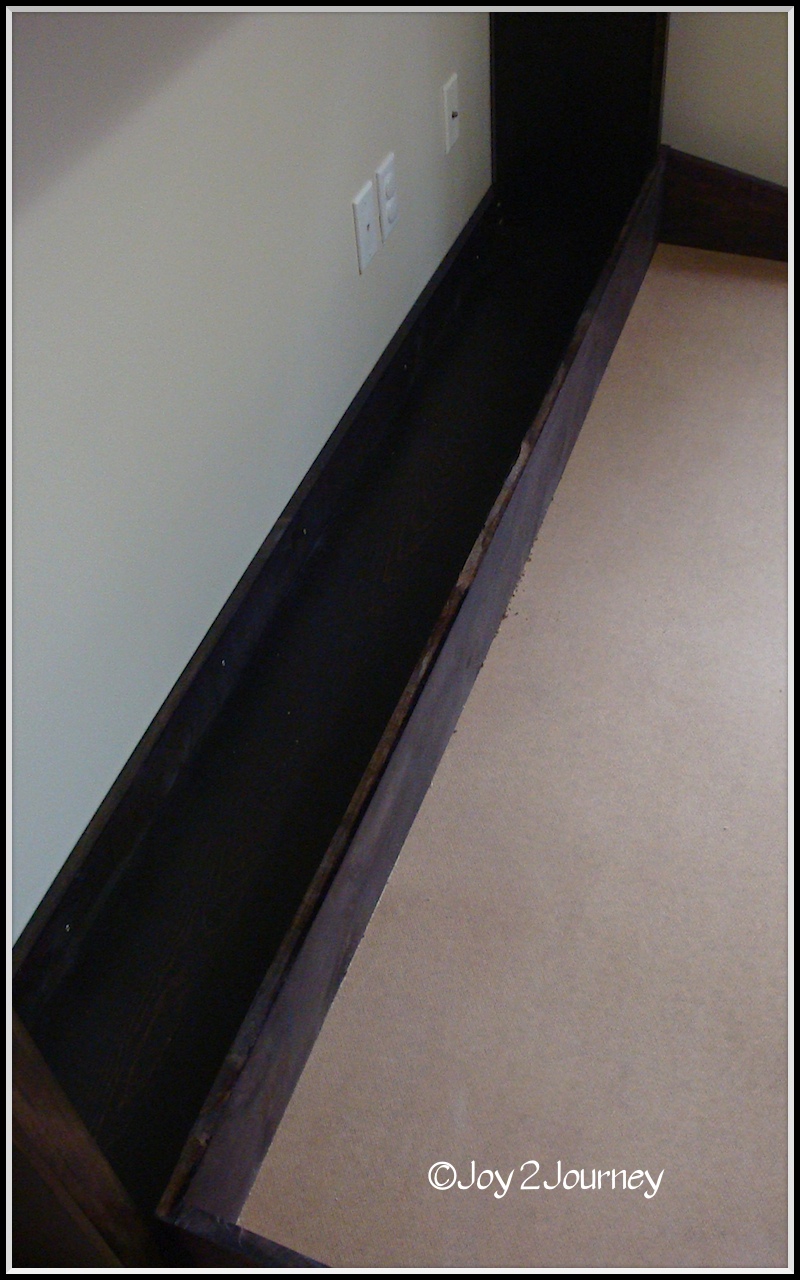
with a small face frame on the top and 2 sides (but no face frame along the bottom) We recommend adding a 1×4 brace along the back wall attached to the top shelf and sides of the dresser. Drill through this board into the studs of your wall to secure the bed to the wall.
Bed platform
The platform for the bed is simply a plywood sheet with the addition of some decorative moldings on the front for that can be glued and nailed in place.
You can add a small 1×2 face frame on the frame sides to hold mattress in place; with triangular side rails, this will help when folding out the mattress.
No foot rail on this bed.
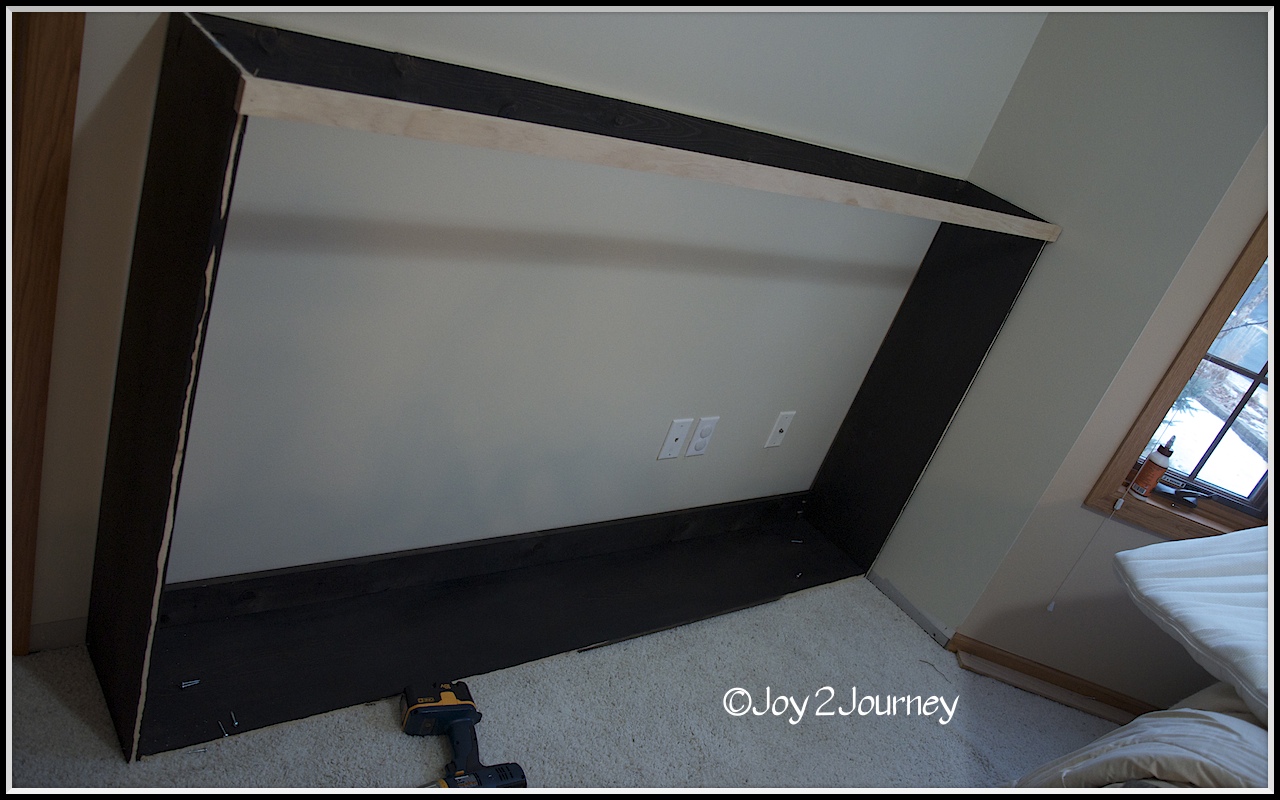
Making the frame was the easiest part of the process for me, even though I had to adjust the plans to make it sideways instead of up and down.

Before I could attach it to the wall, I needed to paint the room. I had been wanting to do it since we moved in 3 years ago. It was a Salmon color … but I will tell you all about that later in another post 🙂
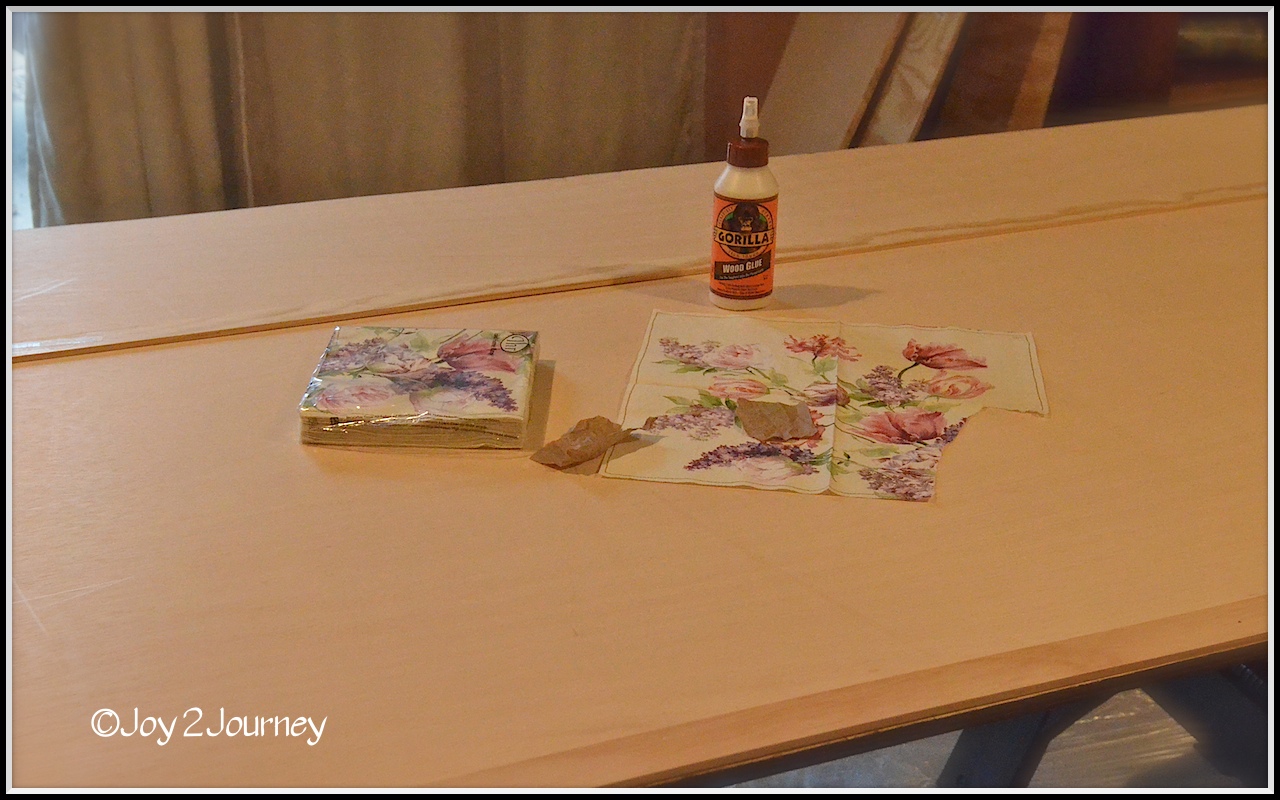
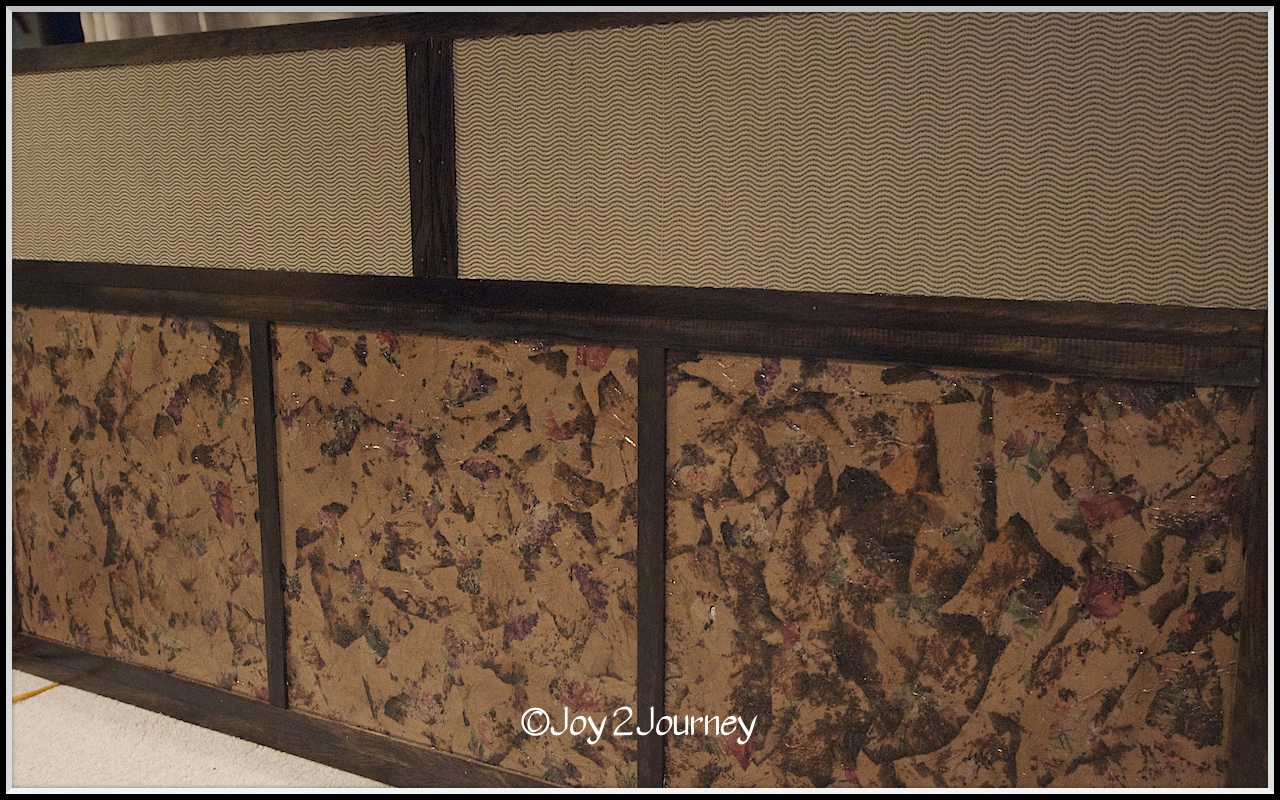
This is the step that everything fell apart for me! I had this amazing idea (I thought I was going to wow the web world with my brilliance … HA!) I was going to do a decoupage of Paper bags and these really pretty napkins for the added color. I had the bags already and the napkins I got on sale. Woo Hoo, watch me go!

It seemed like a good idea at the time. If you look at this picture… you might even be impressed. Briefly. In a small area it was really pretty. This process by the way … takes FOREVER! I cannot tell you the amount of time that it took! Wrinkle up the paper just to lay it out flat again. Ugh! I try not to think of it as wasted time but, “as a learning experience”. 🙂
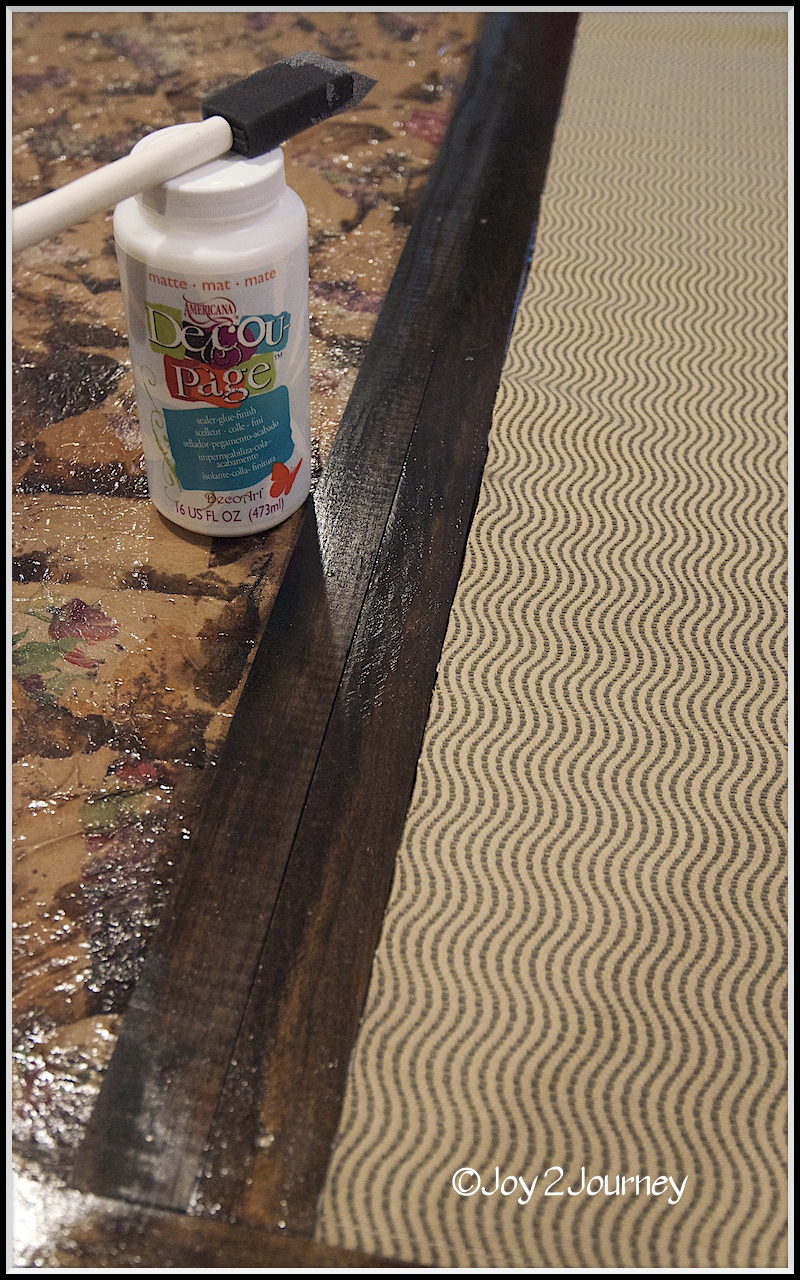
This bed front wasn’t turning out as I had hoped. I had in my mind’s eye what it would look like and this was not it! So I changed plans. DIY people need to think on their feet and change ideas when needed. At least that is what I do 🙂 I found this upholstery fabric at Goodwill for $1.99 and it was just what I wanted. It had that Chevron feel and the colors were perfect for the Guest room.
Decoupage to the rescue again … This time to adhere the fabric to the bed front.
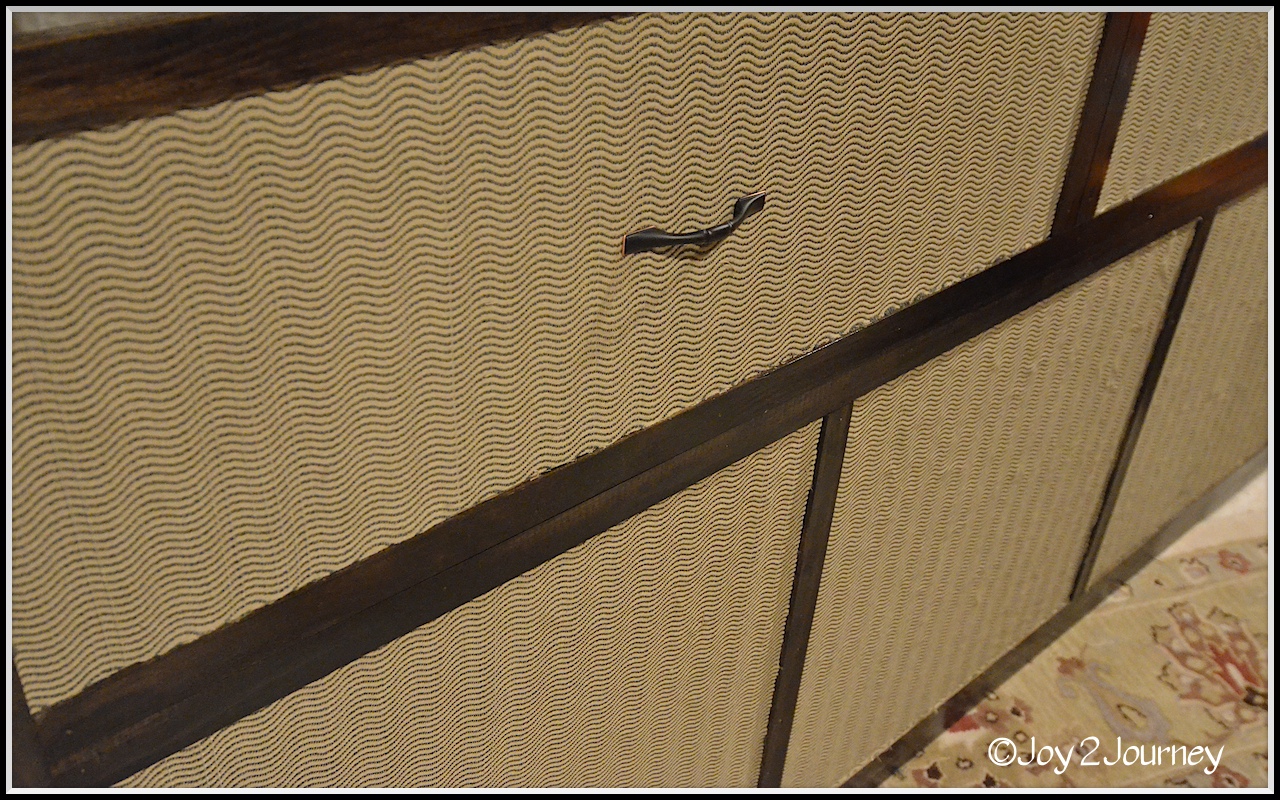
I wanted this bed to look like a dresser as it was going to be on it’s side, and there isn’t a dresser in the room. I will show you the whole room later … but the short version is, I have a luggage rack for guests. (Just like a Hotel) 🙂 I attached drawer handles on the top two spaces to look like drawers. It also helps with opening and closing.
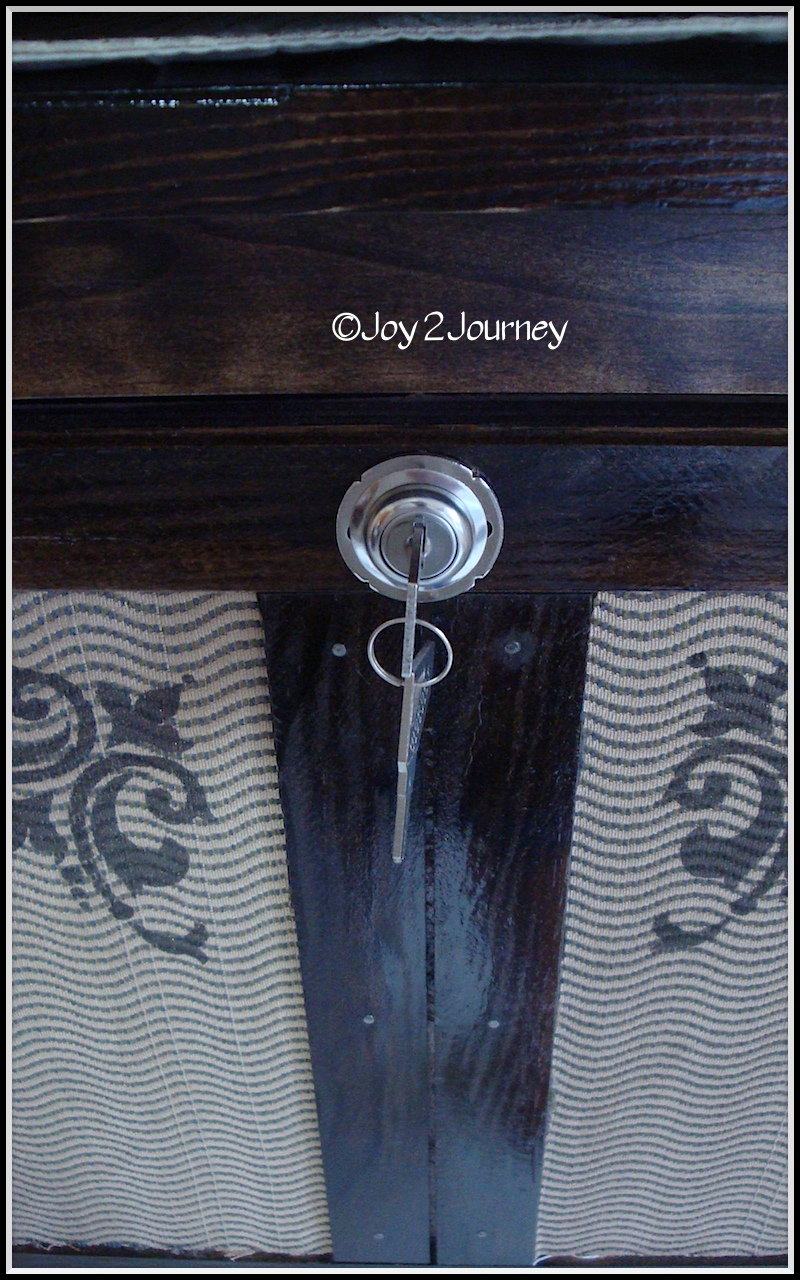
I stenciled the corners of the top “drawers” and then added the
lock. I do not want little ones getting hurt. (I still need to spray paint the lock a bronze color so that it matches the room.)
I attached the front portion of the bed with 4 door hinges.

I ended up getting a twin mattress and of course covered it with a mattress cover. Waterproof!
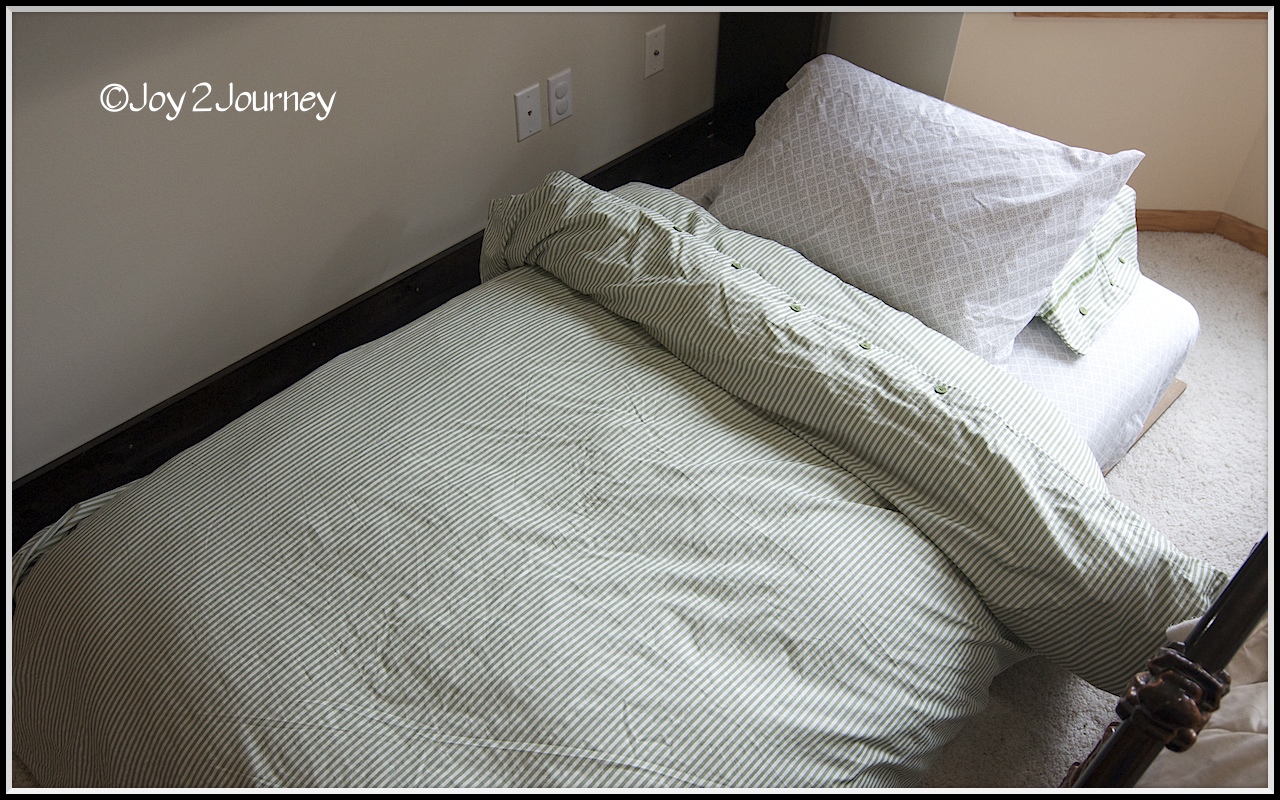
Are you ready for the big reveal?!

I love it! And it works too. I kid you not!!! I already used it just to see, and it is so comfortable.
So thoughts on this credenza cabinet bed plans … comments? questions? observations? Share your thoughts with me.
Q and A Murphey Bed Style
What is the point of a murphy bed?
The primary purpose of a murphy bed is to save floor space in a small room where you need a bed occasionally. Or if you need the space to be available during the day when the bed is not in use. Having a murphy bed can help you make the most of a small room at all times of the day or night.
How many deaths are caused by Murphy beds?
All household appliances or furniture pieces when not used properly can be dangerous and result in injury. For example, neglecting cords maintenance, proximity to water, can make any household appliance dangerous. Death by Murphy bed is extremely unlikely. However, be sure to take precautionary steps to make sure little children are safe while playing around this murphy bed. Please be sure to attach it properly to studs in the wall when installing, keep it locked at all times when not in use and keep the key away from access by little children.
Does a Murphy bed need to be attached to the wall?
Our version shown in the post must be attached to the wall. If you purchase a more modern kit they have options for wall or floor mounted beds. Some wall beds require wall mounting because of their gas piston lifting mechanism that raises and lowers the bed platform the frame structure must be secured.
Do Murphy beds use box springs?
Murphy beds do not have box springs. Instead, the mattress attaches to the bed frame with a retention system, like an elastic strap to hold the mattress in place when it is in the upright position.
What wood is used for Murphy beds?
Most carpenters build Murphy beds from ¾-inch hardwood plywood, like these plans. Birch is a good option since it’s readily available and tends to be less expensive than other hardwoods. If you go this route, you’ll want to finish exposed edges with wood strips glued and nailed in place or with iron-on edge banding or cover the raw edges with a face frame.
Is it cheaper to build or buy a Murphy bed?
In the case of this plan that doesn’t have expensive hardware, it is most definitely cheaper to build. However for bigger beds and more elaborate beds with shelving, build from hardwoods like oak or cherry the cost can go up and may be more cost effective to buy a kit or prebuilt piece.
Are Murphey beds available at IKEA?
Currently no, but they are available at many online furniture retailers such as Walmart, Overstock, Wayfair, and even including Amazon and can be shipped directly to your home. There are also specialty retailers that specialize in very cool options for murphy beds.


This looks absolutely amazing. Its a great idea, especially if you have limited space. I love it and I will try it once I move. Thanks so much.
Try it and let us know how it went.
Love your post, do you have a cut list?
Beautiful! When you open it, what keeps the drawer pulls from crushing against the floor?
Brilliant! Well done! What a great idea! Thanks for sharing!!! 🙂
this is such an awsome idea…thanks for posting…it looks amazing….love that you made it look like a dresser and put the mirror over it…great job…congratulations!
What a cool idea! Love how it turned out. Gives me ideas to try. Thanks for sharing.
I love the horizontal! It would work so much better in my guest room this way. Do you have your cut list? I am afraid I will mess up royally if I try to come up with it myself 🙂
Stacey, unfortunately there is no cut list for this. Follow this link to Ana Whites site of her vertical murphy bed. This is what the horizontal bed was based off of. Just adjust for the size of mattress that you have.
Its obvious, this is an earlier post from the year, but I had a question about how it lies on the ground with the handles and lock. It looks like it almost lays flush, so I am wondering what you do to counter this? You specifically that is. I realize there are ways around, but I like the idea of it being flush on the ground. I am looking to do this for a permanent setup for my daughters new room.
Thanks!
You could have taken this a little step further and built a base under the cabinet so that when you flipped out the bed it was off the floor.
I love the ideal and how you make it all go together. Very nice!!
Brigitte
That is a very good idea. Thanks Brigitte!
Hi BJ,
Do you have the mattress attached to the slab in any way? Just wondering if the mattress shifts as the door is open…. Looks fabulous!
~Marlena.
I love it! I wish my grand kids were still young -but I’ll pass this along to my daughter who has need for grand kid space. Thanks
This is truly amazing
Thanks!
I love this idea! I’ve been wanting 2 Murphy beds in my spare room for guest. Perfect! Thank you.
You’re welcome, Debra!
HI! Do you still schematics or measurements for a horizontal twin bed still??
Hi Simone,
BJ built this with modifications to this plan from Ana White: https://www.ana-white.com/2010/03/plans-a-murphy-bed-you-can-build-and-afford-to-build.html
We’d love to see pictures if you build one!
I want to do something similar but with a sofa bed frame. Any suggestions?
Hmm, that’s an interesting idea! I can’t think of anything right off, but if you’ll message us over on Facebook with your question (referencing this specific bed) and maybe a photo of the bed frame, then I bet our Facebook crew will have some ideas! https://www.facebook.com/remodelaholic
Hi,
My mother is wanting me to make her one of these. She is 82. She gets around great but I wonder if this sitting so low be difficult for her to get in and out of?
Thanks
It looks awesome. My question is does it lay flat with just the handles on the one side and are the handles strong enough for adult weight or are kids just going to sleep on it?
That is beautiful, you have a eye for taste. But for us DIY’ers to really appreciate this type of work you need more pictures, detailed close up shots like with the hinges & the underside when it’s open & a half way closing shot from different angles. Otherwise it looks like you just gathered pics from the net & tagged a decent tale to fool us the audience. At least pics of you in the splendor of your hard work. I mean if you really did go all out on this, then the follow up which is this article & the step by step pics, more pics than words, this is the net, not another put together short novel of someone else’s work changed up a bit with your name on it & handed in on time for publication, as others do on different sites throughout the web. O what a tangled web we weaved!