Fun Craft Room Makeover
As the creative types I think we all dream of organized crafting spaces?

Oh, am I the only one?… okay, well that is fine. I will tell you about my dreams. Bright, clean spaces, natural light, a home for every gadget that comes my way (Yes when it comes to crafting, I can be a bit of a hoarder… but I am getting better at letting go). Spaces something like these craft room design ideas(that I found via Pinterest, hope you will come and follow me!)


Image Sources:
1. House and Home 2. Bubblewrapp’d 3. Better Homes and Gardens 4. BHG 5. BHG 6. Attention to Detail 7. Modern Girl’s Style 8. Pottery Barn 9. Houzz 10. Items by Design Bird via Pinterest 11. Design Sponge
Crafting spaces can get sort of busy… but one of the best ways to organize is to simplify. Simplify the colors, unify the discordant- I love how The Velvet Door did just that by simplifying her furnishings and unifying the color to white, wicker baskets to corral all the bits and bobs and simple accents of blue throughout. Check it out, I am sure that most of us would happily do a project or two here:

Submitted By: The Velvet Door
Hi, I am Kristel from The Velvet Door, I am a stay at home mom to two wonderful kids, and a interior decorator of my home. I first discovered blogs about a year and half ago, and have completely immersed my self in them. I get so much inspiration and motivation from them to be able to do my own DIY projects, and have, somewhat successfully, done some on my own. I studied a little of Interior Design, but decided to take a brake, albeit a long break, from school, to be able to stay home with my kids. My blog is almost a year old, and in that time I have been able to do some major facelifts to my home, two of my favorite projects have been my master bedroom re-do, and my master bathroom facelift. Thank you so much to my friends from Remodelaholic for the feature, you guys are awesome!
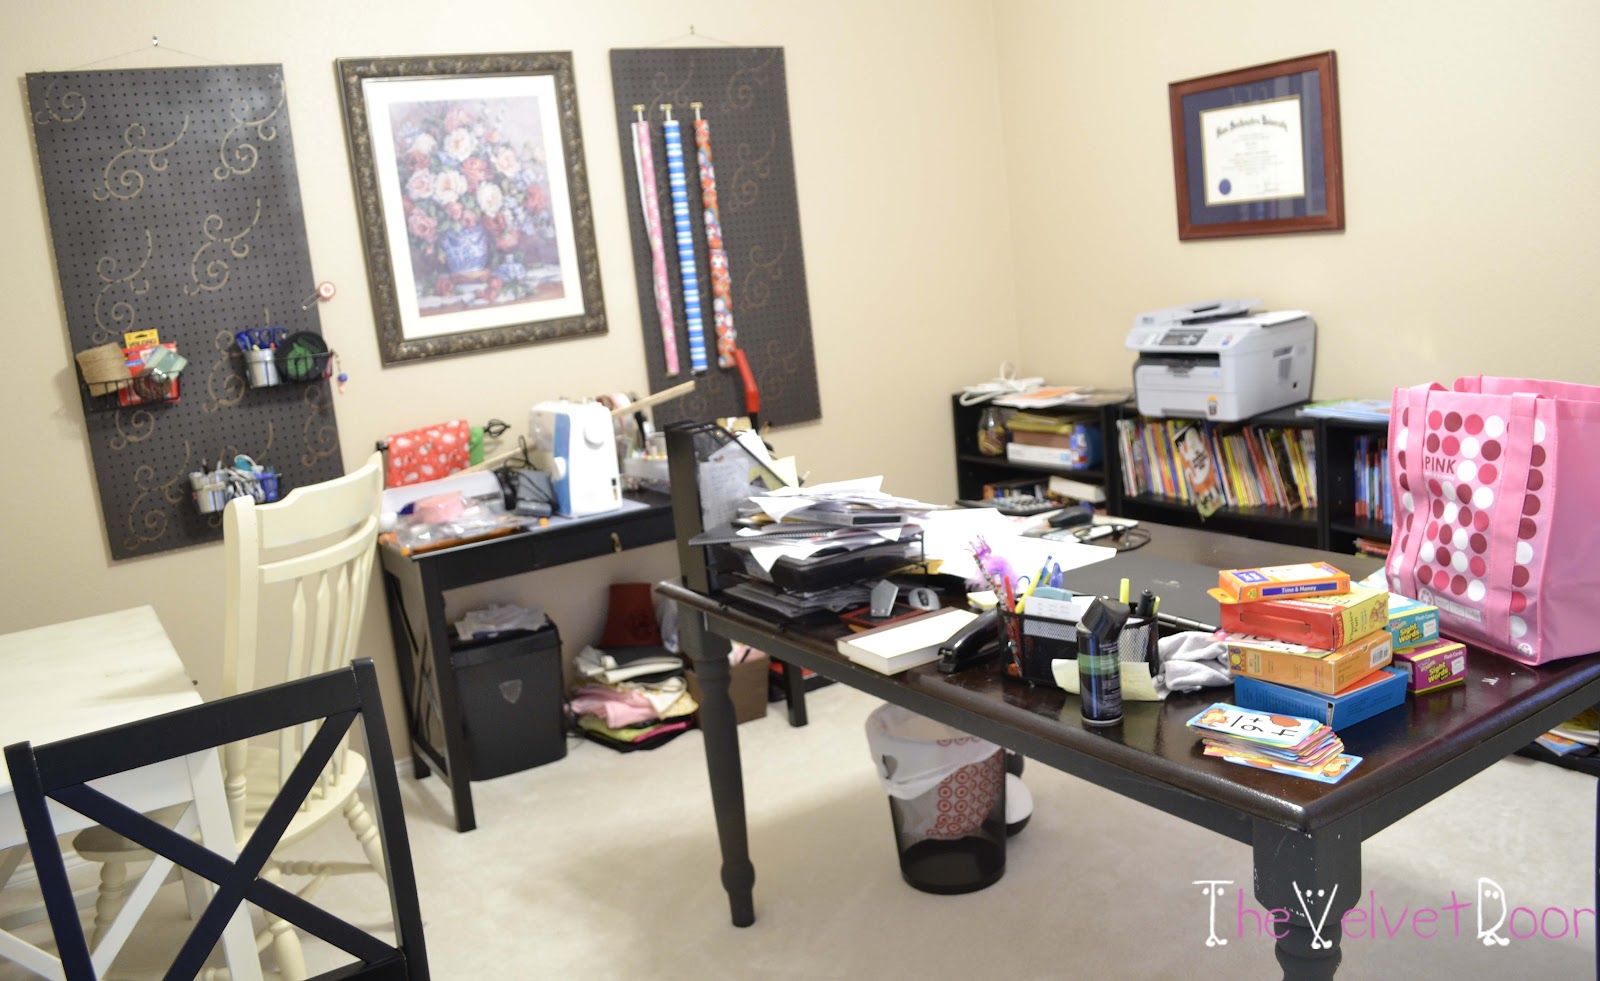
It seems I have been posting a lot of makeovers lately, and for the first time in a long time, I feel like my house is finally where it should be. I told you about this craft room here. I used to keep the door shut at all times when we had company, even if said company was only 7 year olds. I did not want any one going in there and getting hurt. And it was also embarrassing. But I mustered up all my energy to go in there, clean it all out, and start from scratch.

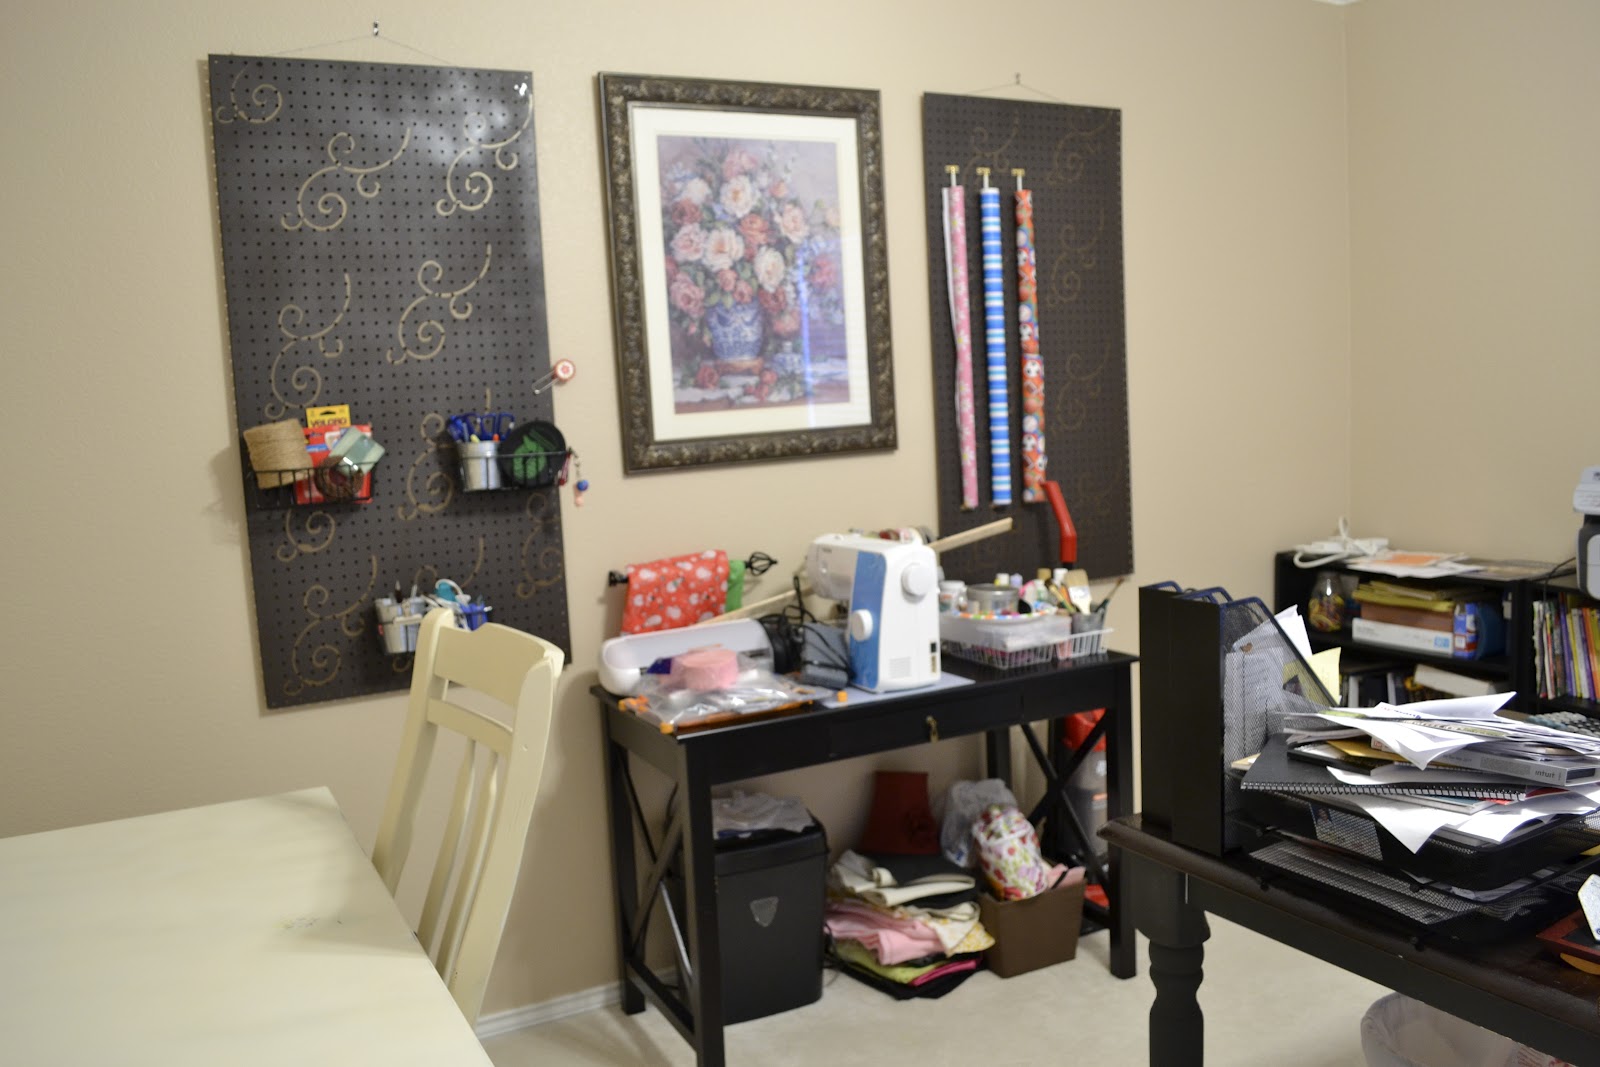 |
| There is the frame I used as a chalkboard |
First thing I did was give the walls a good coat of paint, I used the same color I used in my master bathroom walls, but because there is only one small window, the color does not look as bright as it did in the bathroom (even though both rooms face the same way). I was not too happy with how the painting turned out, I have never really been disappointed when using Benjamin Moore paints, but this was the first time. Even after two coats, you could still see some spots of the old color, which was not even a dark color to begin with. That, paired with the fact the paint went up in price, has left me one unhappy customer.
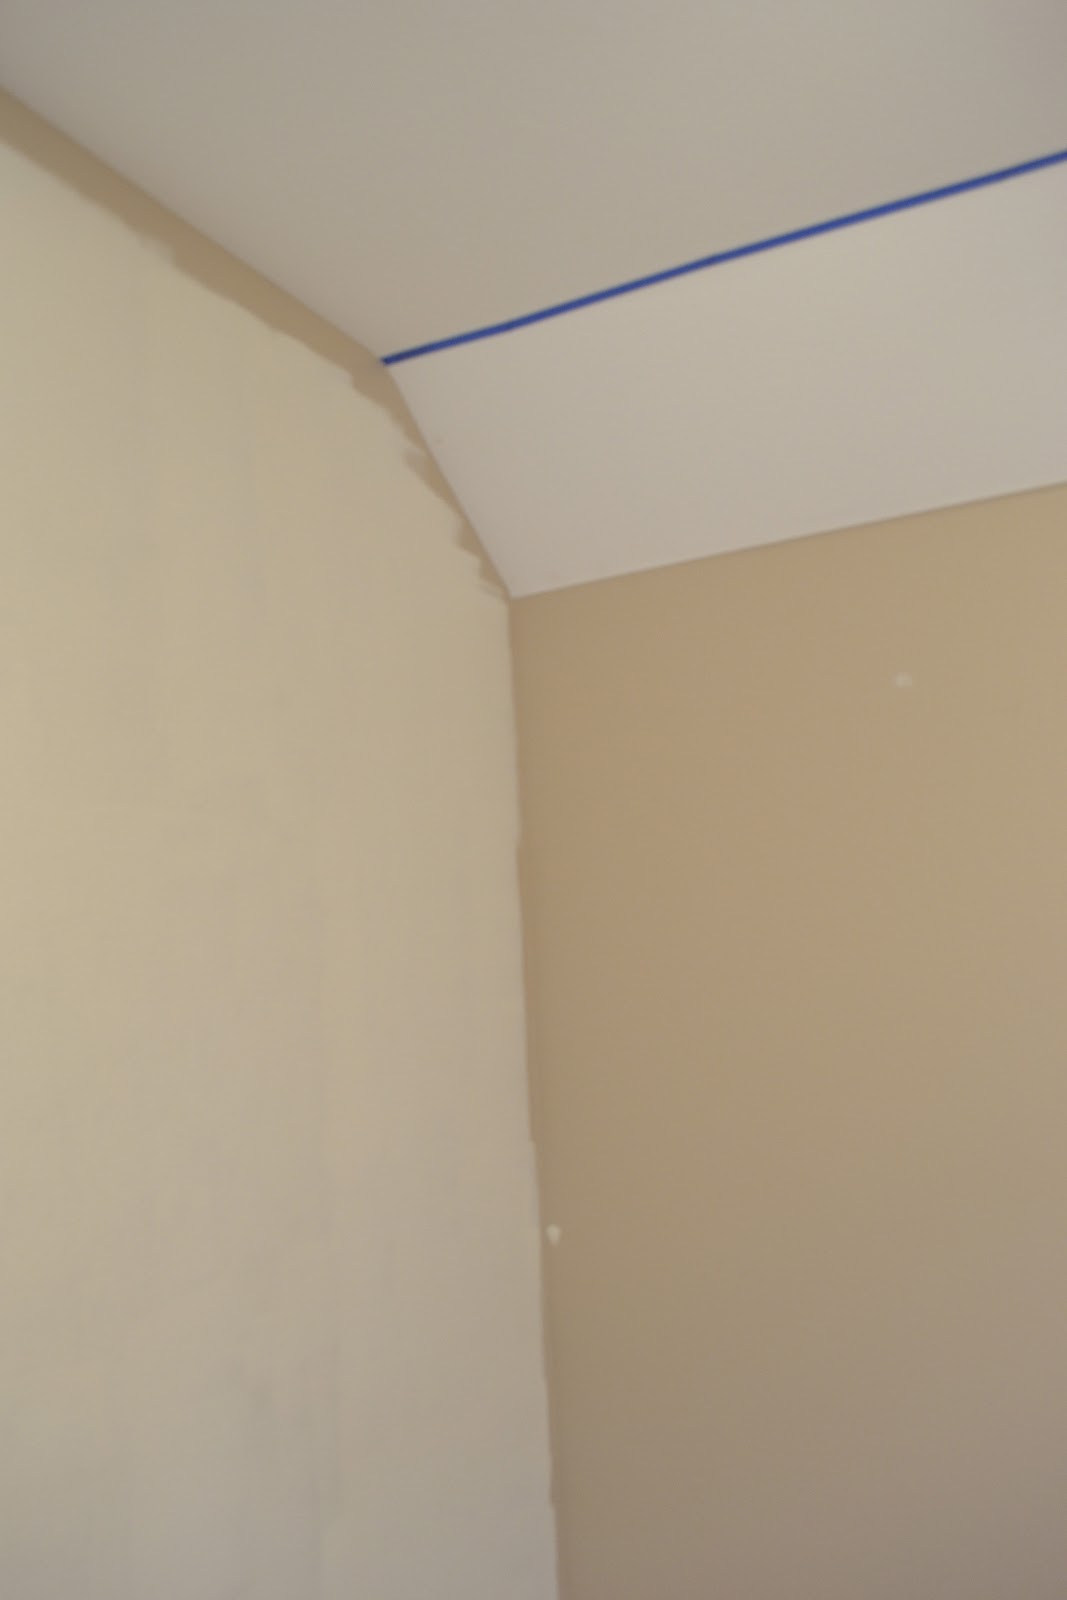 |
| Here is the new color going on. |
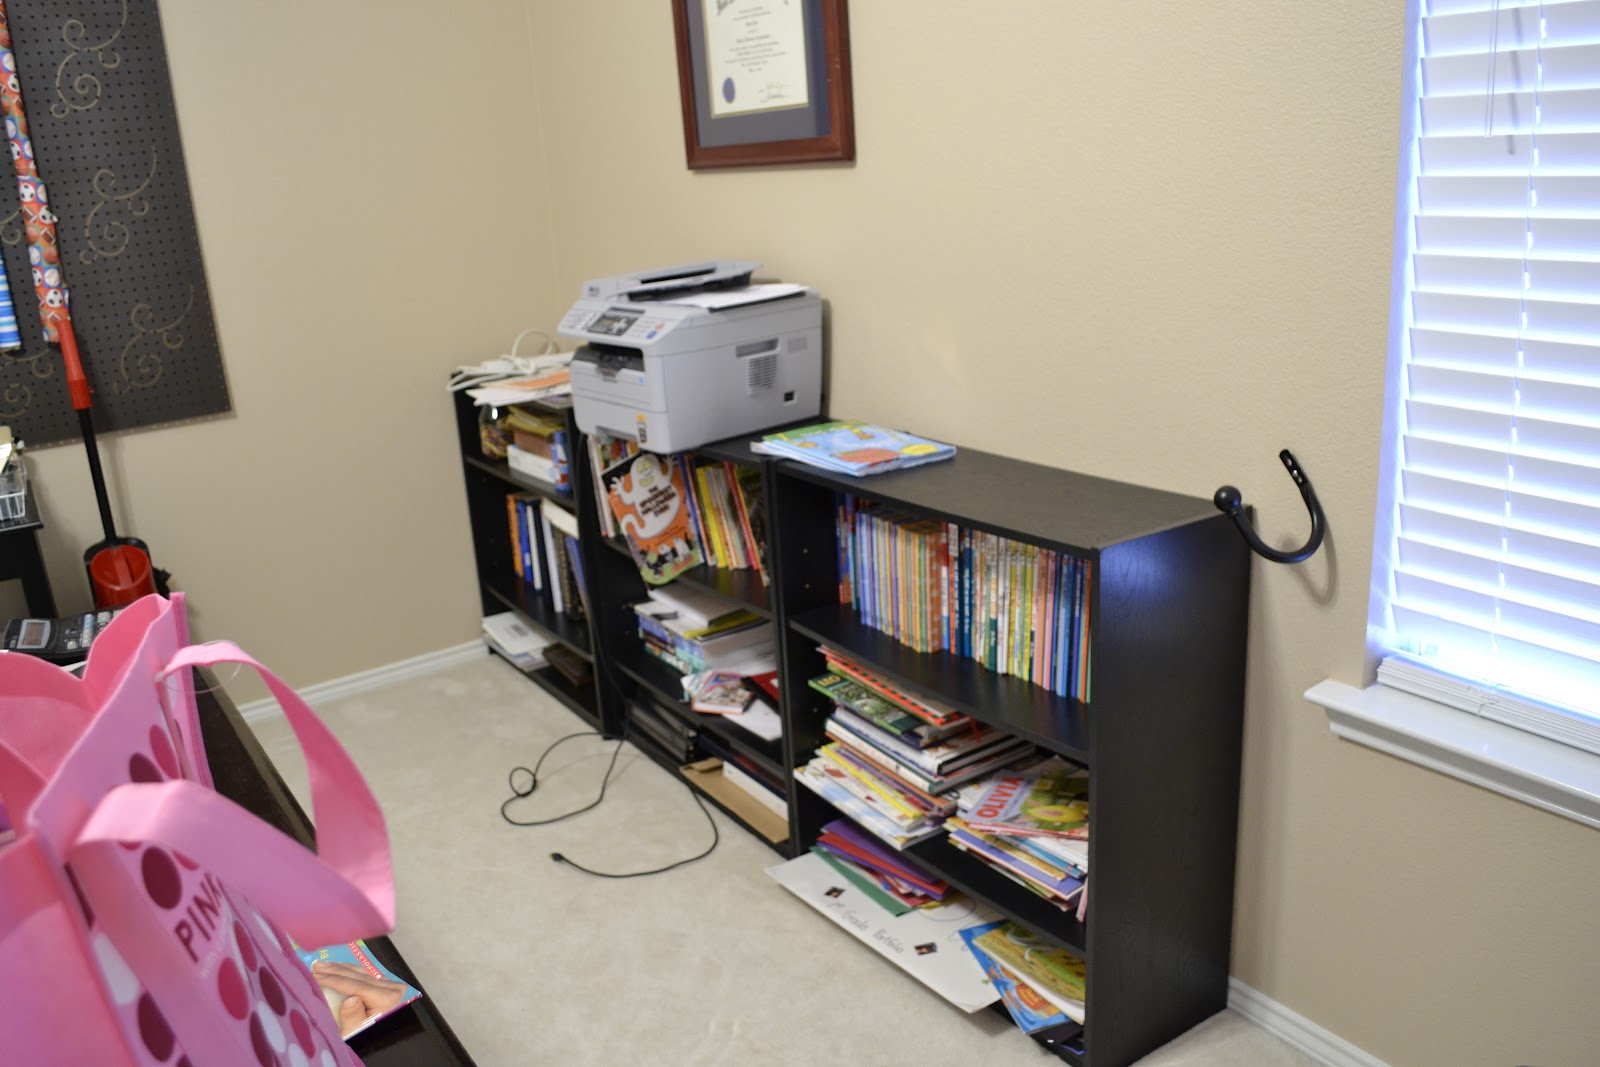
I then started to move things in, and recycle things out. I decided to make two custom shelves, as the ready made ones in the store were the wrong size, and wrong price. I found two pieces of particle board shelves on sale for $3 each, and had them cut at the store. I did not want the rough edges to be seen, so I decided to use melamine edging tape, and it was super easy to do:
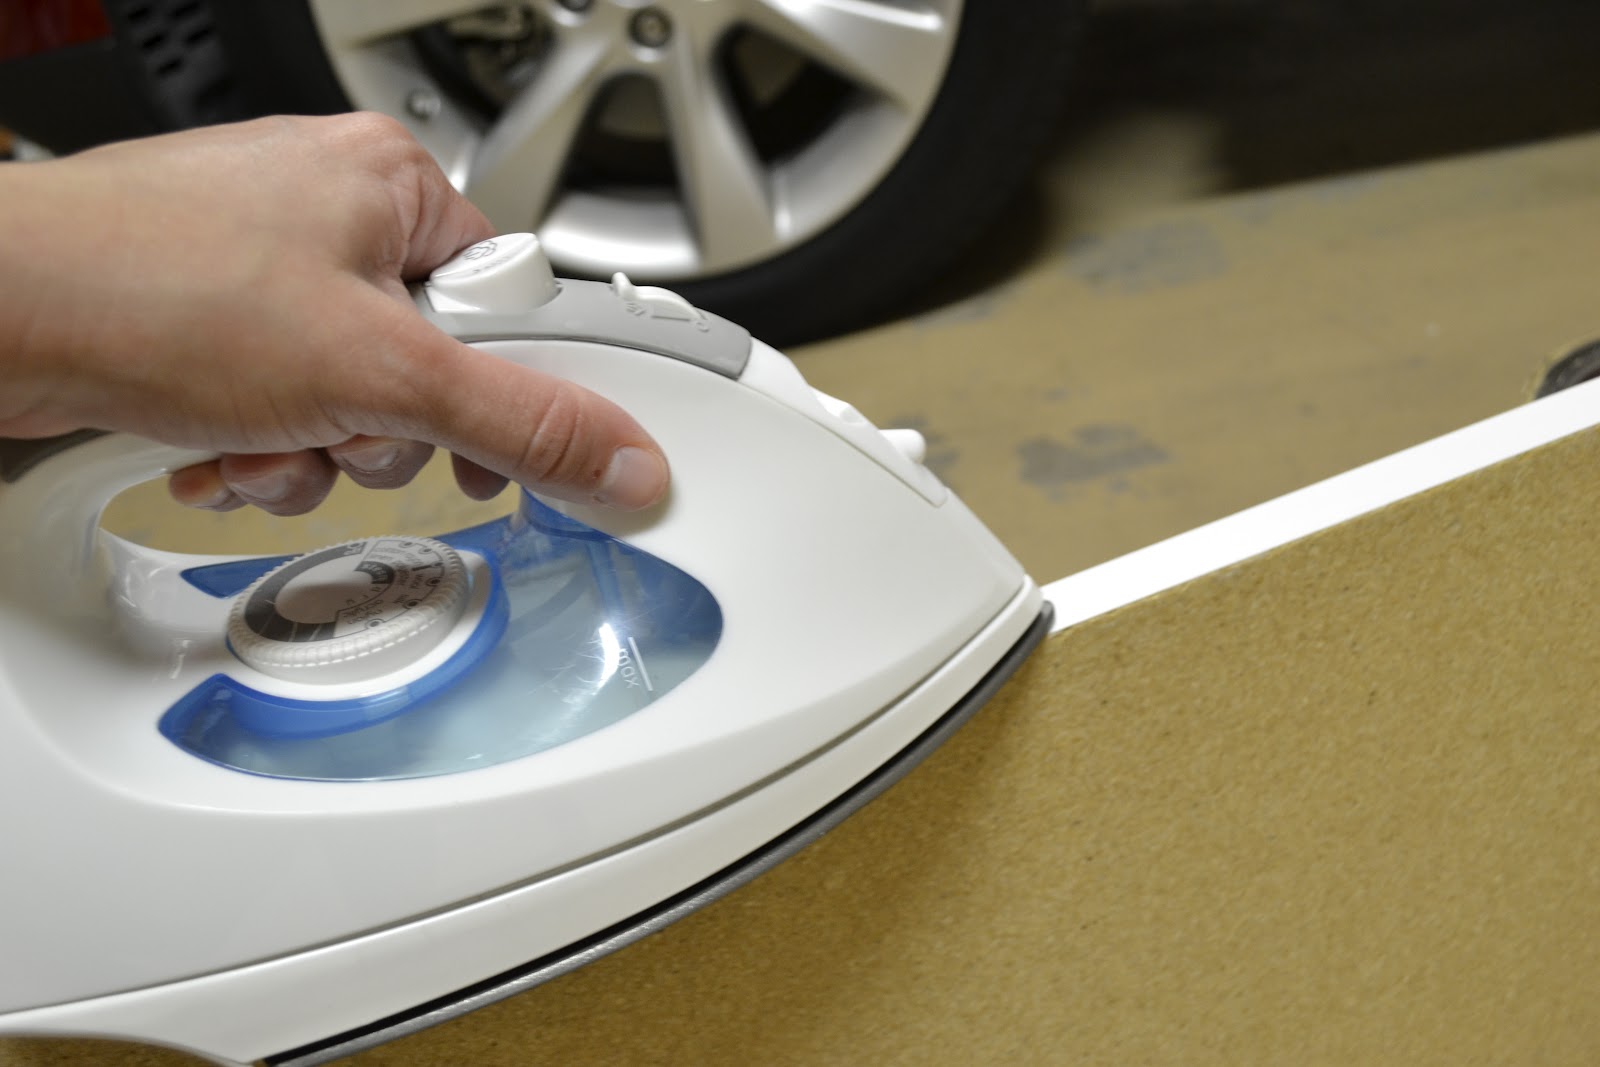
Just cut to size, and iron on. Super easy, and it made a huge difference on the look of the shelves. I then primed, and painted them. I tried to reuse as much of what I already had as possible, I had left over fabric from the curtains I made for the living room, and it went perfect with the wall color in this room. I did buy a bookcase from Ikea, because the ones I had there before where all broken. I also picked up a chair while there as well. Here is the room as it looks now:


And the after:

I was able to purchase the baskets from Target as additional storage, and pretty much everything you saw in the before picture (books, crafts, fabrics etc) is still in here. I am still trying to work on the other side of this room (maybe a daybed?) it’s a small room, so I have to make sure everything fits, without looking too cluttered again.
Hope you like my craft* room transformation. I know I can now breathe easier knowing this room is cleaned up, and of course, I now leave the door open for all to see 😉
Have a great week!
Check out these other great craft room design ideas:

1. Art Studio Inspiration 2. Basement conversion to Craft Room 3. Craft/ Office Space


I am sorry but I couldn’t get the pictures. I would love to see your craft room.
Oops! I went out of the site and back in and now the pictures appear. I love your craftroom, can you tell me what size of room this craft room? Iam working on one and it is small and I would like to do some of the things you have in your room. Thank you for the post.
Hello I wanted to suggest to you maybe looking at Ikea for your daybed as well. We have one in our basement office, guest room, storage area, and when no company craft area. we bought it from ikea, the bottom pulls out to a queen size, the mattress stacks on top of one another and with bed pulled out you can still open the 3 huge drawers underneath the bed. It is the best thing we could have put in the room as for as versatility goes, and dual purpose. if its just one person visiting than the single bed works, if it happens to be our parents than we pull it out & we have a queen. Only down fall is it is somewhere in the $350 ish price range & all those little pieces that come with big ikea furniture is dreadful. All in all though it couldn’t have worked any better from space saver with the added huge storage drawers under the bed. Your makeover looks great, but I do have to say I did like the before as well with some dark colors but as with our room bright is the only way to go when working with small space. Thanks for sharing!