Crown Jewels; Lighting Redo; The Painted Hive

Hi again everyone! I’m thrilled to be back for my second guest instalment here at Remodelaholic (thanks for having me again Cassity!) and am really looking forward to hearing what you guys think of this little makeover. I’m a bit of a re-hab tragic so please feel free to stop by my blog, The Painted Hive, anytime to check out some of my other projects. Now, down to business….
Question: What do you get when you take….
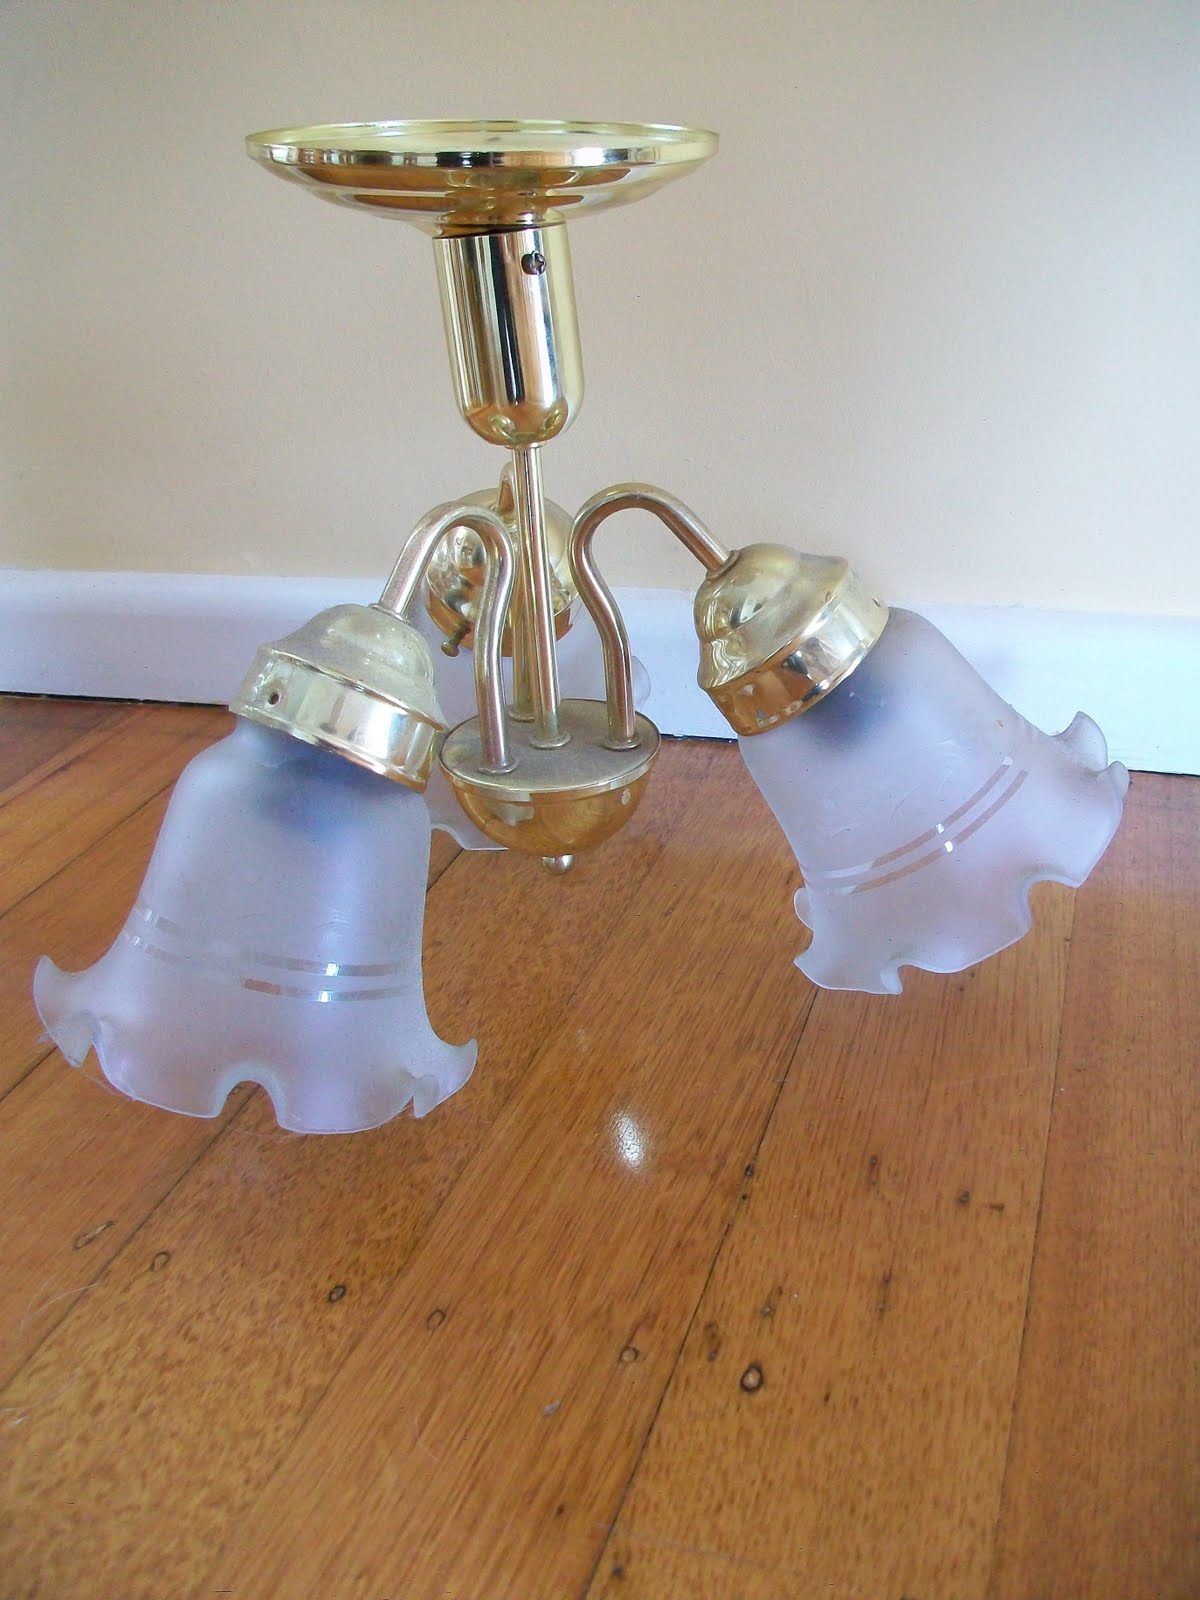
one kinda very ugly old light fixture,
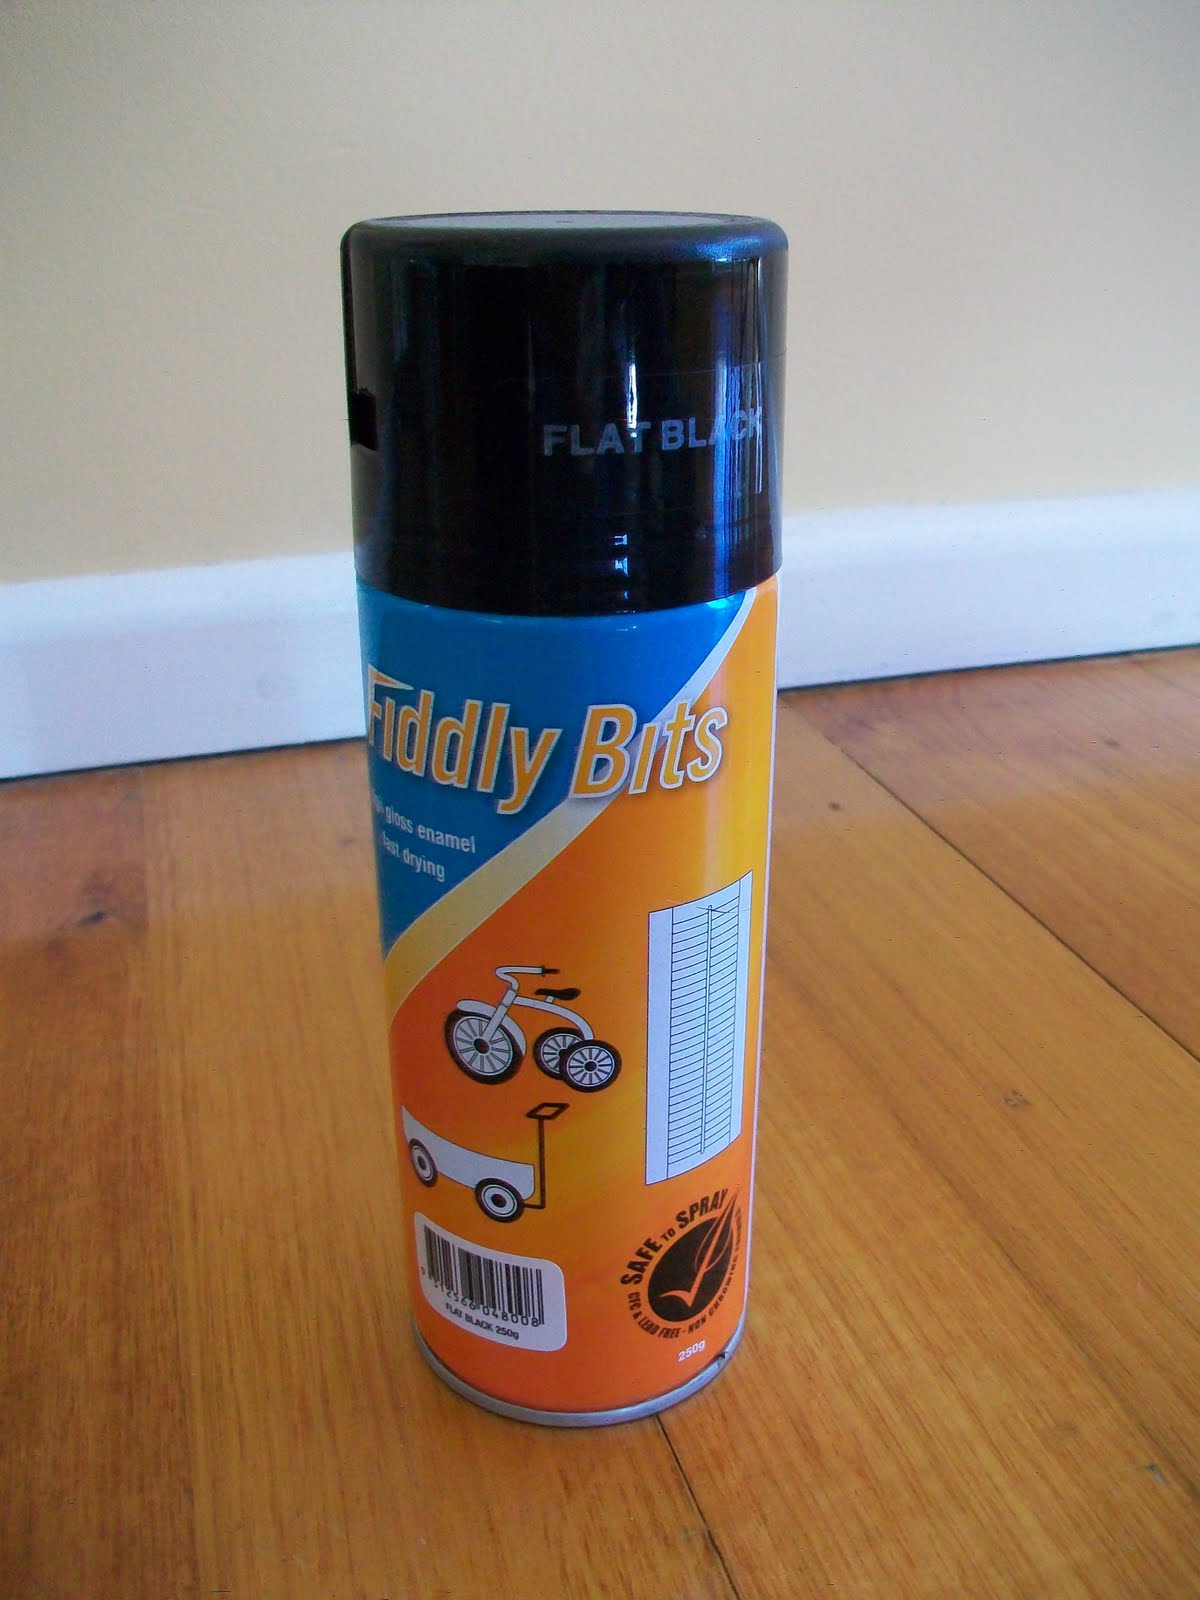
a can of black spray paint,
some blingy old necklaces you wore once to a wedding three years ago

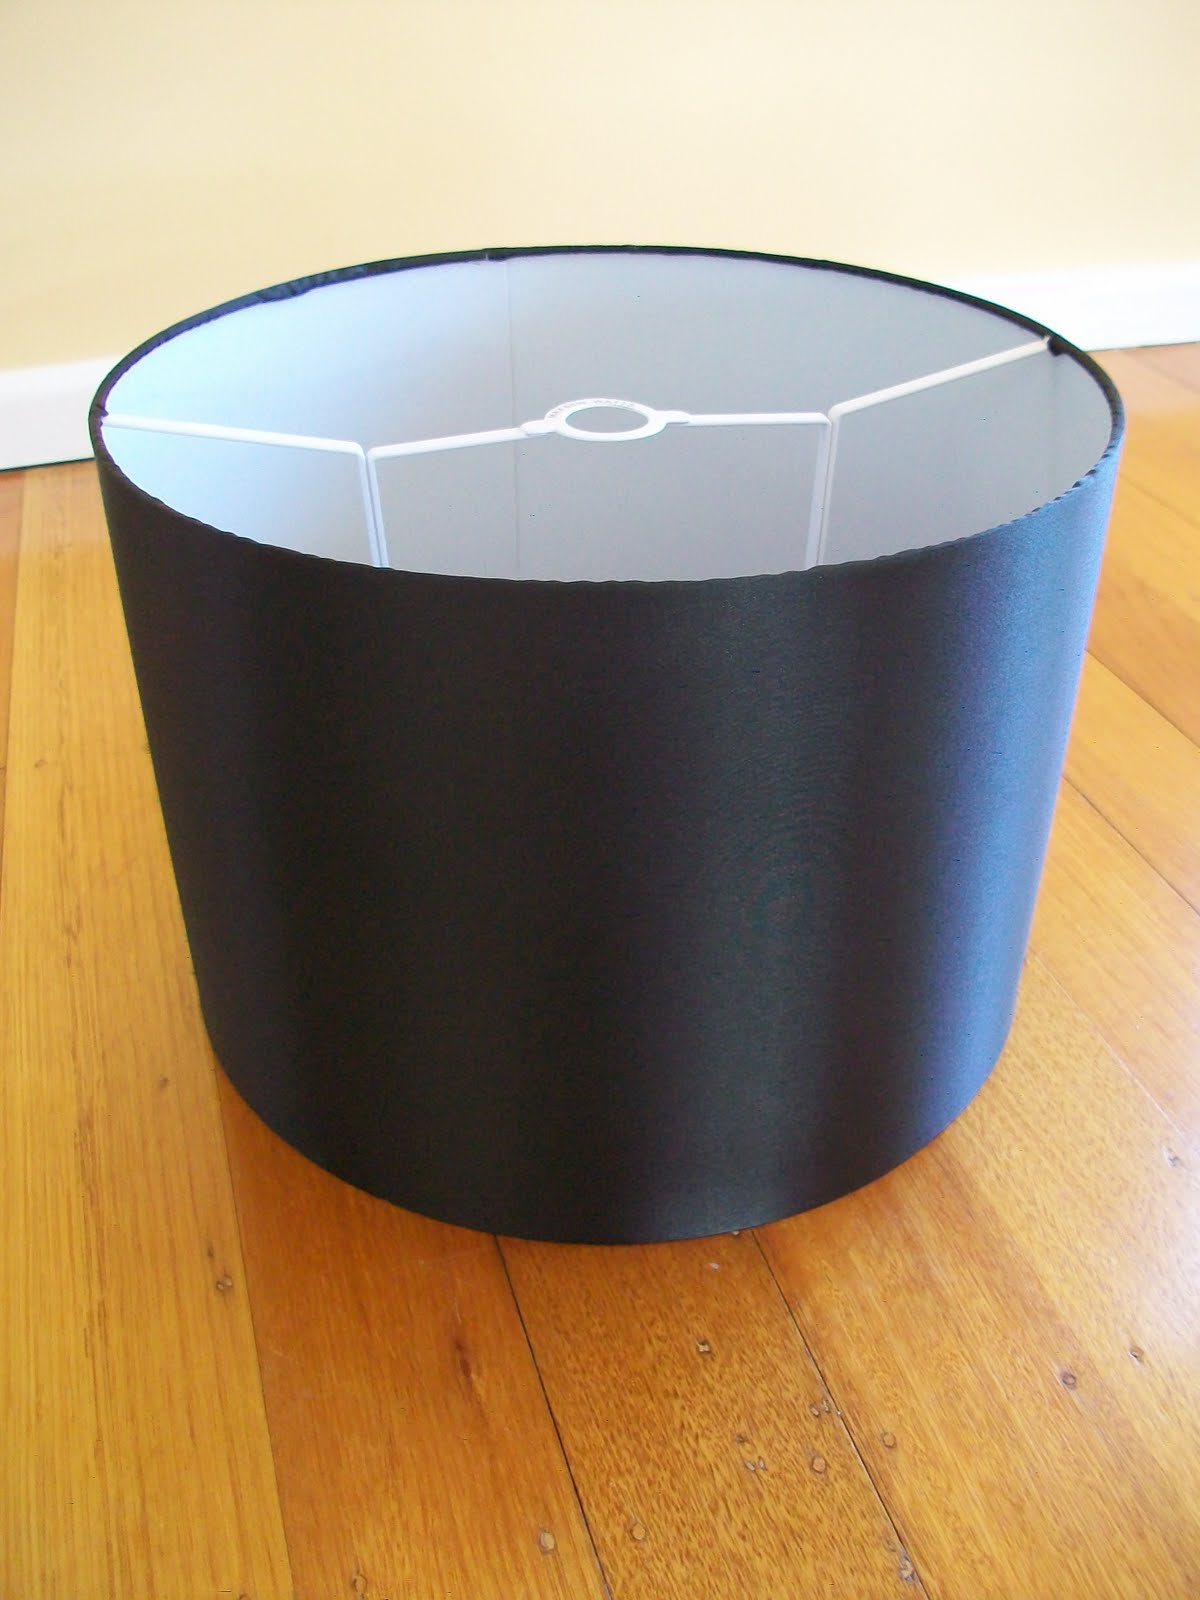
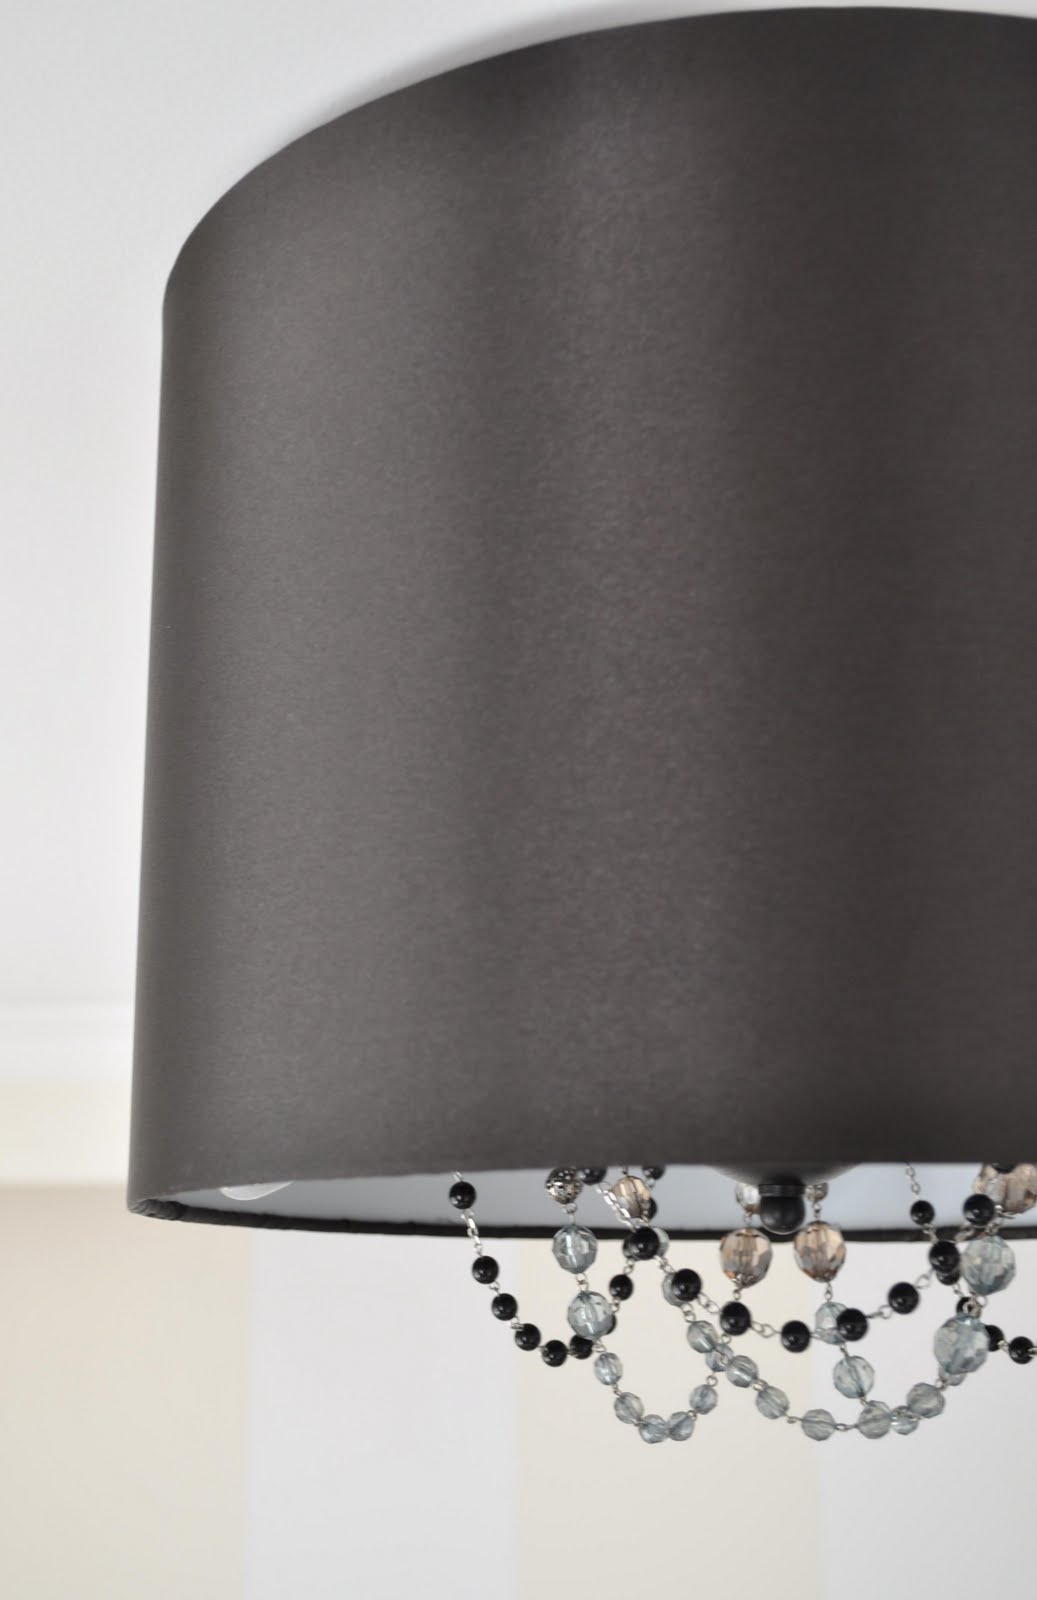
and an al-cheapo drum shade from Target?
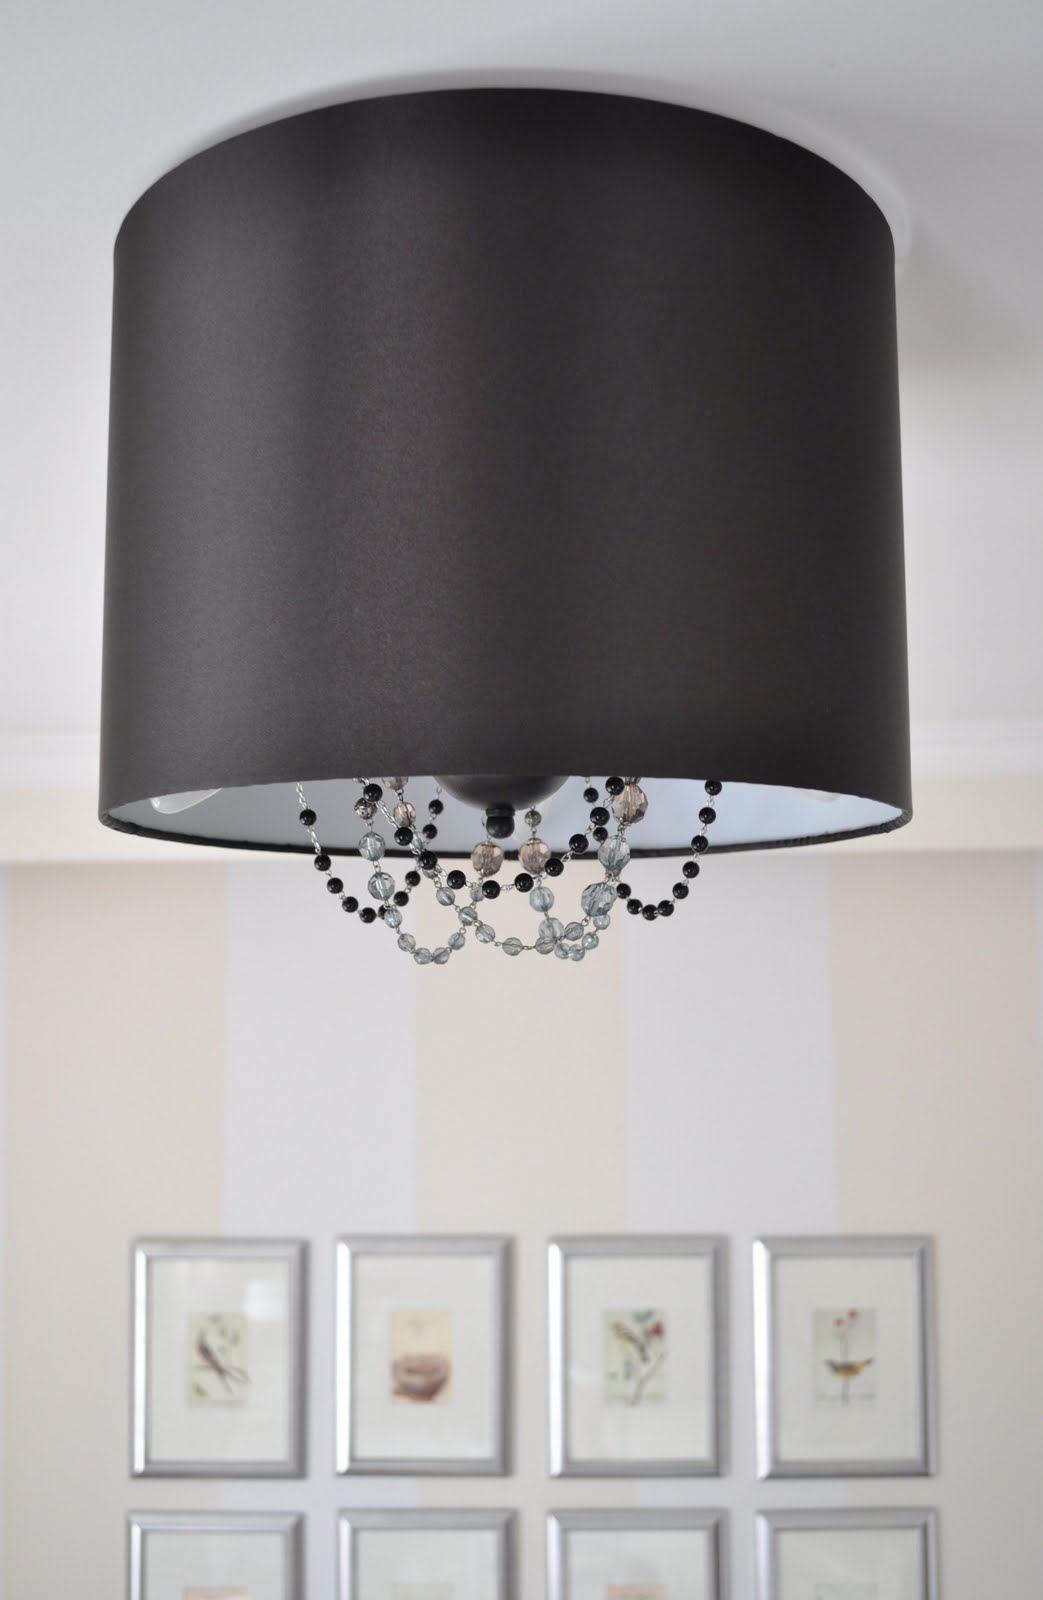
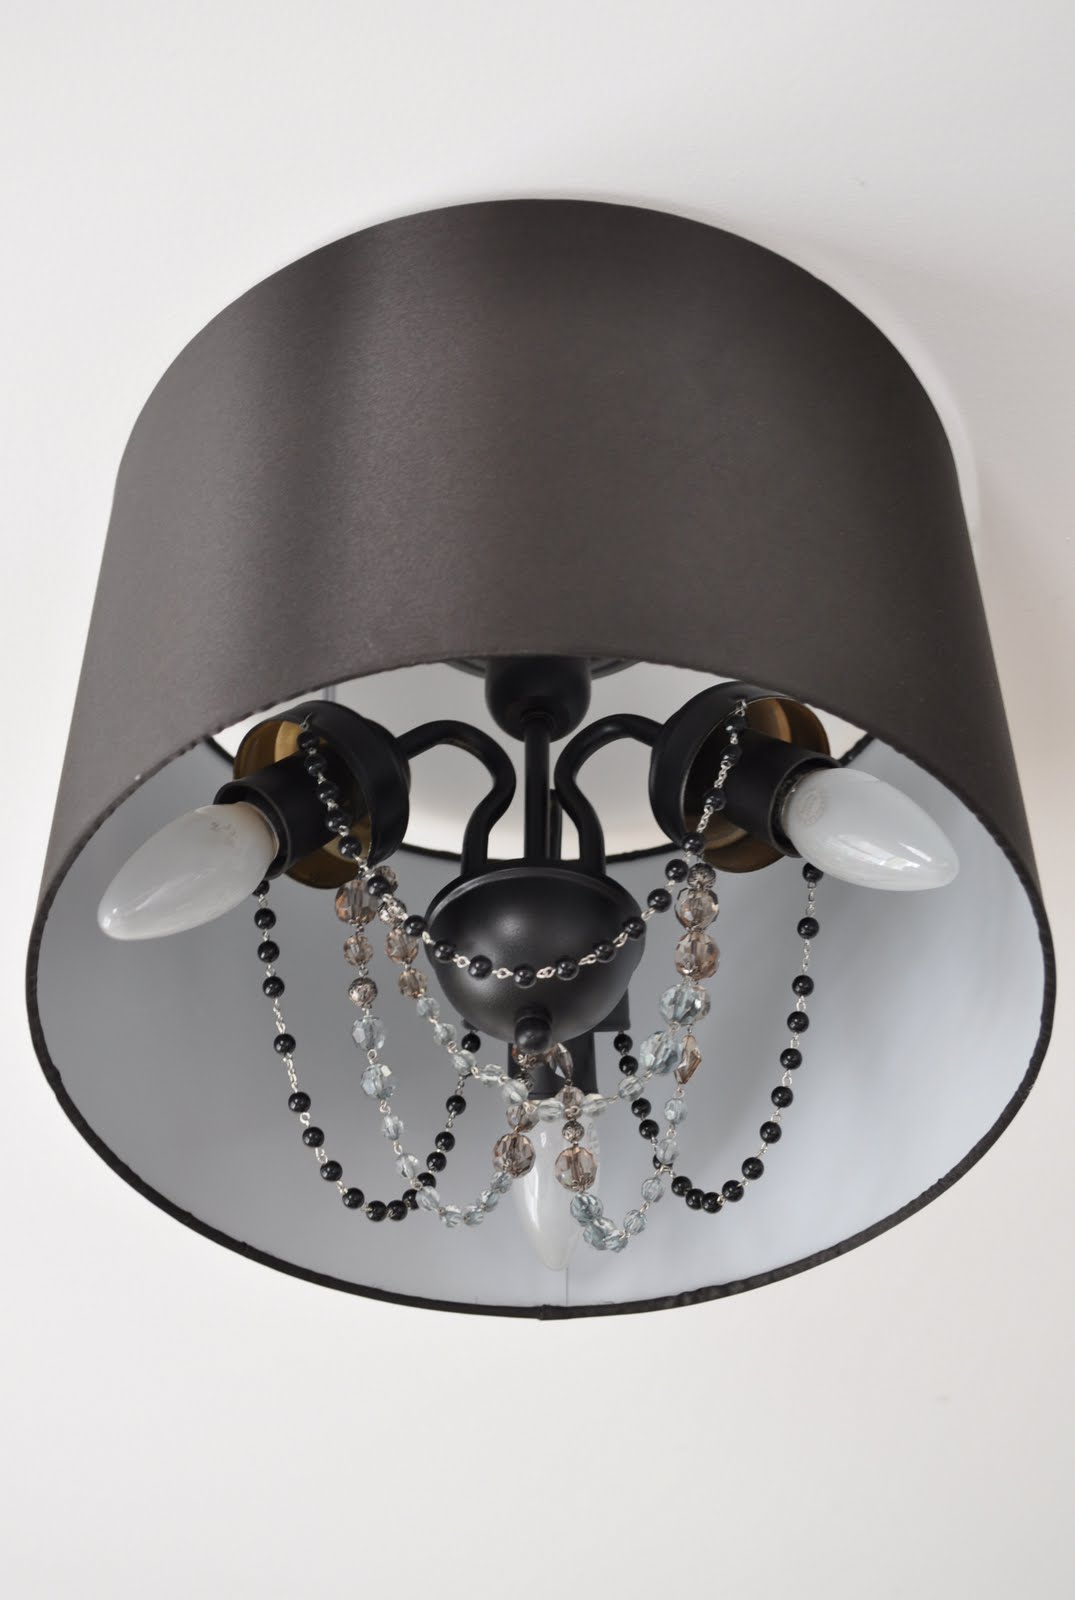
Answer: A pretty awesome ‘new’ glamorous ceiling light for under $20 – score!
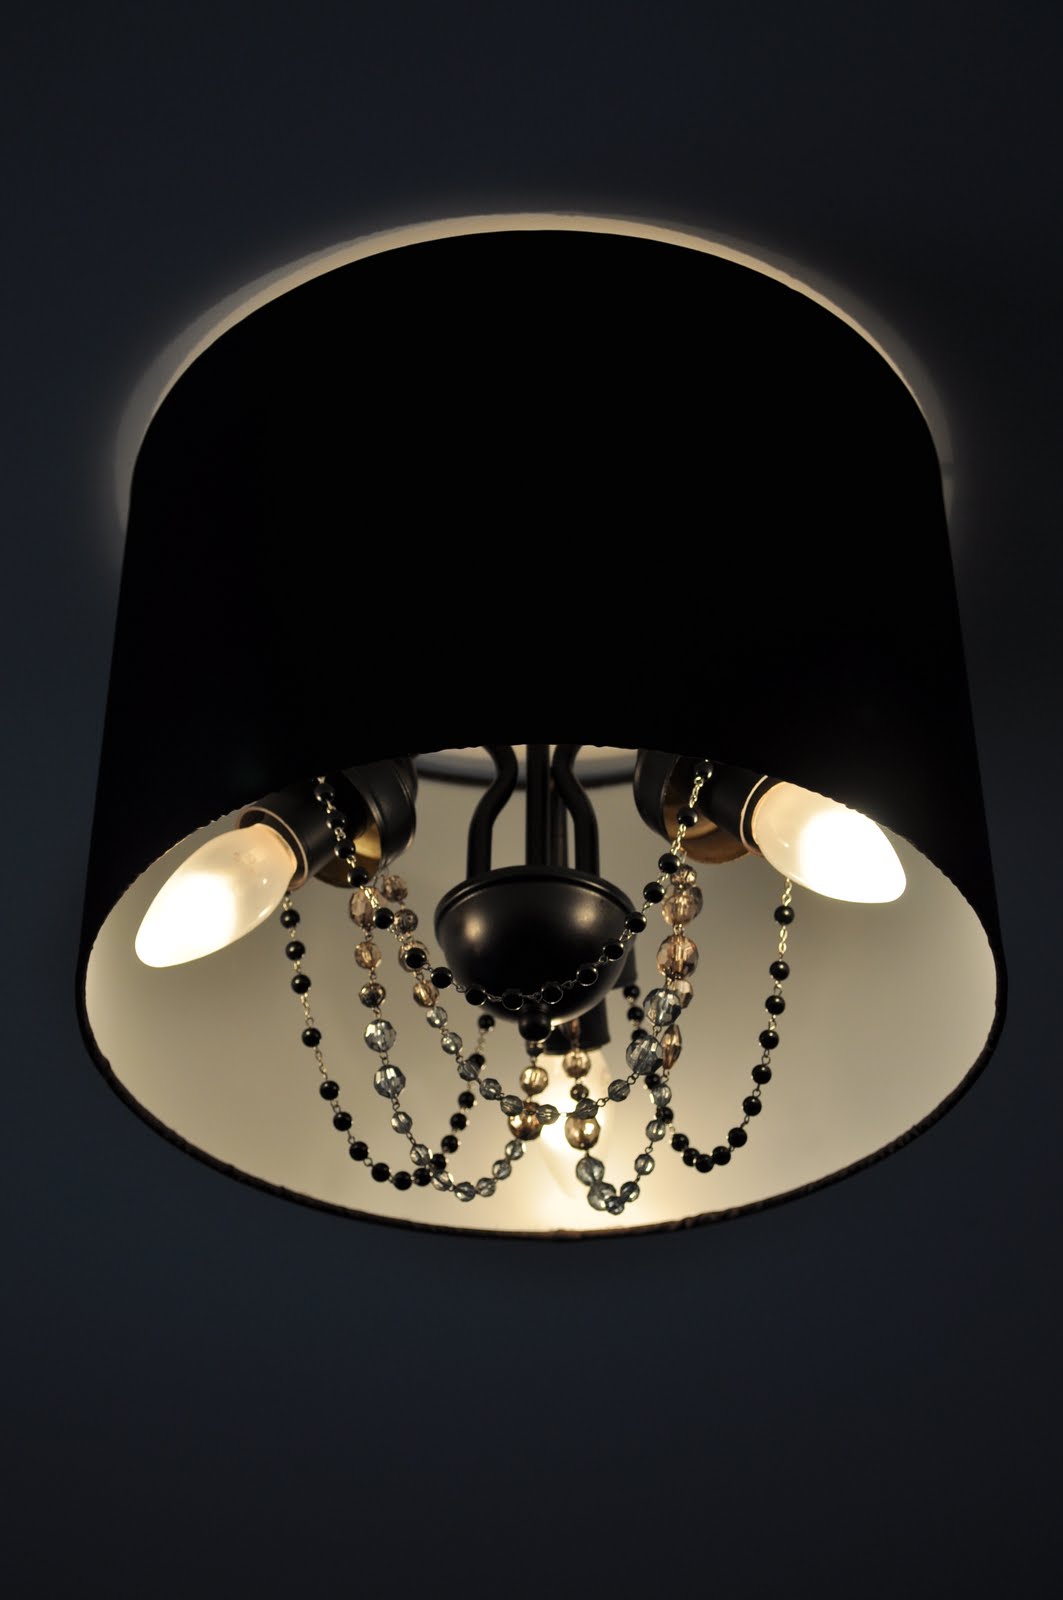
To make this transformation I first took the light apart and sprayed all the really lovely (eww) polished brass with the flat black spray paint:
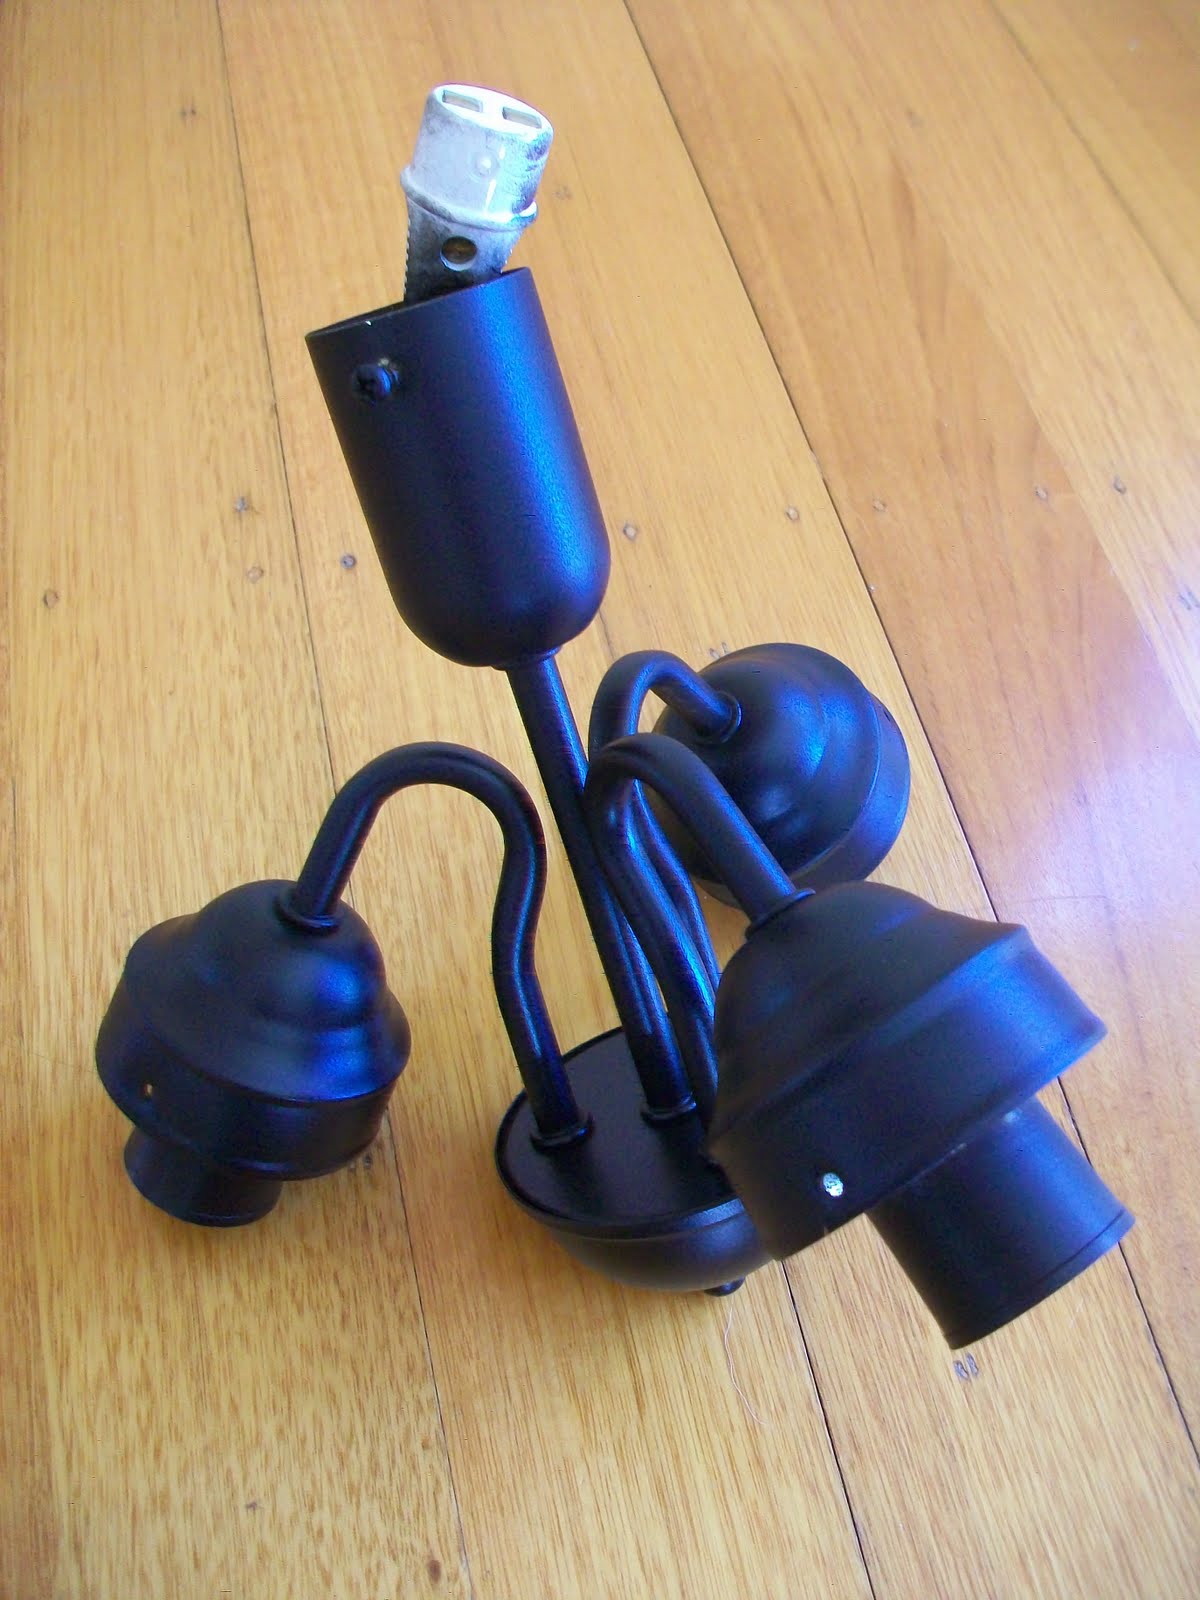
I chose black because I wanted the finished product to have a chic, parisian edge.
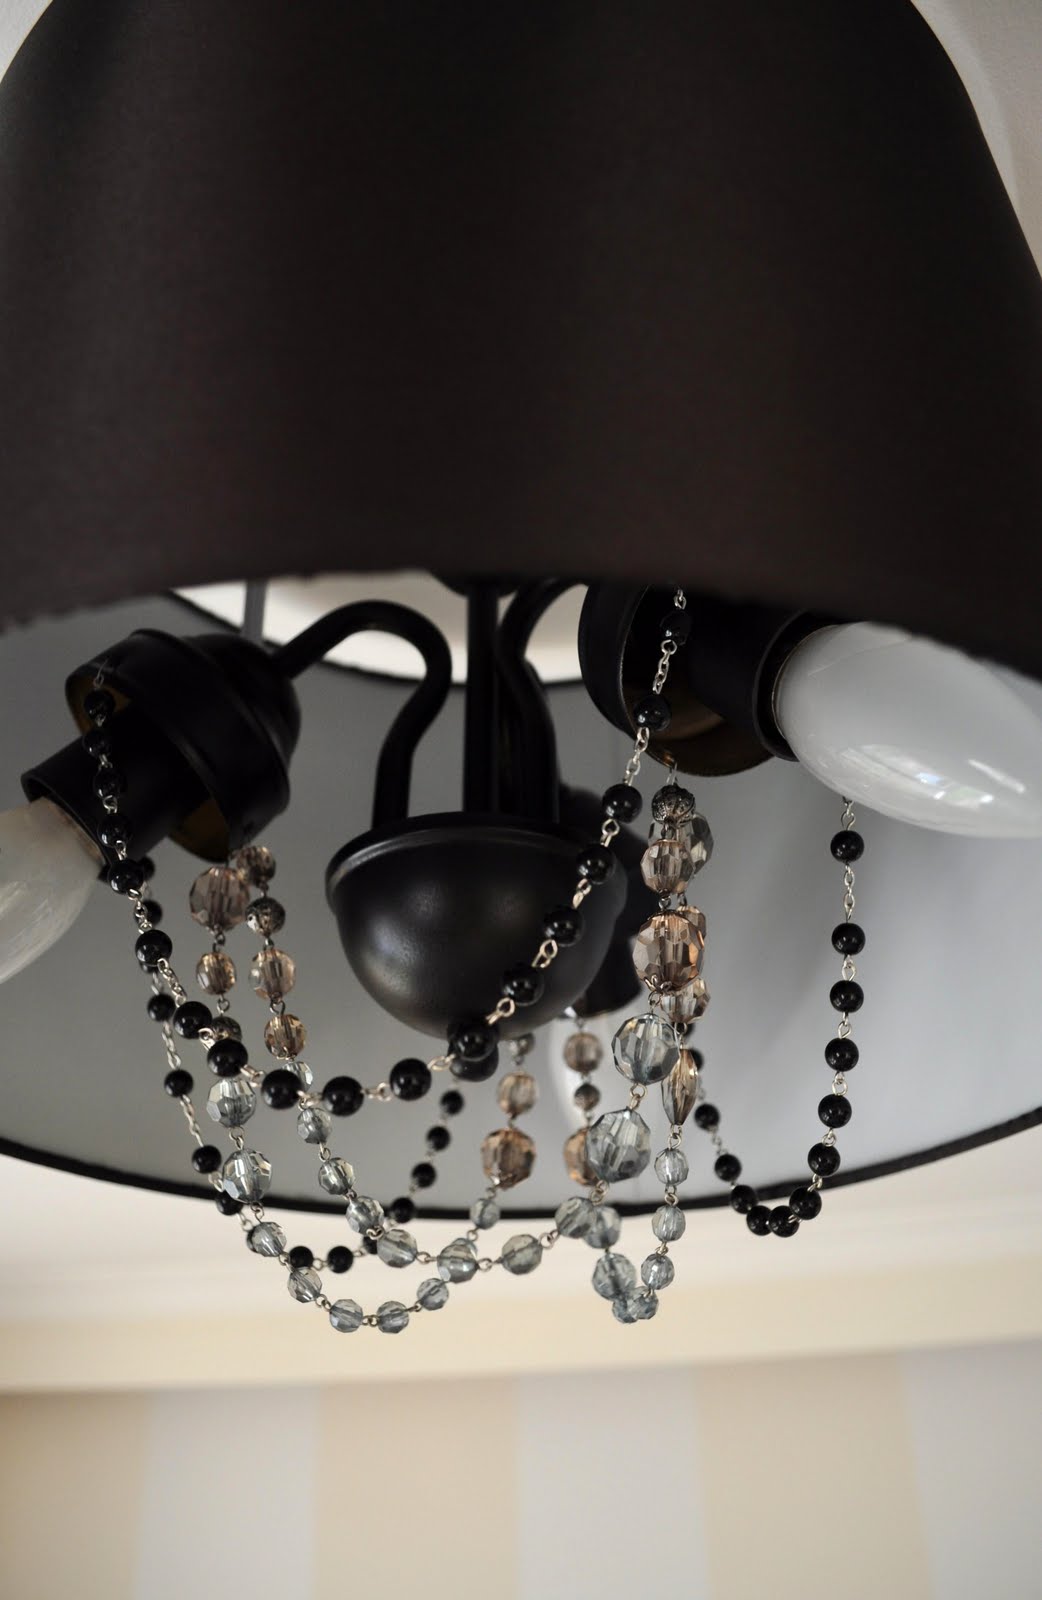
I then divided out my beads into even lengths and used the wire out of some bread ties (hey, that was all I had on hand!) to create little rings in each of the holes you can see in the light above (the holes were previously for the screws holding on the lovely – again, eww – frilly glass shades).
Next I attached the ends of my bead strips to the wire rings to create chandelier-like loops.
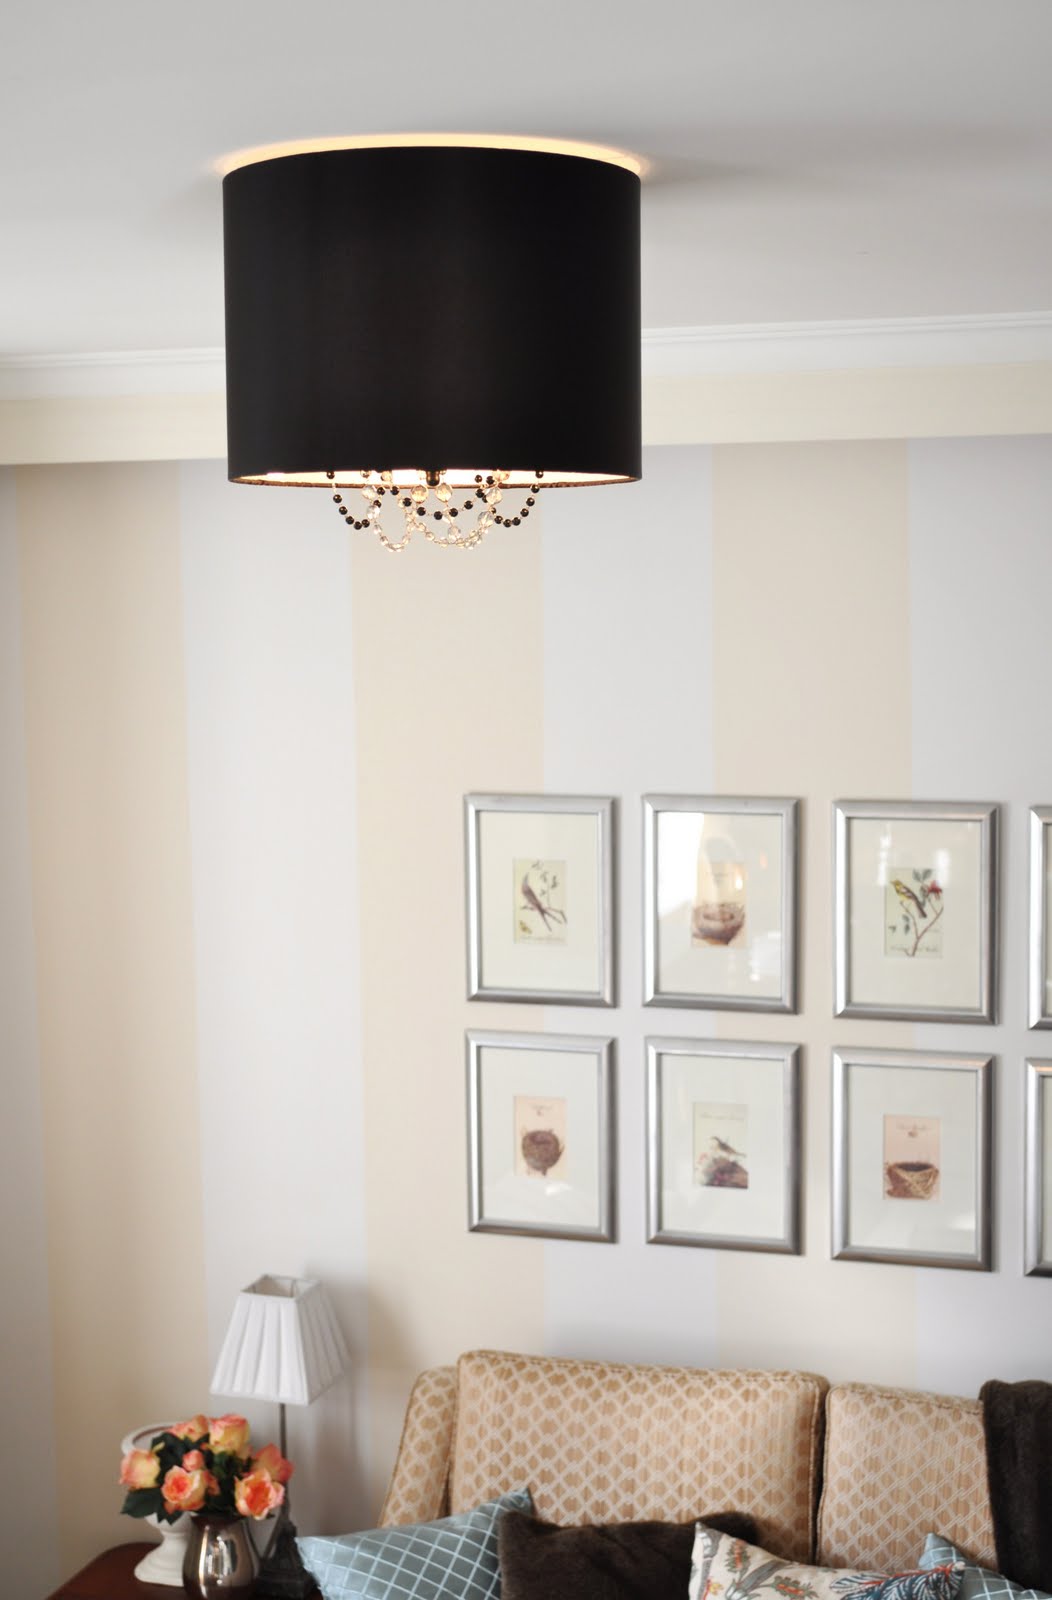
Once re-attached to the ceiling and encased in the drum shade it makes for a pretty impressive and very thrifty addition to my parent’s sitting room.
It’s hard to tell from the pics though it looks pretty awesome lit up. The light bounces off the crystal-cut beads and creates some real sparkle.
So again, just for comparisons sake, from this tired out-dated old thang:
To this chic style statement:

I know I’m probably not alone in thinking that new ceiling lighting can be pretty excessively expensive so hopefully this little post has inspired you to look at ways of improving what you might already have – no matter how ugly they may seem to begin with!
Kristine
xx


>Shazam! That is the best light redo I have seen! I LOVE IT! I want one…..I am on the hunt!!!
>Brilliant idea!
>I have been wanting a cool fixture for our nursery. I am so going to try this!
>ooooh i love that! is that a new project, kristine? it's gorgeous!
>Girl you have skillzzz!! That is an awesome idea!!!!! I am looking around the house right now !!!!
>This is unbelievably cool! I really love it and am desperately thinking who I know who has lights like this and would like a transformation! (I don't have any of that type of light fitting)
>Wow……and I think sometimes I'm "so" creative. This light re-do is genius..lol.
>Stunning makeover! Its so hard to believe that brassy light could become so chic. Great job!
>That is honestly an impressive transformation that I didn't see coming! The "after" looks great on its own and even better on the ceiling! Great job!
>Wow girl…you've definitely got vision! That is one amazing transformation.
>OMGosh!!! This is perfect! I live in ruralville USA and I need a decent priced drum shade pendent for above my table!!! Couldn't find one around for the life of me and on-line was too much $. Thank you thank you!!!
>That is amazing! I love that look! I may have to find an old dumpy chandelier to spruce up because I already have the drum shade!
>Amazing transformation!! Who doesnt have an old ugly fixture they want to hide? Great vision.
>Gorgeous! Just gorgeous!
>love!
>What a cool coversion!!! Classy light!
https://christiecottage.blogspot.com
Thinking…which light can I redo 🙂
>That is fabulous! Thank you for sharing=)
>Okay, that is just brilliant! Elegant and thrifty…my favorite kind of project!
Amy
>That is awsome, I was expecting just some spray paint but I was pleasantly suprised. You have shown that with some creativity anyone can take a stock ceiling fixure and make it great.
>Kristine, that is AWESOME!!! I love it!! You are my idol when it comes to all things 'makeover' my friend. Gorgeous!!!! ~ Tina xx