DIY Dish Lamp Tutorial
As I mentioned in an earlier post, I have been slightly obssesed with lamps as of late.
So, when I came across this lamp at Anthropologie, I knew I had to try and recreate it.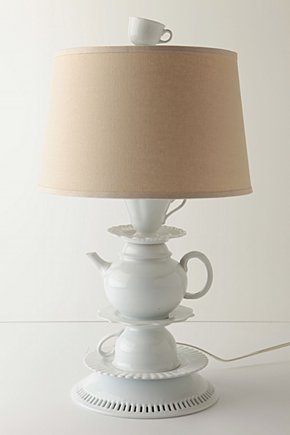
I made a teacup clock a while back and ever since then have had a little preoccupation with teacups and saucers. I can’t go to the thrift store without browsing the dish section and as a result have acquired quite an assortment. I was excited to come across this lamp so that I could put my growing collection to use.
Here’s what you’ll need to make your own lamp.
One bowl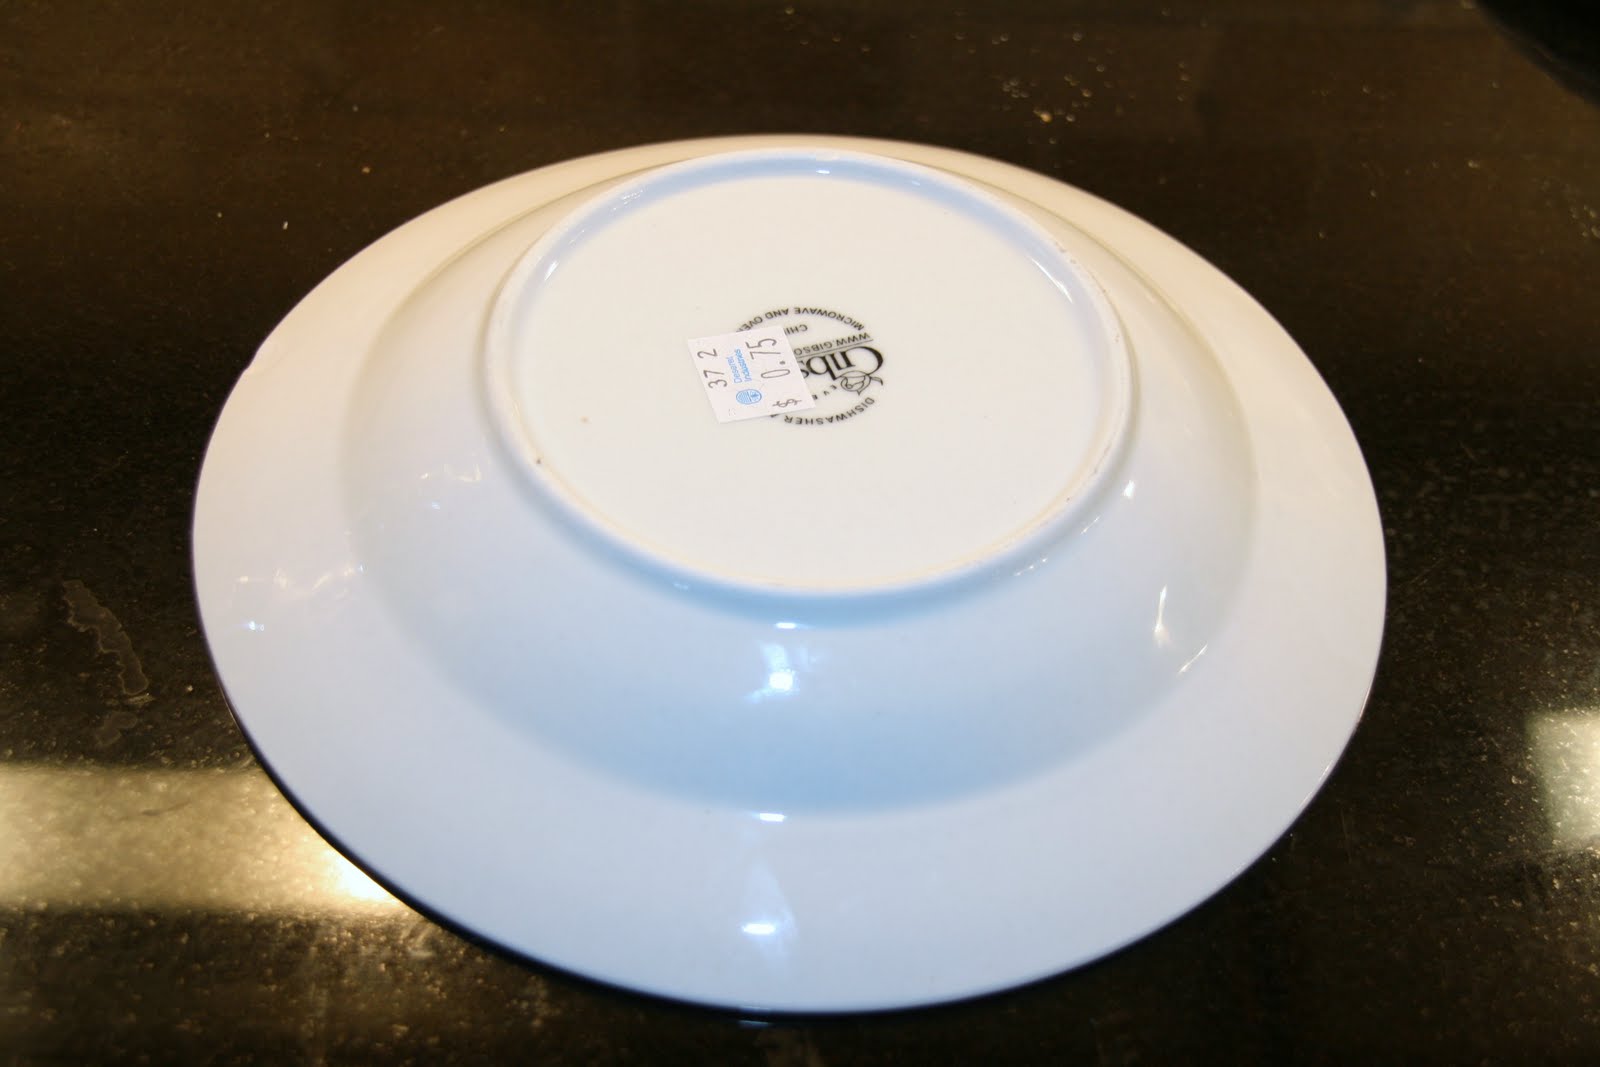
I just found a cereal bowl from the thrift store that had a fairly wide base.
One teapot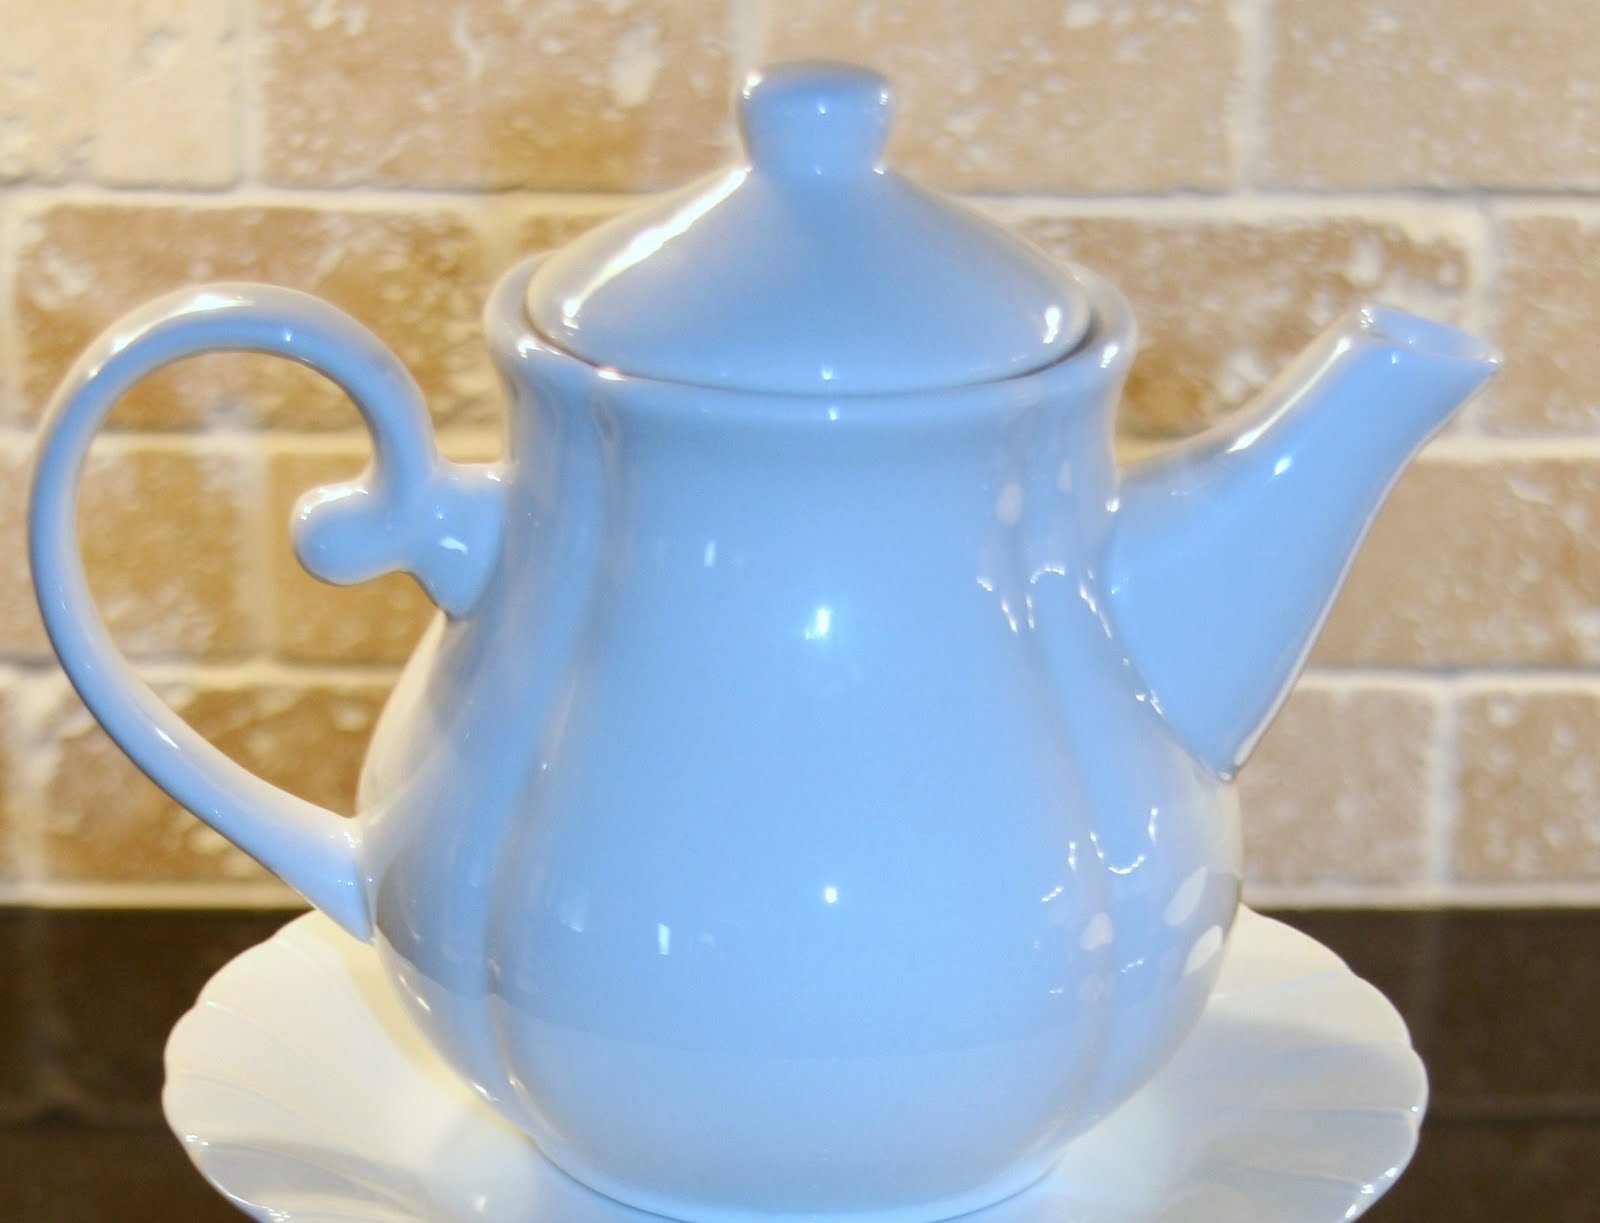
I found mine at Ross for $4.99.
An assortment of saucers(three) and teacups(two)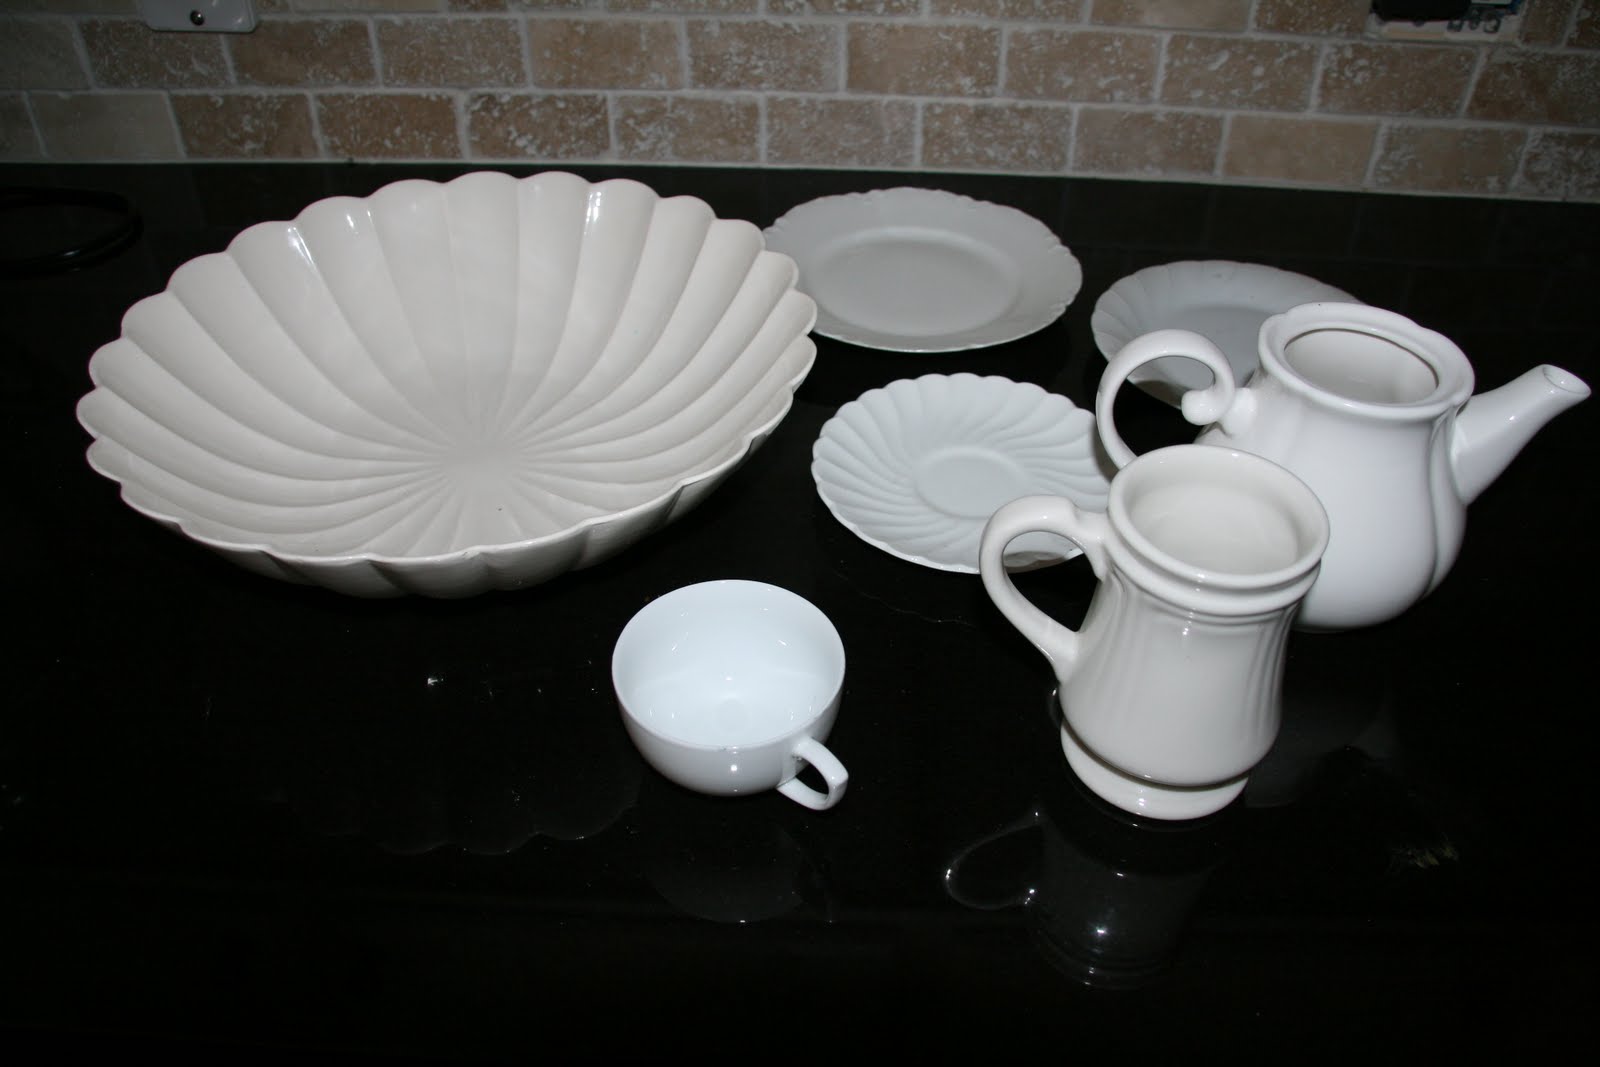
I found all of my cups and saucers at the thrift store for $.50 to $.75 a piece (except for one that I found at TJ Maxx for $1. As a sidenote, when I was making my teacup CLOCK, I found that you could purchase cup and saucer sets at TJ Maxx for around $2.99). Make sure to grab duplicates of any to have as backups.
1 lamp kit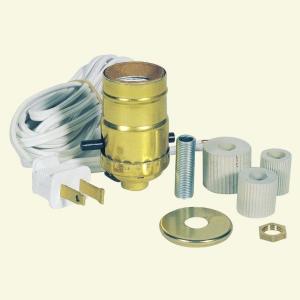
I used this kit from The Home Depot. It cost $9.97.
Gorilla Glue Epoxy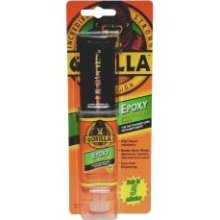
You can buy this at any home improvement store or at Walmart for around $4. I price checked and found it the cheapest at Walmart.
A Drill and Diamond Bit(bit specifically designed for use on porcelain, ceramic, glass etc.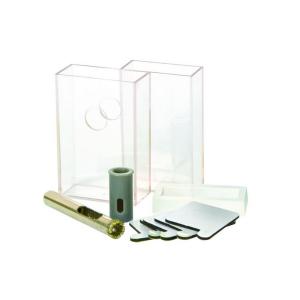
Again, you can buy these at any home improvement store. The price varies depending on brand and added accessories. The bit I have pictured above is not the one I used, but rather one that I might try using for the next project. I was not happy with the bit I used, so I won’t even bother telling you it’s name. The above bit costs around $10…which is how much I spent on my crappy bit.
One wide mouth canning lid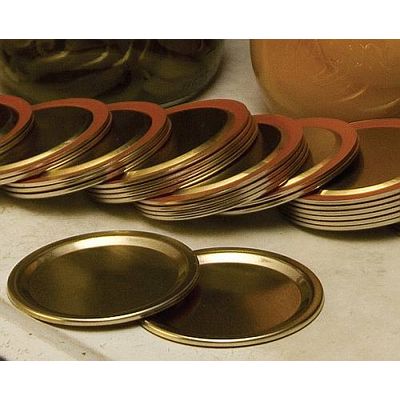
The canning lid is what you will use to mount the socket on to.
Okay, now onto the good stuff.
Dry fit all of your dishes to make sure you like the way everything sits on top of each other. Some dishes seem to sit more securely on others.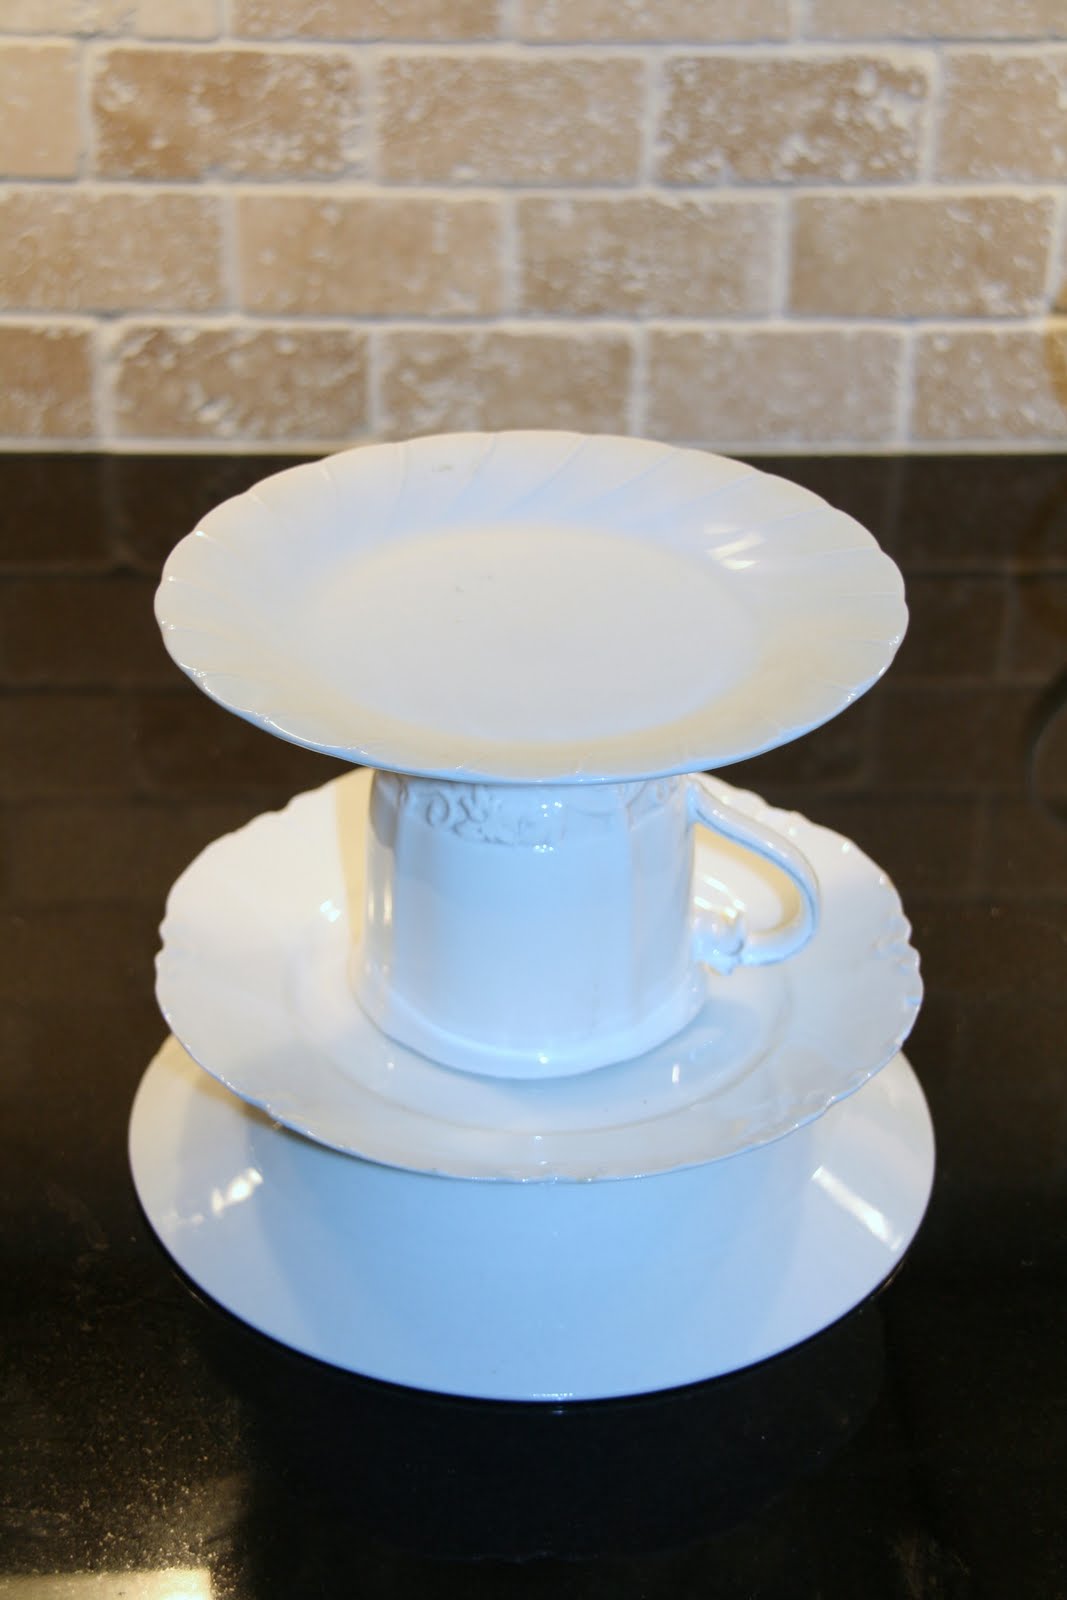
Be sure to alternate between dishes and cups. Here’s the order I followed:
bowl, saucer, teacup, saucer, teapot, saucer, teacup
Once you’ve settled on an order you need to drill a hole through the center of each piece. (Here’s where patience and a gentle touchcome into play). It took me several minutes to drill one hole. I blame that primarily on the bits I was using, but nevertheless, you do not want to rush this process or you will end up with a pile of broken dishes. Apply steady pressure but be gentle. Let the drill do the work.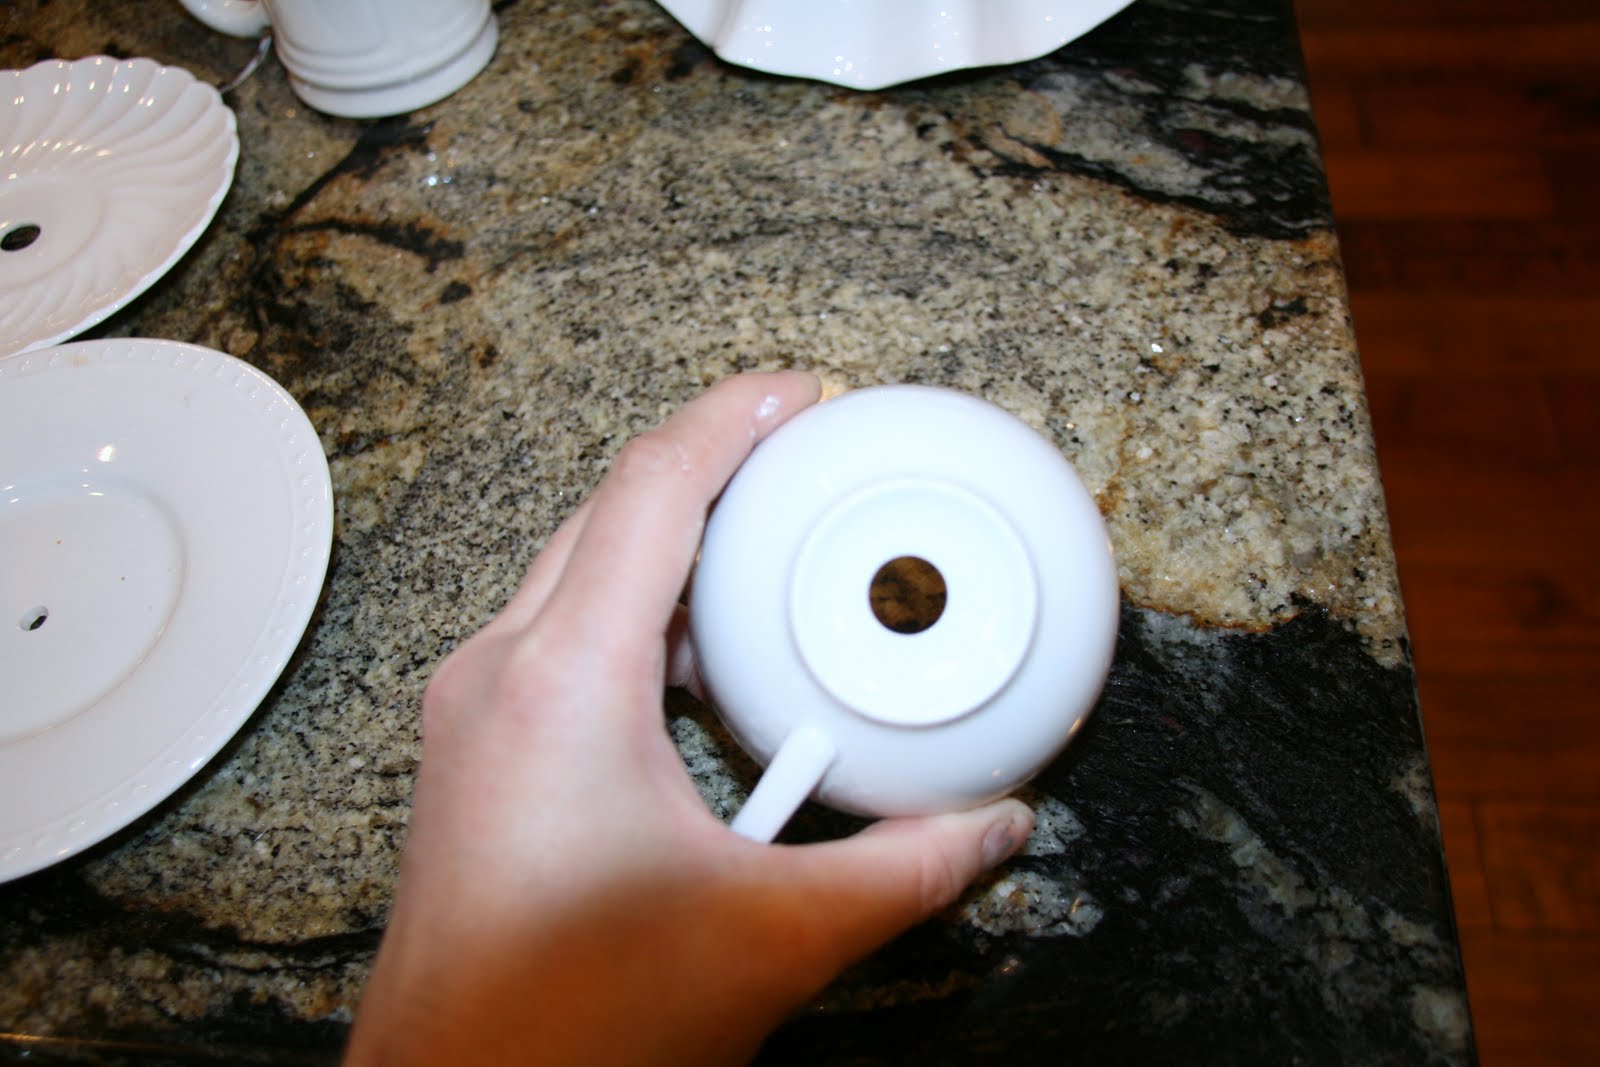
The bowl will need a second hole drilled on the side as it will need to accomodate the cord and plug. I do not have any pictures to share as I shattered my bowl when attempting this feat. Instead, I purchased a new bowl from Ross for $2.99. It had a ruffled edge which left gaps around the bottom where the bowl sat. I was able to easily pull the cord through one of these gaps without having to drill a second hole. If you happen across a similar bowl, I would highly recommend purchasing it. Not only does it make for an super cute base, it saves you having to drill another hole.
After all of the holes have been drilled it’s time to start gluing. Epoxy tries pretty quickly, so I opted to mix a little at a time…as I needed it. I found it easier to thread the lamp cord through the holes as I glued. That way you avoid the cord getting stuck or lost somewhere along the way.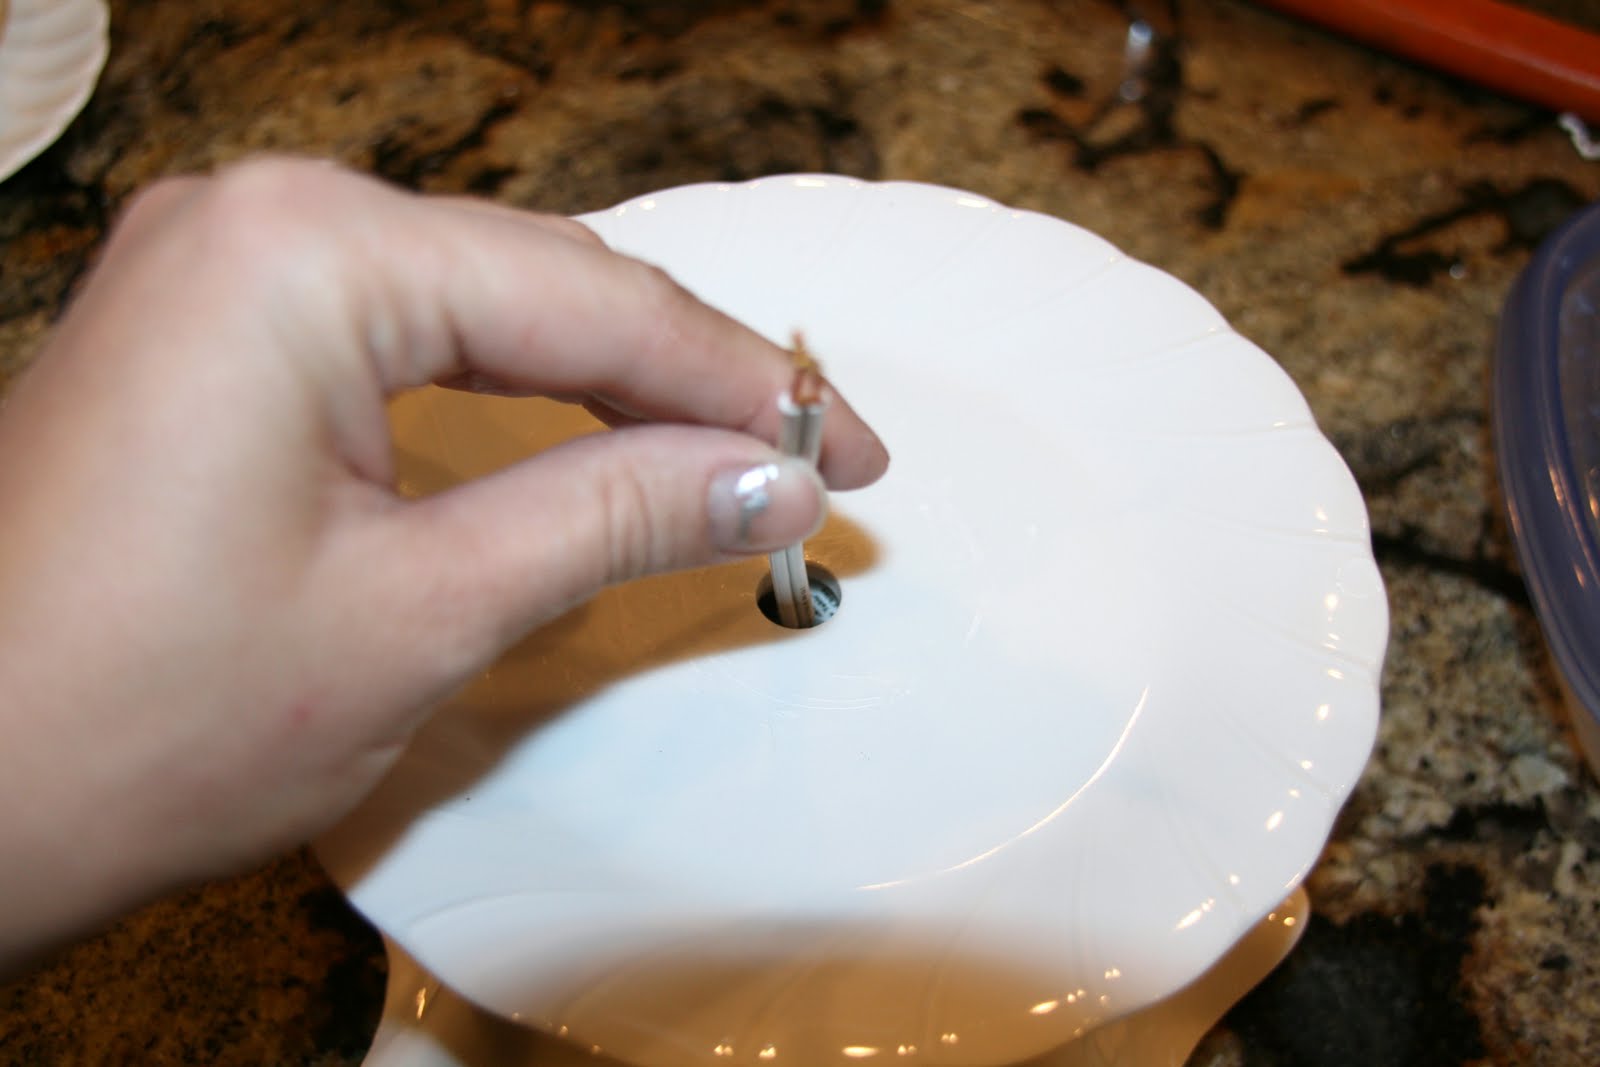
This is how your lamp base should look once you’ve glued it all together. You’re lamp cord should now be poking through the teacup at the top. (My pic doesn’t show it, but you understand right?)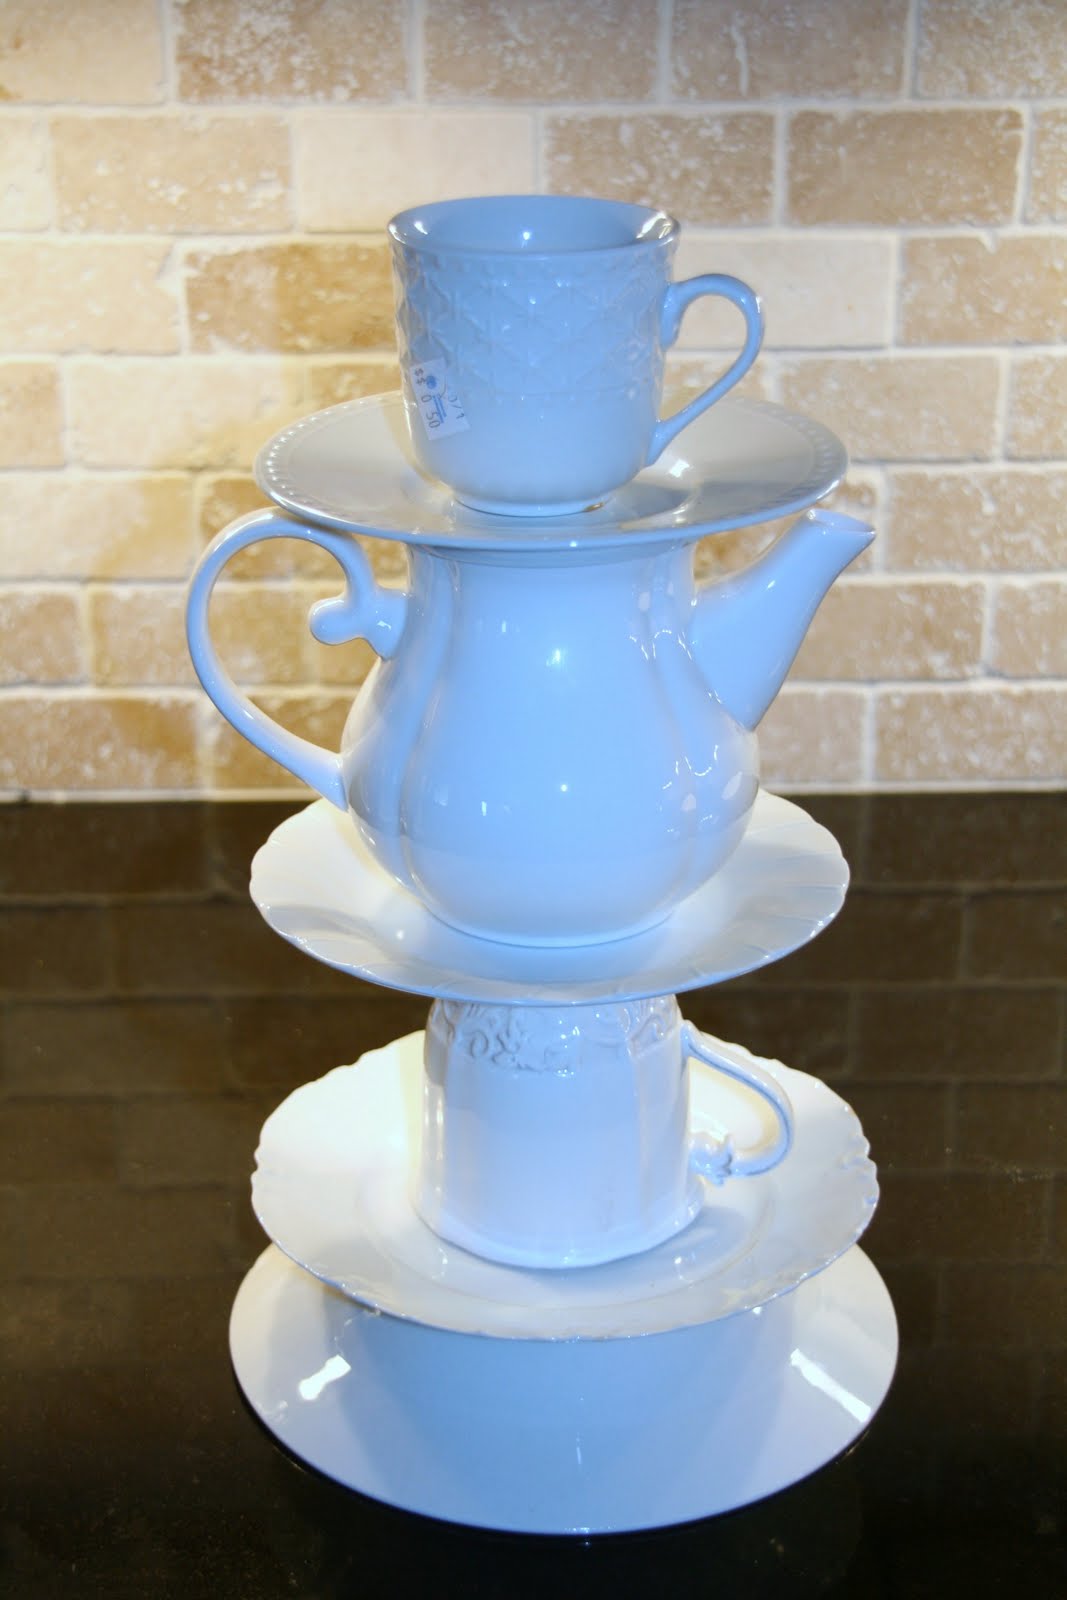
The last task is to attach the socket to the cord. Rather than try to explain this, I will simply refer you to the directions that came with the kit. Please note, that your kit came with three different sized rubber stoppers. They are used for mounting the socket to the lamp base. Instead of using them, you will need something larger that can sit on top of your teacup without falling in (I found that a wide mouth canning lid fit perfectly. If your teacup opening is too big or too small you can substitute it with something else…a smaller canning lid, a piece of wood cut slightly larger than the opening). You will need to drill a hole through the center of it just large enough for the bolt from the kit to pass through . Once you’ve assembled your socket and fastened it to the canning lid you can glue it to the top of your teacup. It should look like this when you’re done.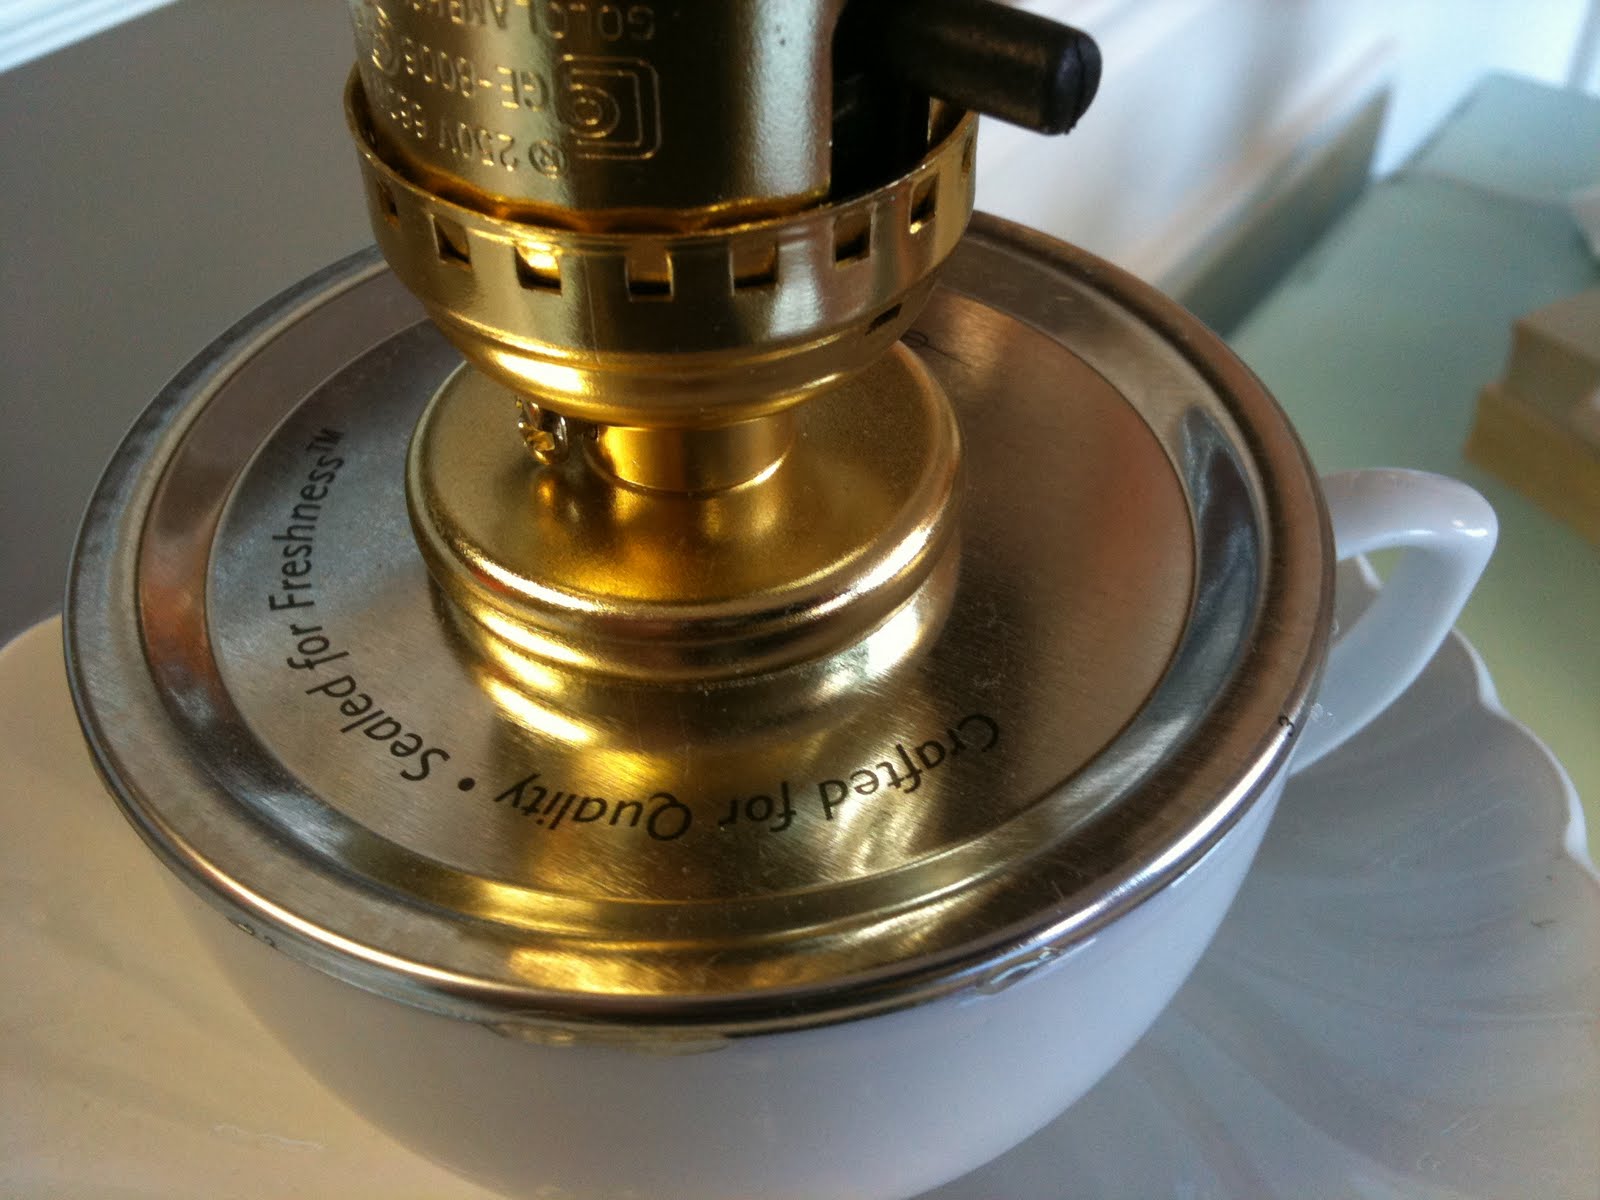
I know it sounds complicated. I assure you it really isn’t. The kit comes with verydetailed instructions and pictures. But, don’t be ashamed if you have to enlist the help of a stud muffin. I did.
Once the epoxy has time to cure, screw on bulb, add a fun shade and test the sucker out.
VICTORY!!!
Isn’t she just gorge. I love, love, love her…even though I almost threw her across the room halfway through the process.
When it was all said and done, I ended up spending $10 for the lamp kit, $10 for the drill bit, $4 on epoxy, $12 on dishes (that includes my replacement bowl) and $14 on the lamp shade (which I found a Wally’s…aka. Walmart). That’s a grand total of $50 (…compared to Anthropologie’s $198. Boo-ya. And, I actually like mine better!


yours is more beautiful… if they were side by side I’d pick yours.