How to Make a Framed Chalkboard + Tips for Great Chalk Art
Betty from Oh Everything Handmade is here today to show you a beautiful framed chalkboard — one of the ways that she’s making the most of living in military base housing!

How to make a Framed Chalkboard
This post contains affiliate links. See our full disclosure policy here.

My total for this project was $15, so yeah – this is budget-friendly and quick to be made.
Want a double-sided standing chalkboard easel instead? Get the plans here.
Material to make the Chalkboard:
- 1/2″ Plywood
- 1″wide x 1/2″thick x length enough to frame the entire board
- Wood Glue
- Clamps
- Stain
- Chalkboard spray paint
- Painters Tape
Step 1.
Attach the 1″ Lumber board with glue and nails to the backside of the plywood. Use Clamps to secure the board. Let it dry overnight before attaching the frame.


Step 2.
Once dry, attach the frame with the same method (glue and nails).
Make sure to place nails so they go through the plywood, instead of the glued on 1″ board.

Step 3.
Tape the frame with painters tape and apply the chalkboard paint (you can do this step before adding the frame, but be careful with the clamps and laying the plywood face down, it might get scratched or marks on it)

Step 4.
After the Chalkboard paint has fully dried, take off the painters tape and continue with Step 5.

What you need to create a beautiful Chalkboard sign:
- Chalk
- Ruler
- Chalk eraser
- Pencil sharpener (I used my cosmetic sharpener)
- Small towel
- Q-tips
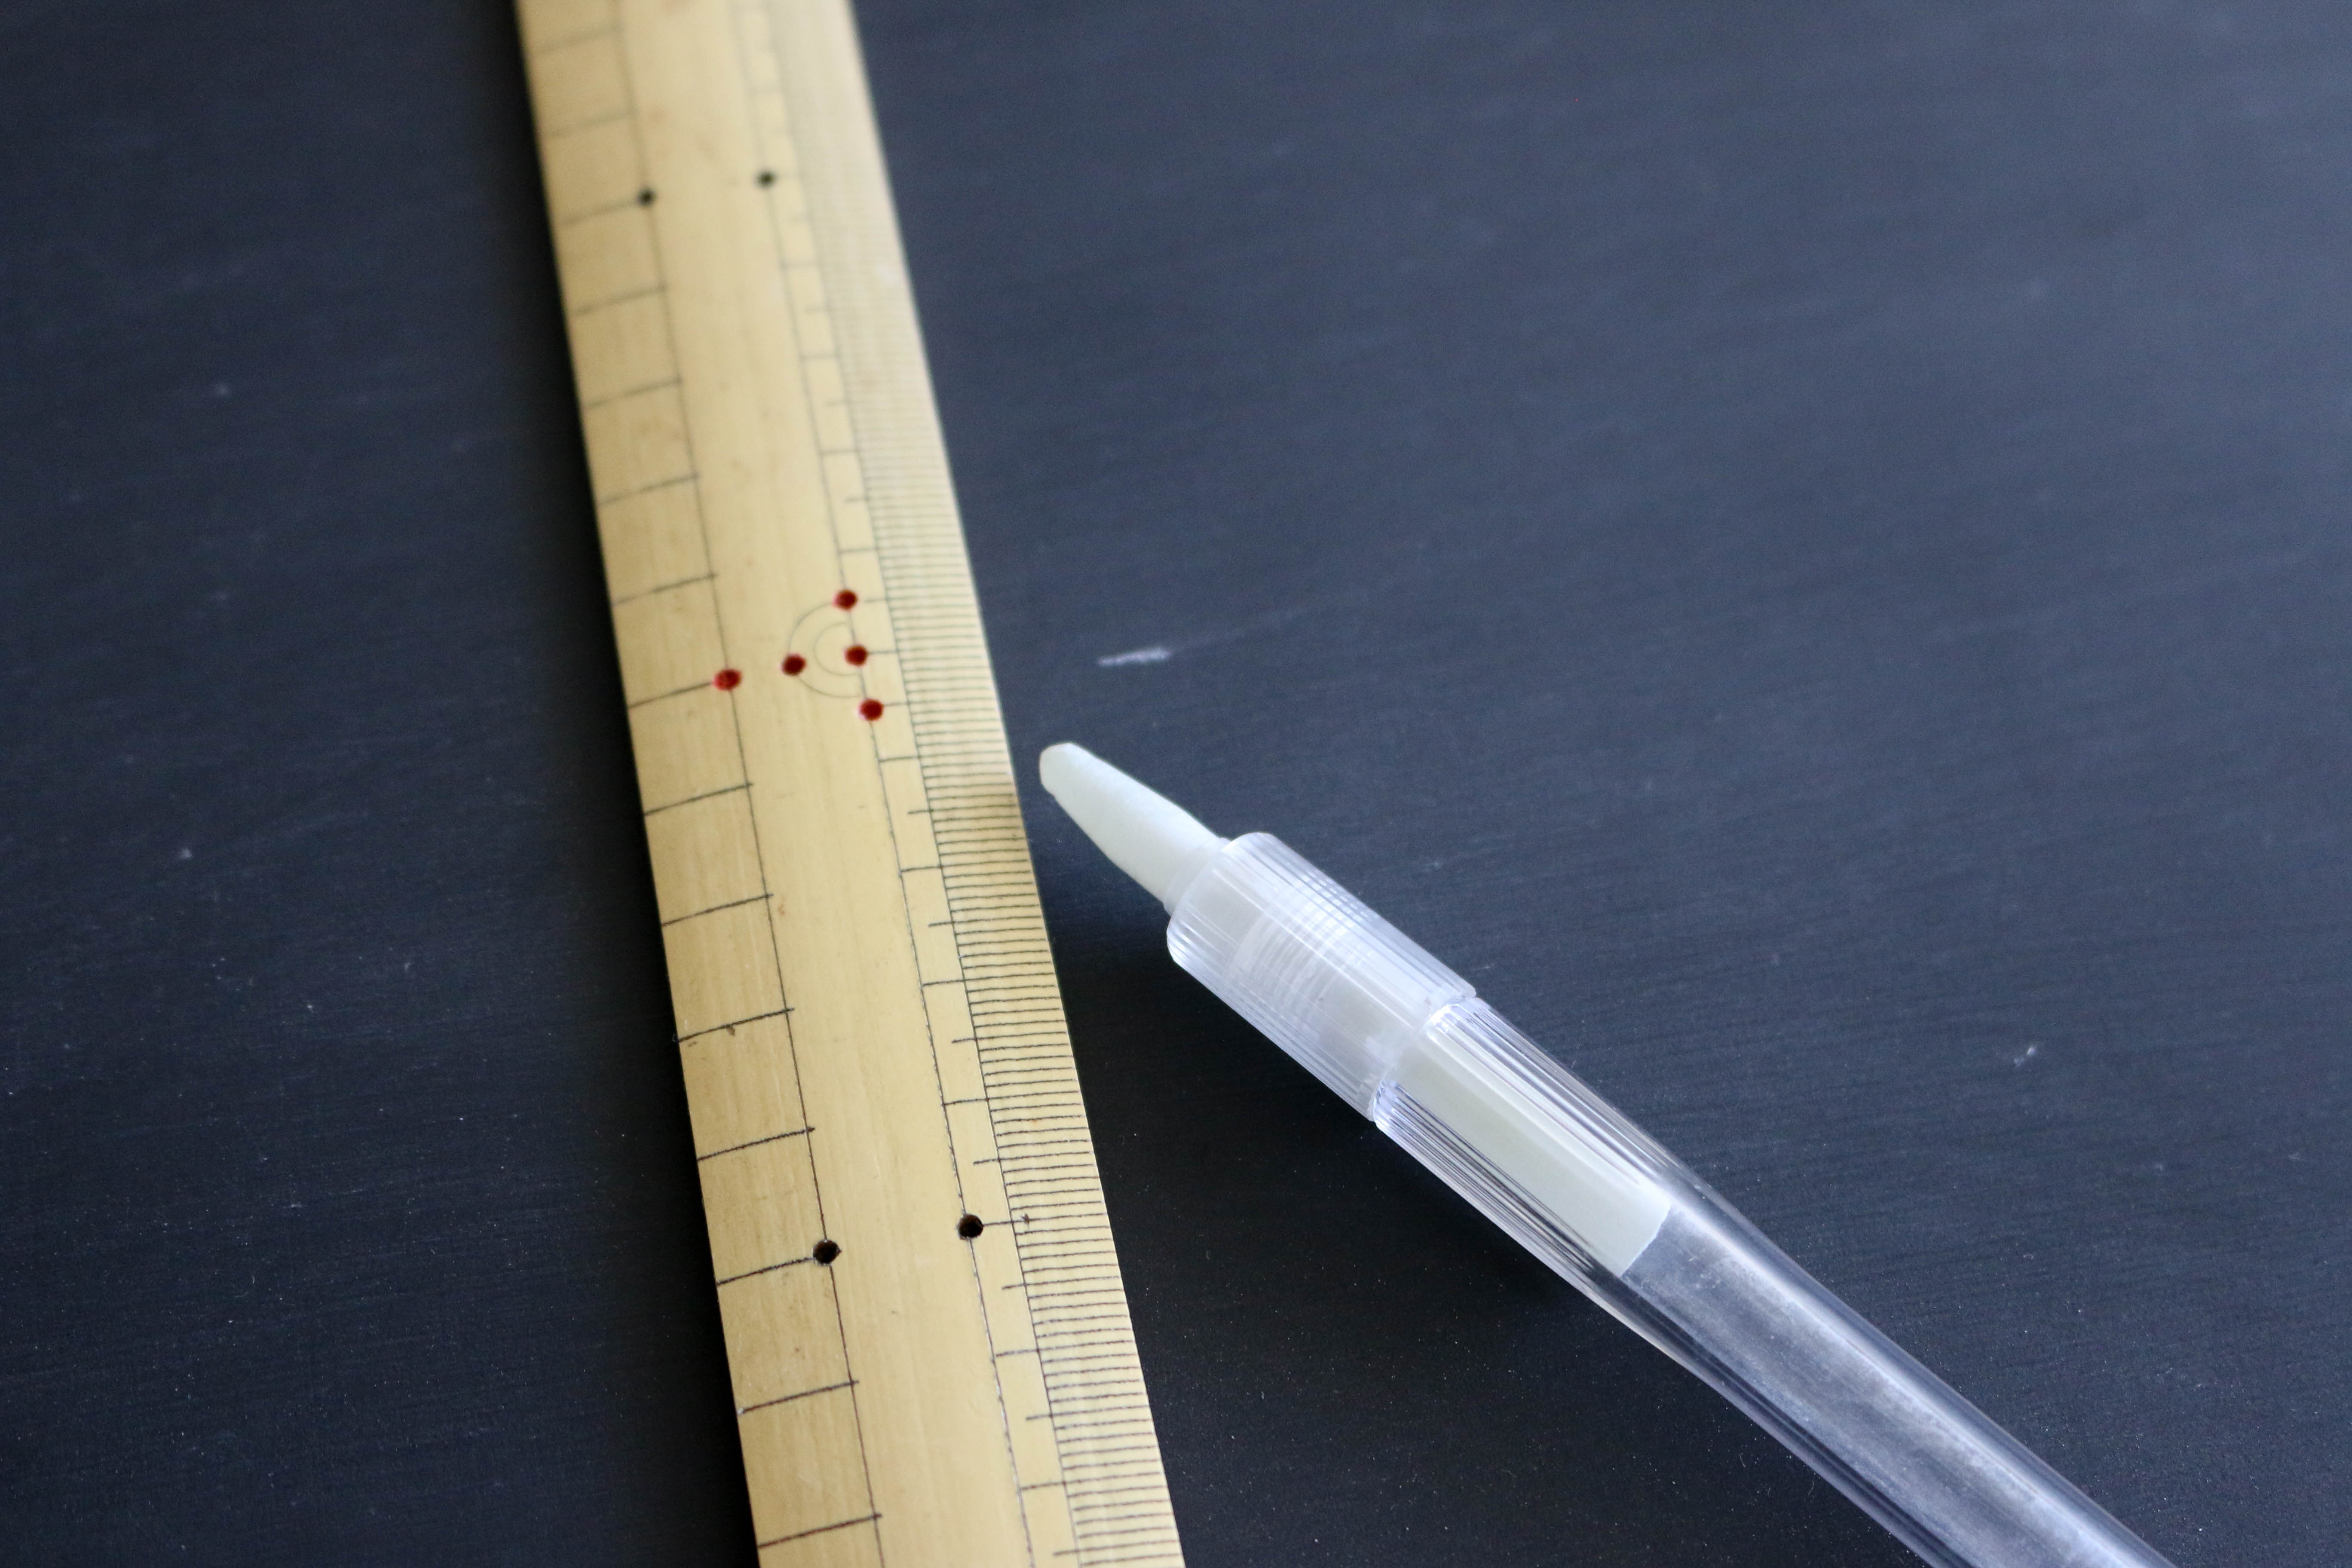
- Fabric Chalk Marker (BEST tool for chalkboard drawing)

These tips will work for any chalkboard, big or small, like this chalkboard welcome sign door hanger, a standing chalkboard easel, or a jumbo wall chalkboard!
See more DIY chalkboard ideas here.
Step 5.
Before I started working on this brand new chalk board, I want to give it a chalkboard look. Rubbing a piece of chalk did the trick.
Once the board was covered in chalk, I used the towel to distribute it everywhere and wipe off the remaining.


Step 6.
Before I started drawing, I gave the board an invisible outline. I marked 2″ from the frame to the inside of the chalkboard. This was my guideline, which made the laying of the design much easier.
I also marked the center and divided the board in 3 areas.

Step 7.
I used the dividing lines to guide my text. Then I erased the lines with a Q-tip.

Step 8.
After I completed my chalkboard design, I carefully stained the frame and let it dry overnight.


Tips to create the perfect Chalkboard sign:
- Use a Fabric Chalk Marker to achieve a crisp and long lasting chalkboard design
- Sharpen the chalk to create sharp lines
- Use Q-tips to remove small chalk lines or imperfections
- Give your new chalkboard a chalky feel/look, by rubbing chalk along the surface
- Use a ruler to mark guidelines, then use those guidelines!
- Enjoy your new chalkboard!
————————————-
More chalkboard projects:

A-frame chalkboard easel
Double sliding chalkboard doors
Divided chalkboard calendar
Extra large wall chalkboard
plus 10 more chalkboard paint projects


