Kitchen Backsplash Tiles, Now Beadboard
Over at the Little Mac Shack they have been working on covering up their kitchen backsplach tiles with a new updated beadboard look. See how they accomplish it with no tile demolition.
So, we’ve been plugging away on our kitchen project and I’m finally ready to reveal our grand transformation! (As a side note, please understand that most of the “we”s throughout this post really mean “Mr. Mac.” Oh, and this room NEVER gets good natural light. Sorry!)
Now, I must say we were very lucky to purchase our Little Mac Shack from an architect. He had already upgraded our 1930s bungalow in many ways. The once three bedroom home is now two bedrooms with a spacious master closet, we’ve got built-ins galore and TONS of great recessed lighting. Unfortunately, some of the decorative finishes are not what we would have chosen. We’d done some painting, but the one thing we hadn’t touched was the kitchen tile.
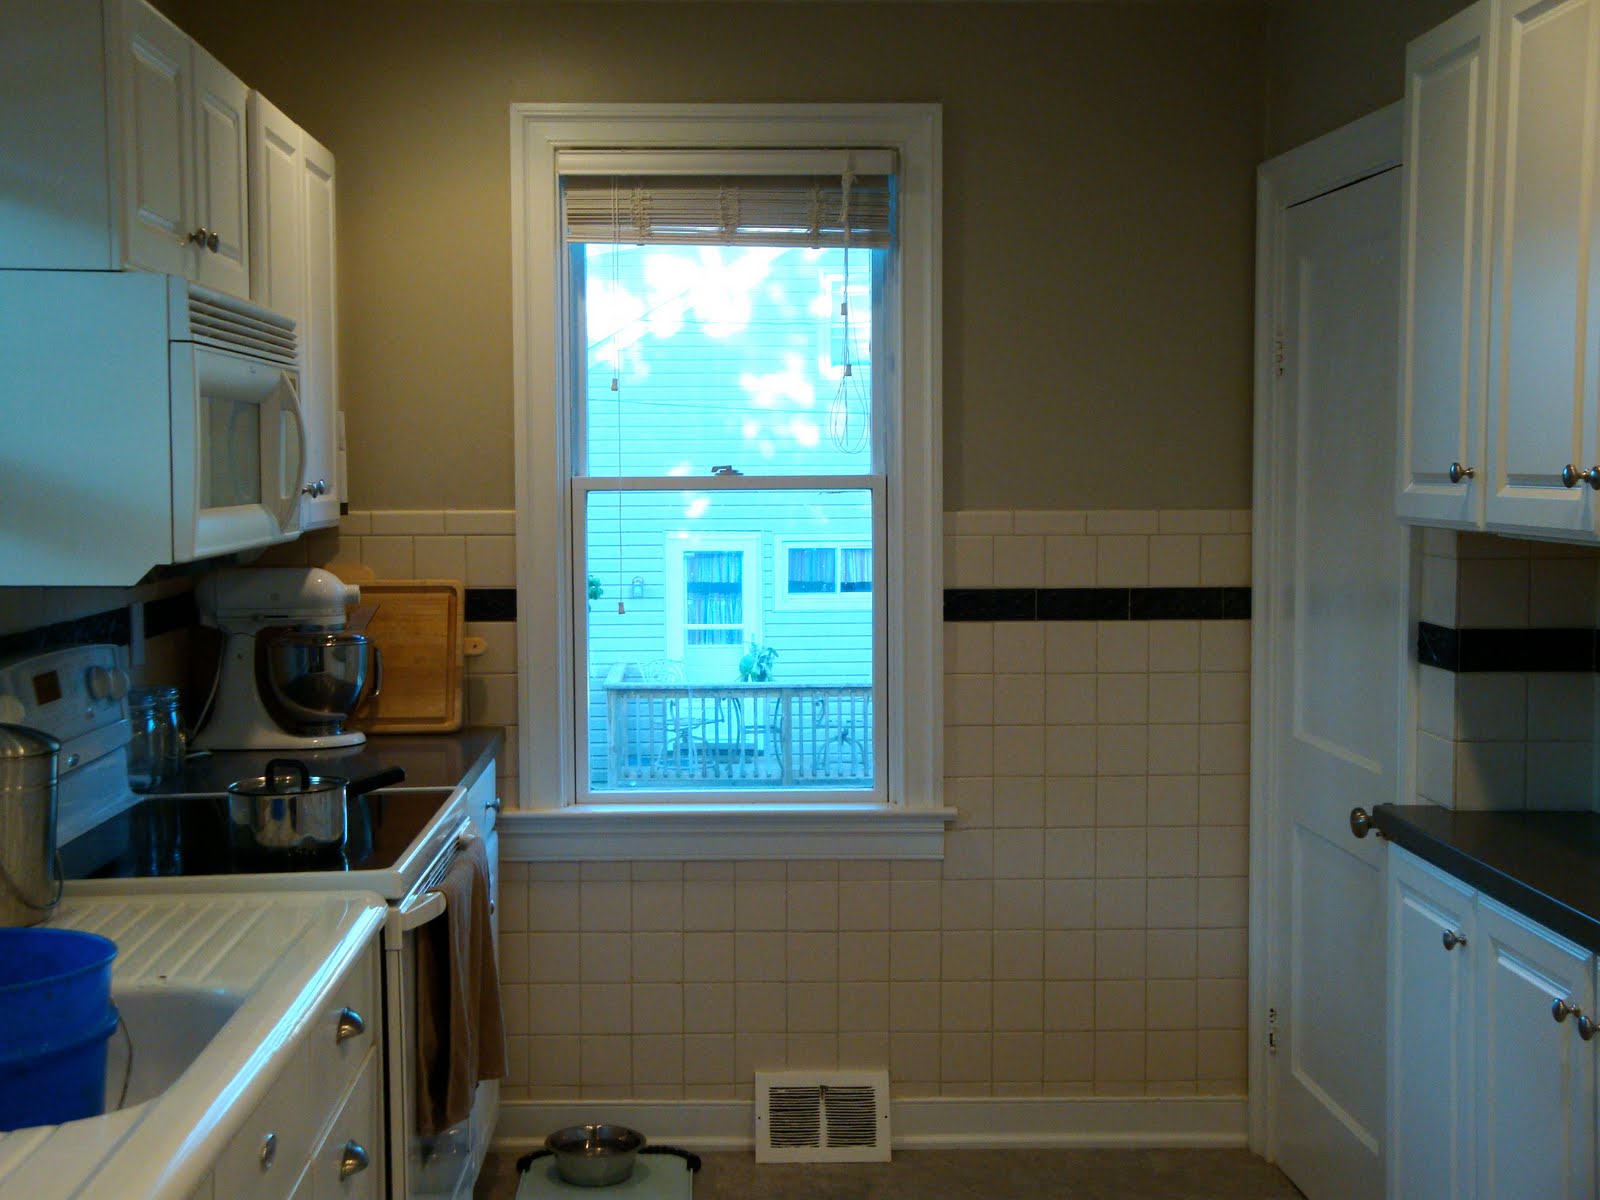

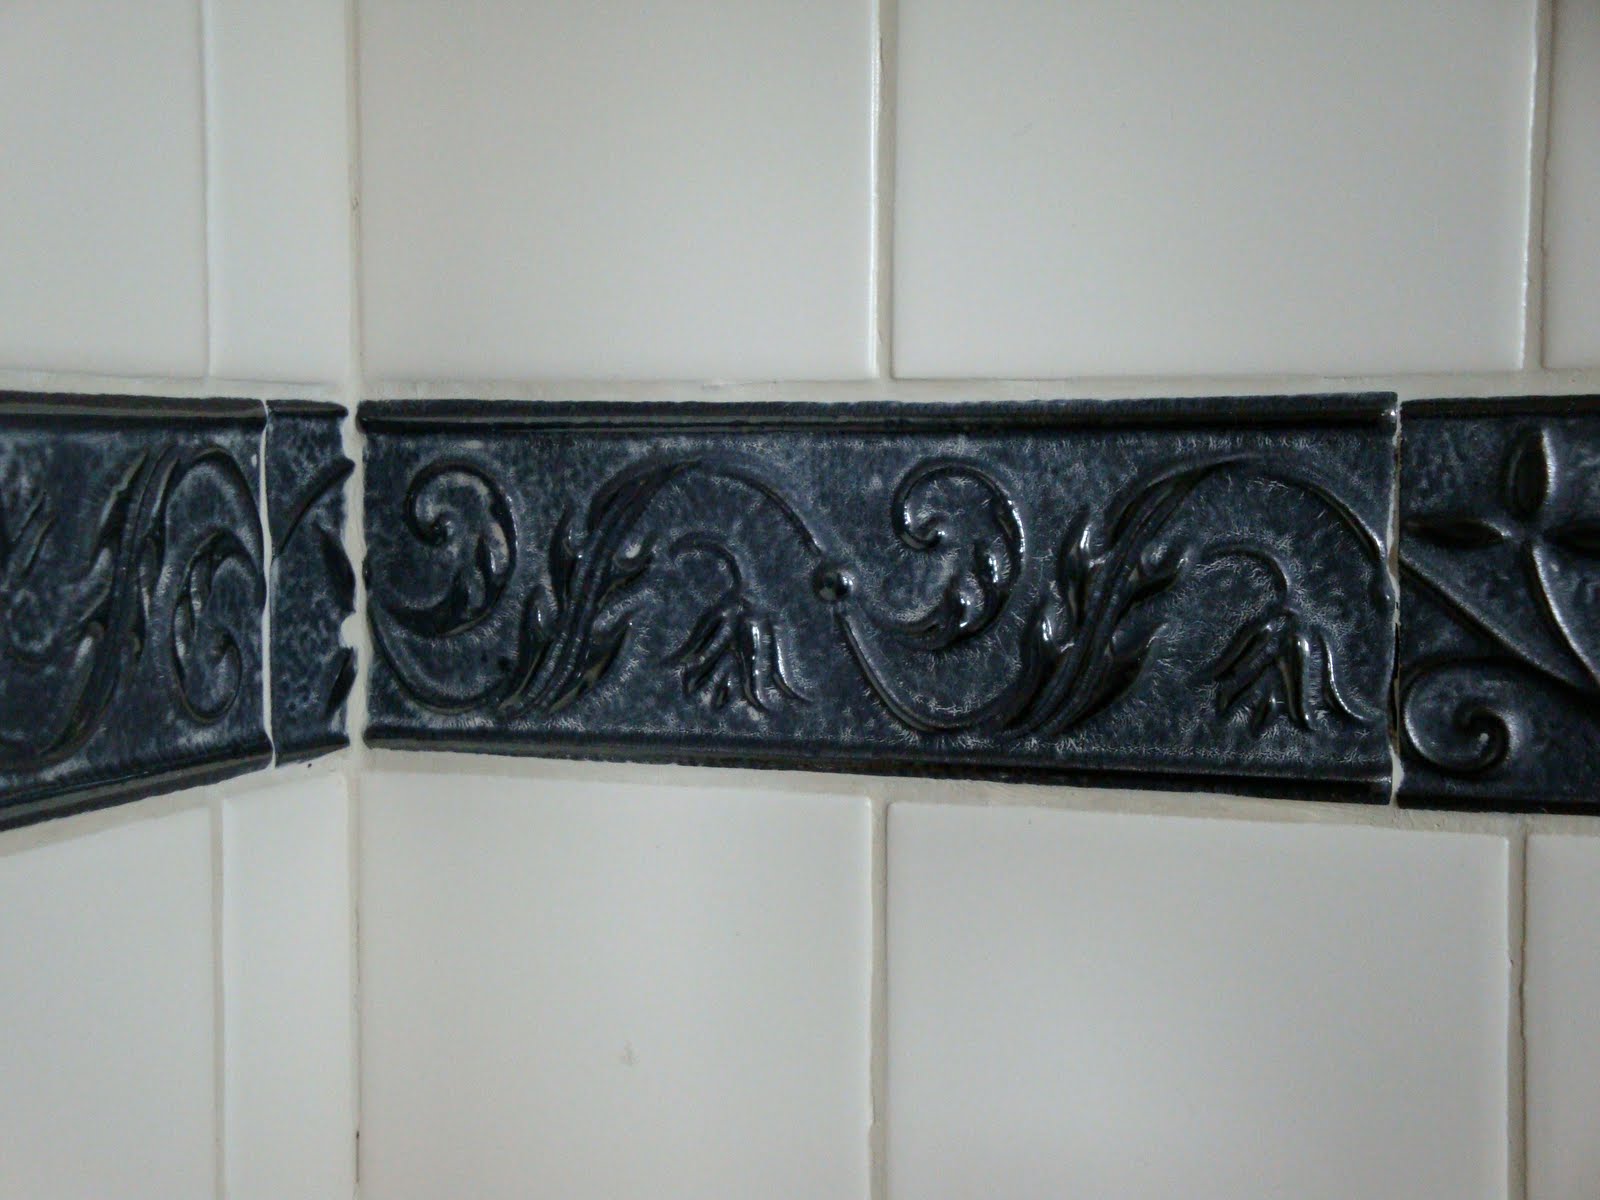
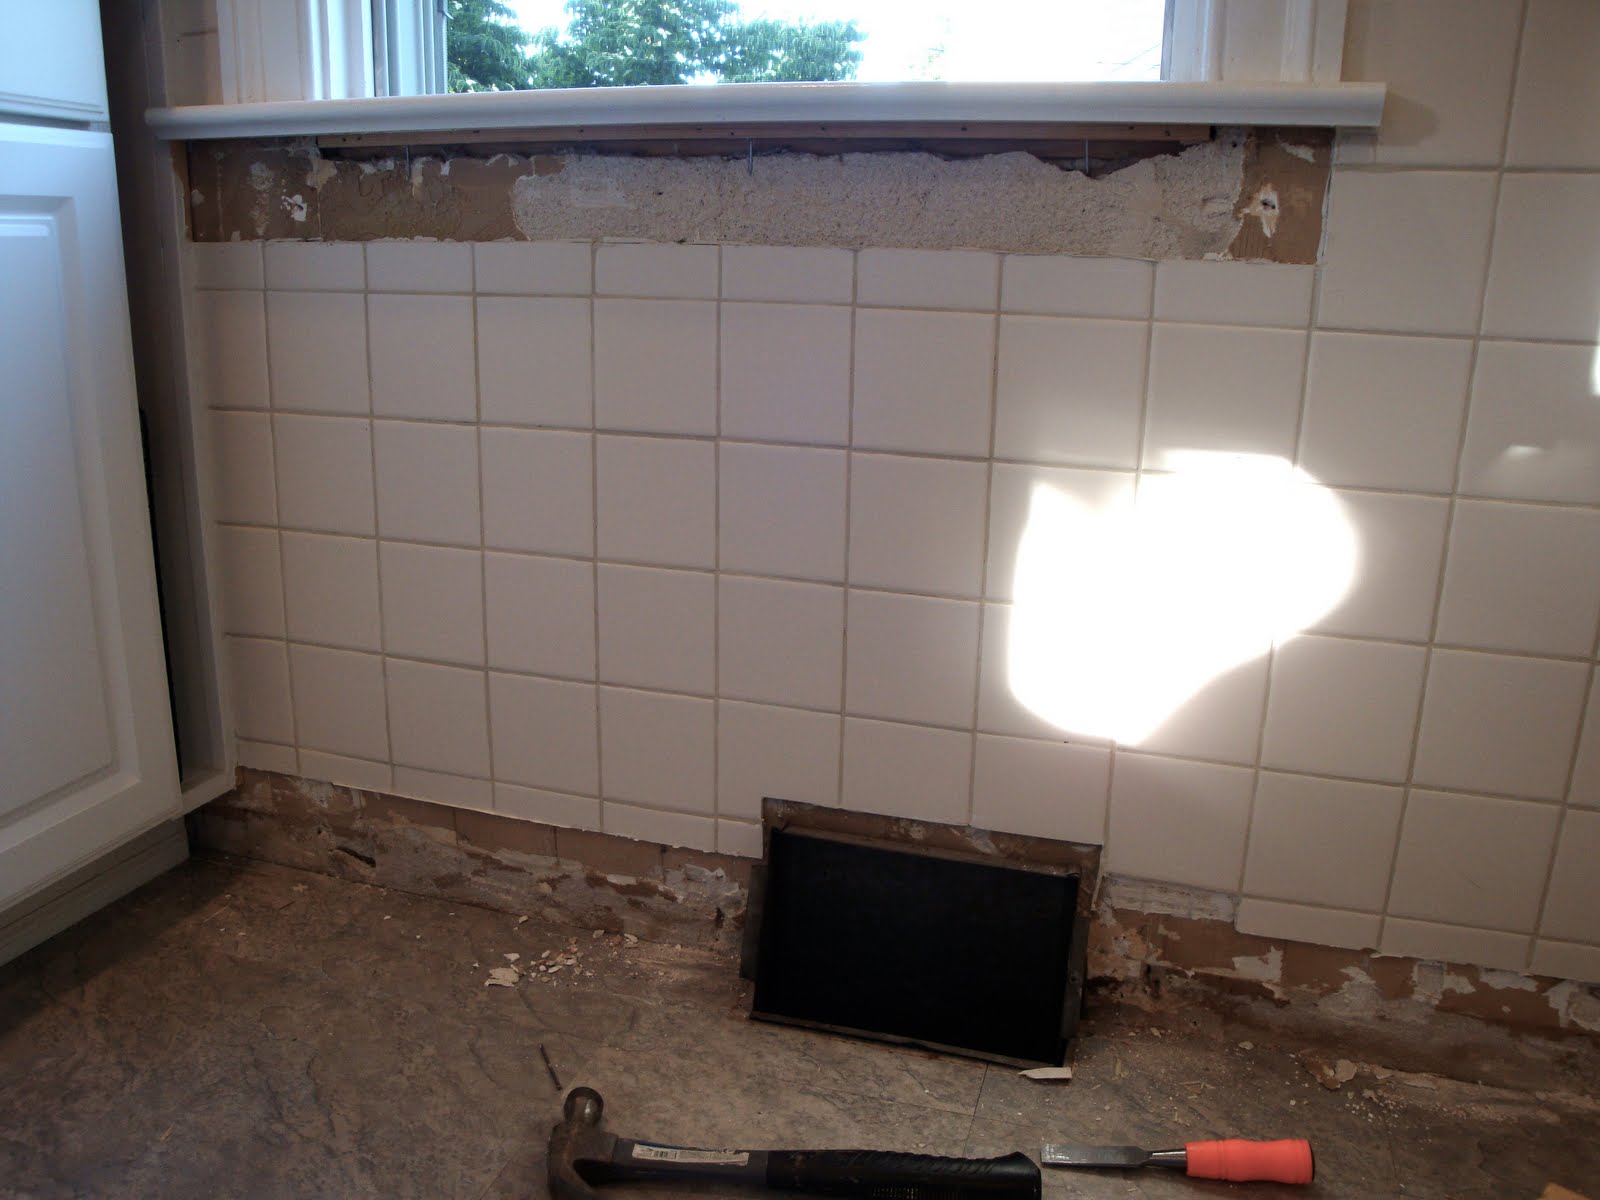
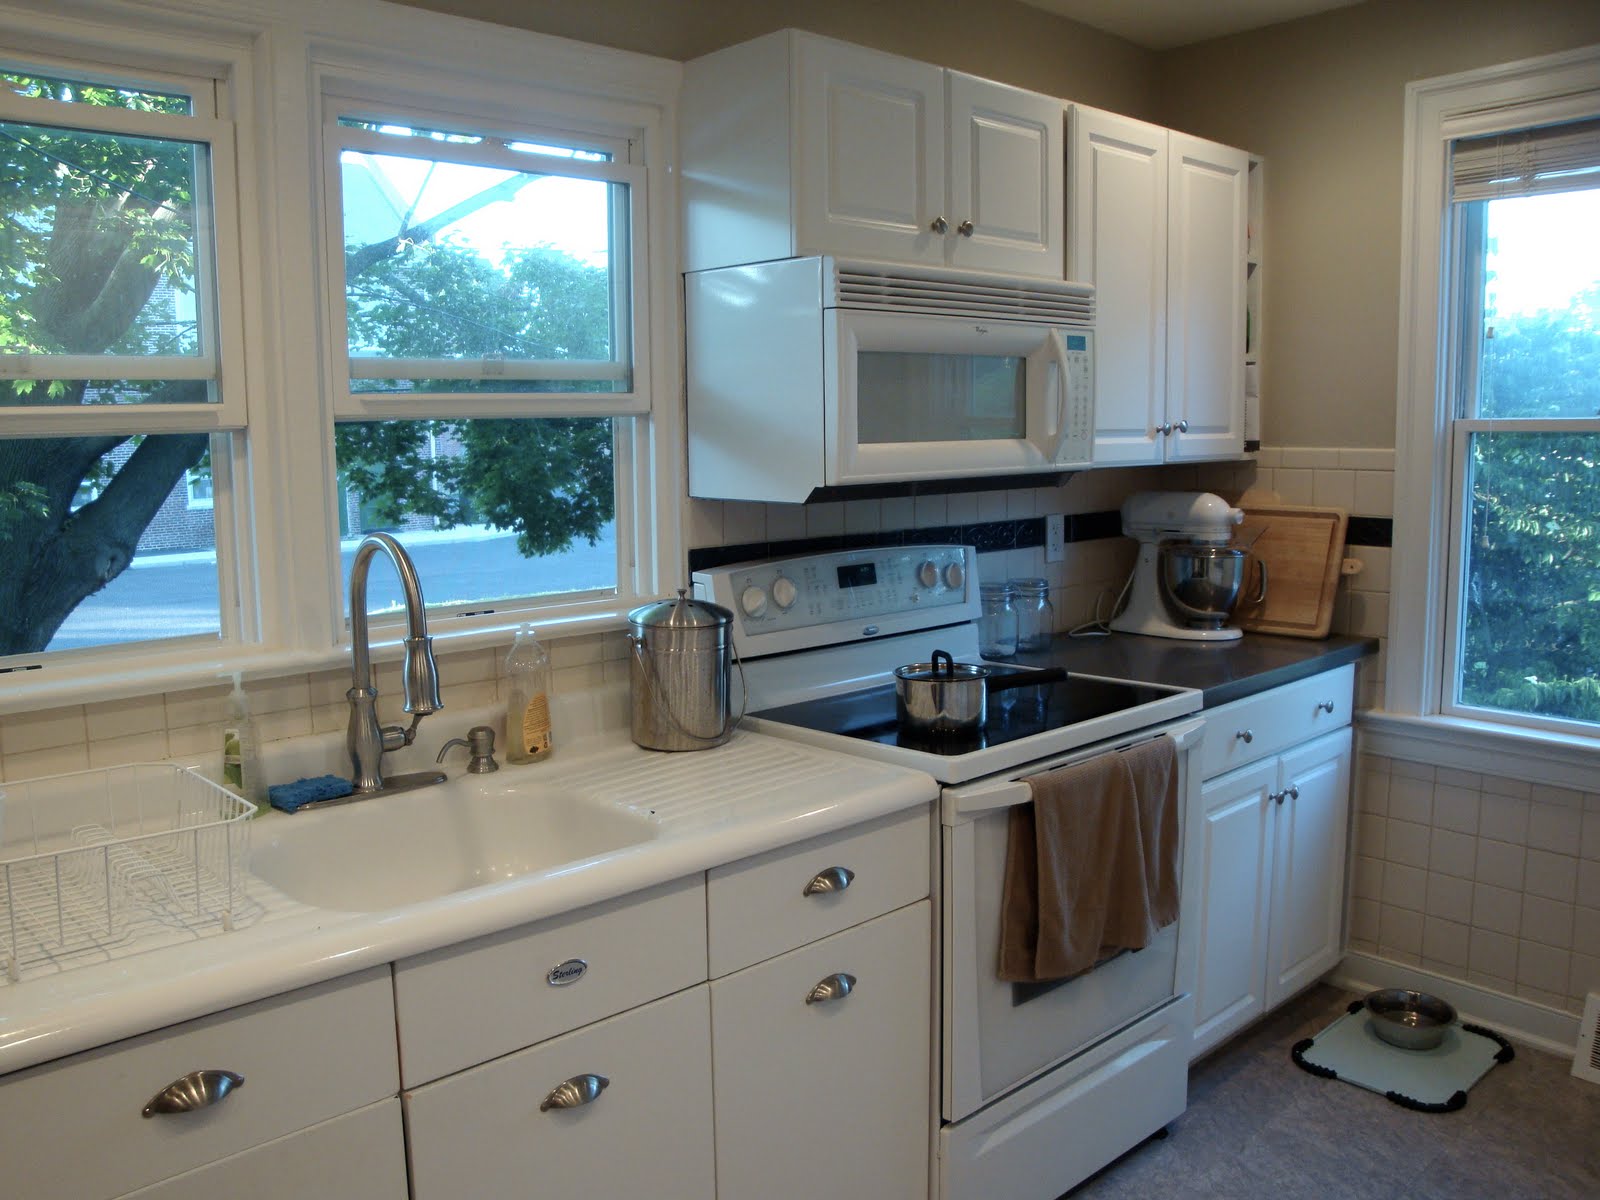
OH, the kitchen tile. The thing is it wasn’t hideous. It wasn’t puke green, or cracked or stain. It just wasn’t what we would have picked. Most of it was a dingy cream color with a gray-ish decorative band near the top.
Hrm… I’m more of a crisp white gal. We’ve painstakingly painted all of our cream trim Delicate White and the cream tile just did NOT fit in. What to do? Well, we definitely were not excited about breaking out all of the existing tile and attempting a new tile job. So, I cannot tell you how excited I was when I stumbled upon Thrifty Decor’s Chick’s kitchen beadboard project. HELLO! You can put beadboard on top of existing tile?!?! Sign us up!
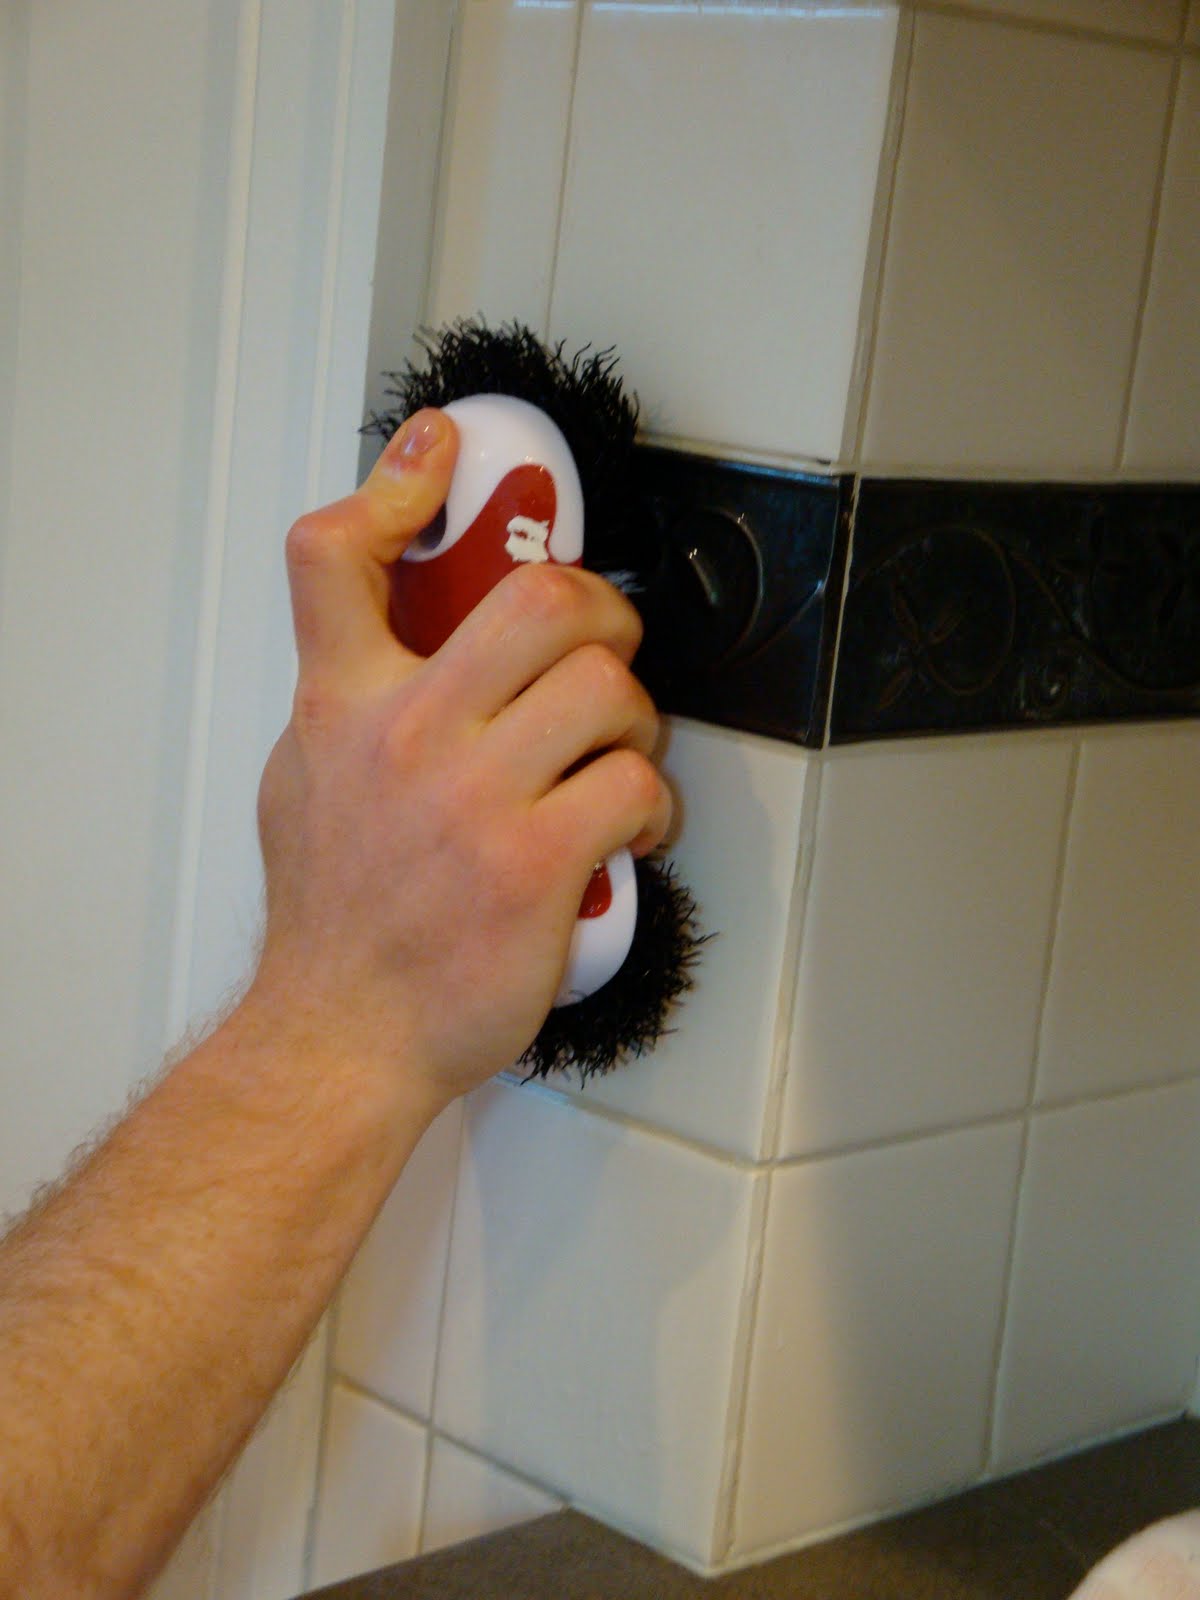
First step, a good scrub down…
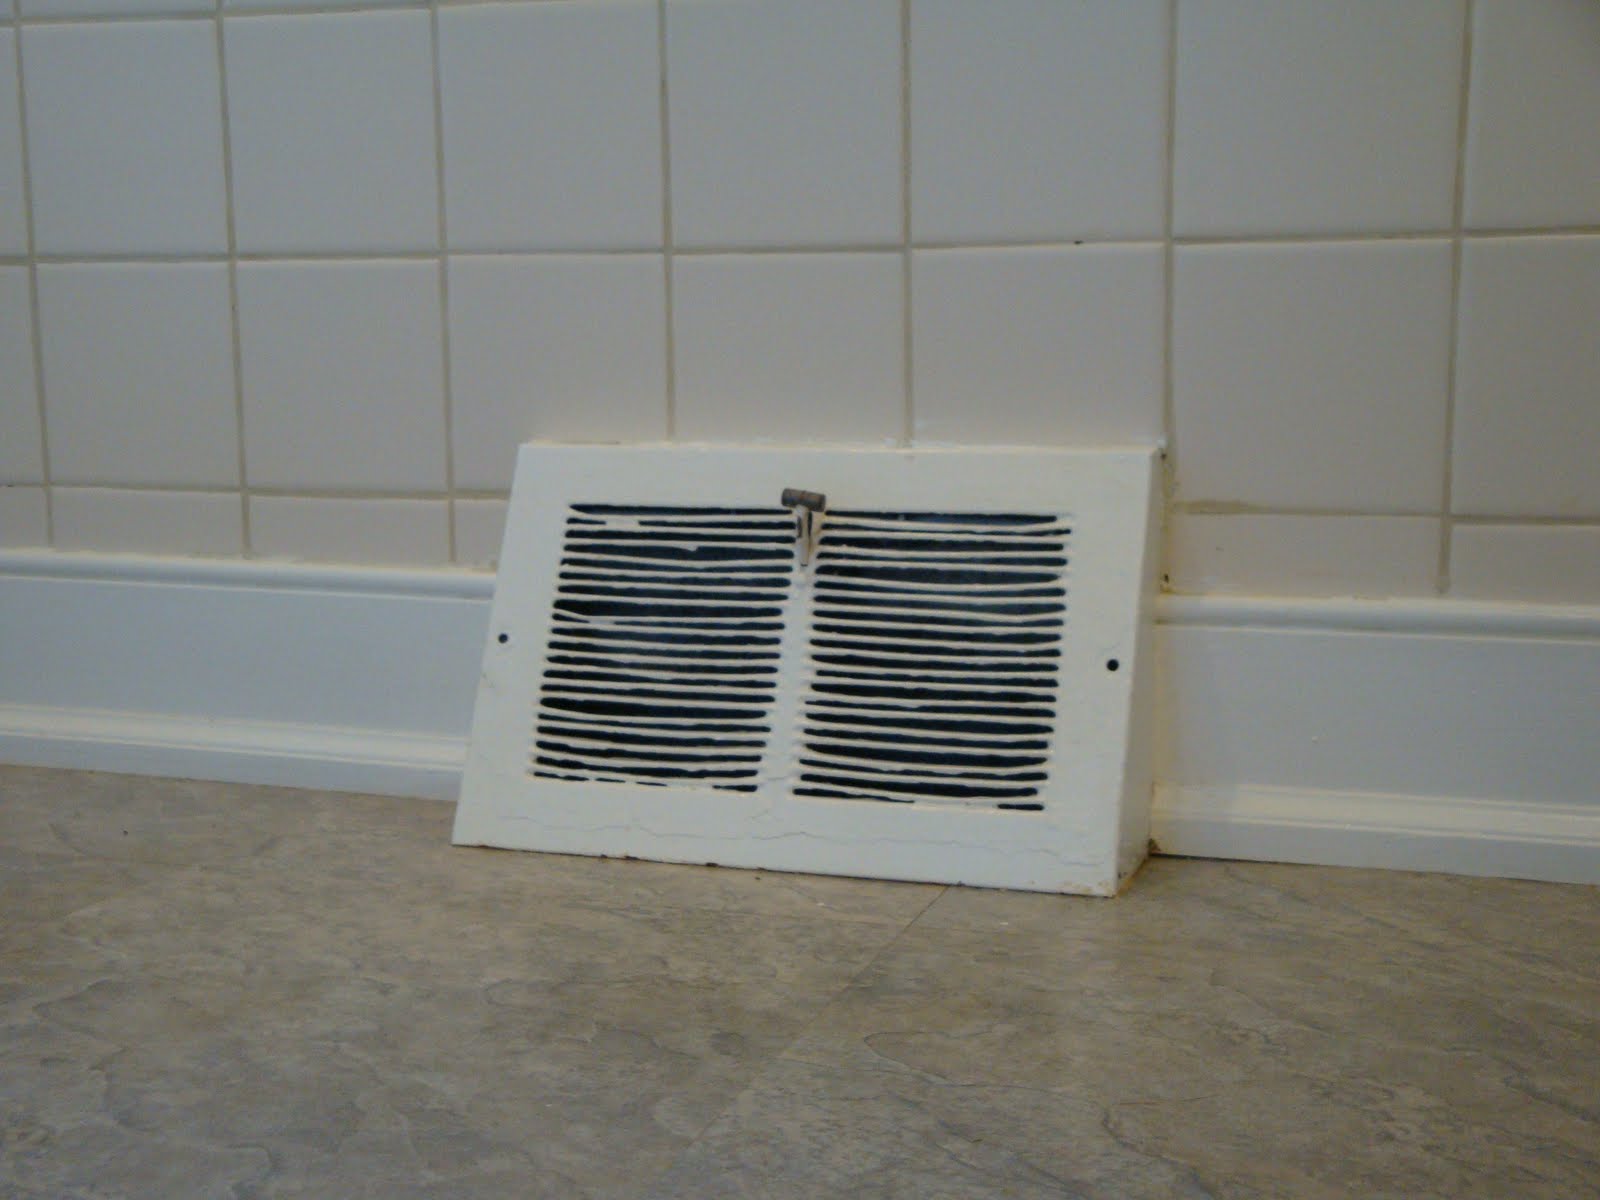
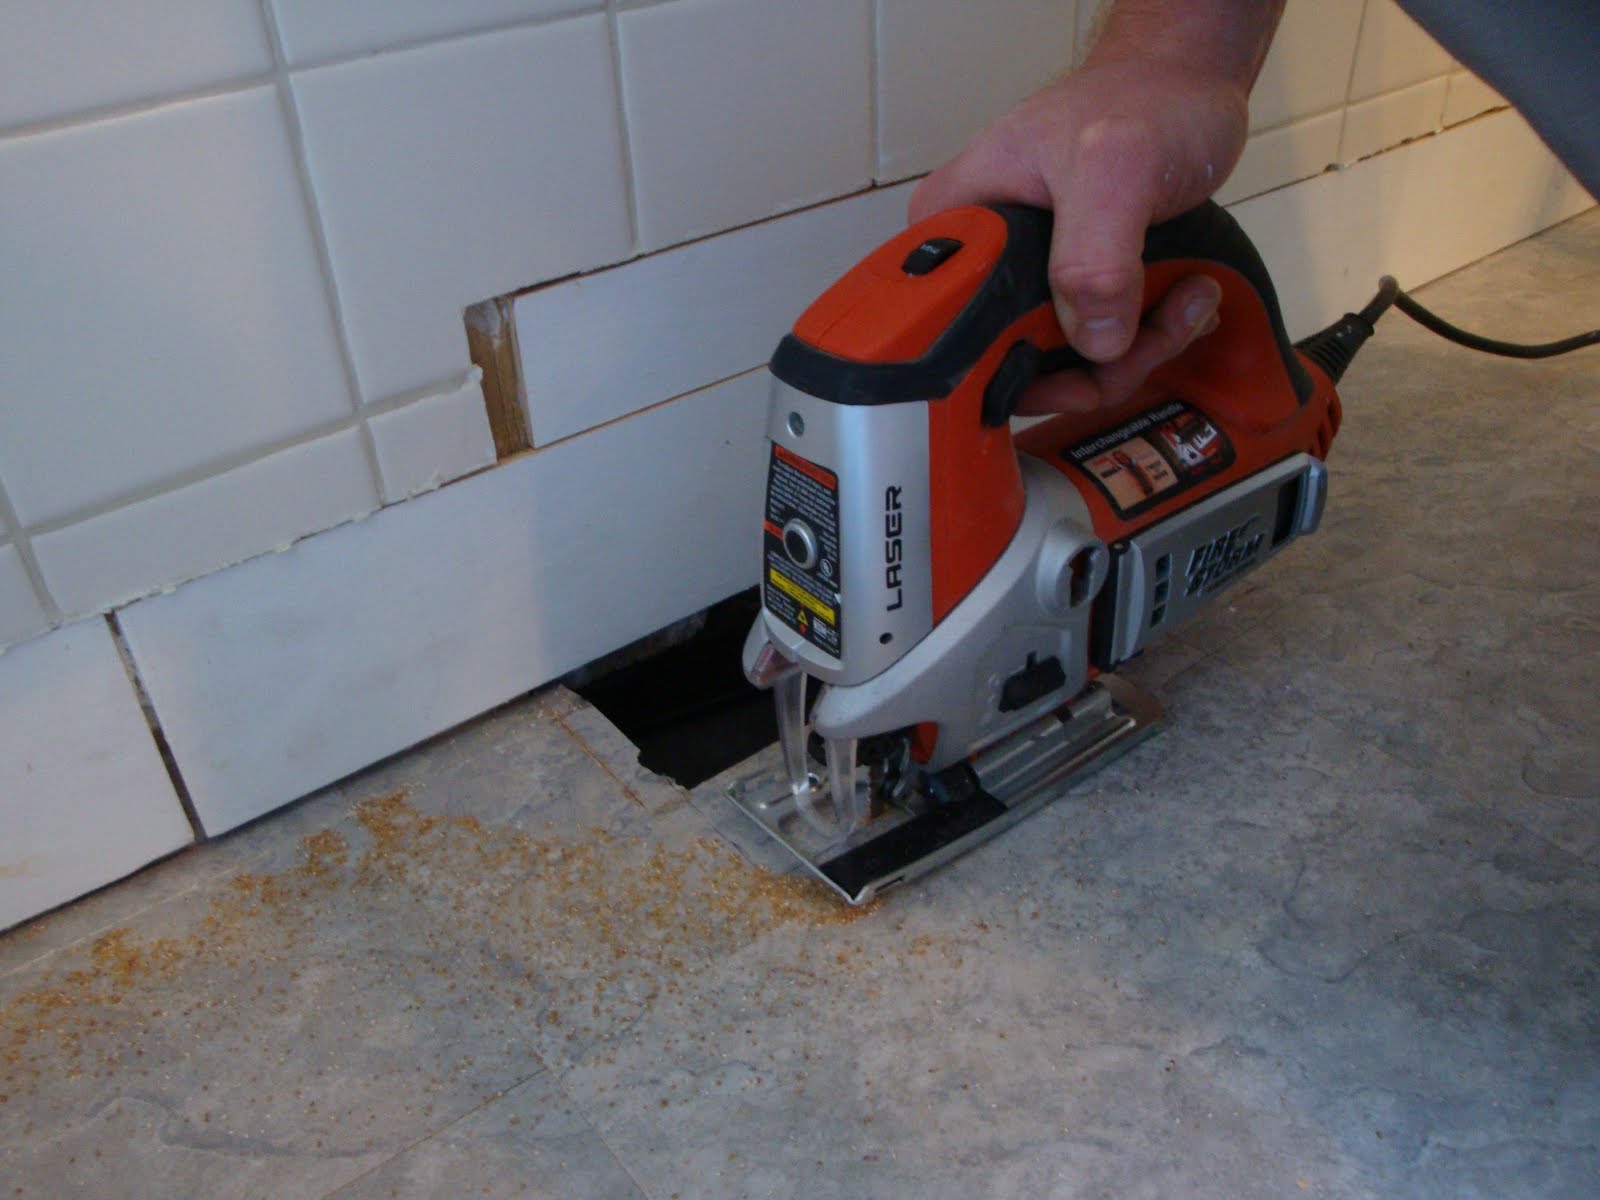
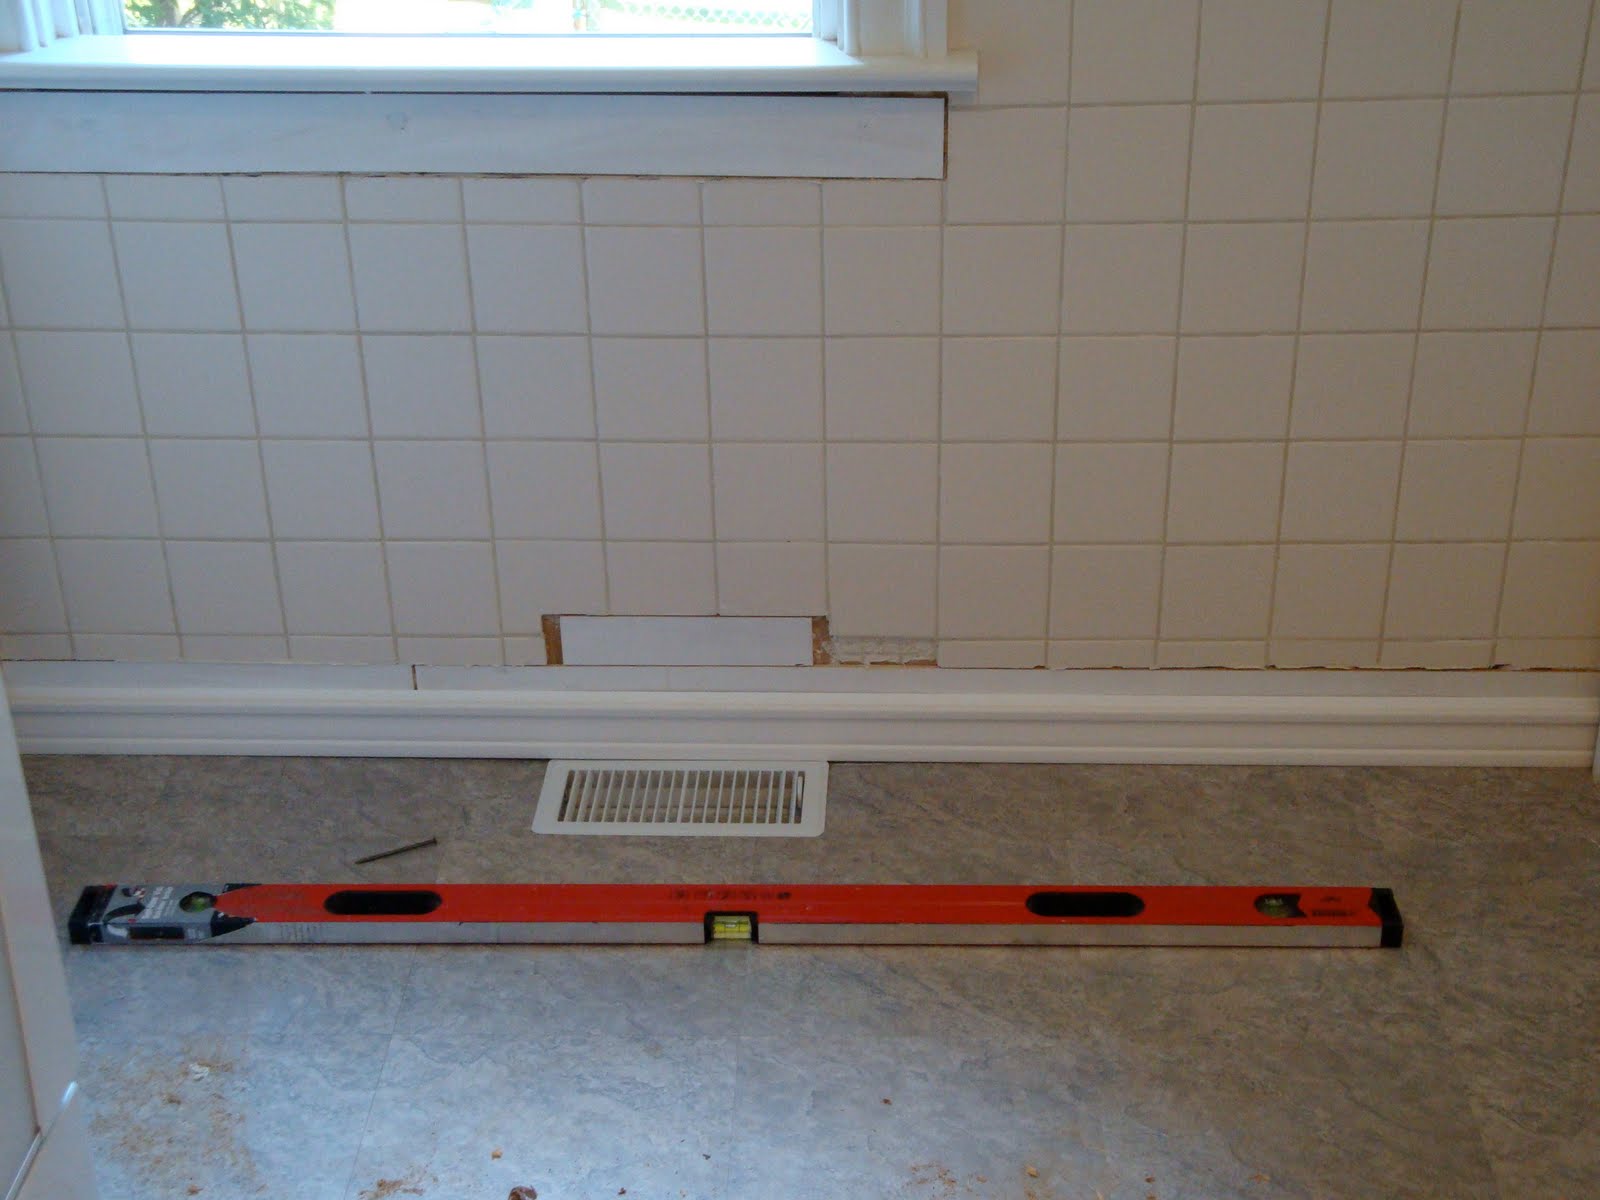
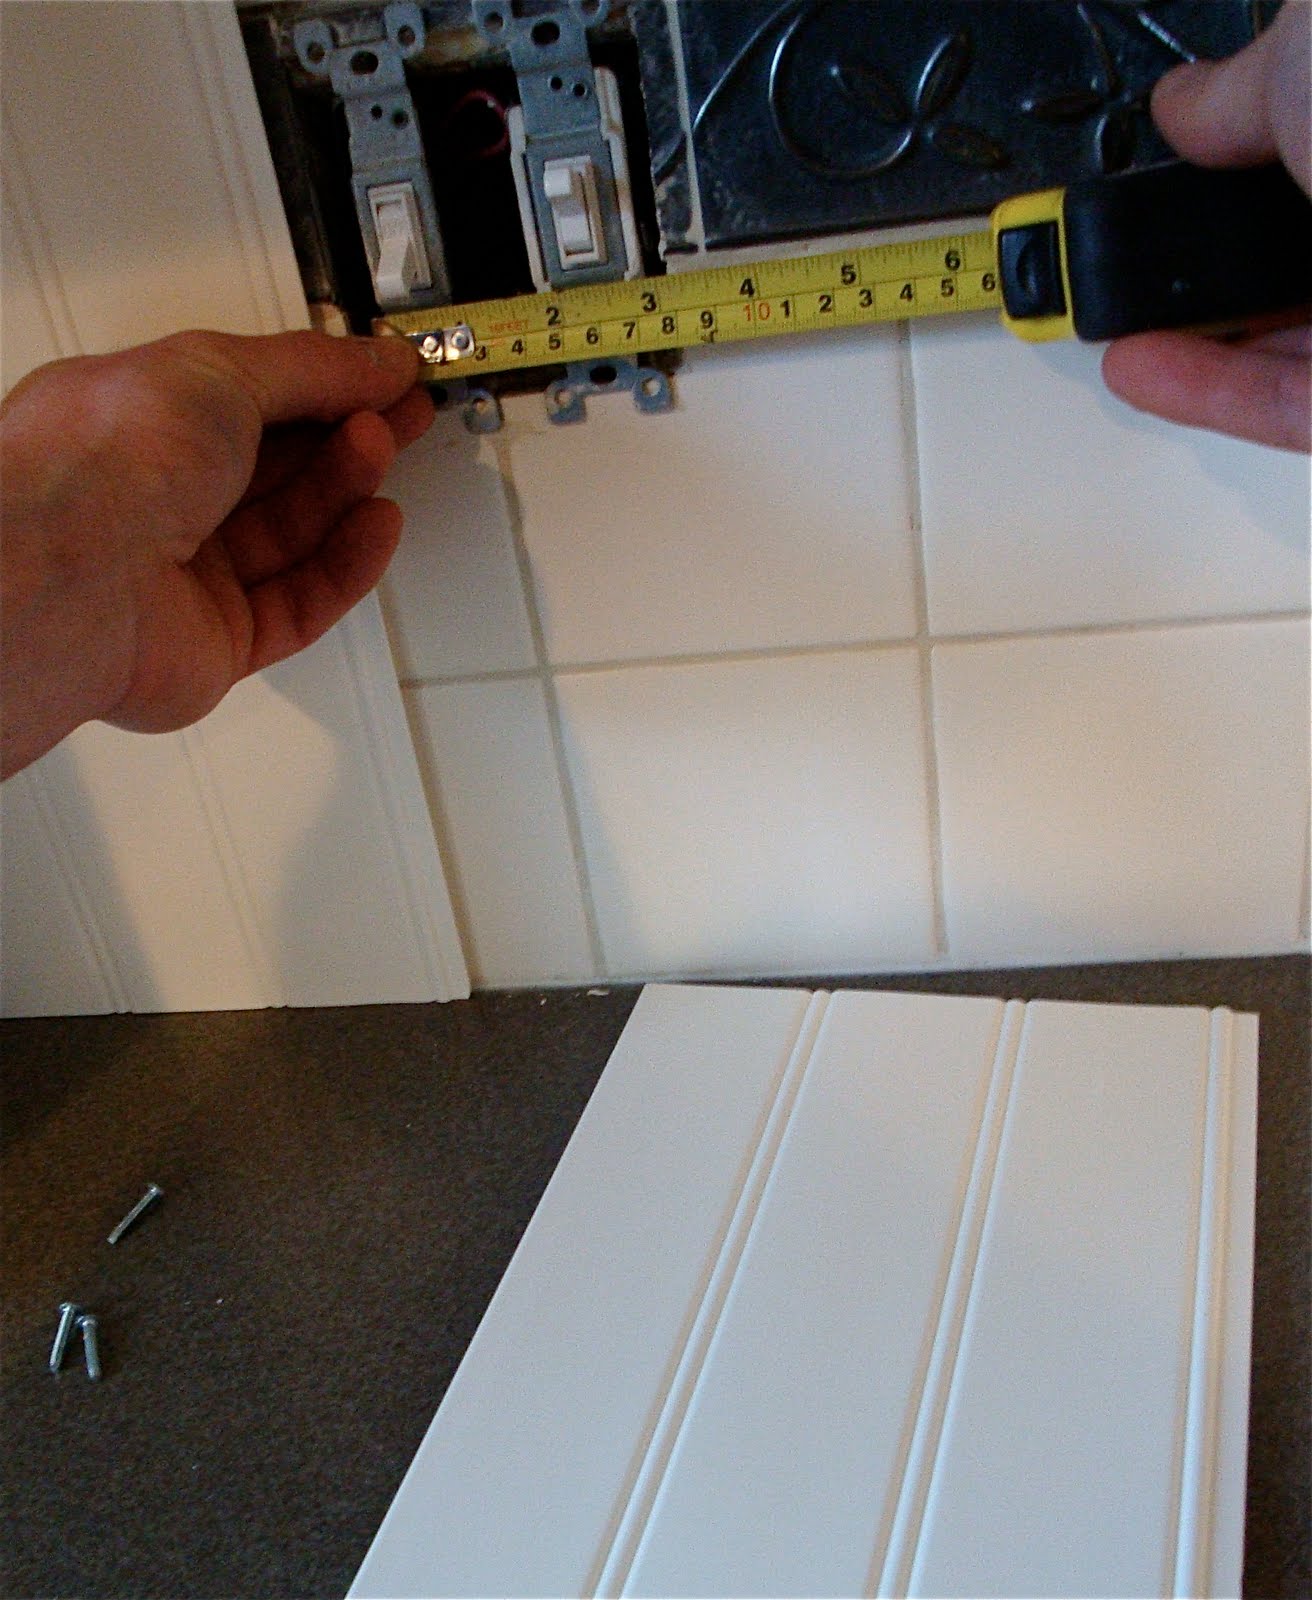
Then, time to deal with a pesky vent.
Finally, time to get some beadboard on the wall!

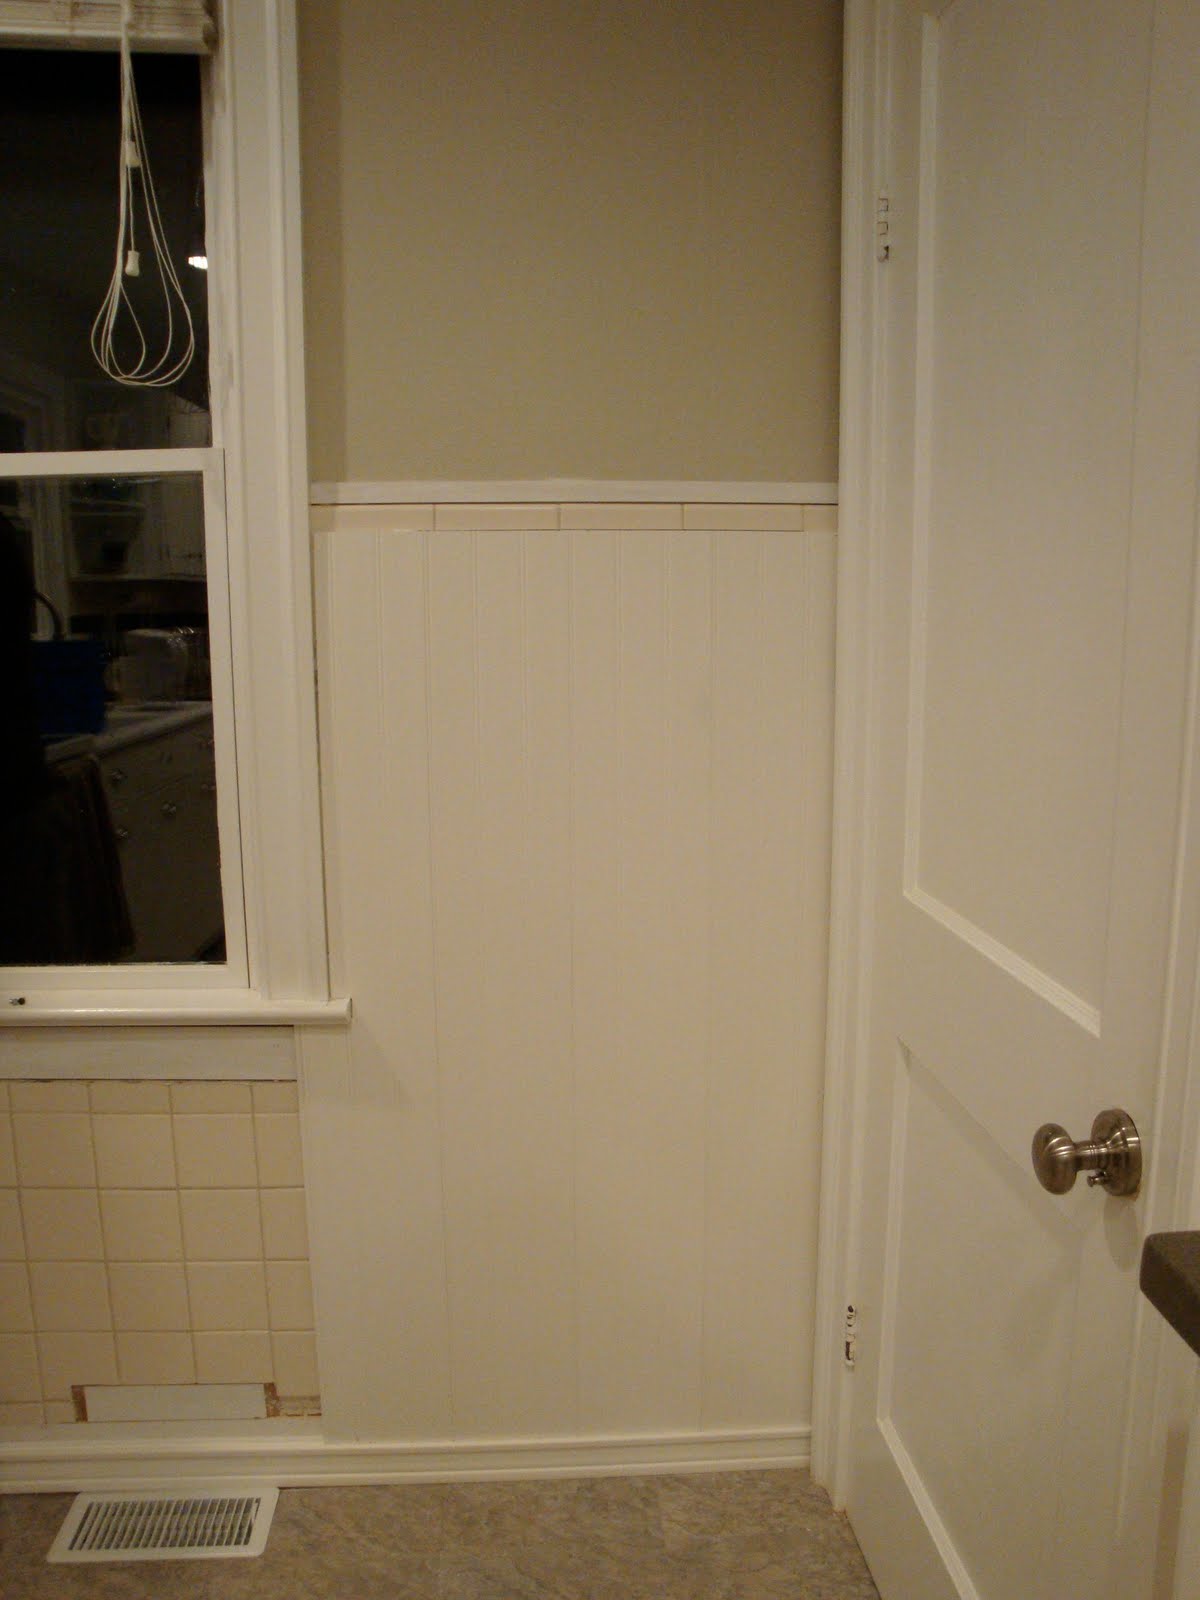
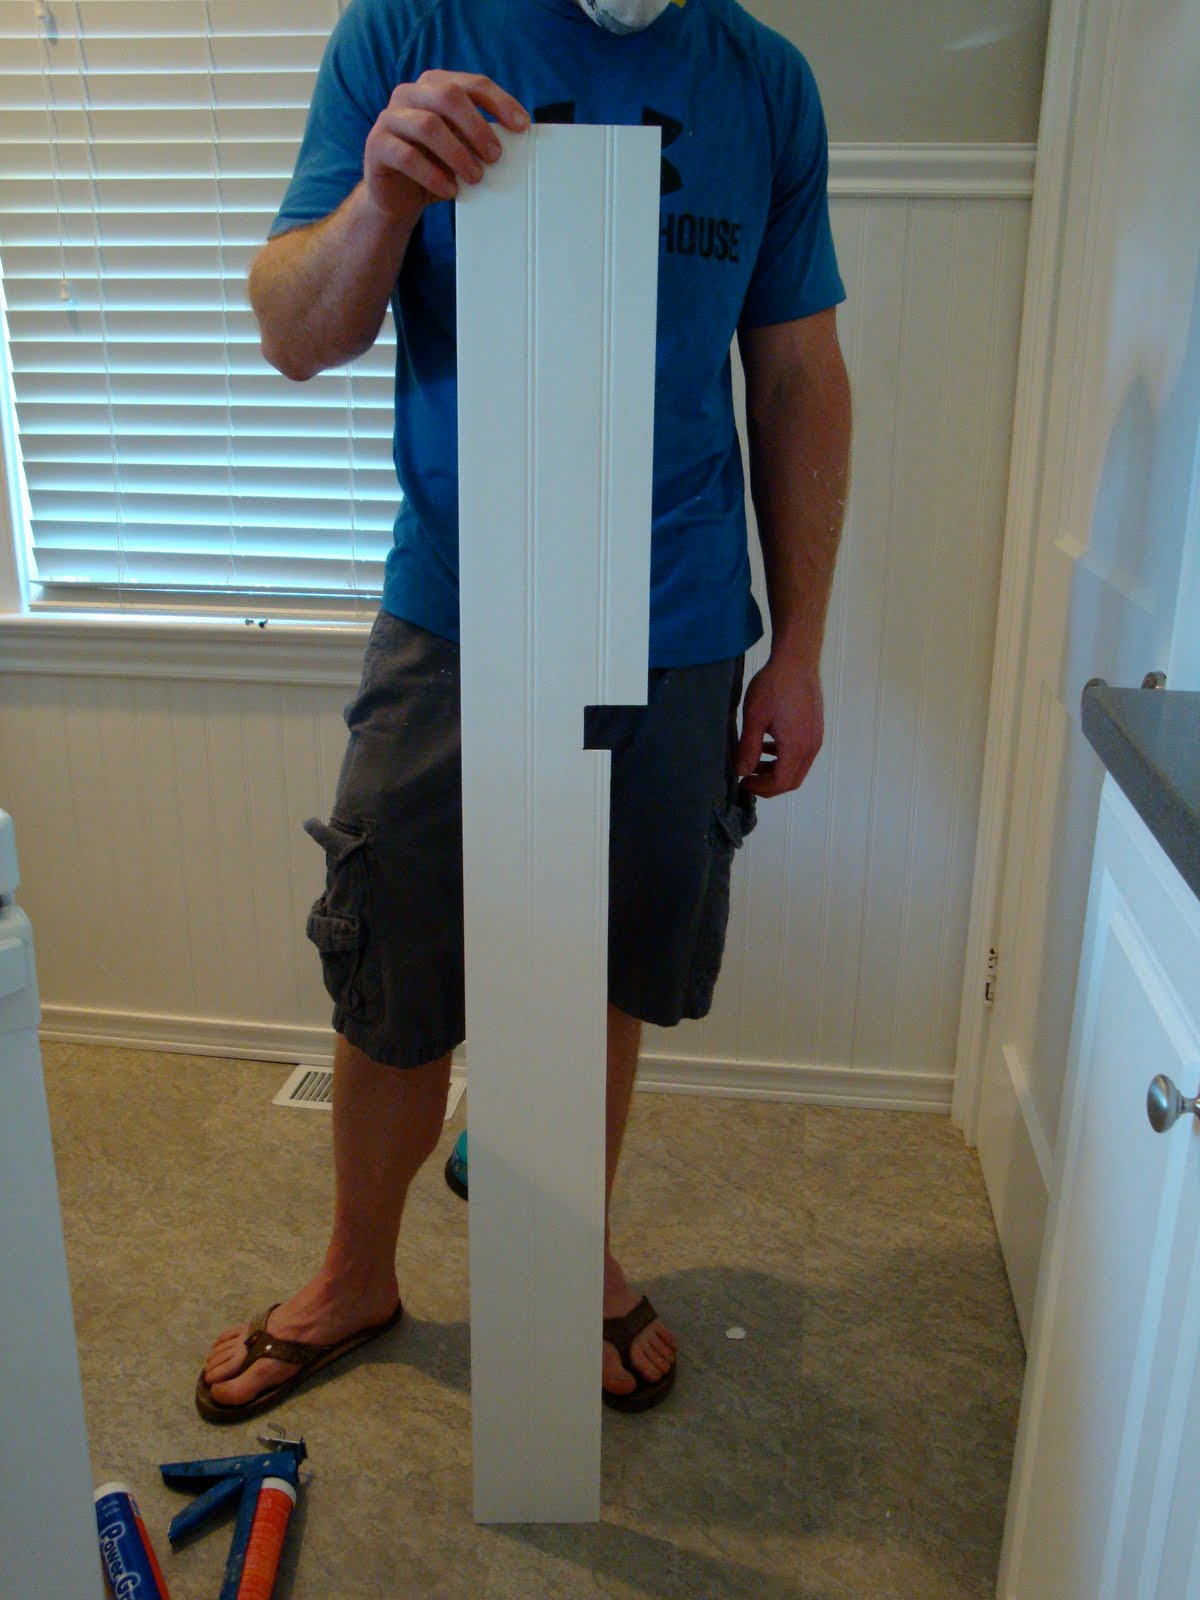
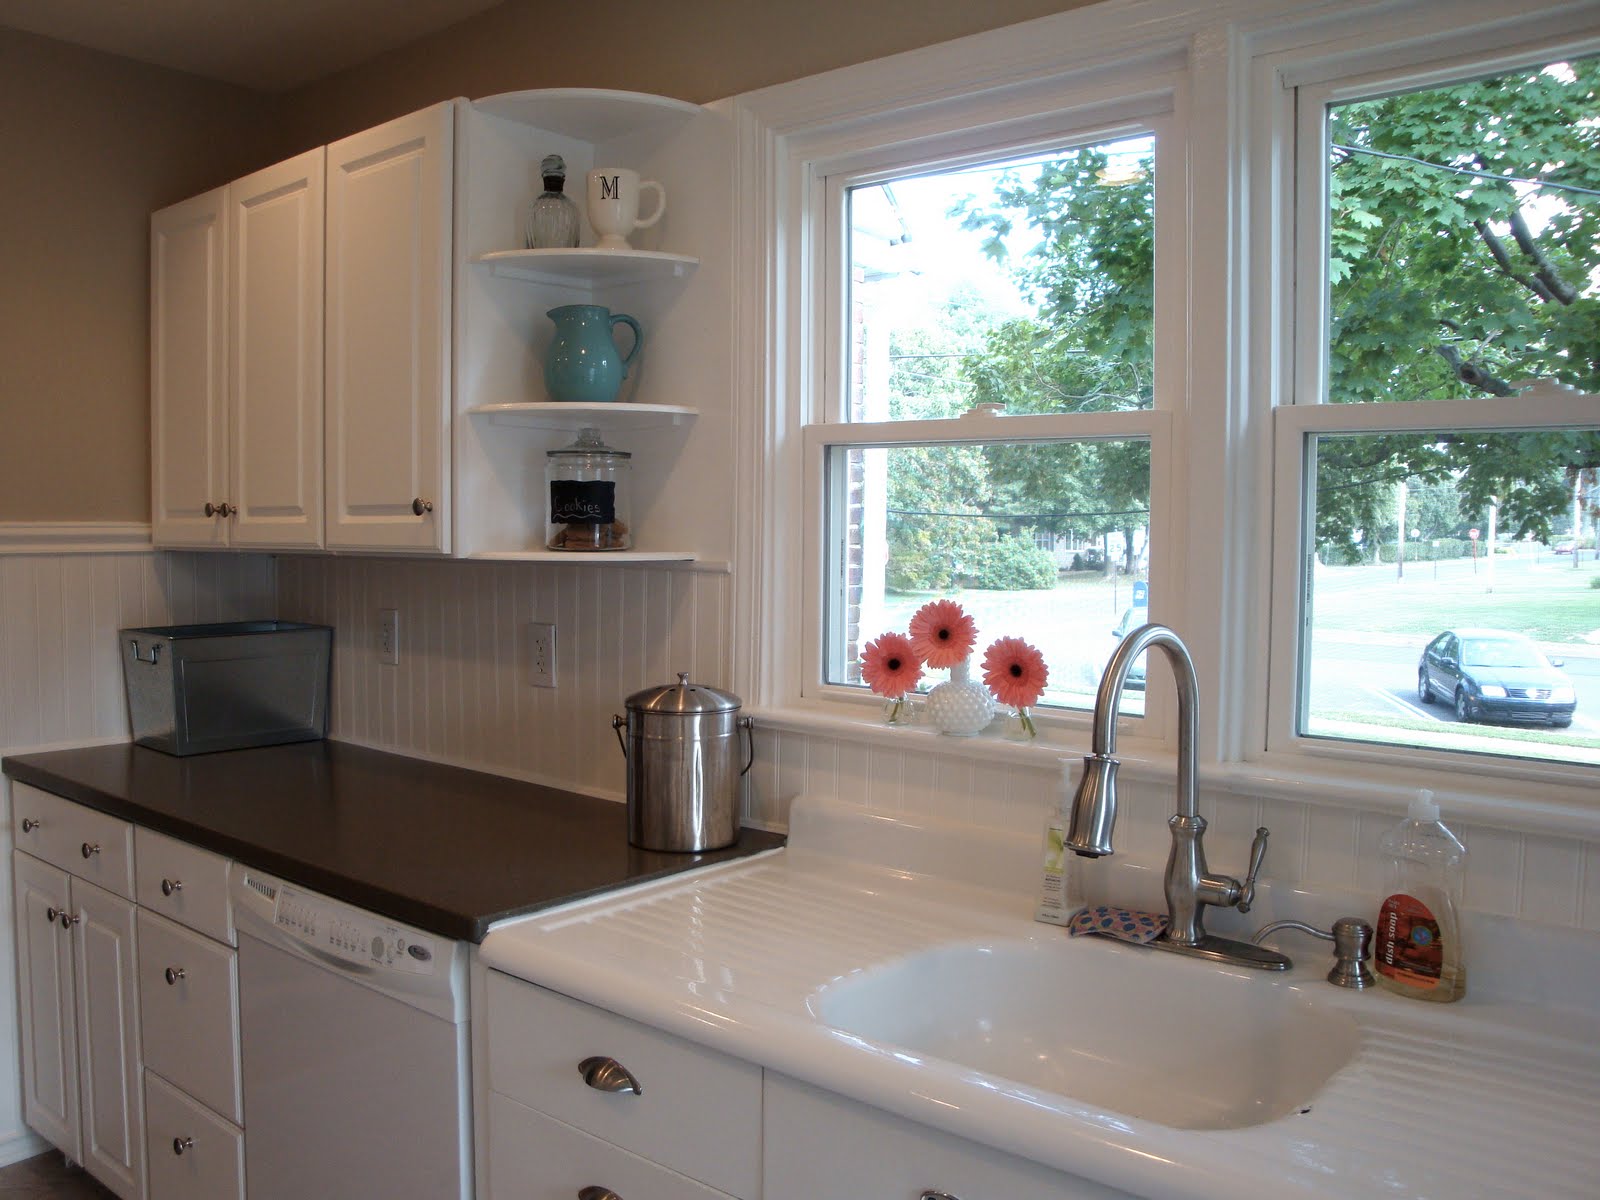
We used PowerGrab adhesive and went with these vinyl wainscot panels from HD. Why vinyl? Good for kitchen clean-up. Smaller, easier to work with pieces. No dealing with warped beadboard sheets. I was initially worried that the final result would look too “plastic” but it turned out perfectly. (When the pieces first went up, you could see the break between the panels. If you look closely at the above picture, you can tell there are four panels up on that wall. However, a tiny bead of caulk where the panels met killed the shadow and made it all seamless. Beautiful!)
The toughest part was working around all of the odd edges and our TONS of outlets. (I just counted, we have 9 outlets in that little kitchen.)


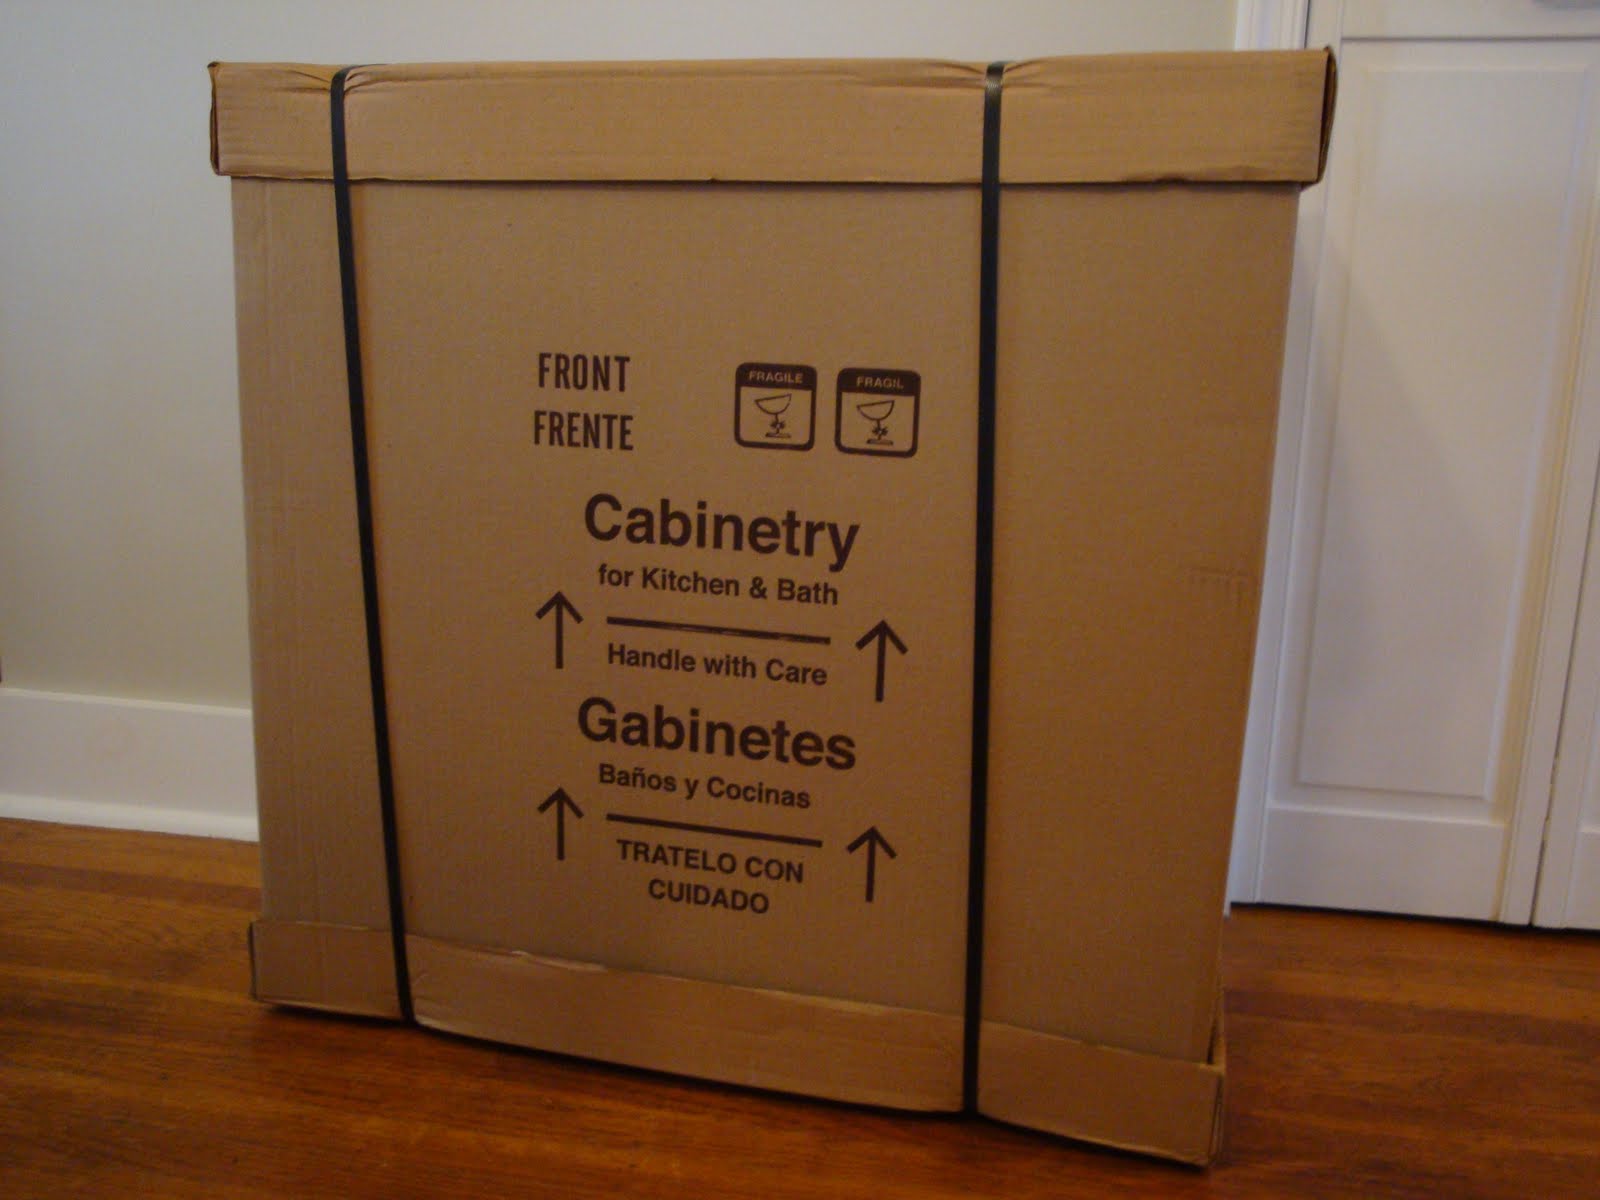
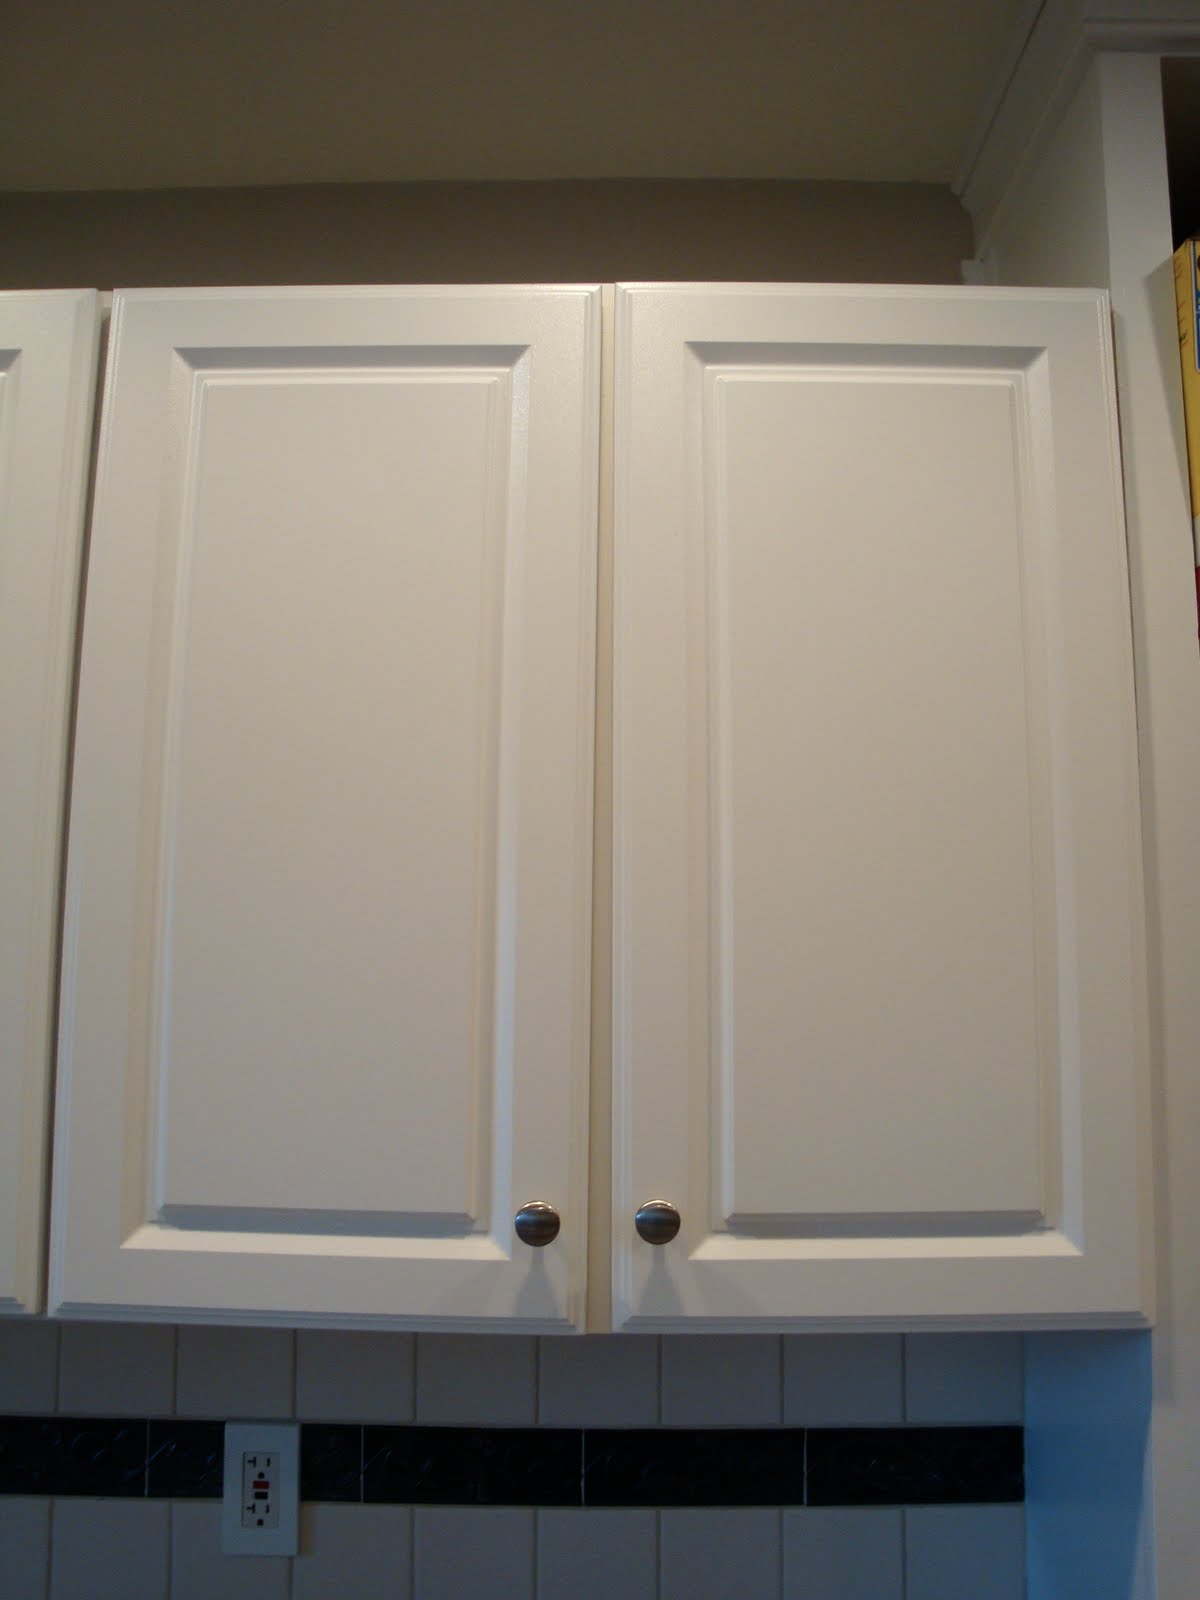
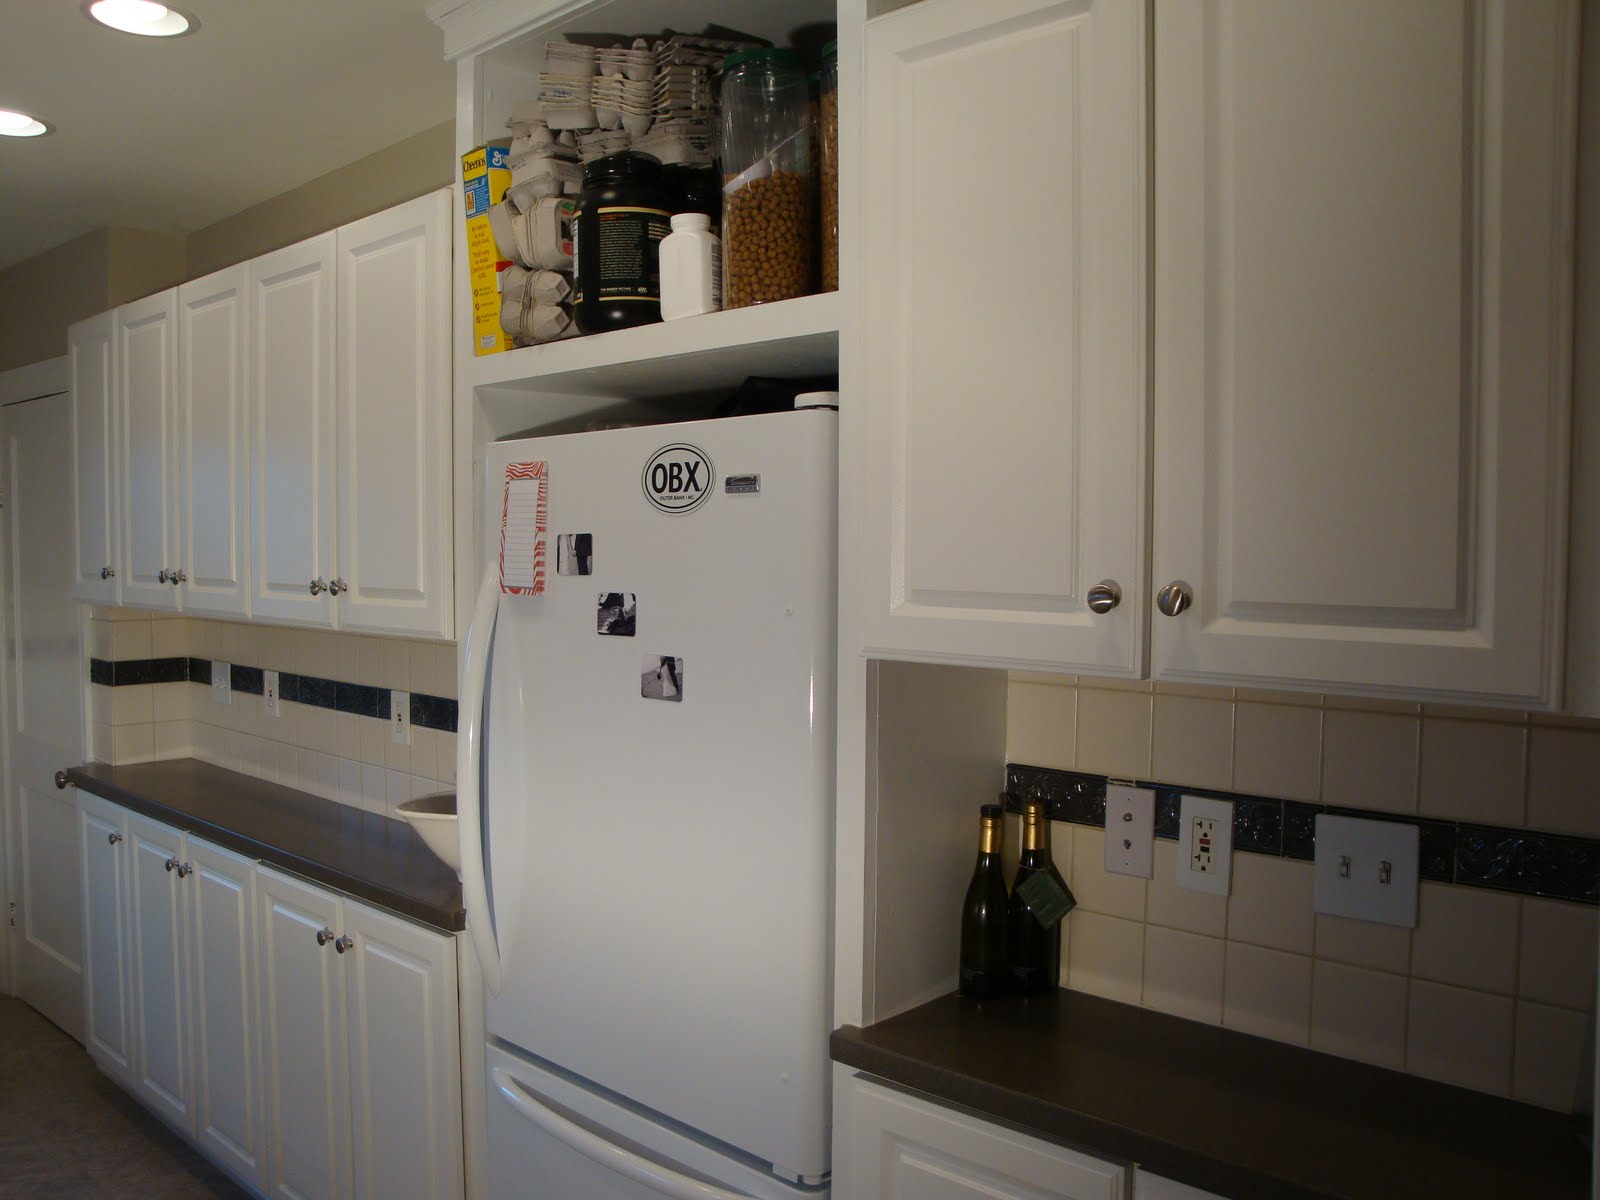
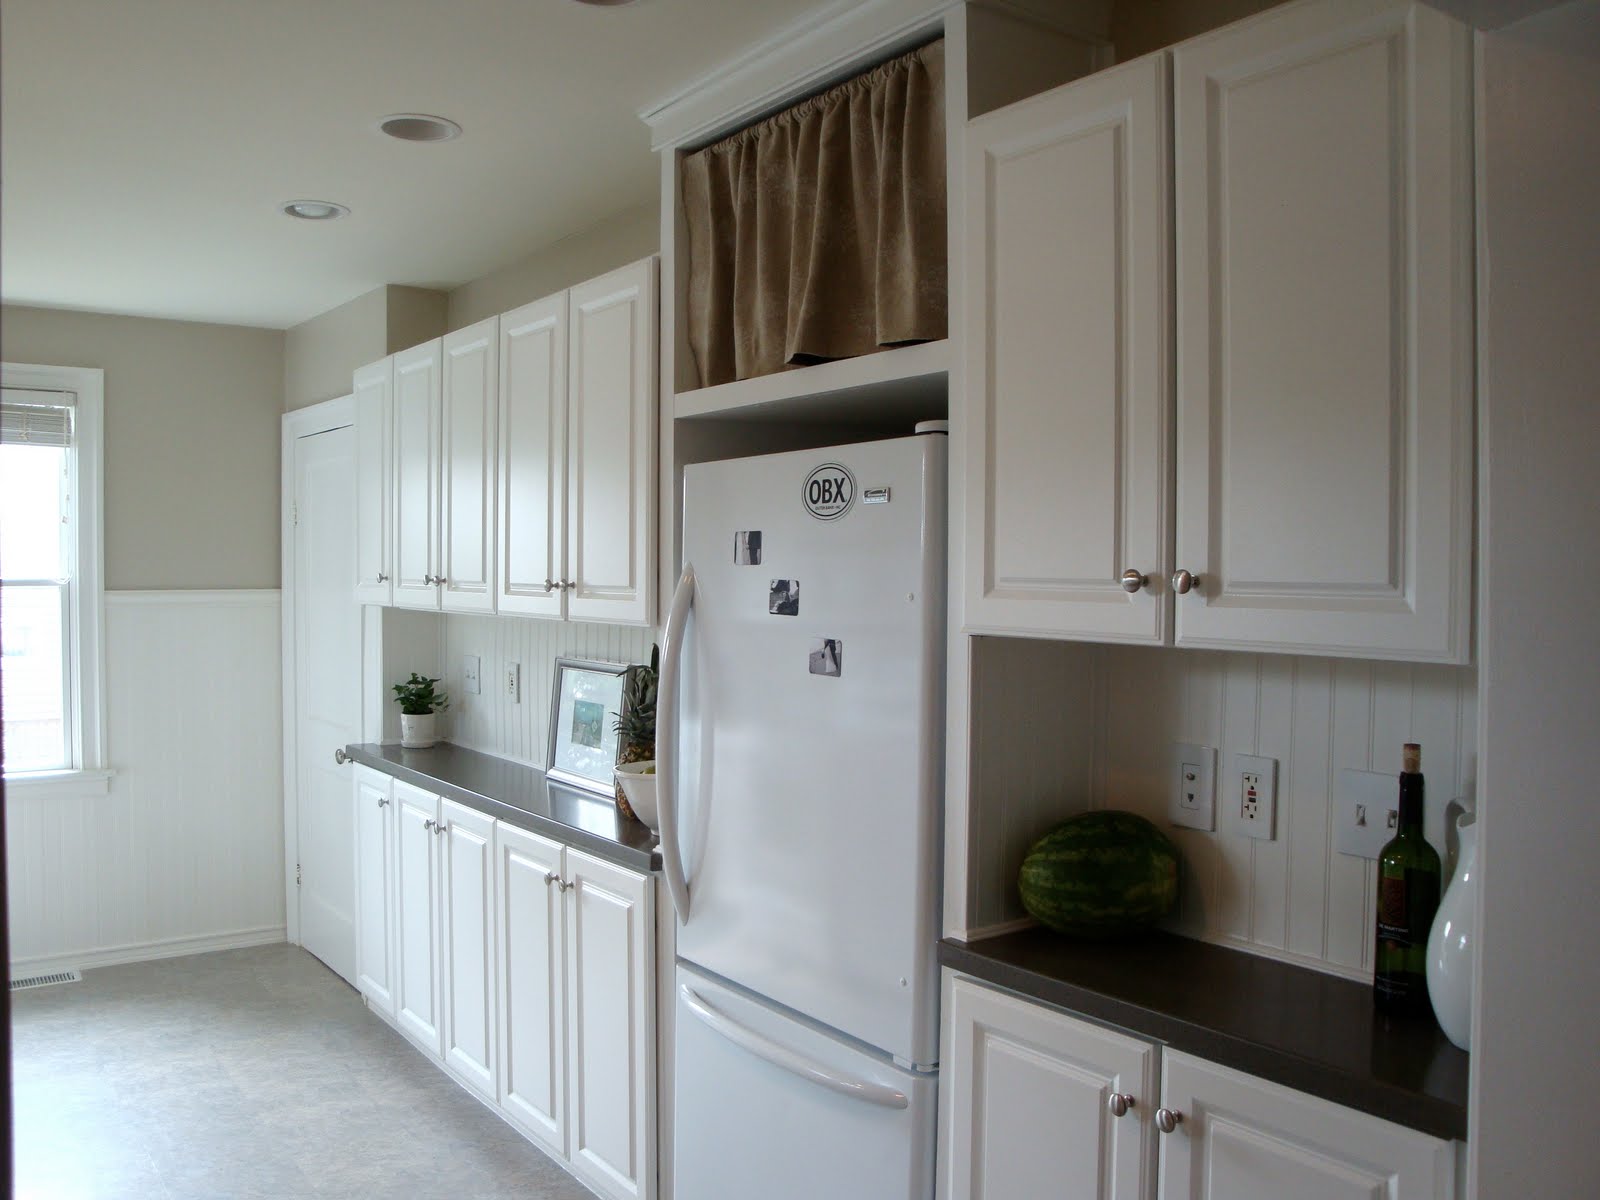
New cabinets! Our kitchen had a secret. With a quick glance, you saw crisp white cabinet. Lovely. However, a closer look revealed FOUR different styles of cabinets. Yes, four.
Predominant style…
Above the stove…

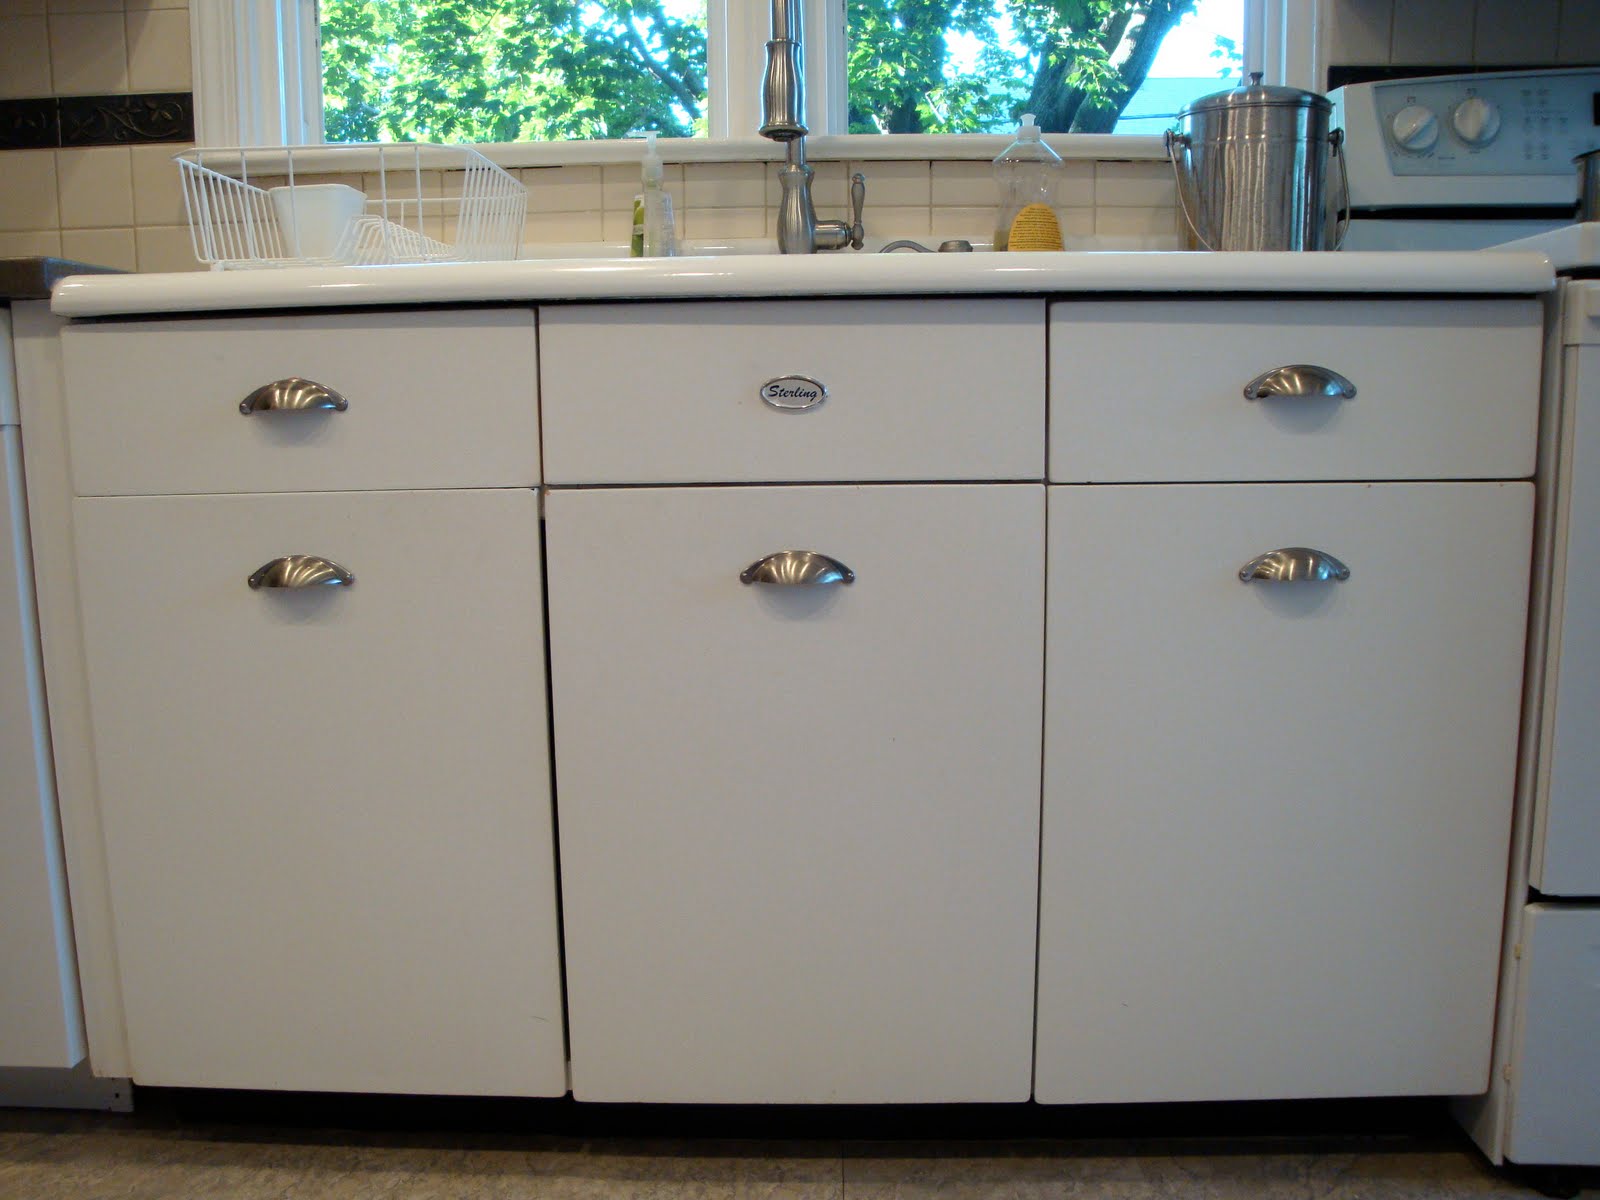
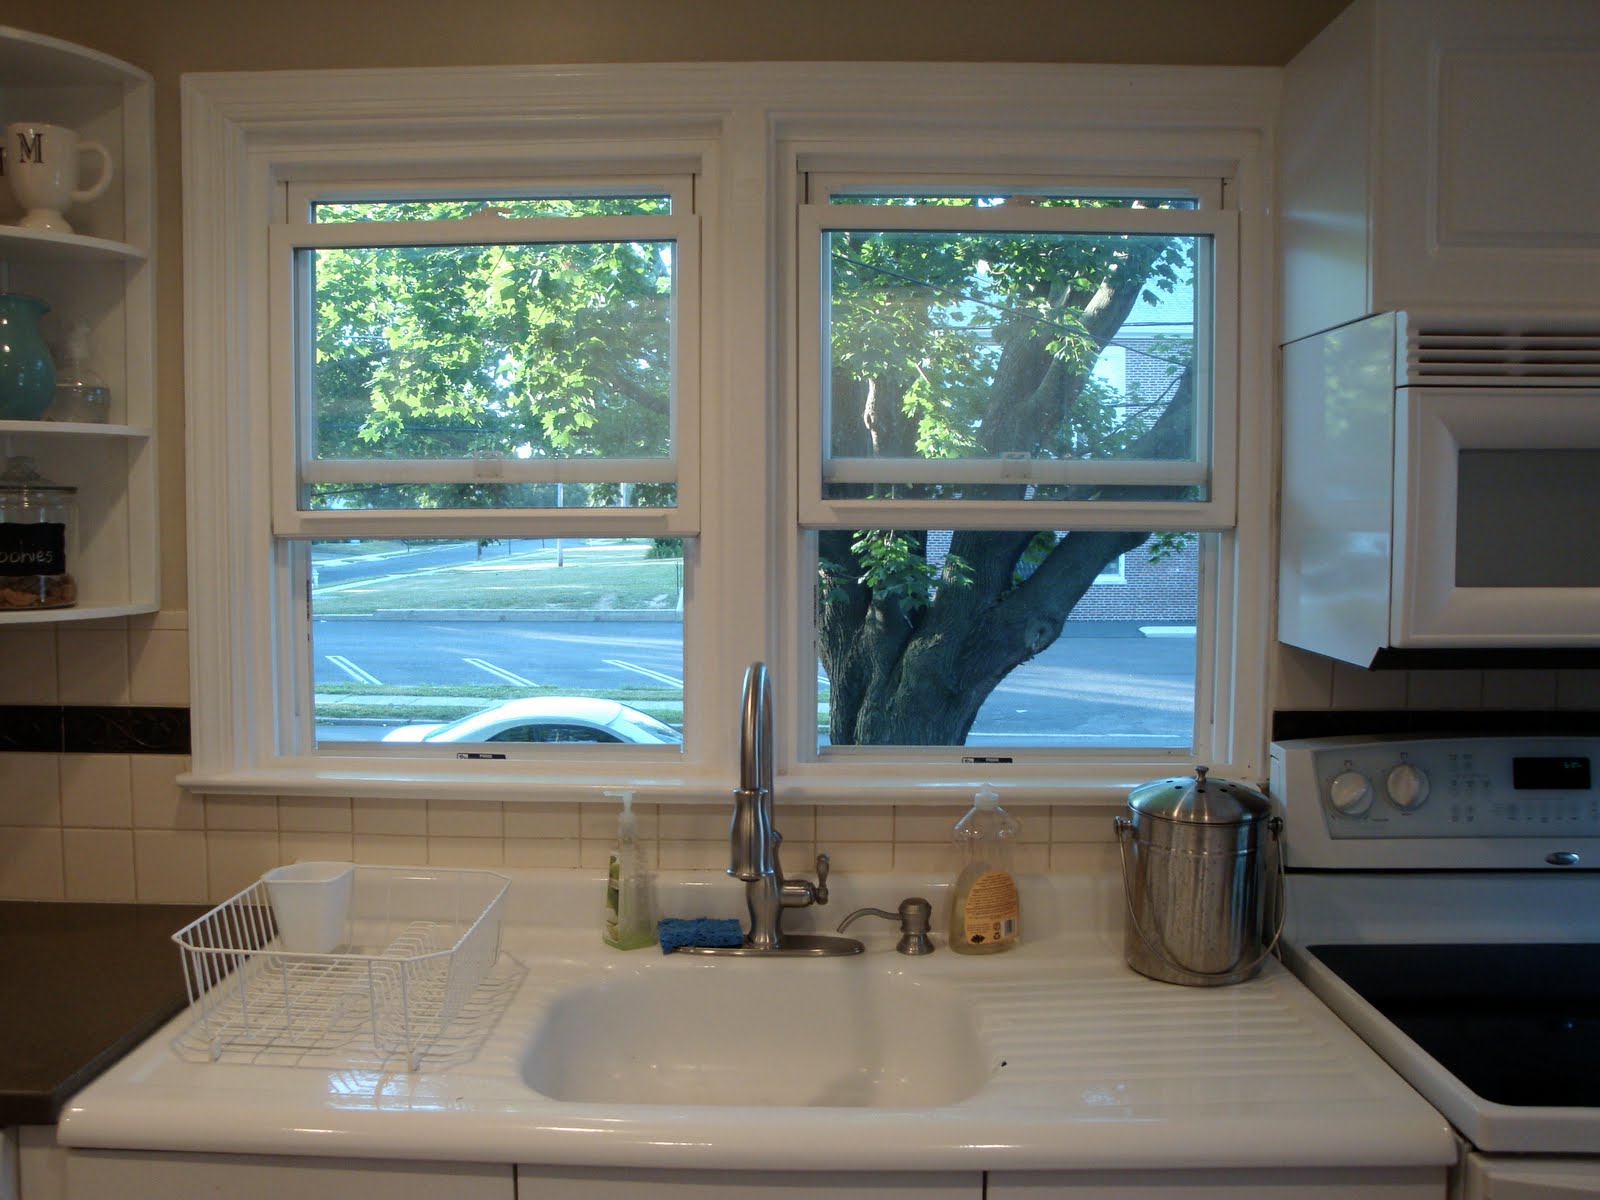
Original(?) metal sink unit…
Cheap wooden cabinets to the left of the sink…
I would never part with that sink unit and the cabinets over the stove were close enough, but the cheap wooden number had to go!
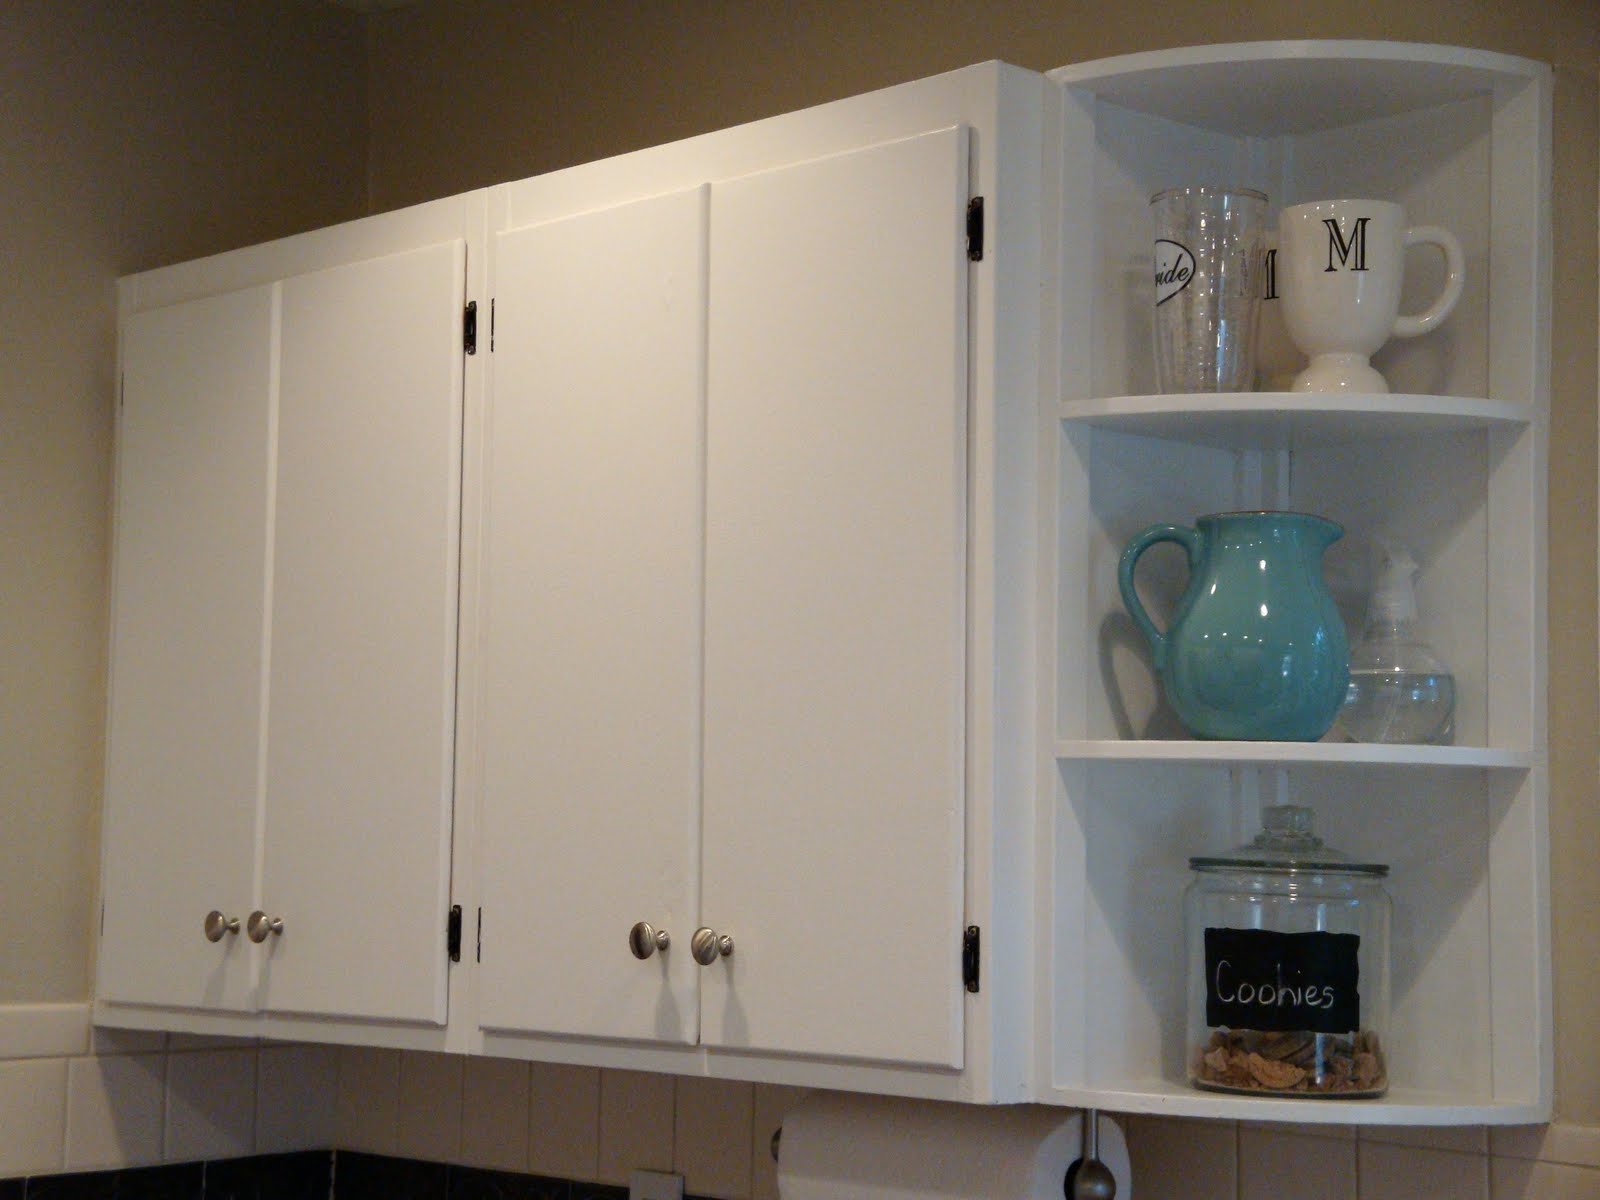
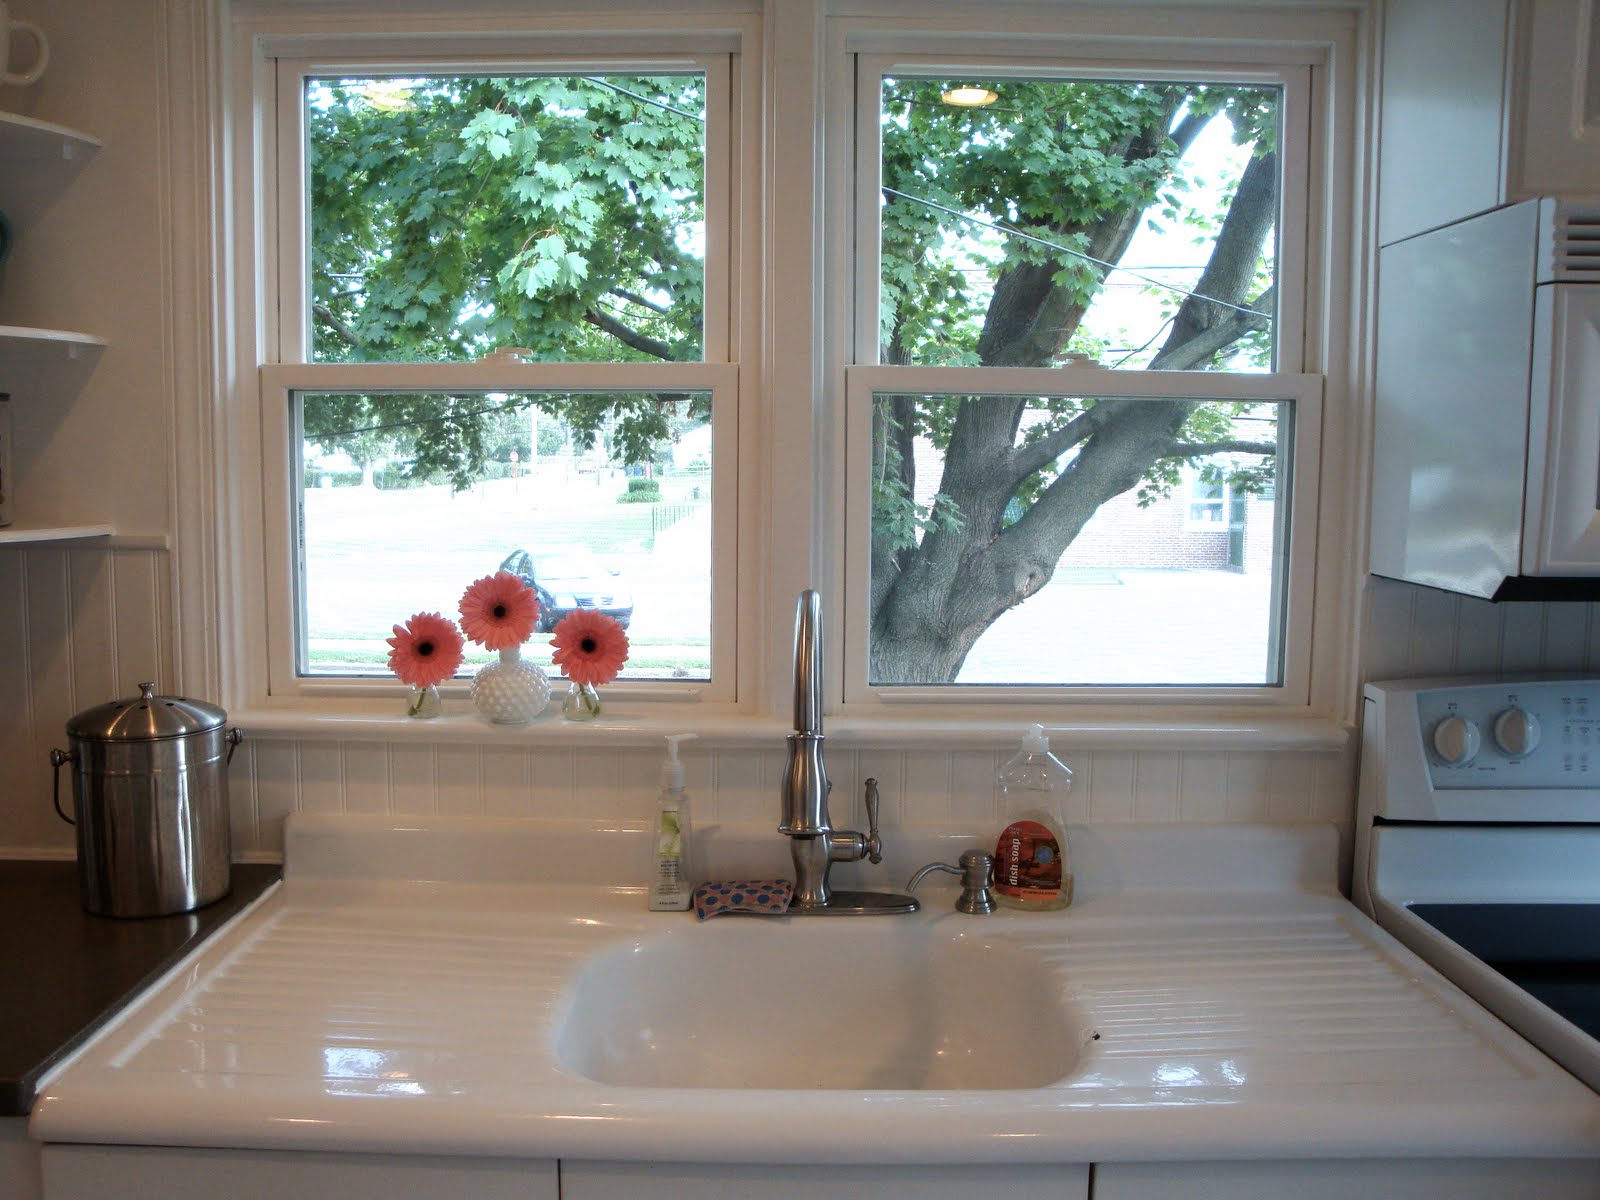
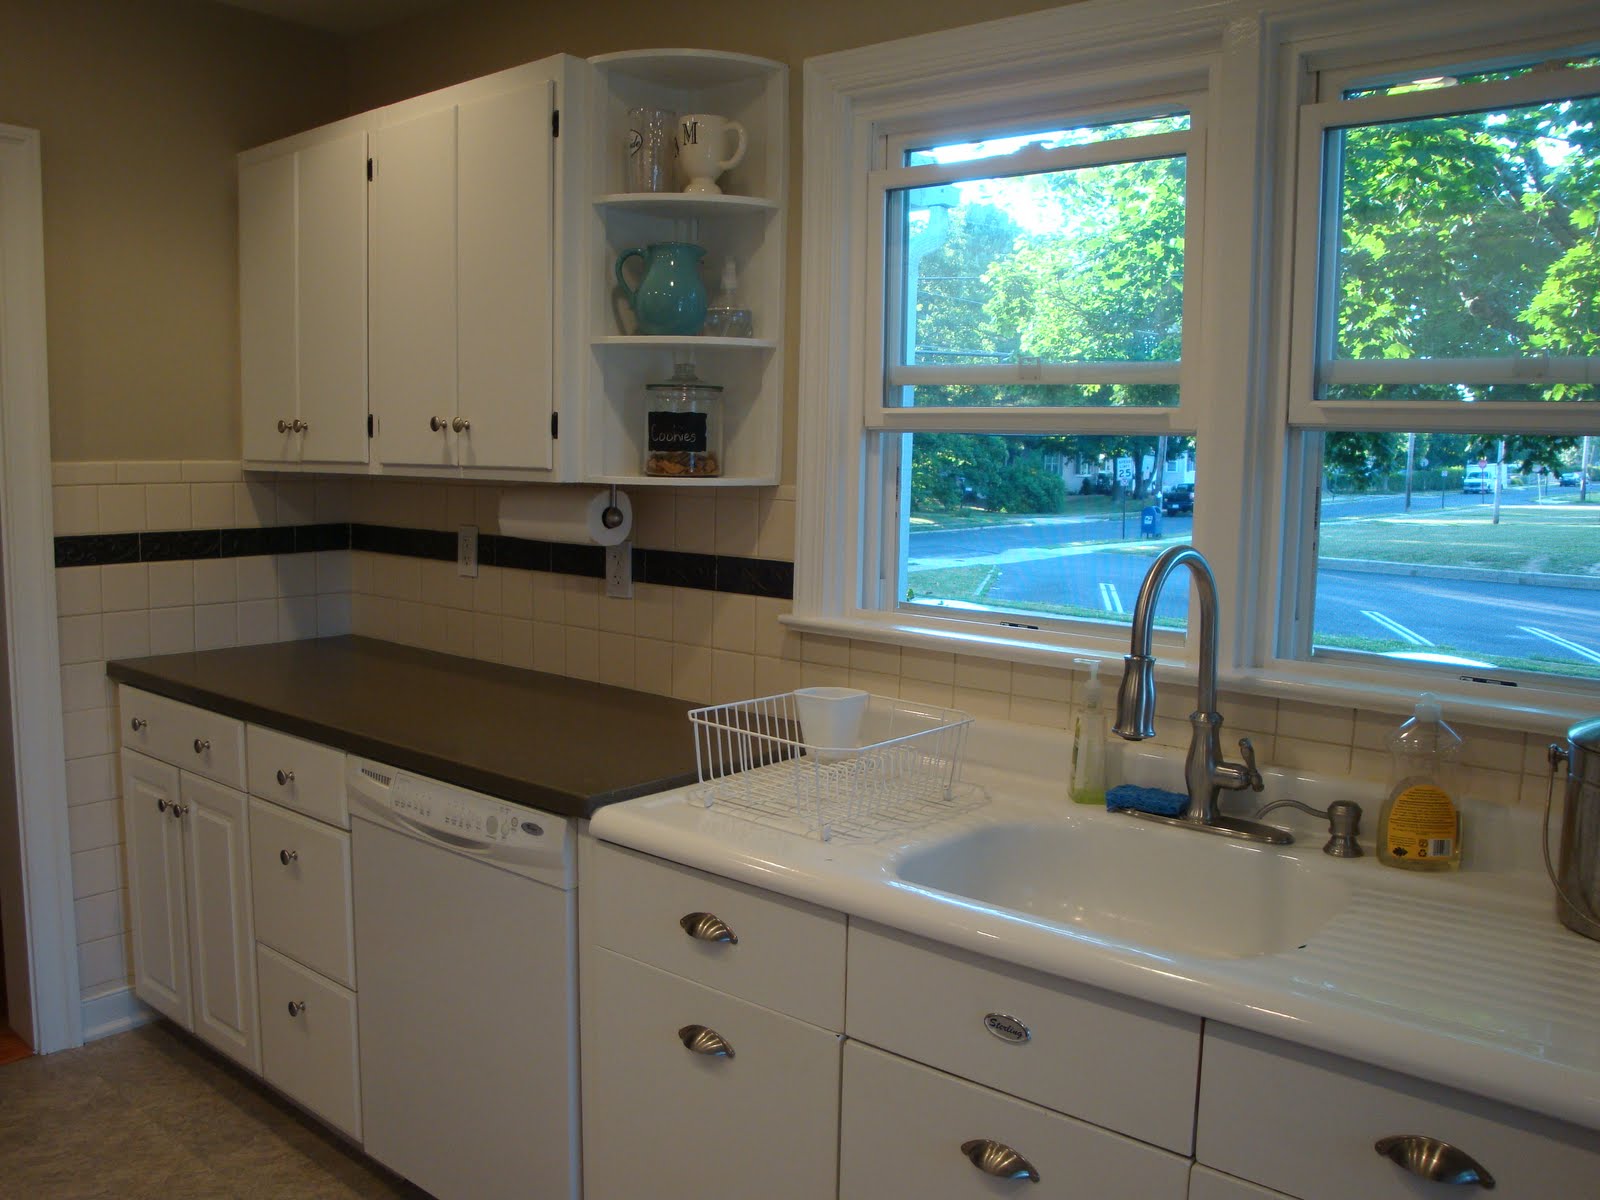
The new cabinets look much better and Mr. Mac even built me another corner shelf to fill the space between the cabinets and the window…


>Stunning job – well done! K x
>It looks so much bigger! Its beautiful. And I love that sink. Glad you kept it:)
>This is beautiful. I love the idea of leaving the tiles as is and just covering them with beadboard.
As an aside, I'd love to know what the countertops are. I'm looking to replace mine and those look like what I had in mind.
>well done!!! This looks fabulous. It looks bigger because it's so much brighter, so crisp and clean!!!
>what a fantastic idea!! i have been having the hardest time trying to pick out backsplash tile for our kitchen (which is currently backsplash-less). i would have never thought of doing something like this instead. thanks for sharing!!
kimberly.
>Its not that I don't like the final result, cause I do. But covering up those tiles with cheep fake beadboard panels sort of makes me cringe. I think I would have tried painting the black/grey tile boarder white to achieve the crisp white look. However,like I said I do like the results and really like how you changed out the cabinets for a more unified look.
>Can you ever go wrong with beadboard?! You guys did an awesome job updating your space. It gives me hope for the awful goldenrod tiles behind my stove…
>um.. Gorgeous! I love the way this turned out. Gives me an idea.
>Those after pictures are amazing!
oxoxo
Denalee
>My thoughts on the beadboard? I NEED that stuff!
>I think it is in keeping with the style of the house. It looks so amazing!
your “before” kinda looks like my kitchen…i have the original tile in my kitchen (from the 40’s?) with black trim, that i decided to paint white…but still not loving it…and i came across your website…LOVE it!! i am so doing it! but one question-how did you cap the top? i have that thick bullnose-style at the top of mine and not sure how to finish it off…i’m assuming there’s a type of trim for this?
Amanda, It looks like they used a wainscoting molding, that has a little cut out to hold the tile. They may not have the same issue that you have with the time thickness. You might have to do a small molding applied on top of the bead board, then cap that off with a 1 x 2 laid so that the two inch width comes out perpendicular to the wall. It will end up looking something like these two projects of ours from a few years ago: https://www.remodelaholic.com/2010/01/master-bedroom-retro-remodel/ or this https://www.remodelaholic.com/2009/11/bathroom-retro-remodel/ Hope
Thanks Cassity! I wish it were a project I could do very quickly…as soon as I tell my husband I have another project, I get the eye roll…but when I’m finished he’s very happy!
It looks great! This reminds me of a problem my hubby and I had in our old house! I look forward to checking out more of your blogs P.S. you had me at “Our idea of a date is ripping out a wall!” hehe 😉
I see this post is from a while ago, so I wanted to ask how the beadboard is holding up? I’ve been looking at the exact same vinyl planks because I have a ‘gold granite’ tile wall situation in my 1949 kitchen. You know, the 4″X4″ white tiles with the gold specks? Yeah. It’s uh… sparkly. 🙂 I’ve gotten a lot of ‘it will never last’ comments when I explain my beadboard idea to people, so I’m hoping you can tell me it still looks awesome and I can tell them all to go eat worms. 🙂
Hi Yvonne — this is a post from a guest, so if you’ll click over to their original blog (linked up at the top) then they can tell you how it’s held up and what you can tell all of those people about the backsplash you want! 🙂 Thanks!
Hi!
It’s been a year since your last comment.
Are you still happy with your kitchen bead board backsplash. Have you found it difficult to keep clean?
Your site doesn’t allow me to use all lower case letters for email
Thanks
Really cute redo! Love beadboard ! I must know the logo on that one piece kitchen sink! Love it!