Today I wanted to highlight my dad’s guest bathroom remodel. He did a terrific job with this project. He was very conscious about cost and reusing what he had to make the project a success. He did the bulk of the work and while we were in town we helped do all the painting and trim work to finish it up.
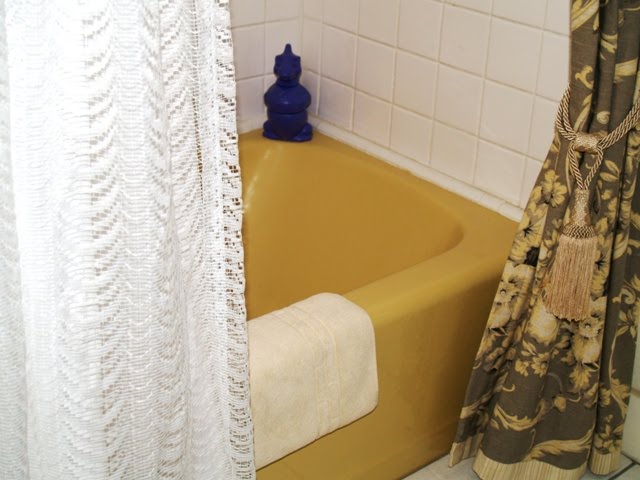
One of the main reasons I wanted to show this to you was because of the scary toilet and tub color that they worked around. Obviously not an ideal color, but I think the end product is beautiful. Here is what my dad said about the project:
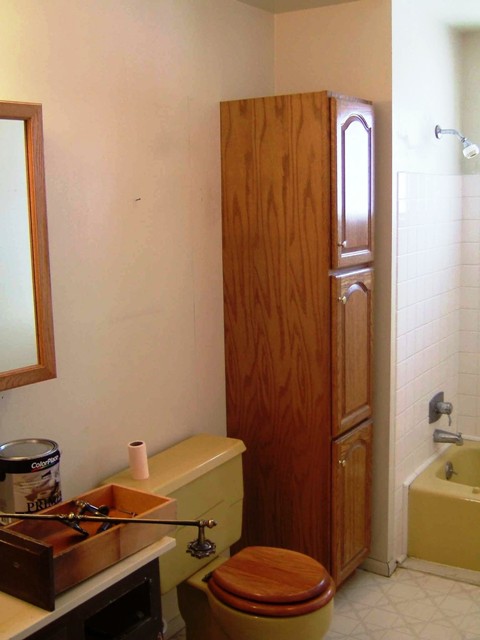
This is part of the before picture of the guest bathroom. To keep costs low we chose to keep the toilet and tub, even though they were a matching mustard yellow color. The decorating colors were coordinated to complement the toilet and tub. The current floor was white linoleum and we chose to replace it with white tile.
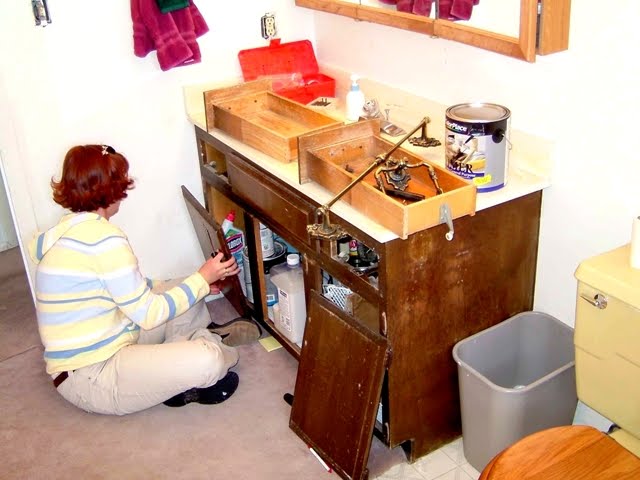
Here my daughter begins the process of removing the vanity cabinet, the tall faux oak cabinet
and move the toilet. The vanity cabinet was saved, stripped and repainted.
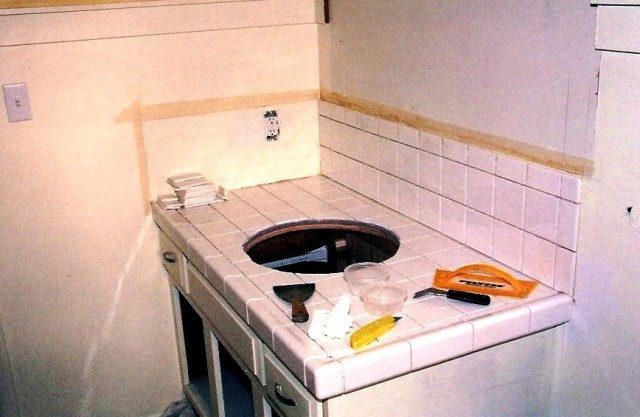
In this image the wall trim was partily installed, and the linoleum has been removed. New
particle board was installed and tile backer board screwed into place.
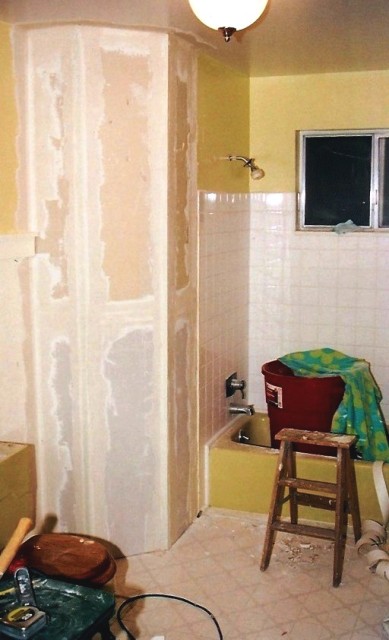
Once the faux oak cabinet was removed we removed the drywall to build a new
extended corner, to add room to the new future master bathroom remodel (which I will show you later) on the other side of the wall. To give the new corner more flare, we put a forty-five degree angle on it, as seen in the next picture. The framing seen in this picture will be removed once the new wall is framed and drywalled.
With the corner wall framing complete, the drywall went on next.
Drywall begins.
Drywall complete. Green drywall was used on the lower half of this corner,
because it was next to the toilet and tub.
Wall trim and baseboard comes next.
The old cabinet has been stripped and repainted. We also added two inches to
the rear of the cabinet making the top 24 inches deep, to allow for easier baby changing
on the top. There are lots of grandchildren who visit our house. The porcelain
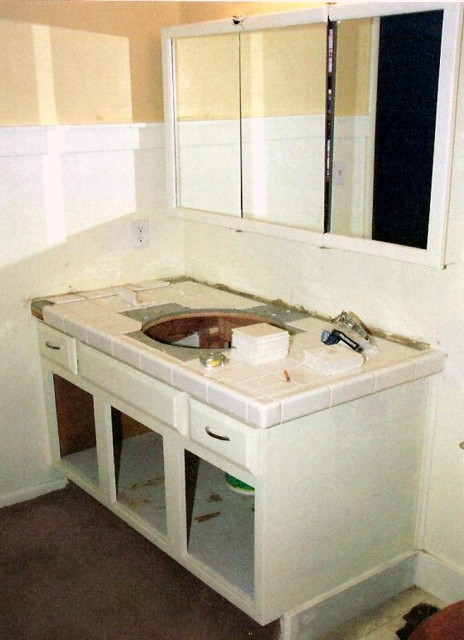
sink is sitting in the cabinet top hole for fitting.
The tile was then laid out and cut. We used an extension on the lip of the counter top to which
we glued the rim edging tile. In an area of high traffic, extra supporting for tile
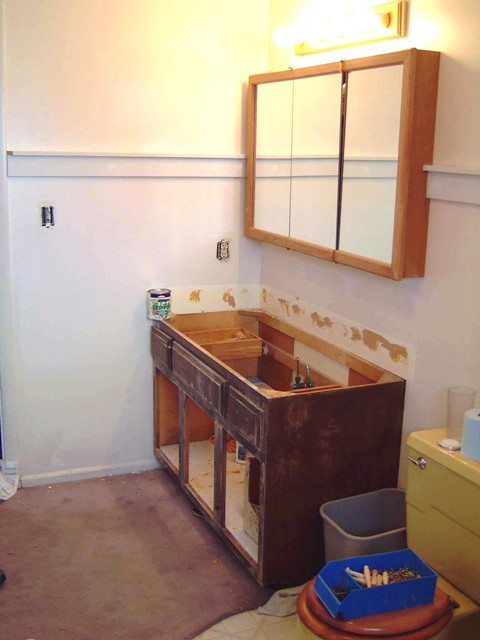
edges can be helpful. The mirror cabinet was repainted too, but was not too
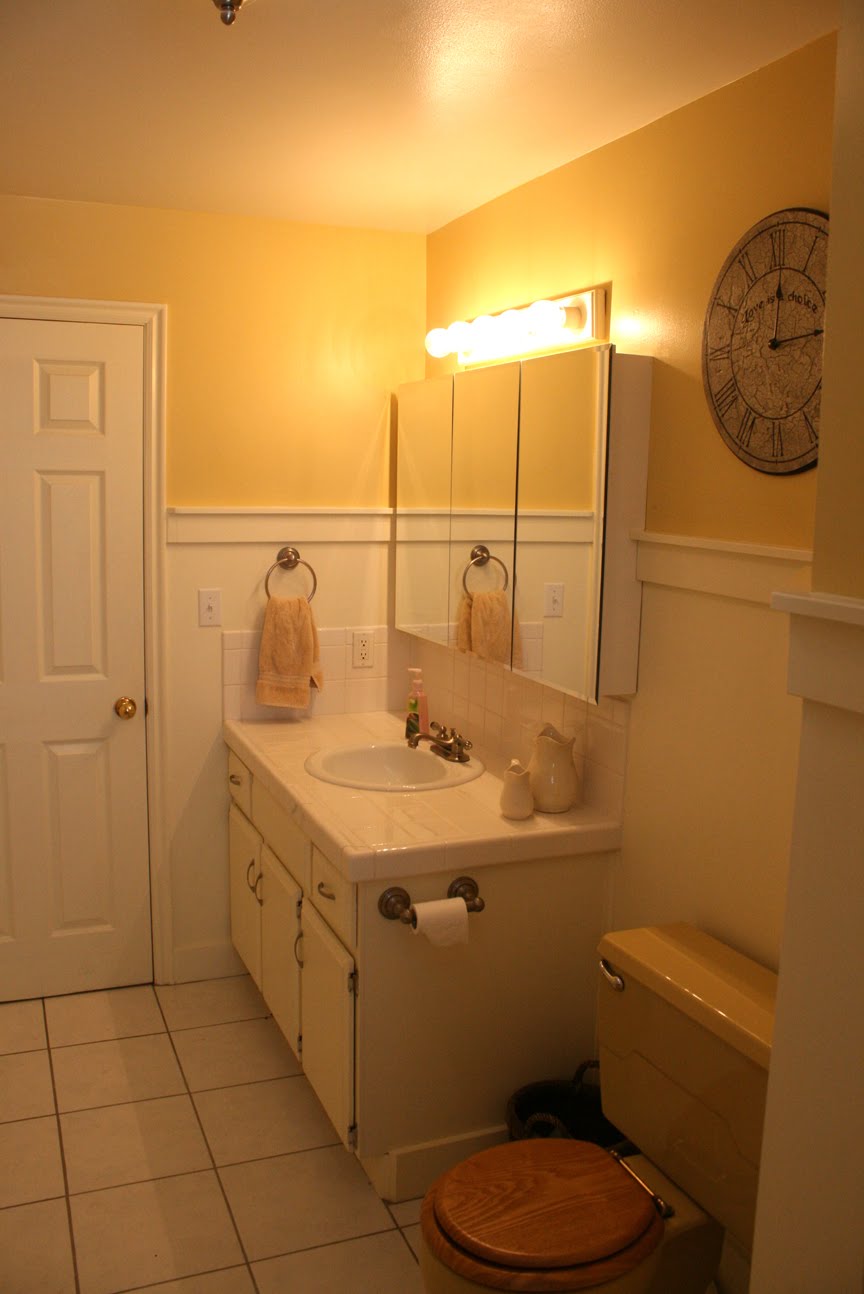
attractive so it was eventually replaced it as you can see in a later picture.
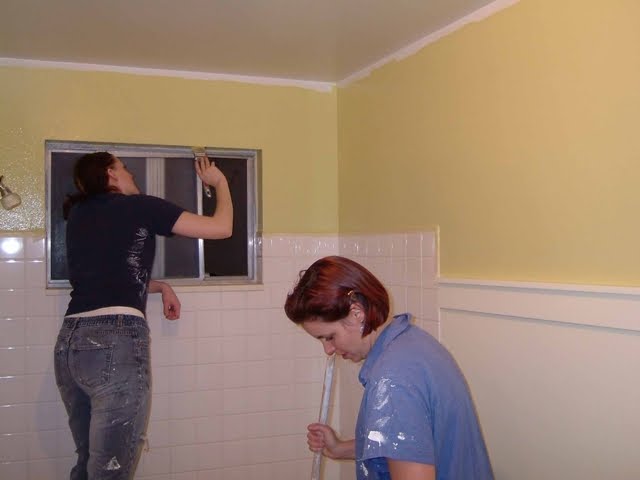
My daughters are in the middle of the painting process.
We selected a golden tinted paint for the upper half to compliment the tub and toilet color.
This also helped to bring down the garish tub and toilet color a notch and brought the bathroom together.
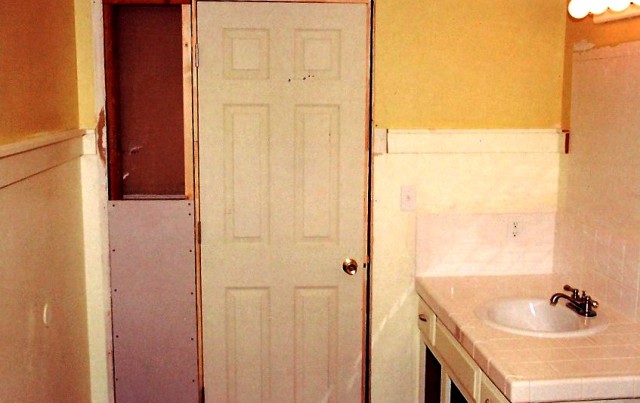
One of the problems with this bathroom was that you could look straight into
the “golden throne” from the entry way of the house, if the door was open. By
moving the door over, approximately one foot nearer the cabinet, the toilet was not
visible from the entry to the house, cuz who wants to get caught with their pants down!
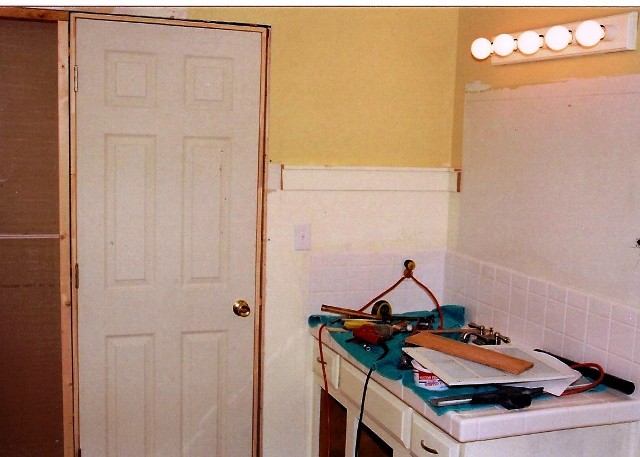
The door was re-installed. Next came the drywall. The extra benefit to moving
the door is the added space that allowed for storage cabinets to replace the faux oak cabinet that had been near the tub. Also the extremely simple box cabinets add a lot of architectural interest.
One slight problem we have found is that the cabinet drawer can bump into the door if pulled
out all the way. But the benefit of visually blocking the view into the room was worth it.
Focusing on the cabinet, the tile was glued and ready for grout and then the sink.
All the major elements of the room were not changed substantially but we were
able to take advantage of the existing cabinet by extending the top depth. The
choice of white tile copies the tub tile and does allow for color changes later.
The tub area was next. An aluminum window was replaced with a white vinyl
double glaze and is more energy efficient.
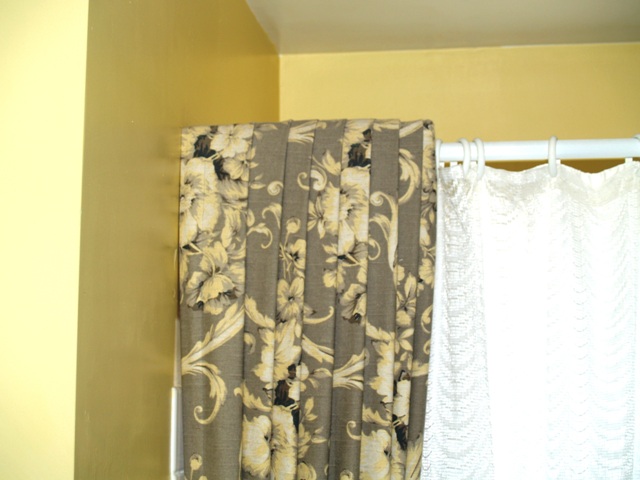
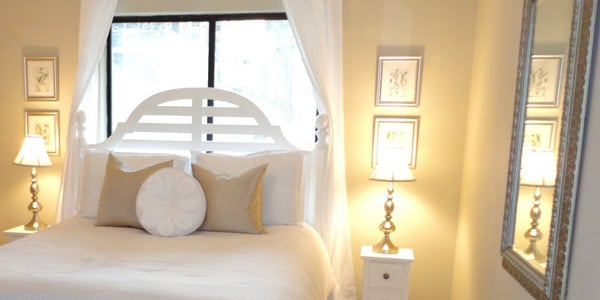
With almost a “stage” look to the shower side curtains,
it added drama to the drab former look of the shower.
The side curtains are hung on a specially made mounts attached to the wall.
This was a bit of an after thought, but with the drywall off, at the location they were
attached to a backing plate and installed while the drywall was off. It’s always handy
to consider installing backing plates at the corners of windows when possible.
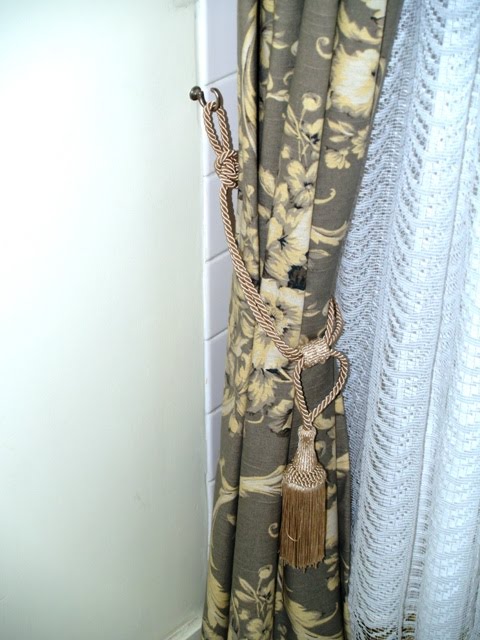
Using a little silk rope and tassel helps add a classy detail.
The ropes are attached to a decorative hook on the wall.
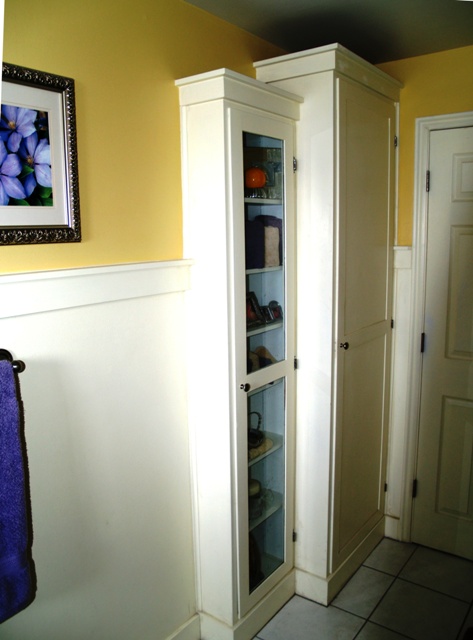
With the door moved over it allowed room for custom cabinets that add space for the bathroom towels and supplies. And by repeating the style of the wall trim on the top of the cabinets it gave a nice architectural feel.
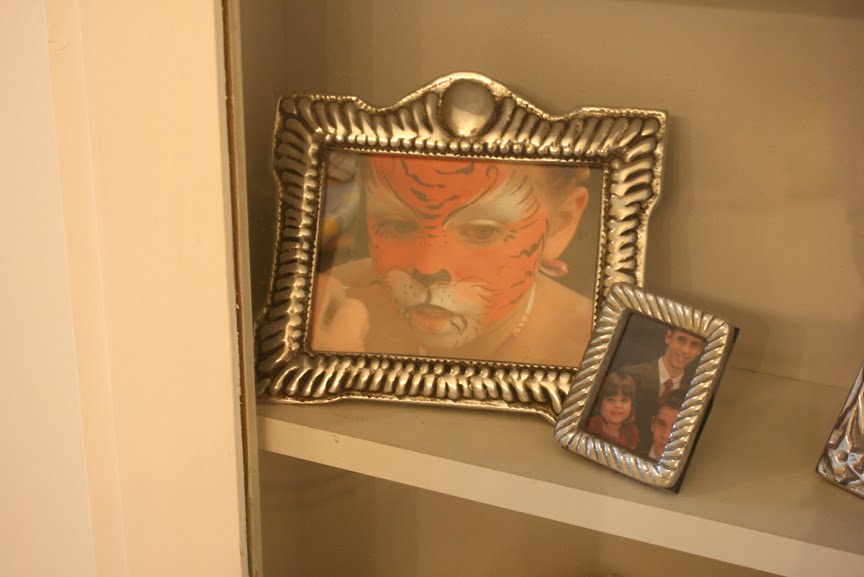
To add another decorative feature we made the door for the smaller cabinet in
glass and have used the colors of the towels and a few other pictures for display elements.
What do you think?
I think they were very successful working around a mustard yellow tub and toilet!
Related


>I think that's amazing! That's what I think. What a wonderful remodel!!! I love it! Even with the yellow fixtures 🙂
>i.love.it!
>looks so much better! i cant believe it is the same room!
>It looks amazing!!
>Wow, the bathroom looks gorgegous! It's so warm and…well, as welcoming as a bathroom can be. Now it looks like the mustard toilet & tub were planned 🙂
>That is such a great transformation. My dad and step mom have mint green counter tops, paint and tub in the house they purchased forever ago. It also has a hunter green toilet. It is such a wretched bathroom, buit they are afriad to ever freshen things up, and I figure anything would be an improvement in there. I need to show them this post!
>That is a great transformation. They did an awesome job.
>Wow! I think they did a GREAT job working with the color! The toilet seat jumps out at me in pictures…wonder what it would look like white?
>I think it looks great! Everyone did a fabulous job.
>Wow! I never would have thought that the toilet and tub color could be pulled off so elegantly!
>Wow – I never would have thought that color would work, but it does! Great job!
>Looks great, and hey, it's not mustard, it's 'Harvest Gold' actually. See how much nicer that sounds. 🙂 We had the exact same fixtures in our 1977 bi-level and they still worked fine.
>Wow! What a great transformation. I especially love the 45 degree angled wall. I am not a fan of the 70's colours, but they certainly did a wonderful job.
I have to agree with Katie about the toilet seat cover though. Now that all the wood had been painted out, it looks out of place. I'd be curious to see how a white one or maybe one similar to the fixtures/accessories colour would look.
>Great remodel! And as much as we had coloured tubs and sinks and loos at the moment – I bet they will be all the rage again in 10-15 years' time. So hang on to them ;-)…
>Nice job! That color is called "Harvest Gold" I believe. I once had it in kitchen appliance colors in an older home. Vast improvement !
>Wow, I love that. I have a 1/2 bath that wants an overhaul. I wish I had those skills!!!
>Looks fantastic!
>That was a big job! I hope it serves them well…especially now that you can't see the potty from the front door! Great job. Lisa~
>Impressive. You really outdid yourselves this time! What a genius way to make a dated & hard to remove item suddenly look fresh & hip. Already a follower:)
>It looks really good! The only other thing I would have changed is the toilet seat because you got rid of the wood color everywhere else. But the room really does look amazing. Good work!