Old Workbench With A New Look: Guest
Suzanne at Meridian Road, found a great workbench and gave it a new look.
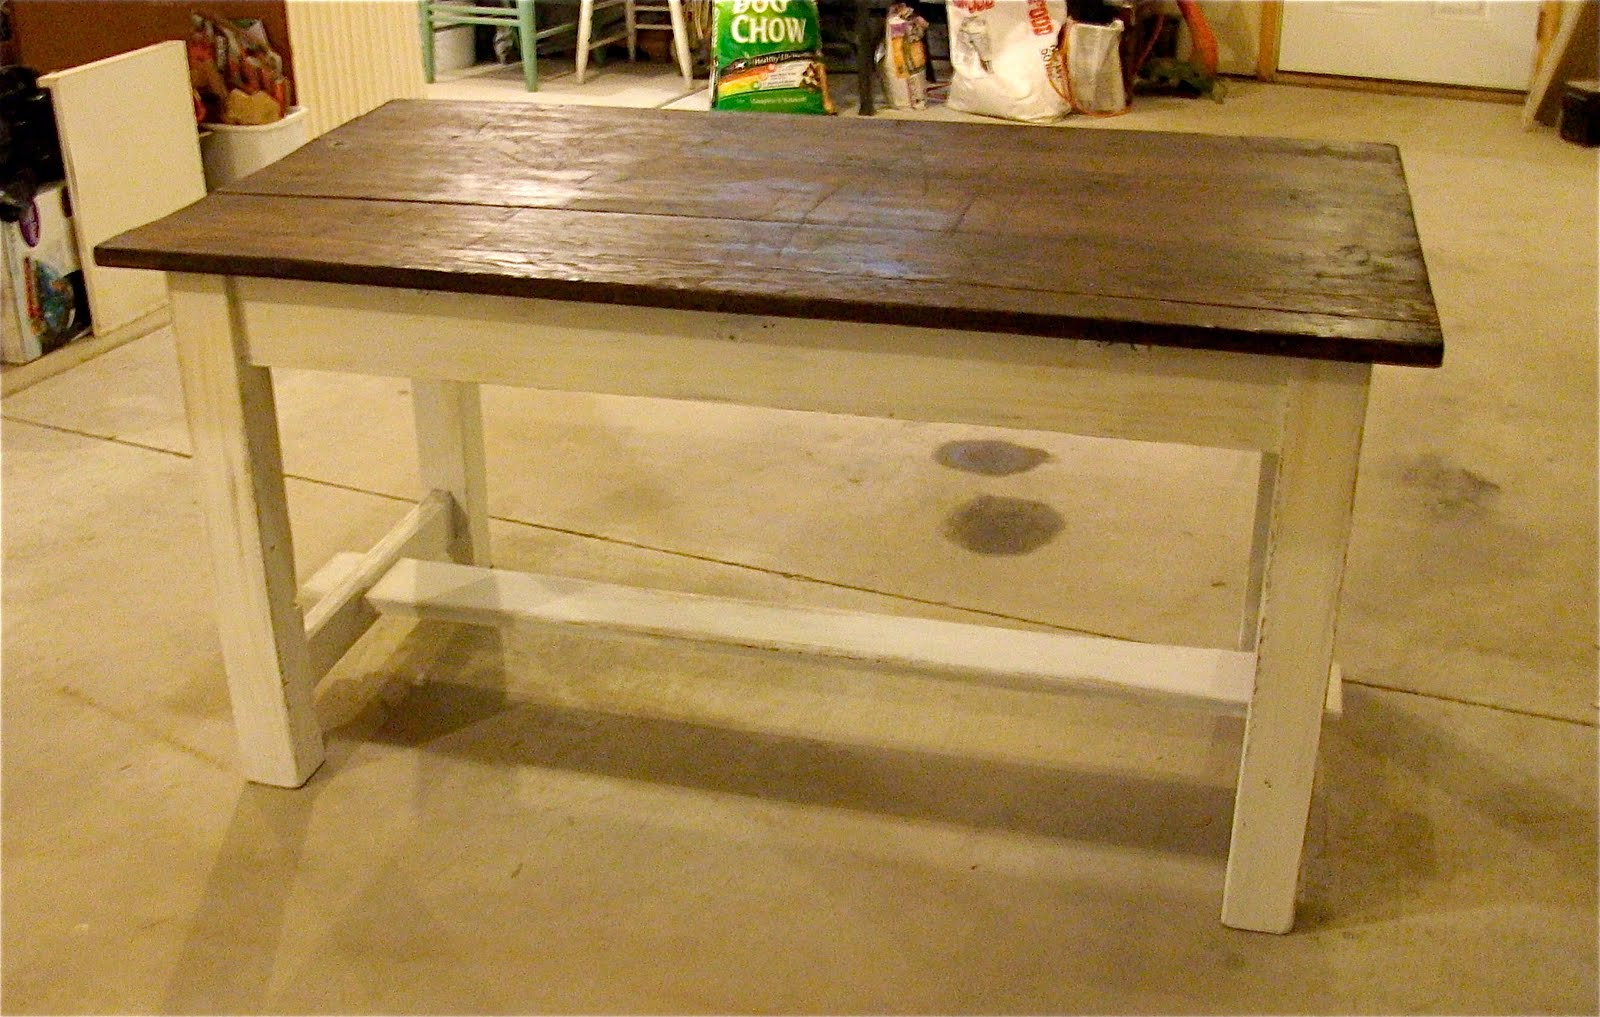
My 100% free table is finished. For now. I’ll probably change it again sometime within this lifetime. 🙂
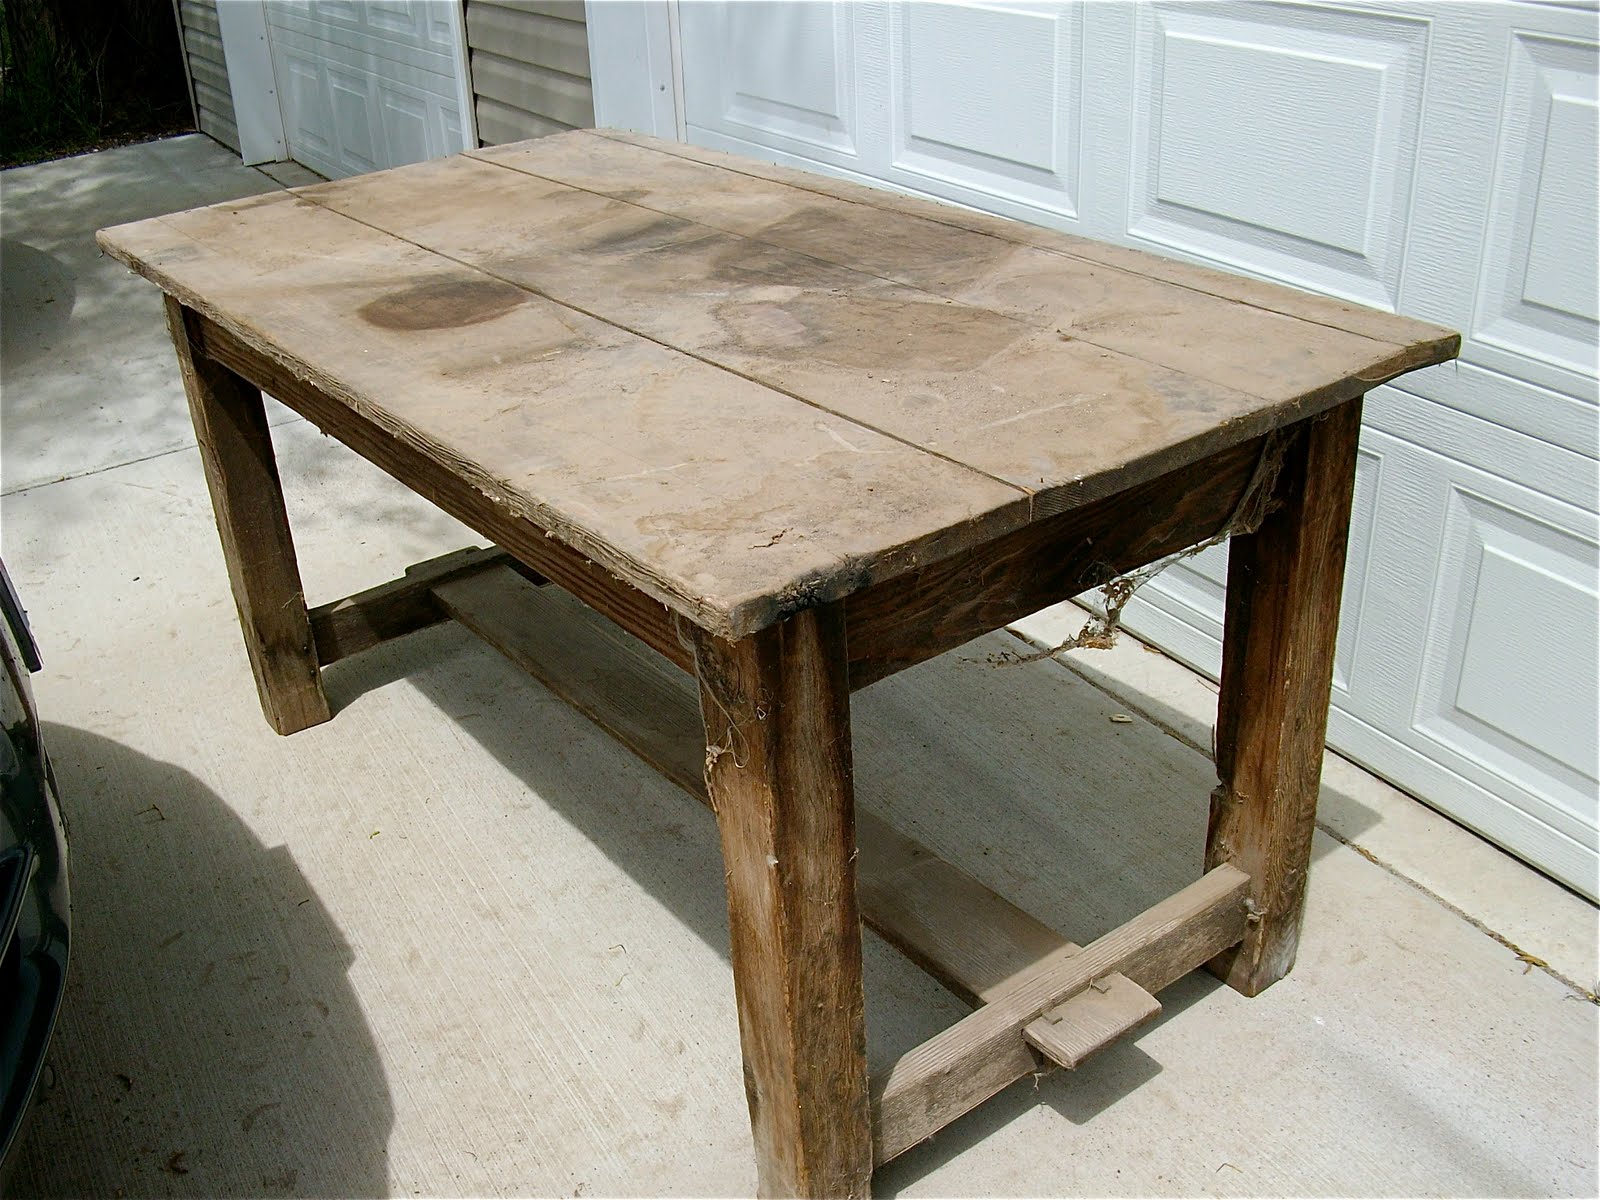
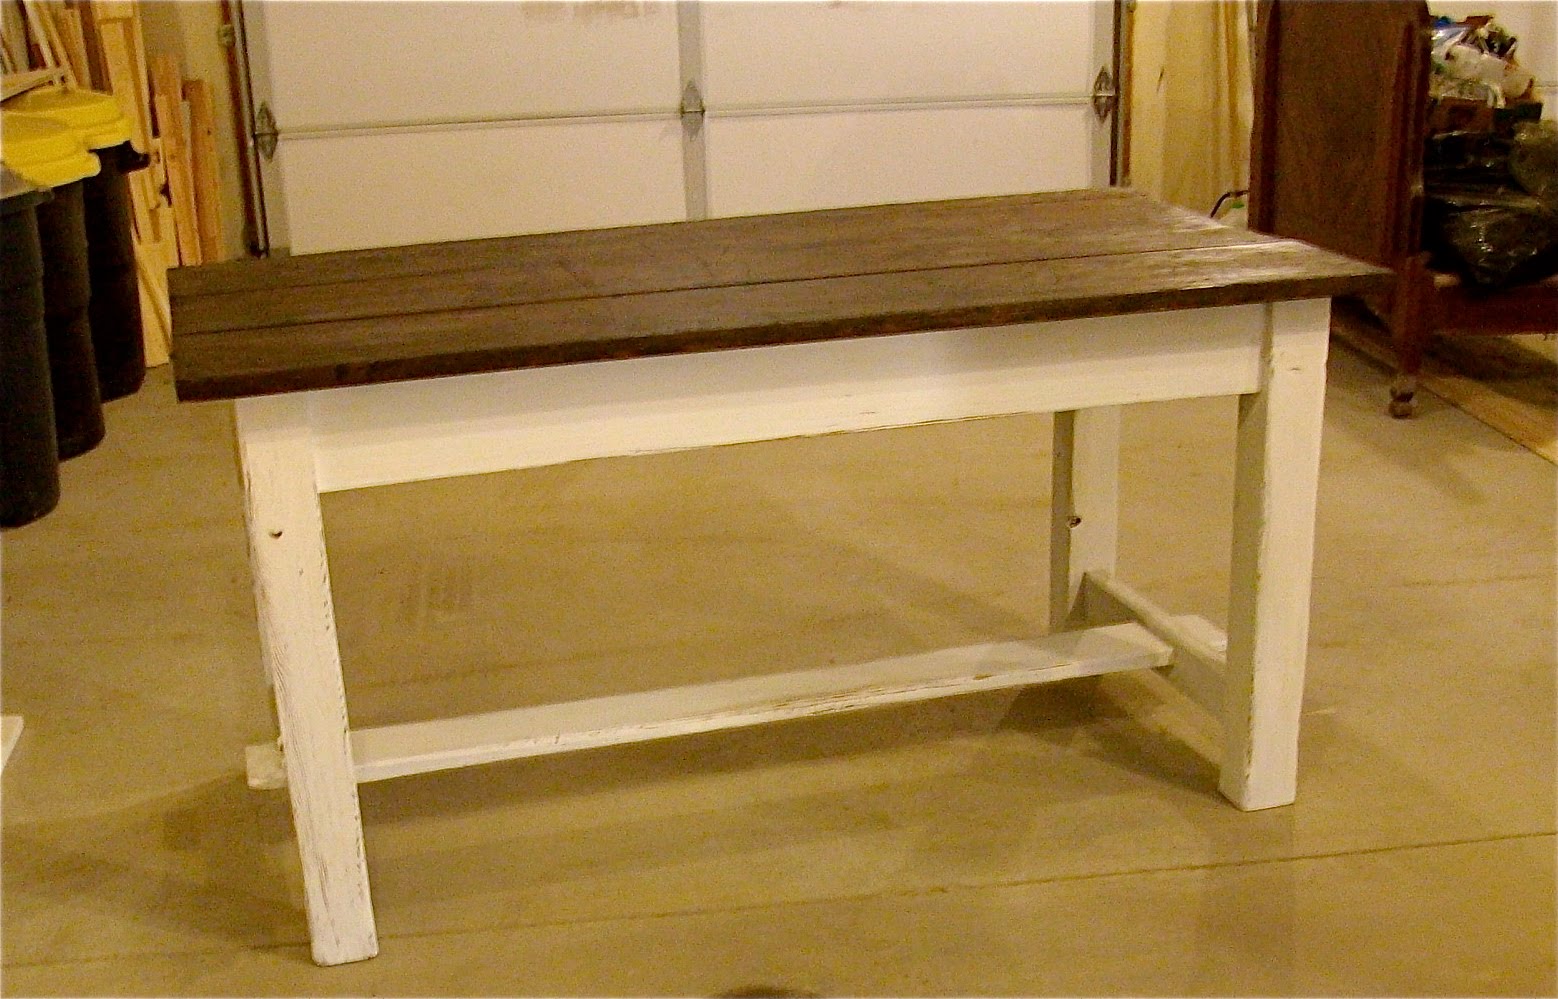

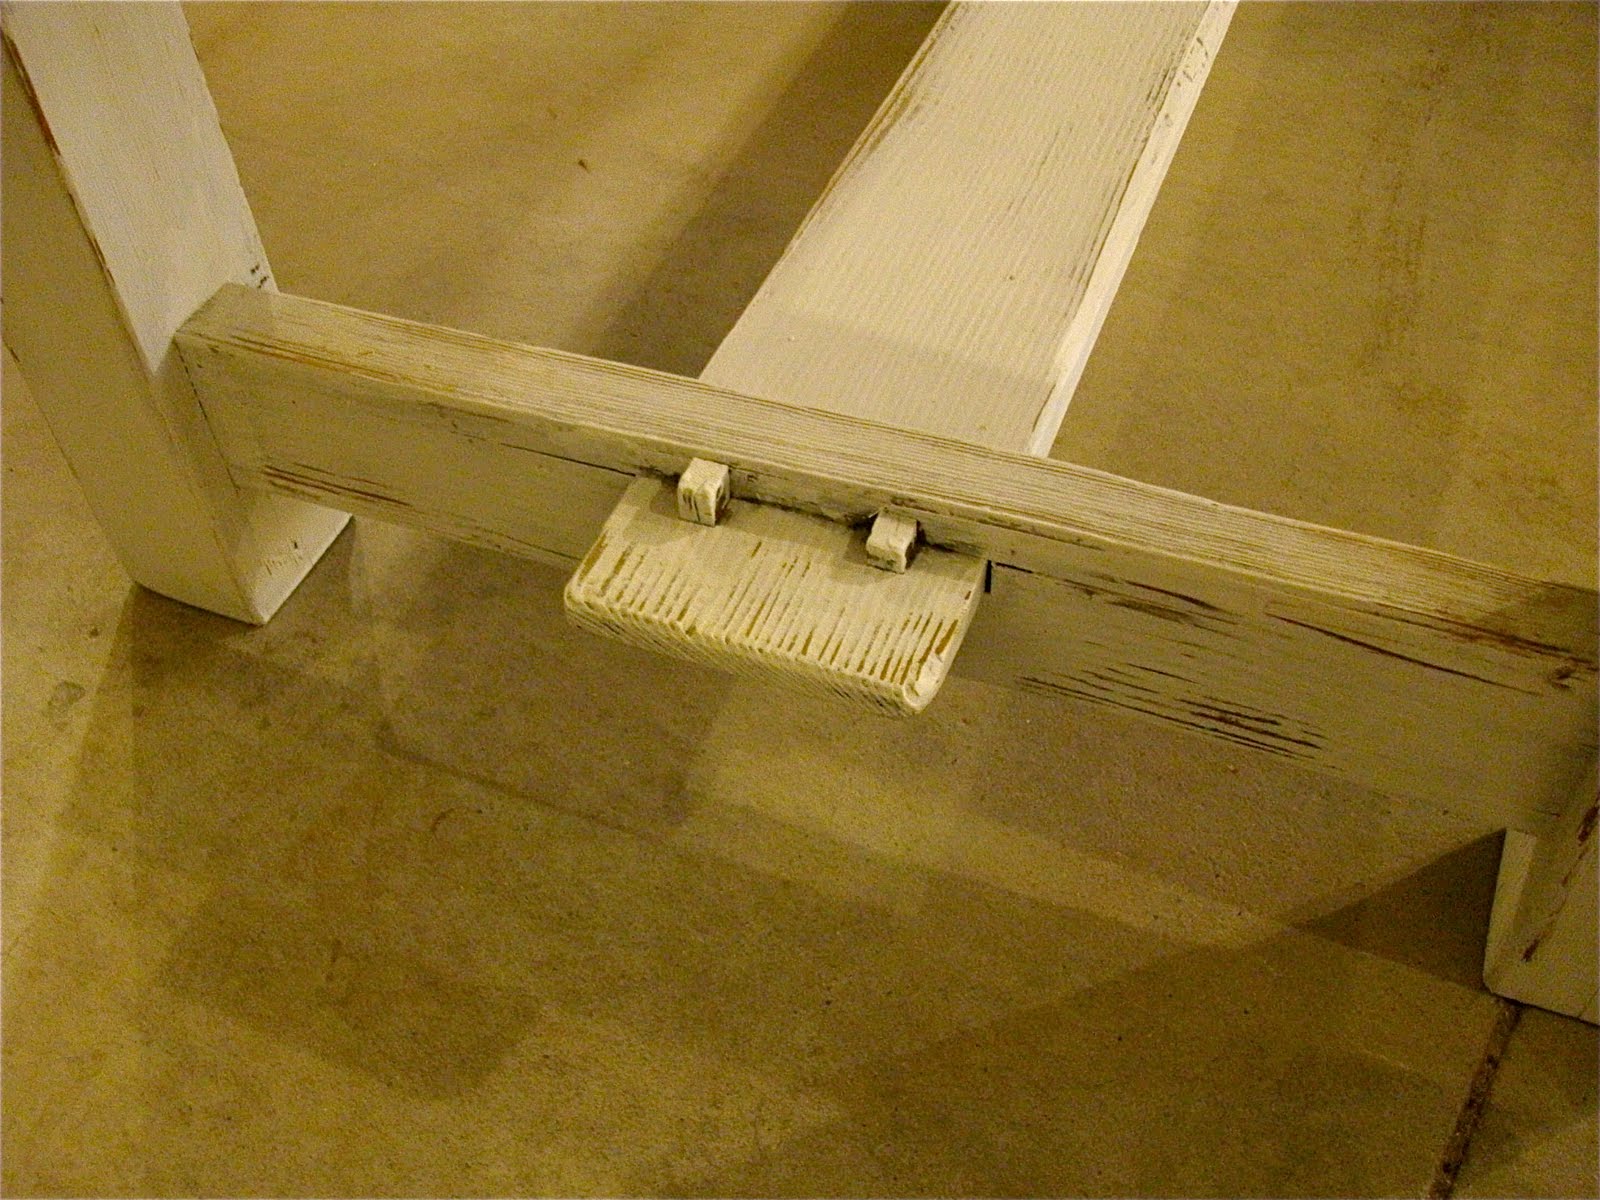

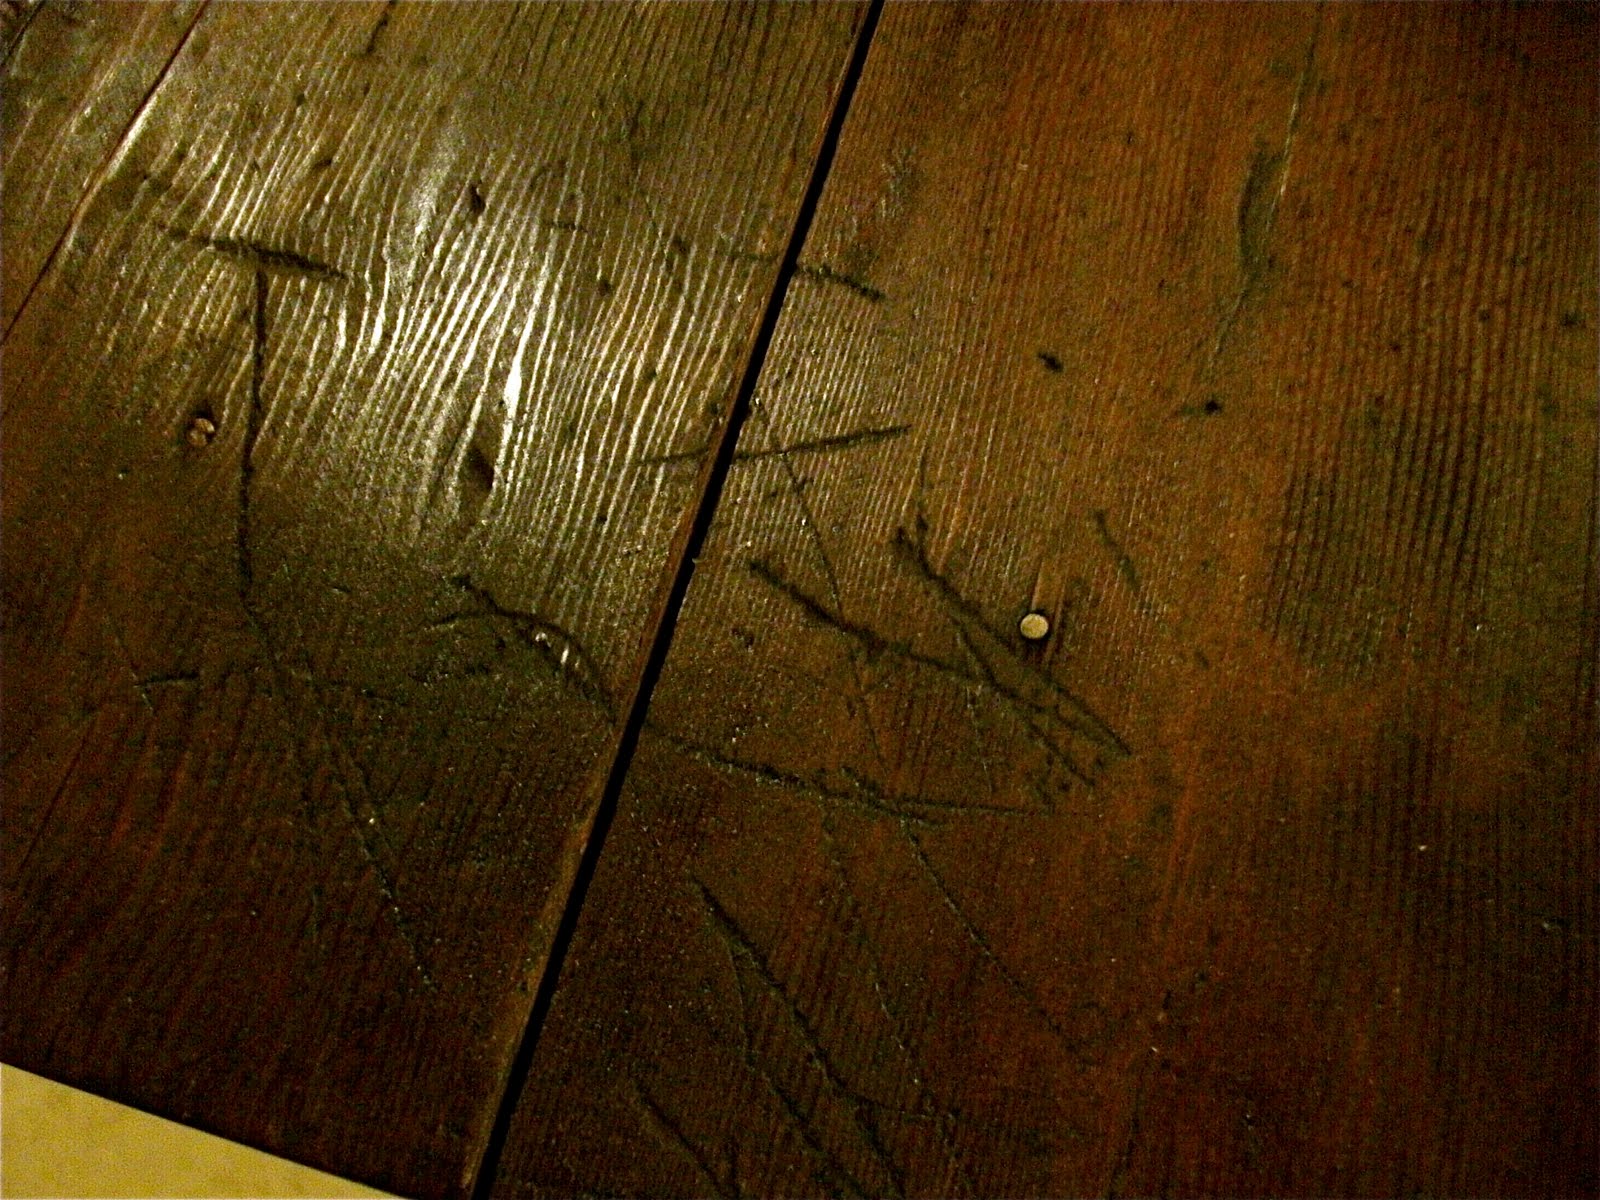
The top is pretty scarred up. It’s one of the things I love about it. I put one coat of satin polyurethane on the top. I didn’t coat the botton. I’ll tell you a secret~I didn’t even really paint the bottom. That’s primer.
I got the priming done, and I could still see a lot of the wood grain. It was like it the darkness of the wood was bleeding through. I really liked how it looked, and I like how flat the primer is, so I decided to leave it. If I want to paint over it later, it’s just that much easier since it’s already primed.
Here’s the really sad part. I had planned on putting this in our spare bedroom so I’d have a place for my sewing machine. But it won’t fit. The door is too narrow. So we either have to take off the top (and I really don’t want to do that. For as old as it is, this table issturdy and I am reluctant to do anything to it that would make it less sturdy.)take out the whole door frame (ugh. Just thinking about that makes me tired), or use it somewhere else.


>Love that table! Great transformation…gotta love free stuff!!
>Hey! Thanks for featuring my table!
It was really one of the more fun things I've done.
>Looks Great!
Can you put it through the window?
>Love it!!!
>Nicely done, do you think it would fit through a window? I'll bet you'll figure something out, you can't let a little thing like size stop you!
XO
Heidi – Heart and Home
>Wonderful redo. Love the look of it!
>Love the new look! Really enjoy your site!
>Looks awesome!