Our Suburban Cottage Home Tour
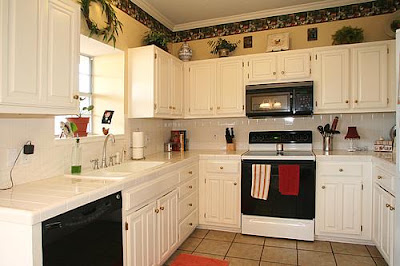 It wasn’t horrid, but it definitely needed to be brought into this Century. I was working with a very tight budget, so any updates had to be minor. Luckily for me, pretty much all it took to update the space was a new coat of paint on the walls, a change of cabinet knobs, and some new accessories to give the kitchen a little facelift. And yes, it also took some wallpaper stripping (I know… hate me for not loving the wine and cheese wallpaper border. Sooo classy).
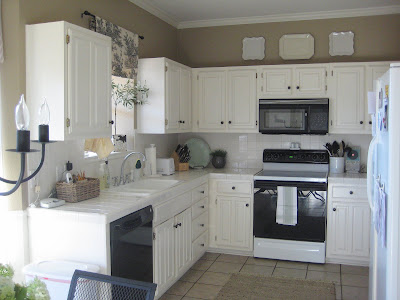 I took advantage of the existing chair rail, by painting the lower wall white and then adding some simple lattice strips to create the look of board and batten wainscotting.

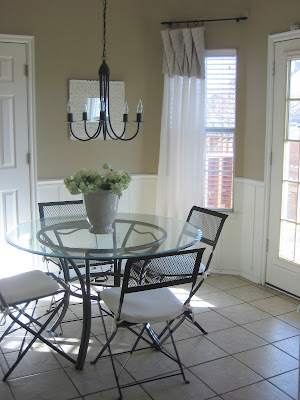
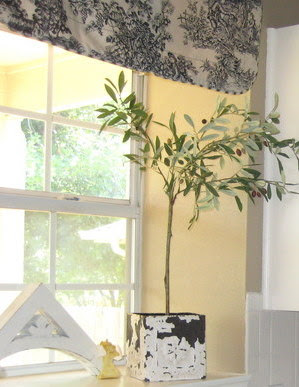
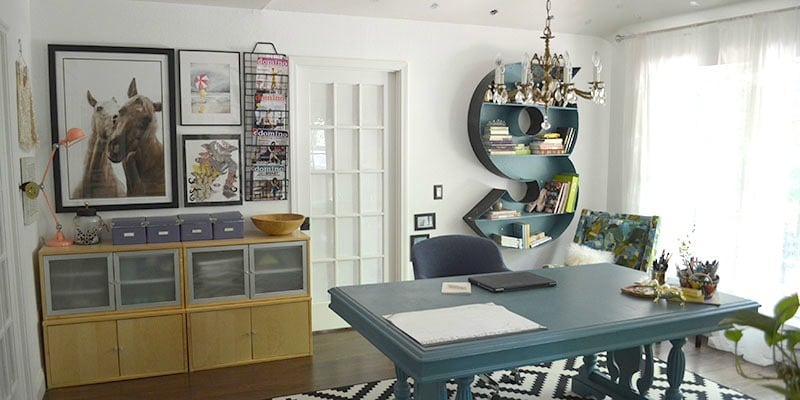
“Flea-tique” stores are my secret weapon. I find the most unique and inexpensive treasures there, like this toile euro sham that ended up being a perfect valance. I also found the olive topiary, tin planter and architectural wood thing-a-mabob there.
And, you guessed it, I also found this pine table that I LOVE at my favorite local “flea-tique” store. It was $35 and I hauled it out of there without even blinking.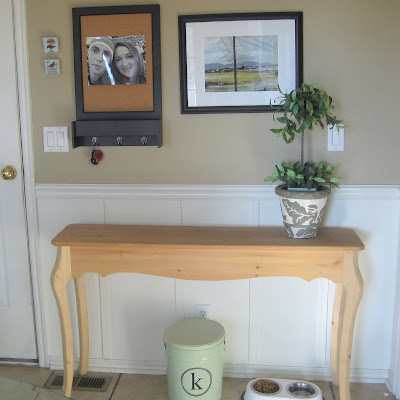 All in all, I think I spent around $100 to update the entire space. I’m a firm believer that with enough creativity and elbow grease any room can become a room you enjoy being in.
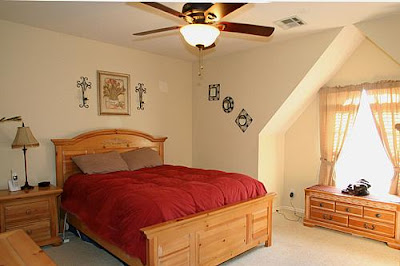 Again, it was fine, but not entirely my style. I really wanted to create something stylish and serene….where I could climb in bed and feel like I could relax completely. This is what I came up with (um, and try to ignore the red wine stain on the carpet if you possible can…perhaps someone was relaxing a bit too much).
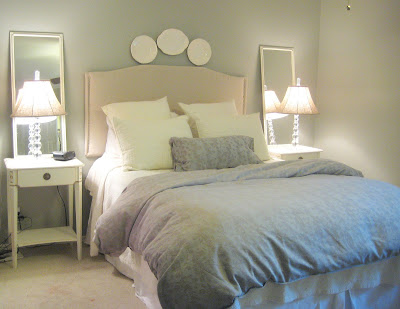 The cream shams and coverlet are from my other “secret weapon” store, TJ Maxx…or Marshalls…they’re both equally effective. The duvet and small pillow are from an old Thomas O’Brien collection at Target called Pewter Blosson (which I’m so cheap that I purchased them on Ebay). I also recently made the upholstered headboard. You can read about it here.
 I decided to create a more dramatic look by hanging long gauzy curtains in front of the window alcove instead of trying to hang curtains inside the alcove. The alcove would be the perfect spot of a window seat (which I may build at some point), but I’d also love a super comfy slipcovered chair tucked into the corner. In the meantime I have a little antique wood chair there. Not ideal, but it works. I also installed crystal knobs on my cheap dresser to create a more custom look.
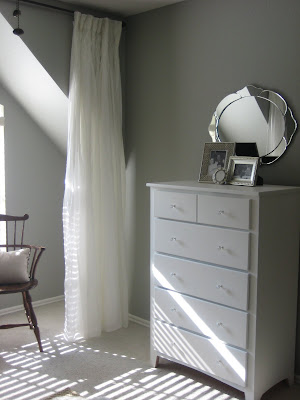
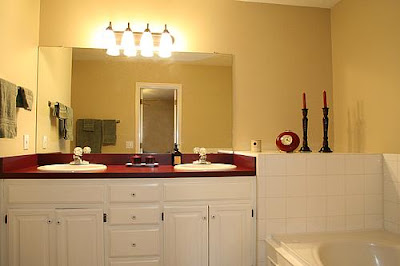 On the positive side, it was roomy with lots of storage space and two sinks….but that’s about all it had going for it. The burgundy laminate countertops gave me a stomach ache every time I walked in there. So they were the first thing I had to change.While I desperately wanted a brand new travertine countertop, that just wasn’t going to happen. My little budget couldn’t even allow for new laminate countertops. So I did what any creative “ain’t no silly budget gonna hold me down” gal needed to do. I painted them. YES, I painted my countertops. And I LOVE them!!! You can read about my process here and here, but here’s an after photo:
 I also framed out the large builder’s mirror to give it a quasi built in look (and sneakily grayed out the reflection in Photoshop so you can’t see all of the unfinished stuff in the room…sorry). You can read about how I did it here.
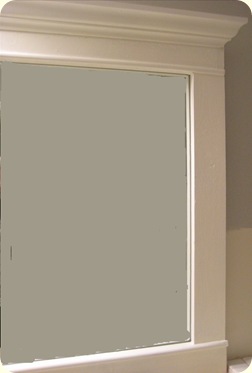


>Gorgeous!!!
I love all your flea-tique finds! Did you make that word up yourself? How clever!
>just beautiful thanks for sharing. It's neat to see the before (previous owners) and afters because they really show the difference in people's styles.
>WOW! It looks amazing!
>I love all the colors! I really like the wainscoting in the kitchen too. We have something similar to that in our dining room.
>The kitchen and bath look great. My wife and I plan to update our kitchen shortly with a contractor from eContractorBids.com. I'll be passing this post on and plan to use this kitchen as a reference point for some ideas. Great Post!
>Holy moly! Love all your room make-overs! My fave is your bedroom. You definitely achieved the serene feel in there. It's just fabulous.
Thank you for sharing!
Blessings,
Marie
https://emmacallsmemama.com
>Love it! Inspiring, for sure!!!
>BEAUTIFUL!
>Oh wow – it's up! Thanks for having me.
>I love AnNicole's kitchen!! I painted my baby blue laminate countertops to look like granite last year too! I wrote a follow-up post on my blog in Feb. to show how I did it! I LOVE it and I think more people could save a TON of money if they just thought a little outside the box and used paint!! 🙂