Welcome 2021 with year-end savings - see the deals here

Remodelaholic

DIY tutorials, Woodworking plans and more.

FREE BONUS: Kitchen Organization Boot Camp
  • Home
  • About Us
    • About US
    • Contributors
    • Facebook
    • Pinterest
    • YouTube
    • Instagram
    • Disclosure and Advertising
    • Contact Us
  • Shop
  • Project Ideas
    • Our Houses
      • Birch House (current projects)
      • Canyon House
      • Park House
      • Downing House
      • Logan House
    • DIY Project Plans
    • All projects
    • Barn Door Baby Gate
    • Dutch Door
    • Framing A Wall Mounted TV
    • Indoor Playhouse
    • Beach Themed Living Room Design
    • Chicken Coop Building!
    • Computer Desk
    • Computer Desk Plans
    • Custom Newel Posts and Stair Remodel
    • Family Room Sneak Peek
    • Headboard Tutorial
    • Living Room Progress
    • Mood Boards
    • Scrabbled Family Names
    • Pets
  • Design By Room
    • Bathrooms
    • Landscape
    • Kids Bedrooms
    • Kitchen
    • Living Rooms
    • Laundry Rooms
    • Master Bedrooms
    • Mood Boards
    • Office
  • Holiday
    • Christmas
    • Halloween
    • Patriotic
    • Easter
    • Fall
    • Saint Patrick’s Day
    • Thanksgiving
    • Spring
    • Valentines Day
    • Winter
  • Crafts
    • Printable
    • Art
    • Paper Crafts
    • Kids
    • Fabric Crafts
    • Decorate
  • Recipes
    • Appetizers
    • Beef
    • Beverages
    • Breakfast
    • Chicken
    • Desserts
    • Dinner
    • Fruit
    • Healthy
    • Holiday
    • Lunch
    • Main Dishes
    • Salads
    • Sandwiches
    • Sauces
    • Seafood
    • Side Dishes
    • Soup
    • Vegetables
  • Videos

Wrap it up: Guest Contributor

Written by Cassity

  • Facebook
  • Twitter
***Alissa asked me to let you all know that she is having a fabulous giveaway right now 
a $60.00 gift card to CSN stores so head on over to her blog 33 Shades of Green to enter!!


I’m so excited to be here at Remodelaholic guest posting again!  Thank you Cassity for having me!  Please come and visit me at my blog 33 Shades of Green.  You’ll find me cooking, crafting, decorating, and trying out all sorts of creative projects.
.
The project I have to share with you today is a wrapping paper and ribbon wall rack I made for my craft room.  It was an easy and inexpensive project to make.

.

.
What you’ll need:
– 36″ x 24″ open back frame (Mine came from Hobby Lobby and was 1/2 off)
– (5) 28″-48″ cafe rods ($2.99 each @ Hobby Lobby)
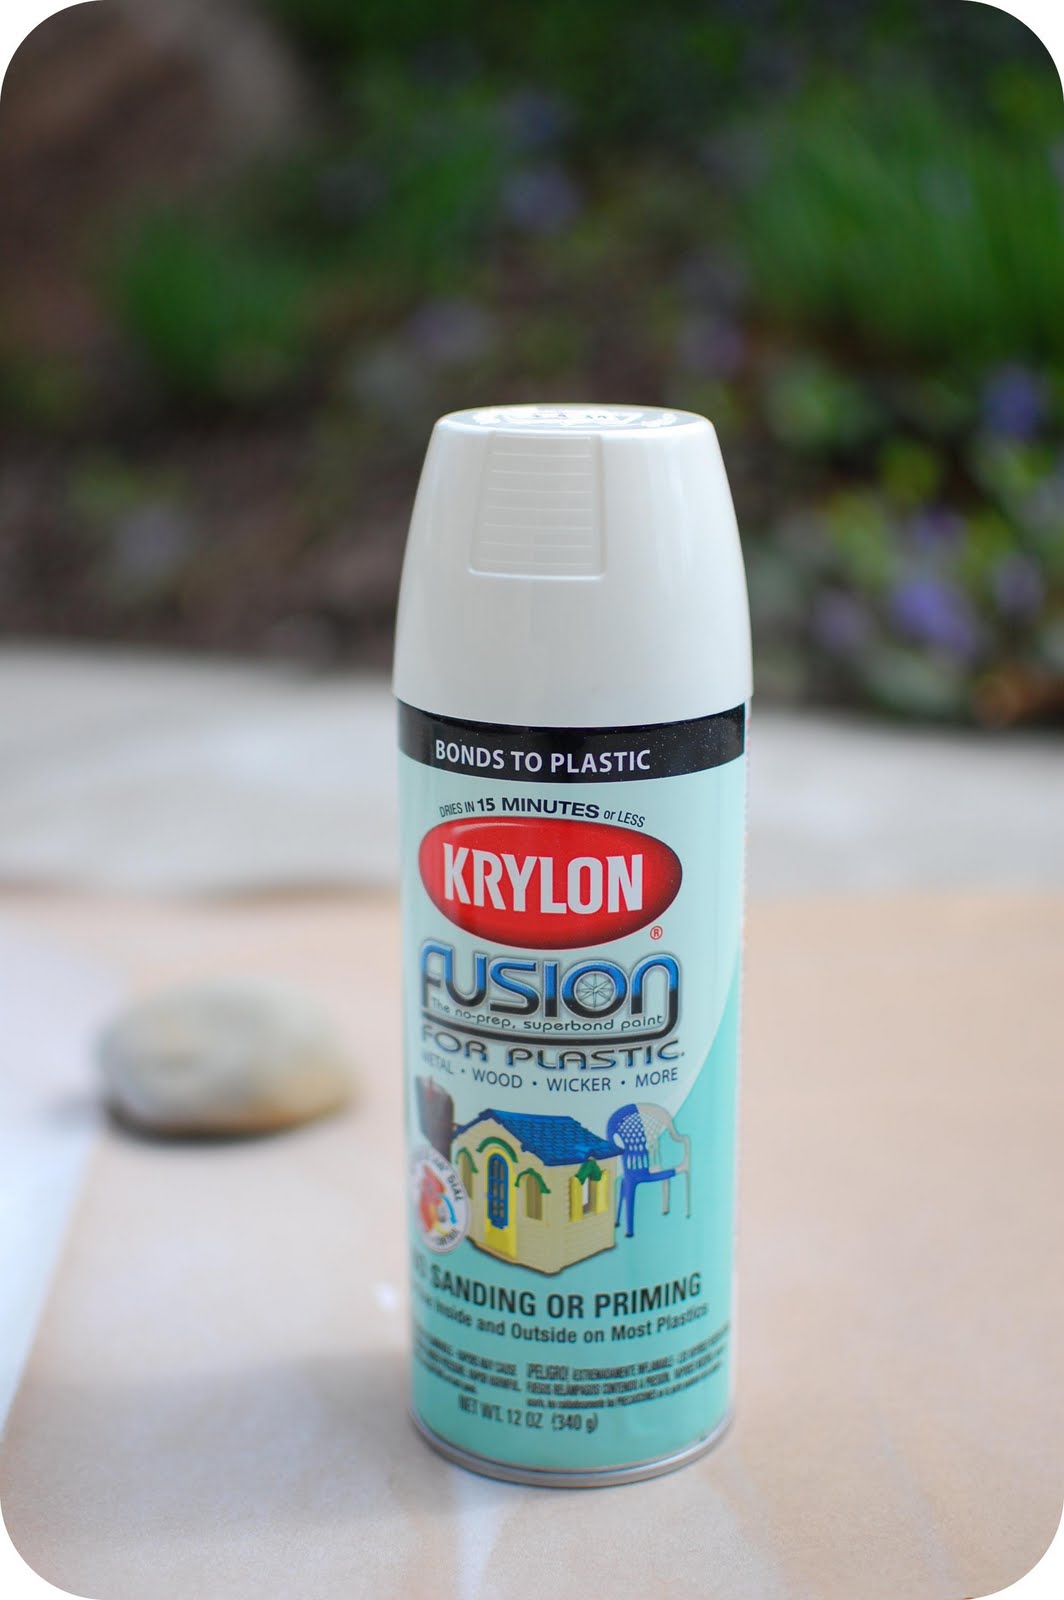
– spray paint
– mounting hardware for frame
.
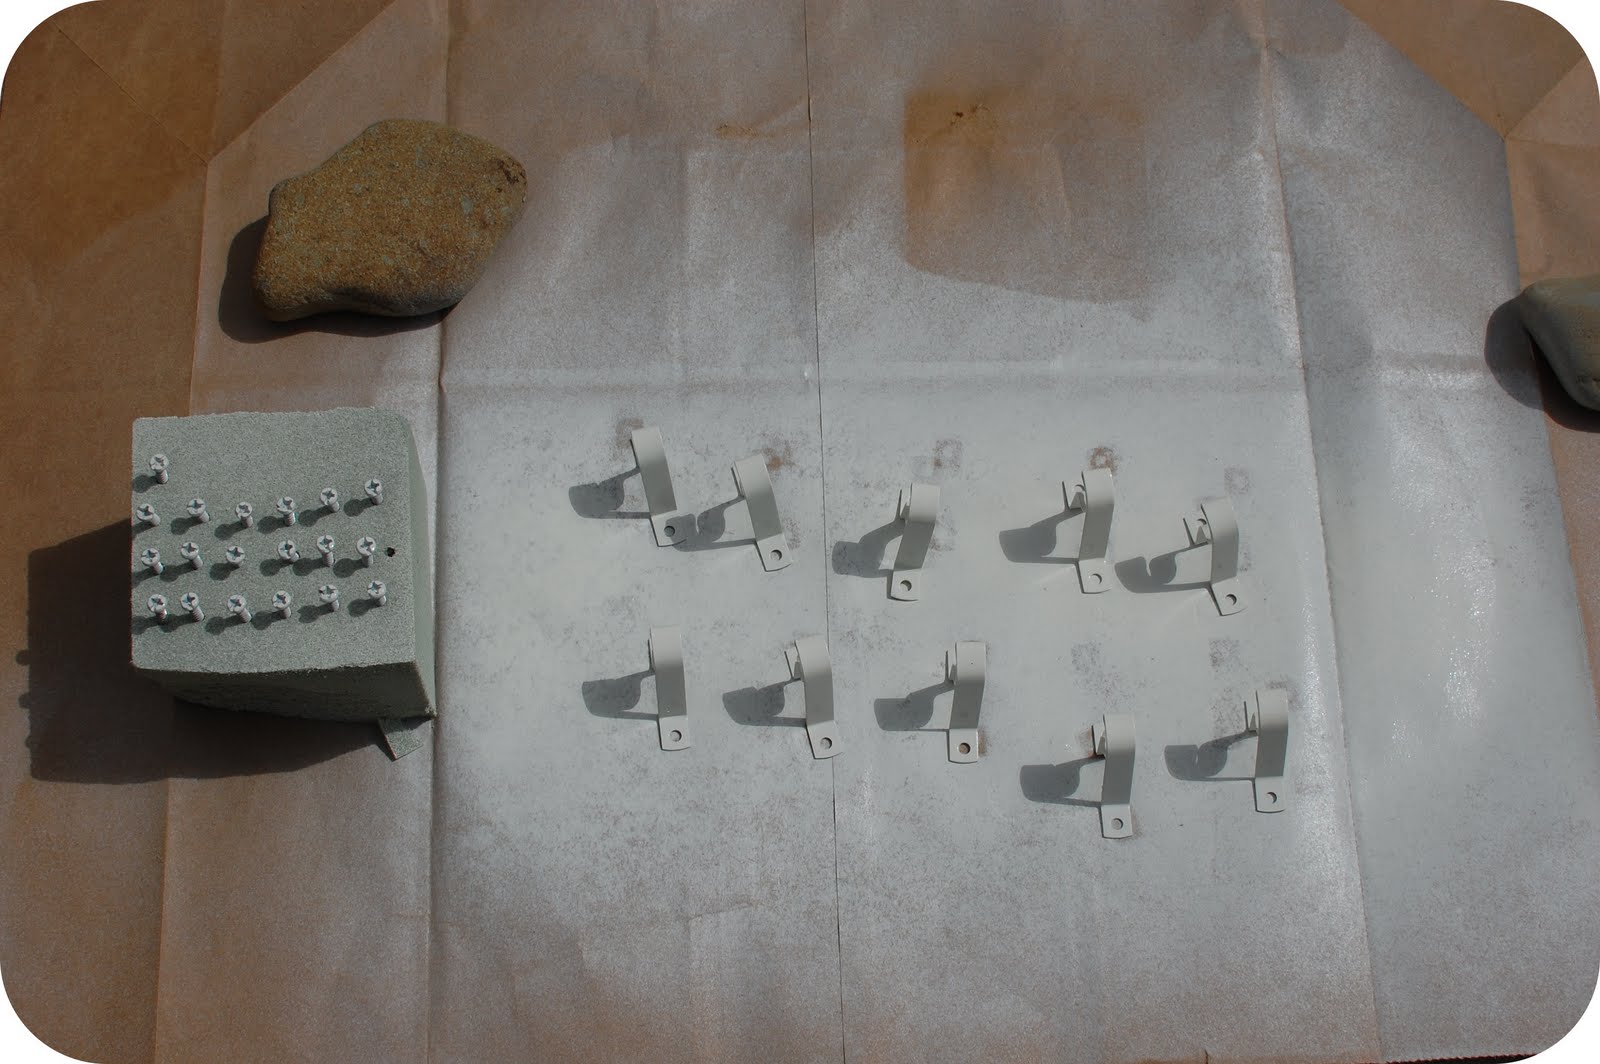
The cafe rods came with brass hardware that I wasn’t too crazy about.
.
.
So my first step was to spray paint the ends of the rods and the included hardware.  I used Krylon in Dover White.
.

.

Before:
.
.
And after:
.
.
Much better, don’t you think?
.
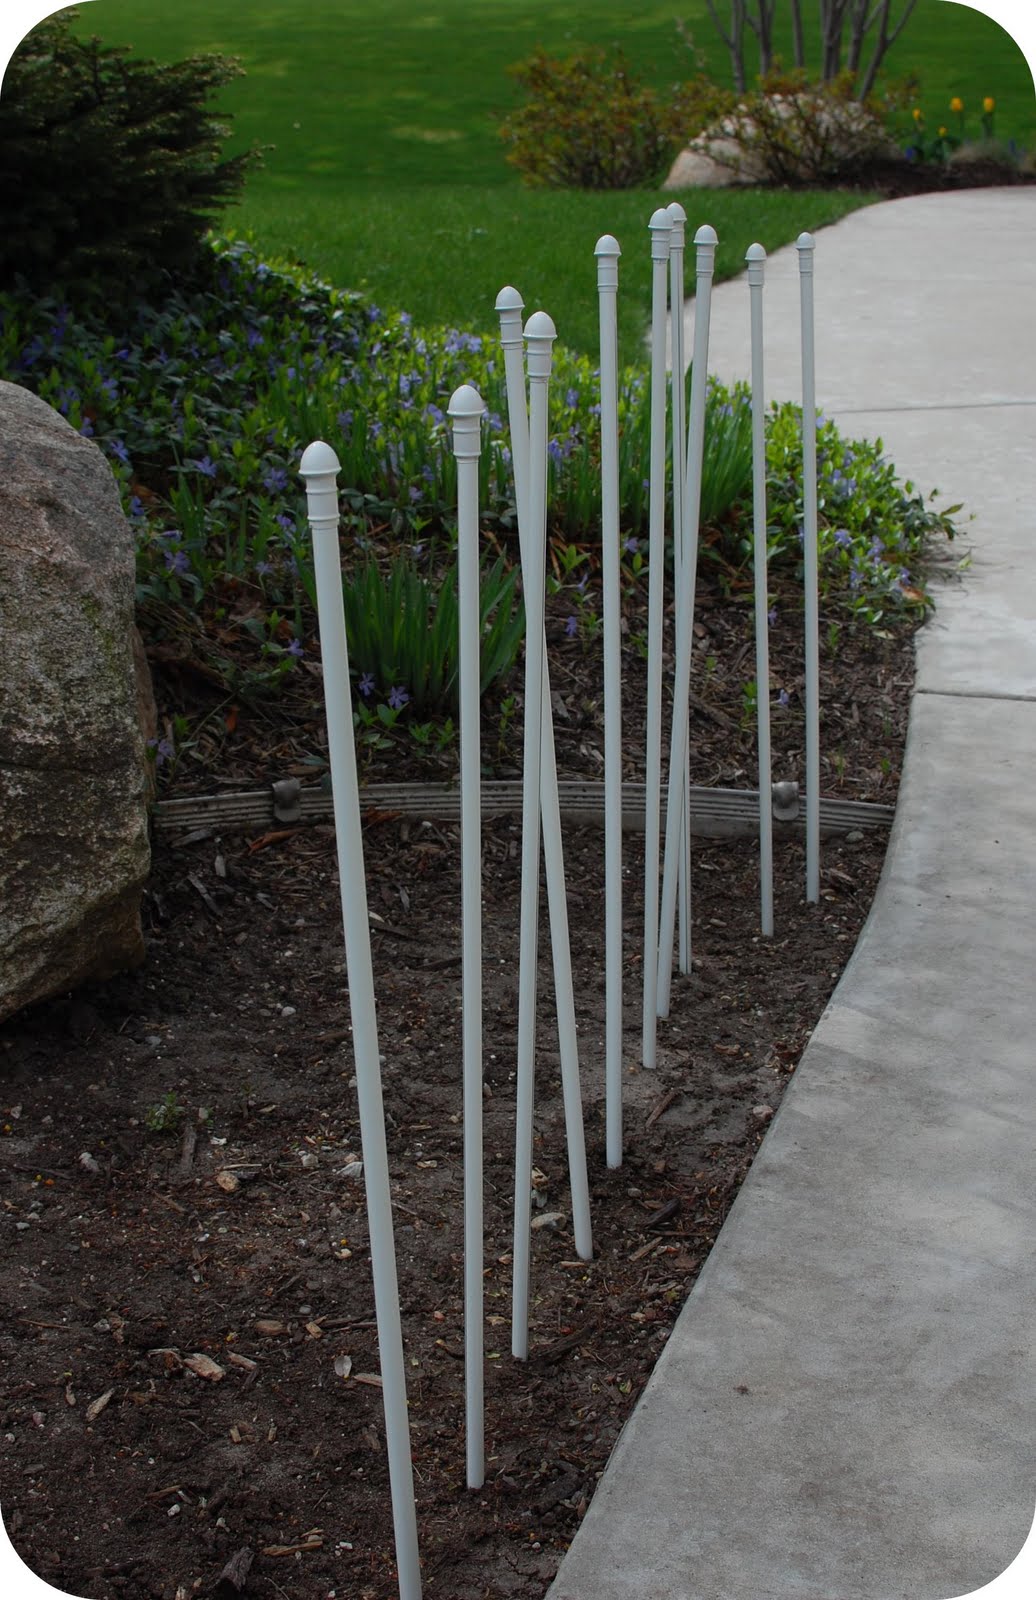
To paint the rods I stuck them in the ground so the spray painting would be easier.  I think my neighbors may have wondered if the rods were a new, permanent fixture!
.
.
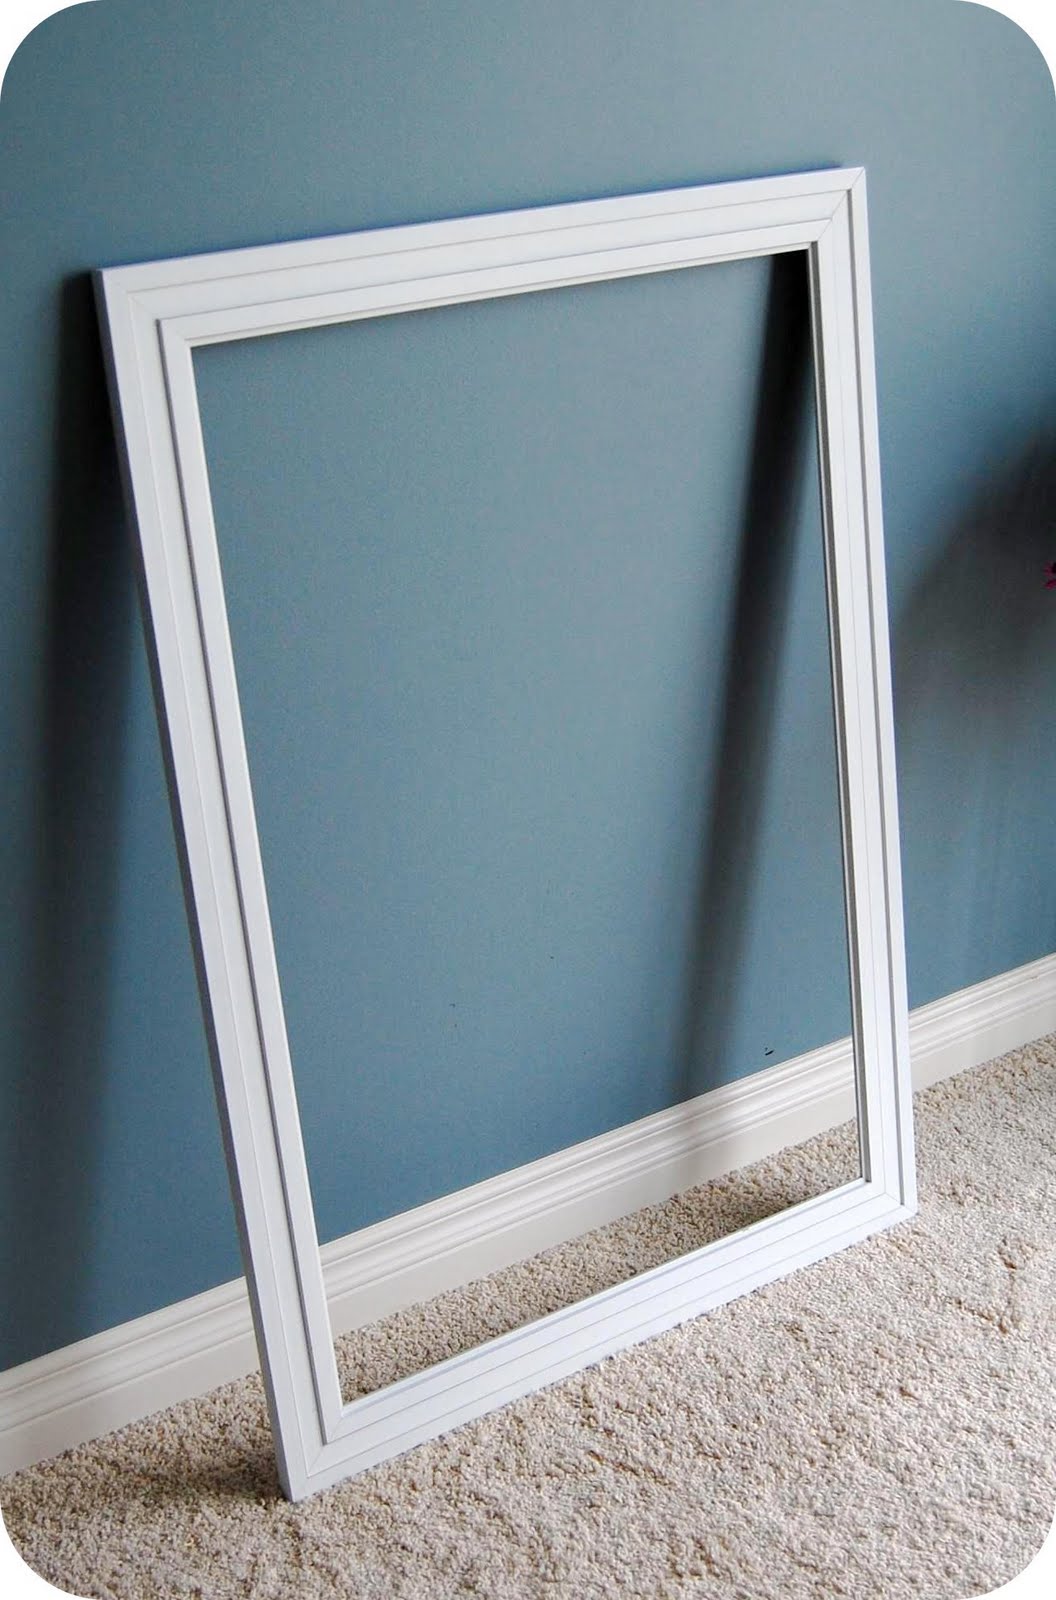
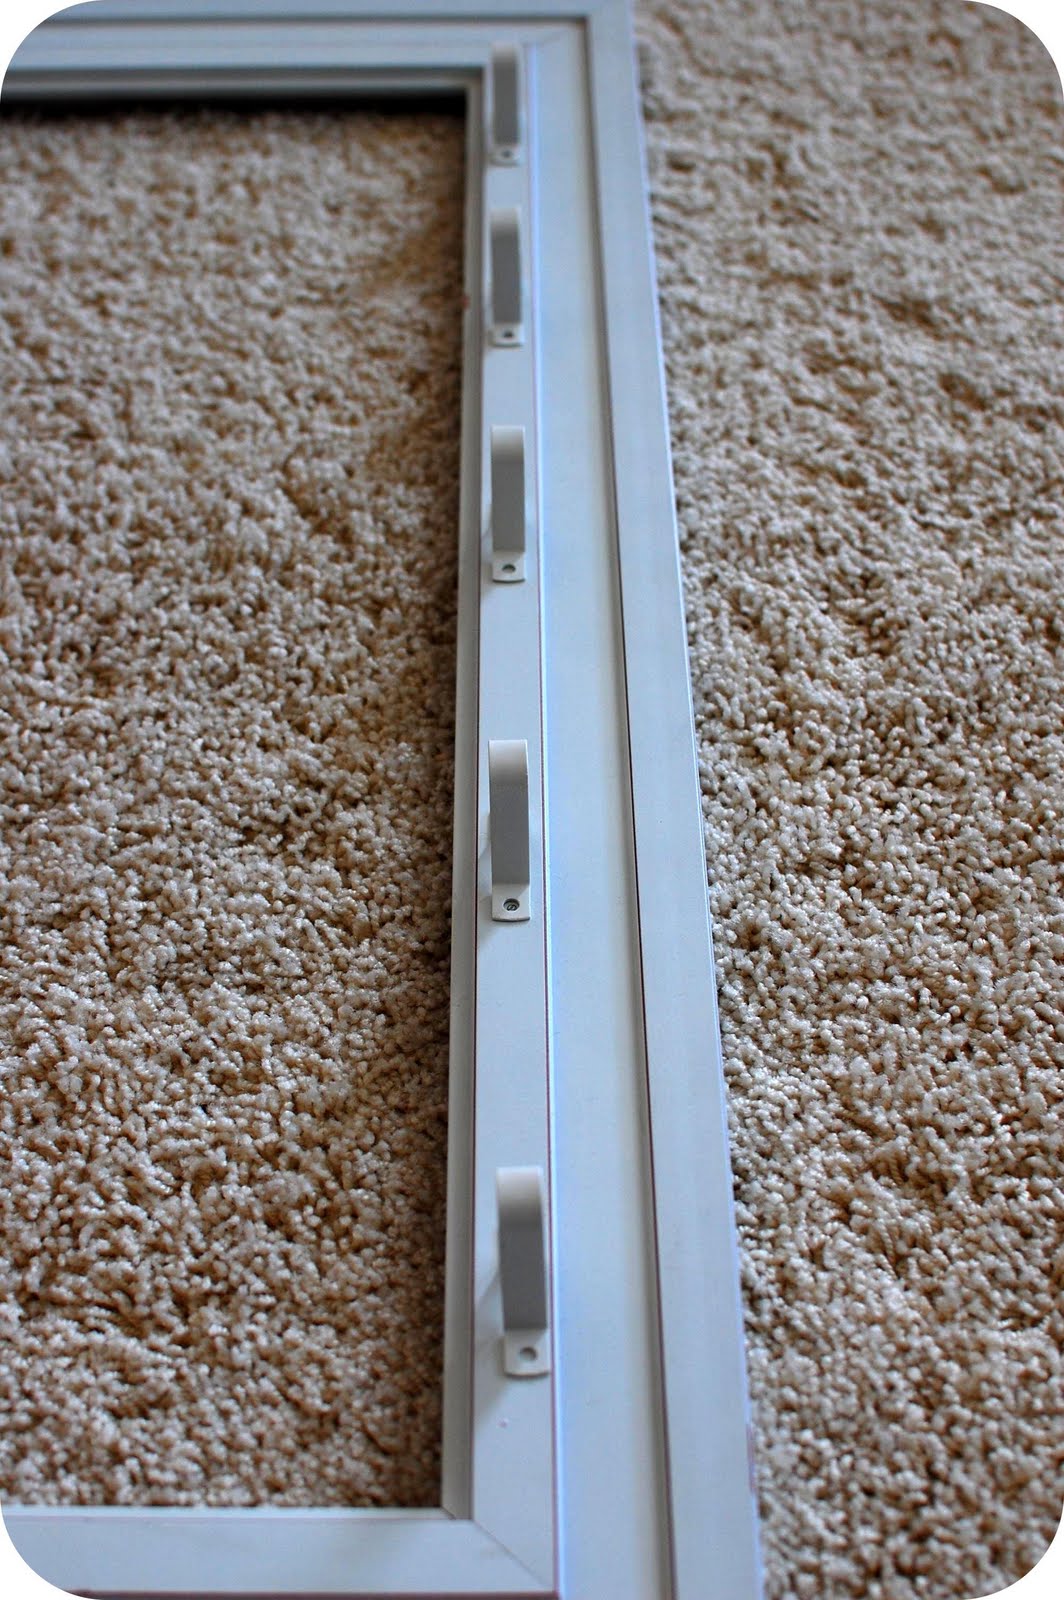
Here’s the open back frame I used:
.
.
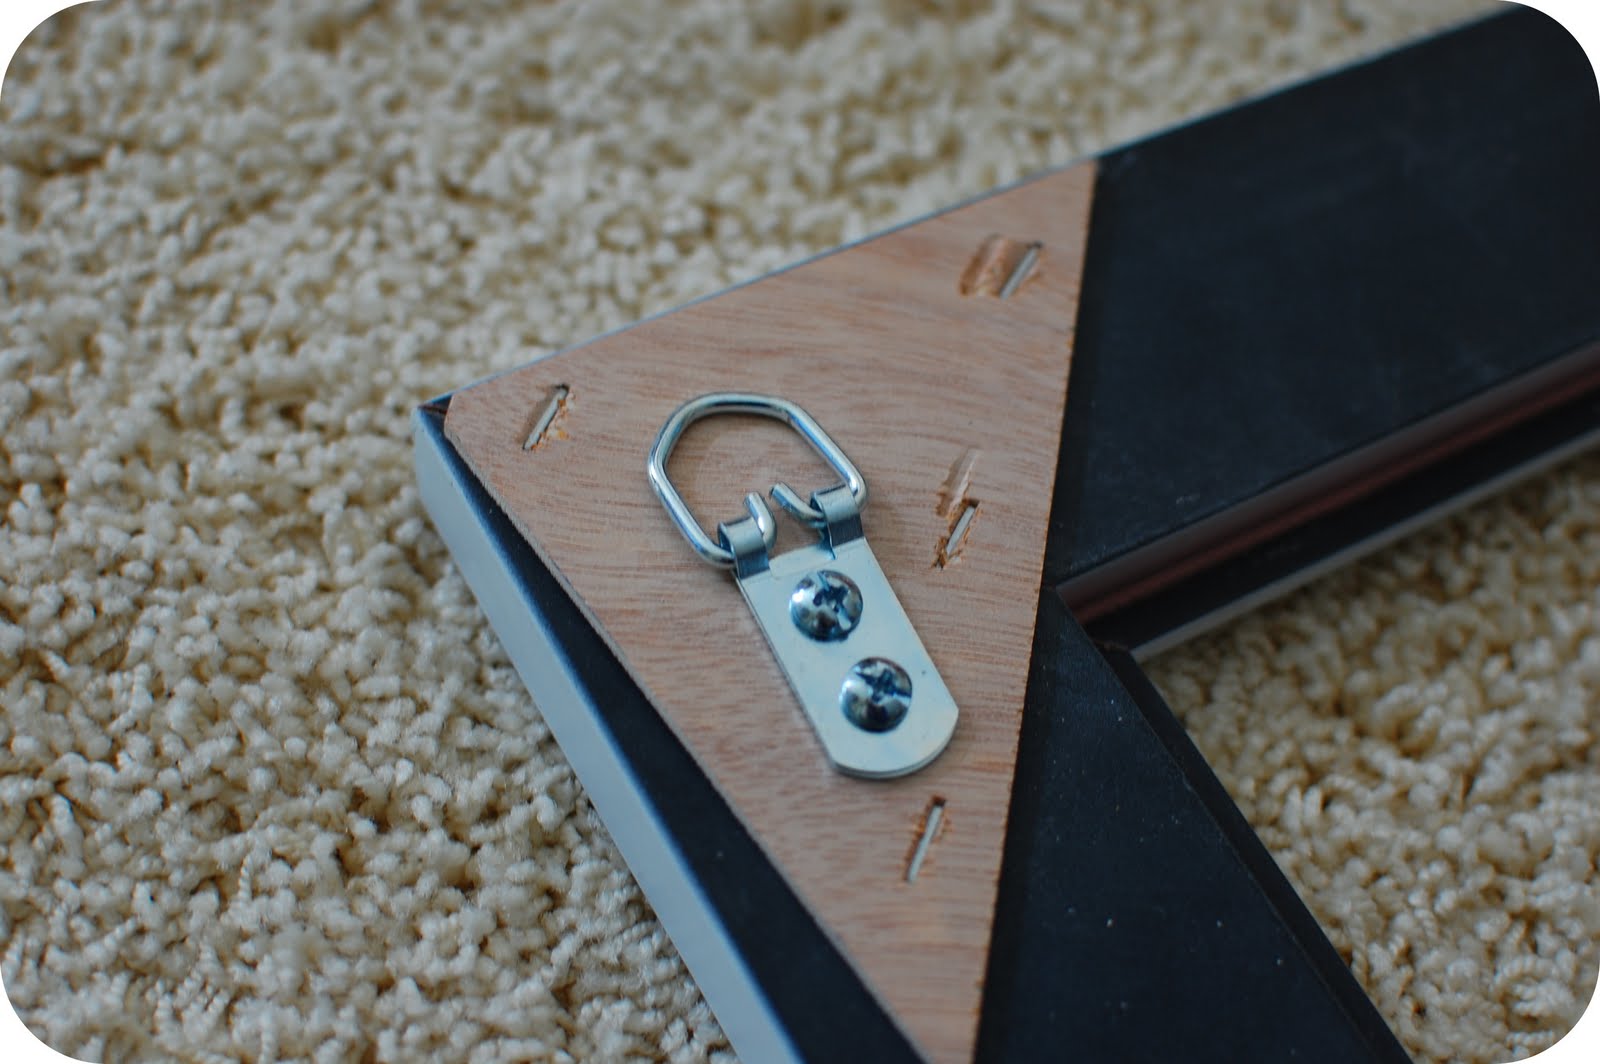
Next, attach the mounting hardware to the back of the frame.
.
.
Attach cafe rod hardware to the front of the frame.
.
.
That’s it!
.
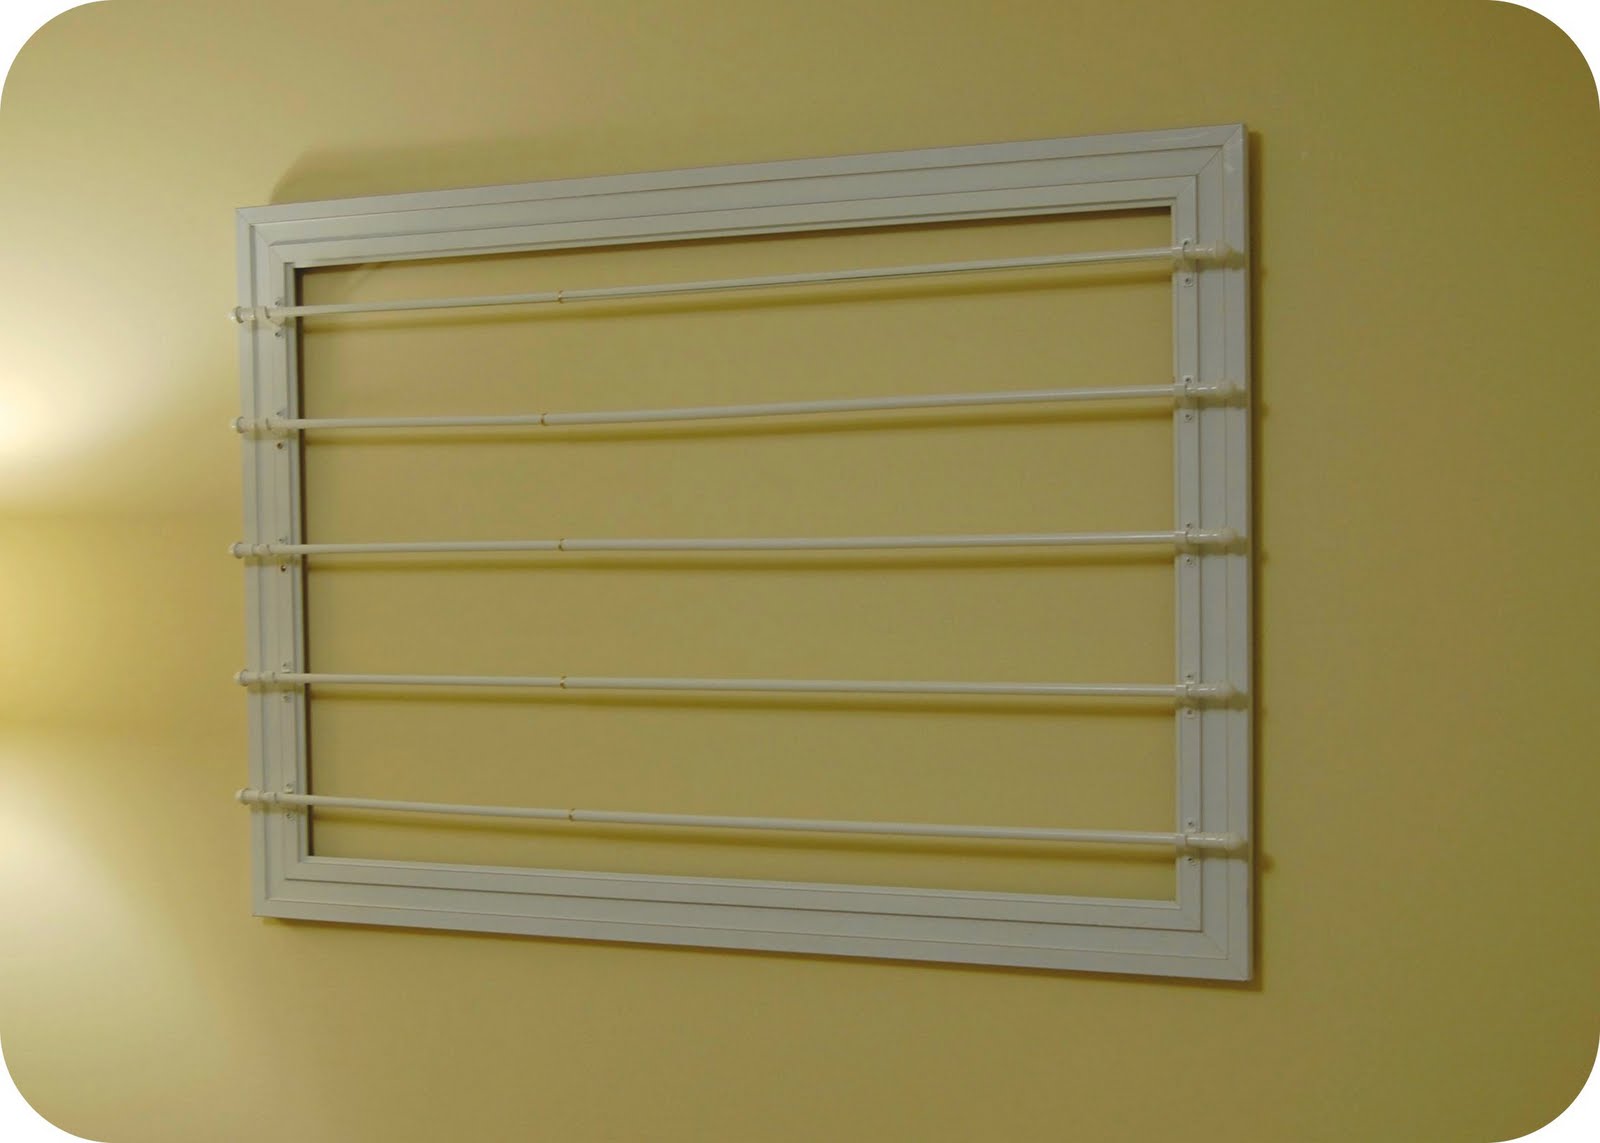
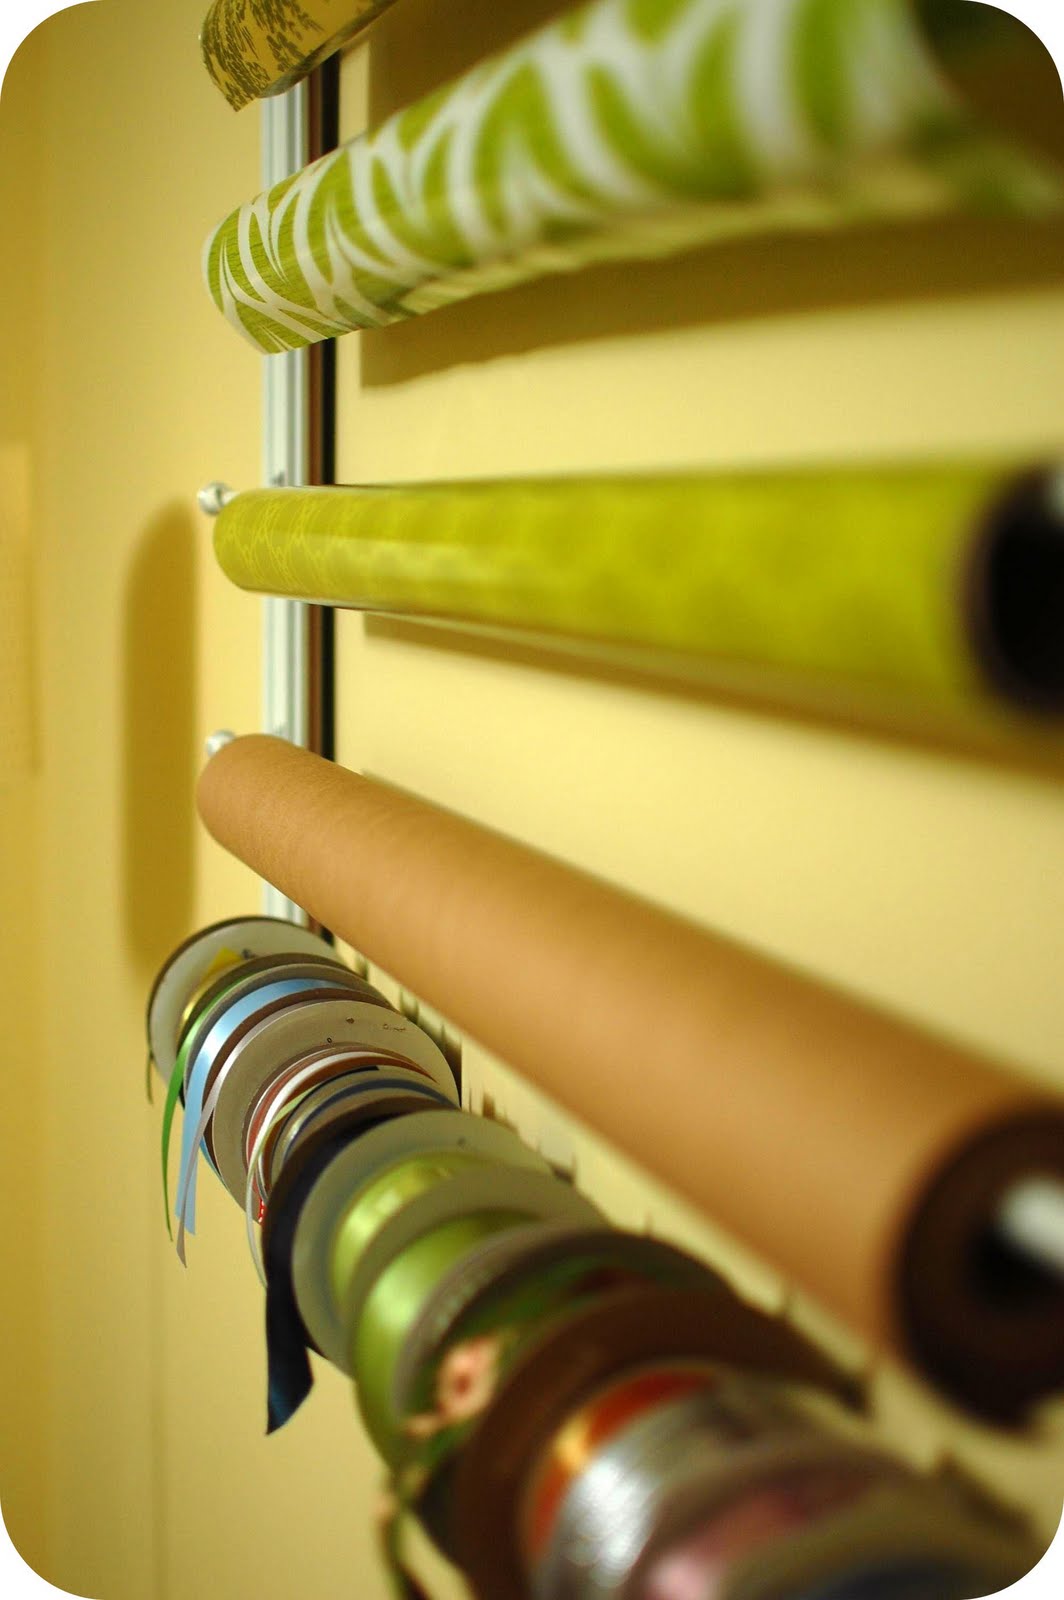
Here’s the frame hanging in my craft room:
.
.
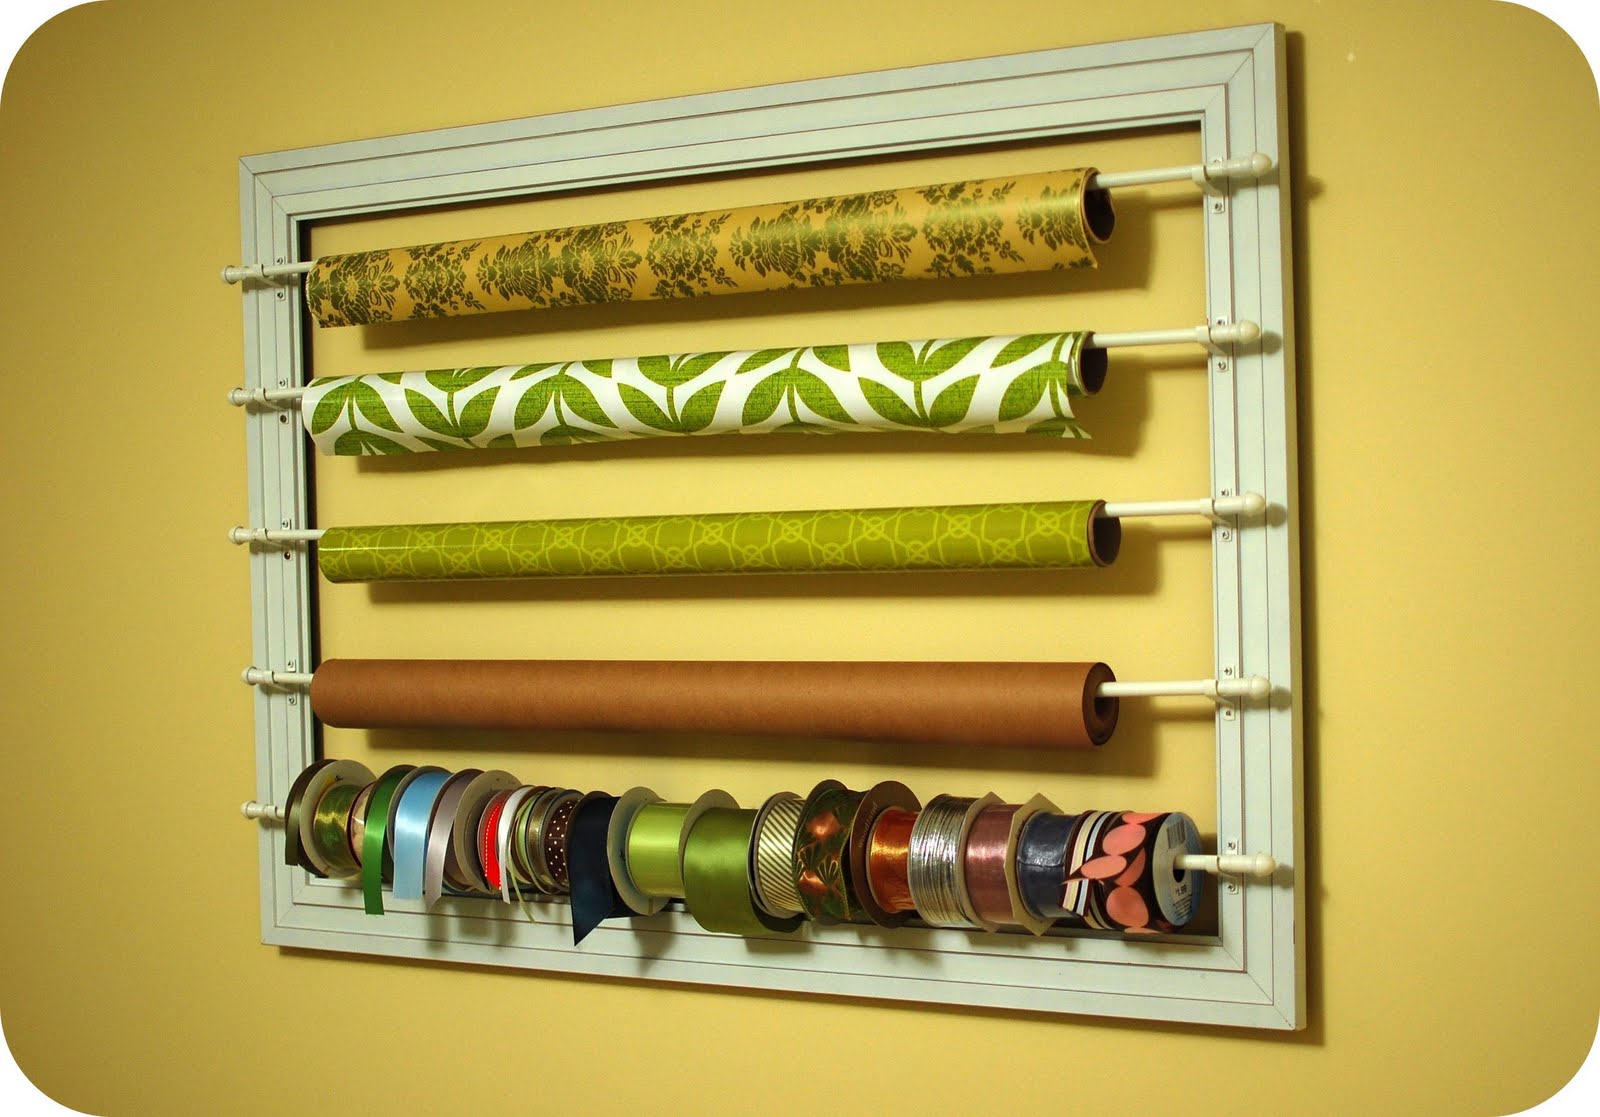
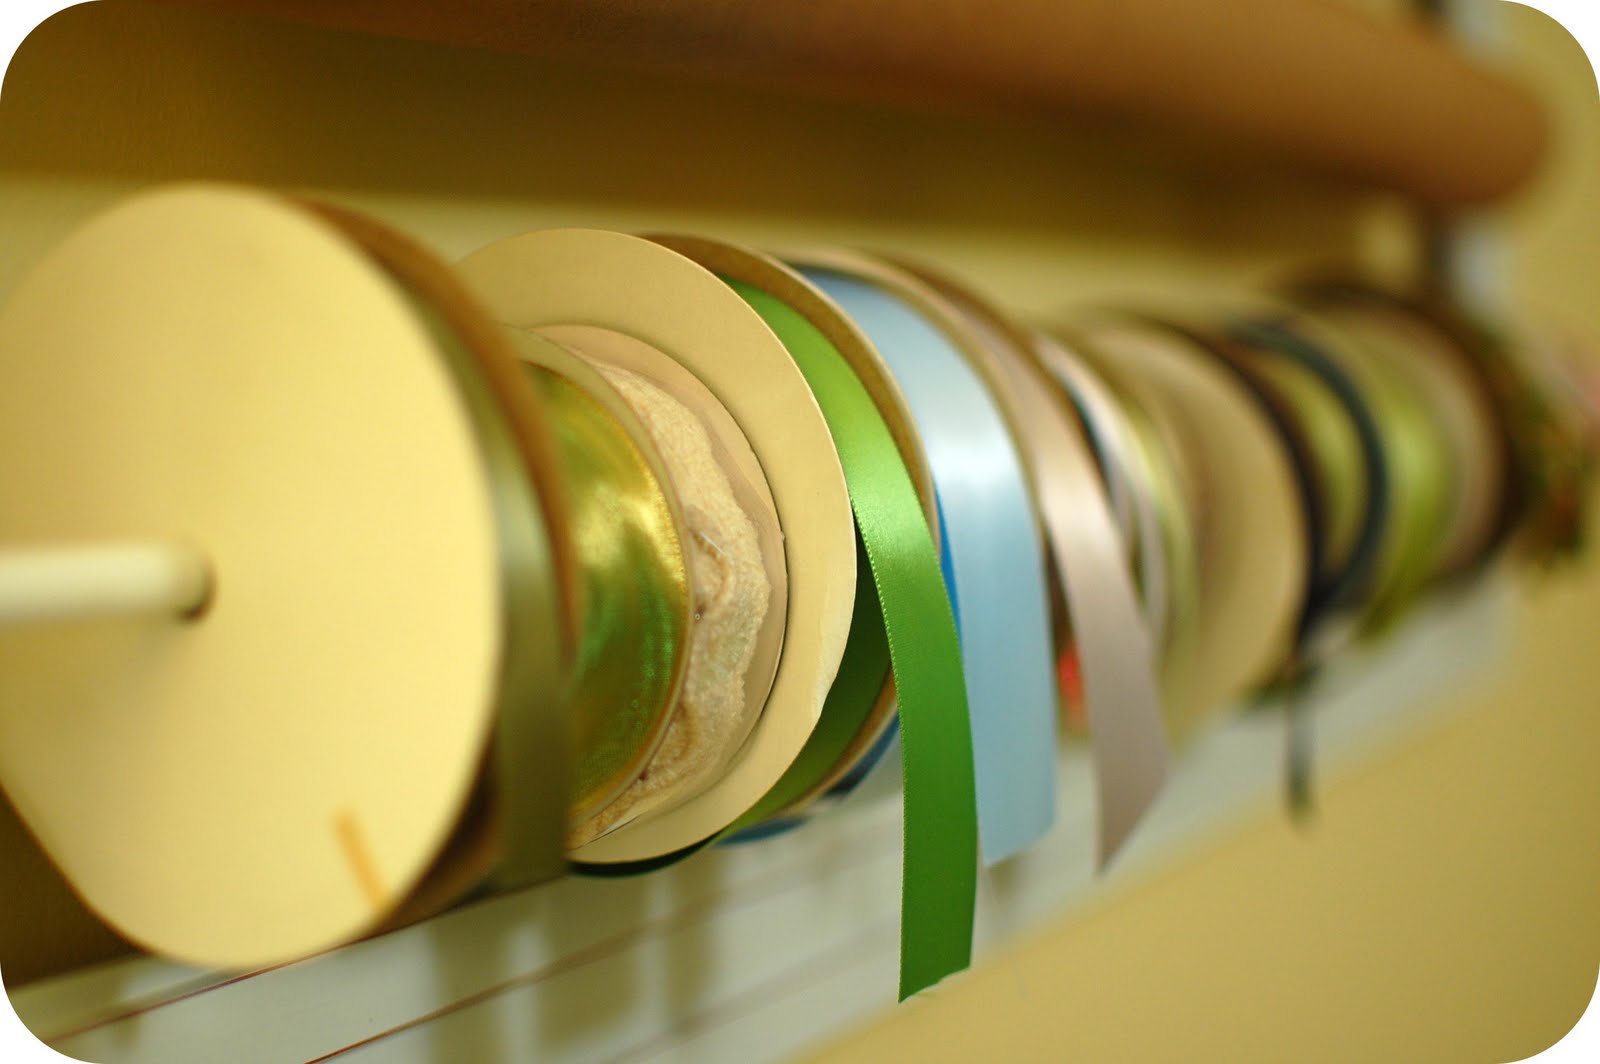
And here it is with wrapping paper and ribbon:
.
.
.
.
.
I think it would be fun to do this with a smaller frame and use it to only for ribbon.
.
Thanks for reading – I hope you enjoyed this project!
  • Facebook
  • Twitter
Remodelaholic is a participant in the Amazon Services LLC Associates Program, an affiliate advertising program designed to provide a means for sites to earn advertising fees by advertising and linking to amazon.com. Please see our full disclosure here.

Published: May 13, 2010Filed Under: Decorate, Guest Bloggers Tagged: Contributors, Crafting spaces, Crafts, Decorating, Guest Bloggers

About Cassity

Cassity started Remodelaholic with her husband, Justin, to share their love for knocking out walls together. She is an interior designer, wife, and mother of two. She and Justin have remodeled three homes from top to bottom and are working on their fourth. Making a house a home is her favorite hobby.


free email bonus

Kitchen Organization Boot Camp

Is your kitchen a zen paradise? It can be. I'll show you how.

Previous Post
Not Grandma’s Cupboard! Furniture Re-do; Guest Post
Next Post
Cat-astic!! Old Cabinet Transformed: Guest

Comments

  1. Katie says

    May 13, 2010 at 8:37 am

    >Such a great idea!! Would be great for a closet too, where I seem to *stuff* all my wrapping paper.

    Reply
  2. Kim says

    May 13, 2010 at 9:17 am

    >What a great idea!

    Reply
  3. Nancy says

    May 13, 2010 at 9:33 am

    >so great as always Alissa! I think I'm going to have to try one of these.

    Reply
  4. Ashley says

    May 13, 2010 at 9:40 am

    >I have this project on my 'To Do List'!! Such a great idea!

    Reply
  5. Jan says

    May 13, 2010 at 9:56 am

    >Oh, I love this! It really keeps everything looking so tidy and organized. No more wrinkled wrapping paper!

    Reply
  6. Melissa says

    May 13, 2010 at 10:07 am

    >Thanks so much for sharing! I was just thinking recently on how to do this, lol. Perfect!!!

    Reply
  7. Suzanne says

    May 13, 2010 at 10:12 am

    >Best idea I've ever seen for keeping wrapping paper and ribbon in check. Fabulous!

    Reply
  8. Amanda Jo says

    May 13, 2010 at 10:19 am

    >OH I LOVE IT!!!! I think it would also be a GREAT way to display some vintage linens in a dining room!! Thanks for sharing it with us!

    Reply
  9. Adventures of a CrAzY LaDy! says

    May 13, 2010 at 10:21 am

    >Alissa, you are so stinkin' creative! I love it!

    Reply
  10. DesignTies says

    May 13, 2010 at 10:40 am

    >This is a way better method for storing wrapping paper & ribbons than my way — stuffed into a drawer in the office!!

    Thanks for sharing your project 🙂

    Kelly @ DesignTies

    Reply
  11. Mrs. Adventure says

    May 13, 2010 at 10:44 am

    >Great job!

    Reply
  12. Marcela says

    May 13, 2010 at 11:06 am

    >Great idea! 🙂
    MARCE

    Reply
  13. BLJ Graves Studio says

    May 13, 2010 at 11:26 am

    >Such a great idea! Love it!!!

    Reply
  14. Pine Tree Home says

    May 13, 2010 at 6:57 pm

    >Love this. I am in the midst of organizing my basement and even have those rods! Now I just need to decide if I have room for this. Great idea.

    Reply
  15. Traci at ThreeDogsAtHome says

    May 14, 2010 at 12:30 am

    >I love the picture of the rods stuck in the dirt and all lined up. Great idea.

    Reply
  16. Tazim says

    May 14, 2010 at 6:38 pm

    >Wow – great project and looks so great! thanks for the tutorial.

    Reply
  17. Salmeen says

    May 15, 2010 at 11:50 am

    >oh im so happy!! thank u immensely for showing this. this is great for displaying n storing all my indian bangles – easy to take out n would look so pretty!! thank u so much. im gonna do this asap! thanks!!

    Reply
  18. Gwen's Busy Little Hands says

    May 19, 2010 at 9:44 am

    >I'm going to be moving into a new craft space soon and this will be a great addition to my plans. Thanks for the wonderful idea!

    Smiles!
    Gwen

    Reply
  19. Lisa says

    August 24, 2010 at 7:23 am

    >Love this idea – so much easier than some other wrapping paper racks. Thanks so much for the tutorial….add it to the list of things I want to accomplish when my kids go back to school!

    Reply

Leave a Reply Cancel reply

We love hearing from fellow Remodelaholics, so let us know what you like about this and leave any questions below in the comments. If you have followed a tutorial or been inspired by something you have seen here, we would love to see pictures! Submit pictures here or by messaging us over on Facebook.
Recipe Rating


Hey there, I am Cassity! Nice to virtually meet you!

This blog is about DIY at its finest. We are obsessed with it and so are you, so while we're working and have nothing to show you of our own projects we show off yours. So submit your projects! More About Us…

Categories

  • Facebook
  • Instagram
  • Pinterest
  • RSS
  • Twitter
  • YouTube

Meet The Team

Privacy Policy

Remodelaholic is a participant in the Amazon Services LLC Associates Program, an affiliate advertising program designed to provide a means for sites to earn advertising fees by advertising and linking to amazon.com. Please see our full disclosure here.

© 2005-2016 Remodelaholic LLC, All Rights Reserved

  • Facebook
  • Instagram
  • Pinterest
  • RSS
  • Twitter
  • YouTube

Copyright © 2021 · Remodelaholic

  • Pinterest
  • Facebook
  • Twitter