9 Tips for Creating the Perfect Gallery Wall
![]()
1. Create impact. By definition, a gallery wall adds impact and punch to a space. An effective grouping uses visual interest for impact. There are a few different ways you can do this. You can use frames of different textures, sizes, and colors, along with different mat sizes. You could also intersperse mirrors, art, monograms, or other items between photos to break up repetition. Try using unique items paired with items of completely different styles design-wise to create a more eclectic look. For instance, clean, simple lines on a few frames, a vintage mirror and some industrial address numbers could round out a gallery wall.
2. Strike a balance. Your elements don’t have to be all the same size – quite the opposite, actually. What you DO need to focus on is balancing your wall. Placing large items all on one side with small framed pictures next to them can make the wall seem lopsided. If all of the elements you use are dark and large, the whole wall can feel heavy and oppressive. You don’t have to use symmetry to achieve balance, rather make sure you break up your larger pieces with smaller elements and space things appropriately.
3. Establish unity. Every element you use in your gallery should be united in the same manner. Unity is achieved in many different ways, or even a combination. For instance, seemingly incongruent photos could show your child’s growth over time. Use items from your vacations to create a travel wall. Tell a story from your family history with photos and heirlooms. Unity can also come through the physical appearance, as well. Use like-colored mats or frames. If the photos and artwork are from different times, places, eras, and subject matters, print them all in black and white. Any combination of these will create a cohesiveness that makes your gallery wall look polished.
4. Be uniform. While the sizes of the individual elements do not need to be uniform, and the spaces between them likely won’t be either, the shape around the entire collage should be. There should be a clearly defined shape around the outer edge of the gallery wall with no pieces jutting out oddly beyond the rest.
5. Fake it first. Lay your pieces on top of paper and trace around them. Cut them out and use painters’ tape to hang them on the wall. This way you can easily move all of your elements around without making any marks on the wall. You’ll be much better able to visualize the end result with fake stand in items that are impermanent. Plus, you can place nails and screws right through the paper – it makes it easier to tell if you’re placing them at the right spots, level and far enough apart – and just pull the paper out when you’re done.
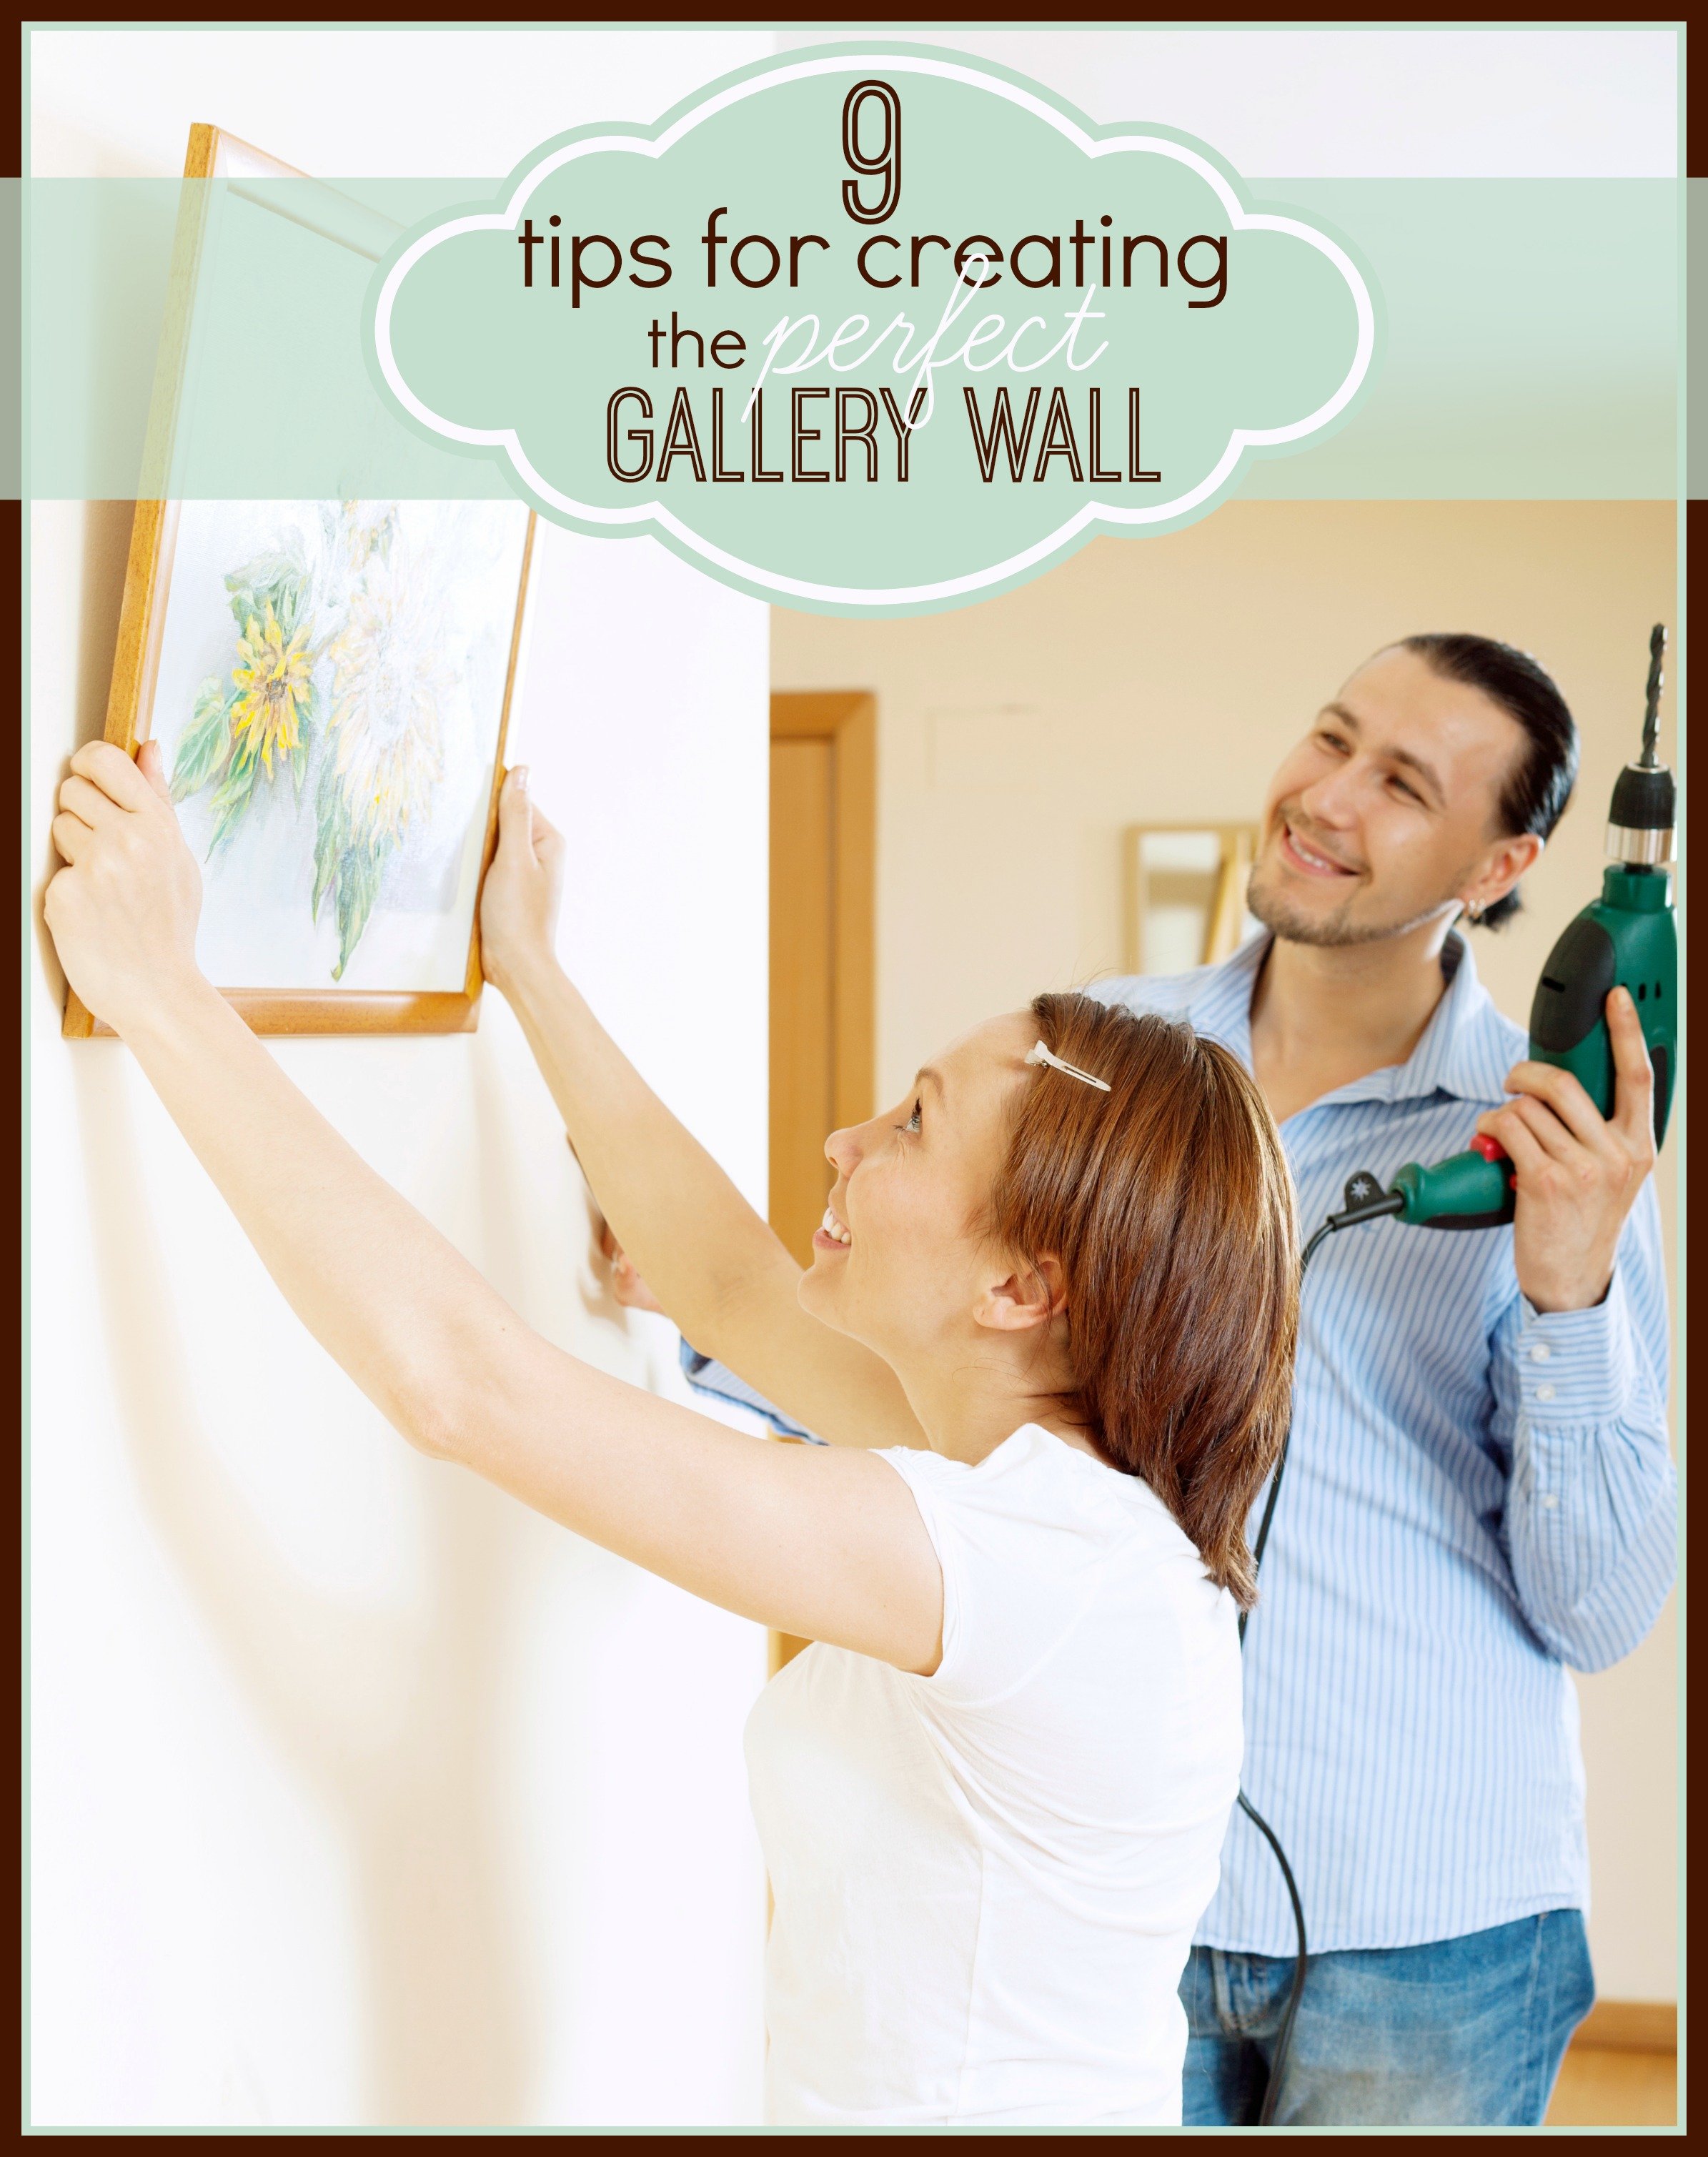
6. Height matters. Be sure to hang things at the right height. Concentrate on the distance things are from the floor. As a general rule, your focal pieces should be hung with their midpoints at eye level.
7. Use teamwork. When it comes to hanging your piece, teamwork is best! That way you won’t need to climb up and down the ladder excessively. You’ll also have someone on hand to tell you if things are straight, fetch items, and bounce ideas off of. Sure, you can go it alone, but it’s more fun with a partner anyway!
8. Play around. Have fun with it! Don’t take yourself too seriously. When it comes to your home and your design, there’s no wrong way. Make sure to move things around more than once to get a better idea of what will look best. In the end, go with your gut. Your eyes won’t lie, what looks right probably is!
9. Gather ideas. There are a lot of templates and layout ideas out there on the internet. Here are a few to help you get started on your own gallery wall:
Click here to see how to make a gallery wall out of kid’s artwork! And don’t miss this creative use of salvaged old picture frames.
Here are some tips and tricks for hanging photos.
Kimberly Mueller is the “me” over at bugaboo, mini, mr & me, a blog that highlights her creative endeavors. She especially likes to share kid crafts, sewing attempts, recipes, upcycled projects, photography and free printable gift tags/cards. When she’s not enjoying being married to her best friend, chasing after the natives (AKA her three kids) and attempting to keep the house in one piece, you can find her with a glue gun in one hand and spray paint in the other. Aside from DIY pursuits, she also enjoys writing, reading, music, singing (mostly in the shower) and the color yellow. Kimberly recently published a craft book entitled Modern Mod Podge. You can also find her on Facebook, Pinterest,Bloglovin’ and Instagram. Email her at: bugabooblog(at)yahoo.com
More home decor inspiration:


Home Decor Updates Decorate with Flowers Home Improvement Apps
Kimberly Mueller is the “me” over at bugaboo, mini, mr & me, a blog that highlights her creative endeavors. She especially likes to share kid crafts, sewing attempts, recipes, upcycled projects, photography and free printable gift tags/cards. When she’s not enjoying being married to her best friend, chasing after the natives (AKA her three kids) and attempting to keep the house in one piece, you can find her with a glue gun in one hand and spray paint in the other. Aside from DIY pursuits, she also enjoys writing, reading, music, singing (mostly in the shower) and the color yellow. Kimberly recently published a craft book entitled Modern Mod Podge. You can also find her on Facebook, Pinterest, Bloglovin’ and Instagram.


