Build Your Own Rolling Under-Bed Storage Crates
Unless you live in the Pinterest Dream House (in which case, can I come visit? :)), you probably have at least one room in your house where you could use a little bit of extra storage. The key to finding the space that you need often comes by looking up and going vertical or by looking down and finding pockets of space underneath things — like underneath your bed. These rolling under-bed storage crates by today’s guest are the perfect combination of function and style:

Build a set of storage bins and install them on the back of a cabinet in the bathroom or kitchen (or even on the back of a regular door!)

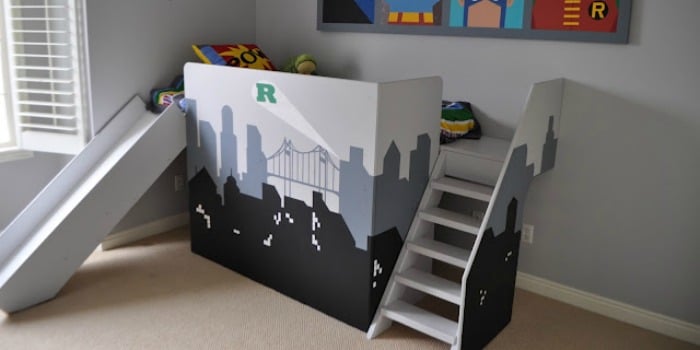
Give the kiddos a nook of their own with an under the stairs playhouse:
Corral those spices and free up some cupboard space with a slim profile DIY spice cabinet:
Let your littles be a little bit more independent with a built-in vanity step stool:

Organize the whole family with a tucked-away mudroom under the stairs. 
And now, strap on your safety goggles and get ready to DIY with a new tutorial from Erin and Dan!

DIY Rolling Under-Bed Storage Crates
by Erin and Dan of DIY Passion
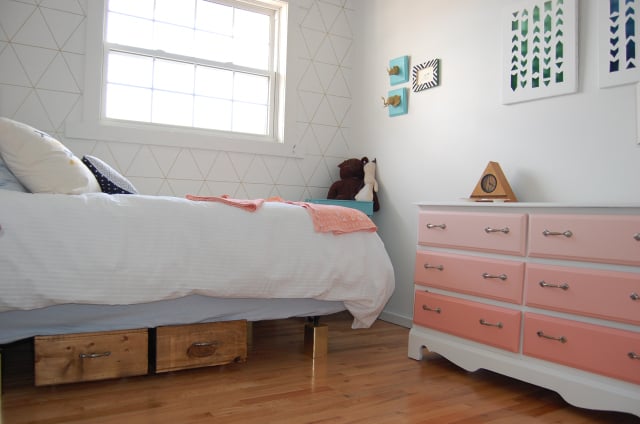
Hi there! Erin and Dan from DIY Passion here. 🙂 We are thrilled to be guests here at Remodelaholic, one of our favourite online haunts! True to our name, we’re avid DIYers who love to share our trials and triumphs with the blogosphere. The project we are sharing with you today was one of many we tackled in our “spare” room. We started with a blank slate. Upon settling into into our home last summer, we realized we had a room with no identity or immediate purpose. We had complete creative license to do whatever we wanted. It was, admittedly, a pile of fun, as we took on projects both frivolous and functional. Today, we’ll share how we upped the storage capacity of the small room by building our own Under Bed Rolling Storage Crates.
For starters, you’ll need some supplies:
- Good sturdy boards. If you can, work with what you have! We used some 7.5″ wide tongue and groove planks we had leftover from another project. The wood doesn’t need to be fancy-grade, but it shouldn’t be flimsy. Ours were 3/4″ thick.
- Sand paper or a palm sander – though just some light sanding is all they need if you want the rustic look.
- Measuring tape
- Pencil and ruler
- Straight edge square
- A saw – most hardware stores will cut your boards to size for you. Some will kindly do so for free, others for a fee!
- A nail gun or a hammer and 1″ nails
- Wood glue or stainable wood filler
- Wood stain, brush and rag
- Set of rolling casters
- Screwdriver
- Drawer pulls
- Fabric or paper (optional)
Step 1 – Determine the space with which you have to work.
Measure the distance between the floor and the bottom of your bed frame. You’ll want at least 8.5″ to 9″ clearance if the crates are to be of any meaningful depth. Our room’s bed sat on a basic bed frame, only a few inches from the ground. We had to raise it up with our DIY Bed Risers to make room for the crates. You can also spend a little and buy your own. (though what fun is that?!)

Step 2 – Draw up some plans!
Decide on the size of your crates, and determine how they will be assembled. Our planks were 7.5″ wide, an inch thick, and of various lengths. We figured that we could build two, 28″ x 16″ crates with these lengths. Yours could easily differ, though you don’t want them TOO big or they will be quite heavy and cumbersome. We wanted crates big enough to hold some spare linens. Step 3 – Cut your boards, keeping in mind how you plan them to fit together. We wanted the face and back of the crates to appear seamless, so the side and bottom planks all sit flush against the front piece. So for each crate we cut our planks as such:
- 2 planks at 16″ long (for the front and back)
- 4 planks at 28″ long (2 for the sides, and 2 for the crate bottom)

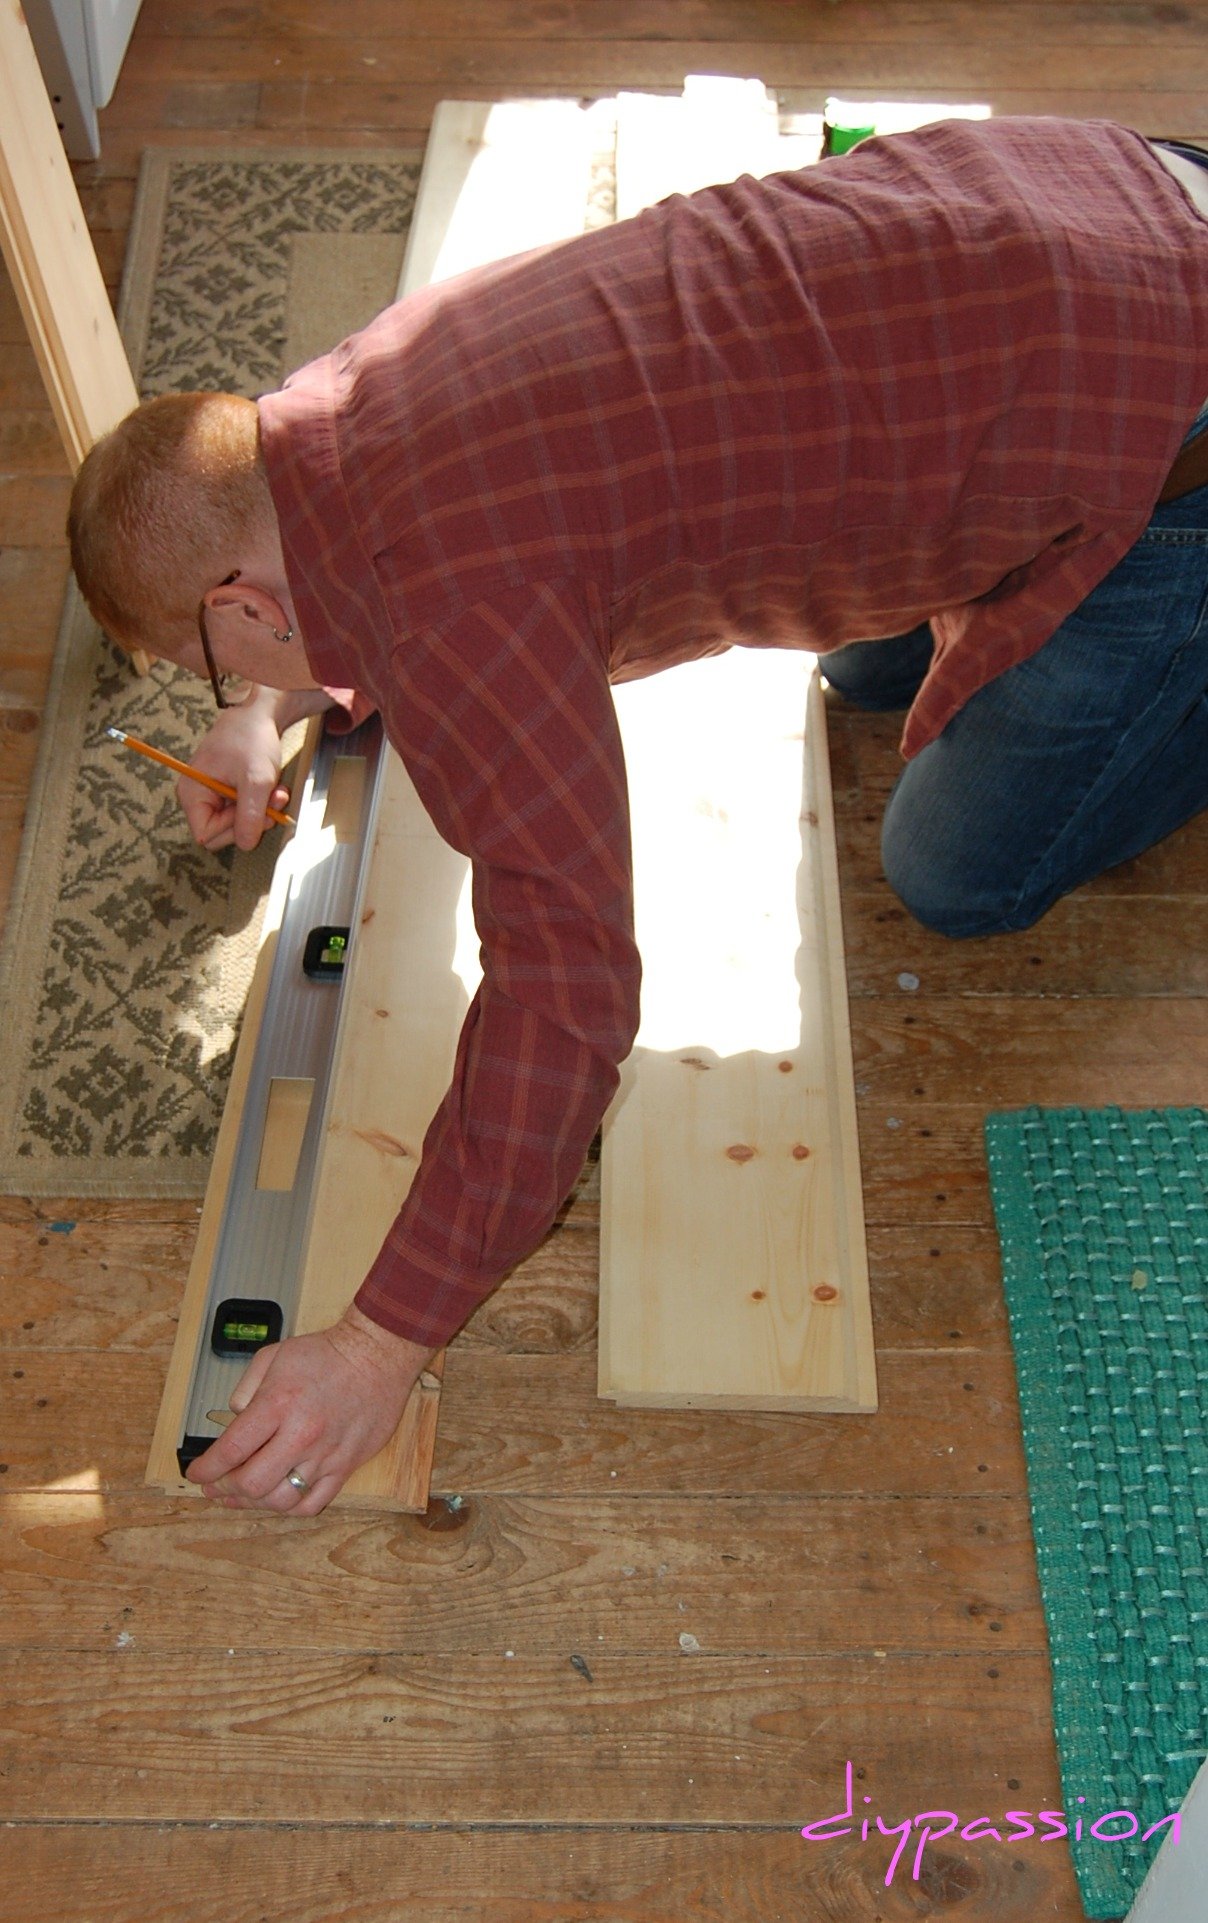
Step 4 – Put it together!
We glued the four sides together first, using wood glue to adhere the planks. It is helpful to use a square to ensure your planks are set at right angles to one another. You’ll have enough time get your pieces aligned before the glue sets. Also – make sure you wipe up any goopy glue because the stain won’t cover that well. By this point, you’ve something resembling a frame, your bottomless crate.
Step 5 – Add the bottom
After the glue has dried, we used some 1″ finishing nails to secure everything nicely. Then, we attached the bottom boards with some glue and nails in the same manner, inset into the frame.
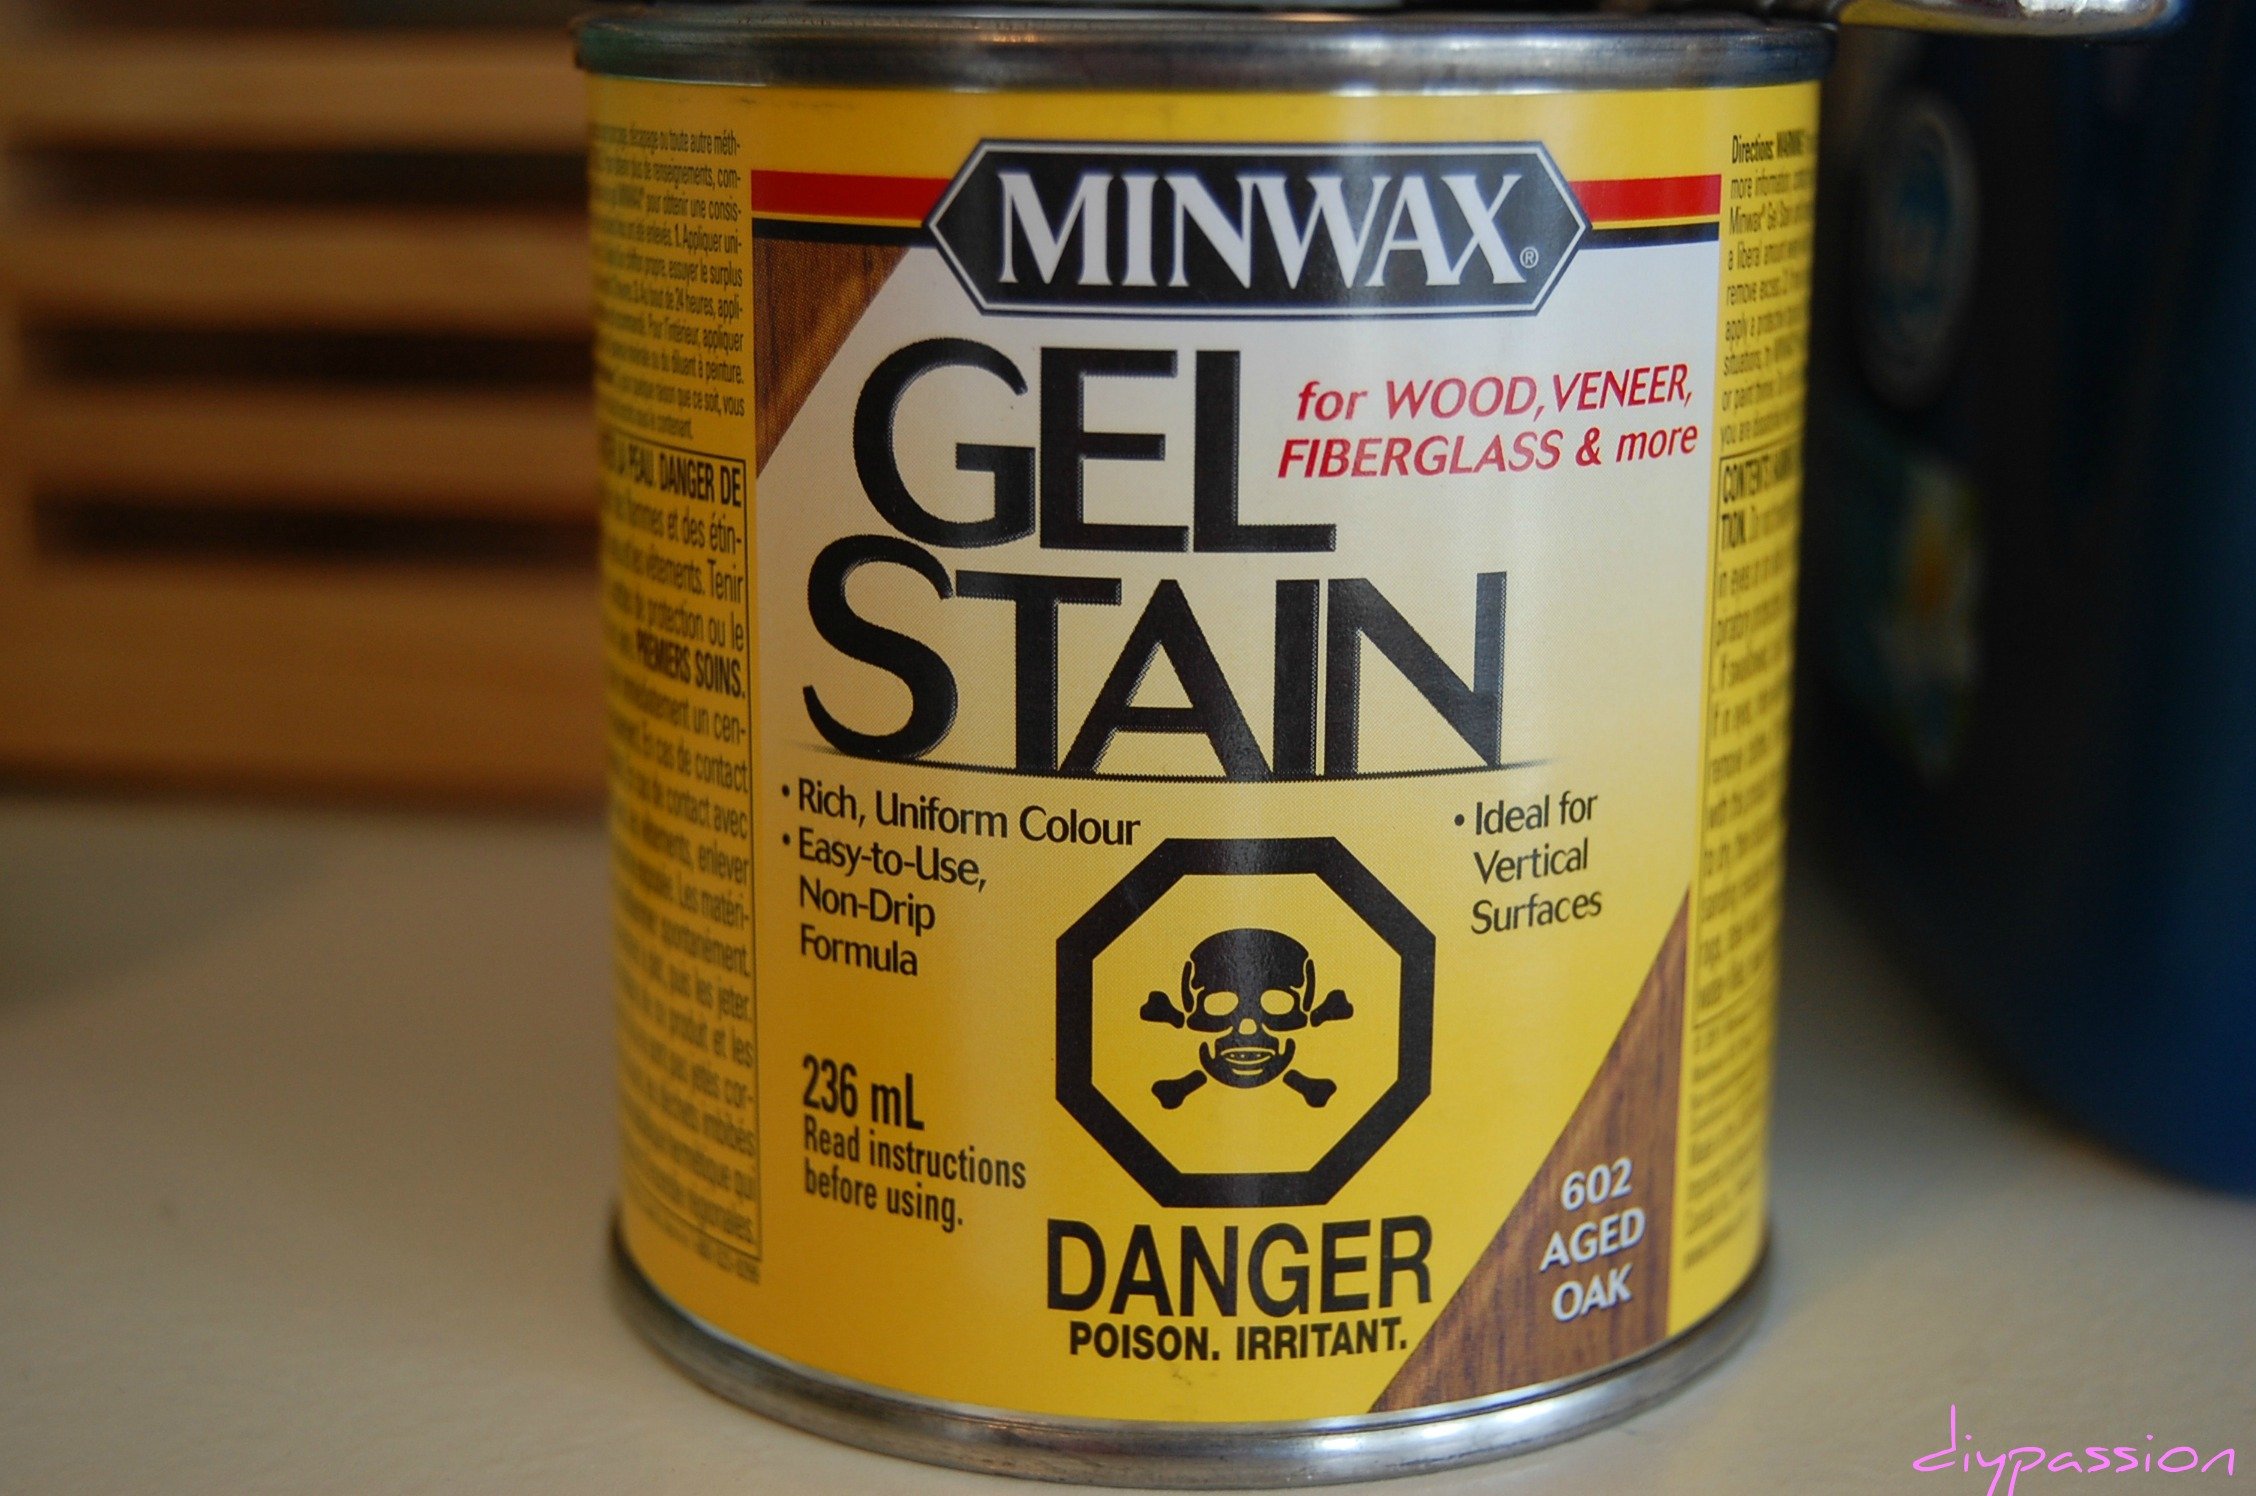
Step 6 – Stain or paint your drawers!
We used Minwax Gel Stain in Aged Oak. It’s a great wipe on, wipe off product. If you’ve got a good work space, this should only take you about an hour. Let them cure for about a day though as it can be sort of stinky.
Step 7 – Wheels!
Attach your casters to the bottom of your drawers with small wood screws and put on your drawer pulls!


Step 8 – Decorate
This is completely optional, but now is when you can add in some fabric to the bottom of the drawers. Ours is secured with teeny dabs of hot glue. That’s it! Fill them up and roll them under your bed!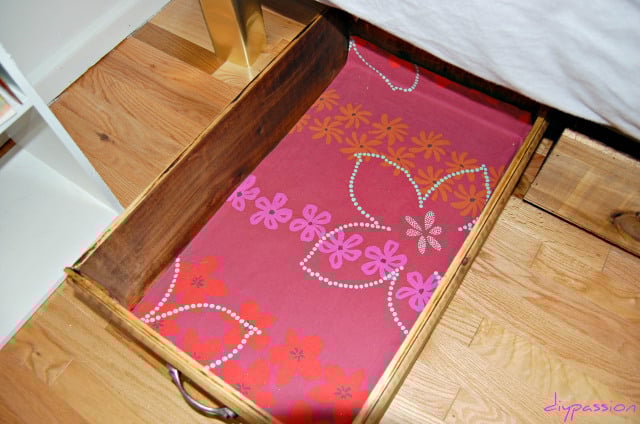

We are total beginners when it comes to ‘wood working’ and this project really taught us a lot. In fact, after building the first crate, we revised our assembly plan for the second. Always learning.

Thanks for reading,
Erin and Dan
————————–
I love the whole room, Erin and Dan! Thanks for sharing with us!
Remodelaholics, head over to DIY Passion to see the rest of the great projects in Erin and Dan’s spare room, plus more awesomeness like their floating desk in the office alcove.
Lorene has been behind the scenes here at Remodelaholic for more than a decade! She believes that planning projects and actually completing them are two different hobbies, but that doesn't stop her from planning at least a dozen projects at any given time. She spends her free time creating memories with her husband and 5 kids, traveling as far as she can afford, and partaking of books in any form available.


Love these storage crates! These are perfect for storage under the bed. Love it!! Thanks so much 🙂
This is a great site. So glad I found it.
We’re glad you found us, too, Joyce! Thanks for commenting.
what size casters are those? I’m having a hard time finding anything less than 1.5 inches (so, 2 inches installed). Are you using something smaller than that?
Hi there! I love your site. My husband and I don’t know how to build a thing but I sure have a lot of ideas and the thought that we can one day attempt to build something together 🙂 Anyways, looking at this… do you think I could re-purpose drawers for this project and just put them on casters? Please let me know if you have seen anyone do this! Thanks a ton!
Yes, I have seen it done! As long as you can find sturdy drawers the right size to slide under the bed, you’ll be all set! Just be sure to account for the full height of the casters so you don’t end up with drawers that are too tall to fit! 🙂