Furniture Painting Series Part 2: Annie Sloan Chalk Paint®
Happy Thursday! And what a great Thursday it is- today my baby boy turns 7 years old, and I turn 34 years old. That’s right, we share a birthday. 🙂
Anyhow, I am Cassie from Primitive and Proper, here for my monthly contributor post. Last month, we started a new series reviewing all sorts of paints, and we started with CeCe Caldwell’s paint. This month, I want to share with you a project and my opinions on Annie Sloan Chalk Paint.


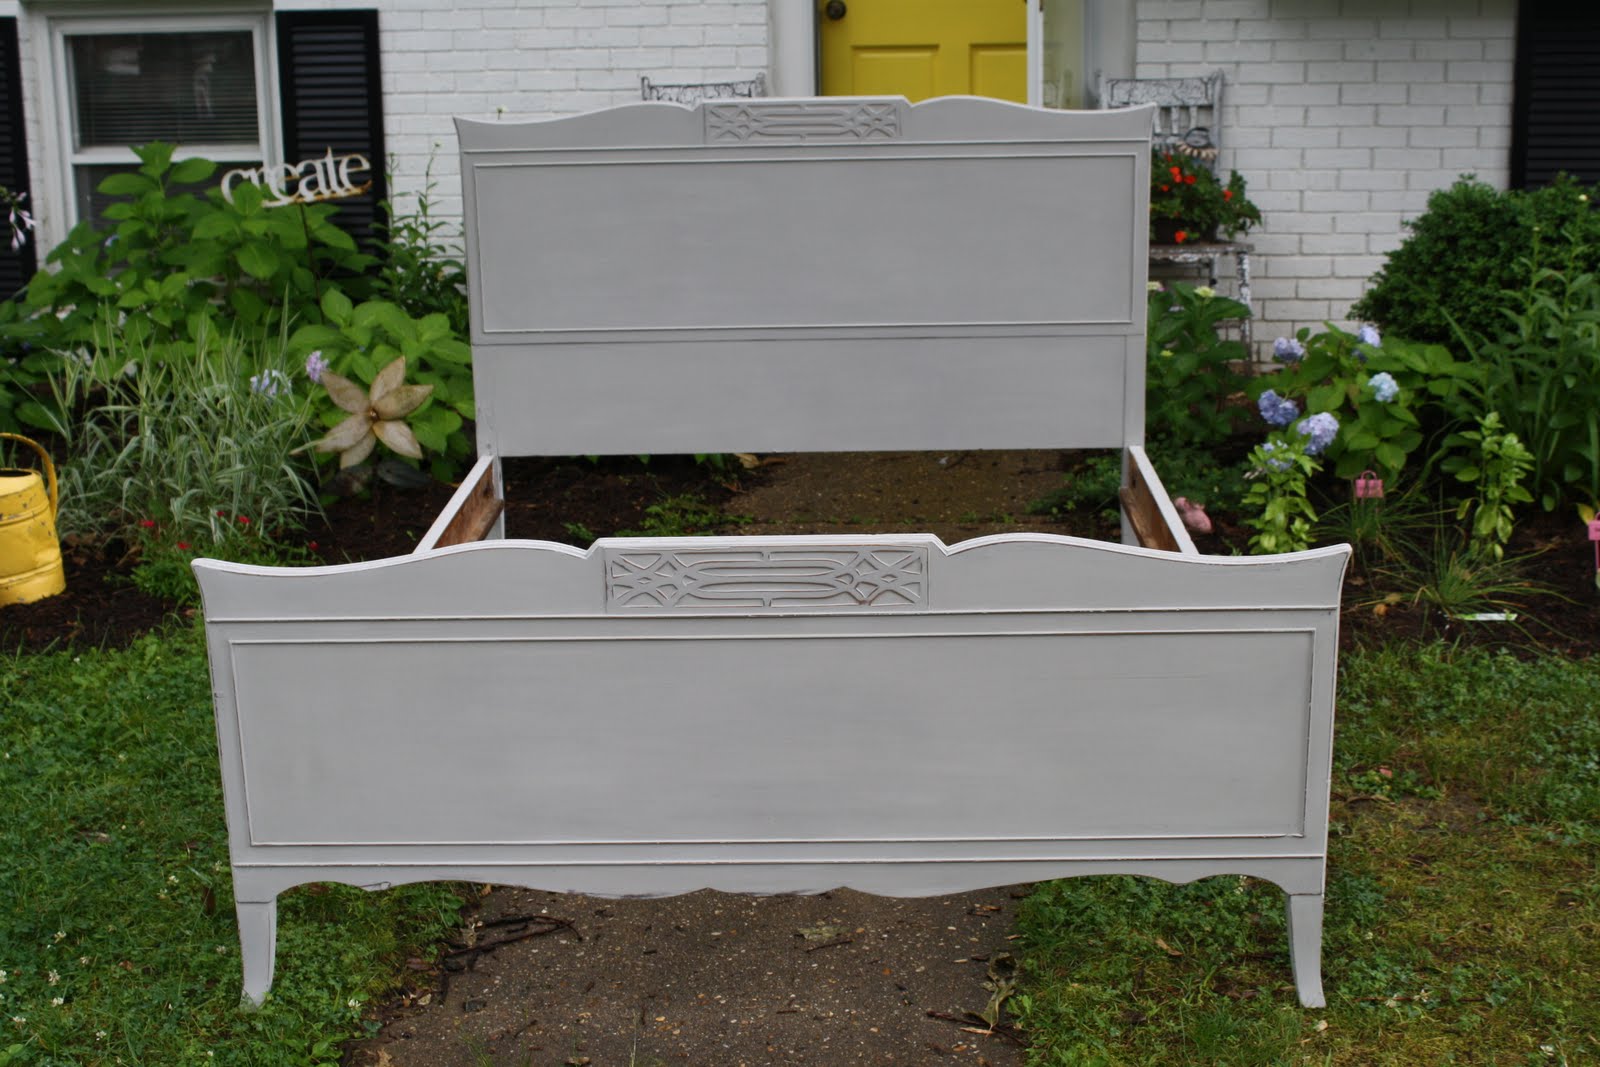
I started out with this gorgeous bed I found on my local craigslist. Now, I will admit this post is not for the purists, as yes, I did paint over that. The bed was pretty as is, but it had such lovely details that I knew would pop with a little paint and distressing!

I wanted to get this project done rather quickly, as I have a barn sale coming up! Annie Sloan Chalk Paint® is great for projects like that because there is no prep needed (though I would recommend wiping off any dust and cobwebs with a damp rag!) and it dries rather quickly. I chose “Paris Grey” for this project and this particular color has such fabulous coverage- it took one coat only plus some little touch ups here and there. The reason I chose this color was because I painted a bed last year in Paris Grey and I still can’t get it out of my bed. Apparently I love gray beds!
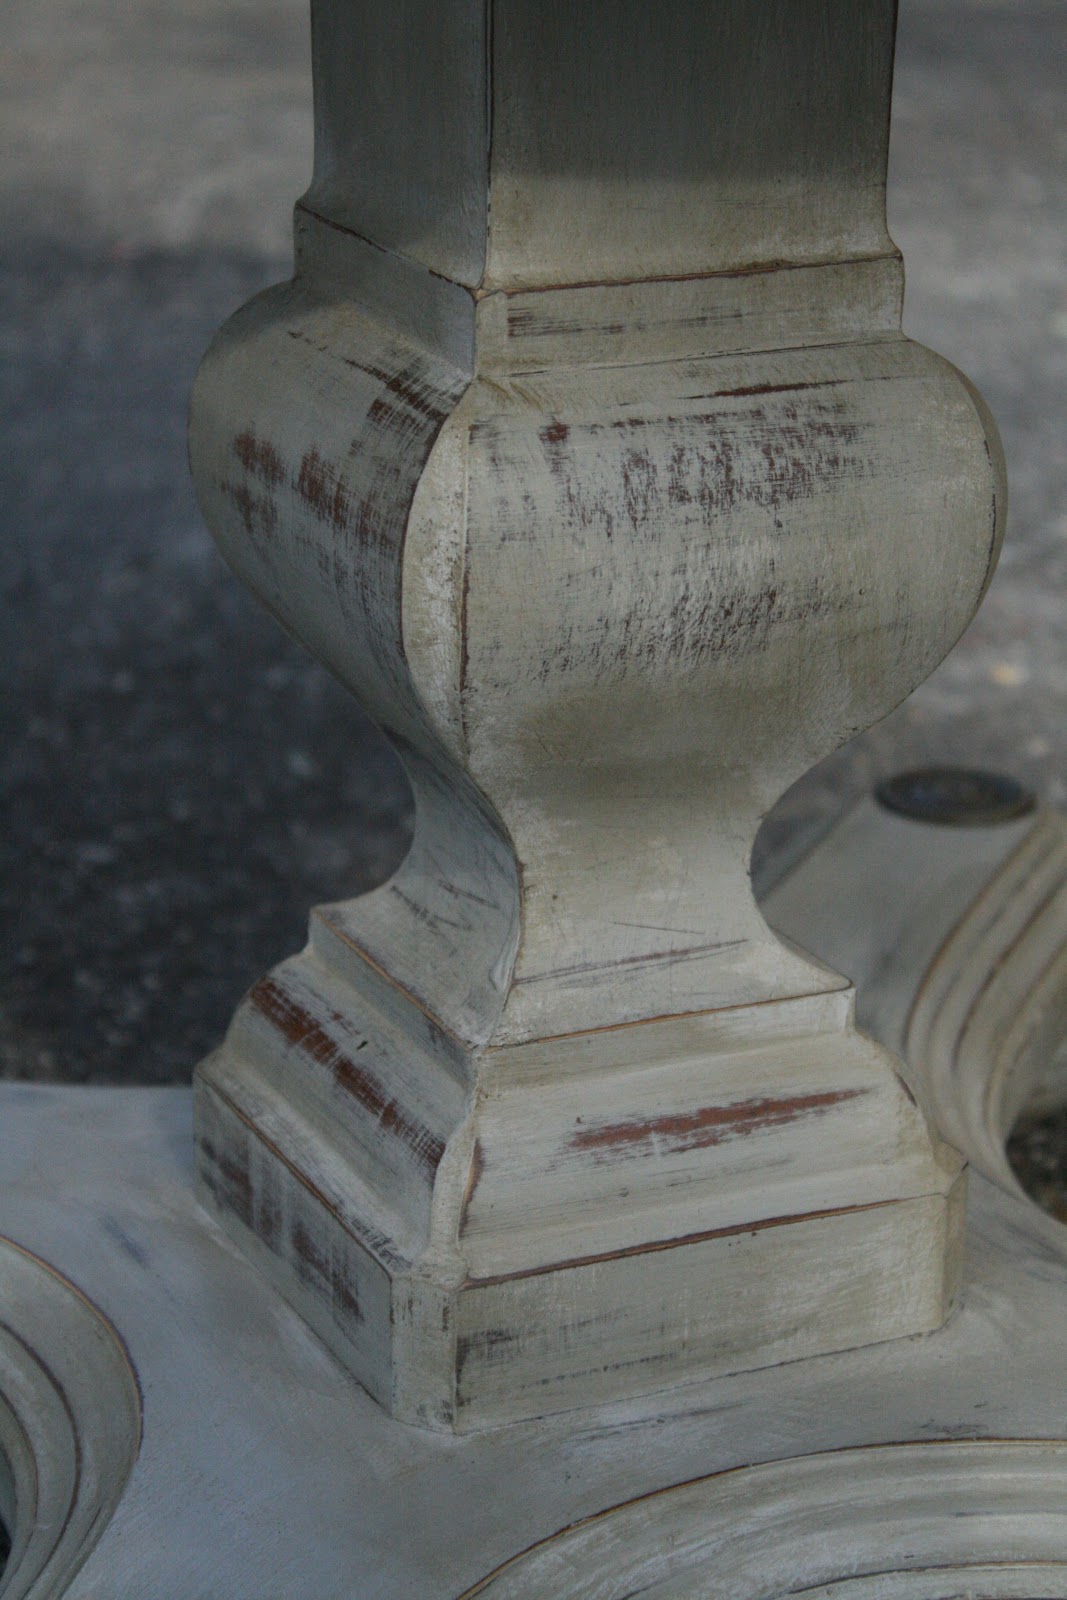
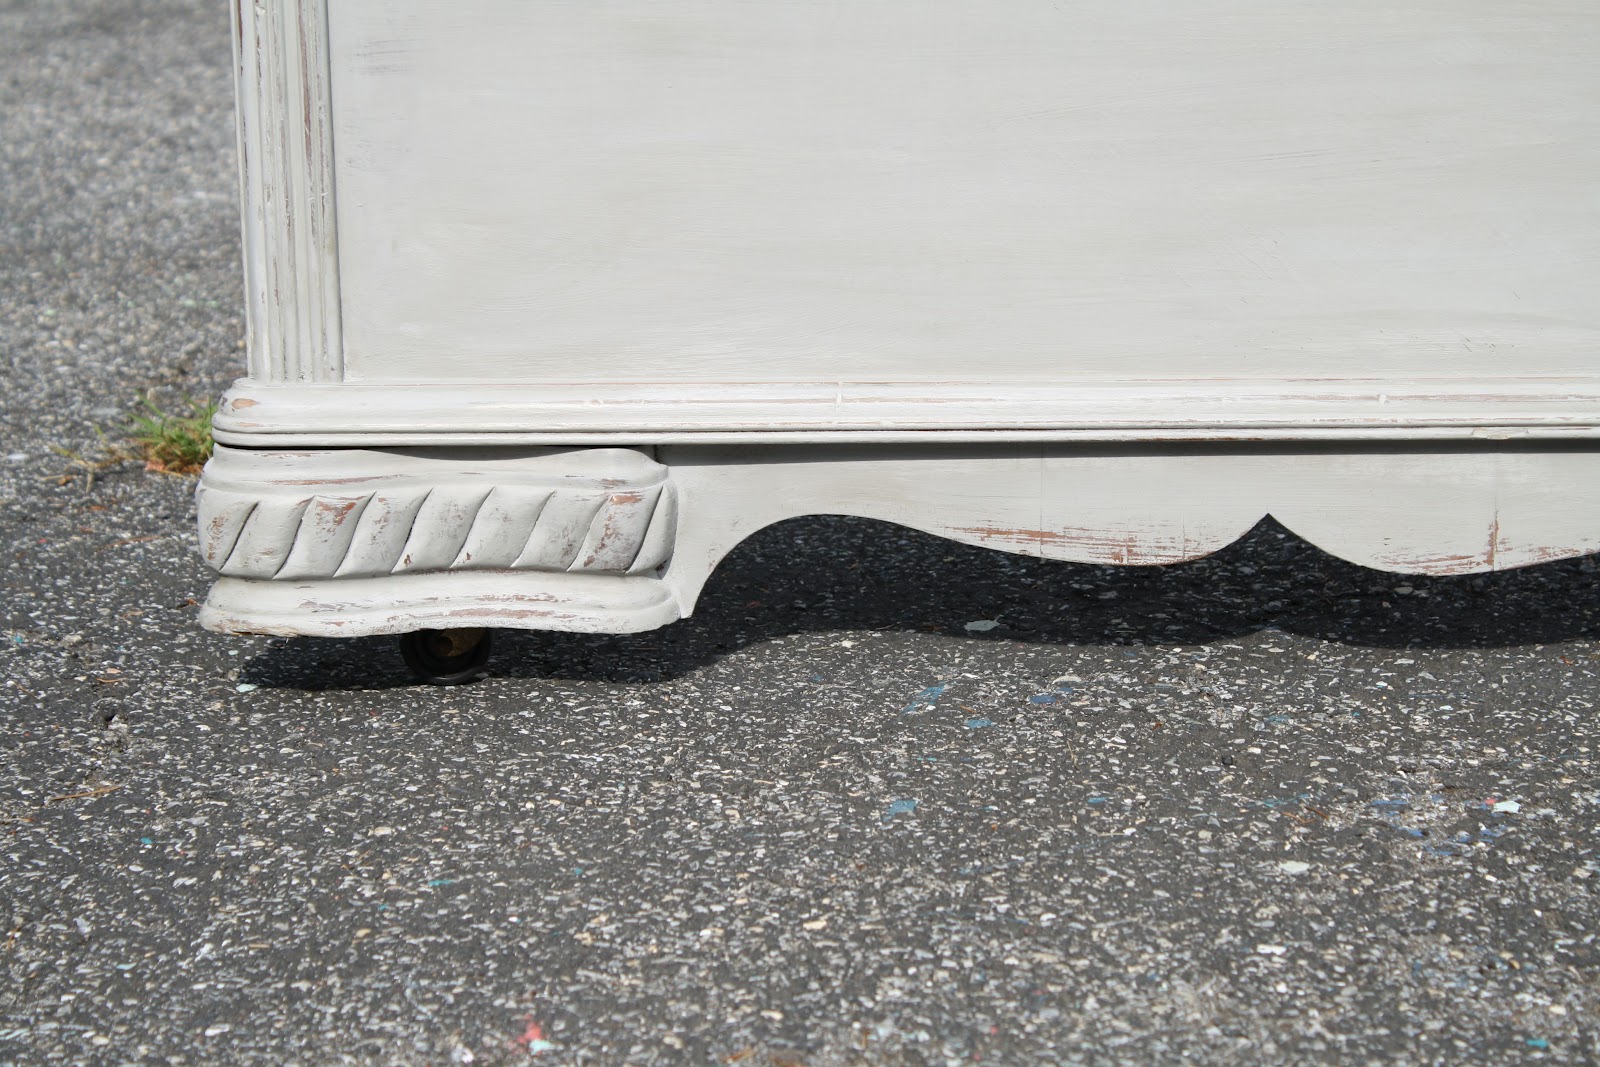
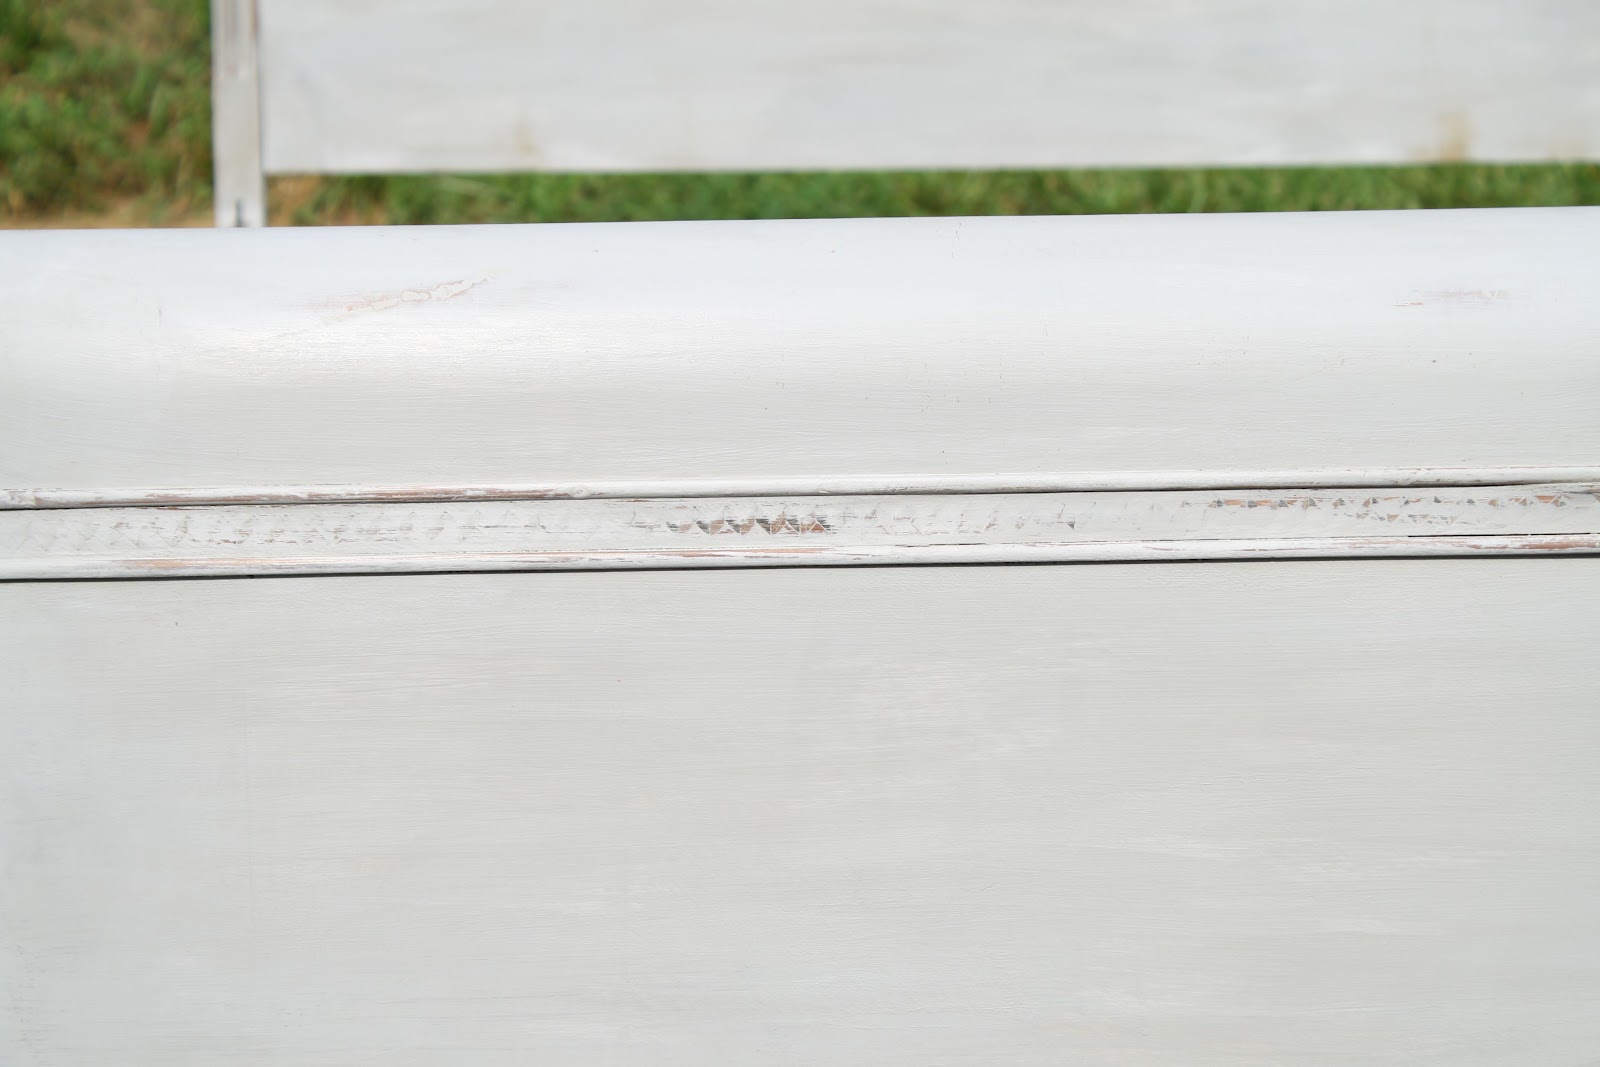
In the past, I have always distressed Annie Sloan Chalk Paint ®by hand with sandpaper, sometimes before waxing and sometimes after- both ways have worked for me. This time, I decided to try the wet rag method. I simply took a rag and wet it, rung it out so it was damp, and rubbed it along all the surfaces I wanted to remove paint from. It worked beautifully and did not create the dust sanding creates, but sometimes did not distress as easily. In that case, I would take a piece of sandpaper to my dampened area, and the paint came right off. So the combination of a wet rag with a little bit of sandpaper seemed to work really well for me.
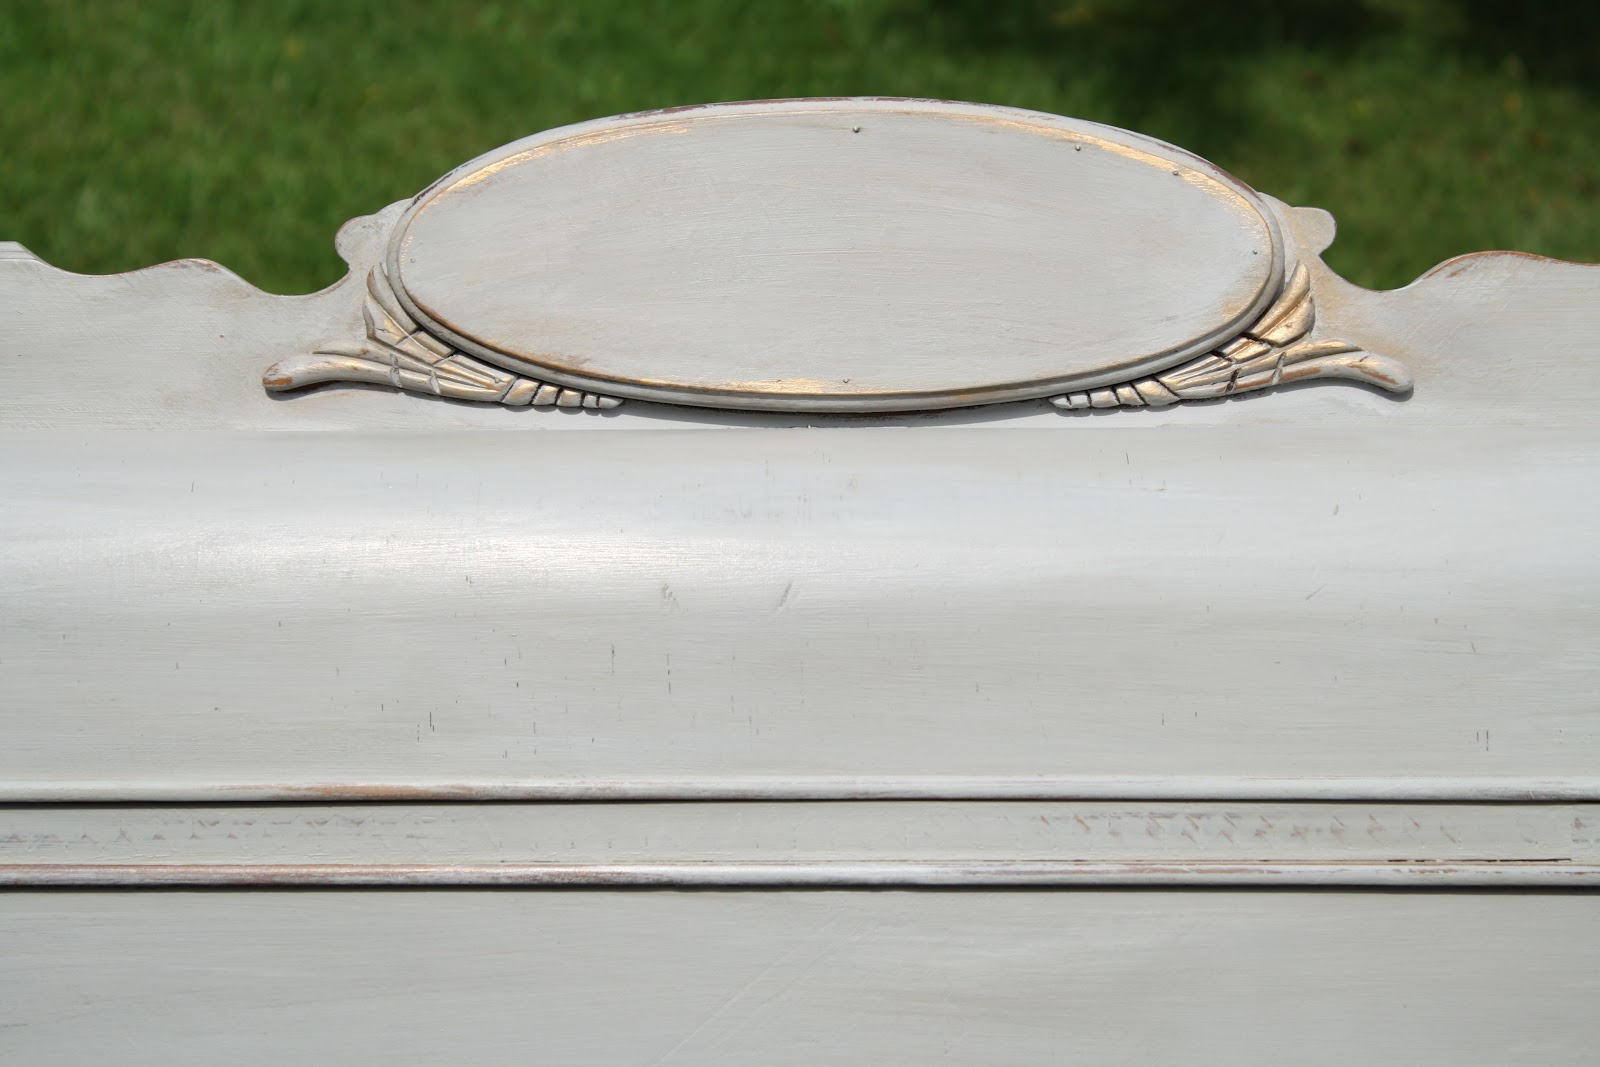
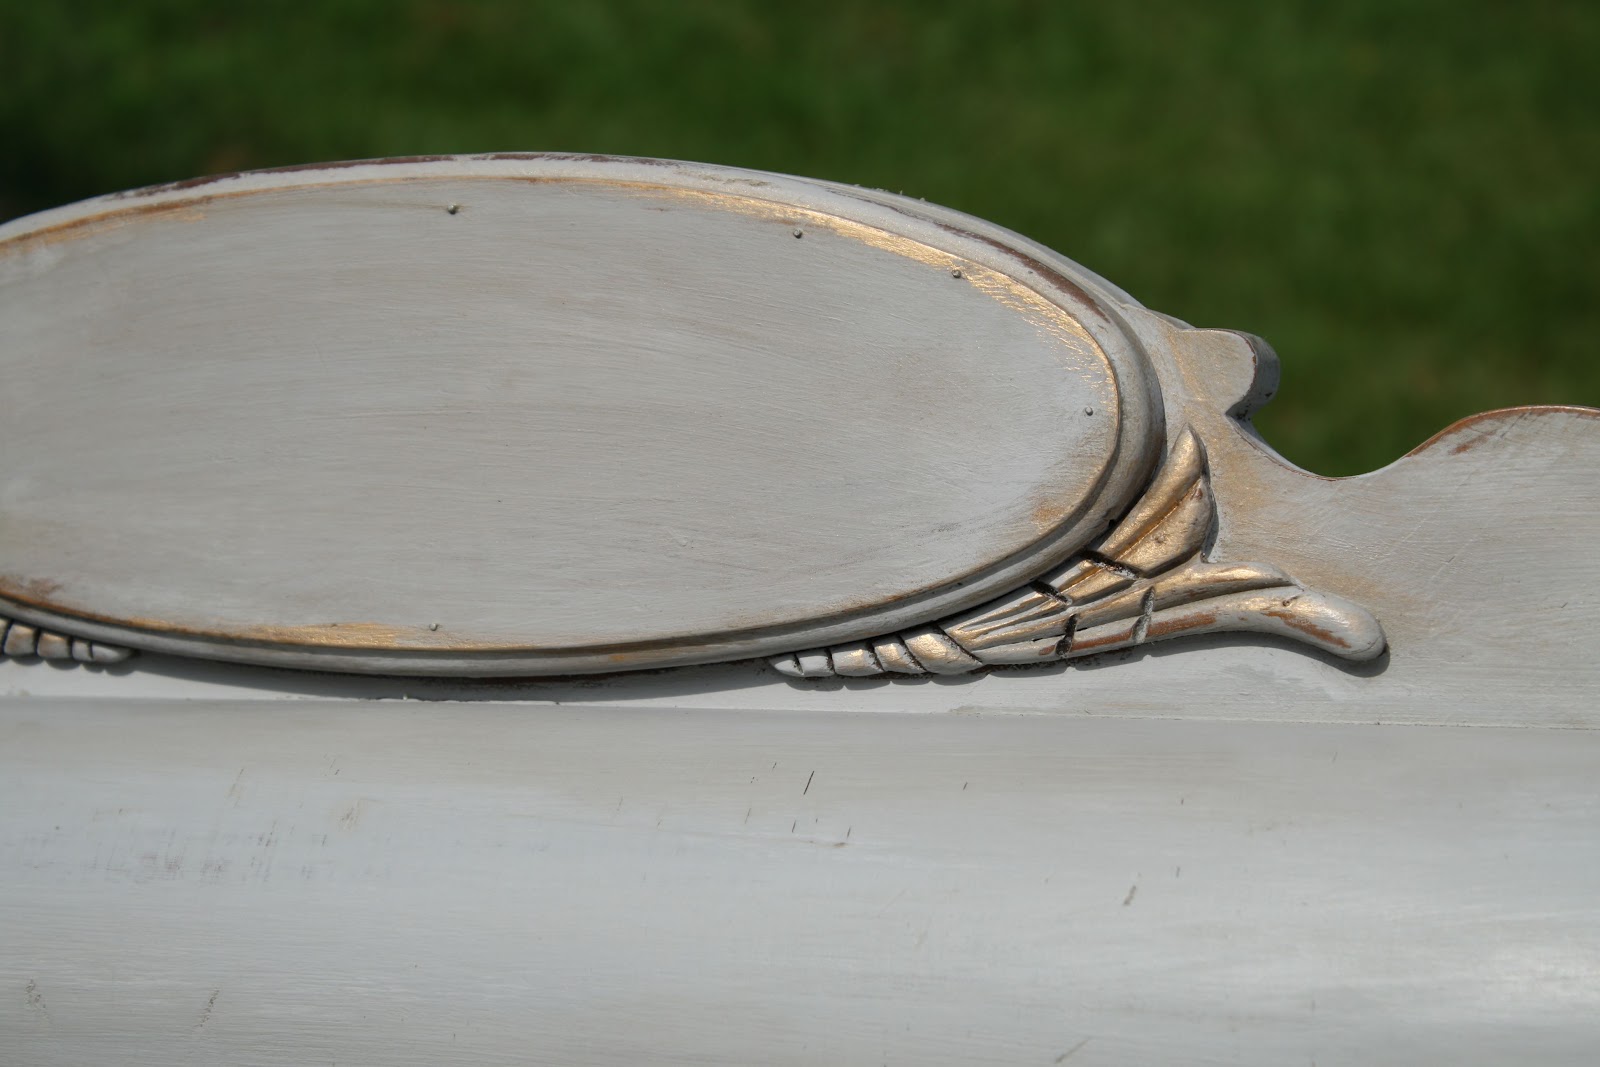
Now with the finish I wanted on this bed, I wanted a slightly more weathered look than the previous bed I did. Here is a picture so you can see Paris Gray with just clear wax over it….

And here are those gold highlights…
So now, let’s review the pros and cons of Annie Sloan chalk paint. And remember, this is only my opinions!
Pros:
– Super easy to use.
– Can make for a quick project turnaround.
– Lends beautifully to a vintage distressed look.
– Is pretty close to being “fool proof”.
– No prep needed. (YAY, no sanding!!! no priming!!!!)
– Very easy cleanup- wash your brushes with warm water and you are good to go!
– Can mix with water to create a more washed affect.
– Eco friendly and almost odorless.
Cons:
– Limited selection of colors (though they can be mixed to create custom colors)
– Pricey at around $38/qt.
– Not all colors have the exceptional coverage Paris Gray does. I have found some other colors to be a little more translucent.
– In the past I have experienced issues with bleed, where the stain of the wood bleeds through in spots. I have remedied this by using a strong primer over the bleed -through spots, or I have worked it into the antiqued and weathered look of the piece.
– In the past I tried using it on a piece that was previously painted and it did not adhere to the semigloss finish without sanding first.
All in all, this paint is very easy to use and works well for the novice and advanced painter. If you are a newer painted though, I would recommend starting on a small project so you get a feel for it as it is much different from latex paint. Kristy over at Hyphen interiors actually just did a fabulous week long round up and review of her experience as well as the experiences of others with chalk paint. It’s definitely worth reading!
Thanks again for having me here today, and see you next month when we discover yet another type of paint! Until then, feel free to pop over and visit me at my blog!


I just bought my first set of supplies for my Annie Sloan project. I want to try 2 colors but no where can i find if i am supposed to let the 1st color dry before I apply the 2nd color. Her you tube video looks like she just puts them right on top of each other wet. Have you tried this method? Do you have any tips?
thanks for sharing this wonderful post.
You are welcome!
Thank you for your informative opinion and creative website. Where do you live? I want
to move there and be your new best friend 😉 ! You must also be an awesome
time manager. I am glad I found your web site. Thanks you for all your creative
Information .
Newborn re-painter,
Betsy
Betsy, we are glad you found us. Please come back often for more great info.
If some one desires expert view concerning blogging then i
propose him/her to pay a quick visit to this blog,
Keep up the nice job.
Love what you did with that bed and the table. Looking to do the same thing on a bed set of mine…maybe more like the table. Can I send you a pic for suggestions?
Julie Dunbar
I’ve read a few excellent stuff here. Certainly value bookmarking for revisiting.
I wonder how much attempt you set to make the sort of great informative
website.
Your talent and expertise, as well as your willingness to share, are all appreciated.
However … if you wanted to do a quick experiment/study to *test paint* ~ why not use some plain piece of furniture that did not have all the beautiful wood, the line work, the curves and other features of this Art Deco styled beauty?
Sara said before me, “you ruined that bed,” and I couldn’t agree more …