Knockoff DIY Chandelier
See how you can do your own knock-off DIY chandelier inspired by Restoration Hardware. All you need is some rope and glue to get started. Read below to see how Jordin from I Love That pulled it off.

Submitted By I Love That
Hi my name is Jordin from the blog I Love That! I am constantly thinking a new ways to redecorate my house on a budget and rearranging it has become a hobby. I throw in my obsession for fashion and hunting for bargains too.
Here are some other projects I’ve done: Buffet Makeover, Bathroom Makeover
Inspiration image
This has been the longest project ever. I mean normally my projects take along time but this was ridiculous. It really wasn’t all my fault, I underestimated how much jute cording this little project would take. Silly me thought 5 six foot spools from Wal-Mart would give me a good start, which it did. The problem was that Wal-Mart took their sweet time restocking the jute cord and when they did, it was two at a time. That was getting me no where, so I searched online for the Simplicity Jute Cord at other Wal-Mart’s and it turned up nothing. Finally, I found similar cord on Amazon.com in 10 yard spools. Four spools later, I was done!
So back to the chandelier, a long time ago I was in the sale room at Anthropologie and saw this awesome chandelier made of rope. I then saw some similar ones at Restoration Hardware.

Existing Chandelier
So a light bulb went off (sorry), I can do that with my boring, came with the house, wrought iron chandelier in my dining room.

Materials that I used for my DIY chandelier
E6000 Glue
Jute Cording
Clips (to hold cord in place)
So I got to wrapping…
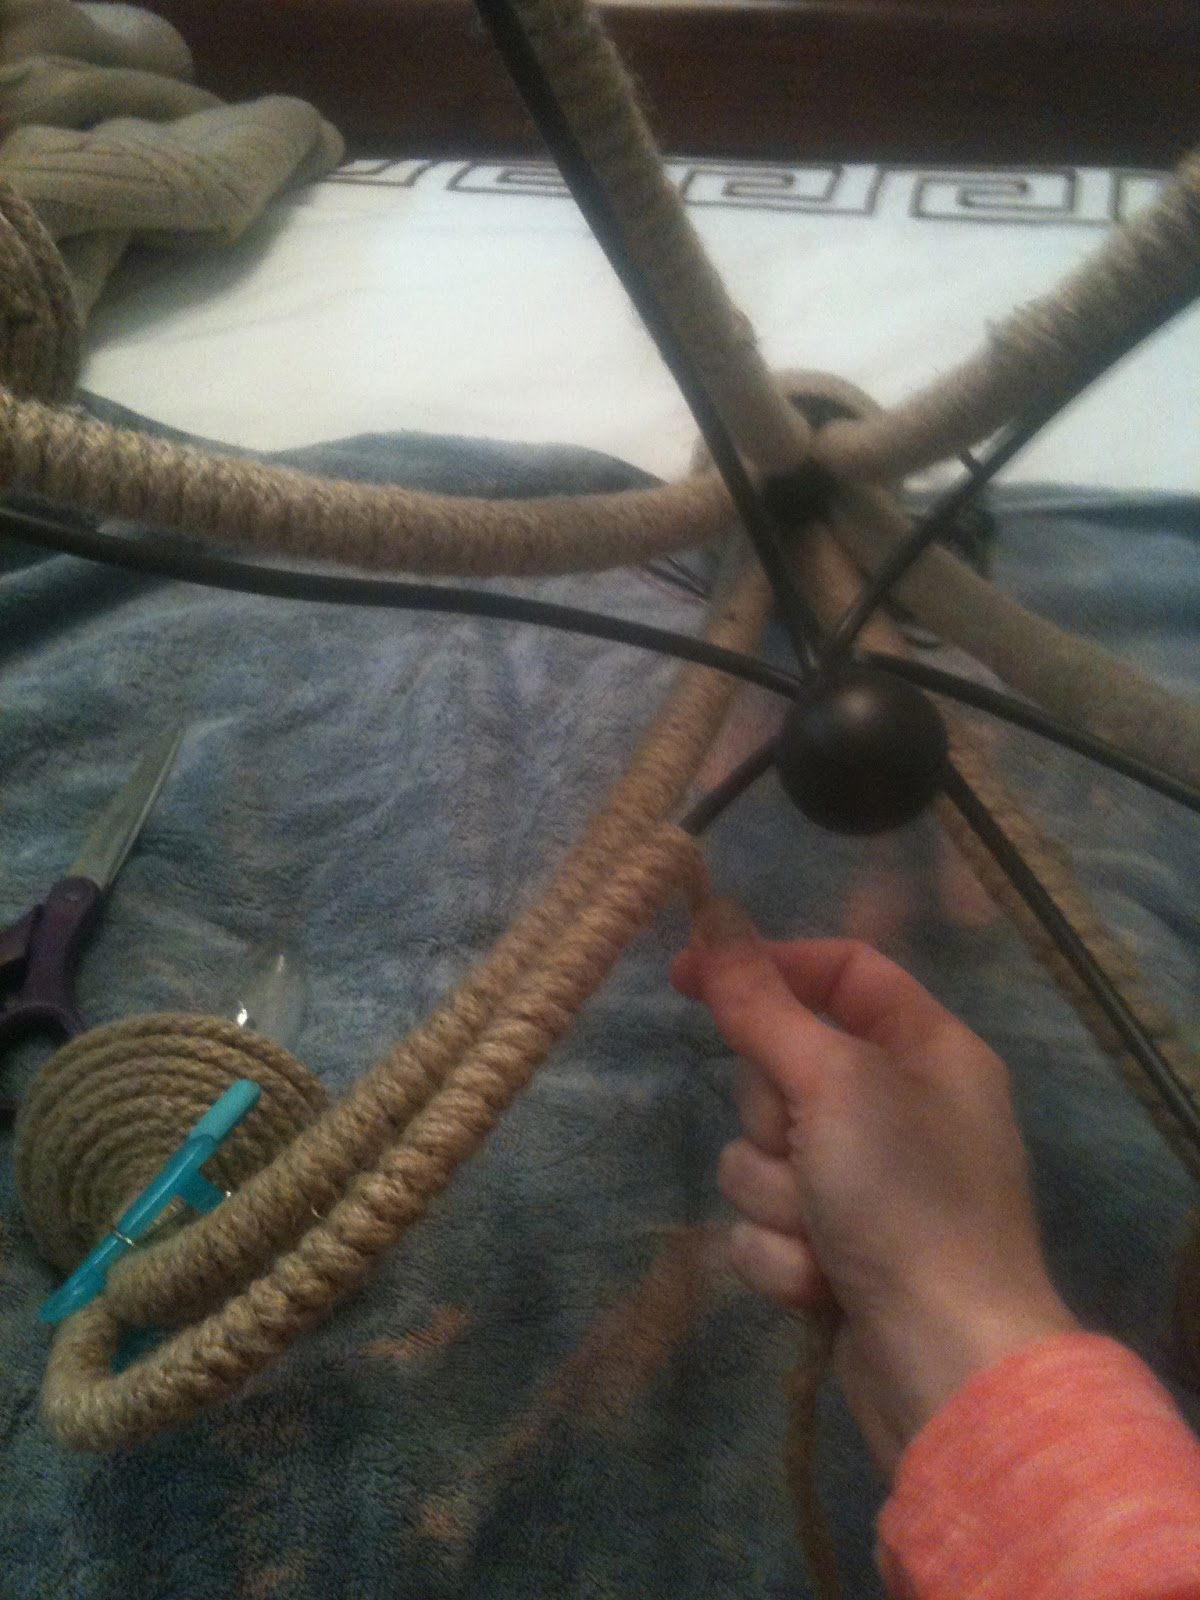
Here are a few tips for those of you wanting to give it a try
- I tried not to cut the cord so I wasn’t piecing them together mid way.
- Use clips or clothes pins to hold the end in place while the glue dries
- You don’t need a ton of glue. I would line one side with glue then wrap the cord tight around the arm of the chandelier. The glue would spread itself around all sides of the arm.
- Pace yourself. I thought this would be a quick and easy project. I ended up doing it in sections because I would get tired.
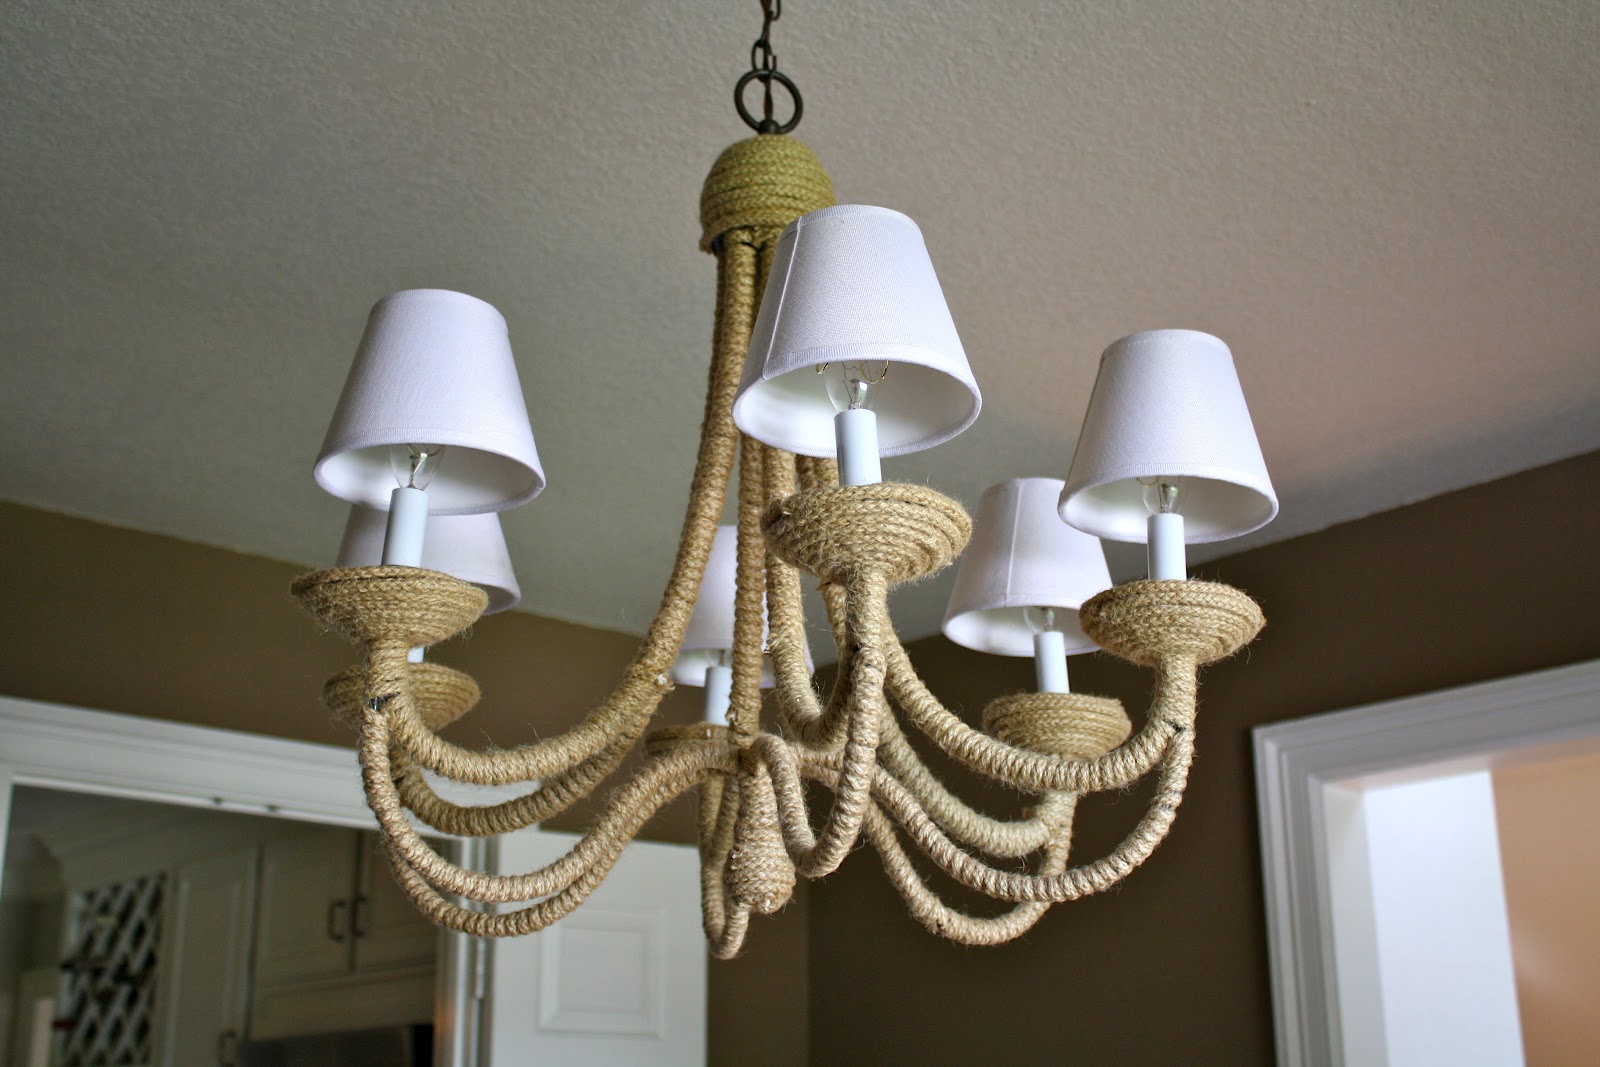
Here is how it turned out

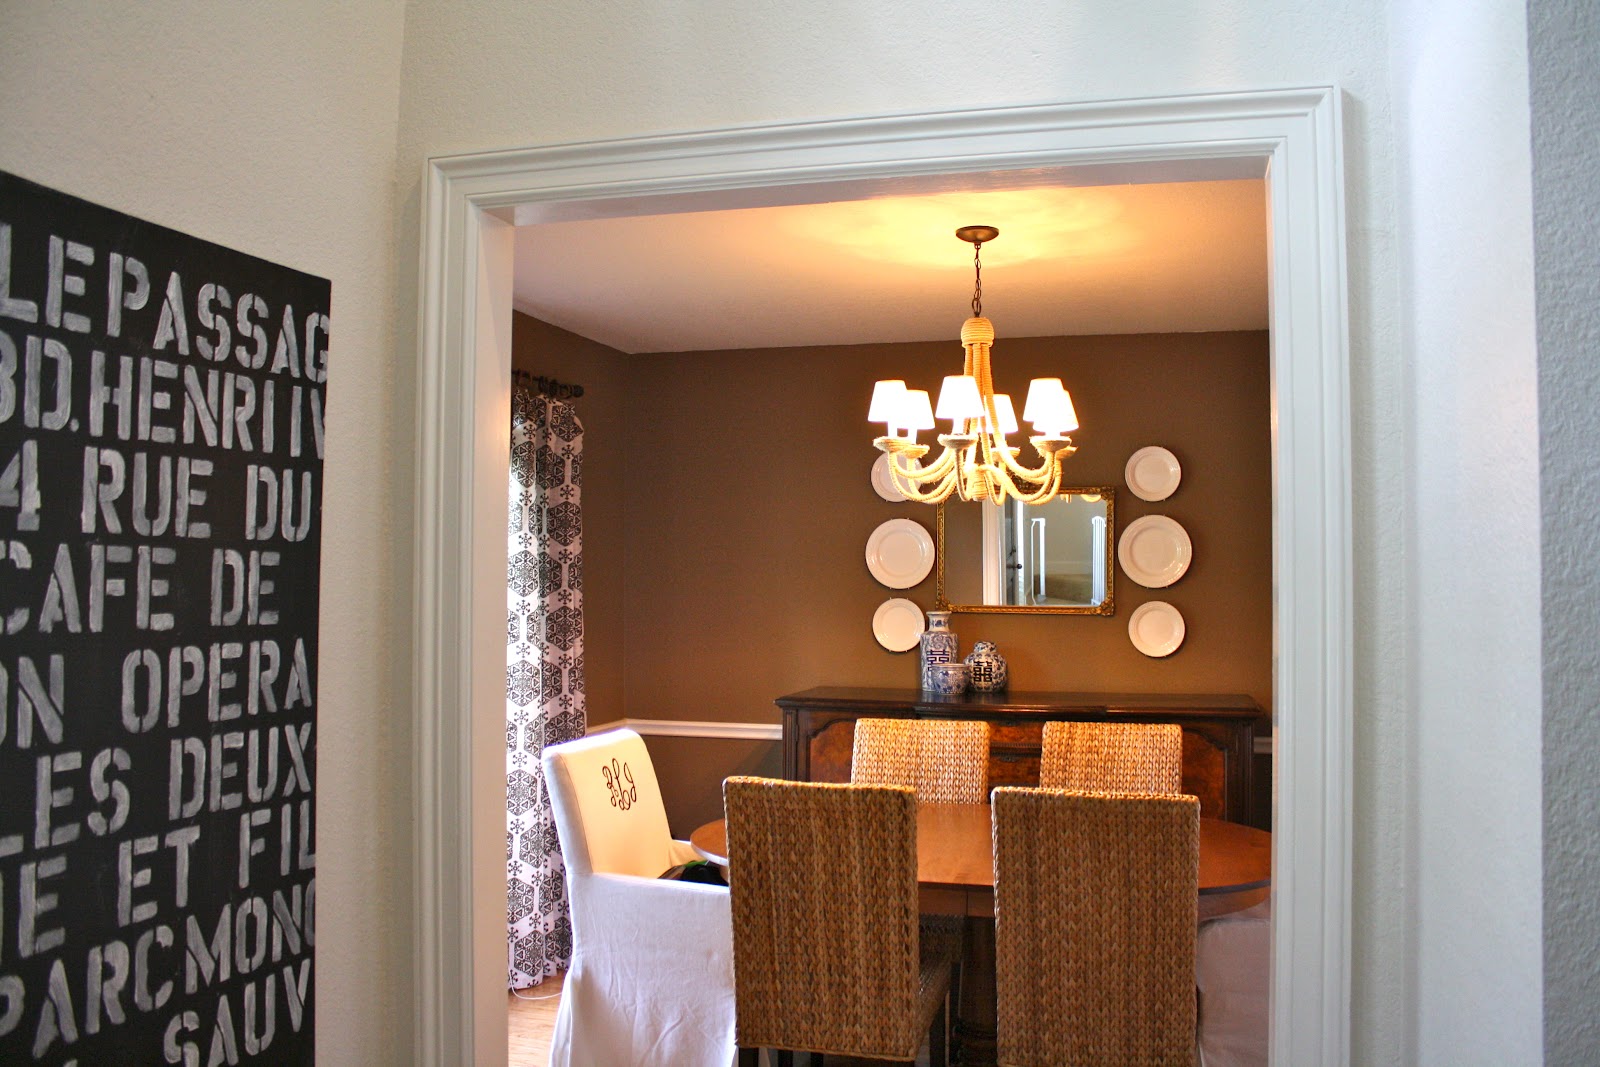


Now I am thinking my dining room needs a new wall color. Grey or White, maybe?
See what other people did to their DIY chandeliers by just clicking the image.


Wow that is freaking awesome!!!! I love how it turned out!
You stole the idea right outta my head! haha…no joke, I have loved this RH light for so long and had a similar idea for my living room. I guess “you snooze, you loose”, lol. Amazing transformation – Love it Cassity! xo Jenna
I just realized Cassity that it isn’t your project and a project your featuring, but I still love it 😉 -Jenna
Thanks for the feature! Looks great!
You are welcome!
This looks so awesome! Thanks for sharing Jordin… and this would be my next DIY! Love it!
Wow is the word i got for this beautiful makeover. Great job Jordin i truly love your work, i wouldn’t mind giving it a try.
~Martin
Incredible! I am in awe!
I love the idea, and if it´s ok with you, I am SO reblogging this!
Very very pretty.
Love this! It’s been on my list to knock off but I haven’t found just the right chandelier yet. Nice job!!
From drab to fab…love it! Great idea and DIY project.
What a difference it makes! It’s like it brightened up the whole room just by being a little lighter in colour!
very nice job and great instructions and advice – thanks!
I love this idea! I HATE my brass chandelier and am looking for a non-paint makeover fix (we rent). I mentioned this link on my blog to remind me that I should try it.
Thank you for posting!
You have no idea how excited I am that I found your blog! I recently picked up a chandelier at a bargain price and was looking for some inspiration on what to do with it. I am a Rope-a-holic so this project is right up my alley. Yours turned out beautiful! Thank you for the inspiration!
Katie
Good Luck Katie on you light! I hope you share some pictures!
Can you tell me what weight or thickness of jute you used and did you use a glue gun or different glue?
This chandelier turned out great. love it
This is EXACTLY what my hideous chandelier needs!! You made my day!! I’ve been holding onto a circa 1974 (but not in a good way) punched tin chandelier – need I say more – mostly because of the sentimental value but this is going to give it new life. Thank you!! If I can make a tiny suggestion on your fabulous dining room…if you lower your chandelier about a foot it will really show it off and you’ll get lovelier light in the entire room. What colour did you end up doing on the walls?
Hi Jean! Thanks for the comment — this is a post from a guest so you’ll have to click over there (linked up toward the top of the post) and see the finished room there. Thanks!
This looks great! I am going to try it on a candlelabra that I think need helpl Might try a smaller gauge rope.
Sounds like a plan! We’d love to see pictures when you’re done! https://www.remodelaholic.com/share-brag-post/
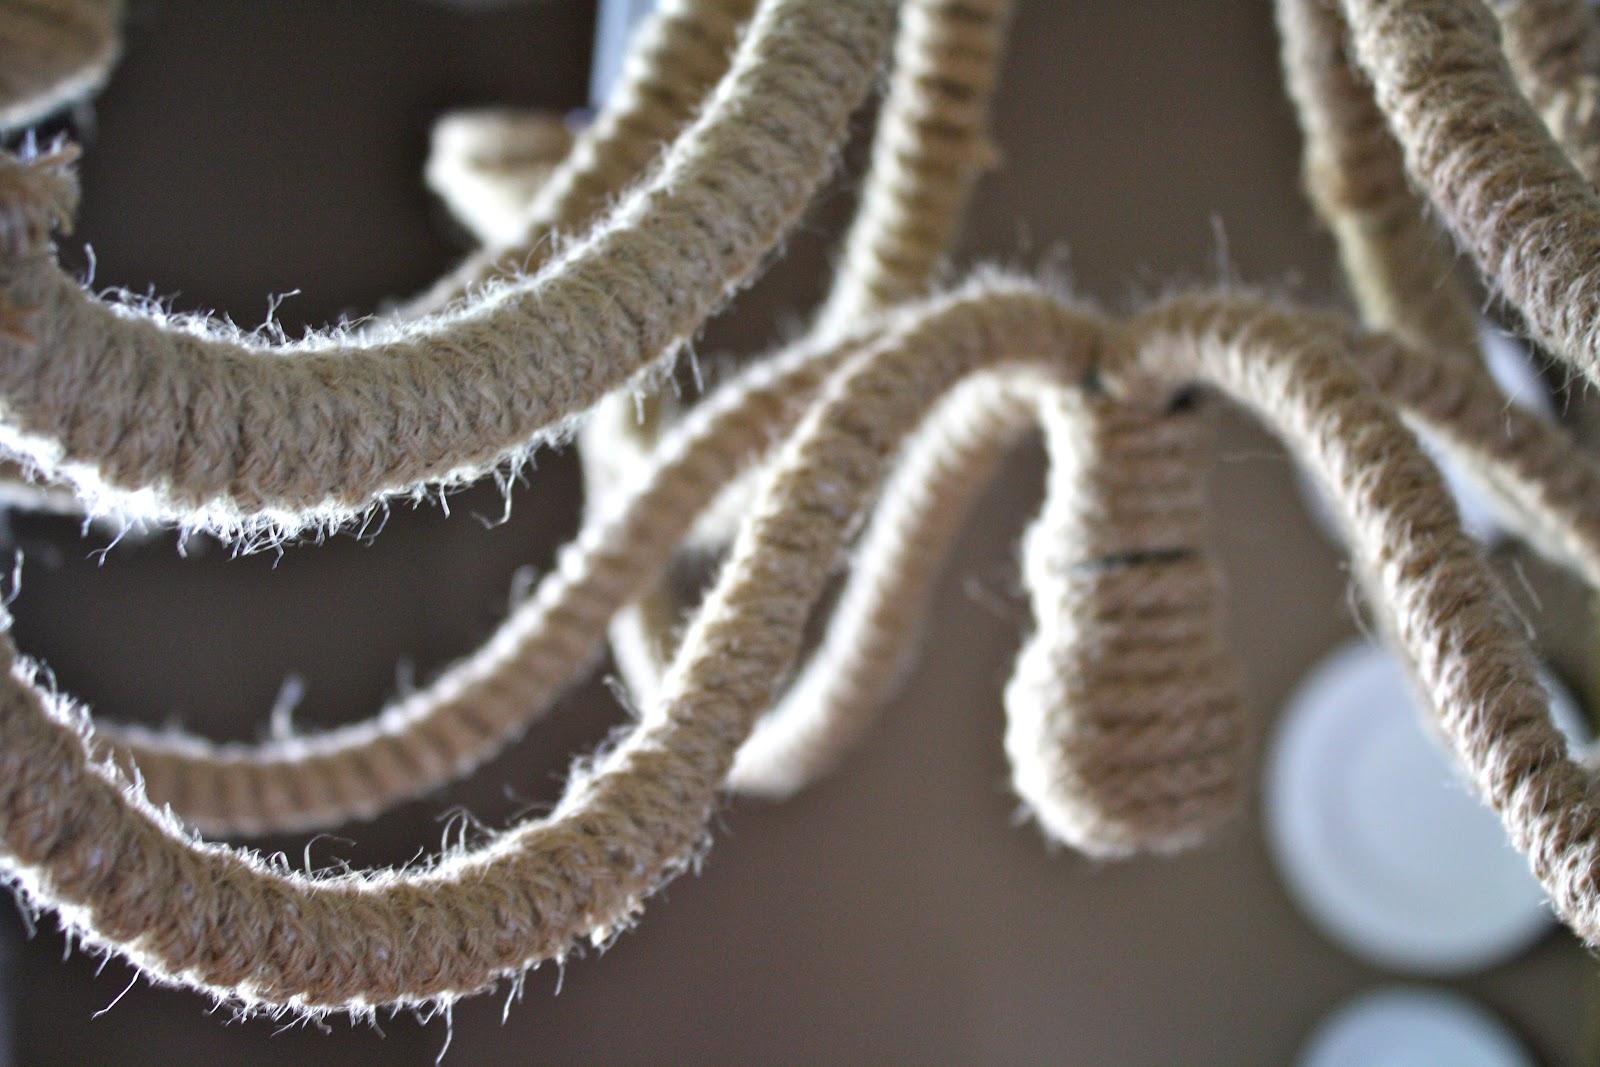
Looks great! It’s been years since you originally posted thus, but do you know what size cord you used? It looks like you may have even used 2 sizes. Thank you!