Mirror Makeover: Creating A Unified Look With Paint

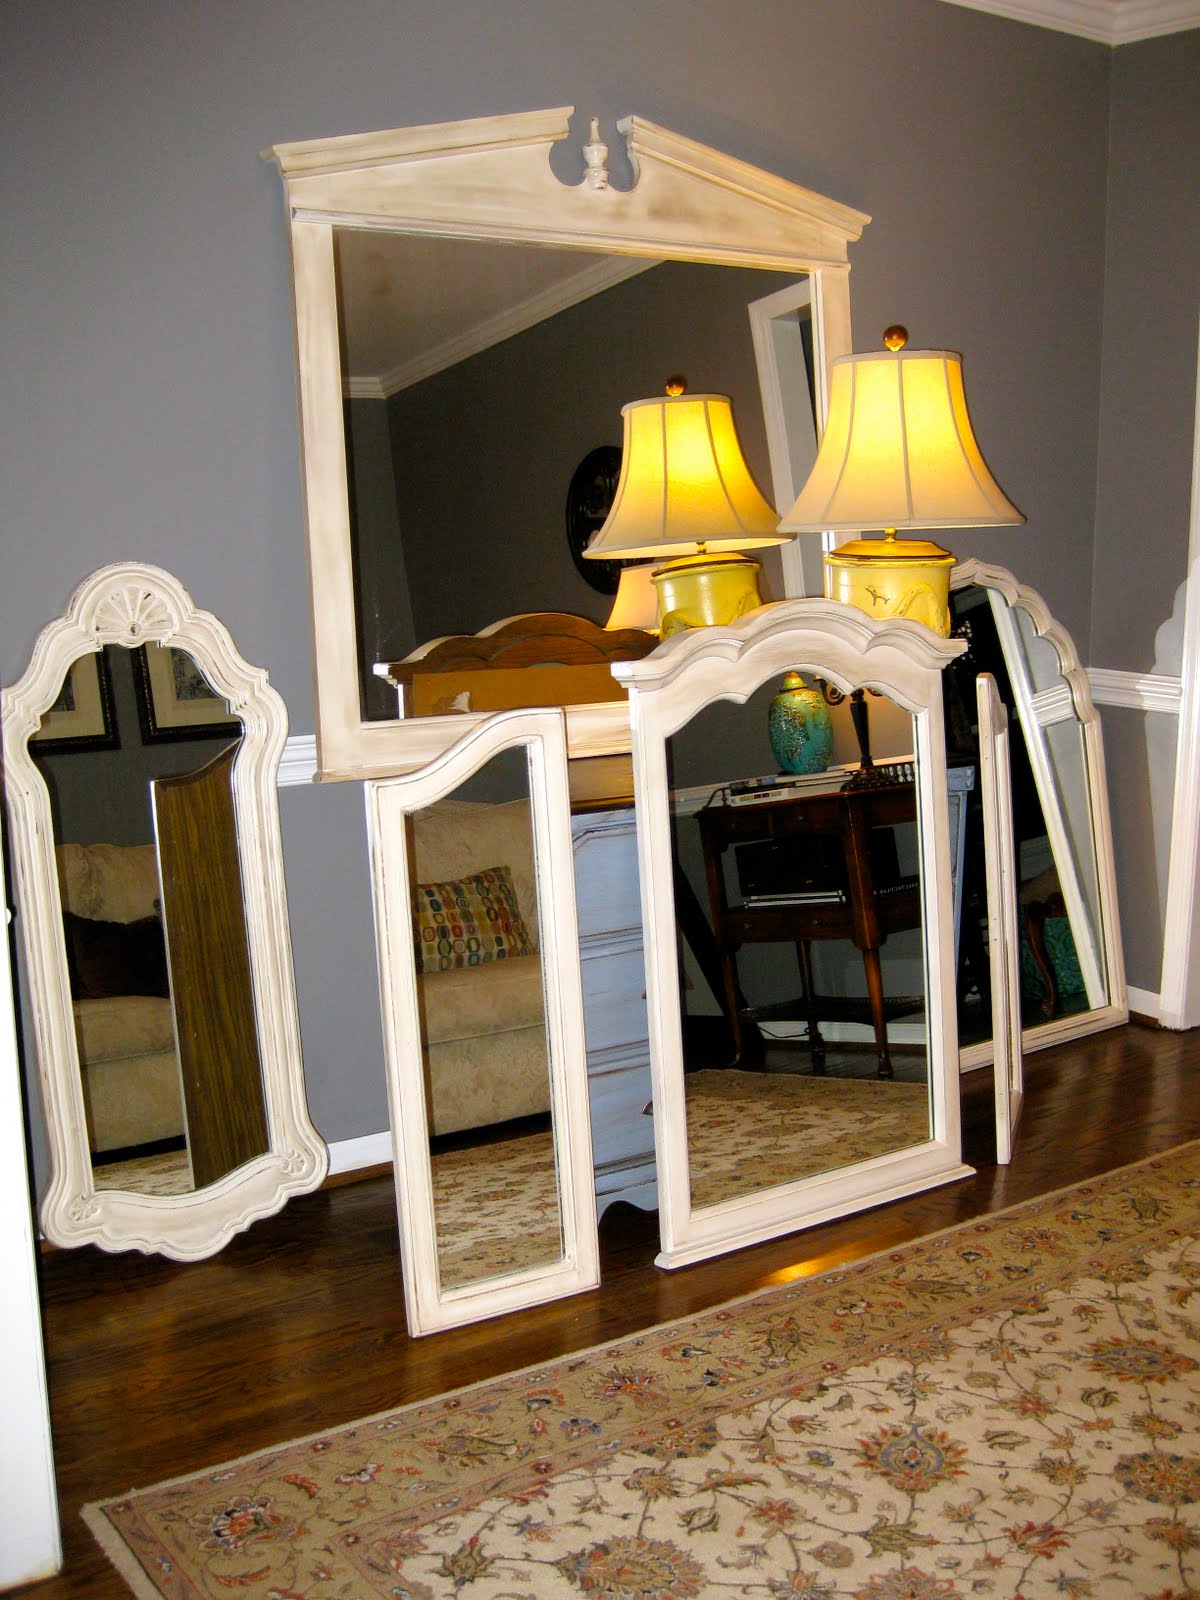
Have you ever tried to take a picture of a mirror? Or, even better, 6 mirrors all at once? If you haven’t, I’ll fill you in. It’s a challenge. Not only do you have to figure out how to arrange the mirrors, you also have to clean up everything that is going toreflect in the mirror(s). From every angle.
No easy task, I assure you. Especially since I am very accomplished at the ‘pile’ process of housekeeping. You know, where most of the house is clean, but there are certain places where the piles accumulate?
Anyhow, I digress. More about the mirrors, which is why you’re really reading anyway.
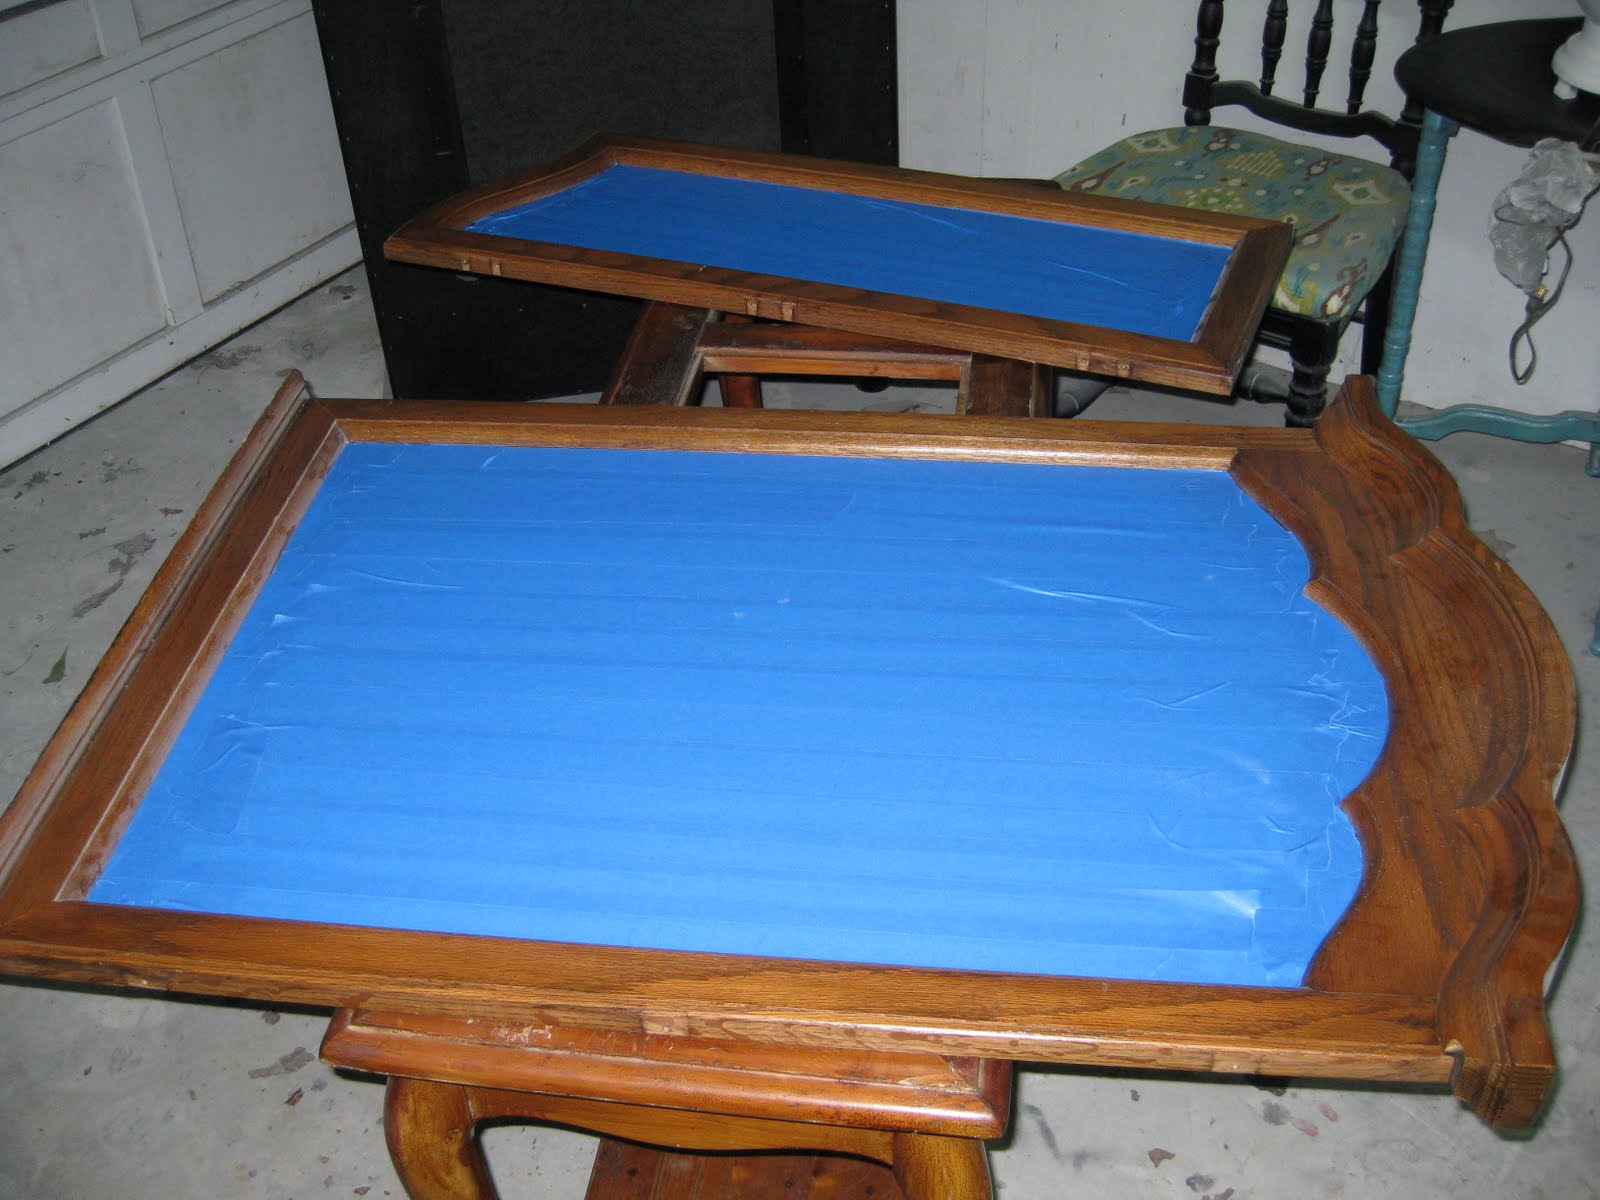
I don’t really have any ‘before’ pictures. Somehow I missed it, but I do have some ‘in process’ pictures. All of these mirrors were oak, very wide grain, honey colored. Blah.
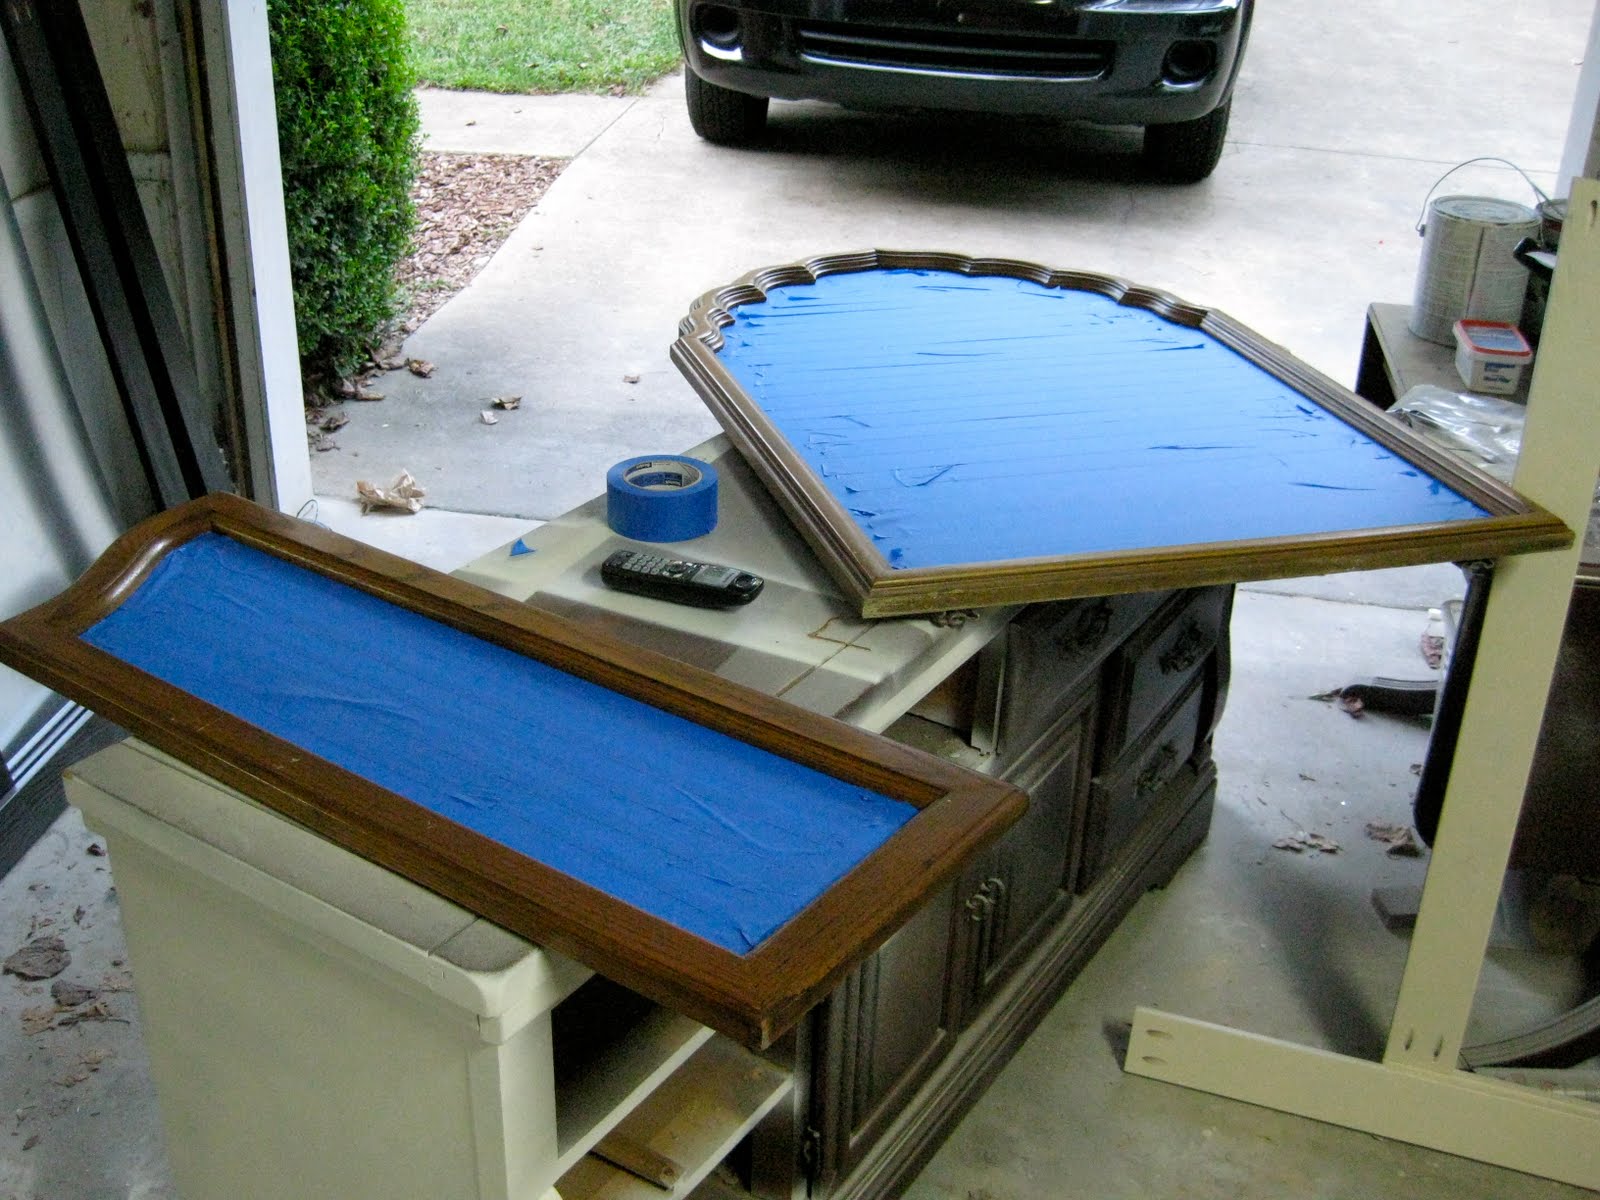
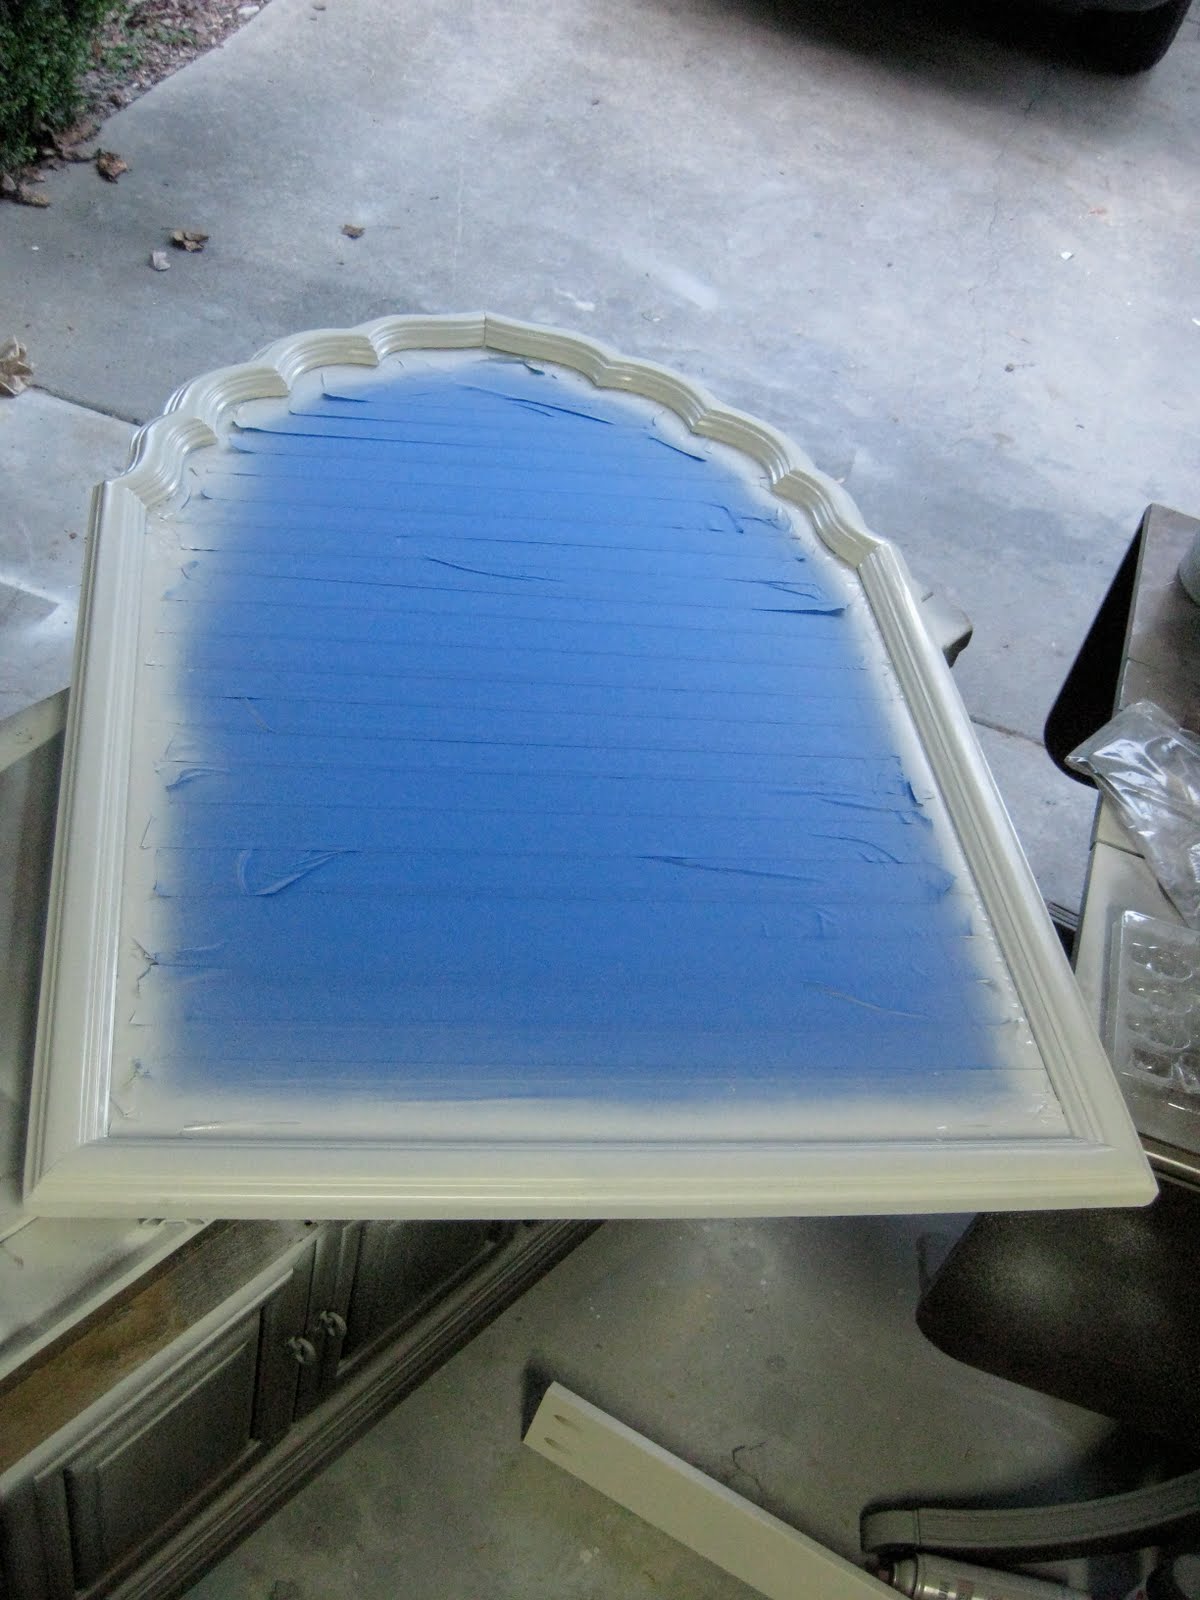
I started on the edges with the painters tape, then went a little crazy and just taped the whole mirrors. I really can’t explain why~ normally, I would have used butcher paper on the centers. Maybe the heat got to me.
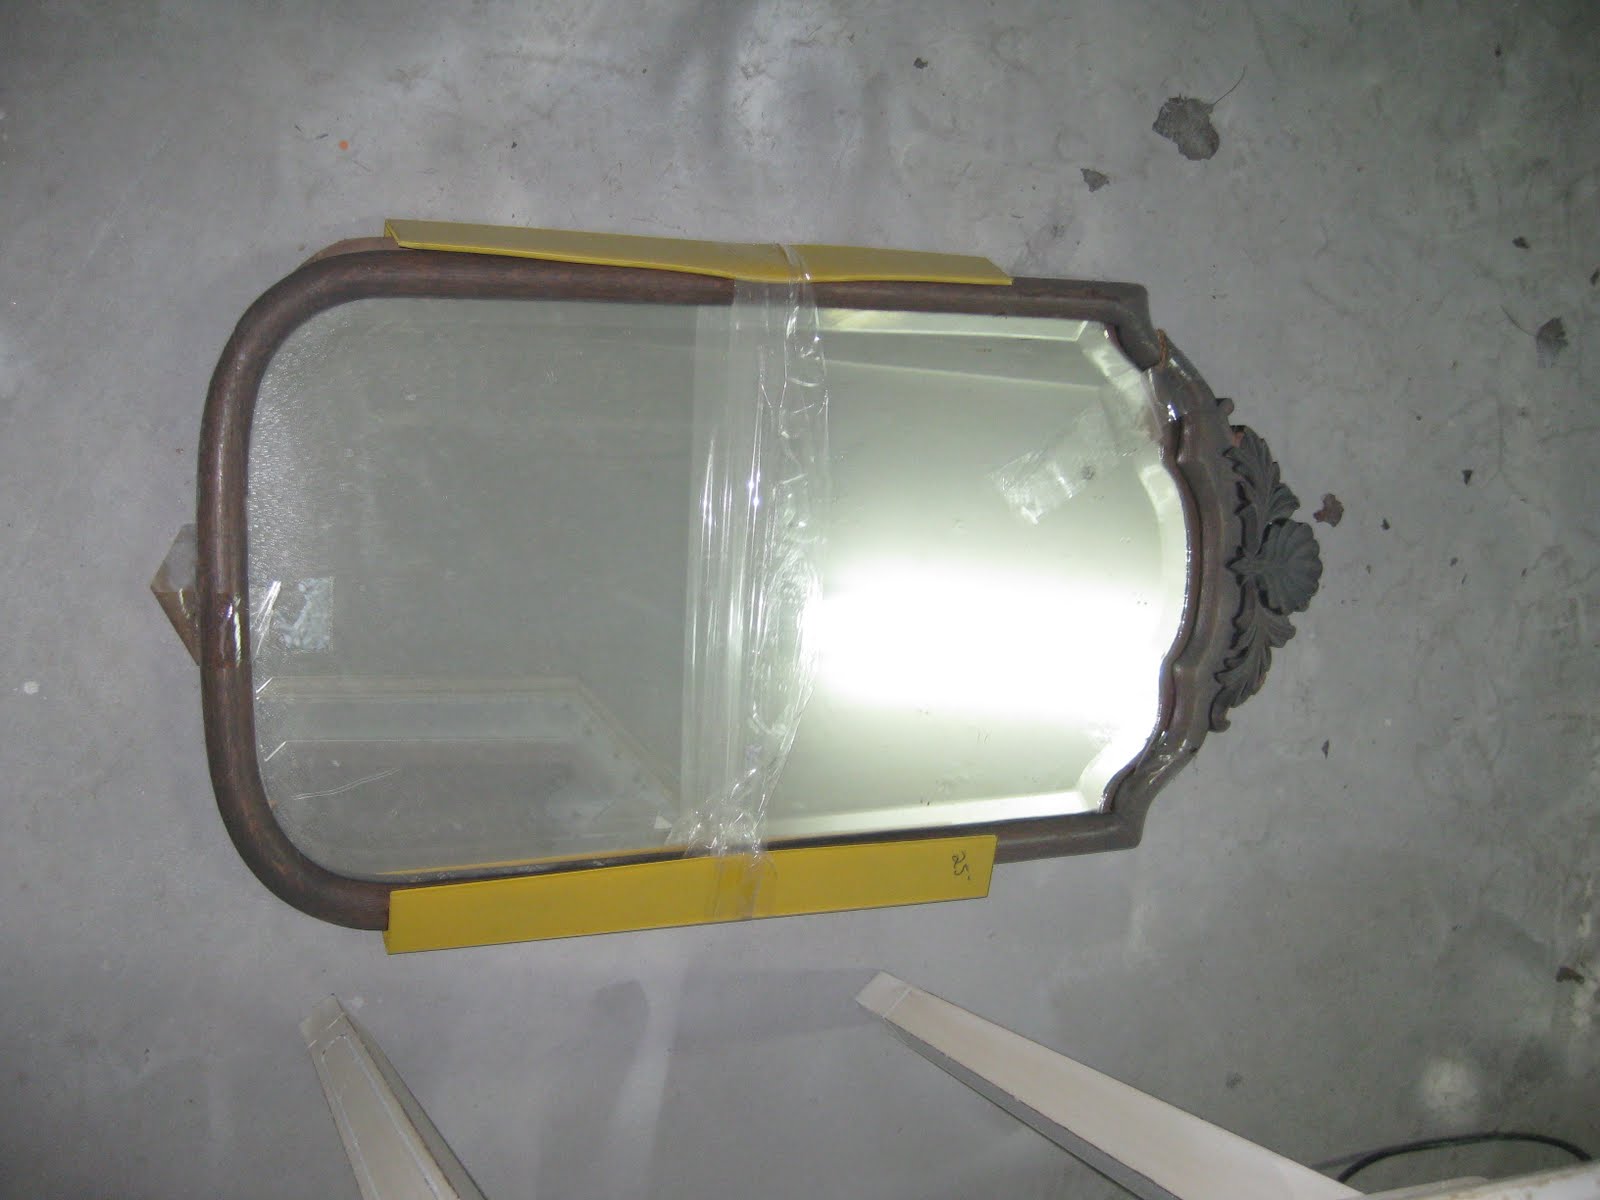
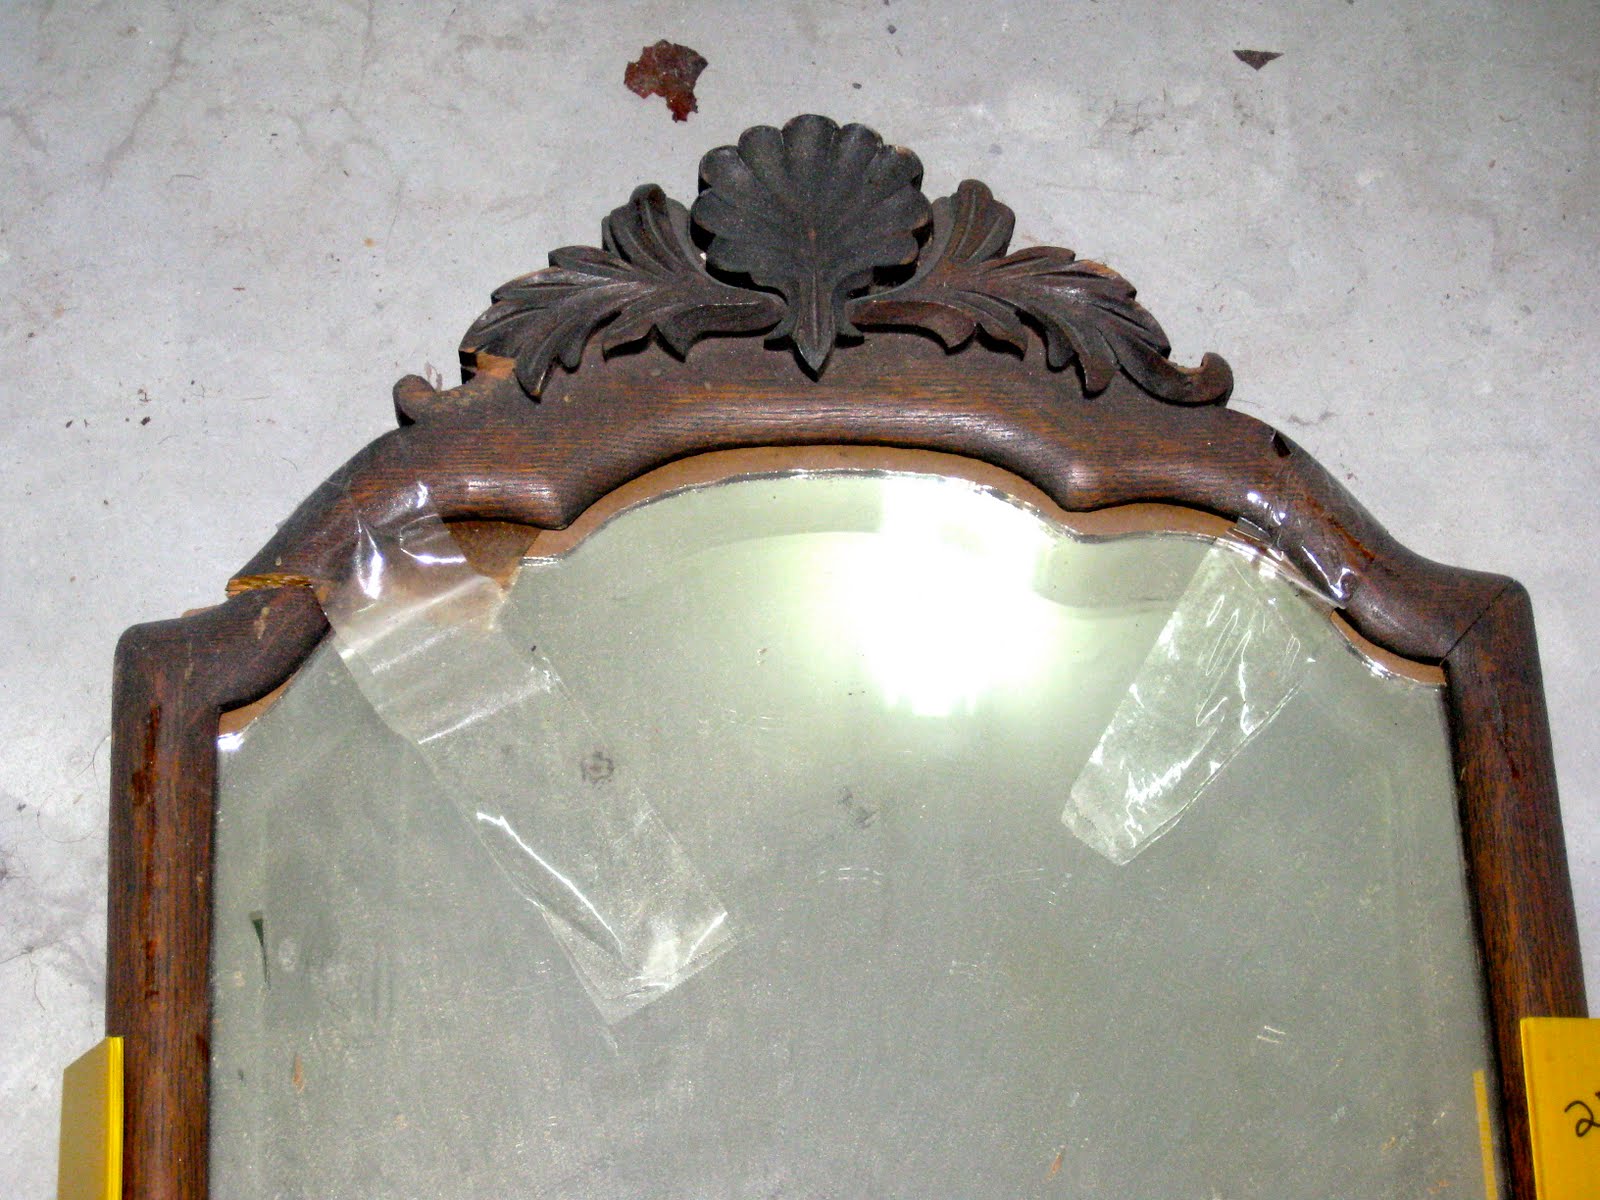
Here is one that isn’t finished yet, but would make a nice addition to this collection. I picked it up at the Camp Sunshine garage sale down in Decatur this past weekend. It is in a sad state! But I love it. The yellow wrapping on it is holding the pieces together 🙂 This piece needs some serious rehab before it can see paint.
Now on to more of the finished pieces…
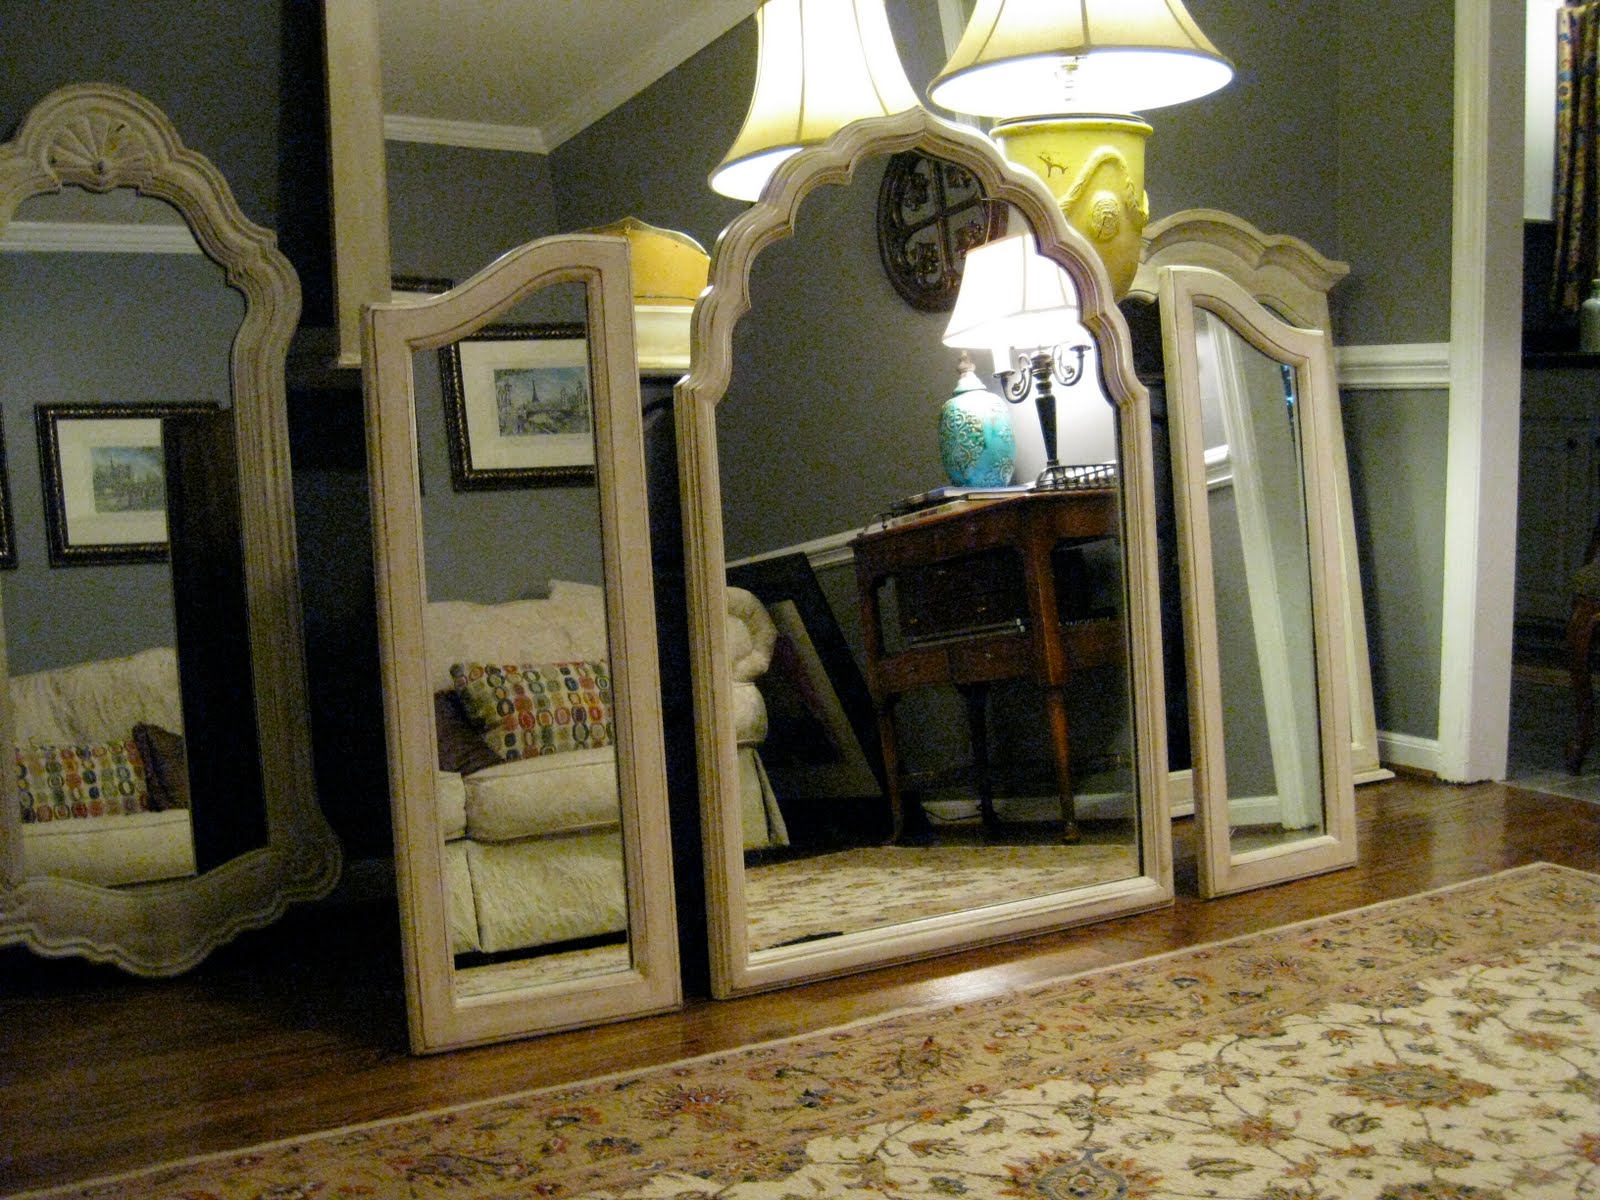
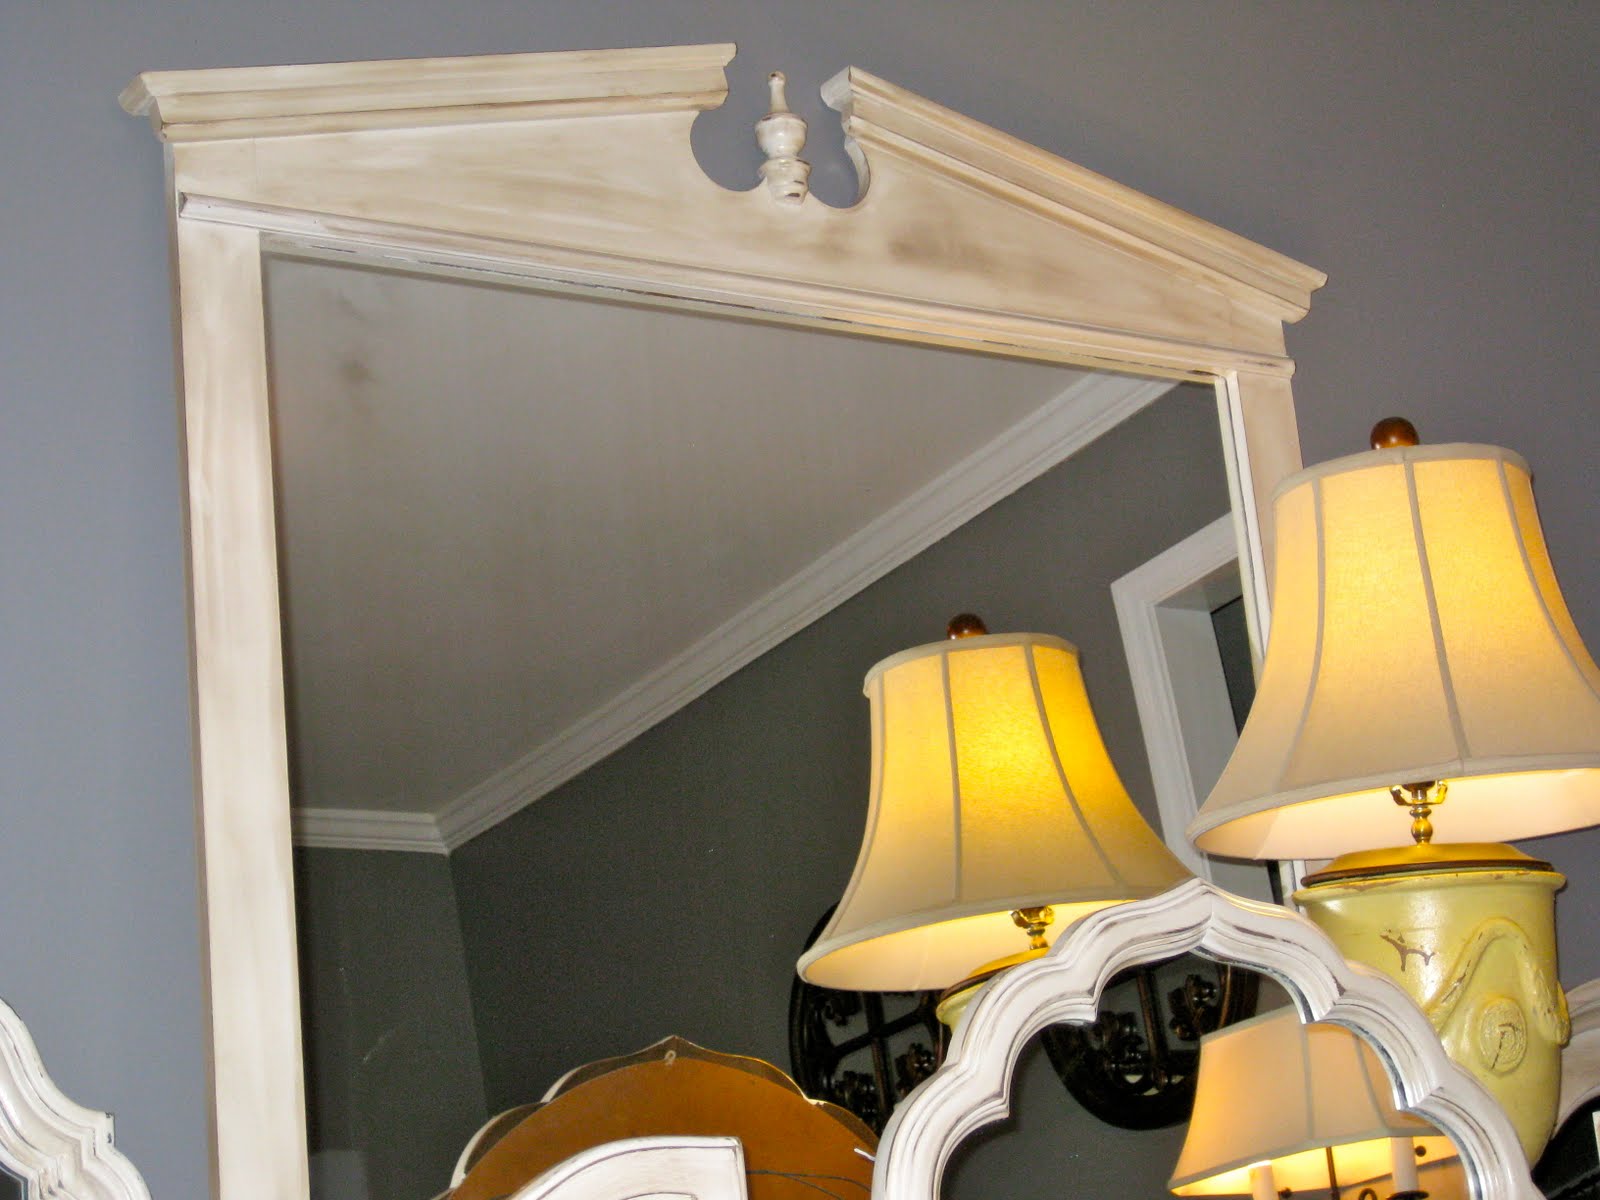

I have a special love for this one. I don’t love the reflection of the painting that I removed from the wall in order to take these pictures, though 🙂 Oops.
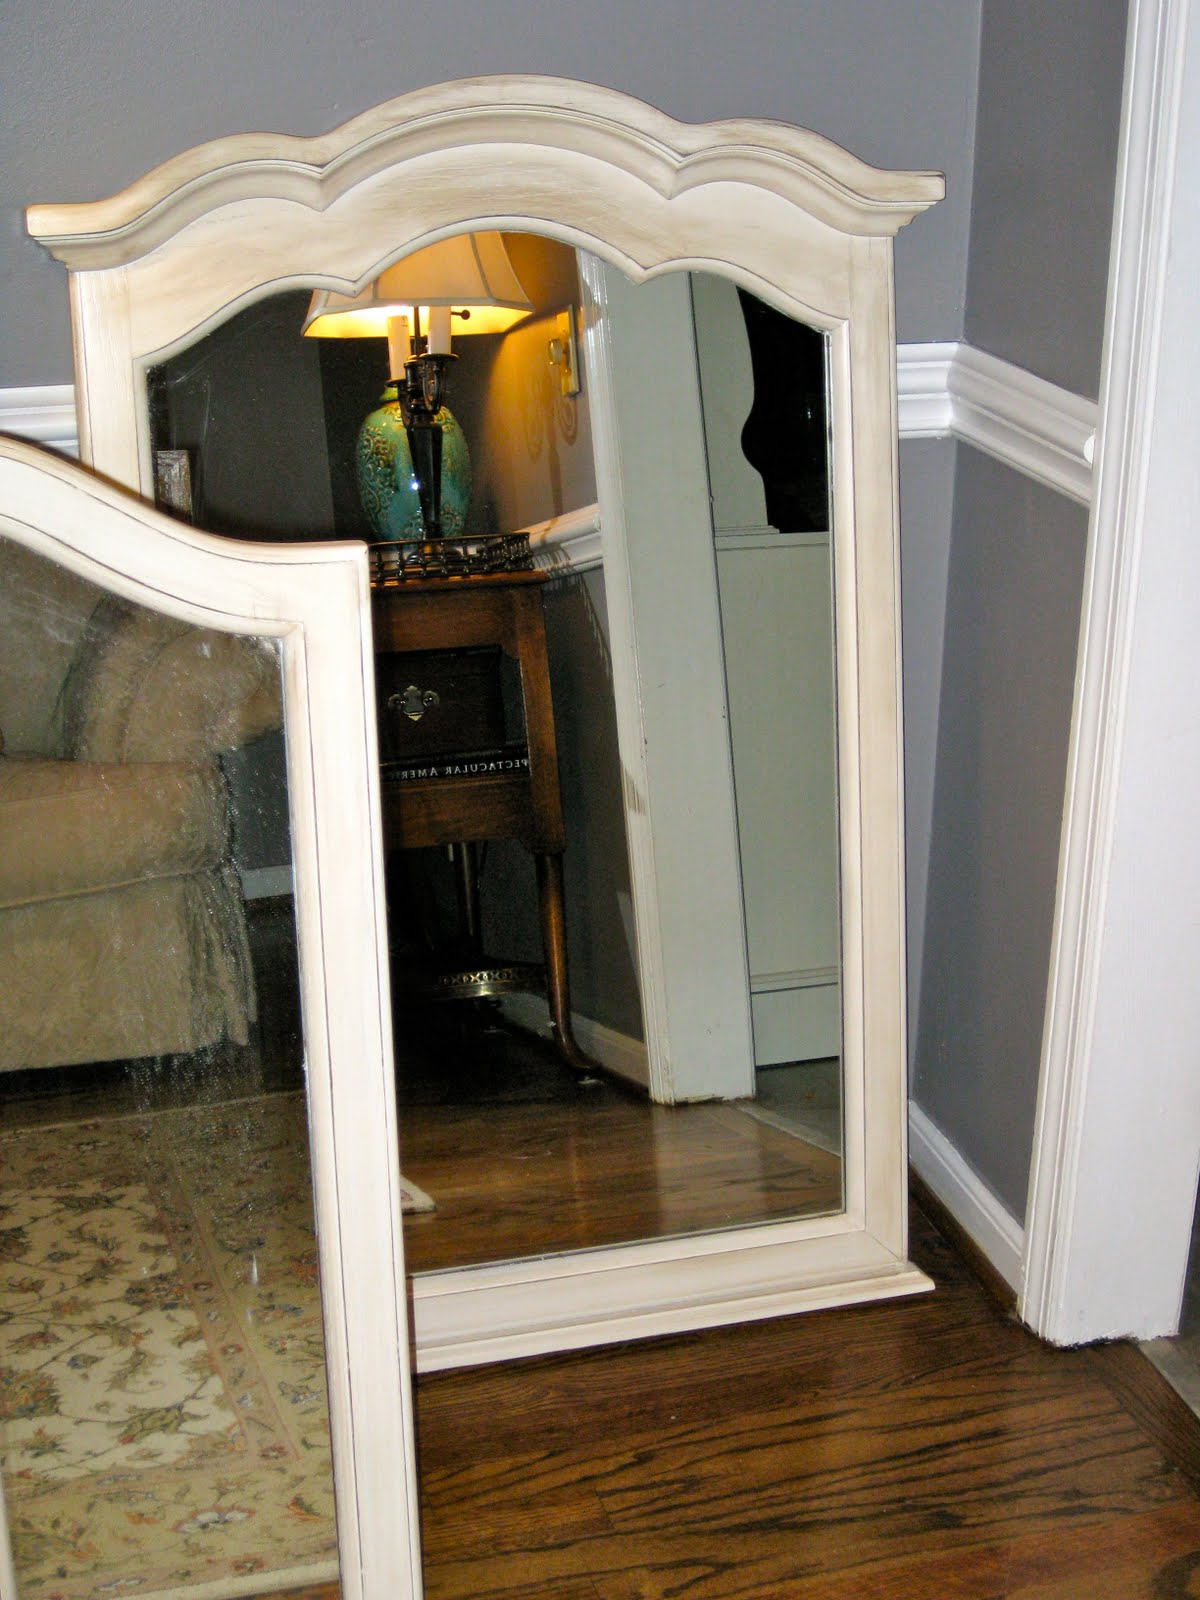
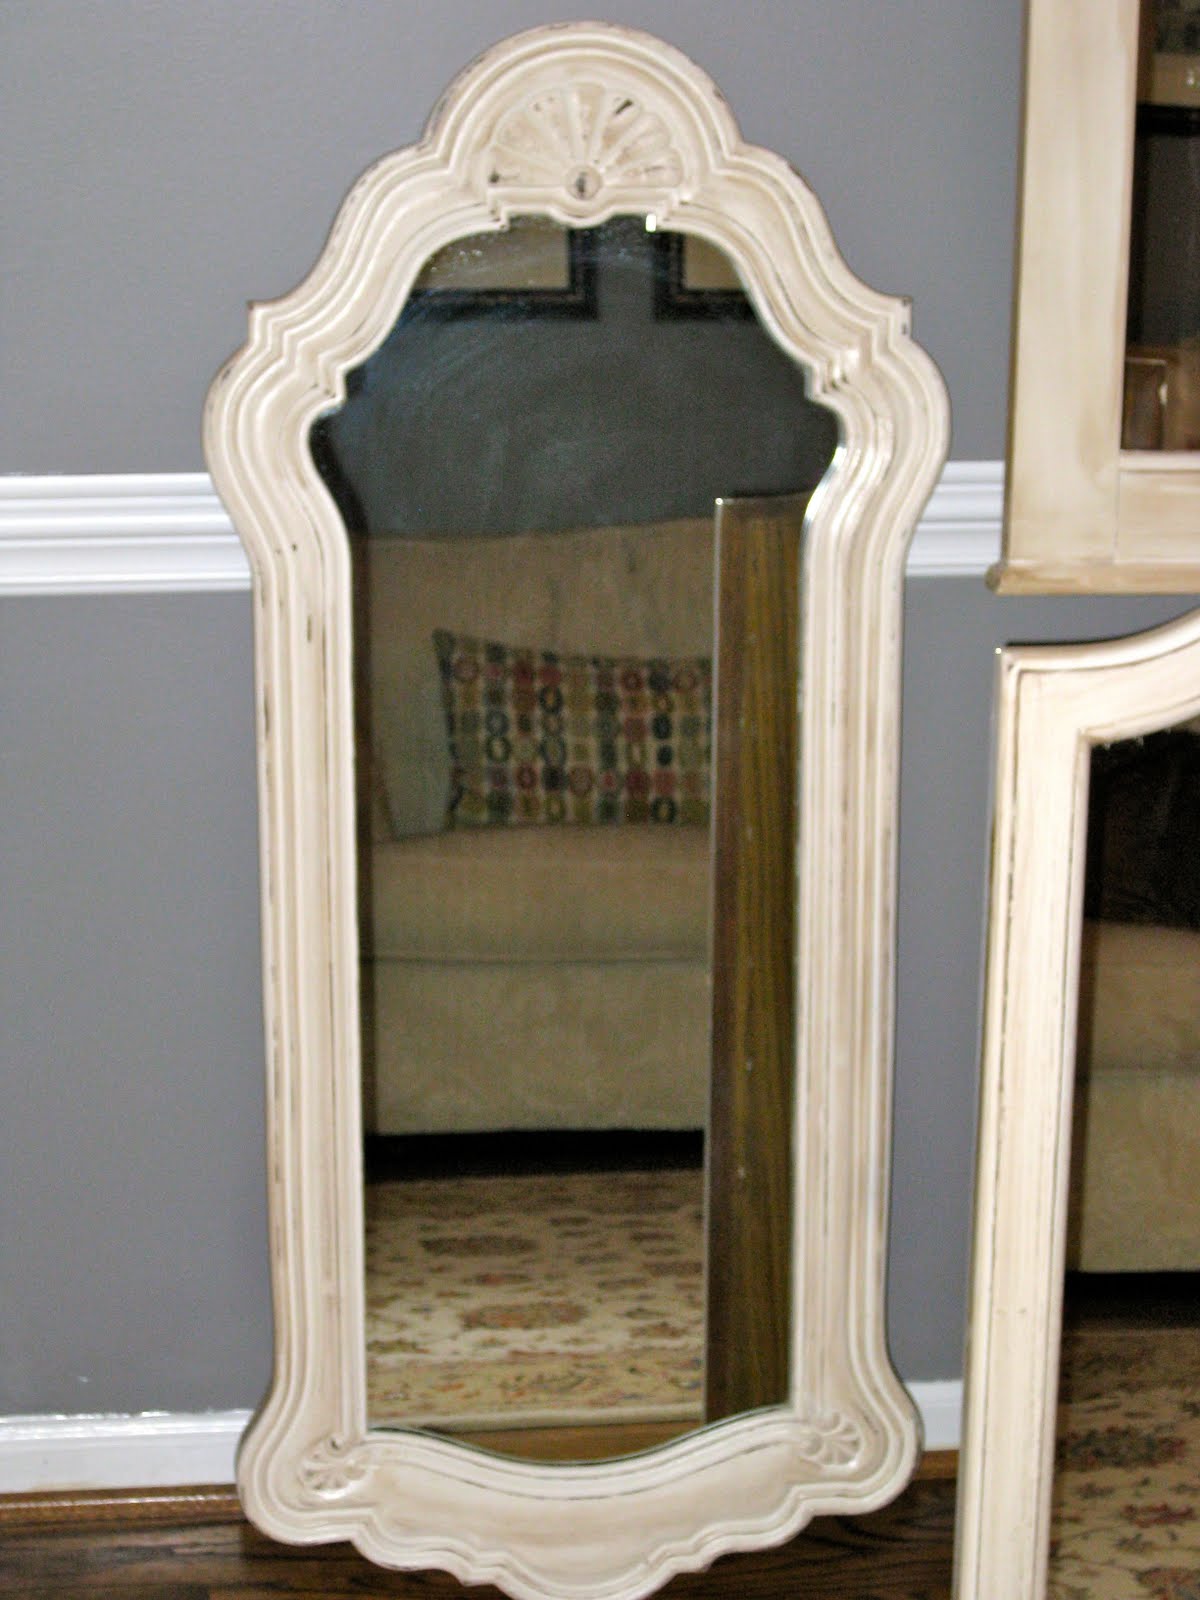
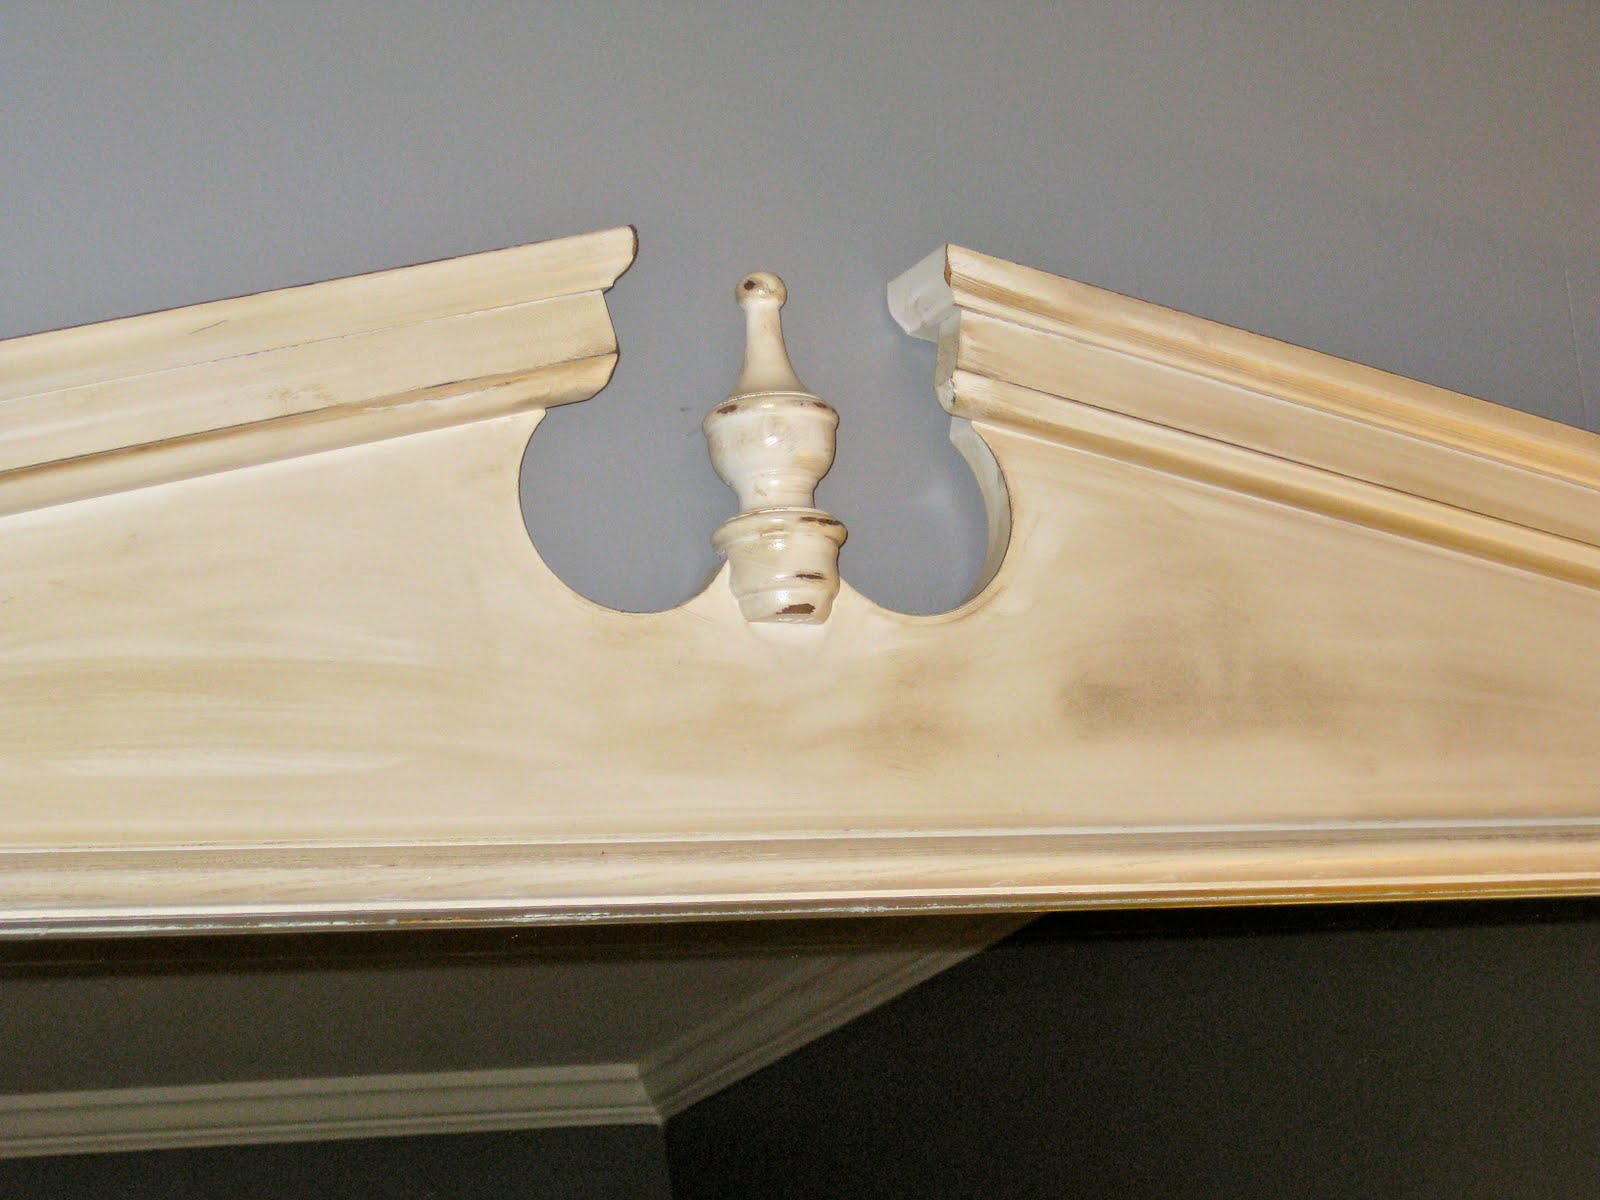
I painted them all in a color-match of Heirloom white, did some light sanding and then went over them with a bit of dark walnut stain, and a bit of tobacco RL glaze. I’m very happy with the result!


>THANK YOU!!! I so appreciate you taking the time to feature my mirror project 🙂 Thank you!
>Round here, we call that the
pilot program. Pilot here, pilot there.
Your mirrors are amazing!
Deborah