New Closet Drawers: Guest
Ronda @ The Bachelor Way made new closet drawer,s that look fantastic.
I know I said I wanted my master bathroom back, but funny thing we are redoing our master closet. Why you ask? Well, you have to walk through the bathroom to get to our closet. So we didn’t want to drag construction stuff through the newly finished bathroom and we might never get back to redo the closet if we didn’t do it now. So first we are redoing our closet. It was just a normal builder closet, but not being used to it’s fullest. So this is the first project of the closet.

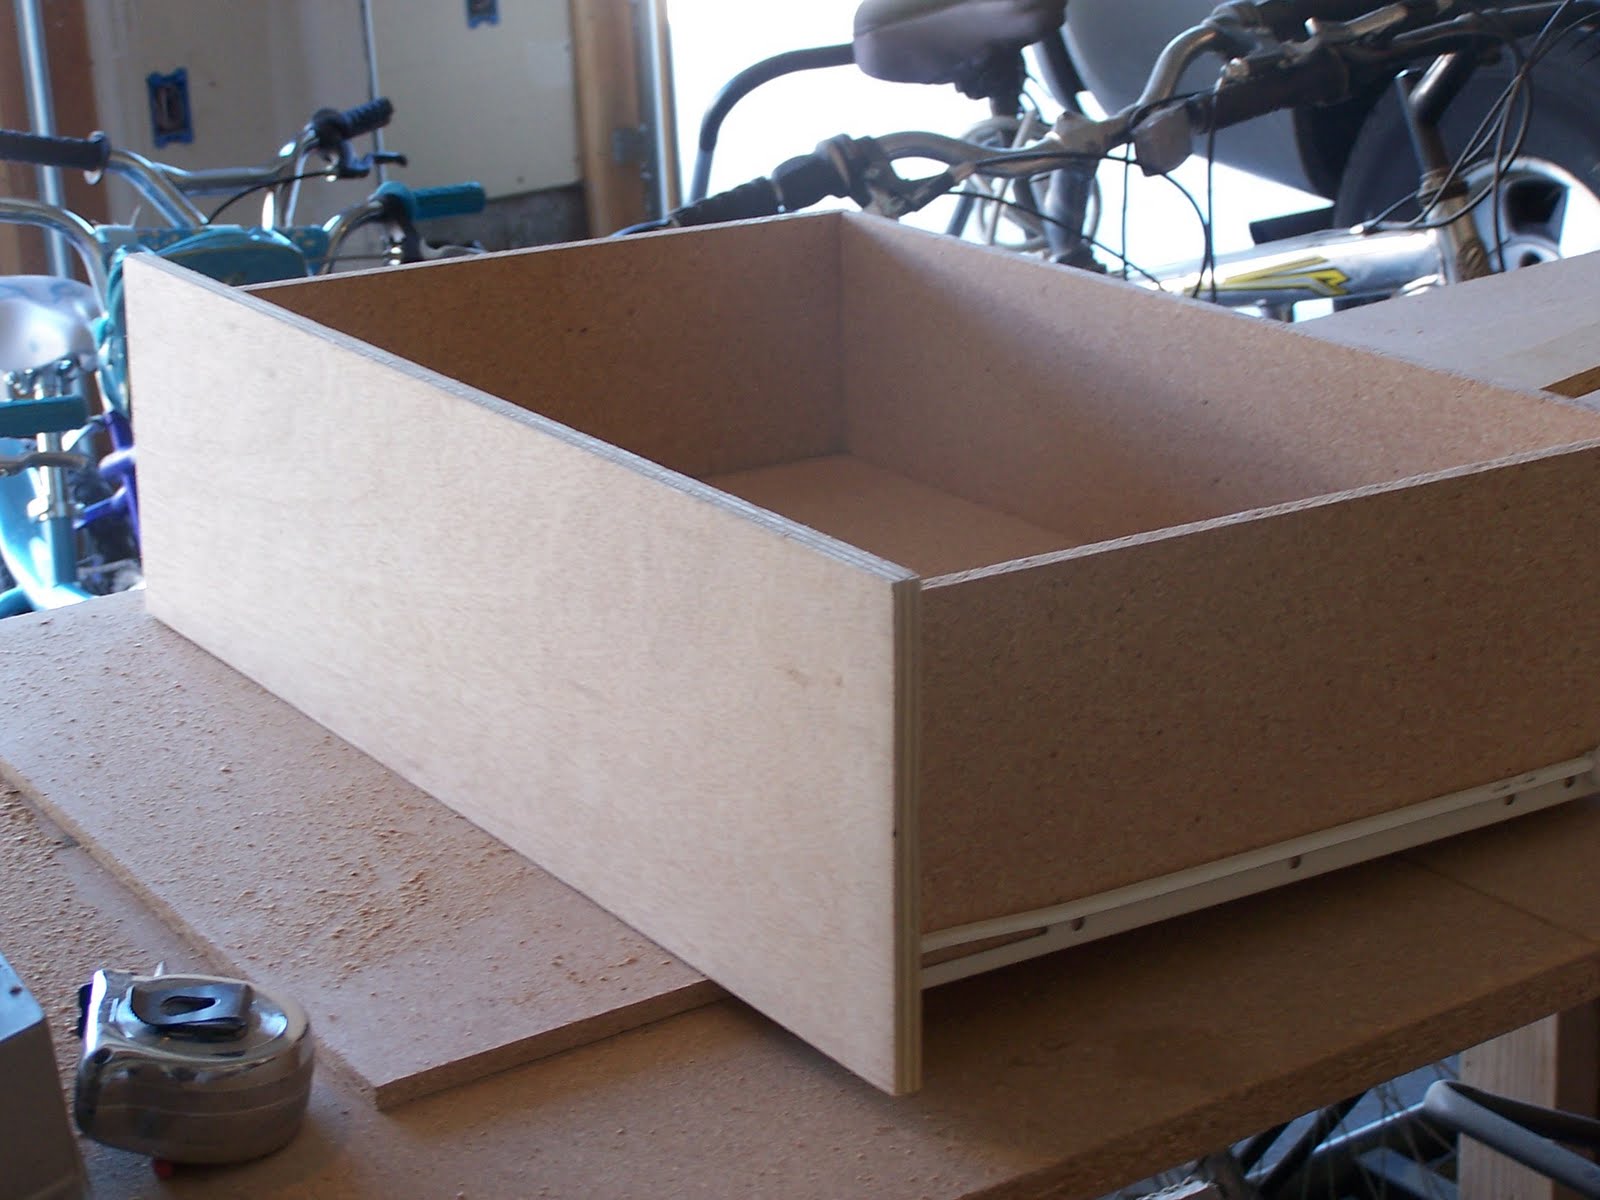
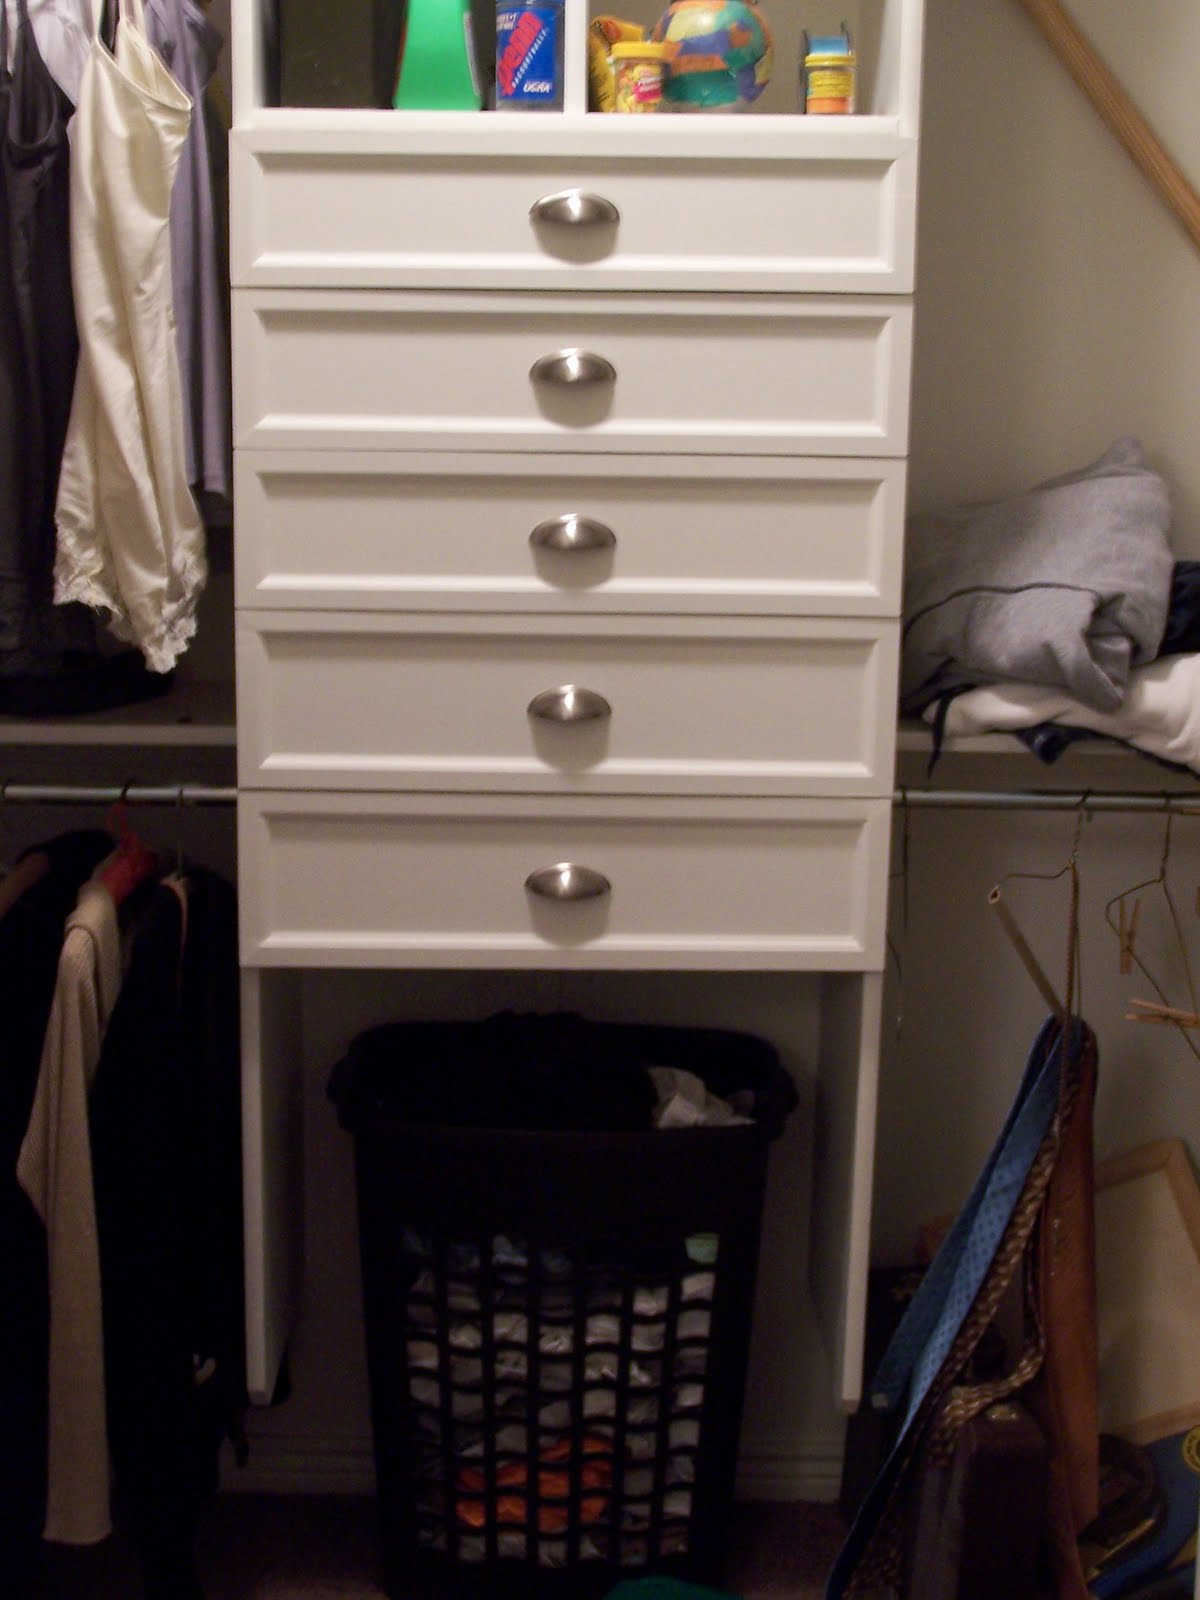
So this is the before. There were four big shelves down the middle. I had put a store bought shoe rack (that I got at DI) in the middle cubby trying to add storage. We started by ripping out the bottom shelf and the middle shelf. The bottom can now house our dirty clothes basket. The middle section we built drawers for. (This was the hubby and mine first attempt at drawers. I think we did pretty good. Not as hard as I thought.) We made the box out of thin press wood, and the front out of finished grade plywood. We found a small piece of the plywood with some holes drilled in it, laying around Home Depot. I ask how much we could get it for and the guy said we could have that one for free!!! That’s one of my favorite words. We actually got two or three drawer fronts out of that piece.
I saved again when my sister was throwing out a bunk bed/desk/dresser thing.
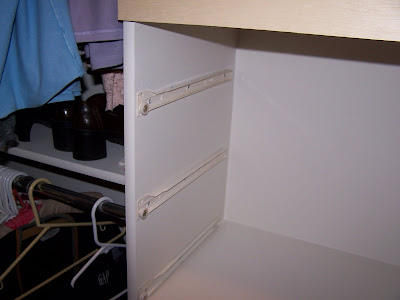
All the drawer hardware was the same as the ones we had just purchased from Home Depot. We saved around $30 by taking back the hardware and using the free hardware.
We test fit each drawer as we made them. (Word of caution leave more space than you think between drawer fronts. Once we add the trim and paint they rubbed and I had to do a lot of extra sanding and scraping.)

Aren’t they beautiful? Wait they get better.

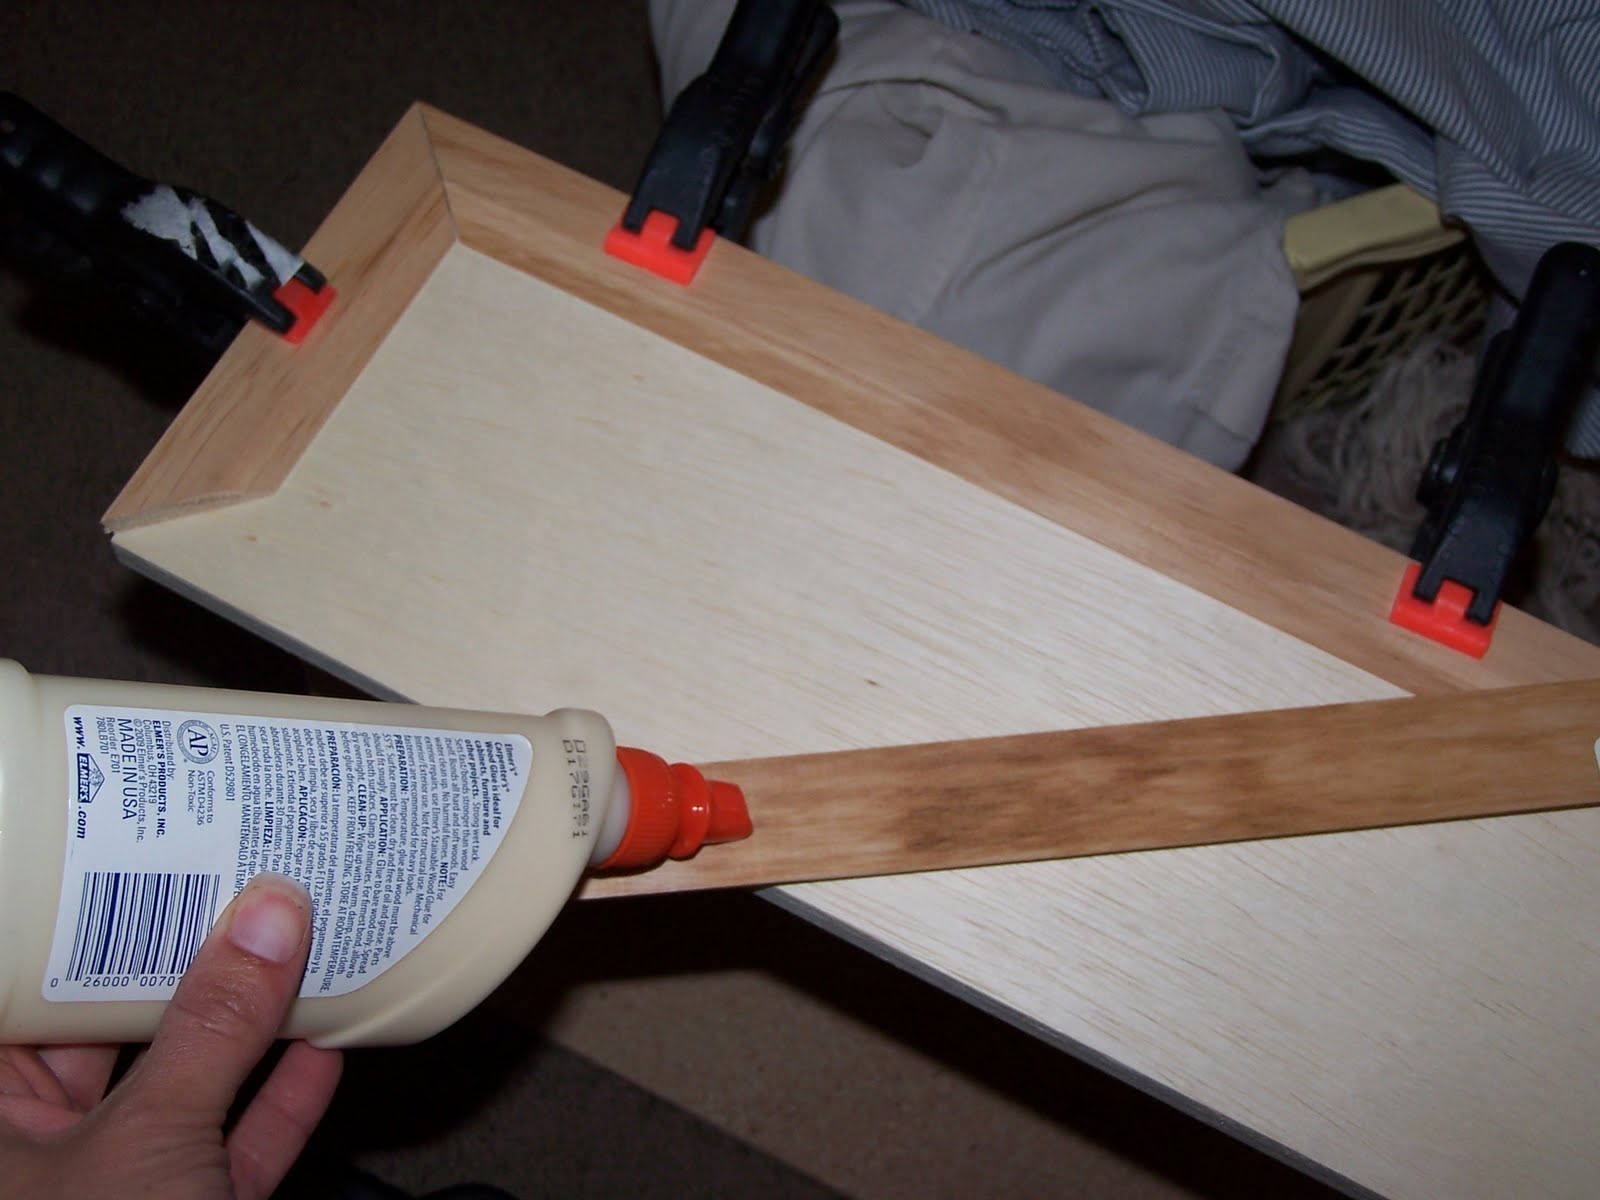
Next I and I mean “I”. (I proudly finished all the rest of the drawers including the drawer dividers my self) Any who, I next added door stop trim to each drawer with glue. Primed, painted. Then I add my handles. (Of coarse I found the handles at Salvation Army. $7 for 5 good handles. That’s $1.40 per handle. )
Ta da!!!!
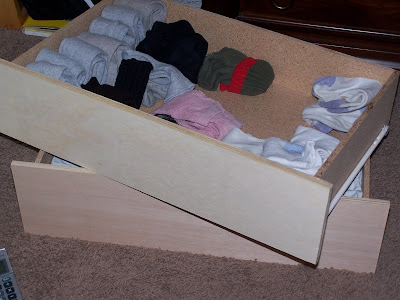
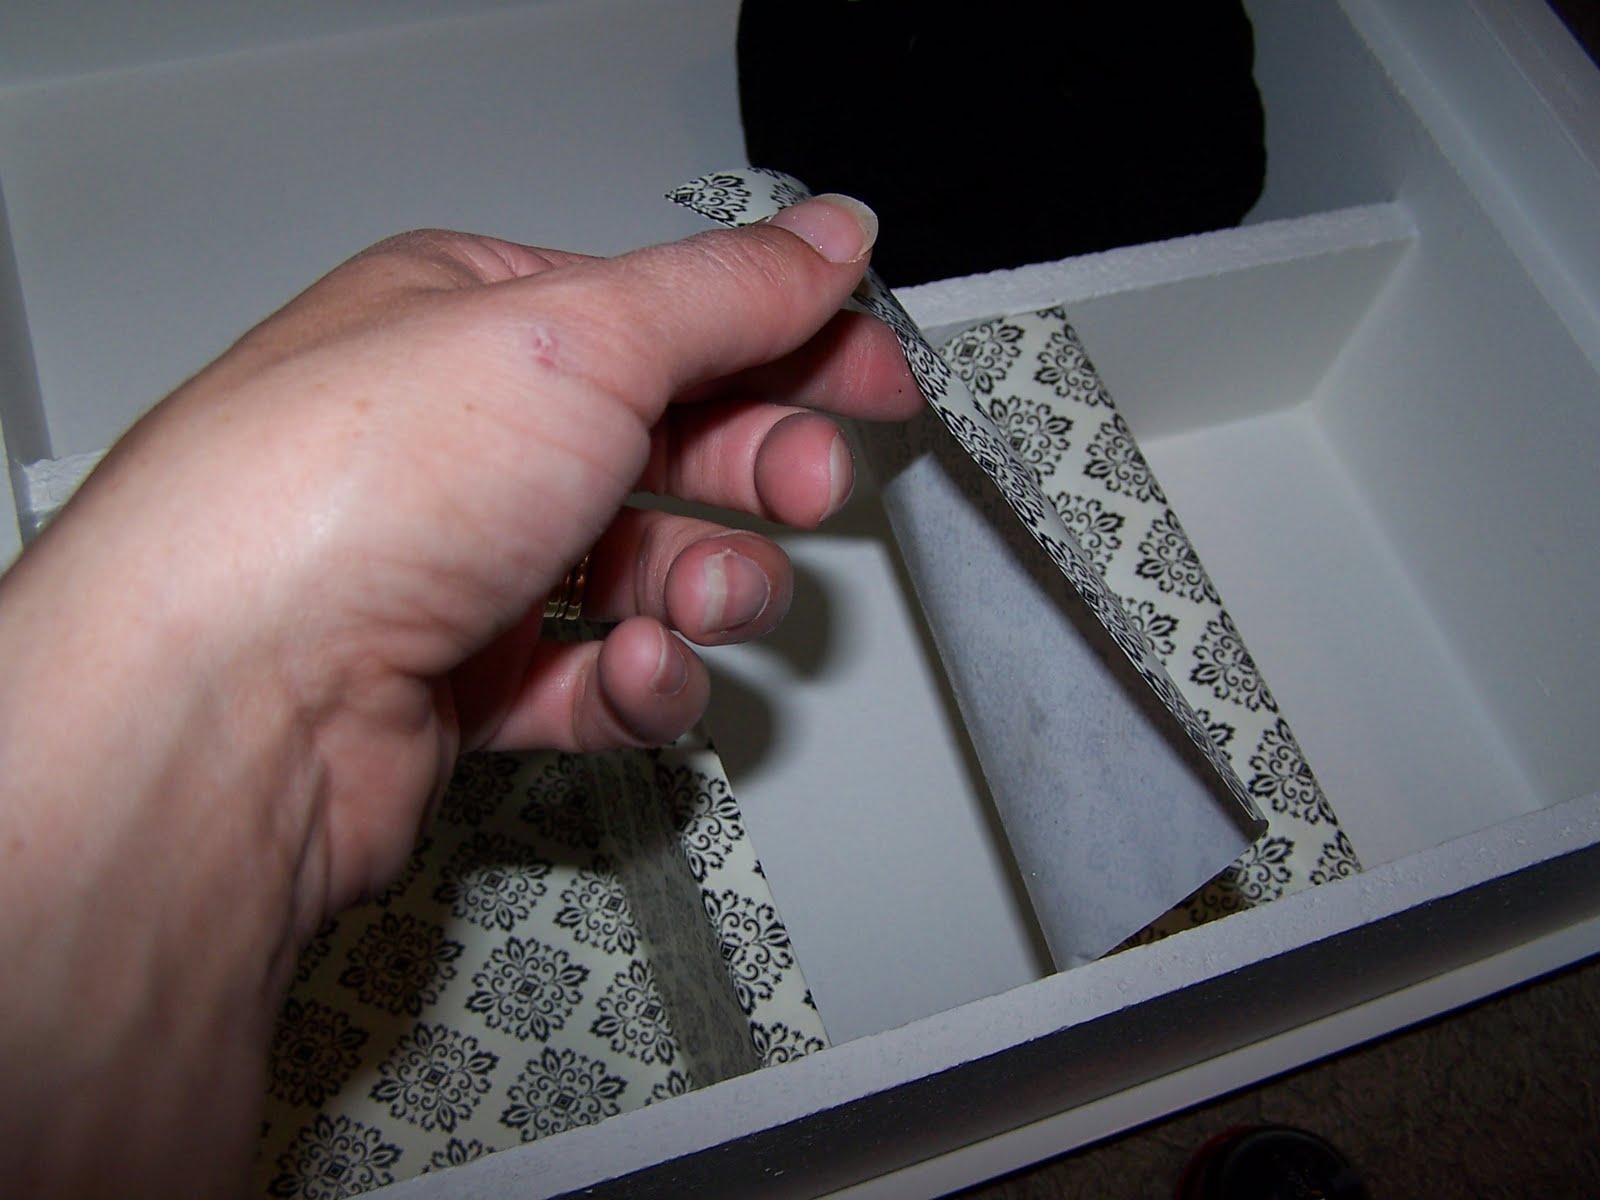
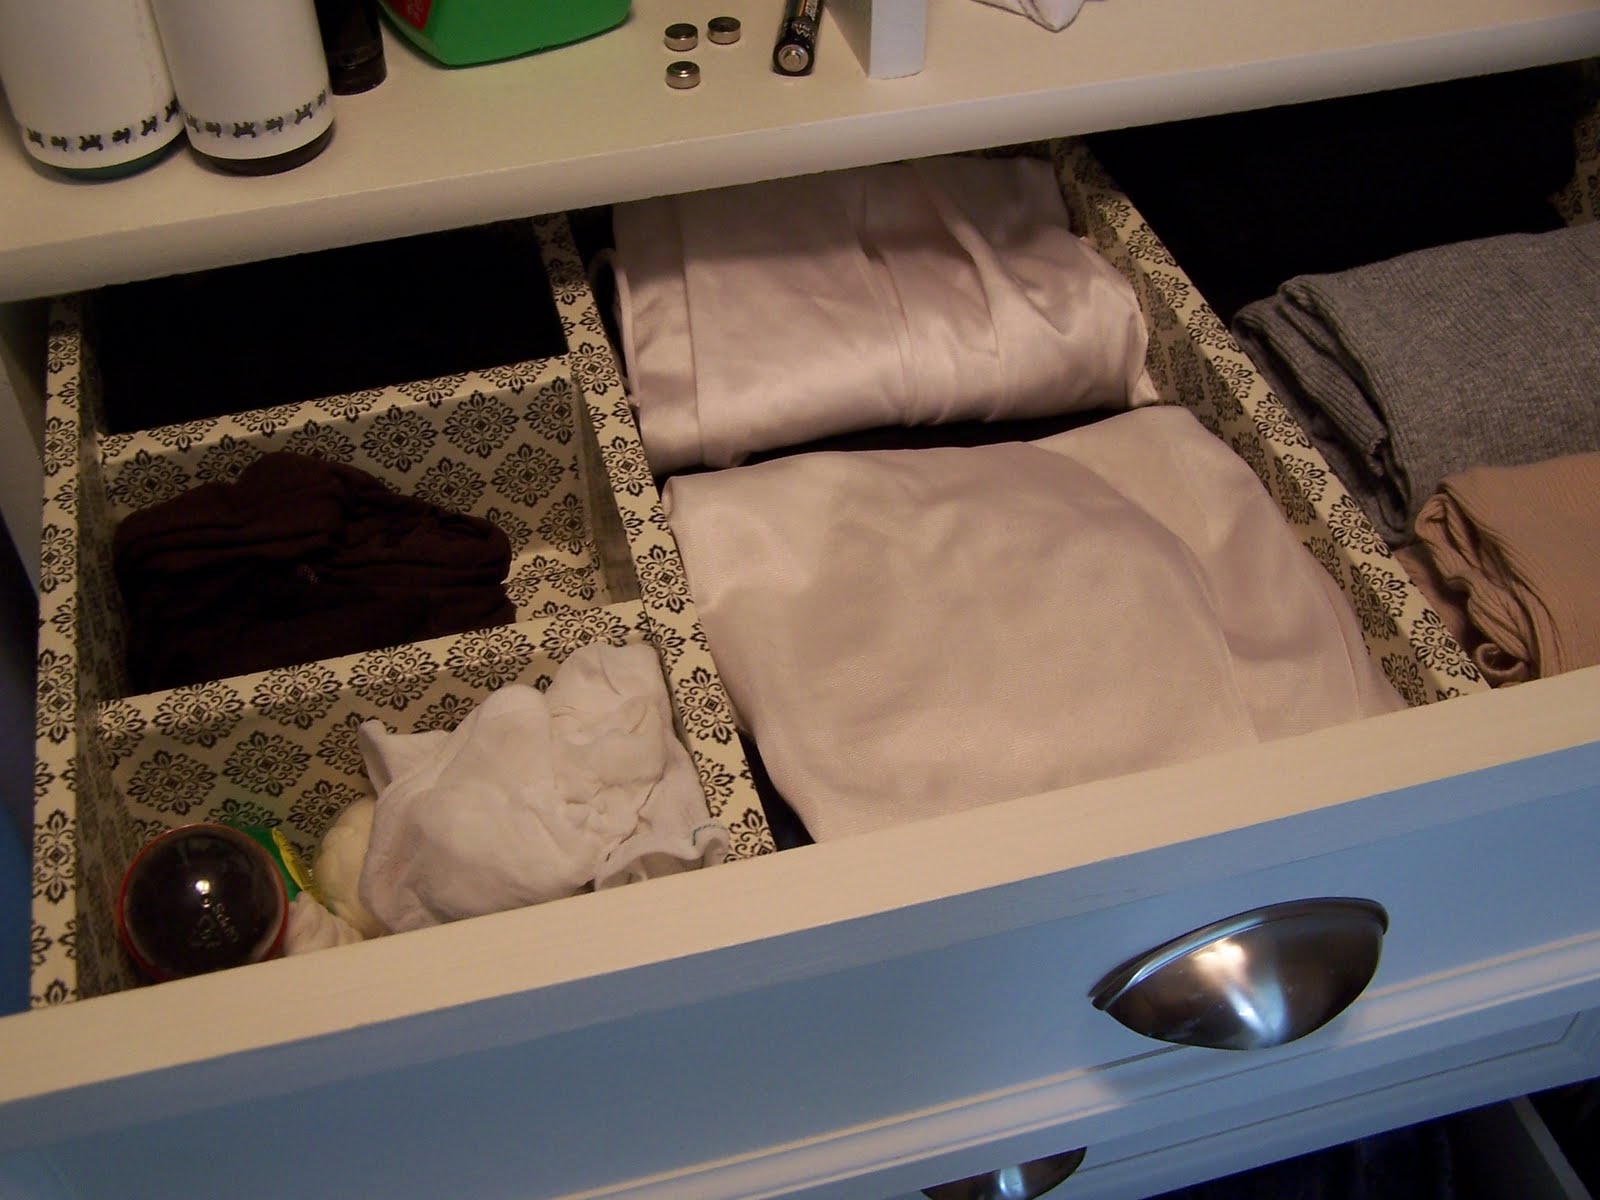
And check out all the custom drawer dividers. The hardest was the sock drawer, which is why that’s the one I’m the most proud of!

My top drawer was for my hosiery. It was snagging on the rough wood. So I used some more of my 25 cent wrapping paper that I also used on my craft desk. I used spray glue and covered the inside of the drawer.
So pretty and functional. (I just love it when form and function meet. O.K. so I’m weird.)

Beauty comes in so many forms. I love this form.
What do you think? Love it or not? We saved about $45-$50 with free and discounted supplies. We are almost done with the whole closet. I will show you the rest soon.

That looks so great. Nice and tidy! I can’t wait to
get in to my closet and
get it to the next level of organized.
What do you think of those drawers?
get the reader favorite
Cleaning Binder & Custom Cleaning Calendar
This 18-page editable cleaning binder printable pack will help you establish a cleaning schedule based on the custom tasks you actually need for your home. From the spring cleaning checklist to everyday cleaning recipes, this printable set is great for kick-starting a cleaning routine and staying on task with annual and semi-annual tasks, too.


>way to get organized with style! love it. 😉
>Gee… Do you make house calls?
This looks great and I so need some help in our master closet.
Thanks for sharing!
>Cassity, Thanks for featuring me. Soon I will have a post on the finished closet, come see my stenciled wall. I just have to paint a couple of boxes and hang some hooks.
Ronda
>Wow! That closet looks like a professional made it… nice job! 🙂
>Looks so amazing! Wow! You (and I do mean YOU) did an awesome job. I do have a question about the door stop trim. After you glued it, was there a seam all the way around the drawer where the trim met the drawer? Did you fill that it, sand it, anything? In the pic it looks as smooth as butter… wow! I wonder if I could add this stuff to laminate cabinets?
>Wow! that is amazing organization and pretty too! What an excellent idea! 🙂
>Wow what an ambitious make over, It is wonderful, you are going to love it!!
Carol