A big thank you to Cassity for having me over again today. You can find me at my blog, 33 Shades of Green, trying out all sorts of creative projects.
.
I recently recovered an ottoman with new fabric with a completely no-sew method! It was so simple and easy and I love how it turned out. The key to this project if finding an ottoman with separate legs. The one I bought is no longer available but here is a similar ottoman I found at online at Target.
.
Supplies Needed:
– ottoman
– upholstery fabric
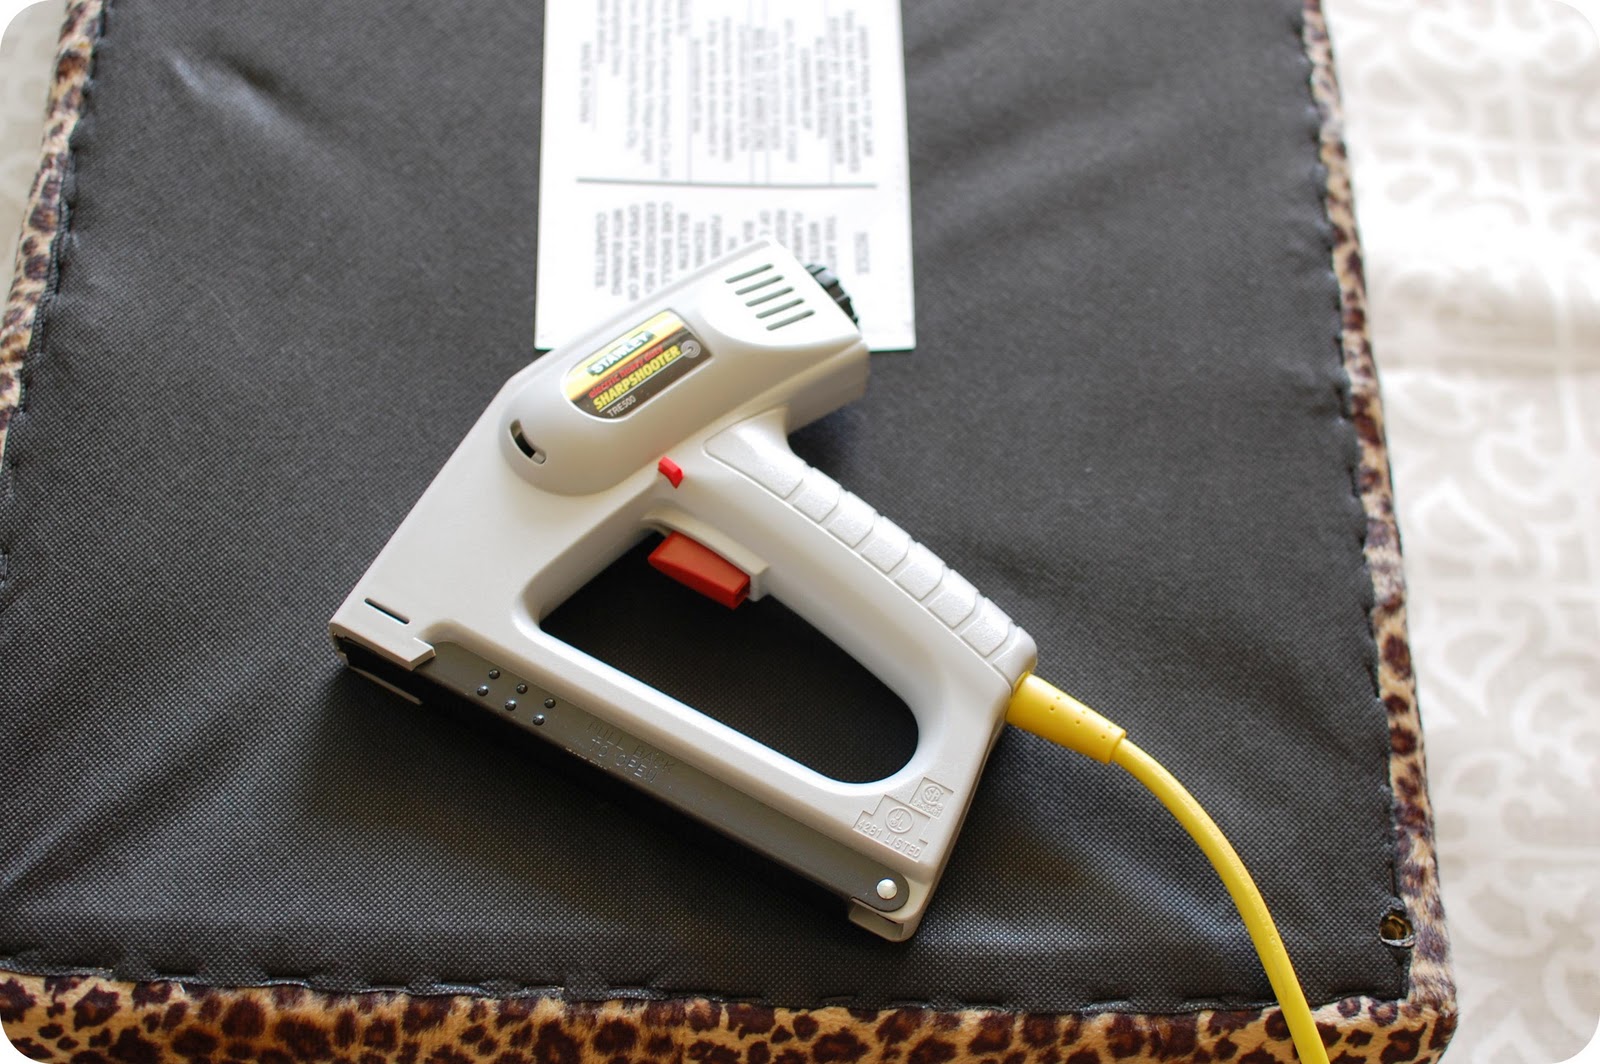
– staple gun & staples
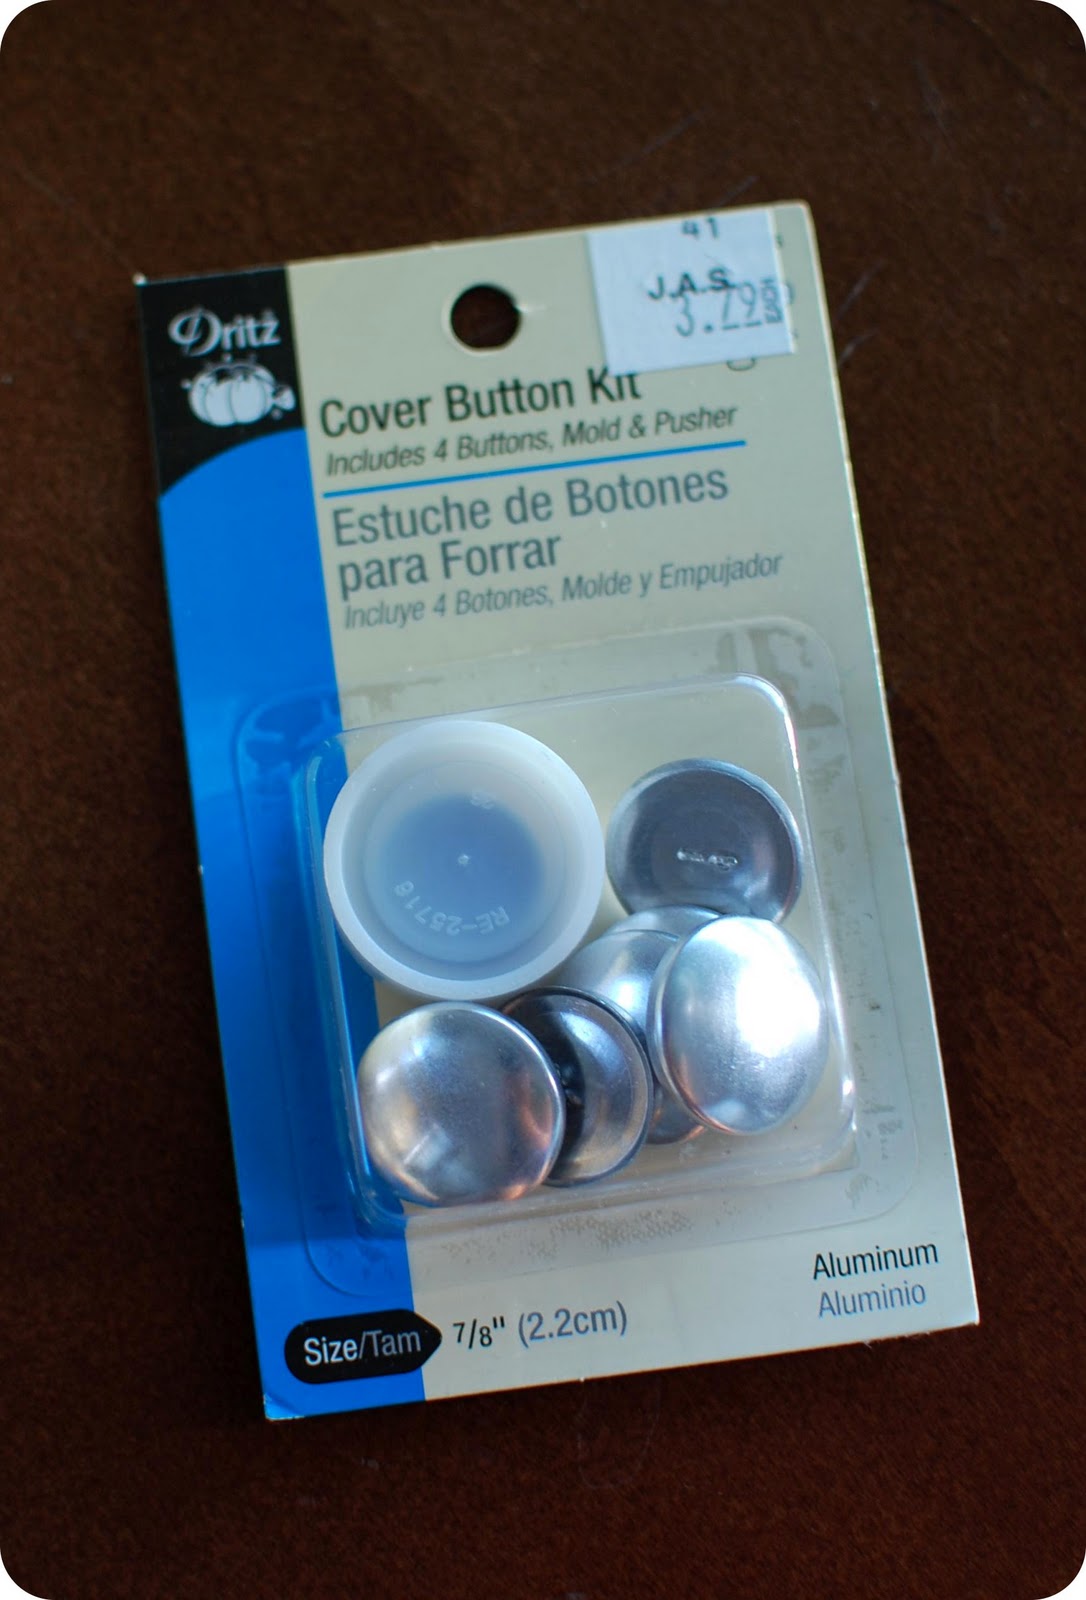
– button covering kit
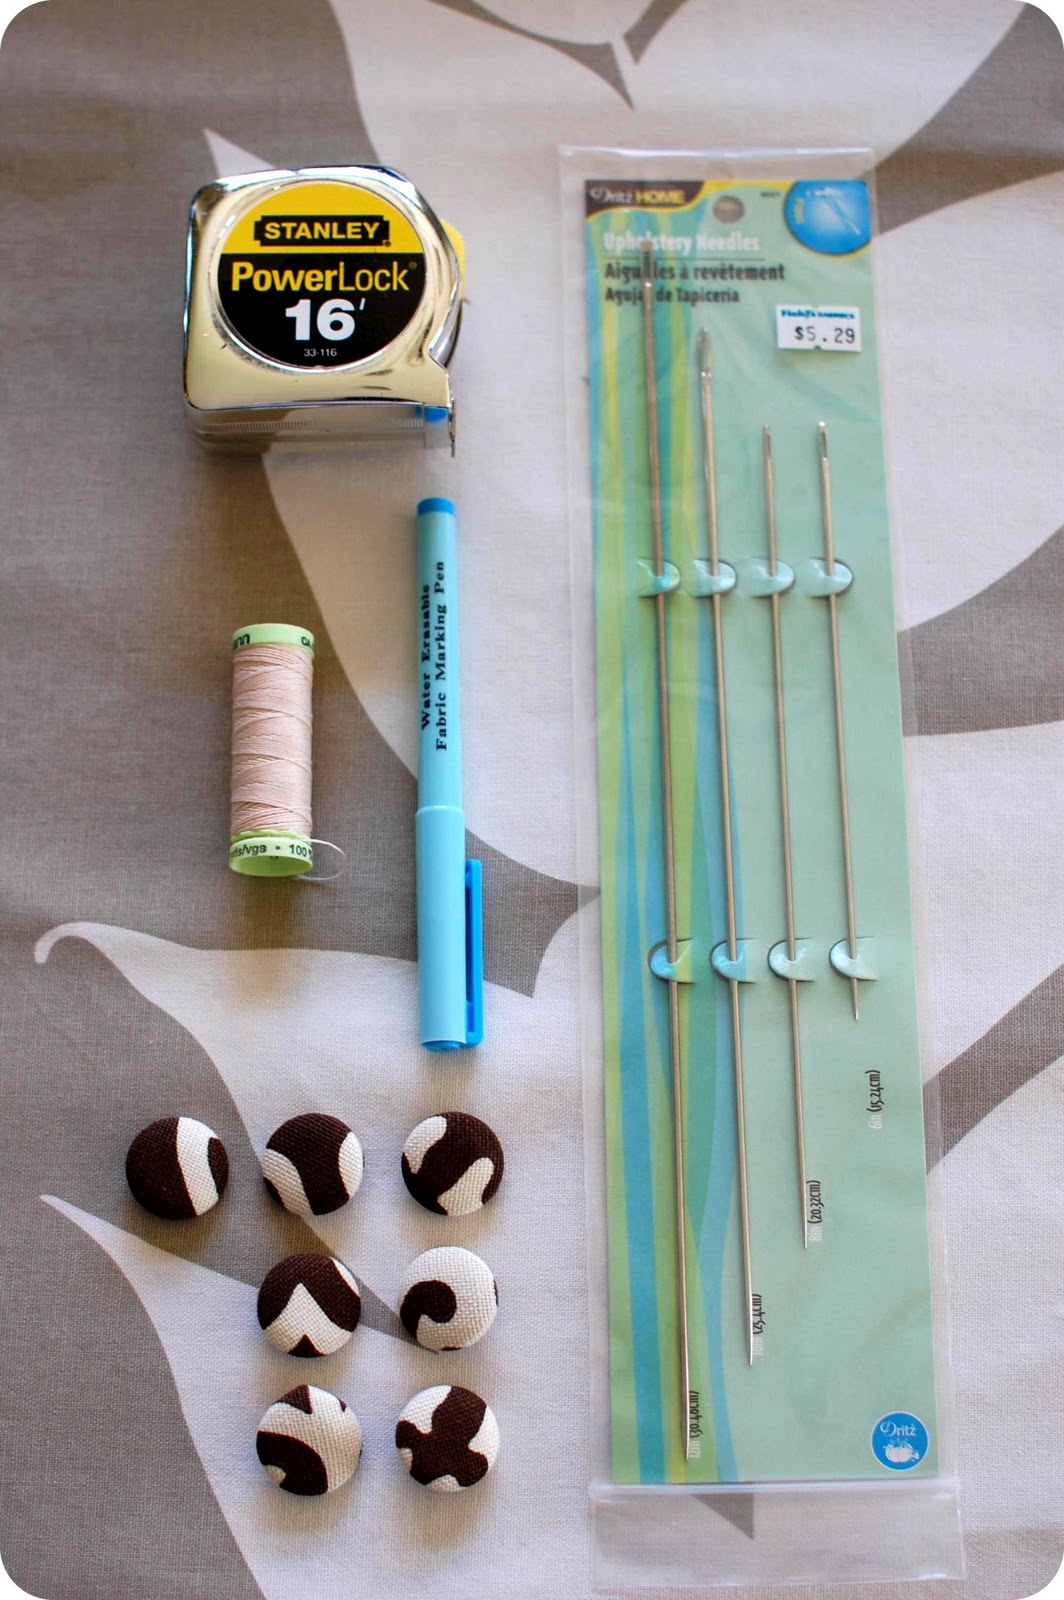
– upholstery needle
– tape measure
– upholstery thread
– buttons
– water soluble marking pen
.
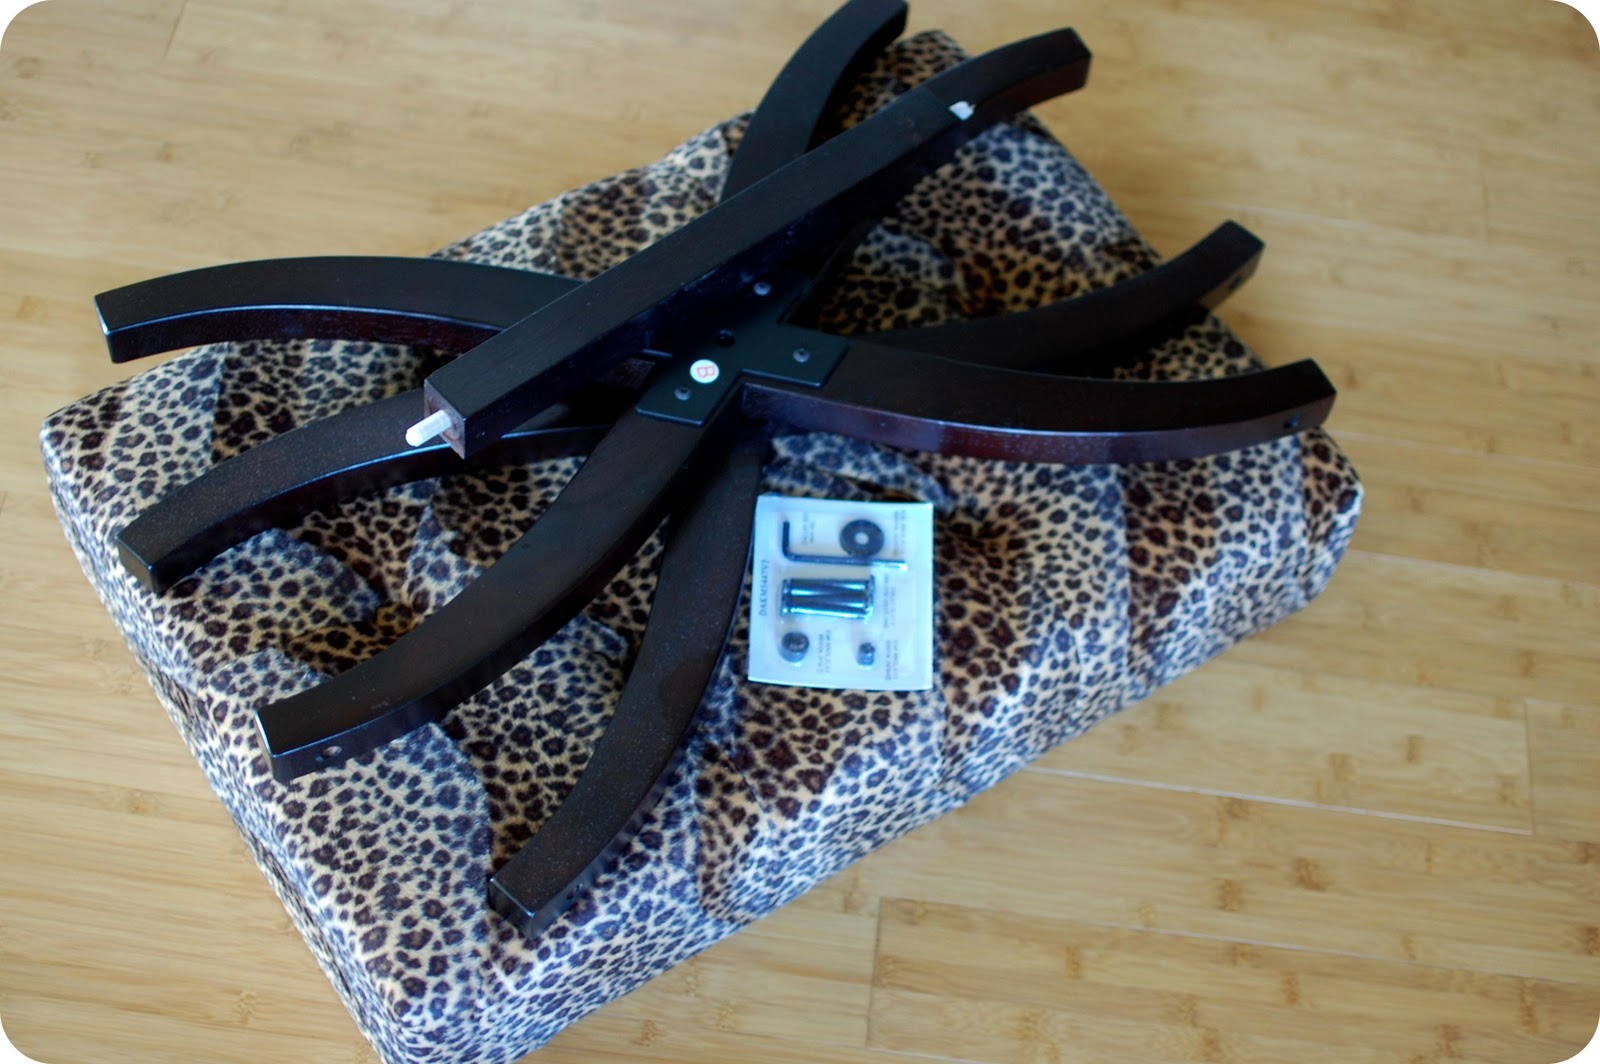
The ottoman arrived needing assembly which was perfect for what I wanted to do.
.
.
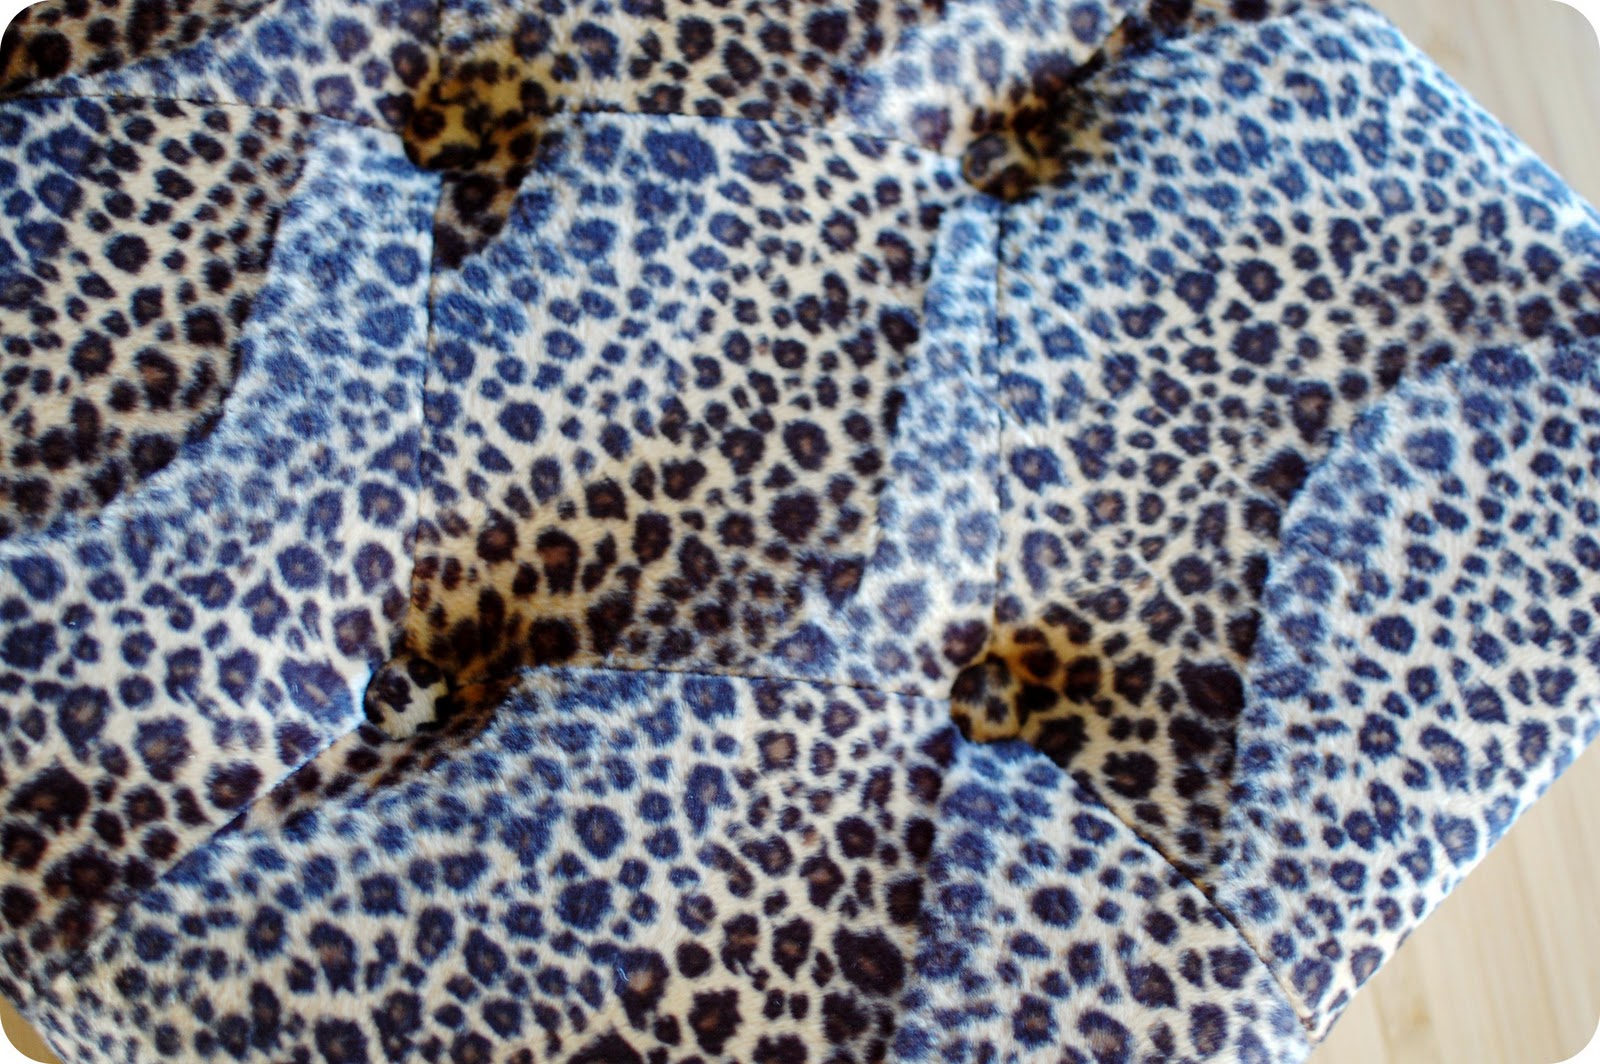
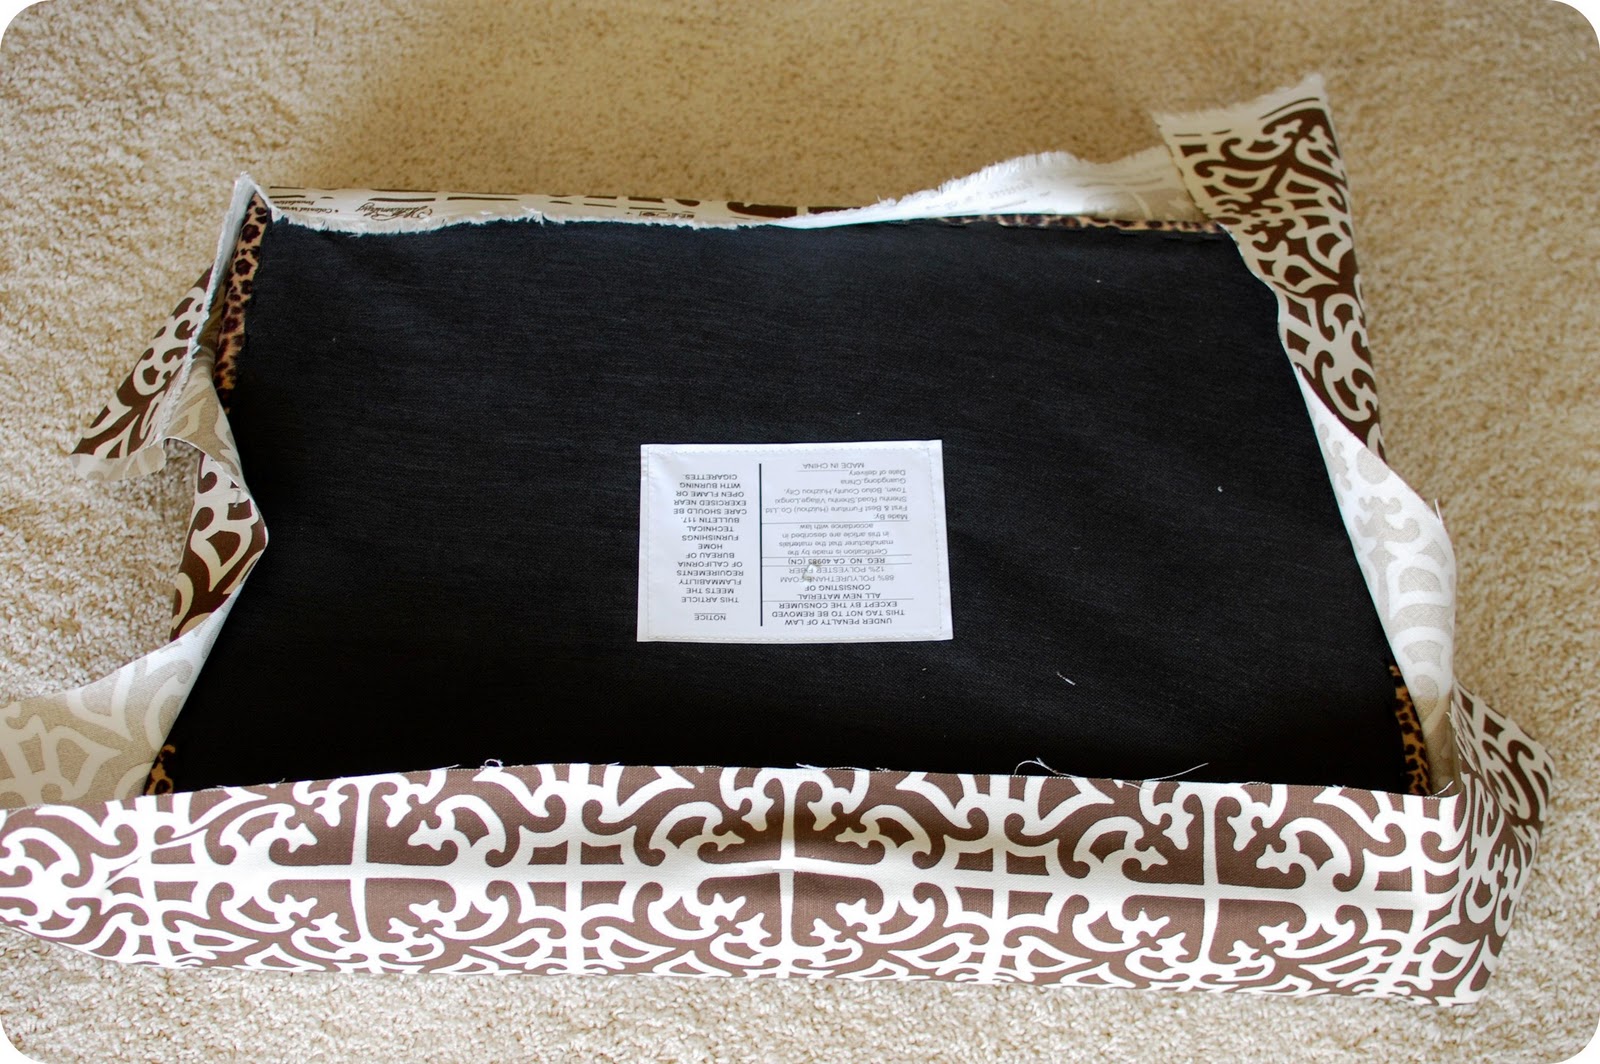
See that leopard print? It wasn’t exactly what I was looking for but I liked the style and I especially liked the button tufting.
After deciding on fabric, you will need to cut it to size. Make sure to leave enough overlap on each side to staple securely to the back of your ottoman.
.
.
If you are using a geometric pattern like I did, make sure you are careful about how the pattern will lay on the ottoman. With my pattern, I thought it would be best to center the pattern.
.
Now, use a staple gun to attach the fabric. .
. When doing this, I start with one staple on each of the four sides and then continue around.
.
.
.
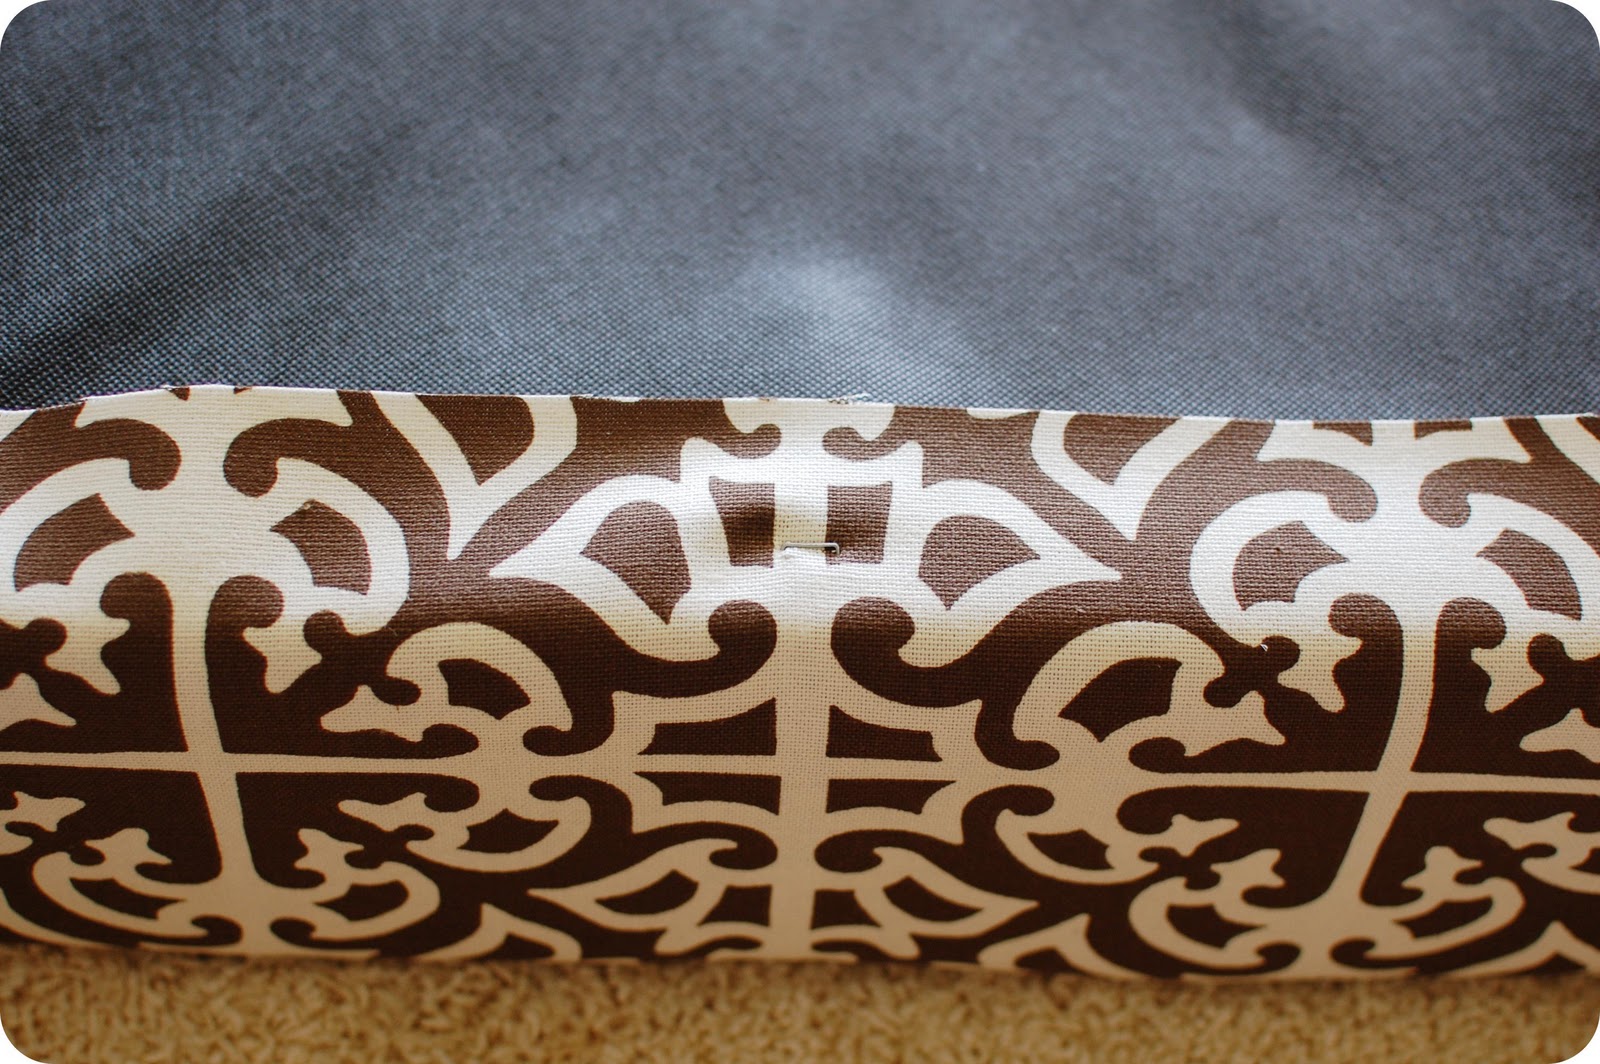
Continue stapling all around but don’t staple near the corners.
.
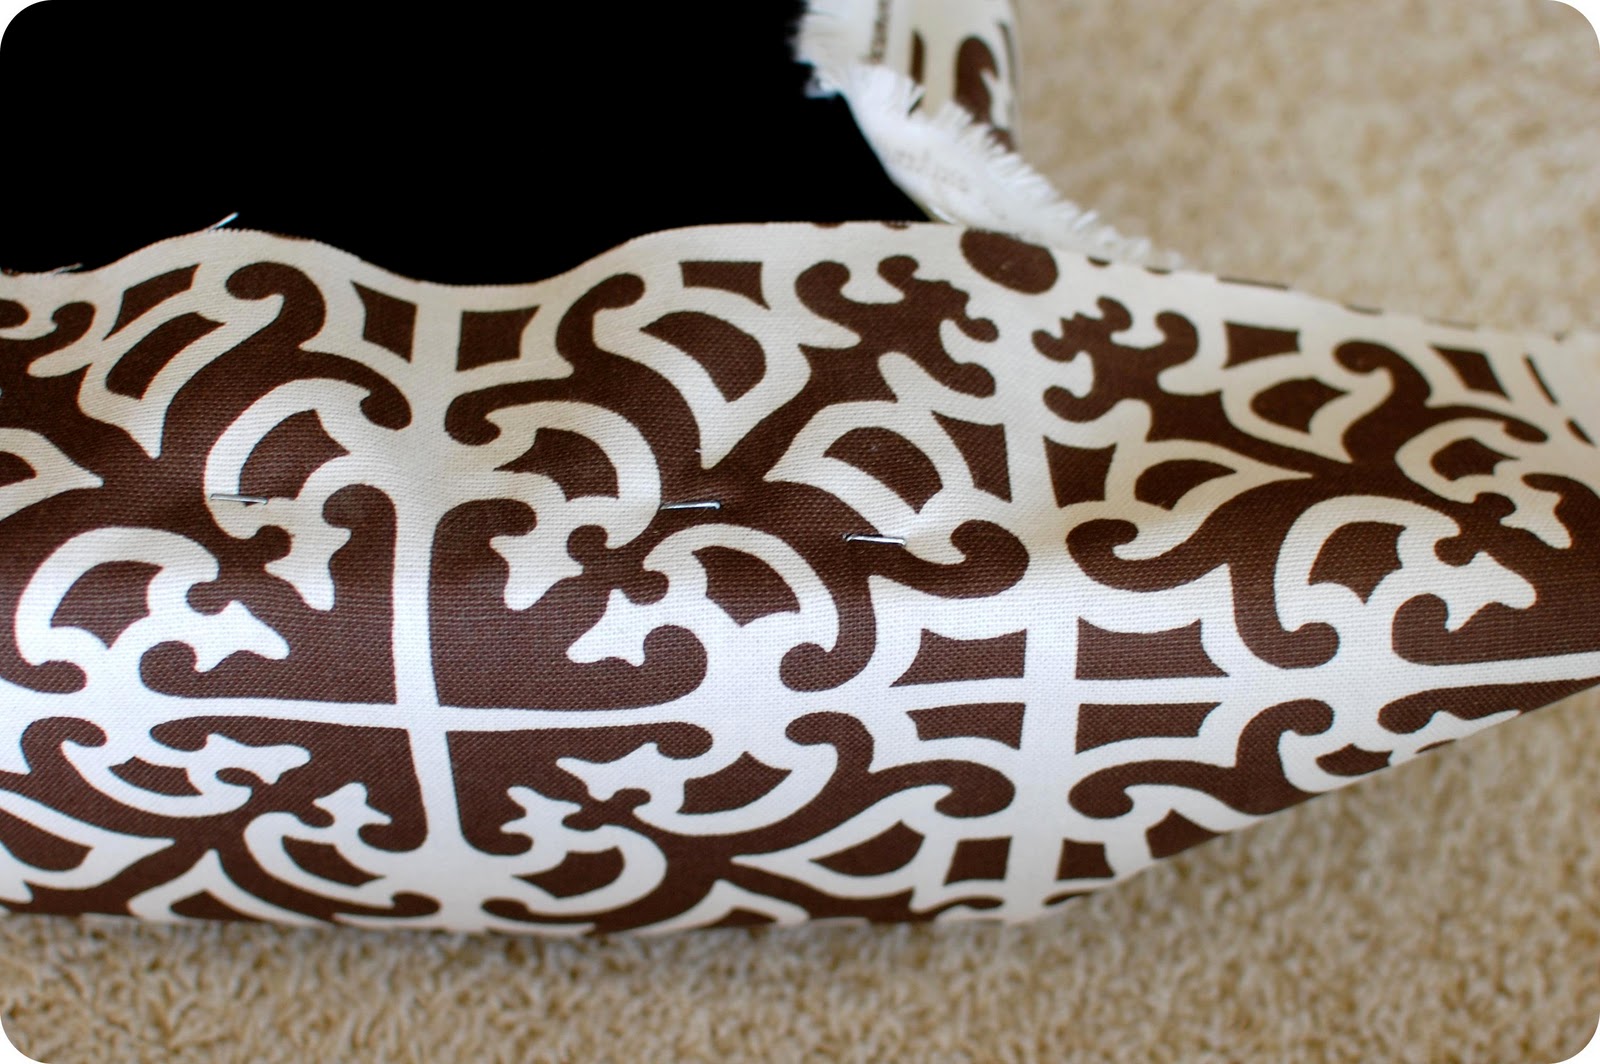
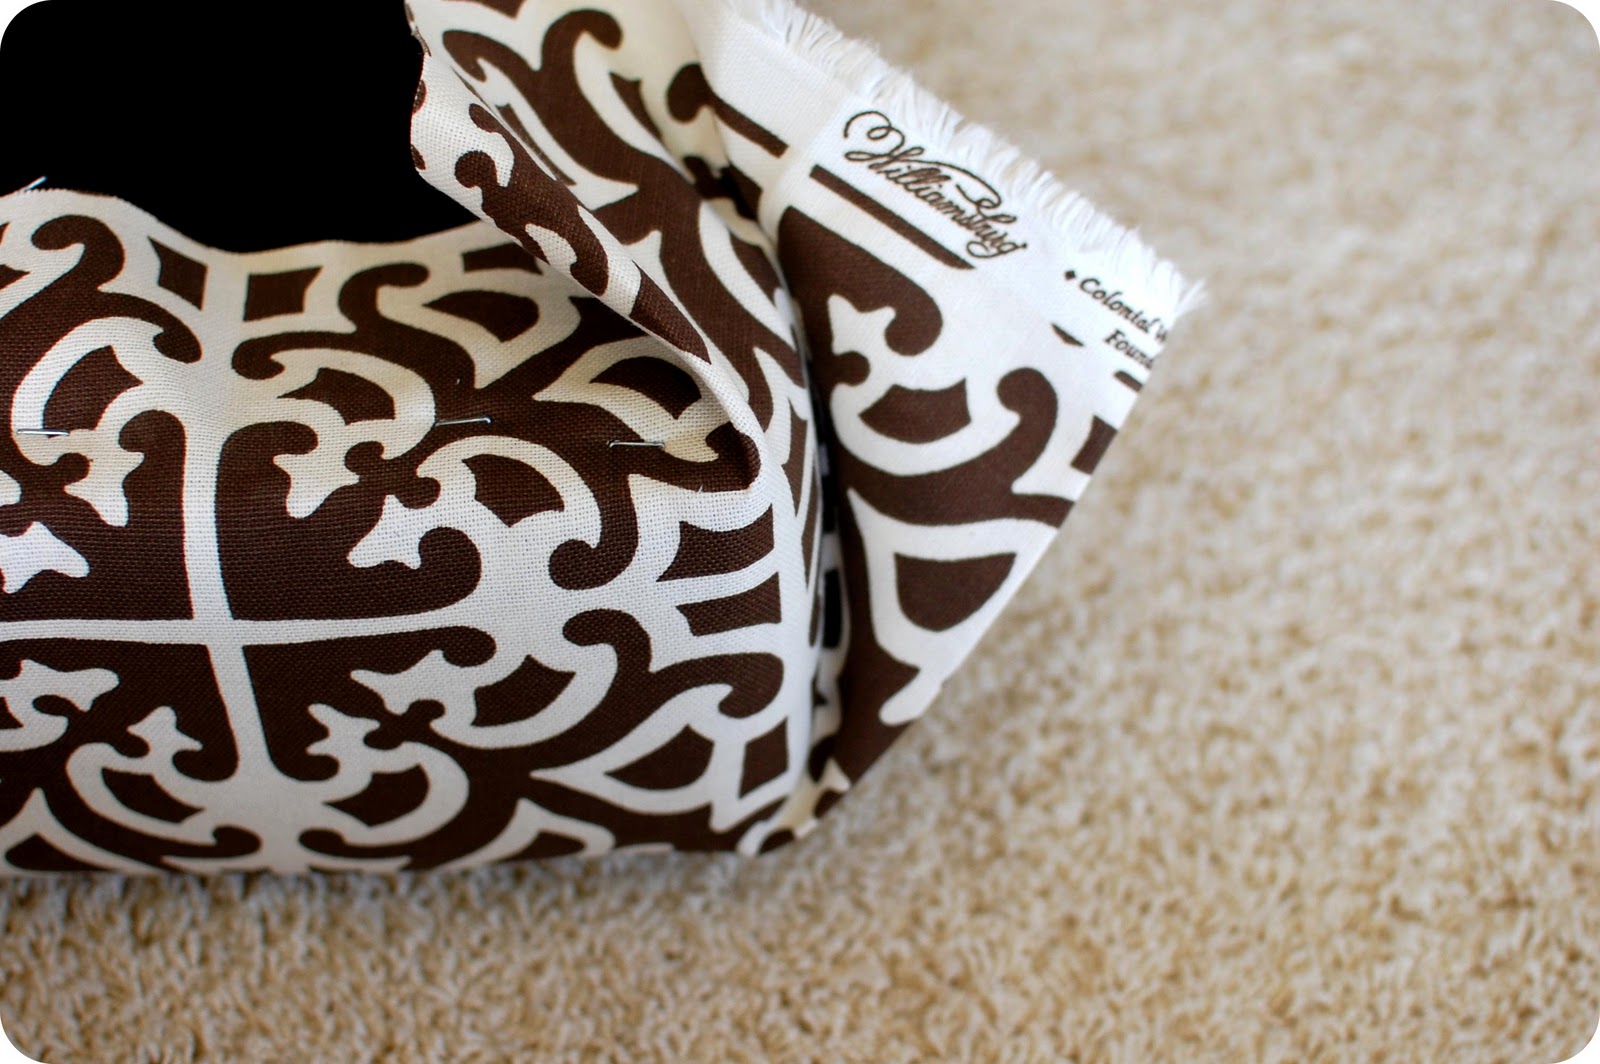
Here’s my trick for clean, neat, corners.
.
.
Pull fabric up tight to corner and staple as shown in photo above.
.
.
Then, fold fabric in until a straight edge is created.
.
.
Pull tight and staple. I know that sounds confusing, but I promise that it’s not!
.
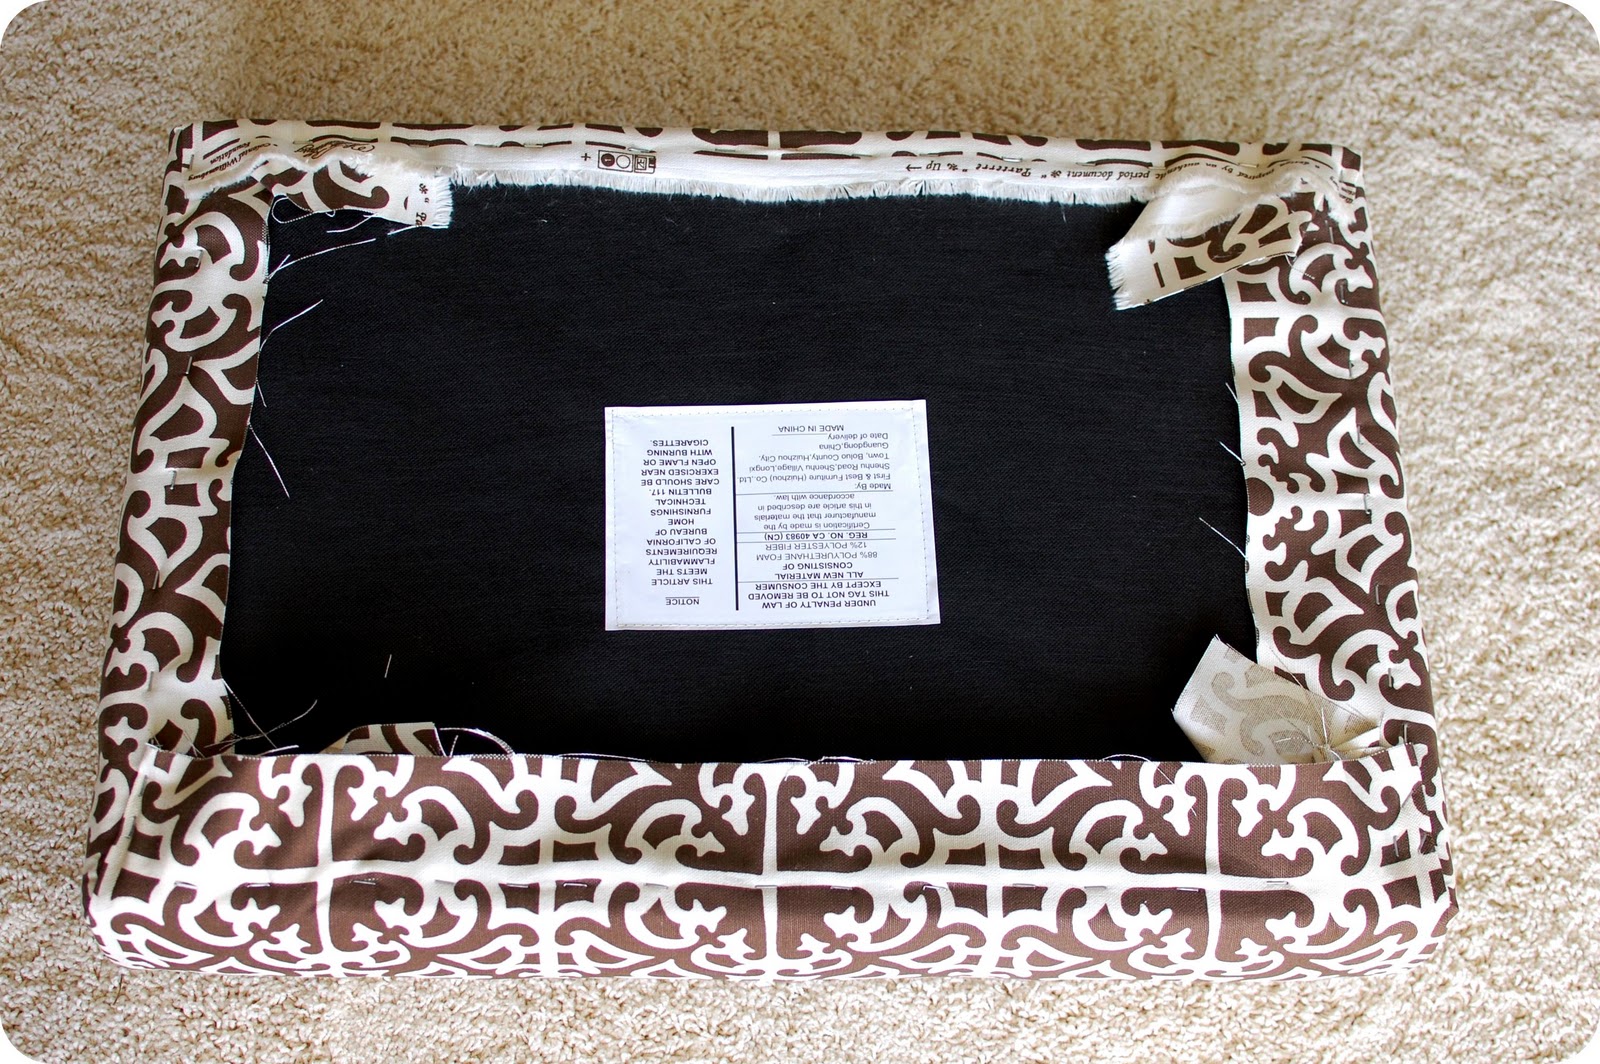
Once you are finished with all four corners, your ottoman will look like this:
.
.
You will want to trim the fabric so that it doesn’t hang down when your ottoman is finished.
.
Here’s how the front will look:
.
.
See, that was easy!
.
Now it’s time to use the fabric button kit and cover the buttons.
.
. Button kits like this are such an easy way to add a professional detail to a project. .
.
Now it’s time to attach the buttons to the ottoman. The first step is to determine where you want your buttons to be. Use a tape measure and a water soluble marking pen to marl the locations. . Cut a long length of upholstery thread and tie to button. Thread both ends through upholstery needle. .
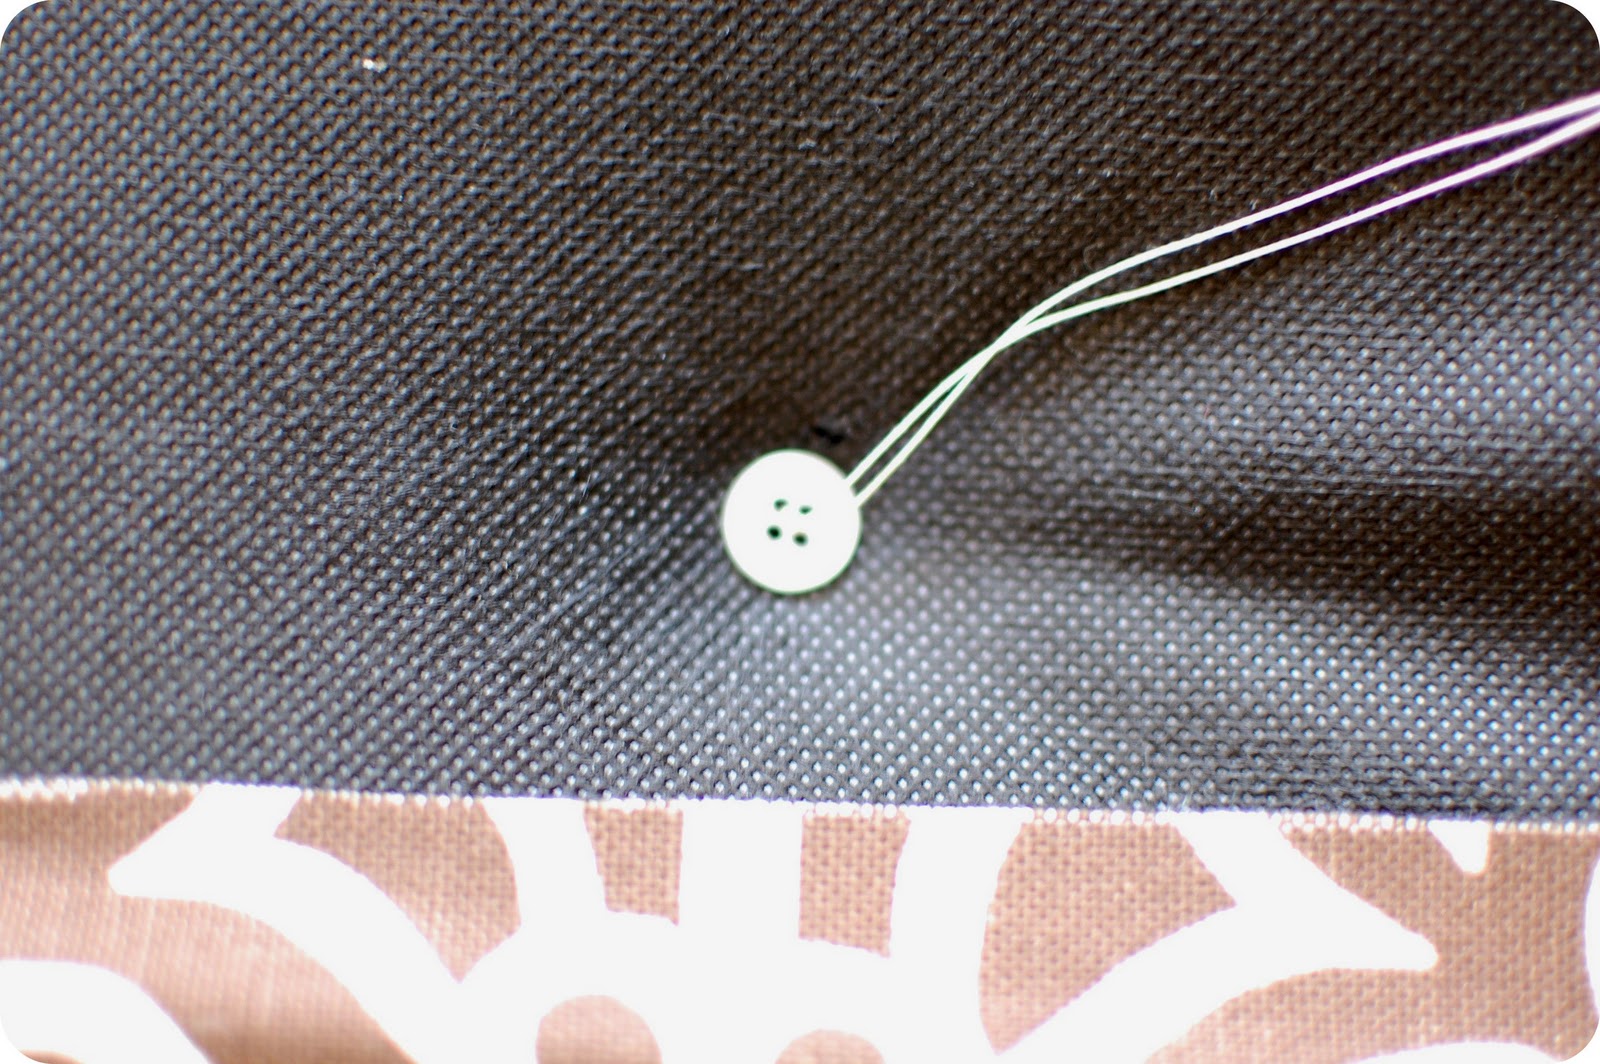
. Push needle through from the front to the back. Pull tightly. At the back of the ottoman use a button to thread through. Using a button allows you to secure the thread. There is probably a better way to do this, but I sort of figured it out as I went along! . Sorry for the poor picture, but here’s the button on the back side: .
. Continue until all buttons have been secured. . I think the buttons really make this project! .
.
. Attach the legs and you are finished! . Here’s the finished product: .
.
.
.
. If you have any questions, please stop by and visit me at 33 Shades of Green. .
Cassity Kmetzsch started Remodelaholic after graduating from Utah State University with a degree in Interior Design. Remodelaholic is the place to share her love for knocking out walls, and building everything back up again to not only add function but beauty to her home. Together with her husband Justin, they have remodeled 6 homes and are working on a seventh. She is a mother of four amazing girls. Making a house a home is her favorite hobby.
.JPG)


.JPG)
.JPG)
.JPG)
.JPG)
.JPG)
.JPG)


>SUPER easy and super SUPER GORGEOUS
xoxo
bB
>Gorgeous!!!!! I love that there is no sewing machine involved too 🙂
>Absolutely beautiful. Looks so easy.
>thanks for the tutorial! Alissa you are so creative!
>Very impressive! If I didn't have a baby that would knock an ottoman over on herself every day and every hour I would make one! 🙂
>Okay…the fabric-button-cover-addition is phenomenal! PHENOMENAL. Wow. Love it so much!
>Looks gorgeous!
Love it;)
>looks great, im so intimidated by tufting!
>Great project! I love the pattern you chose. And as always your seams match. Thanks for sharing.
Traci
>This is great! I want to have an ottoman instead of a coffee table while my little ones are, well, little. Thank you!
AWESOME, you’re so creative, thanks a million!!! I especially like the no sew aspect & how u expIained the corners 😉
Great description! Just wondering, did you remove the buttons from the original ottoman before recovering?
I was wondering the same thing!