Patchwork Distressed Side Table Revamp
Submitted by Remade Simple
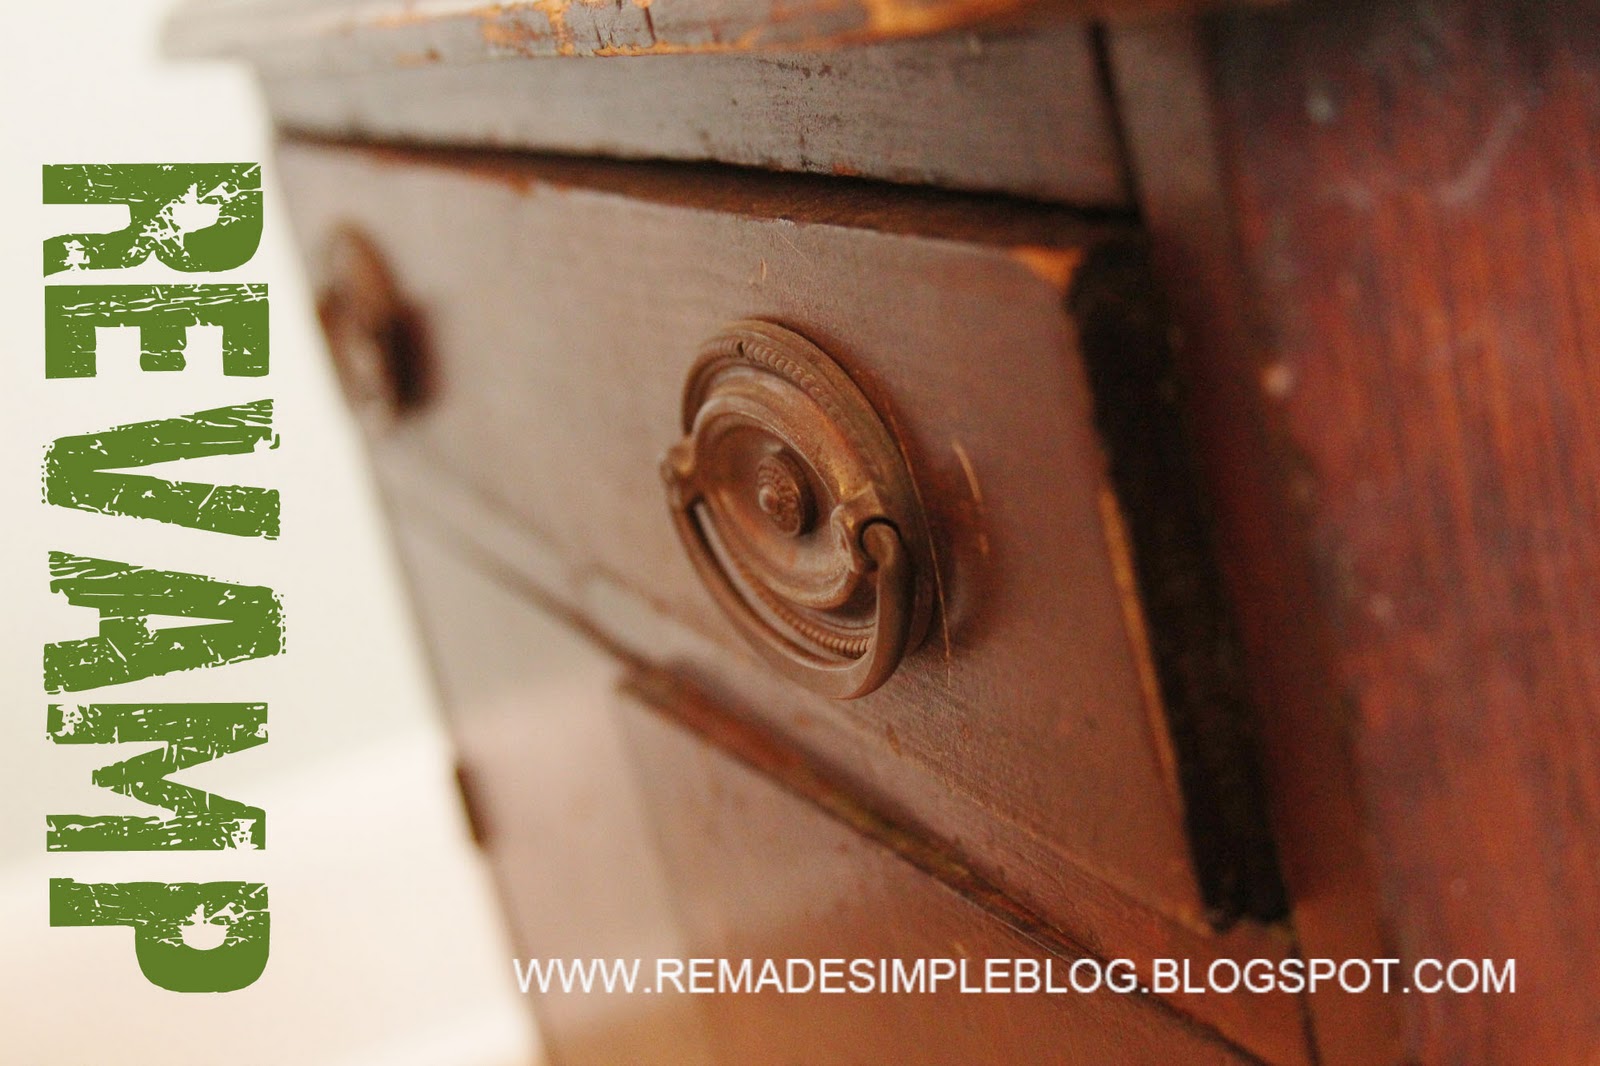
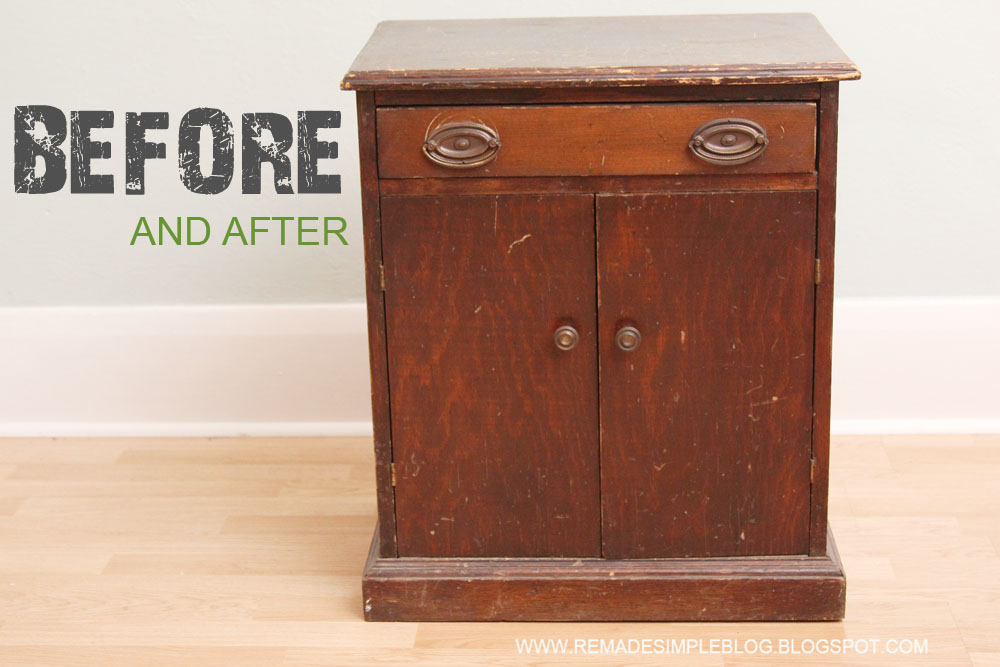
This side table was sitting in a dark corner of my aunt and uncle’s basement.
My cousin, who is moving into a downtown loft apartment has been looking for tables to
furnish his new place and he saw the potential for this piece.
My cousin, who is moving into a downtown loft apartment has been looking for tables to
furnish his new place and he saw the potential for this piece.
I was happy to take on the challenge of revamping it for him and his girlfriend.
I have been fascinated by patchwork salvage furniture I’ve seen, but not so hot about the prices (hundreds and hundreds of dollars when I can recreate the look myself??) I got to experiment first with this project and am really happy with the results. Curious? Read on to see what I did:
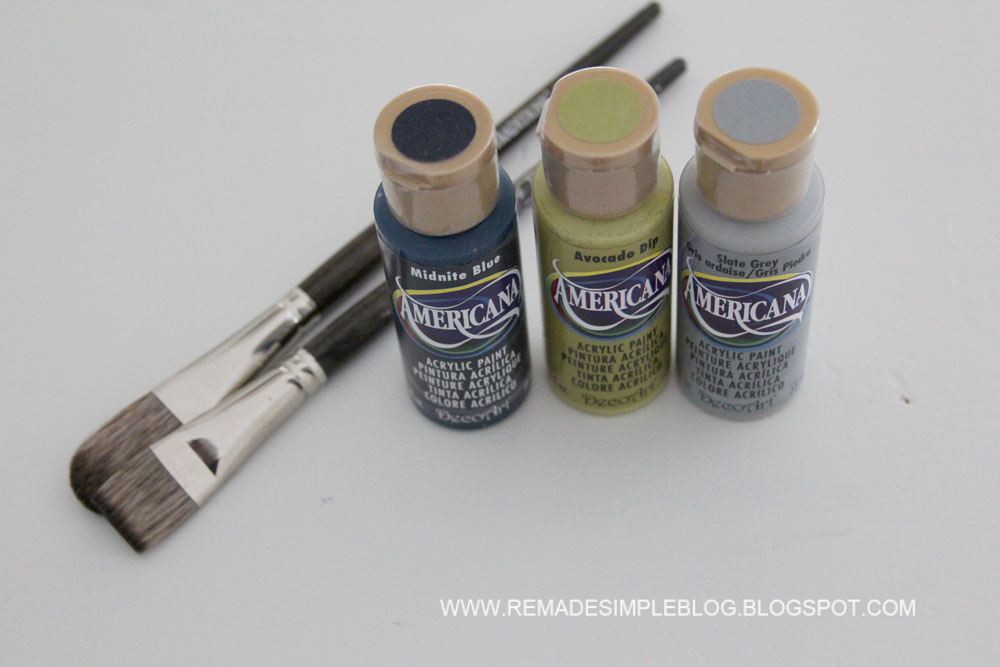 |
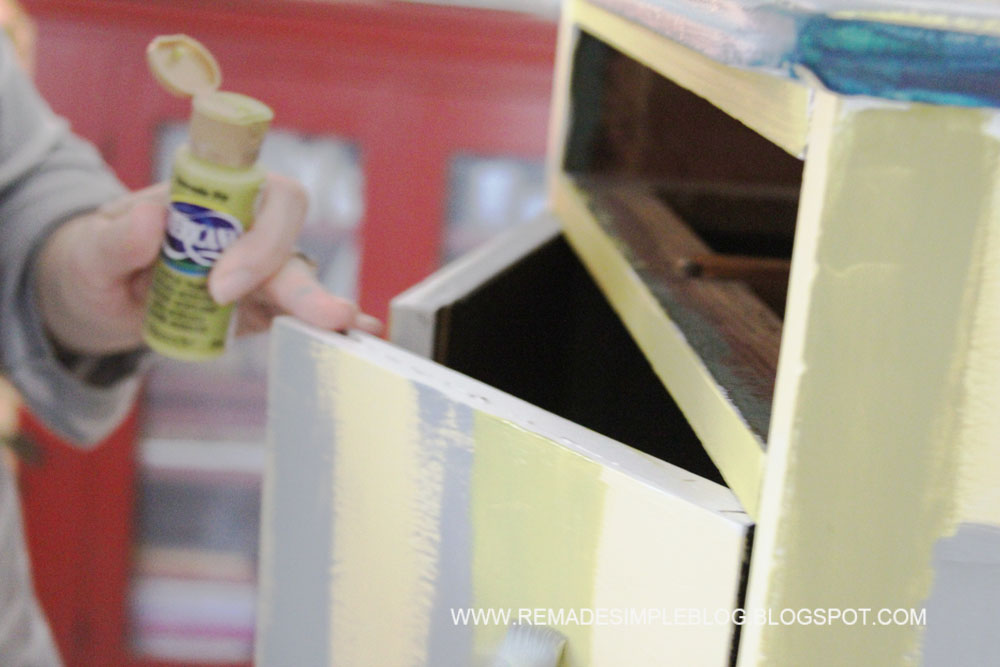
| I used these materials by DecoArt as my accent colors and brushes for the project. After priming the table, I brushed these acrylic colors in strips on all of the areas of the table that had separate sections of wood, along with a muted yellow latex paint sampler ( believe it was Glidden eggshell paint in “Crisp Ginger Ale”. |
I allowed to dry before I coated the table completely with a light latex gray eggshell.
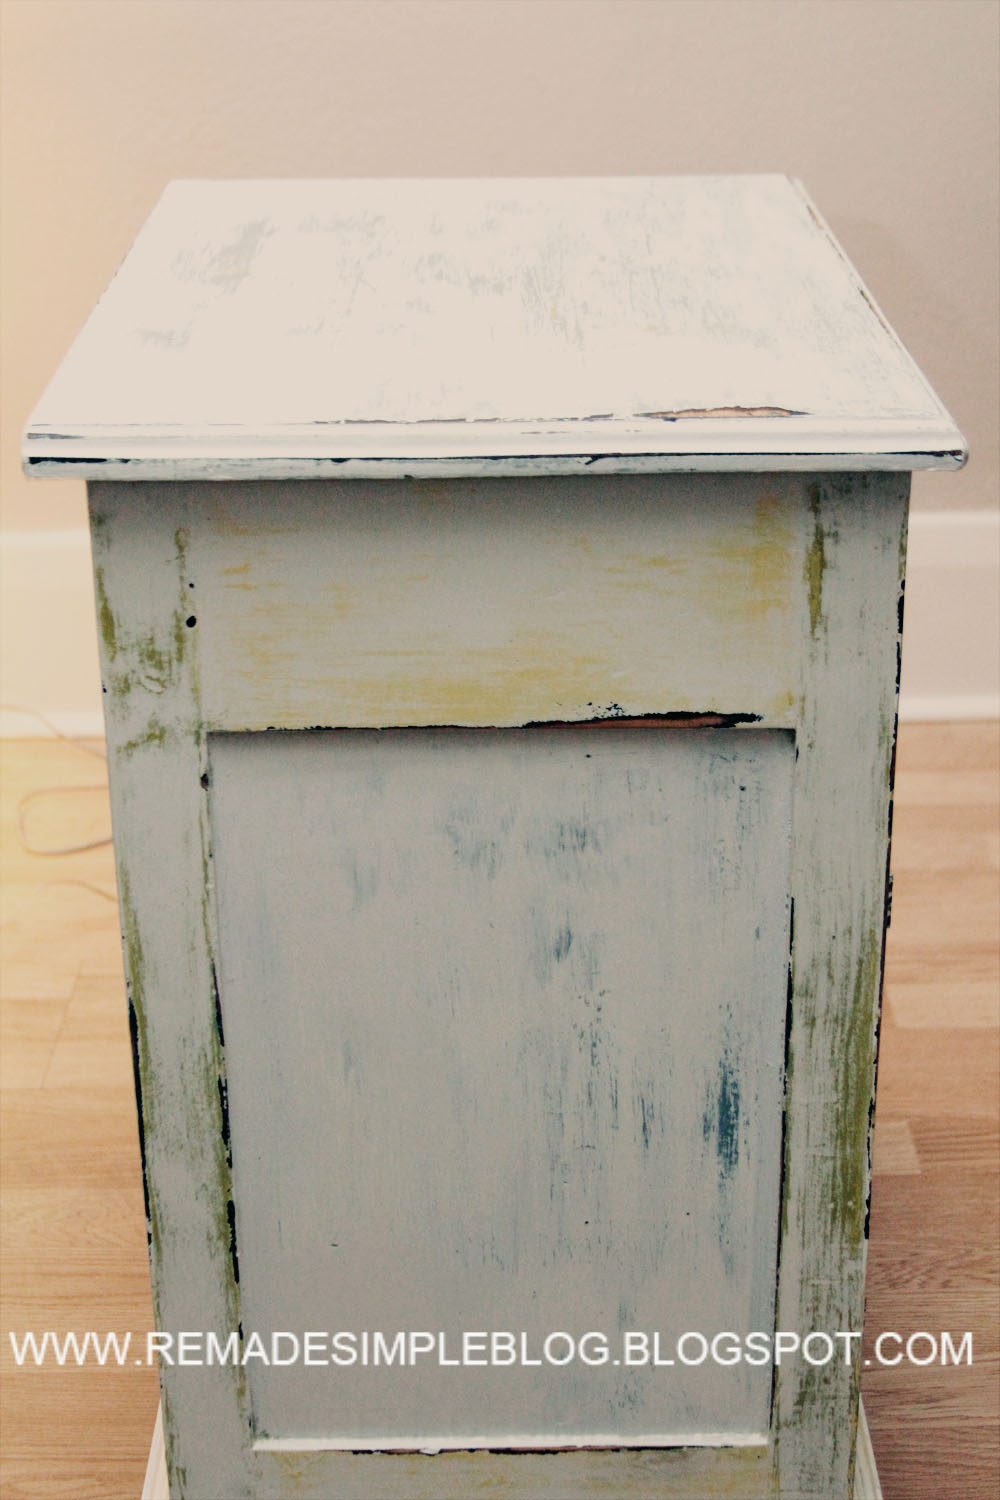
I then allowed the top coat to dry for a full day before my final sanding,
which I did using 100 grit sandpaper with an electric sander.
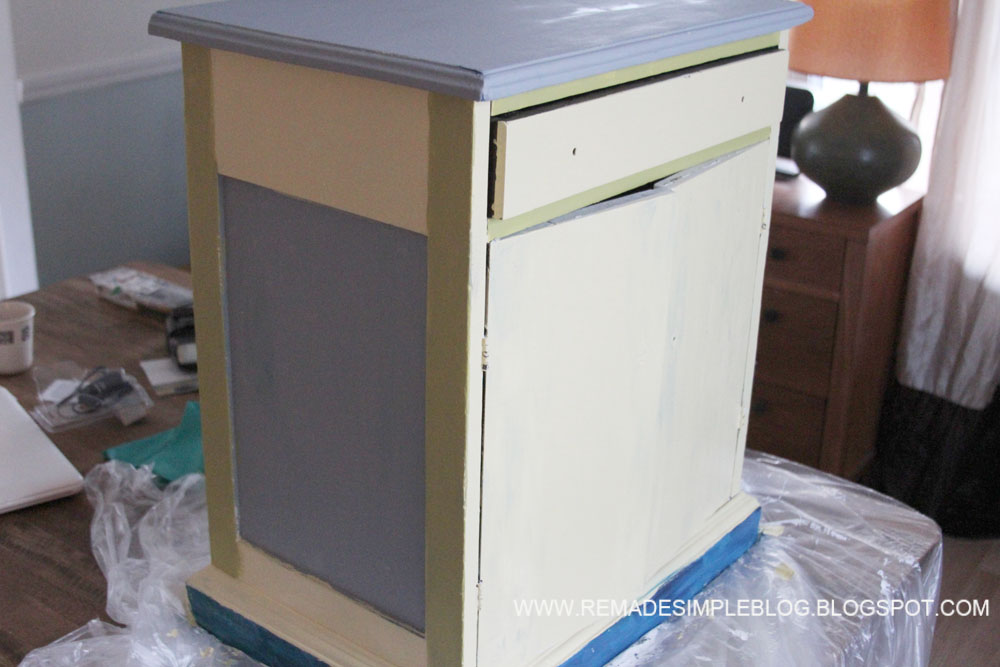 |
| Hideous looking at this point–but look below to see what sanding the final top layer revealed! |
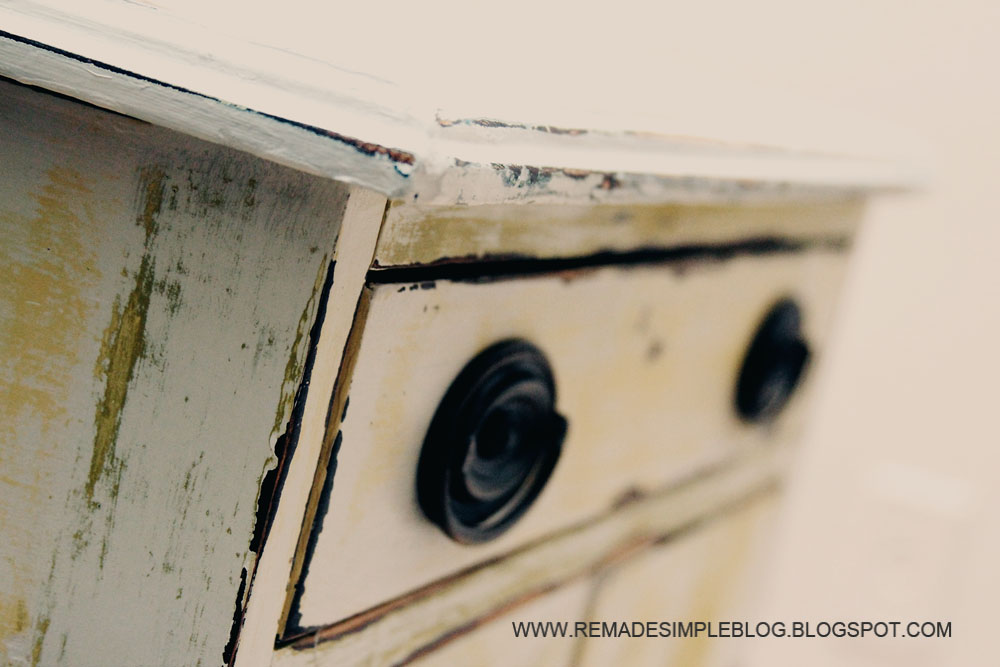
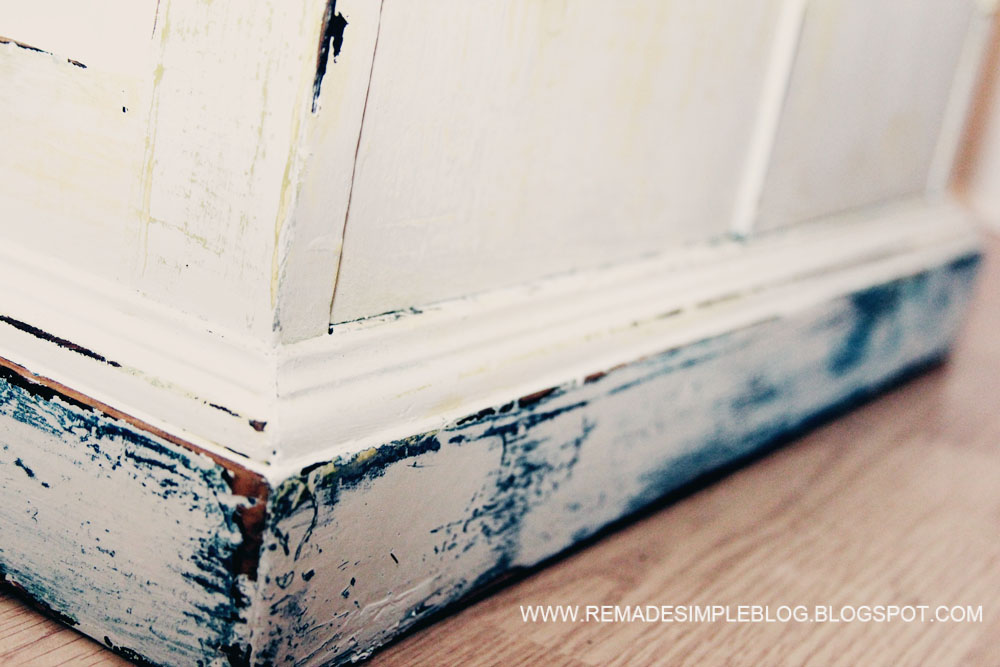

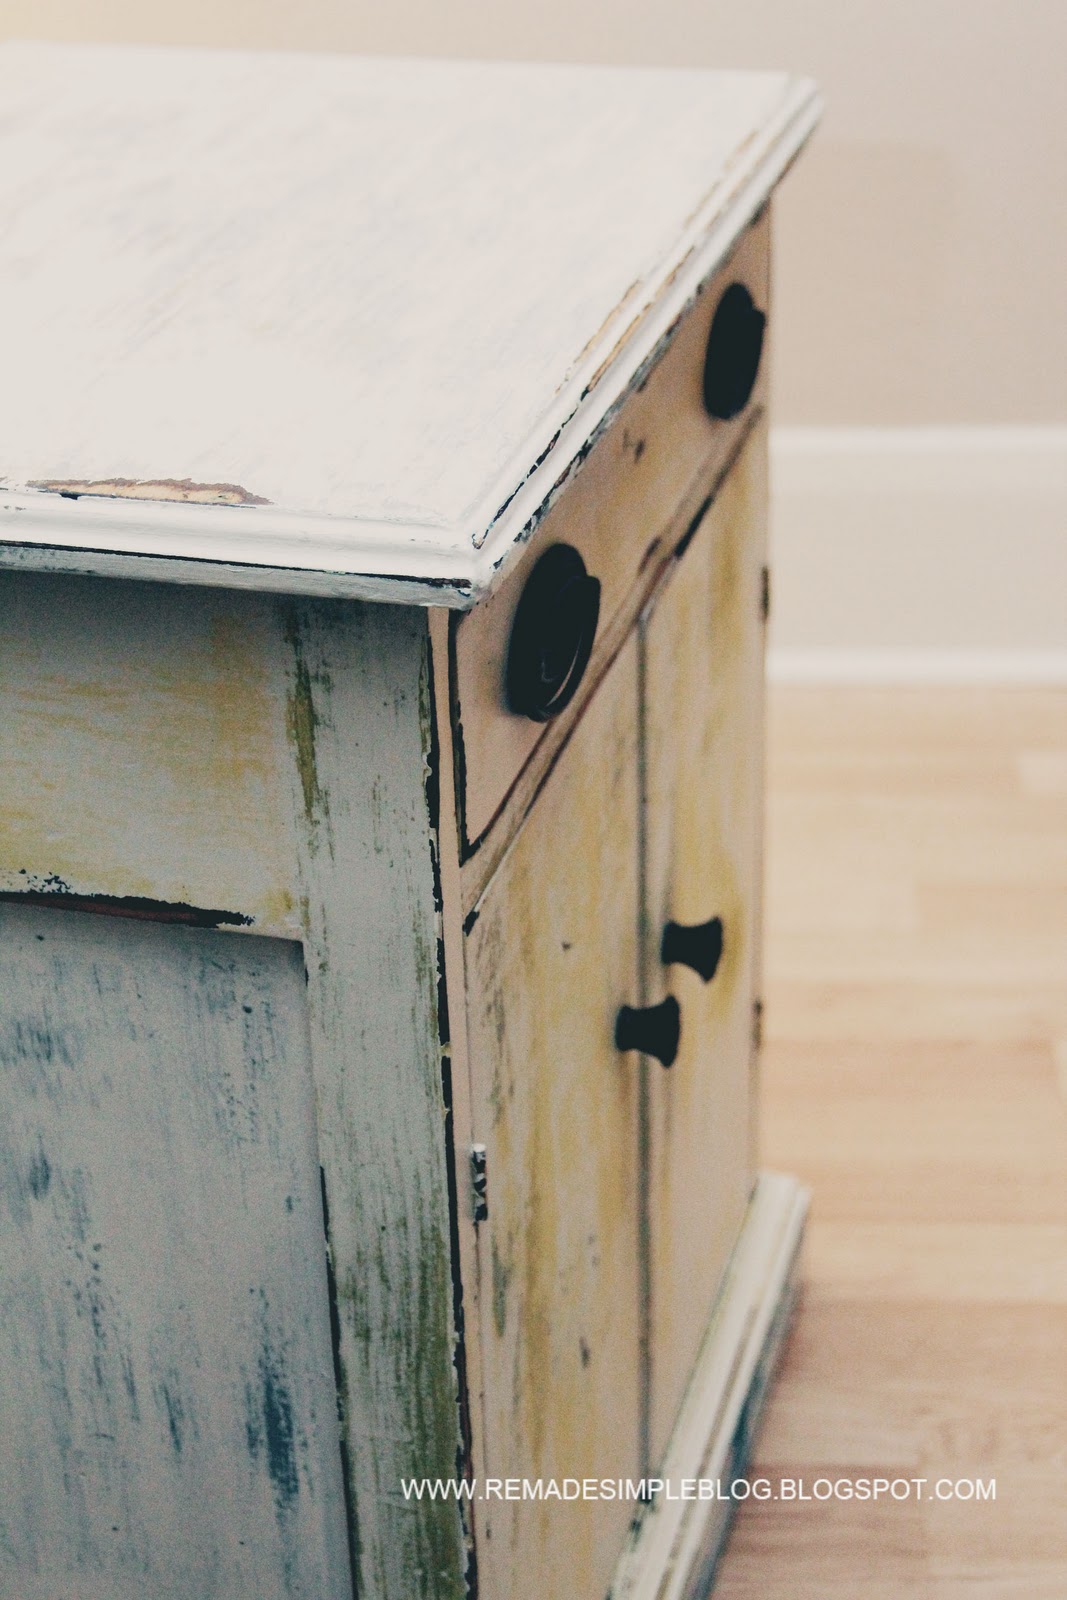
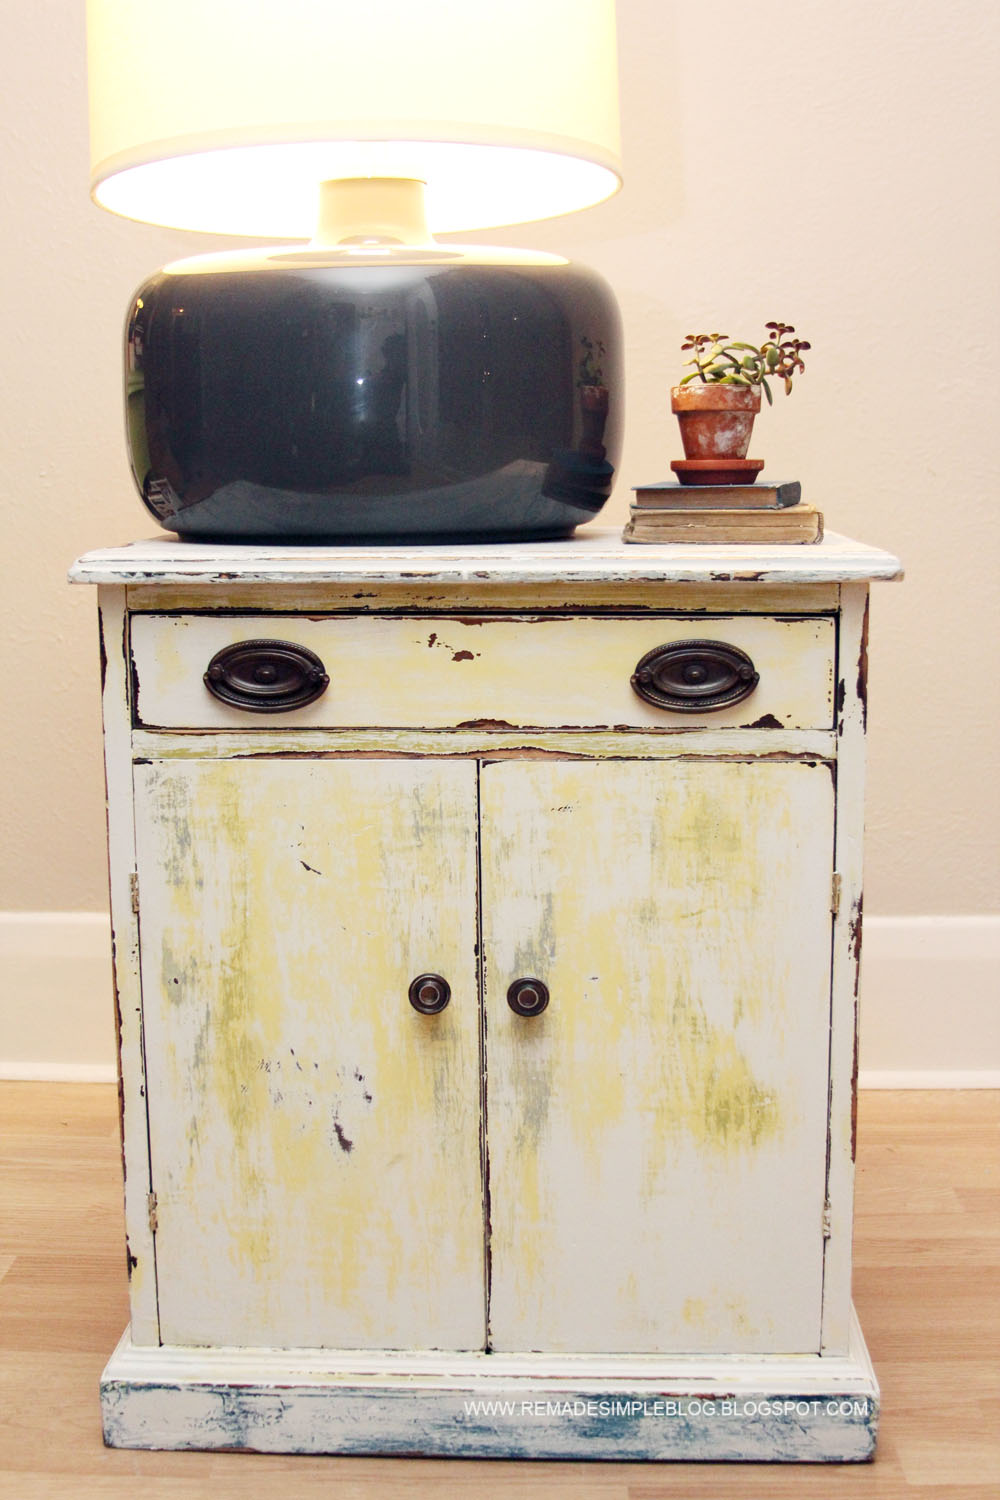
The table now has a similar effect of those expensive salvage wood pieced together tables and chests. I love how all the colors subtly show through underneath. I finished the project with a protective coating of Deco Art Acrylic Sealer. It left the table feeling as smooth as satin.
I hope Kevan and Anna like the end result as much as I do!
I can’t wait to try this technique on some pieces of my own furniture next. Stay tuned as I reveal more revamps…Thanks for reading!


Love it! Pinning it to my Painted Furniture board!
LOVE!!
I love this piece!! Aged to perfection!
HI Cassity!
Thanks so much for the feature today!
I love all the color on this dresser it is such a cool technique! Thank you for sharing it with us!
Cassity
Love this look, thanks for sharing the technique! Around the edges of the drawer & doors looks extra dark – was that a coat UNDER the stuff that shows in the painted shot, or something applied after sanding? Totally want to try this, so I’d love to know!
I love it. I like that you used multiple colors. I am looking to create a kitchen buffett out of an old dresser. I am going to remove a couple drawers and make that into a wine rack. Also on the door of the dresser I will cut out the center and replace with glass. I think this type of finish would be perfect. I may choose to use a black top coat instead of the white that you used. Do you think this would look ok?
Scott, You can always try it, i am not sure the colors would pop as much off of black and the black top coat, might actually stain the paint from below… but all you can do is try?