Reclaimed Wood Coffee Table with Hairpin Legs
–
Submitted By Adventures in Creating!
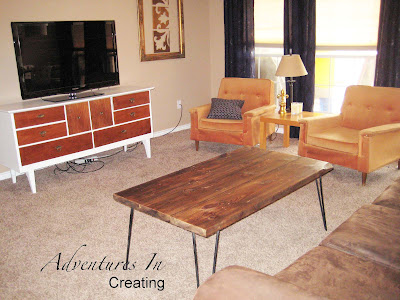
Yes, I am back again with yet another coffee table. Just call me the Crazy Coffee Table Lady. I made this one to go in our main living area. We’ve had our existing Ikea coffee table since I was a single girl living the life in college- almost 10 years ago. The scale is small for our couch and current living room and it’s starting to show it’s age.

I will have to say in it’s defense that even after all the college apartment moves, new house moves, Con-Man beating on it, and all the food and drink spills it’s held up pretty well.
I was ready for a change- and BAM!
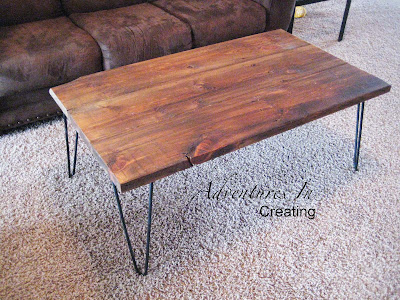
I now have this Little Beauty. (Well Big Beauty because it’s almost 4′ long and 2.5′ wide!)
This all started when I bought this funky coffee table at the Goodwill for $20. I since used the top of that table to repurpose an old sewing machine, but still needed to do something with the hairpin legs.

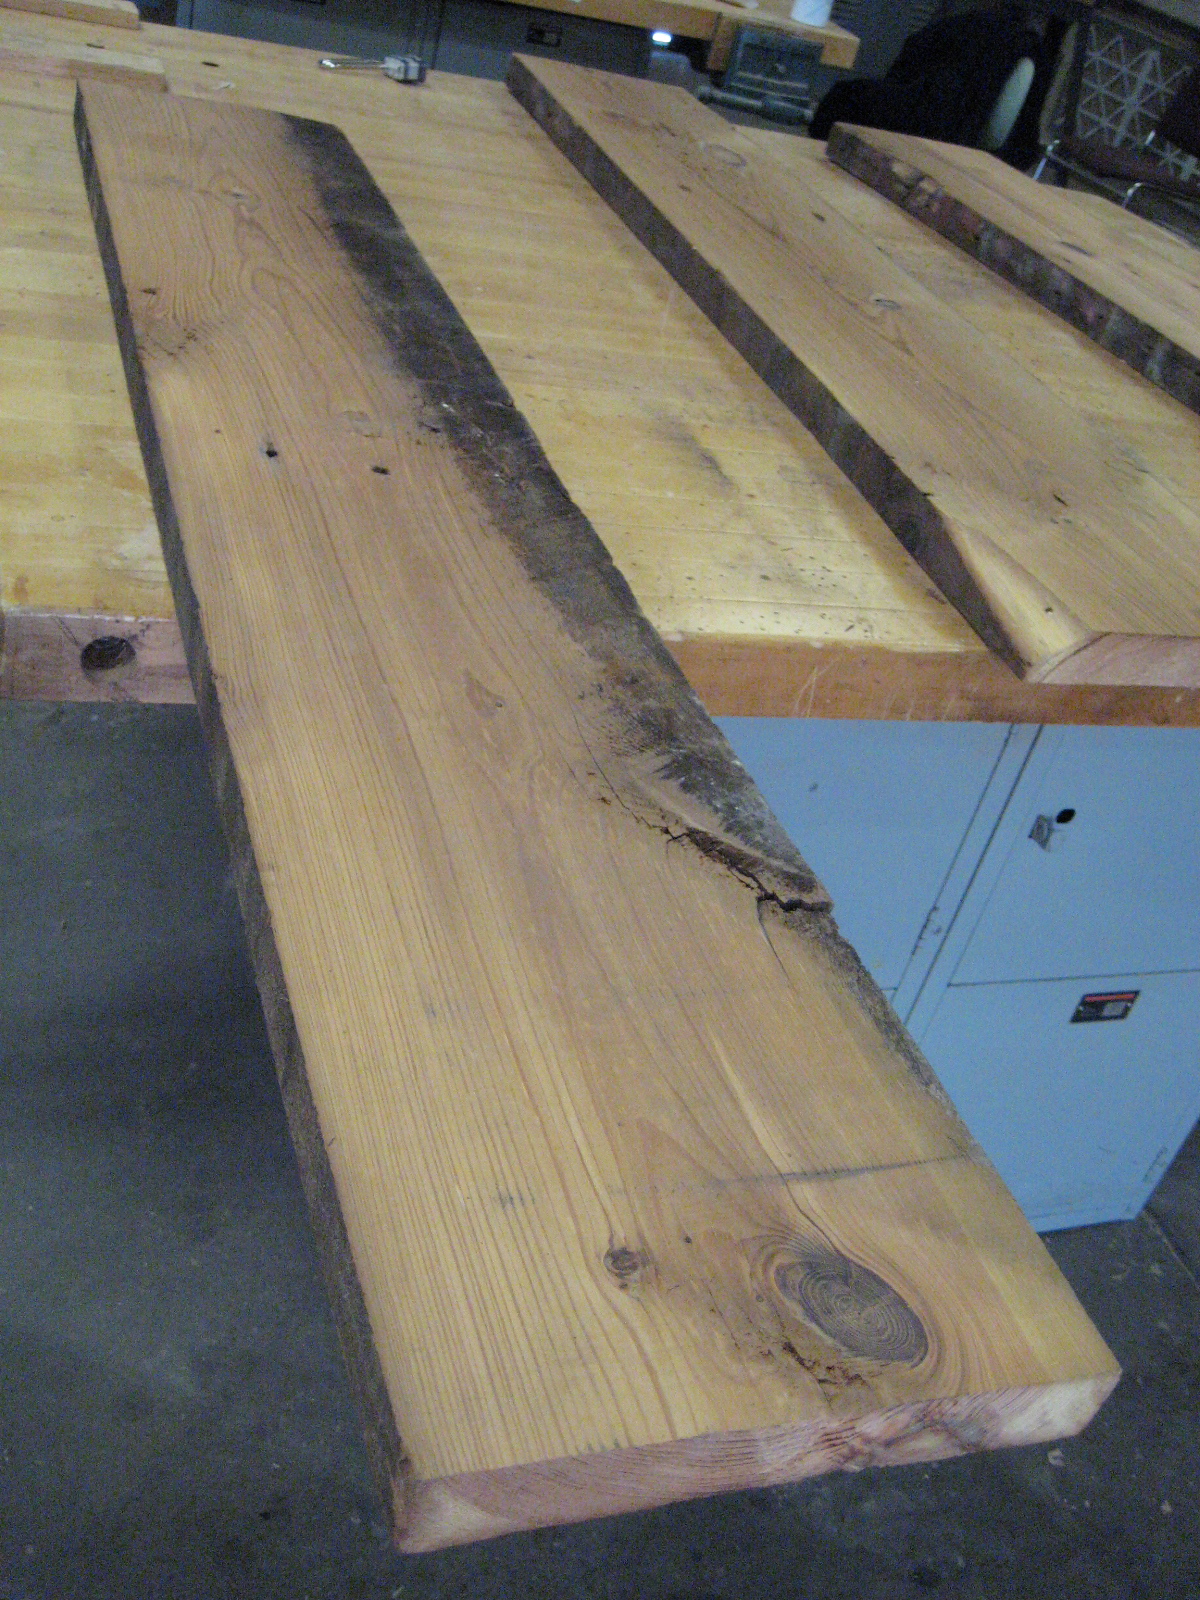
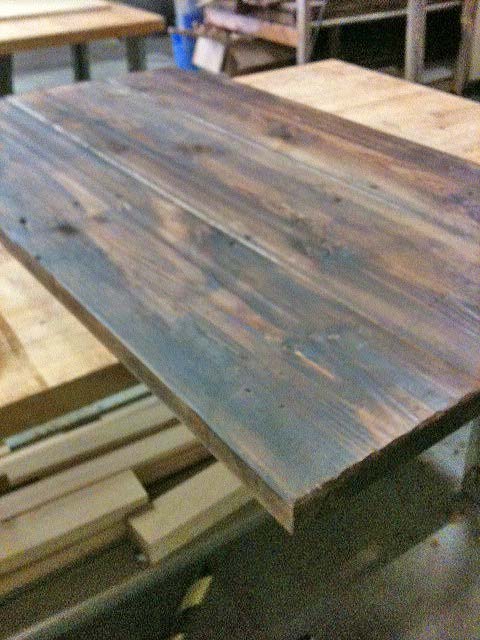
Enter this; an awesome wood beam I found at an architectural salvage shop.
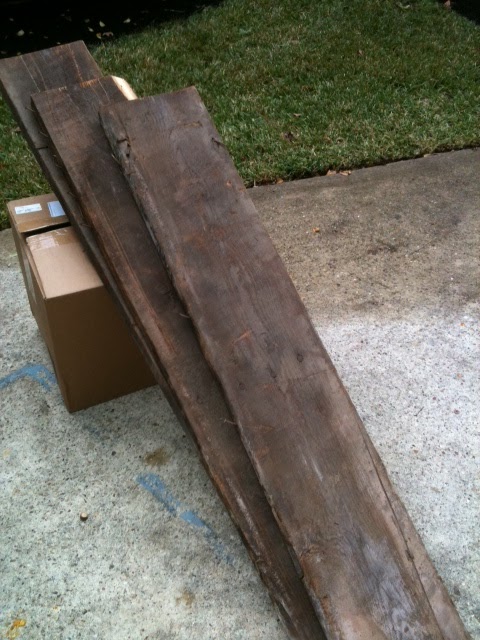
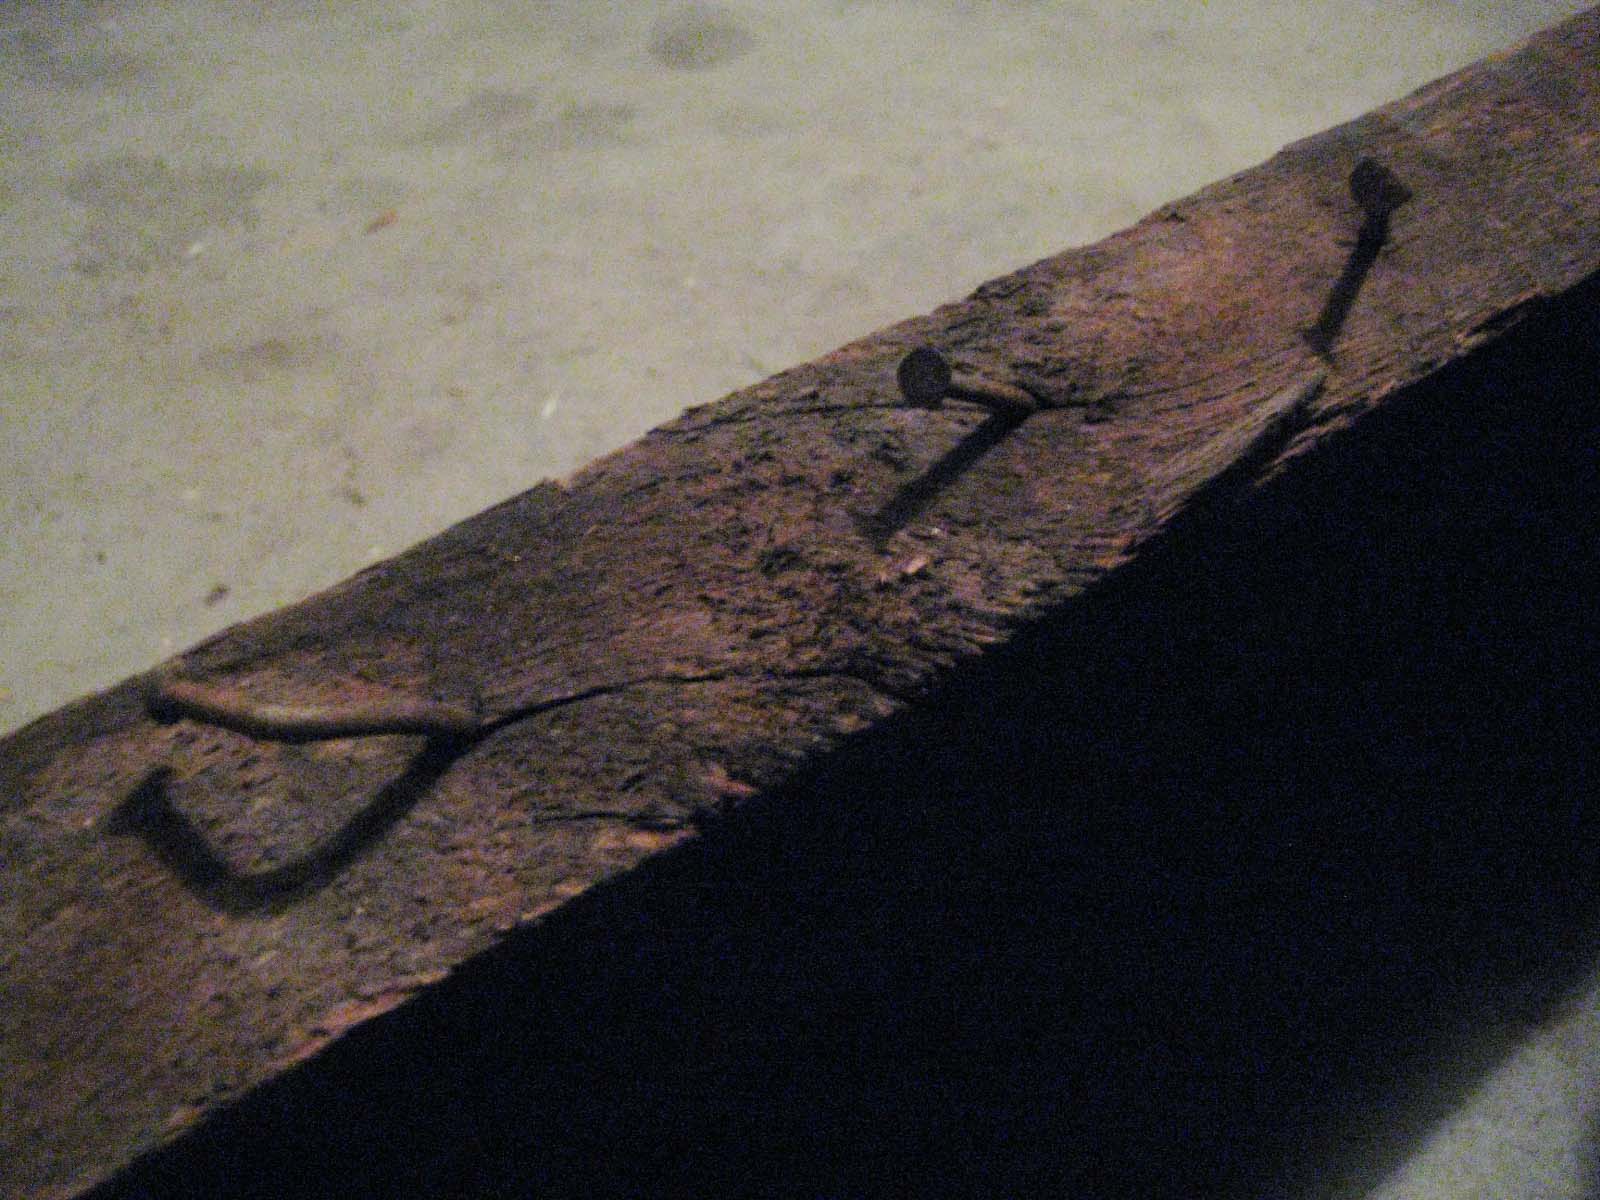
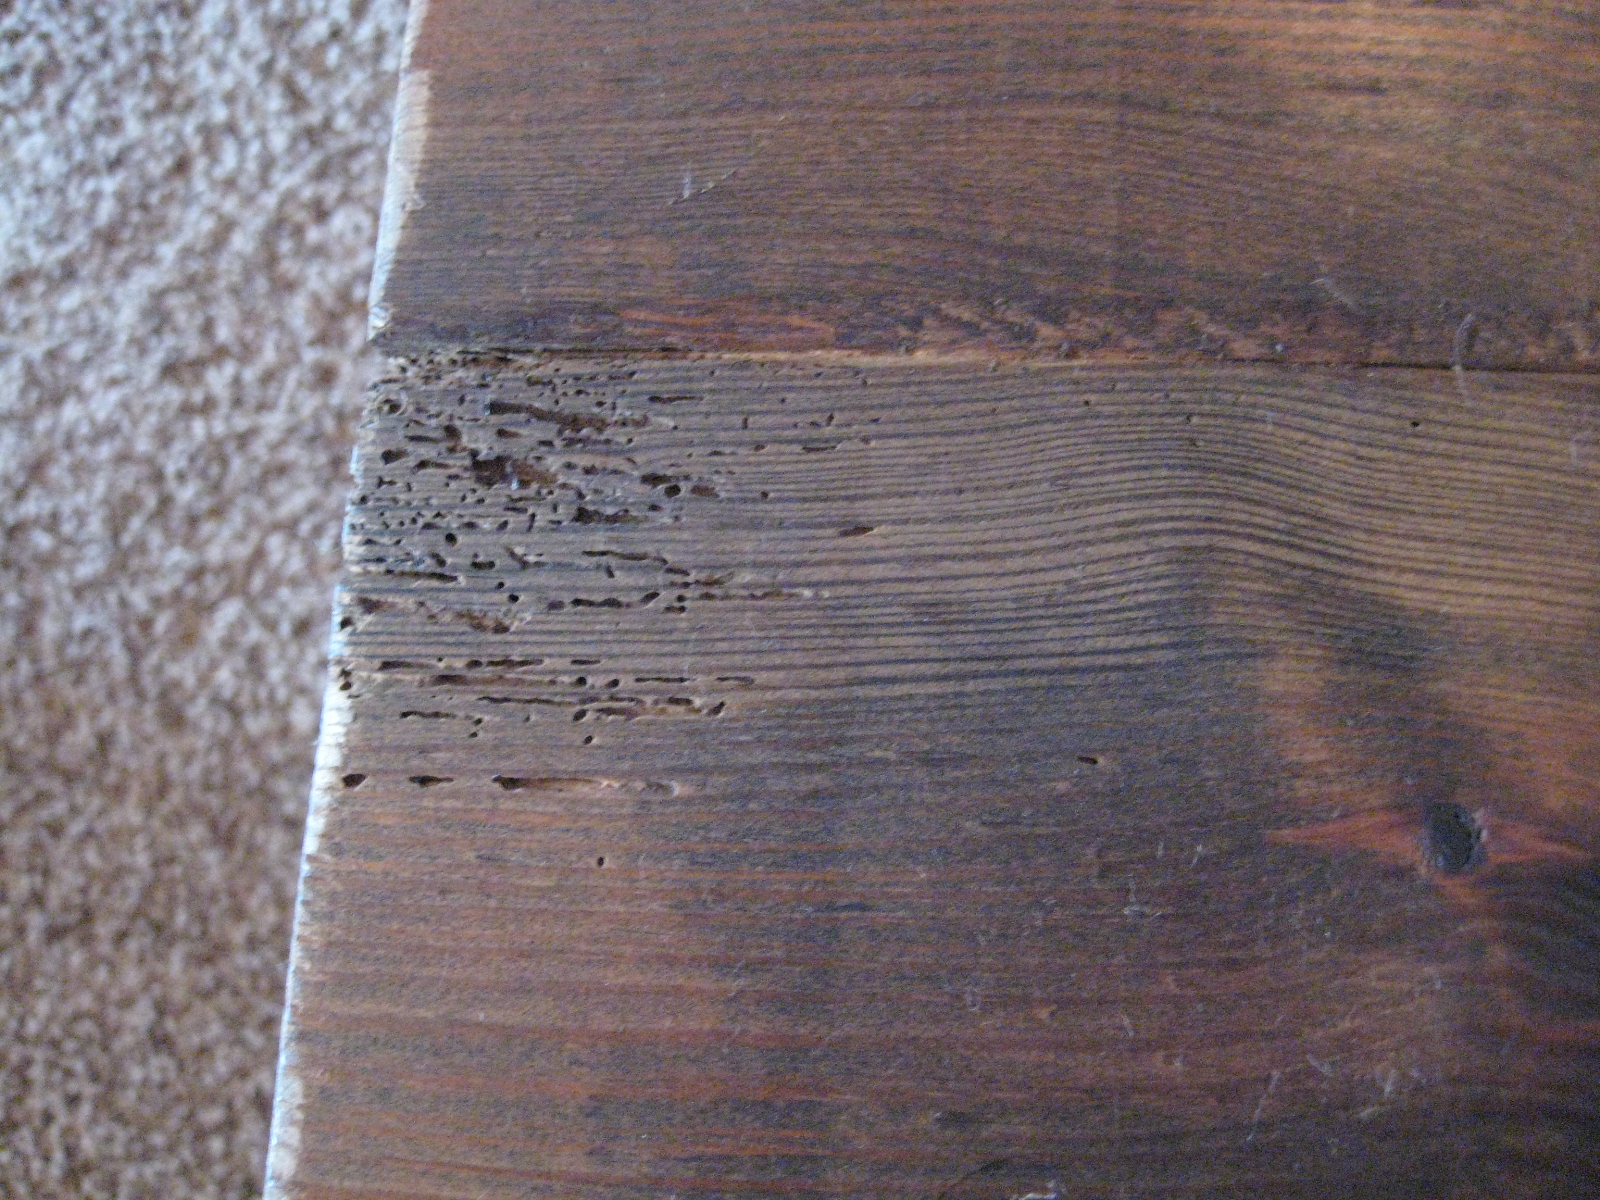
The wood needed a lot of work. And after messing with it I found out it wasn’t yellow pine like I had thought; it’s actually a cedar beam. This could totally be my mistake, it was hard to tell what the beams looked like while I was picking through them in the dark shady warehouse.
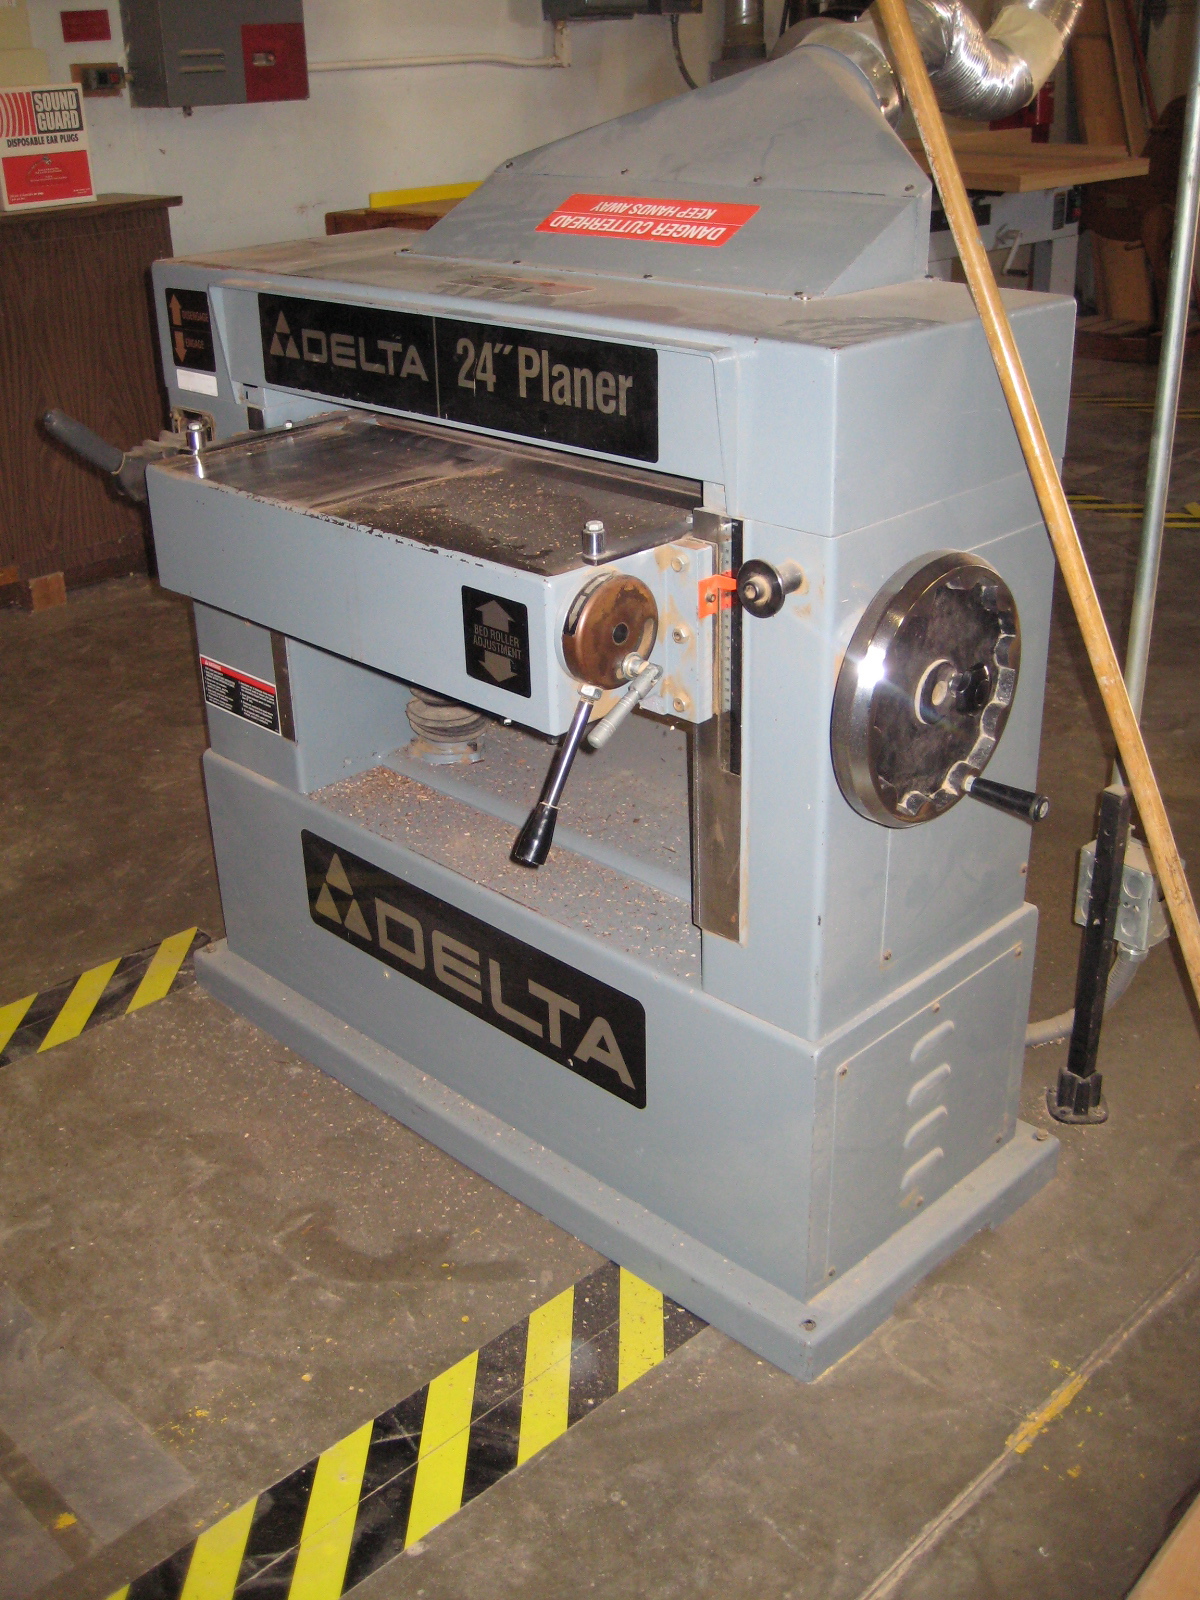
Anyway, I took my beam over to the Altus AFB wood shop to get it cleaned up and cut to the exact size I needed. Like I’ve said before the guy working there is super helpful. He told me what steps I needed to do and in the order I needed to do them in. I planed the wood down smooth and cut the pieces down to size.
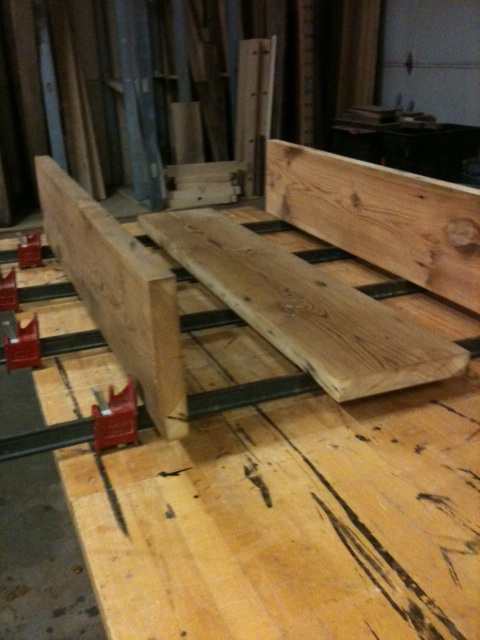
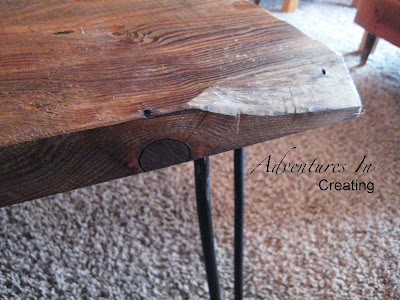
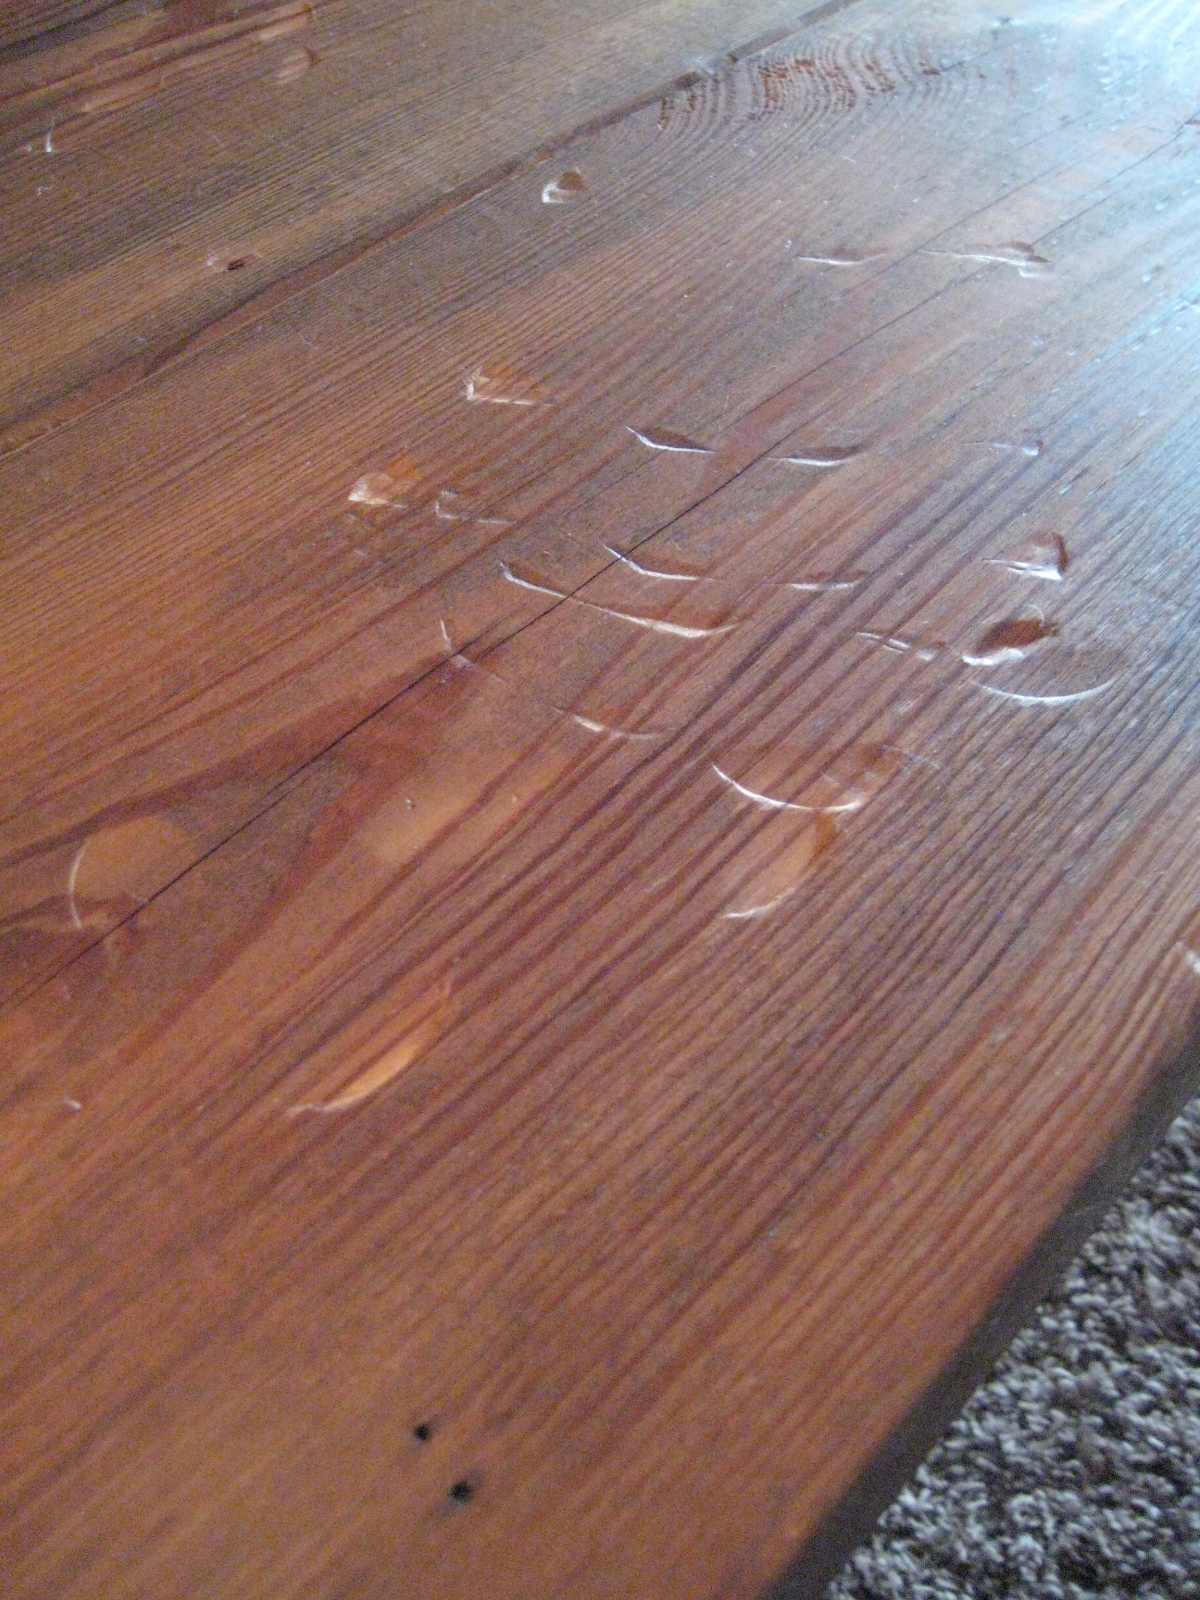
After we got the big stuff done I used hand planing tools to smooth out any rough spots.

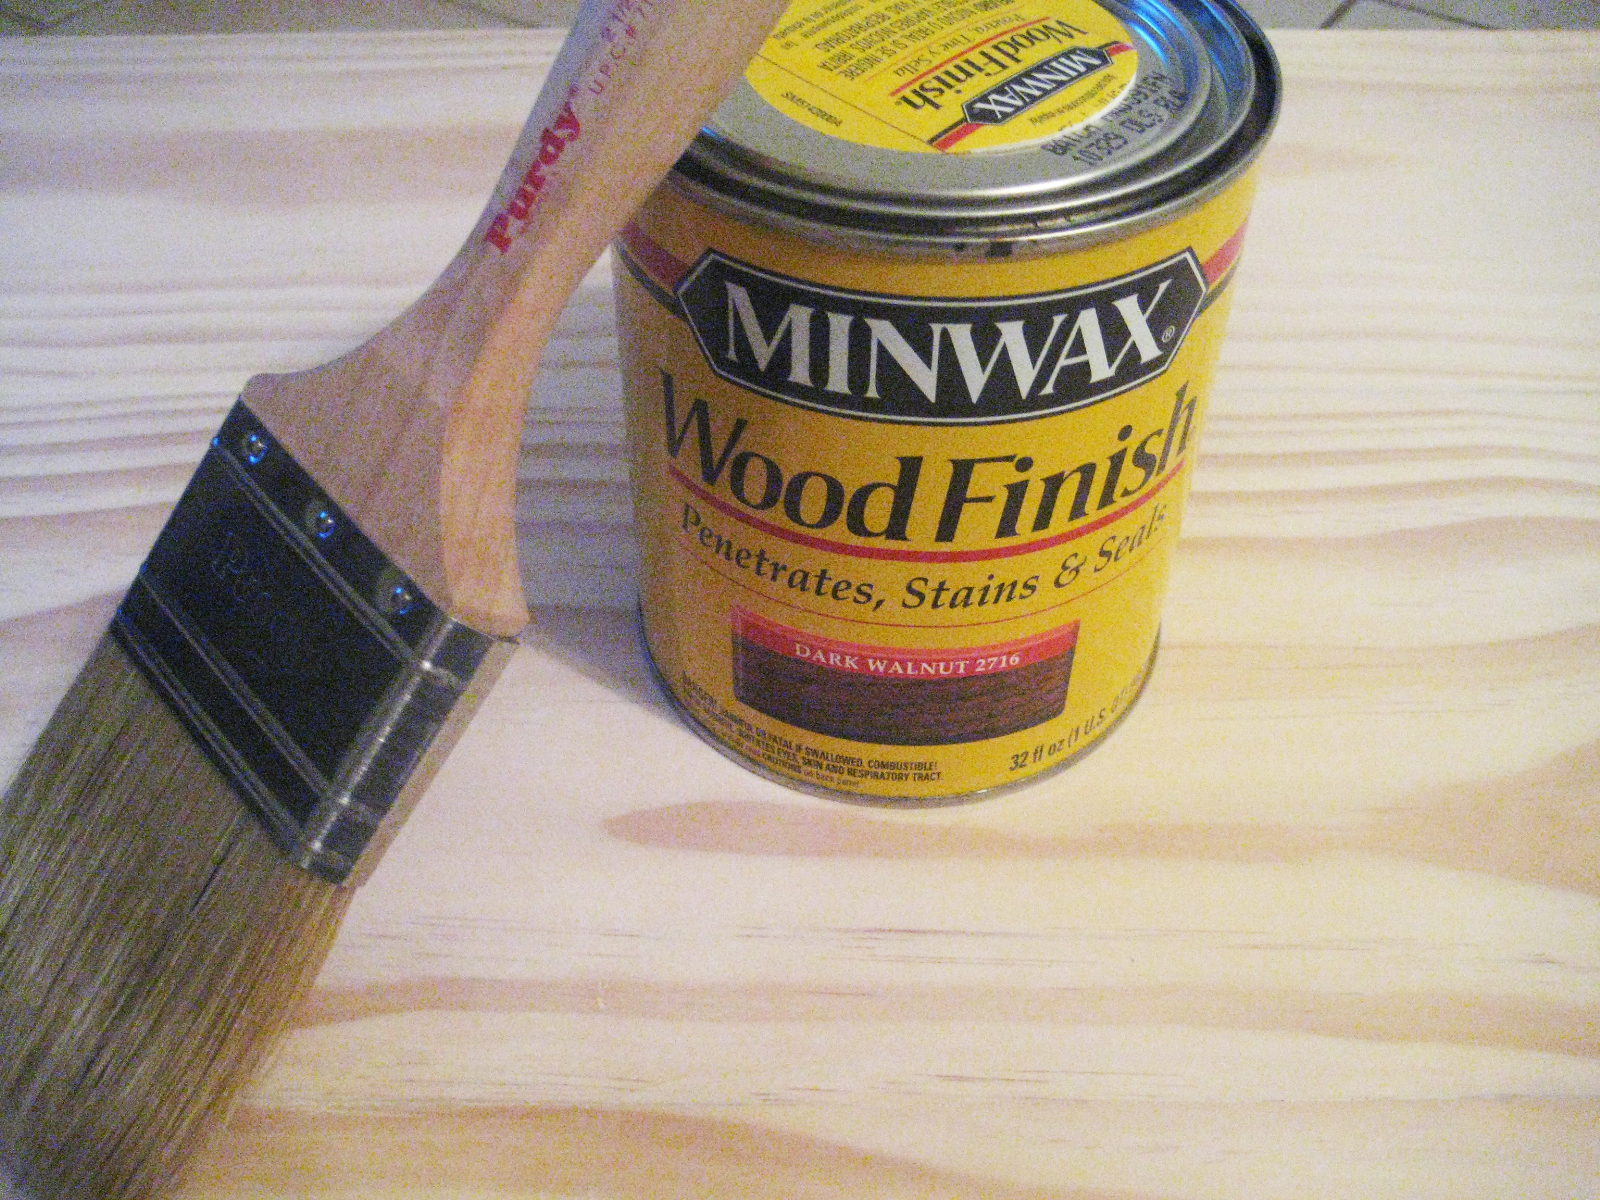
Then we used wood glue to join the three pieces together to make the top. Can you believe wood glue is all we used? I didn’t think it would hold at first but it totally did! After that I finished it off with Minwax Provencal wood stain. I used a Purdy Paint Brush; I felt like it gave me a more even finish and it went quickly even though I had a large area to cover.
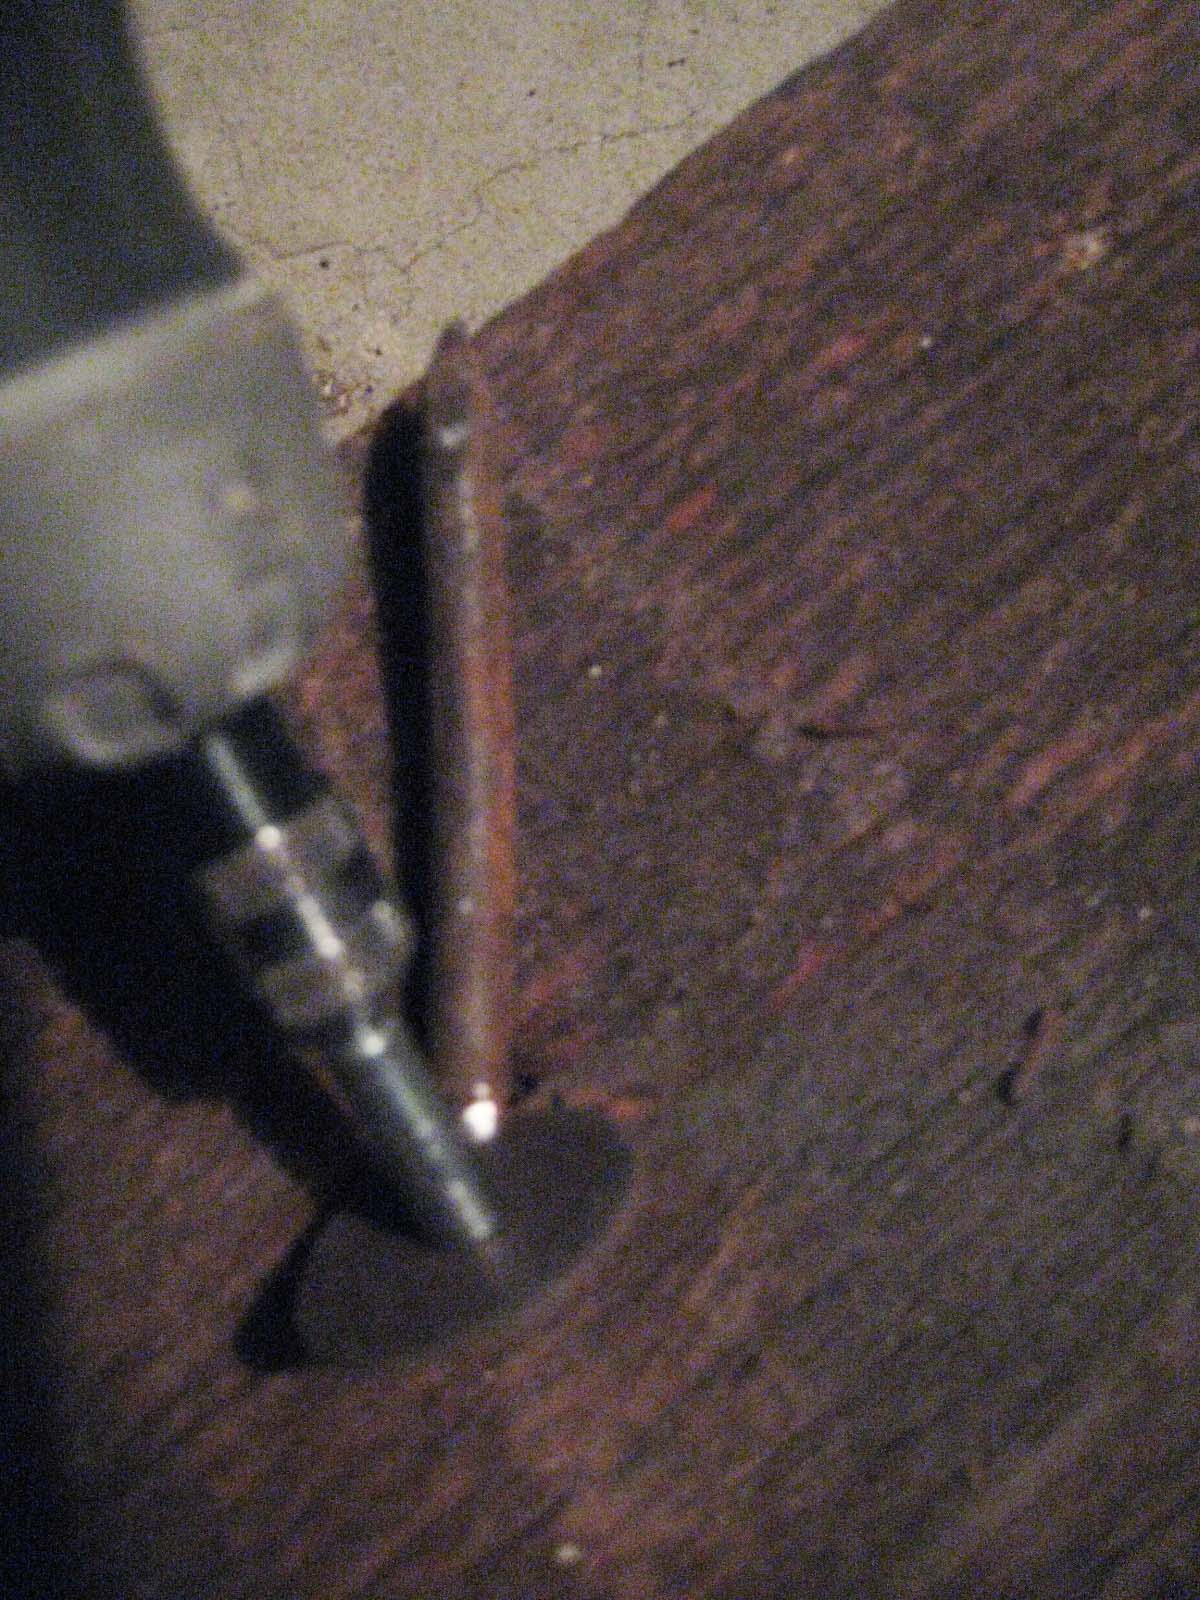
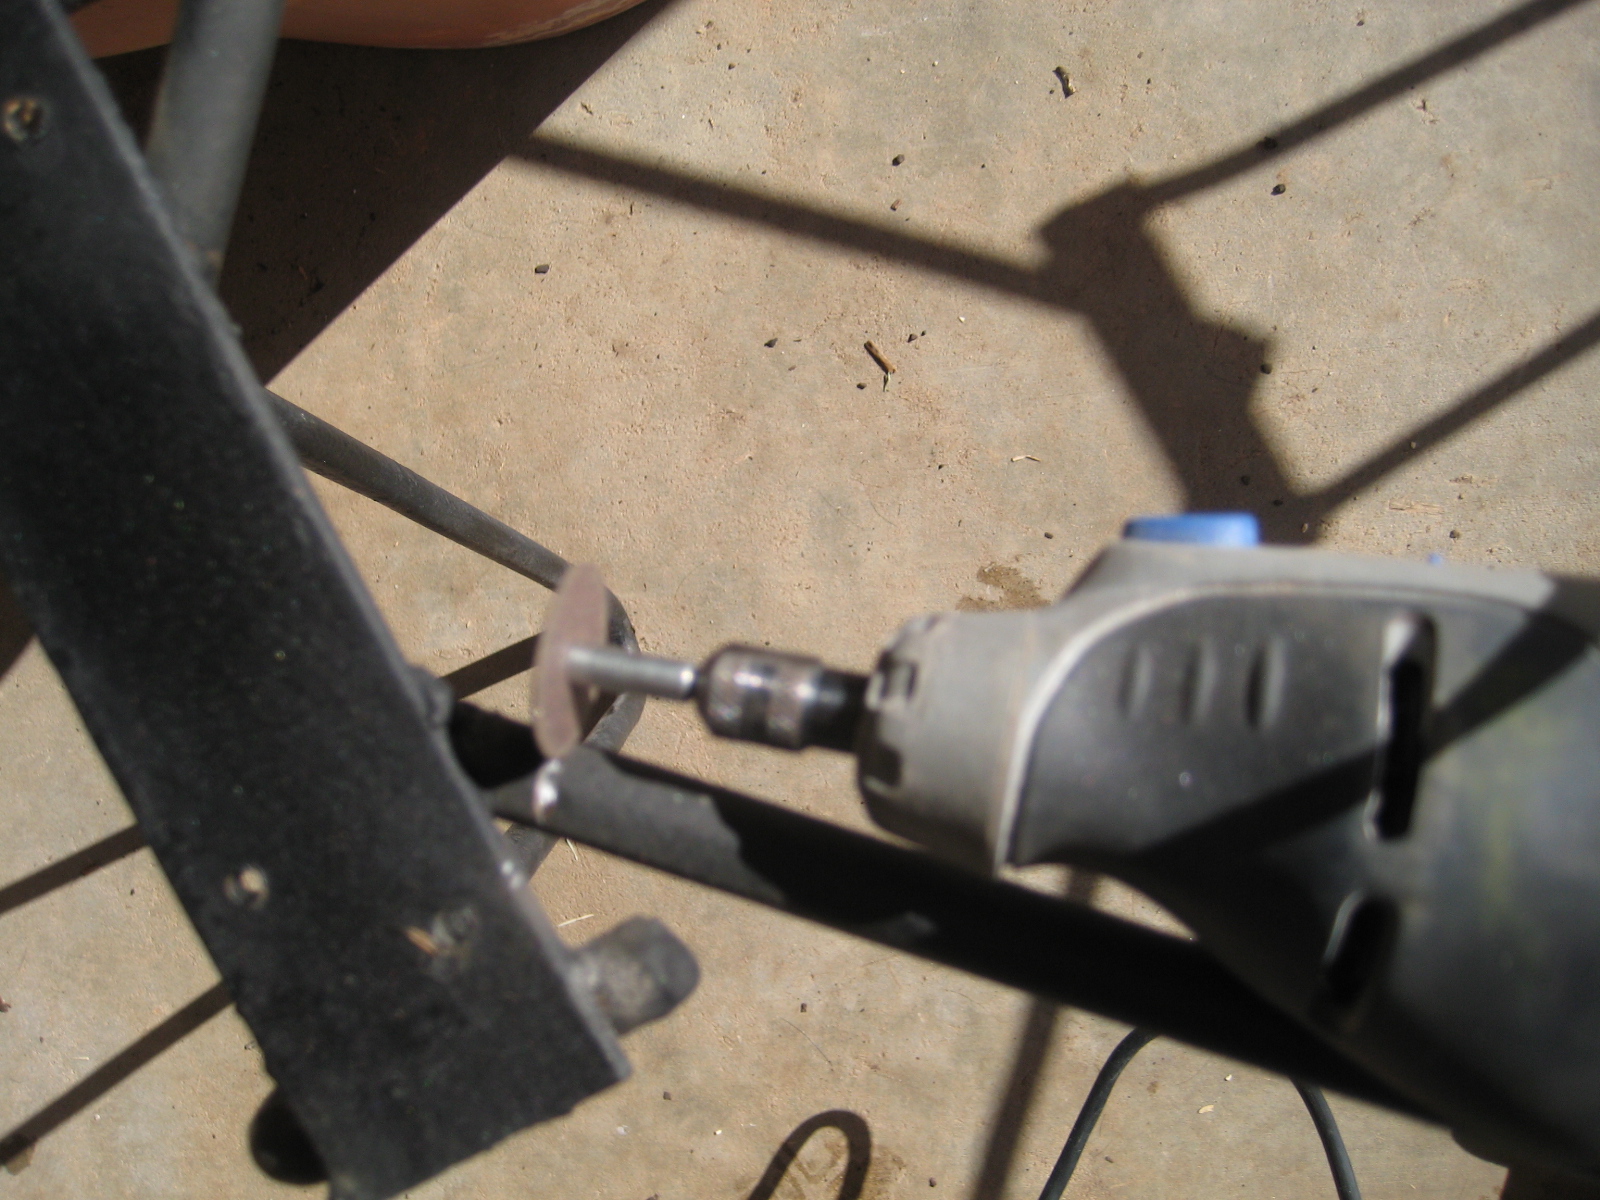
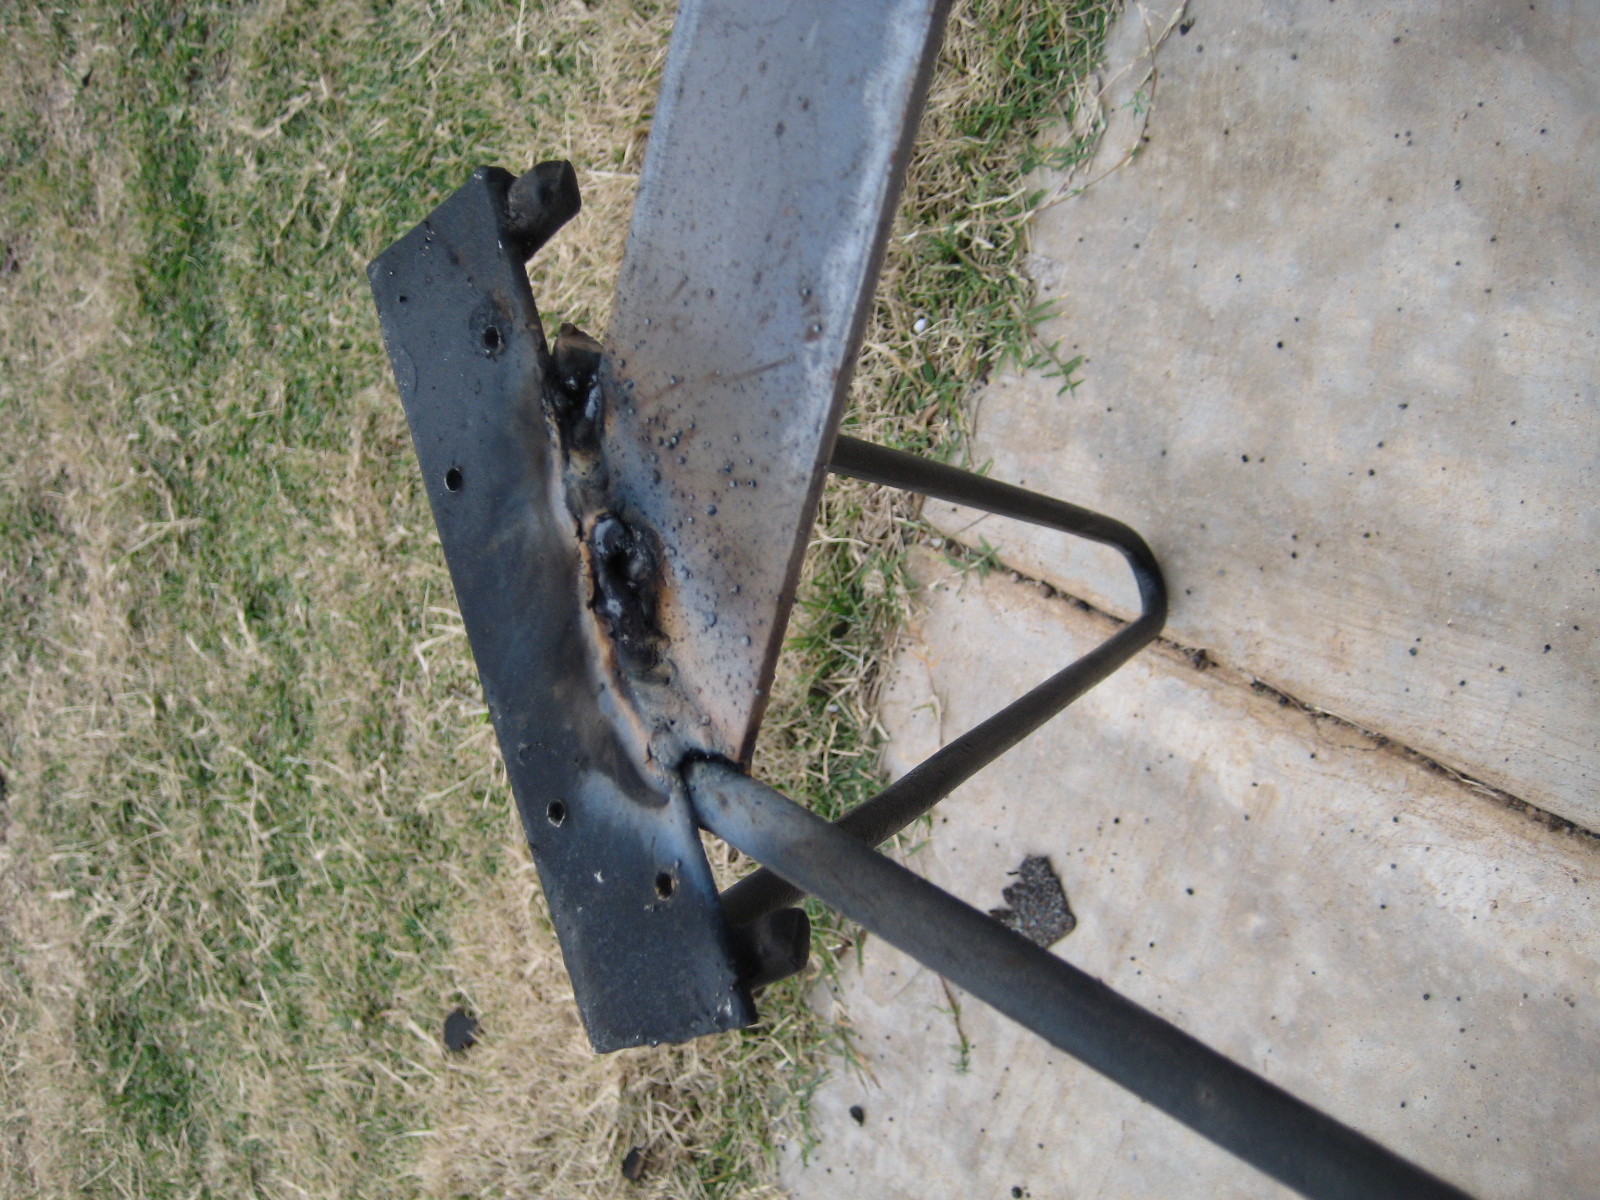
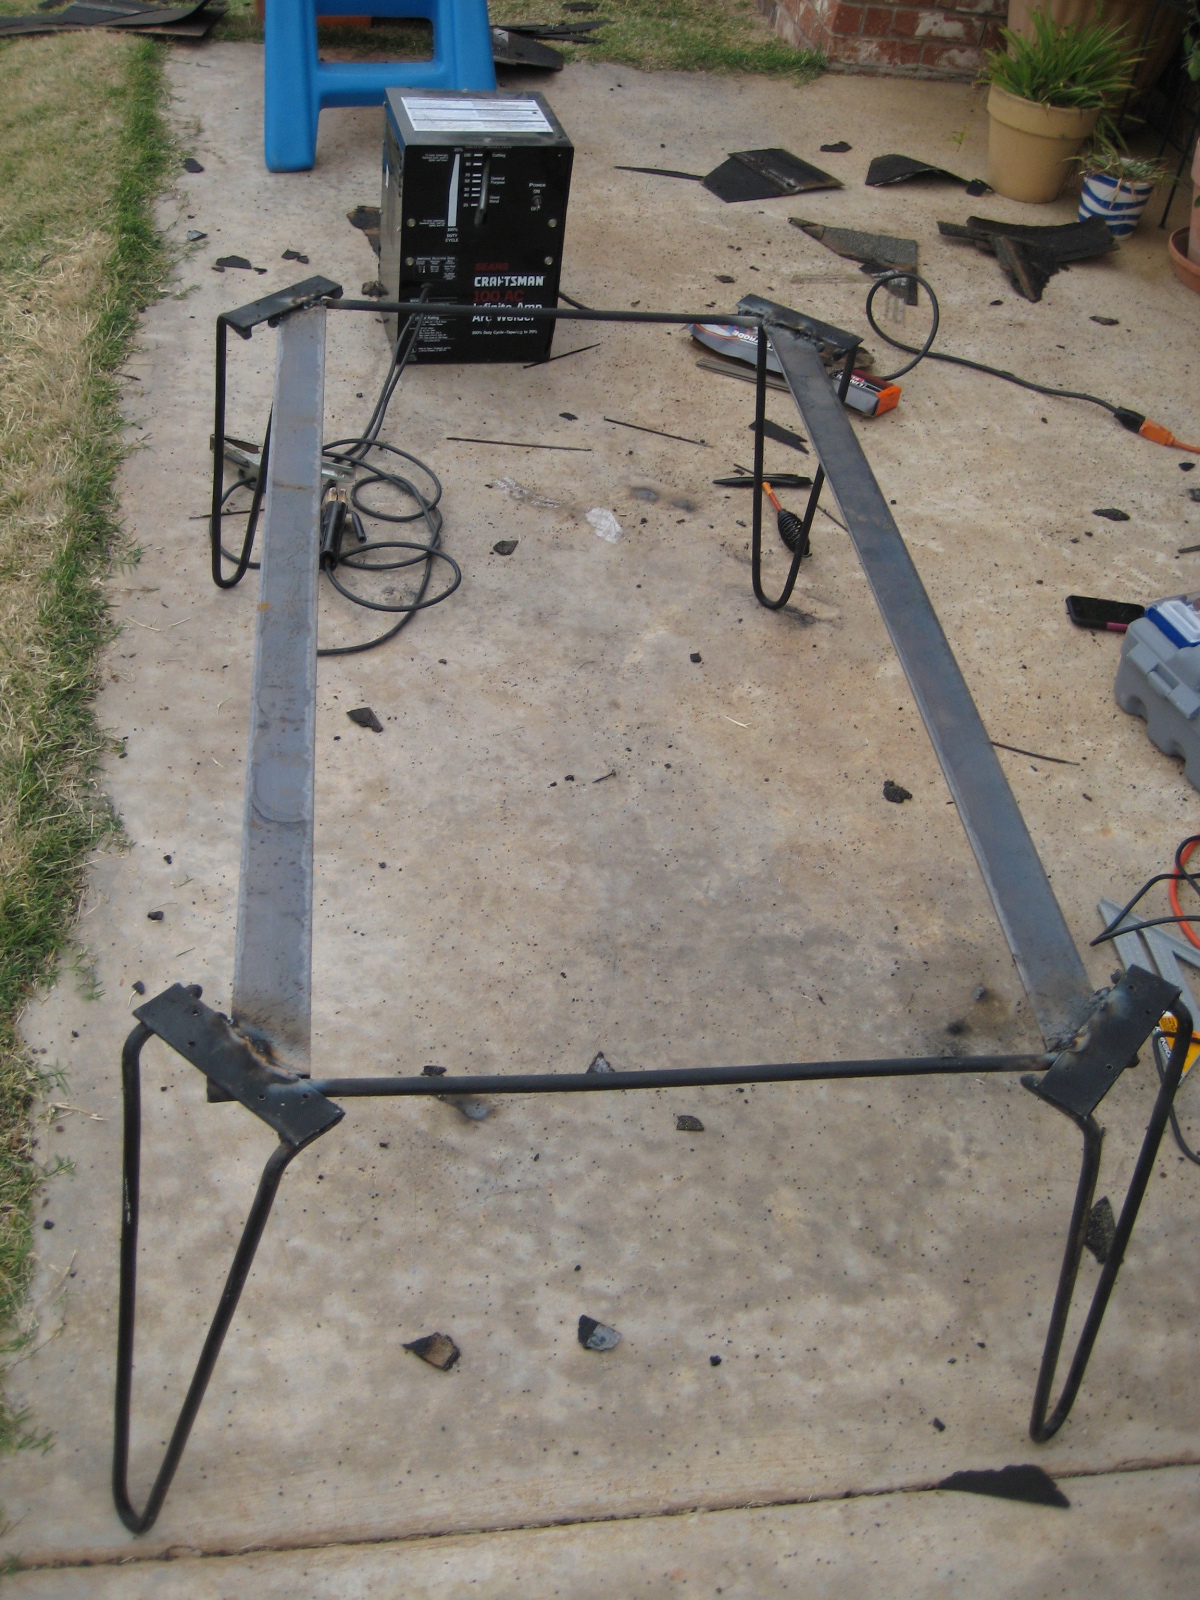
So, after all that wood working was done it was time to turn my attention to the base. The frame of the old coffee table was about 24″ x 24″. I decided that I would use my Dremel tool to cut the base down and weld a new, longer frame for my new table. I purchased steel flat bar and had them cut it to the length I needed, then just welded it to my existing legs.
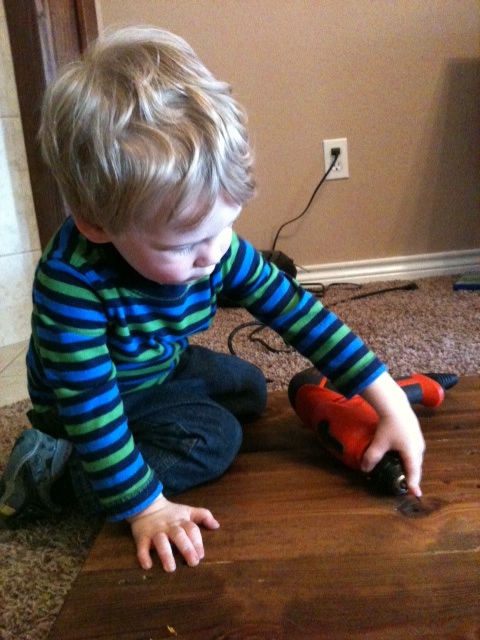
Then all I had to do was screw my new top onto my new base. The hairpin legs already had screw holes from when they were attached to the old table- so this was the easy part! And it’s always good to have a helping hand.
C’Est Fini!
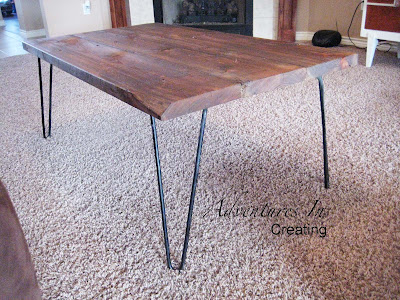
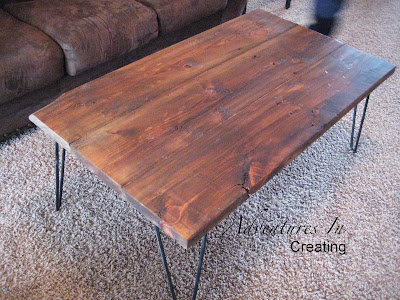
I love my new table because it is super sturdy. Con-Man can bang on it all he wants- it already has lots of character so a few more dings will just add to the charm. And since it’s cedar if liquid is spilled on it- no big deal. Cedar does well with water so that was a happy accident after all.

I have no doubt that our new table will last another 10 year +. Which is a good thing because I don’t think I can convince The Hubs that I need to make another one any time soon. Now all I need is a rug! (Which is totally in the works!)


The table is beautiful! I need to do something like this. Have a Happy and Safe New Year
So inspirational, I love it!!
I am your newest follower, follow back at tuliprow.blogspot.com
Wow this is really pretty. I loved reclaimed wood, and the legs are a big surprise with the wood! Great job!
I LOVE WHAT YOU DID!!! You inspired me to make a desk for myself with some reclaimed barn wood… I am super excited to get started on it, and can only hope that it turns out as well as your table.
Thanks so for sharing!