Simple Picture Frame Wainscoting; Guest
This Living Room update from The Thriftress is wonderful and I love the fabric she is considering, I think she should go for it. What do you think of her lovely new wainscoting?
So eons about 6 months ago I made a plan for updating our living room and shared it with you here. Then about elventy jillion years 3 months ago we started painting and adding the chair rail. (check out the progress here) Well I’m happy to announce that, finally, it’s finished!
We had to ship the kids off to their grandparents’ house for the day to get it done. Our roadblock had been keeping a 4 year old and a 1 year old out of trouble while using paint, a nail gun and a mitre saw. It was actually fun for my husband and I to finish the project together. It brought back the memories of when we were childless and spent our weekends remodeling our first house. Ahhh Friday night dates at Home Depot…those were the days!
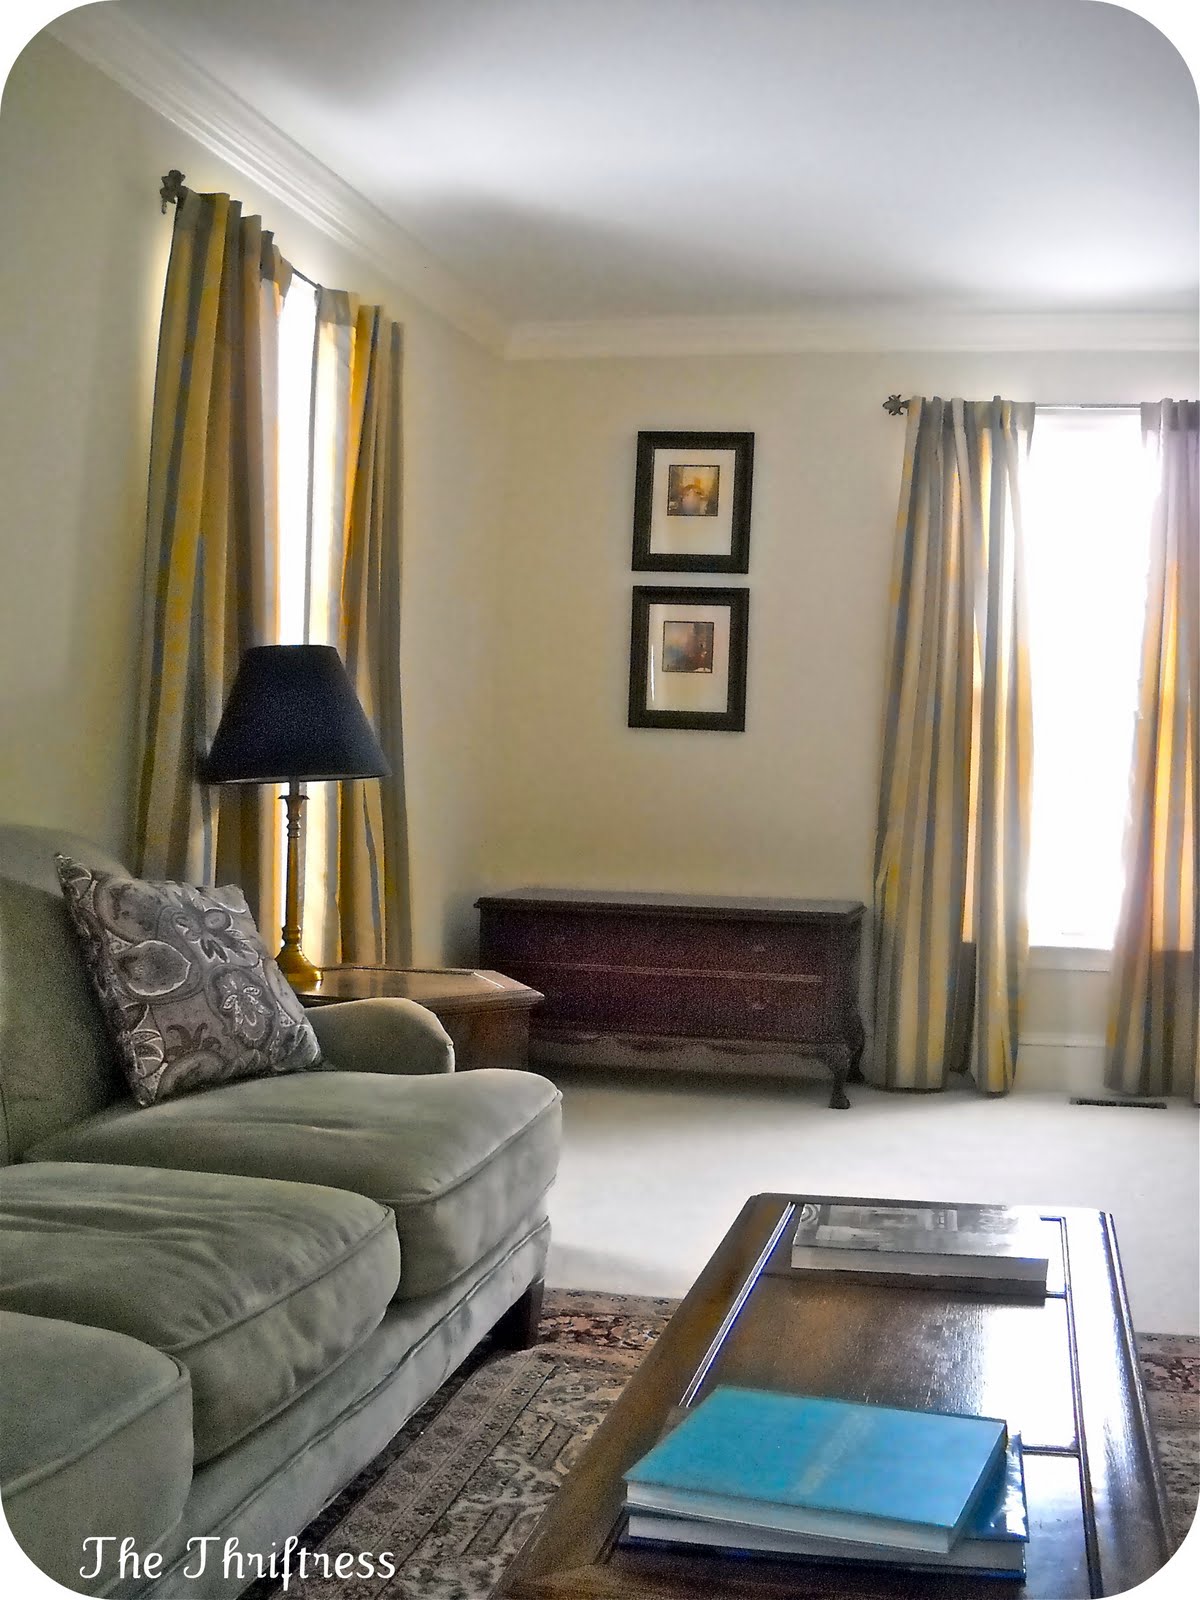
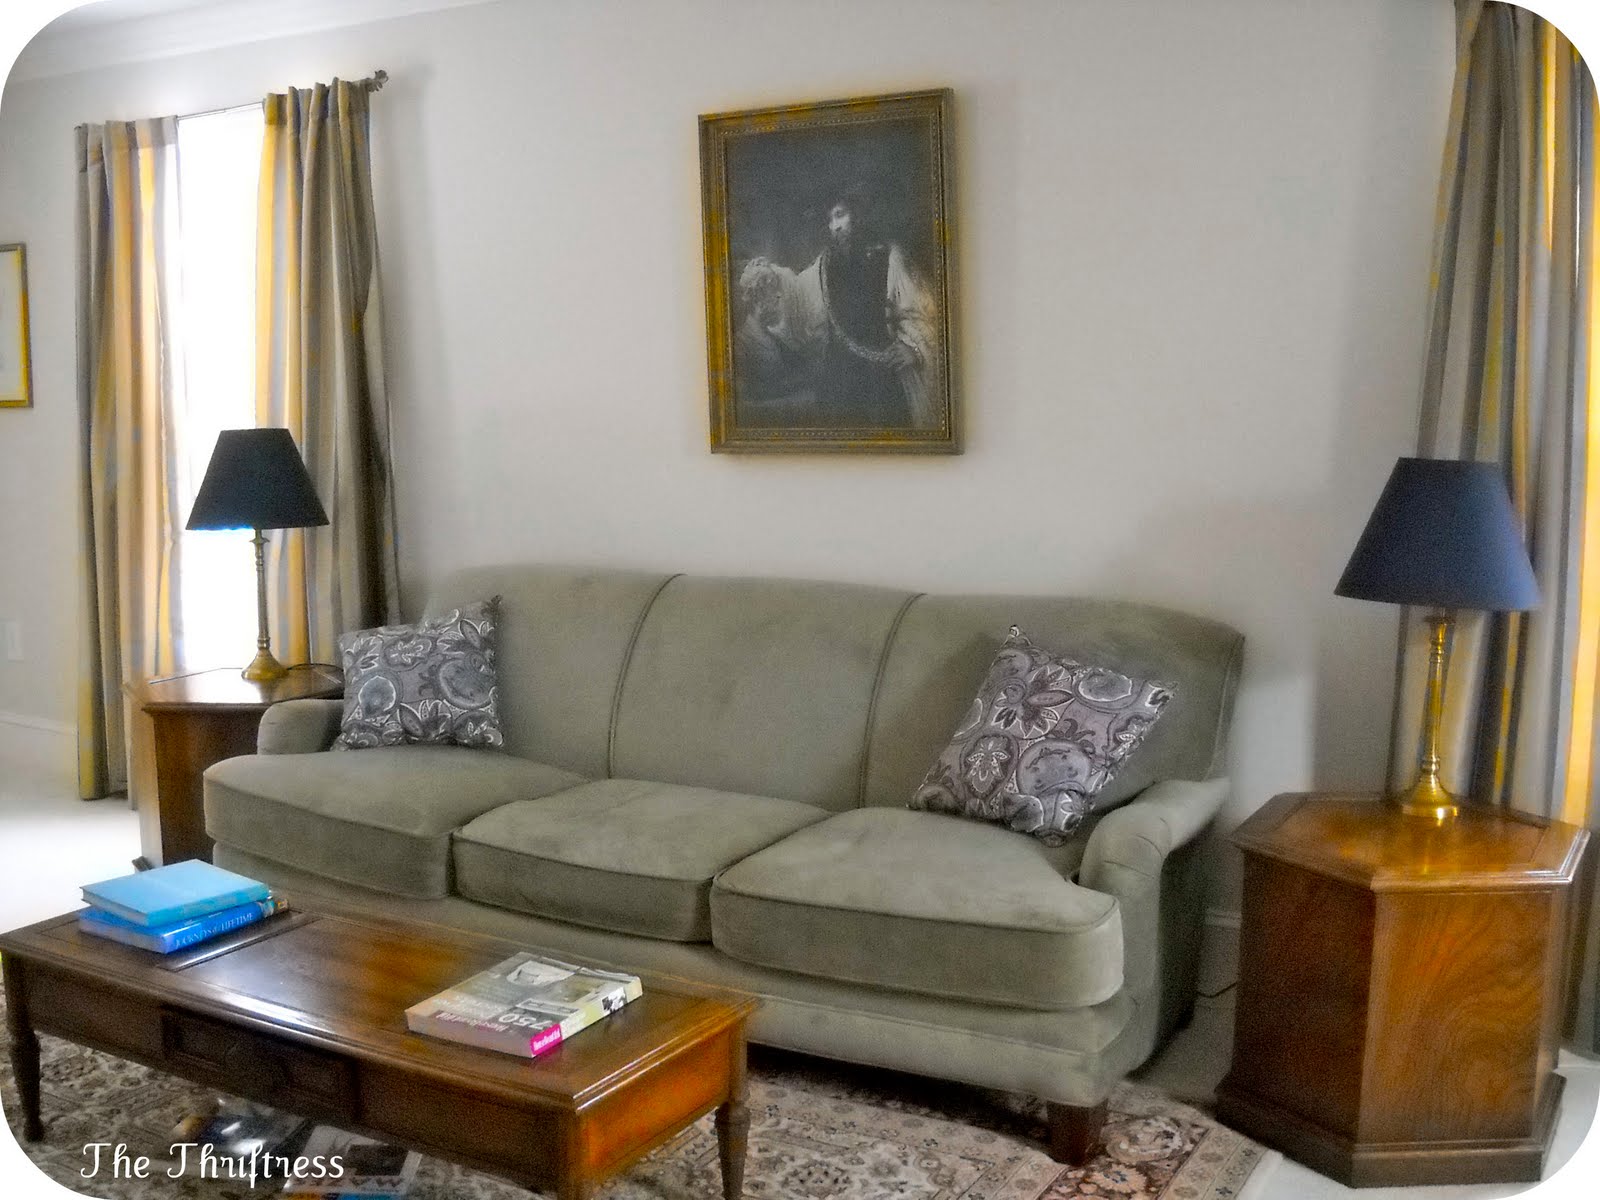
Here are some before shots.
Here are some photos of the new trim work.
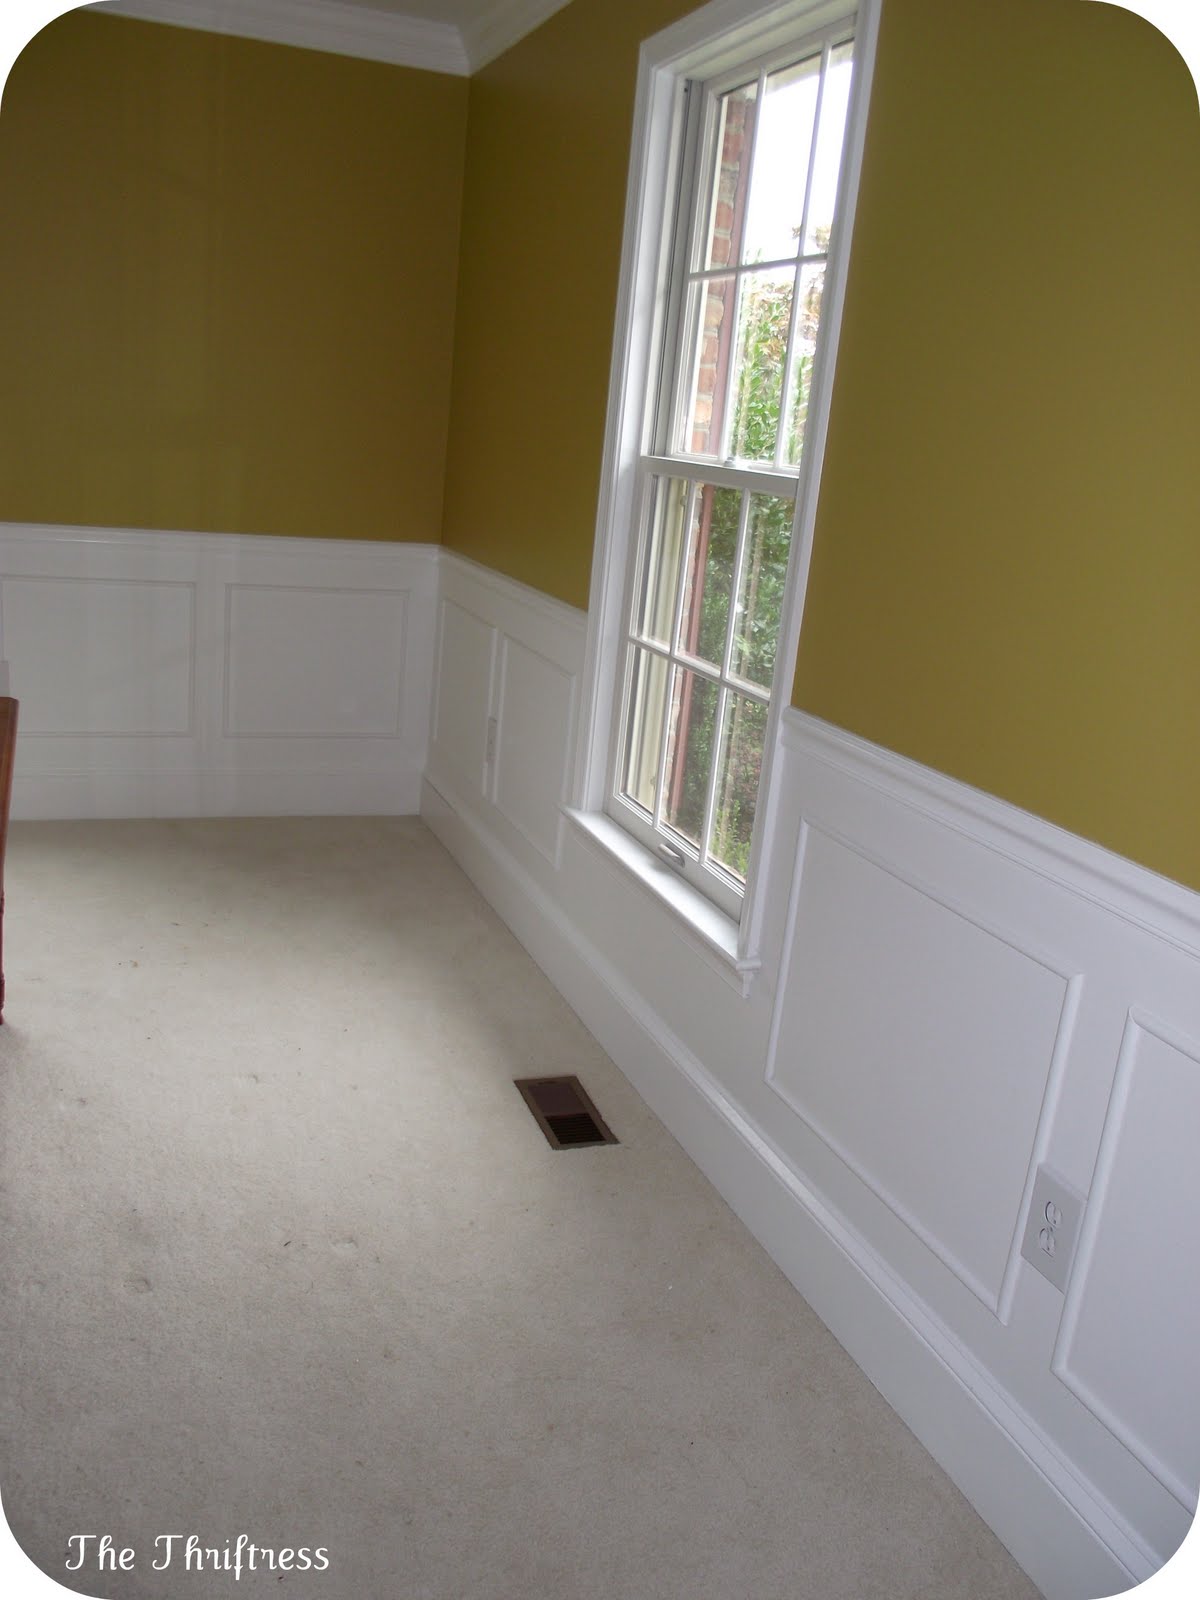


I love how the paint and picture frame moulding turned out! I can’t wait to get the furniture back in place and finish decorating.
Here are some tips and tricks I learned along the way:
- You simply must refer to Thrifty Decor Chick’s posts on moulding here.
- Measure your electrical outlet covers and use that measurement as the spacer around each box. This way, in most cases, you can space out your boxes around outlets and avoid having to cut the moulding around the outlets.
- Figure out how many feet of moulding you will need before you start the project to avoid extra trips to the hardware store (yeah…I skipped that step and ran out of trim twice!)
- Prime and paint the trim before you put it up. (skipped this step too and had to paint 3 coats after the moulding was up on the wall)
- Don’t worry too much about every box being the same size. I determined the size from section to section using my “spacer” measurement.
With this piece of the living room project completed, it’s on to reupholstering the side chairs. This will be my first stab at upholstery so fingers crossed. Here’s the fabric I’m considering.

I think it will be super cute with the wall color if I paint the chair frames black!
What do you think of her progress? There is so much more character, so much more to love! Can’t wait to see the finished product!


>I am new to your site and absolutely love it. I'm have it bookmarked in my favorites and check it every day, sometimes more than once. I love the fabric you picked out, go for it. I believe your LR color is close to what I just painted my kitchen. Are your end tables turned around backwards? Just wonering…..LOL
>Do you know what this fabric is called? I love it!
>Love your new molding. You all did a great job. Can't wait to see the finished project. Love & blessings from NC!
>Thanks so much for the lovely comments. The fabric is called Deer Valley Lodge Lattice in Goldenrod. I found it on Fabric.com.
The Thriftress (AKA Sarah)
>I am looking forward to seein the finished room with all your furniture and accessories un place
>The wainscoting looks great and I really do like the quatrefoil pattern and I think the black would just really make it pop.
Pam
>Looks fantastic!
Sue
xo