Upholstered Nail Head Trim Headboard Tutorial
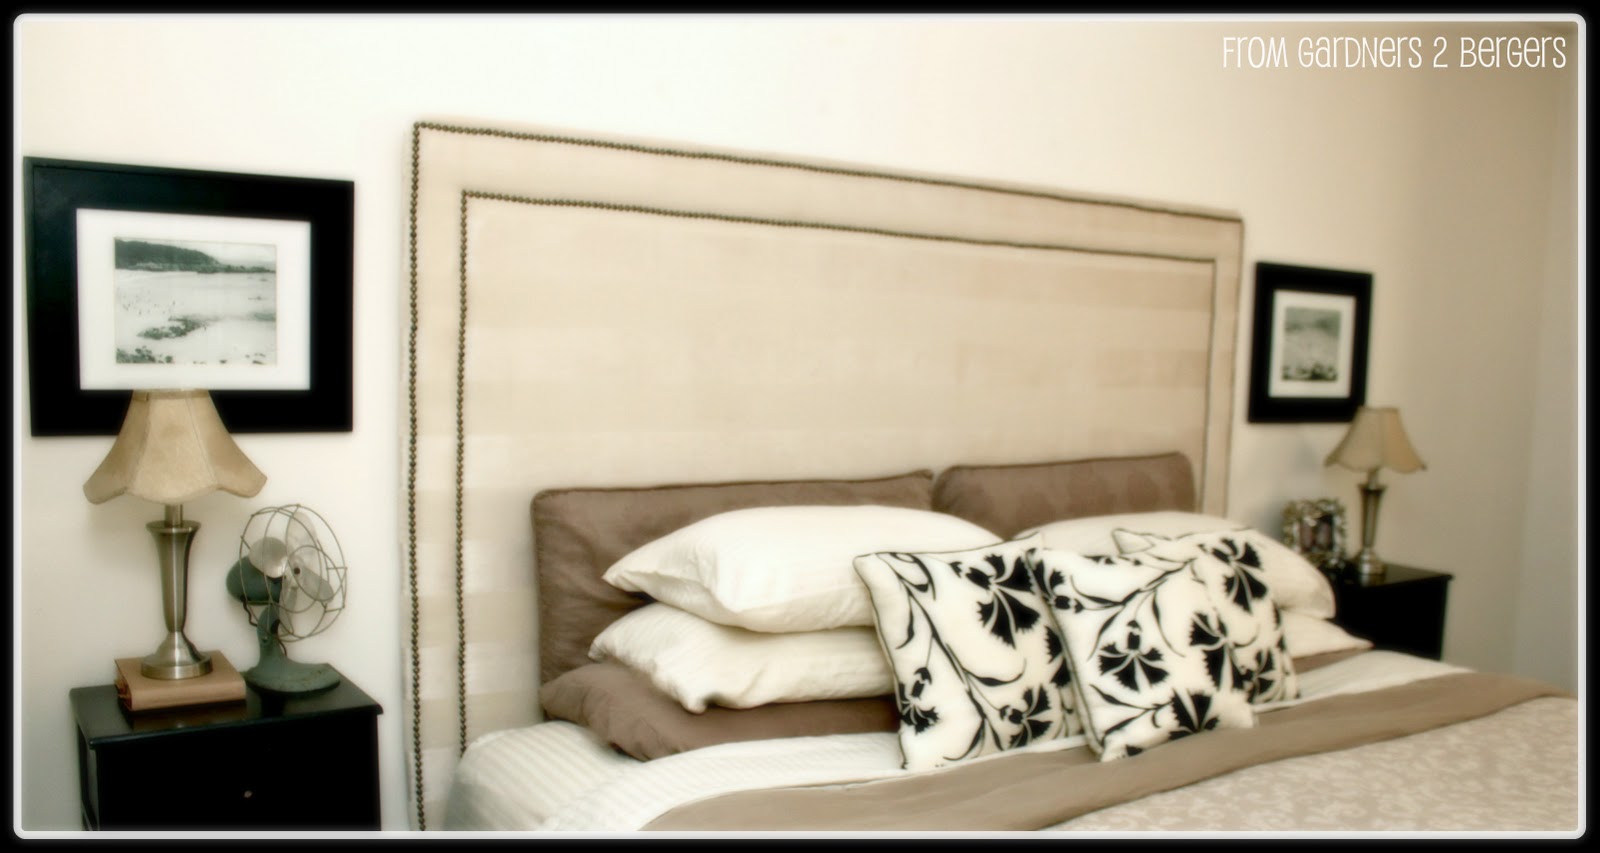 |
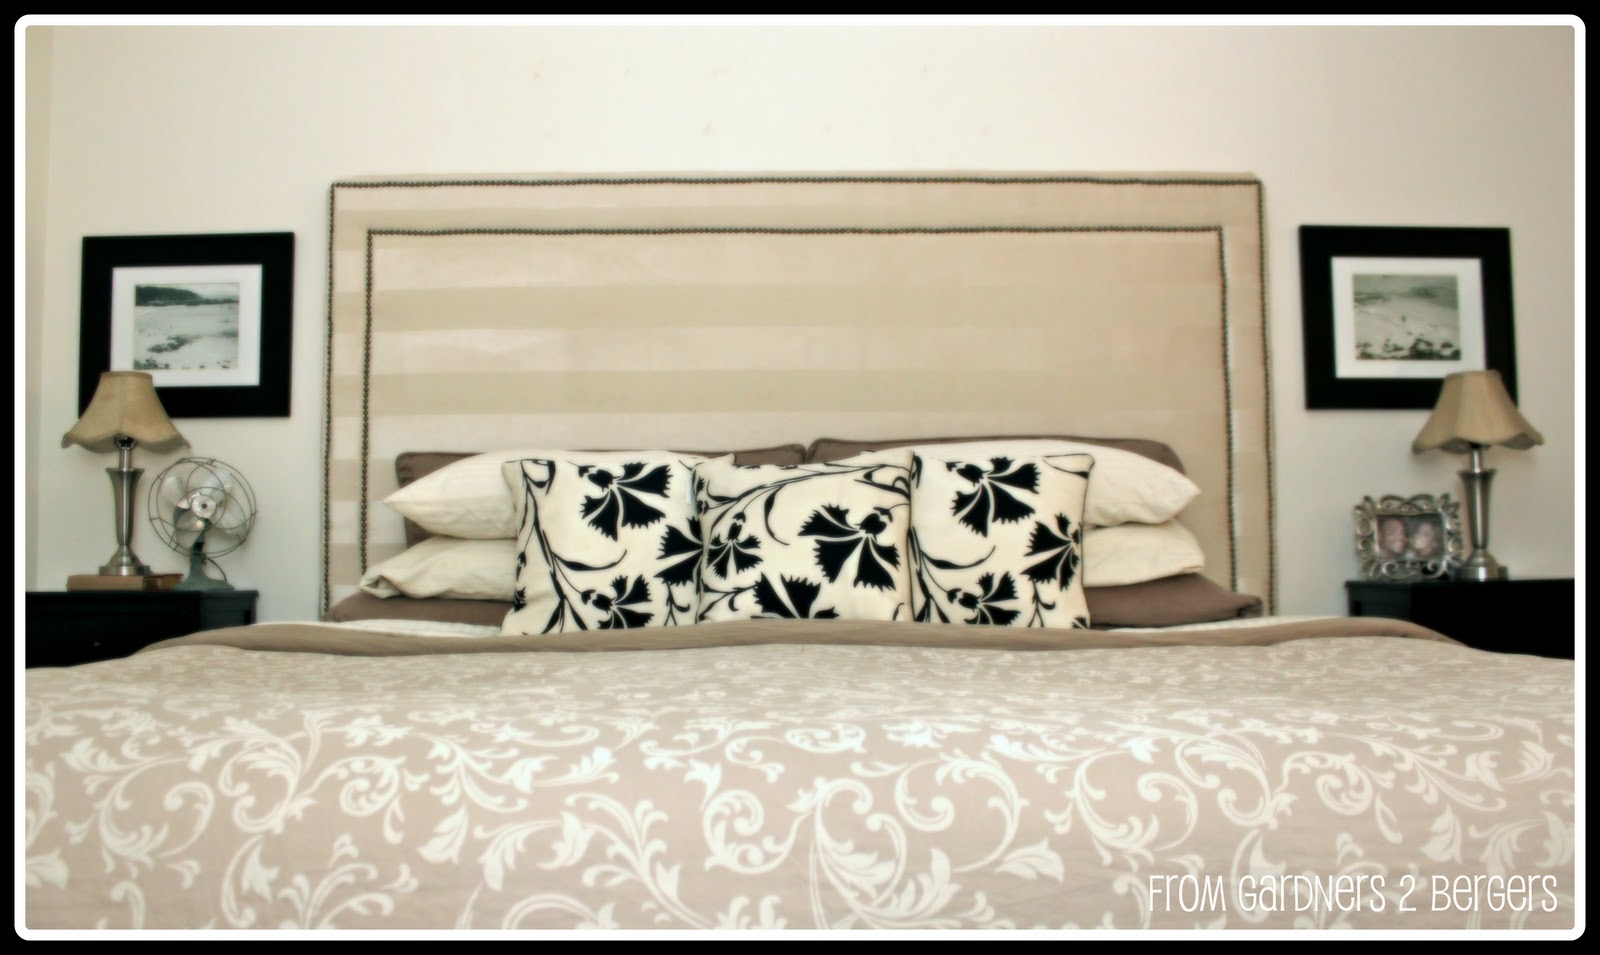
My headboard is FINALLY COMPLETE!
Click if you wanna hear the planning details and the search for all my budget friendly materials cause this post is about the actual construction.
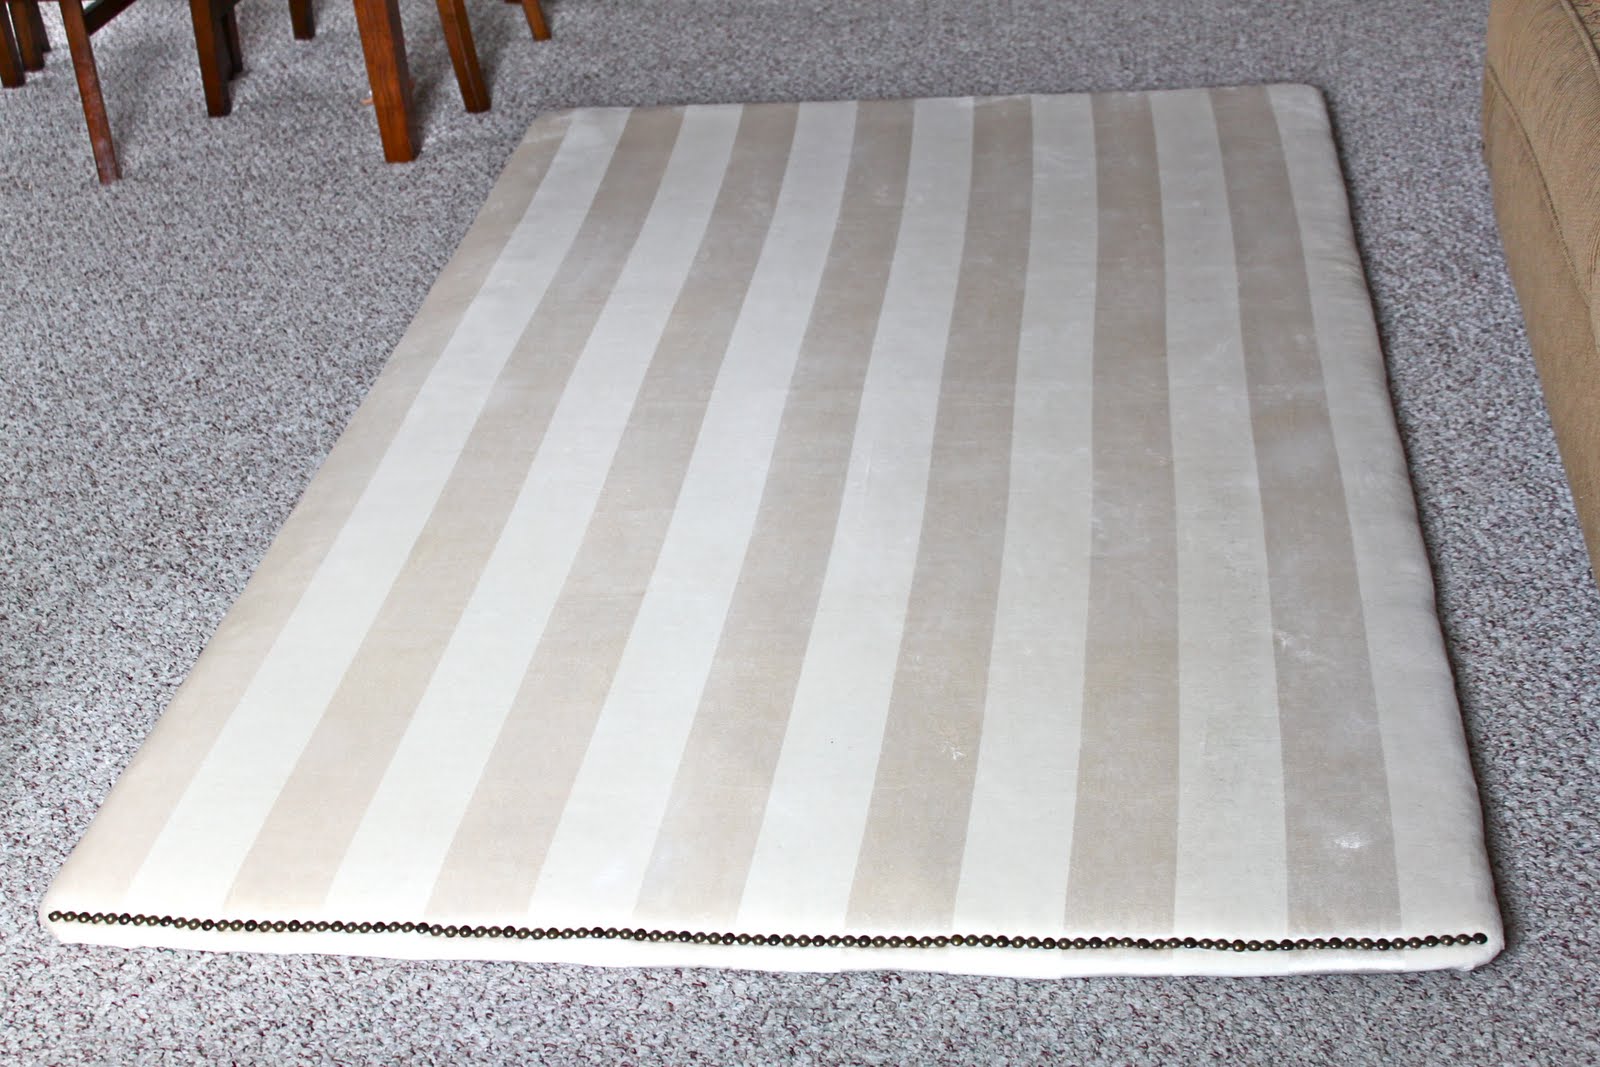
6) Pull fabric tightly on all sides and use staple gun to secure fabric to back of the board- I like to start stapling opposite sides first. Do the corners last and fold them like a present.
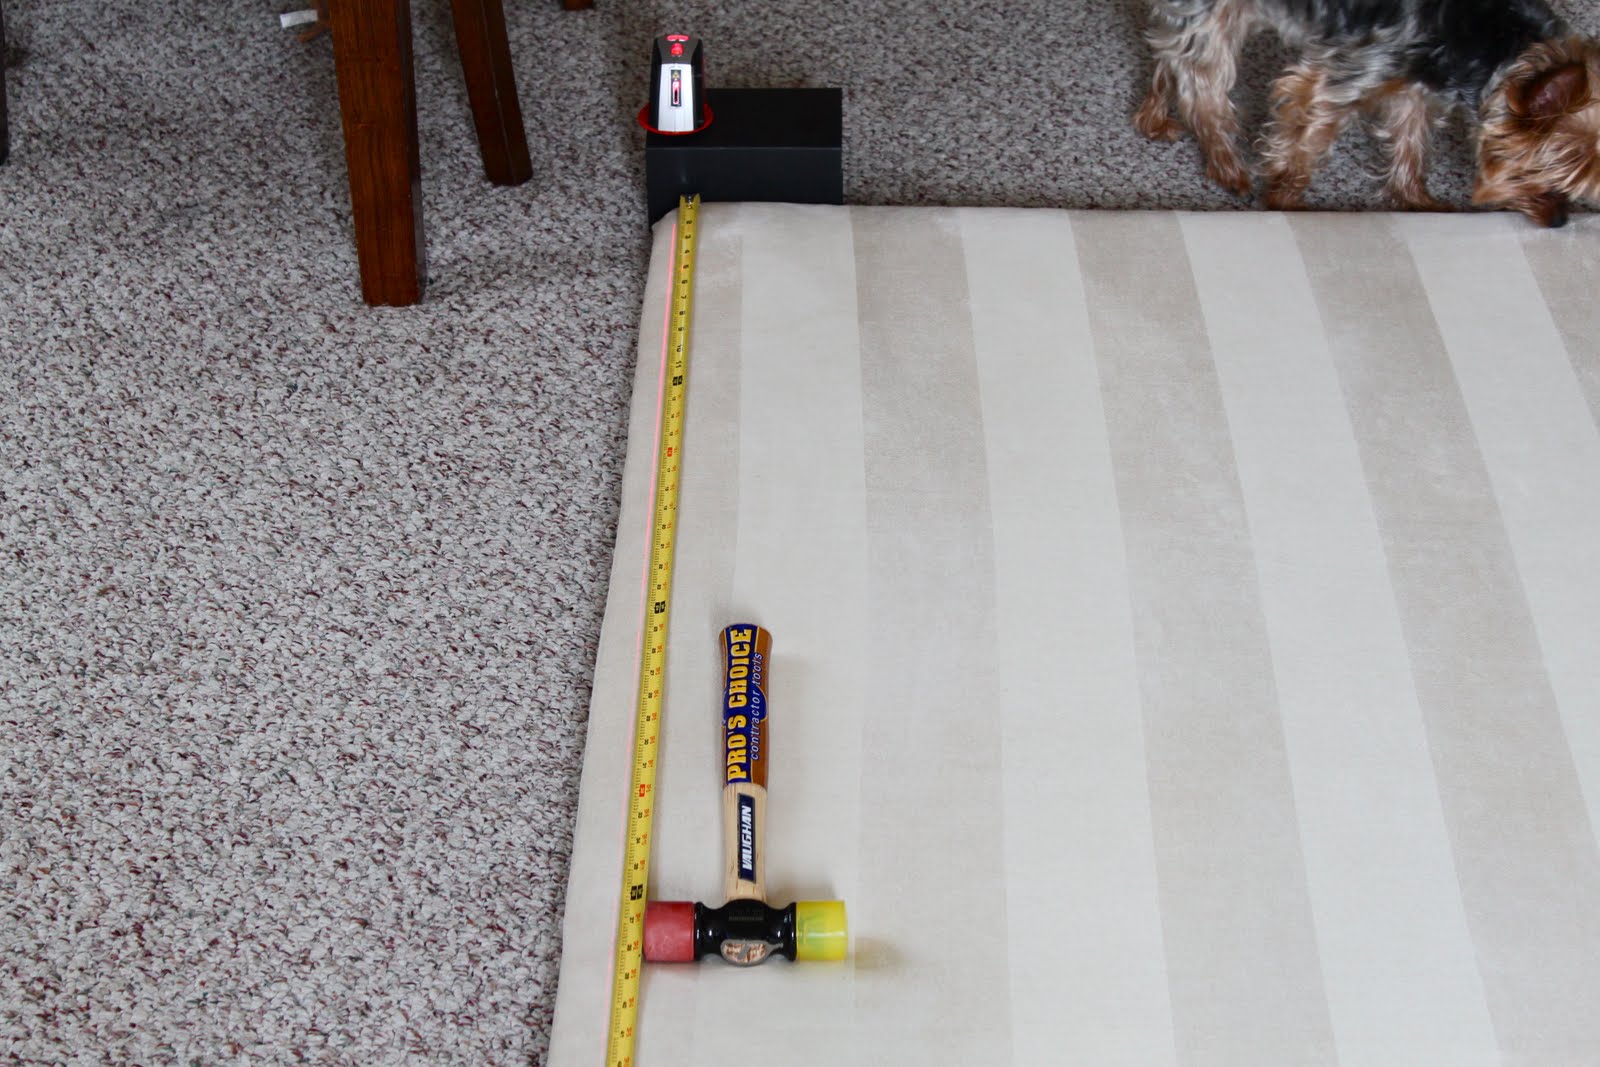
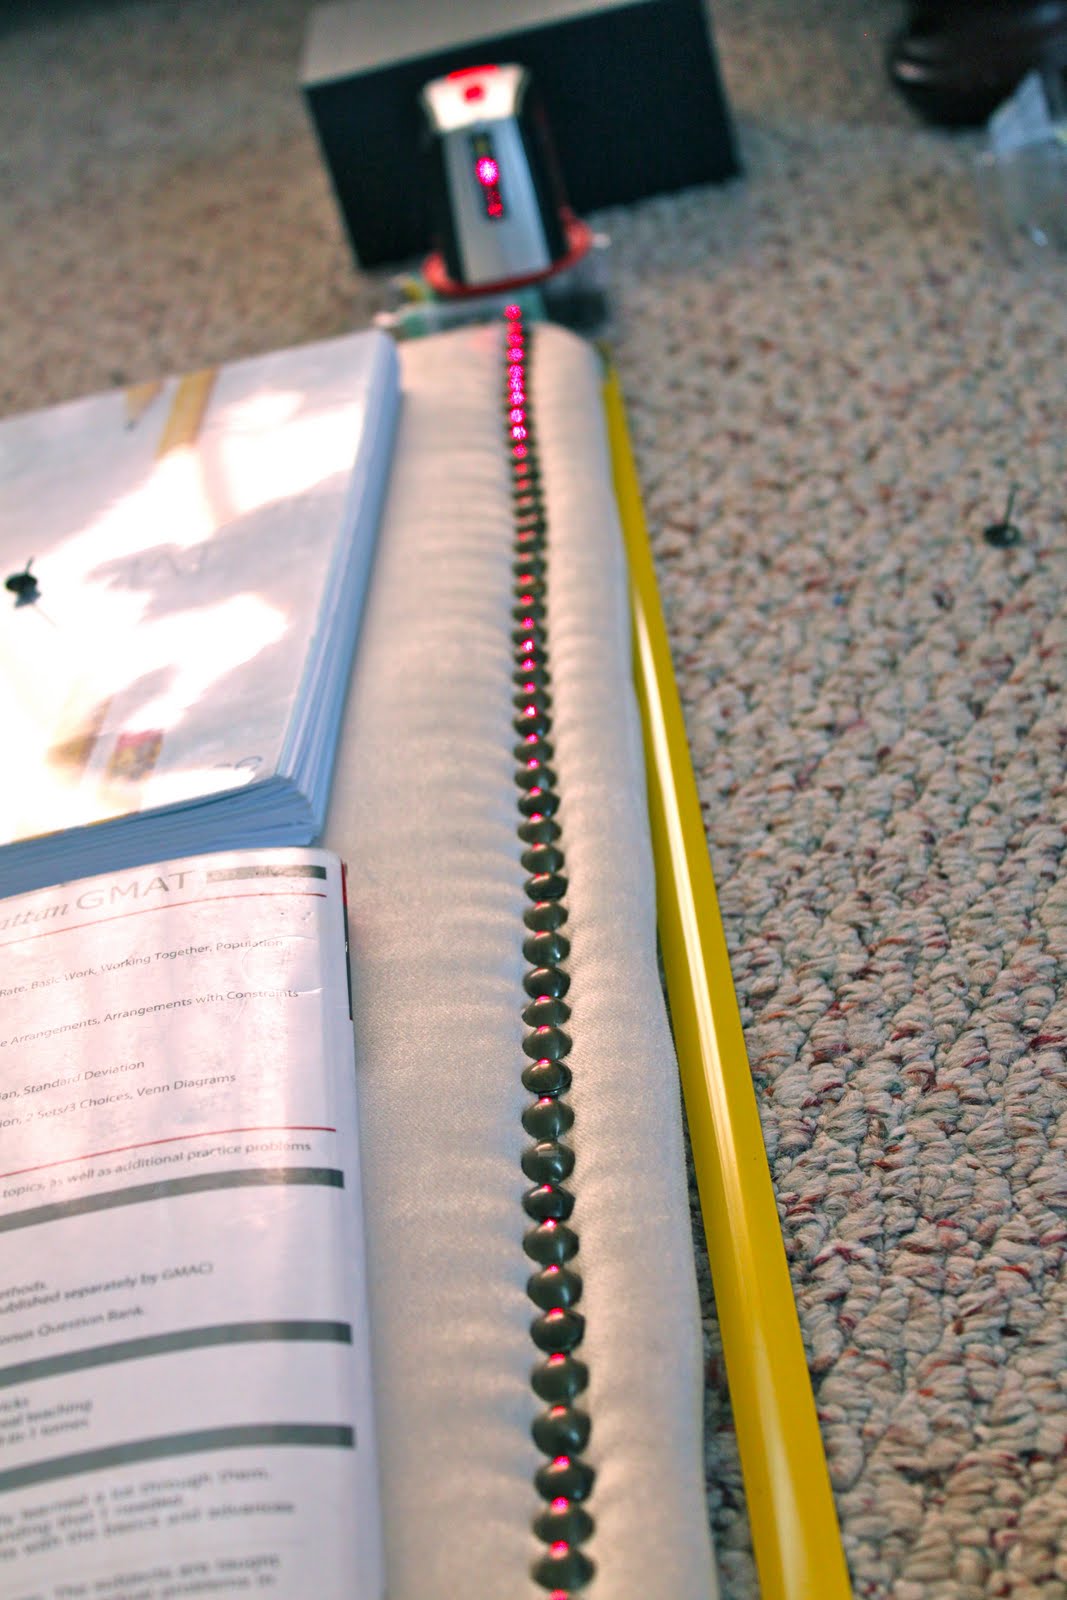
This is where I got hung up, because I ran out of the nail heads I was using to secure the strips of nail head trim to the board. I could only find three matching boxes at Joanne’s and then they were out of stockforever for over a month.
Finally they got them back in and I got Z to get the board back off the wall and could finally get to work. I do NOT usually have project hanging over my head (pun intended) for long periods of time. I’m type A all the way and like to get in and get’em done.
 |
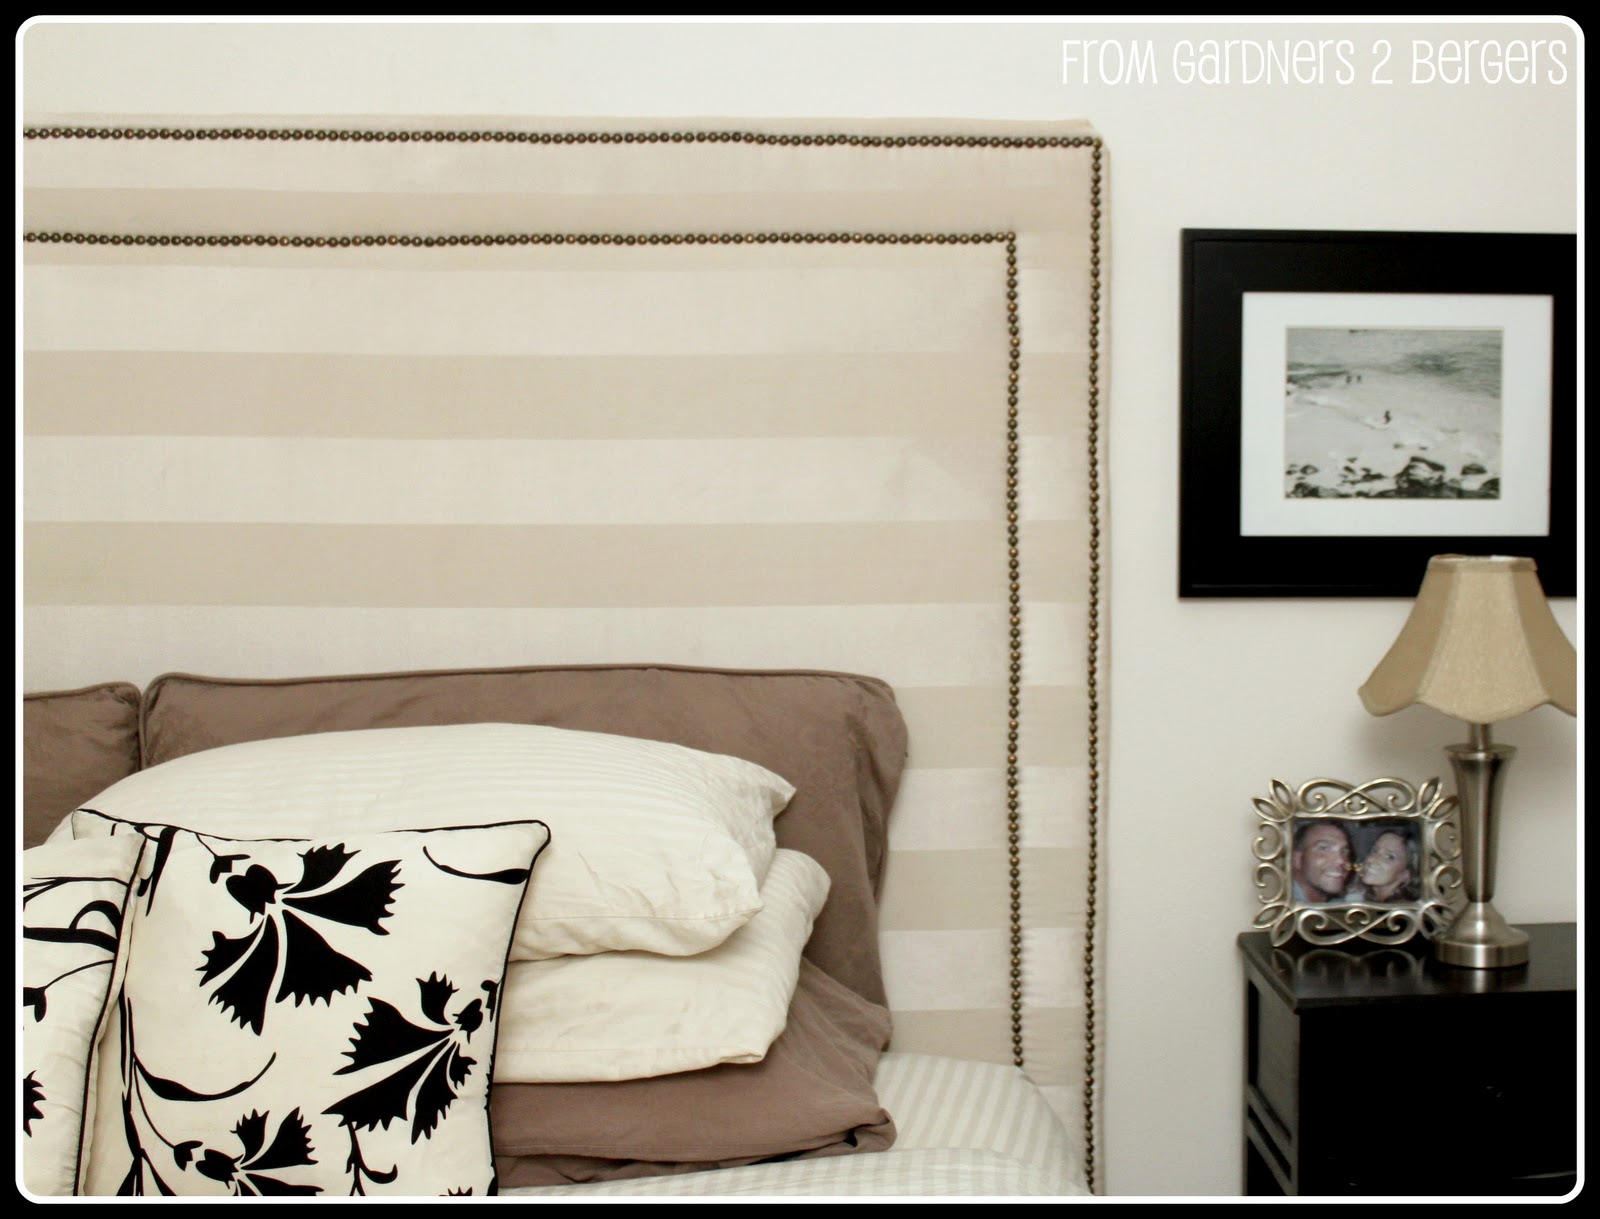
| {Say hello to Chew-Doggy!} A few words to the wise--(1)- If you’re an inpatient person or a little sloppy do NOT buy a striped fabric. You will hate you life- seriously! |
I used a French Cleat I found at Lowe’s to attach the headboard to the wall. This is the perfect device to get the job done because they can support a lot of weight and are so easy to install.
I purchased 1 large cleat with a 100 pound capacity. It comes in two pieces.
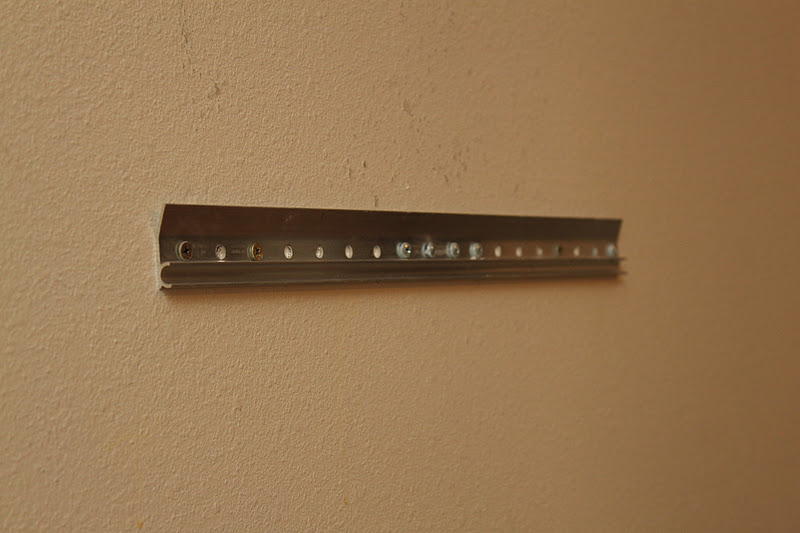
It’s a piece of cake to install. Just screw the first half to the wall. I used a drill and a level to get it straight.
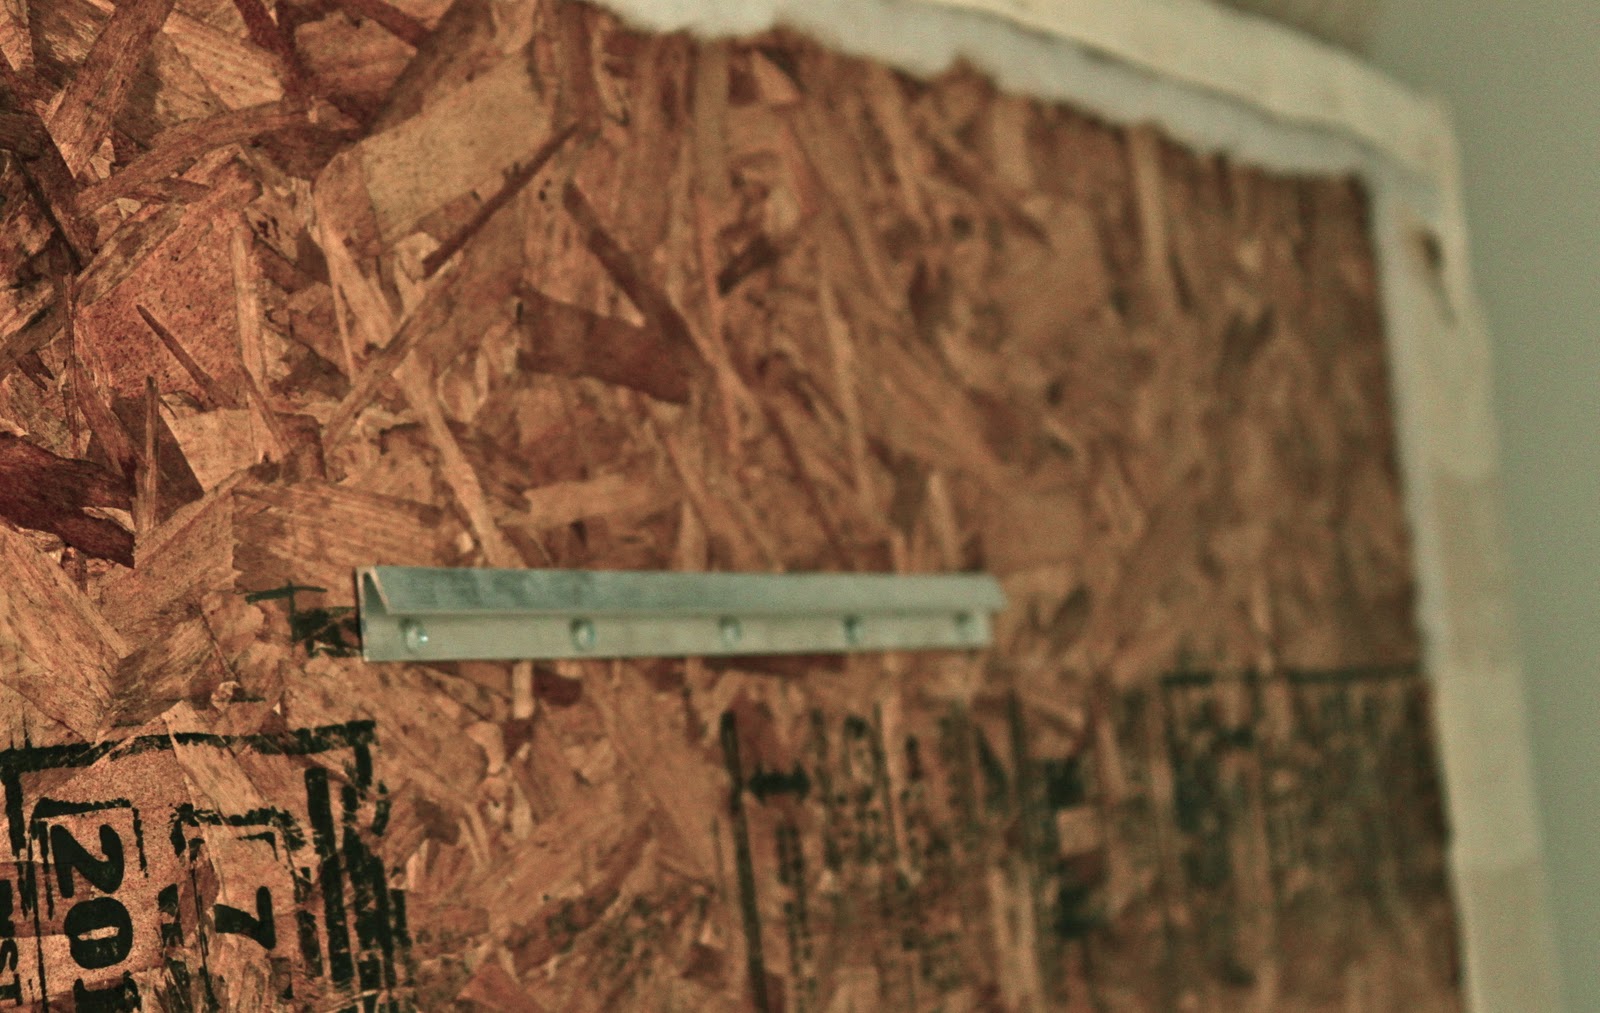
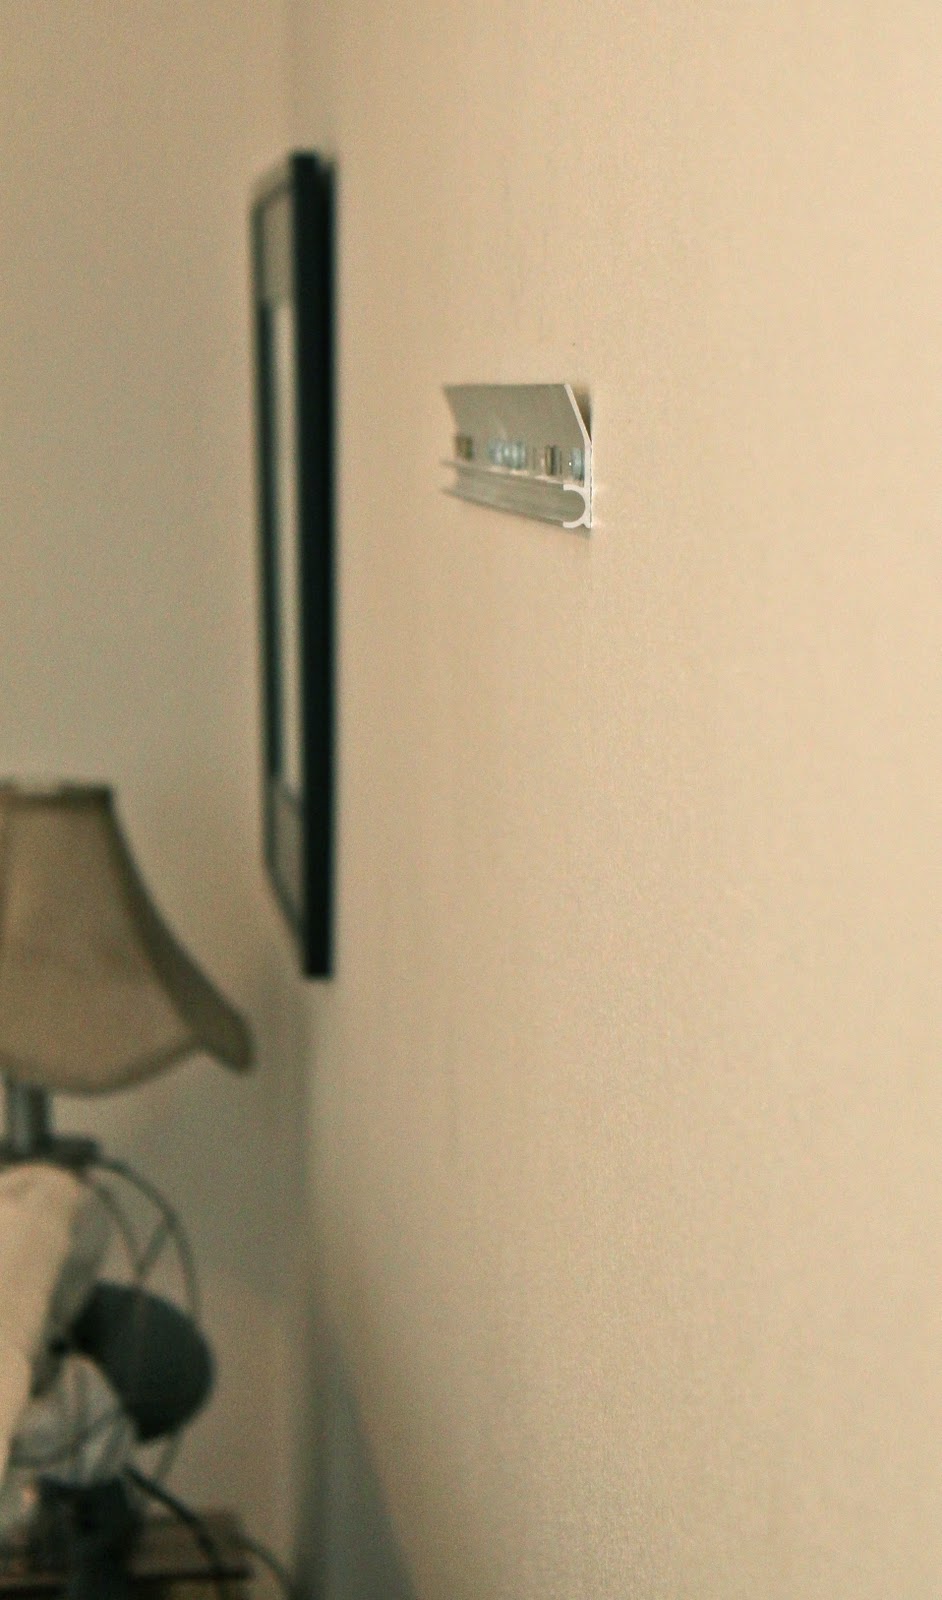
Grab someone to help you lift the headboard up above the cleat. See where the cleat juts out from the wall?
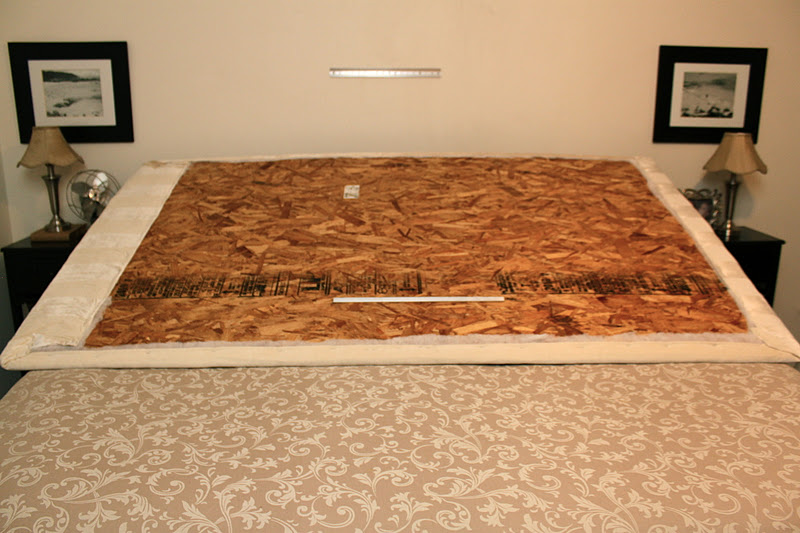
The cleat on the back of the headboard will slide right into this part on the wall.
We’ve moved the bed a little to the right and a little to the left and haven’t had to rehang the headboard- which rocks!
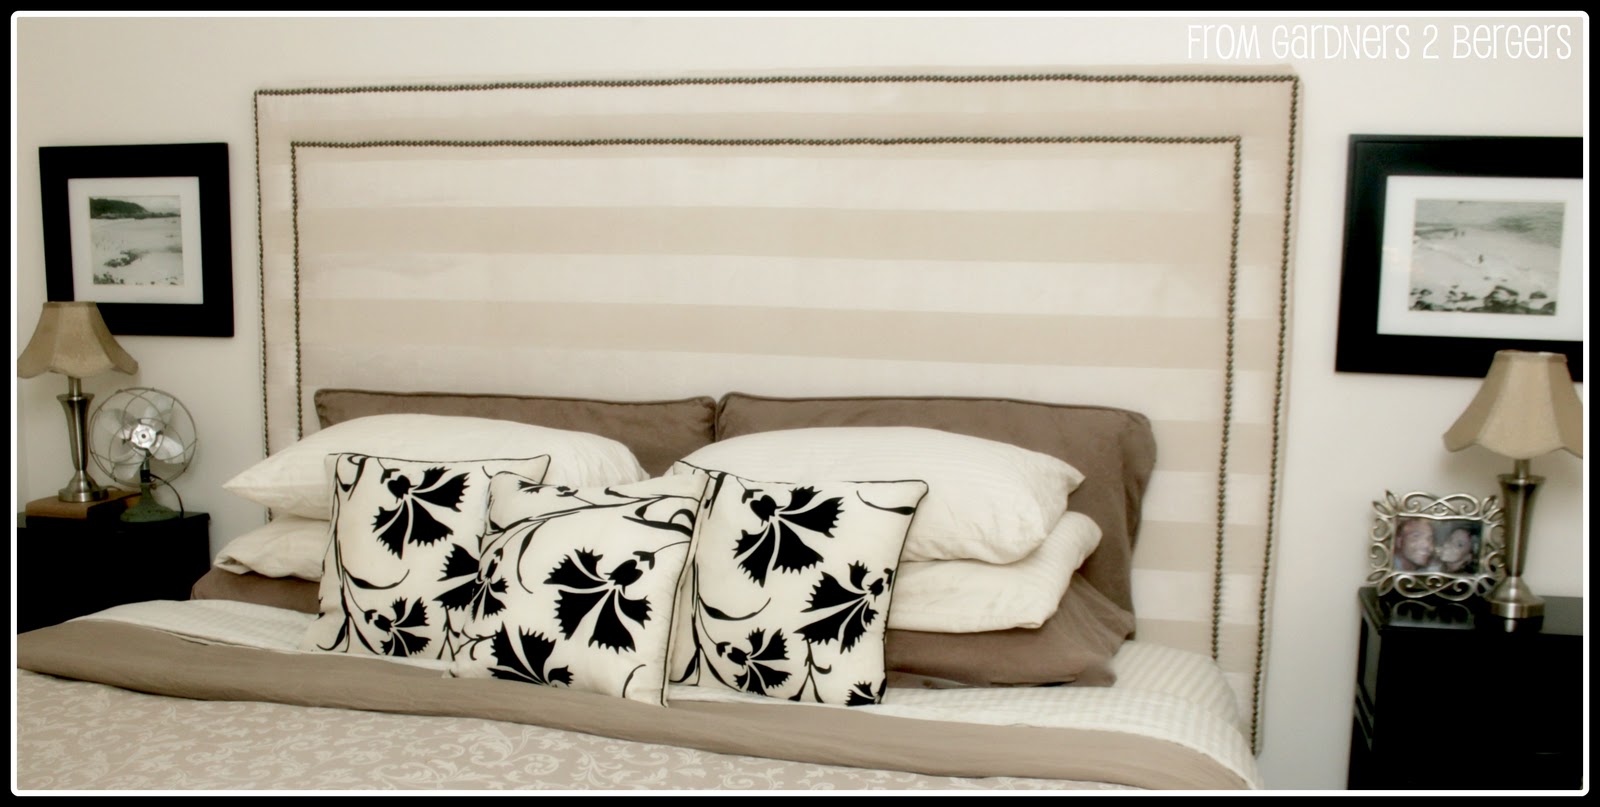
And finally, the finished after!


MDF- $15
Batting-$8
French Cleat- $15
Fabric- Curtain Panel $8
Nail Head Trim- (Ebay store)
I already had- staple gun, staples, measuring tape, spray adhesive
 This project was contributed by one of our fabulous readers! We love to share your projects with this great blogging community. So, if you have projects from kitchen renovation ideas to small bathroom remodels, overhauled and repurposed furniture, spray paint updates you name it please send it in! Thanks for reading Remodelaholic!


You used to have another headboard tutorial with white cabinets. The link I had doesn’t work anymore and I really wanted to make it! Can you send it to me?
Katie, We are having some problems with the transfer, it may take a couple days, but the tutorial should be back, and your link should work. If you don’t see it by Monday would you let me know?
Thanks,
Cassity
How many nailheads did you end up using? I’m not sure how many I should get? Thanks, Melissa
I looked at the bottom of the post and it looks like she used about 8 boxes. Depending on the nail head size you could probably calculate the number per foot and try that.
I want to try this project. However I have one question. When reviewing your supplies you put nail trim bought on ebay. What did you use nail trim for? How is that different from the nail heads you got ?