Dresser to Vanity Conversion with Pink Interior
Dresser to Vanity Conversion with Pink Interior
Submitted By: Pour Ameliorer

What feels like a really long time ago now, I had one of my dilemmas (which I tend to turn into major crises in my head, such as this one) over whether to DIY or not DIY our buffet that we’re repurposing into a bathroom vanity.
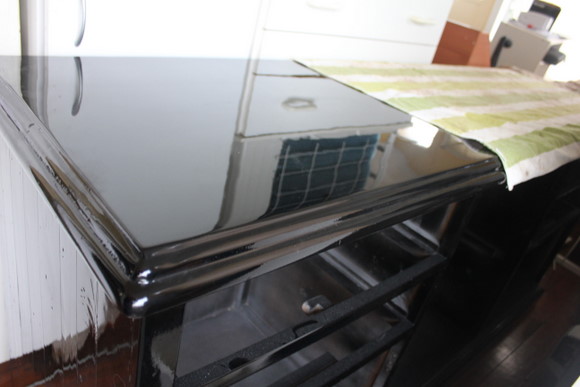
Well, in the interests of having our newly tiled bathroom useable asap, we made the decision to bite the proverbial bullet, and paid a car repair man to spray not only the cabinet, but our $40 new old dining table as well. Total cost of the paint job, $600 for the two. Not cheap, but well and truly worth it, and a lot cheaper than buying a new vanity and a new dining table!
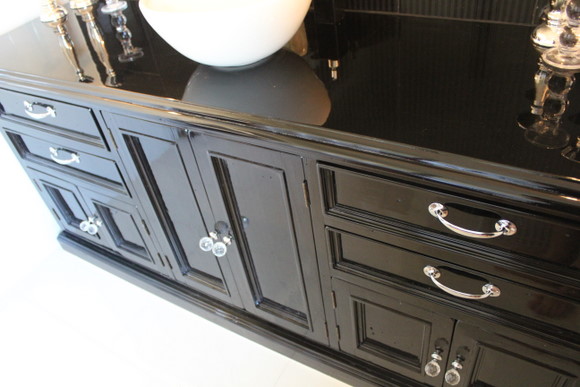
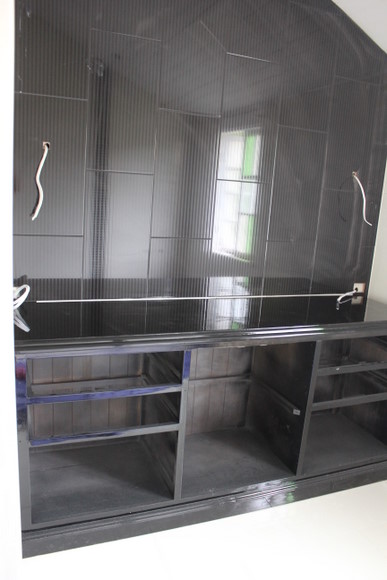
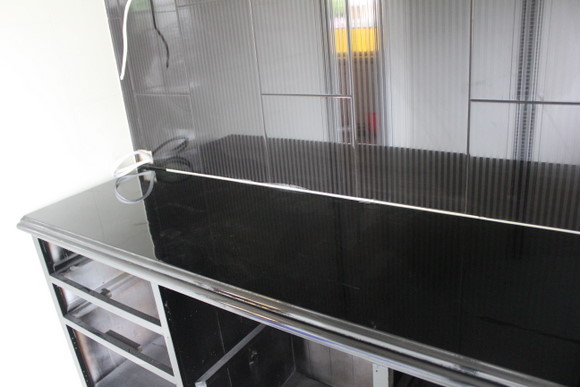
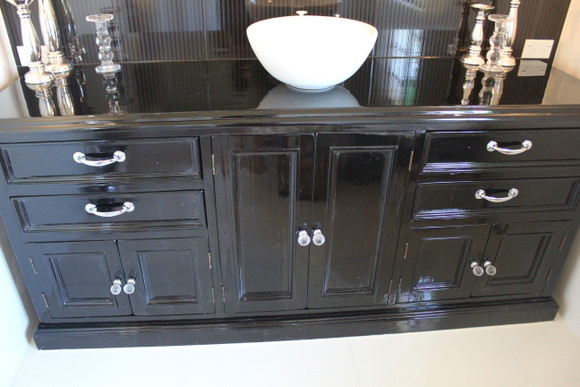
She is a definite black beauty now!
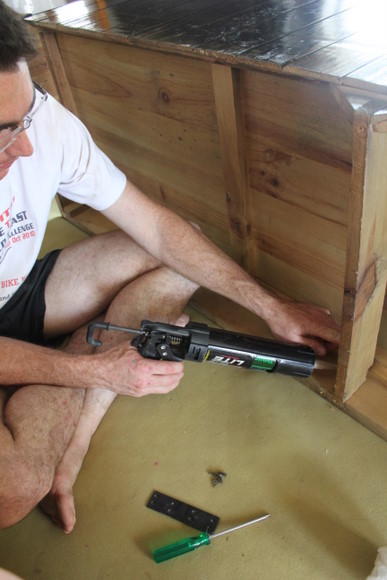
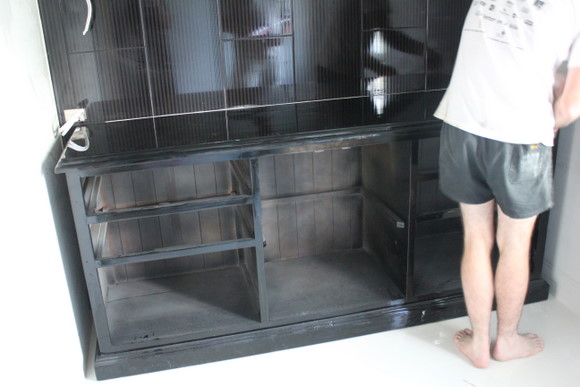
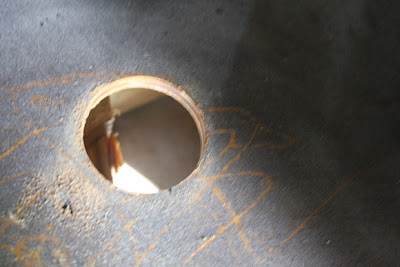
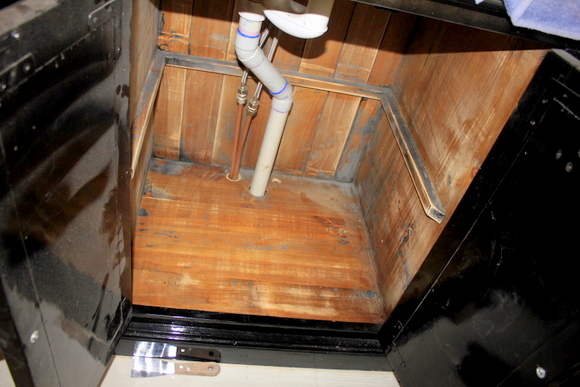
Because we had positioned the drain hole for the to-be basin centrally in the floor, we had to do a bit of reshuffling of supports at the base of the cabinet when we got it home.
Allie watched very carefully.

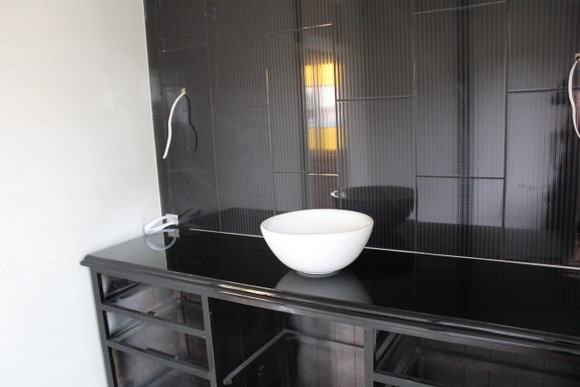
And then we hauled it into position along our black pinstripe tiled wall in the bathroom.
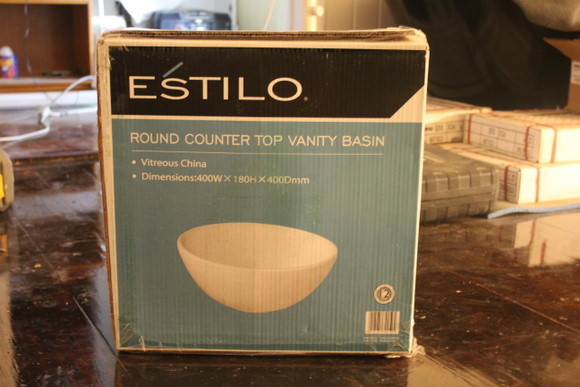
A few months earlier we had spotted this bowl at Bunnings for a very persuasive price (I can’t remember what exactly, around $60 I think)…
We placed it carefully on top in pride of place…
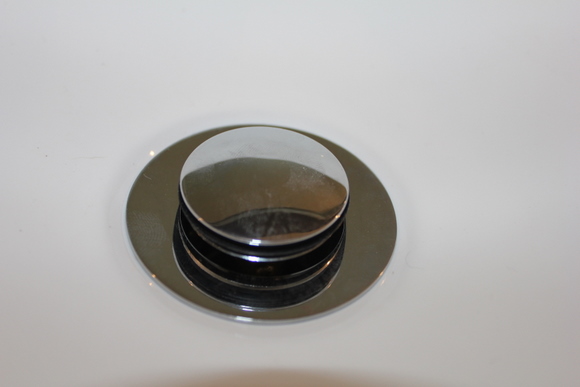
And gave it a bright shiny new drain and some plumbing…

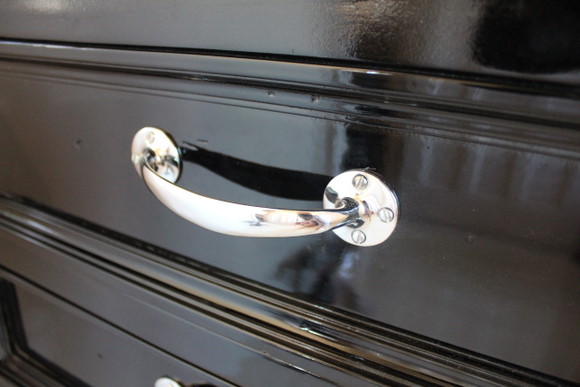
Then it was time for some new hardware. And this was where I had to splurge a bit.
These nice sturdy chrome pull handles for the drawers I bought off Ebay for $6.90 each plus postage of $10.65, making for a total of $38.25.
From an online shop called Restoration Hardware I bought two different sizes of these glass knobs, to correspond with the size of the doors. The large ones were $7.54 a pop, the smaller ones $6.35. Including shipping of $9.90, that added up to $51.10
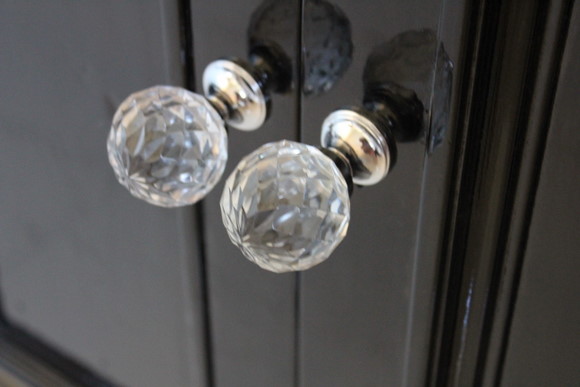
So the new hardware cost us $89.35 all up, but man it looks good! Plus, before I commited to buy I had scoped out our options, and was completely unimpressed with the range at Bunnings that wouldn’t have involved any postage. So, although the average cost per knob/handle was high(ish), they look a lot better than anything else I could find!
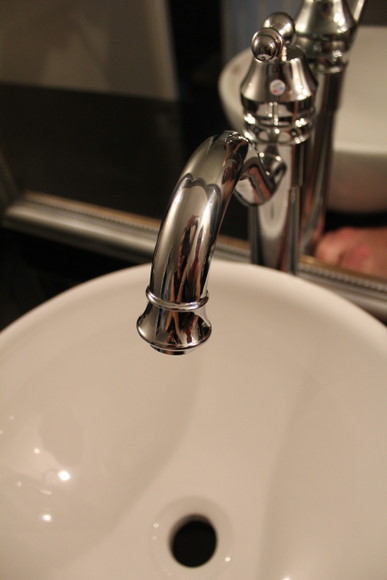
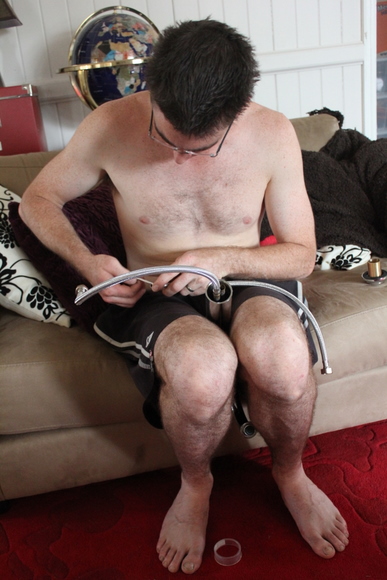
What else is missing? How about a tap so we could actually run water into our lovely new basin?

I had my eye on taps that looked a lot like the one above. The one problem with taps like that? The knobs to turn the water on and off are all the way at the base of the spout. Since our plan was to stick the tap at the back of the cabinet so it was centred behind the basin, it would be pretty tricky to reach around to operate it with the taps below the rim of the basin.
Enter this beautiful guy.
He was actually a complete gamble for me.
We had strolled the tap aisle of Bunnings searching. I had trawled the Internet searching. Taps are big business, by the look of it, because they cost a fortune! Plus it’s really difficult to find ones with the handle at the top like we needed!
And then I found this guy (who I’m going to name Terence… Terence the Tap) on the Dino Direct website for the shockingly low price of… wait for it… $21.58. Yes.
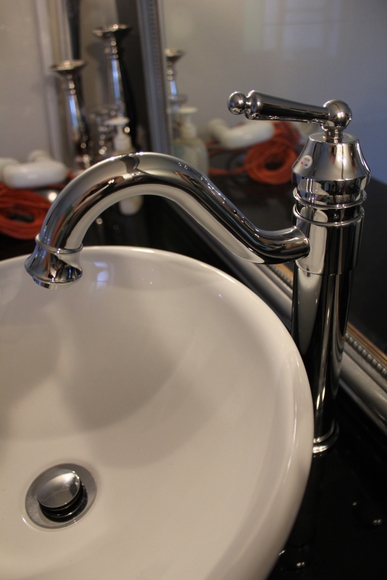

Even with a $31.08 shipping cost to Australia, Terence was under 5% of the price of one of the only other taps I could find that would suit our needs and look good while doing it.
I waited with baited breath for the mail to arrive for a few weeks, and then Terence was home. And I couldn’t believe it! He’s real!
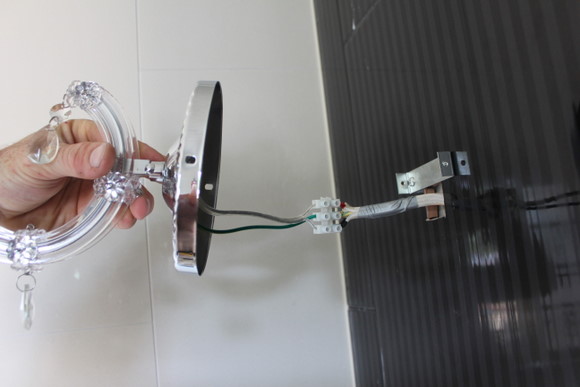
And what’s better? He actually works! Tom drilled a few holes in our vanity cabinet so we could fit his plumbing in.
In typical style, I did a big search of all our lighting options, finding the range online much better than the range in the stores I visited. I considered this…
 |
| from Online Lighting for $57.55 |
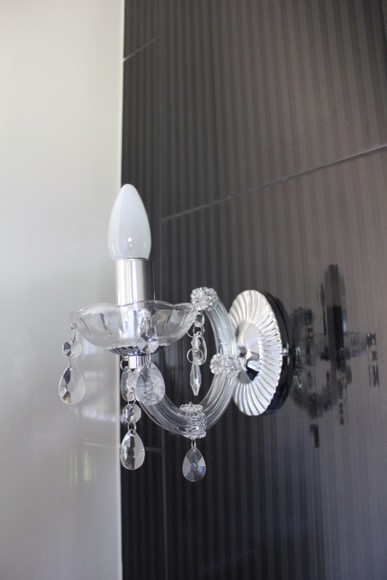
And this…
 |
| also from Online Lighting for $69.25 (not available anymore, by the looks of it) |
And this…
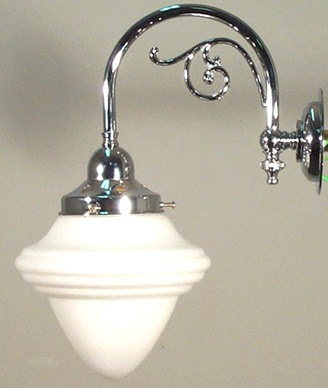 |
| for a huge $127 also from Online Lighting |

It too was at Online Lighting for $39.95, making it the cheapest option I found. I worried that it was a bit too tizzy and girly, but the boys liked it, and I couldn’t argue with the price tag! I even dropped in at Discount Lighting at Rocklea where we bought most of the lights for our last house, and they managed to order two in for me at $35 a pop!
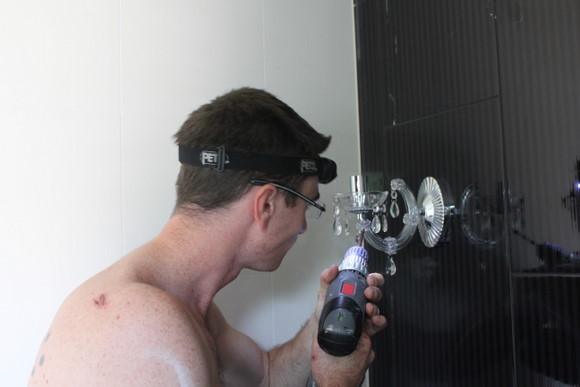

Even better as a pair.

So there you have it. Our new bathroom vanity that went from this…

To this!
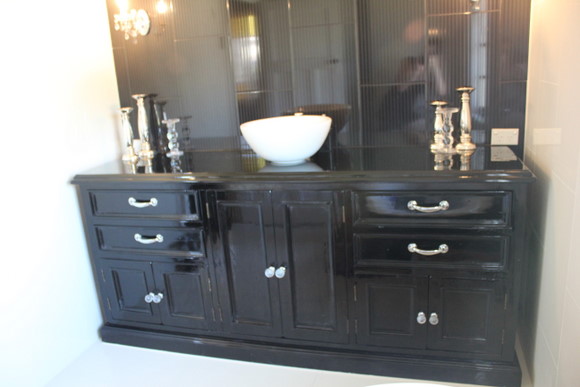
Isn’t she beauuutiful??
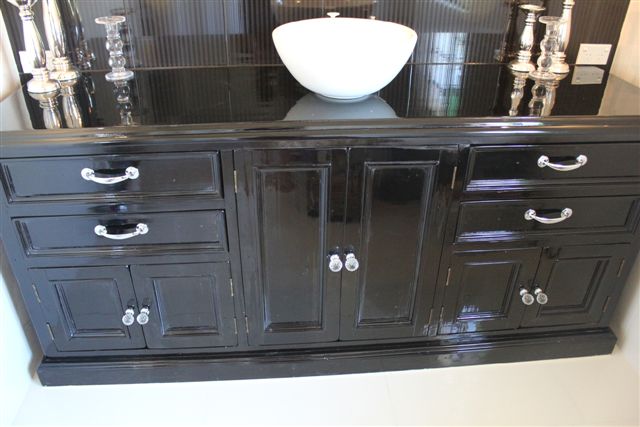
We’re very much enjoying our sleek and glossy black beauty.
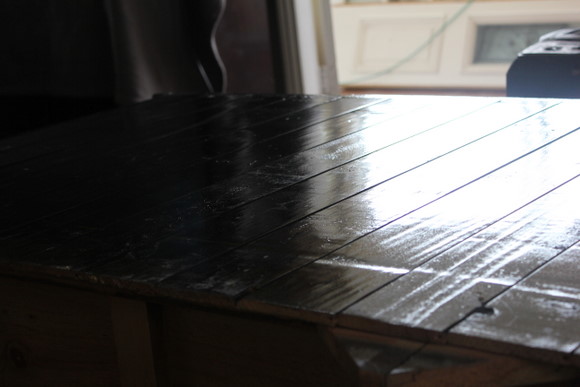
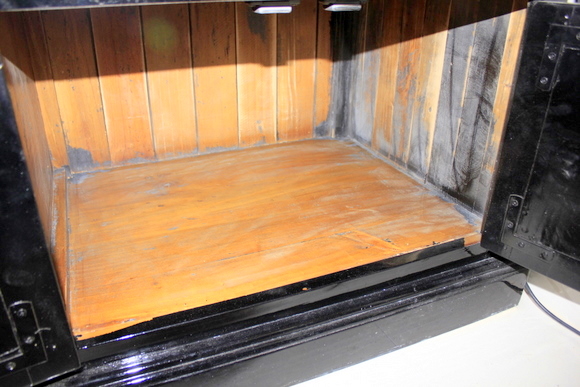
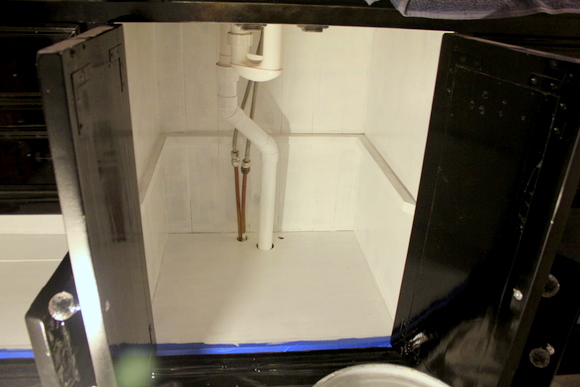
What isn’t so enjoyable is her inside. The car painter we hired to paint her did a great job, but didn’t bother to undertake the full preparation work on the inside, meaning that the inside is coated in a very thin layer of the black paint that doesn’t stick very well. It scratches off very easily with the lightest scrape.
So I decided from the beginning that I would need to coat the inside with something – be it some kind of liner, or painting it.
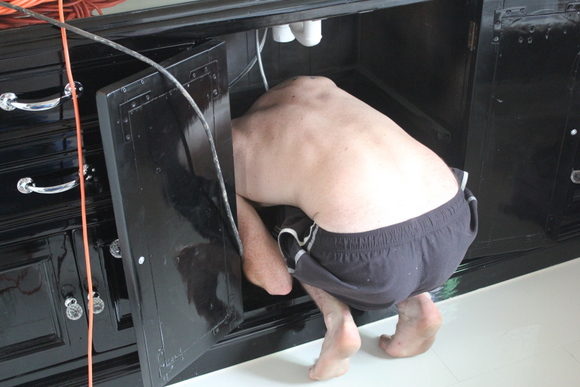
Last weekend, I decided to go with painting it. But that couldn’t happen until I sanded off enough of the non-sticky black paint so that the new paint would stick!
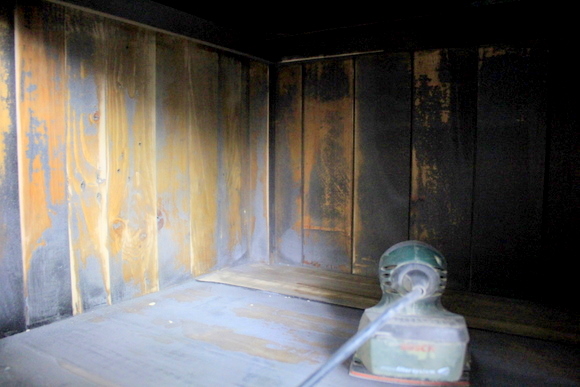
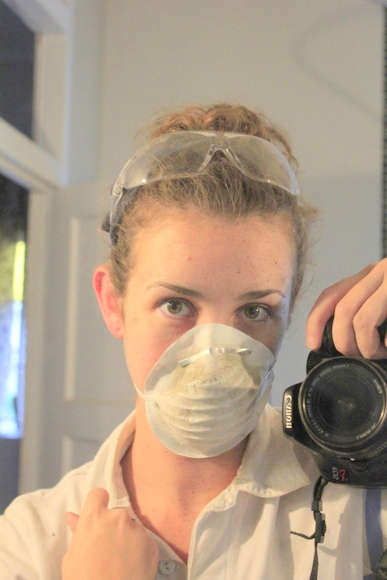
I donned my sanding gear, and dived in.
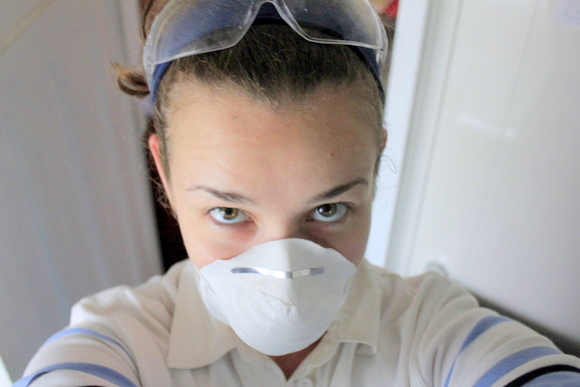
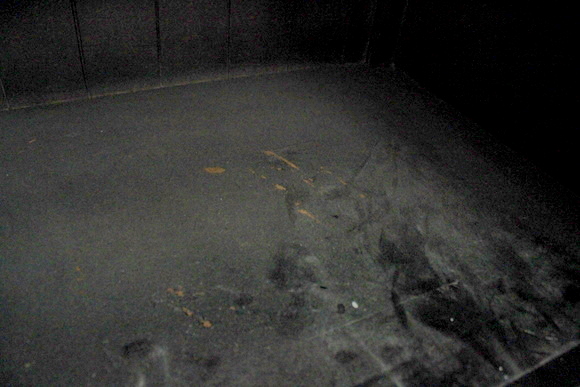
Literally. I never really considered just how much sanding the inside of the cabinet would require me to contort! I ended up inside and backwards mechanic-style, with my arms ready to fall off from pushing to get the black off.
Hours later (I’m serious, I was inside that cabinet for hours), here I am. Considerably dirtier and dustier, and sorry for myself.
But it was worth it, to make sure that the new paint would stick!
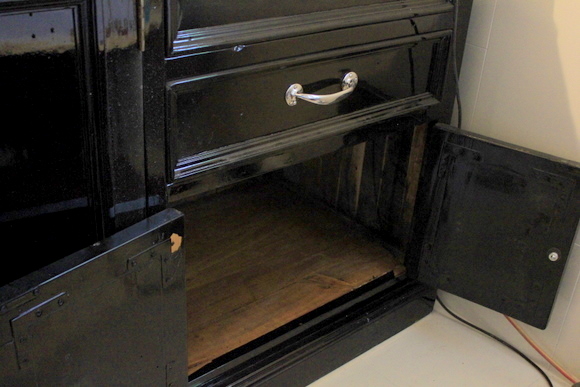
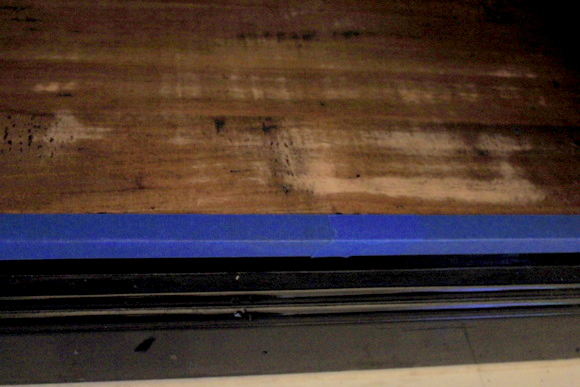
Finally, it was time to vacuum and wash away all of the paint dust, and tape up the edges for painting.
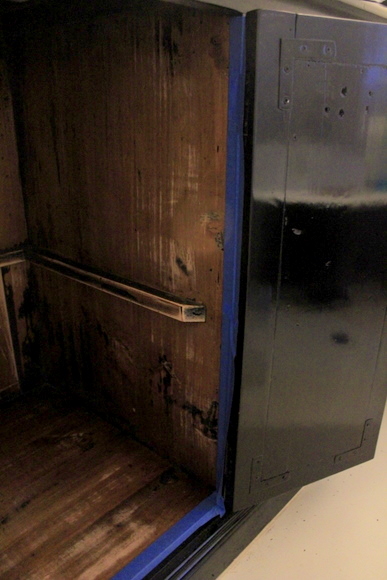
It never ceases to amaze me how much difference an undercoat makes. So neat and clean and fresh!
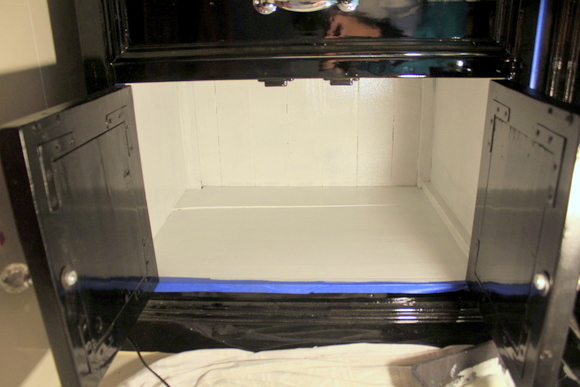
And now for the big question – what colour was I painting the inside?
Well that’s where Barbie comes in.
Yes, I decided to go a bit crazy (well, crazy for me), and introduce a bit of pizzaz.
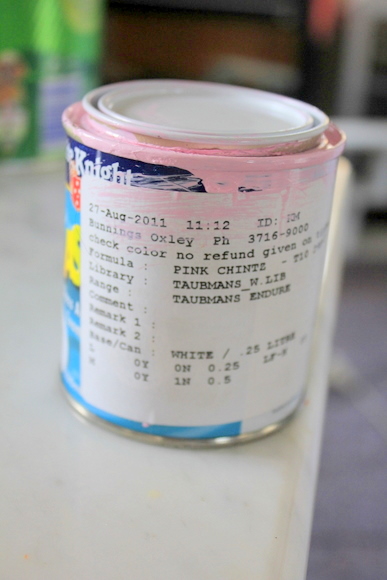
Enter Dulux Pink Chintz!
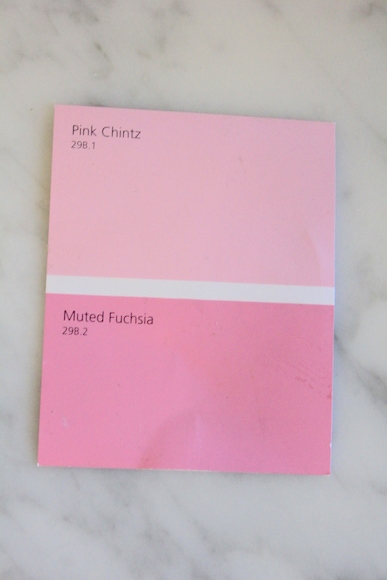
I only bought a tiny little sample pot of the colour, since I was hopeful that I wouldn’t need very much to cover just the inside of the cabinet.
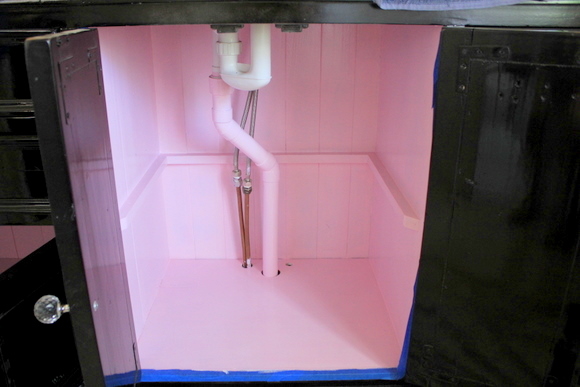
And then the first coat went on.
Daniel hates it. Tom is yet to actually offer an opinion.
I think it’s gorgeous. And why not go a bit crazy on the inside of the cabinet? At least I’m not out painting the lounge room pink!
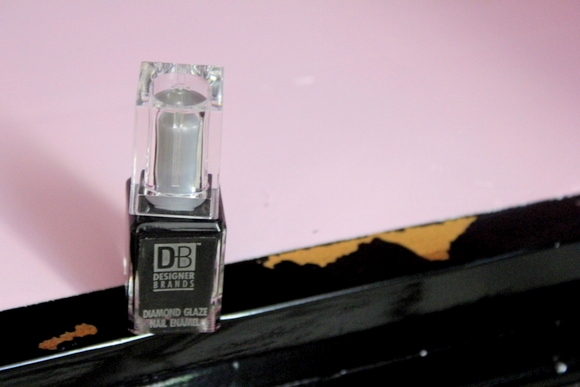
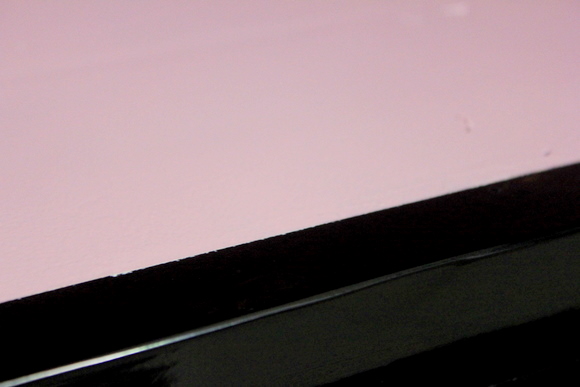
What’s not gorgeous is what happened when I peeled off the blue painters tape.
Fortunately, I’d been miraculously well prepared by finding a little bottle of black nail polish in the bargain bin at the chemist just last week.
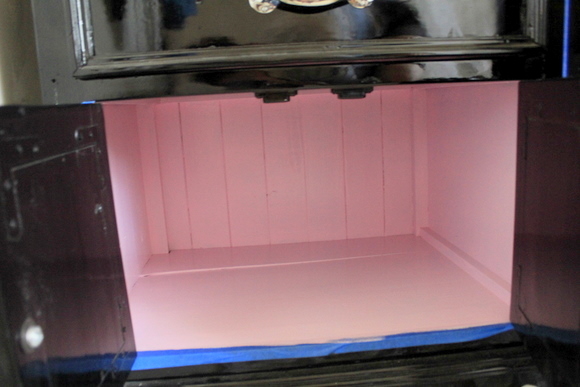
And now you would never know we had peeling paint issues!
So there is our black beauty, now with pretty pink petticoats!
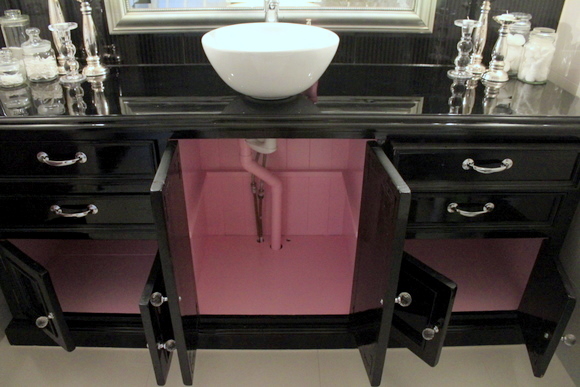
As always, I freaked out when the first coat went on, because it was very very… well… pink!
But pink and black have always gone well together, and why not have a bit of fun with something that hardly anyone sees?!!! Well, except a whole bunch of people on the Internet. Oops.
Long live Barbie!


SO Cute and Creative I absolutely LOVE it!
Brooke from babblingsandmore.blogspot.com
This is beautiful but I don’t know if I would have been that brave to add the pink.
How creative! I Love it!
That’s awesome! I love the pink interior and all the hardware you chose!
I love it..I deff loved each of your lighting selections. Great work loooks great
Oh my word, it’s AMAZING!!! It is absolutely gorgeous, I love it!
Anna
http://www.askannamoseley.com
Stinking CUTE! Adore the pop of pink. It’s perfection =) Enjoy!!
Oh, I love the pink interior detail. What great work! I want that vanity. 🙂 Happy Holidays!
Karah @ thespacebetweenblog
Wow this looks amazing! Great job!
This is GORGEOUS! Incredibly creative and I *love* the baby pink interior 🙂
Lol I did the same thing,
Our pink was called “raspberry”
It was a fun “surprise” for guests. Funny we used the same knobs.
I also did the 1960 huge medicine cabinet in pink and black. Instead of tiles we did a flocked black and white wallpaper with tree branches.
Wish I could post a picture.
They did a fine and wonderful jod. Way to go kids!
Regards,
Wes
Thanks for the comment, Wes!