Automatic Light Switch!
A blogger walks into a room, carrying everything… okay I am not quite sure how to turn this into an actual joke, so maybe I should just try to quit while I’m ahead! But really, have you ever walked into a dark room with your hands full? Into a laundry room perhaps, carrying a couple baskets of clothes, how do you turn on the lights?

Well, here is an easy answer to hands free switches that also save power. It is afterall, the time of year that many of us are looking for ways to lower our energy consumption and be a little “greener” so today we’ve partnered with Lutron to show you just how easy it can be to install a Lutron motion sensor light switch. This post is sponsored by Lutron, but, as always all experiences and opinions are my own.

These sensor switches are awesome in places like bathrooms, closets, storage rooms, pantries, garages. I know that there are many spaces in our home where these will come in really handy.

The great thing about these types of sensor switches is that they will turn on automatically and shut off automatically. If you have your hands full, taking things into a storage room, then don’t worry because the light will turn on for you when you walk by it. There are also many settings to choose from to fit your needs, like how long the light stays on or if you just want the light to turn on manually but turn off automatically. DID YOU HEAR THAT? you turn it on when you need it, and it will turn itself off!!!
The first thing you need to do is find the right room location for this type of light switch. Once you find the location it’s time to install the switch. The switch does come in single pole or 3-way options.
It is okay for you to replace a light switch. You don’t need a licensed electrician for this project, but if you are inexperienced and worried about not being able to do it, consult a professional electrician. We did have ours installed by a licensed electrician just to make sure that everything was working and done properly.

Installing a Lutron sensor switch
This post contains affiliate links for your convenience. Learn more and read our full disclosure policy here.
Tools Needed:
Here are the tools you will need to begin.
- Lutron sensor switch
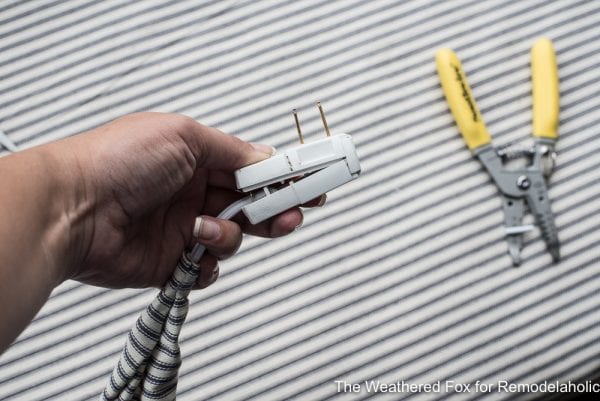
- Pliers
- Wire strippers
- Regular and Philips screwdrivers
- Power drill (optional)
- Portable light such as a flashlight or headlamp (while working with the power off)
- Wire nuts (you can use the nuts that are on the existing switch or the switch comes with wire nuts)
- New switch plate (depending on which style of switch you already have)
Time needed for the project:
15-30 Min.
Installation steps of Lutron sensor switch
*Please keep in mind that if you are attempting this project, you do so at your own risk. Please follow all safety rules and read the instructions thoroughly.
The very first thing you will do before anything else, you need to shut off the power to it, in the breaker box. Hopefully yours are labeled and easy to find out which breaker the switch is on.
TIP#1: It’s a good idea to have another light source available to see what you are doing when replacing the switch. So if you can bring in a flashlight or lamp on an extension cord you can still see what you are doing.
Step One
Start by unscrewing the cover plate.

Step Two
Unscrew the switch and pull it out of the box.

Step Three
Unscrew or cut the wires from the switch and get them ready for the new switch. If you cut them make sure that you have enough wire in the box to easily attach the new switch to.
Step Four
Connect the wires according to the instructions in the package.

There are two black wires on the new switch, one green and one bare wire. Each of the black wires will connect with just one of the wires that was on the old switch. Twist on the nut clockwise and pull on it, to make sure it’s nice and tight.
Connect both the green and the bare ground wires with the copper ground wires from the box.
Step Five
Tuck the wires all the way back in the box to make room for the new switch.

Step Six
Screw it onto the box nice and level. They provide the screws for this in the switch packaging.

Step Seven
Before you put the cover plate back on you need to program it. There is a chart in the packaging that lists all the different settings.


Step Eight
Once you have it programmed then screw on the cover plate. The cover plate was not included with the switch, so if you use these styles of switches then reuse your old cover plate or you will need to purchase a new cover plate.

Now you can enjoy the convenience of a Lutron motion sensor light switch.

I hope that was helpful! Let us know where you would want to install a switch like this.
This is a sponsored conversation written by me on behalf of LUTRON. The opinions and text are all mine.
More DIY lighting updates:
How to Install Recessed Lighting

How to Convert a Hard-Wired Light into a Plug-In Fixture


Our master bdrm closet! My hubby had done this very thing with a different brand from a big box store and it only lasted a few months, quite frustrating!