Build It: X-Brace Concrete Side Table


How to Build a Wood and Concrete Side Table
Hey everyone, I’m Jamison from RogueEngineer.com where I publish weekly free and easy DIY furniture plans. Most of what I build is easy wooden furniture but today I wanted to share with you my very first project using concrete.
We really wanted a side table for our outdoor space, something sturdy and durable that we didn’t have to worry about out in the elements. We came across a table base design at a local furniture store and quickly our ideas started flowing. Concrete seemed like the perfect way to go. With a few hiccups along the way, here’s how our $20 concrete x-brace side table turned out! Enjoy!
CLICK HERE FOR DIY PLANS
Required Tools:
- Miter Saw
- Drill
- Pocket Hole Jig
- Sander
Materials:
- 2x 2 x 4 x 96″ Premium Studs
- 1x 1 x 2 x 96″ Common Board; Pine
- 10″ x 10′ Roll of Galvanized Flashing
- 80 lb bag of Quikrete
- 2-1/2″ Pocket Hole Screws
- 1-1/4″ Pocket Hole Screws
- Pine Pocket Hole Plugs
- Wood Filler
- Wood Glue
- Wood Stain
- Helmsman Spar Urethane
- Sandpaper
- Tape
Cut List:

BUILDING THE X-BRACE TABLE BASE
Start by drilling your pocket holes in two of the 13 3/4″ pieces

and attaching them to the center of the 27 1/2″ piece.

Next, create an x-brace by drilling a pocket hole in another 13 3/4″ piece and attaching it at a right angle to one of the 17 1/4″ pieces. Repeat to create another x-brace – 2 total x-braces. 
Flip your x-brace over and drill two pockets holes as shown, in each x-brace.

At this point, fill all seams with wood filler and *occupied* pocket holes with pine pocket hole plugs and wood glue. ONLY for pocket holes that are occupied — do not fill in the holes yet to be used!

Center the x-brace and, using the 2 remaining pocket holes, screw it together using 2 1/2″ pocket hole screws. 
Repeat for the opposite side.

Drill pocket holes as shown and install 1×2 “top supports” using 1 1/2″ pocket screws.

Stain and seal the table base. 
DIY ROUND CONCRETE TABLE TOP

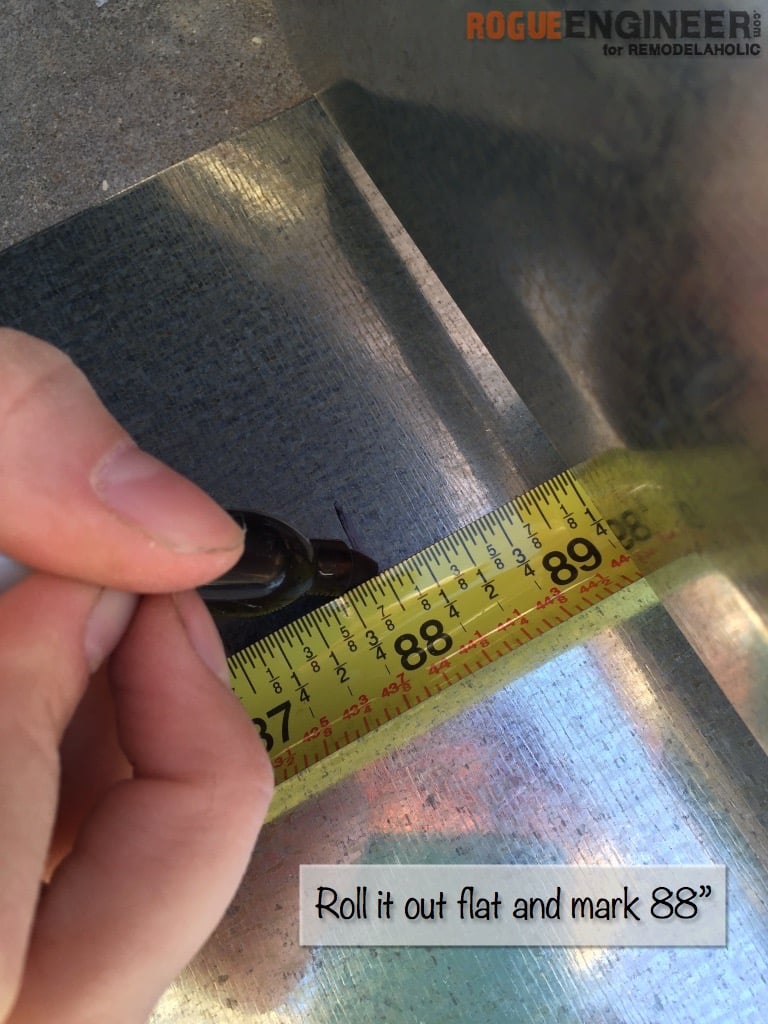
Roll our the flashing and mark it at 88″
Form the flashing into a circle, with the 88″ mark as your seam. 
Tape the seam securely. 
Mix up an 80lb bag of quikrete in a bucket, a little at a time. 
Place your form on a piece of plywood, and pour the concrete into the form. 
Center your base and set it in the concrete, making sure the top supports rest evenly on the concrete. 
Let your concrete dry 48 hours minimum, then sand the table top to get an even finish. 
I hope you enjoyed this tutorial. For sneak peeks of our upcoming projects from Rogue Engineer be sure to follow me on Facebook and Instagram.
———————————–
More DIY tables:


As usual, you are the bomb! You are simply amazing. Have a little rest for yourself this weekend. AND PRAY FOR SPRING!
Thanks Gloria! Will Do!
This is amazing! Do you have plans for that patio furniture as well? Thanks!
Thanks Stacie! That chair was actually one of my first builds and I didn’t write the plans myself but they can be found here:
https://ana-white.com/2012/02/plans/bristol-outdoor-lounge-chair
Love this little table! What is the height of the table? I have a miniature “fairy garden” that is planted in an old dresser drawer that really needs a base to get it up off the ground and make it easier to look at and to maintain. I think this base would be just the thing!
Thanks so much for your tutorial…….
Nettie from Spanish Fork, UT
Hello! I’m also wondering about the height and width of this table. I’m hoping to build them this weekend, but want to make sure they’re the right fit for my patio before I start this endeavor. Thanks for this tutorial! I love these end tables!!
Great project! Did you seal the concrete top at all?
Love this table! great job on the instructions, but I am stuck!
I made a table top that was 34″ and want it to be a low coffee table. I want it to sit 18″H. What would my cut list be?
Hi! I love this site. I wanted to ask what is the pink paper you used to pour the concrete on top of? Also do you think this same method can be used for a larger round table?
I also would like to know what the pink paper is that you put on the top of the plywood.
Love the table! Would this work with a 60lb bag of concrete or would it be too thin? I’m worried the wood will show at the top.
Thanks
Excellent design and great plans! What are your thoughts on scaling this up? I’m wondering I can make this into a small round dining table. 30″ tall by 36″ diameter top. Thanks!