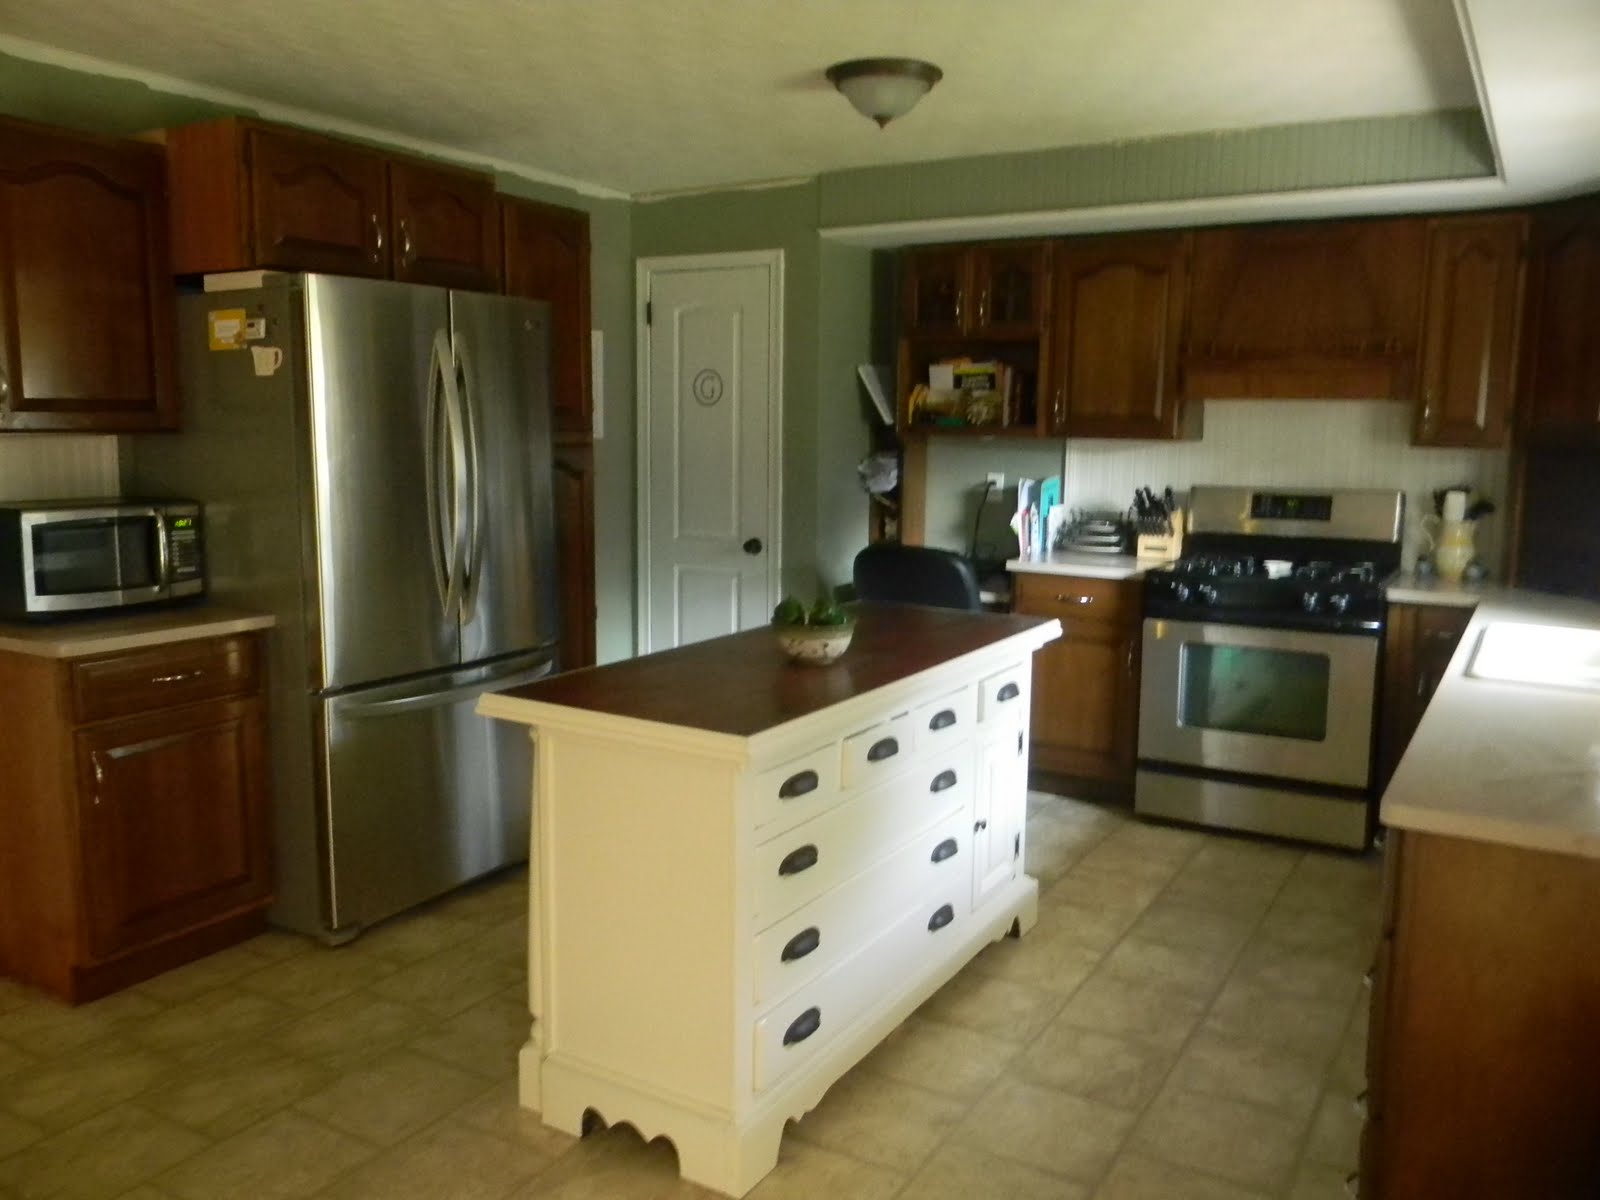
1960’s Ranch Kitchen Renovation With Custom Island
Any time we feature an amazing kitchen transformation, I love to take note of just how much character you can DIY into a kitchen! We see kitchens that are mixing styles that I would never think of — and they look amazing and their owners love them because they are a perfect fit for their exact style. DIYing really is the best way to express your unique style!
One of my favorite places to see the DIY creativity is in kitchen islands. We all have different wants and needs for our kitchen islands, and sometimes builder-grade and manufactured islands are not even close to what we want, or how we want it to look. So, a-diying we go! Our guest today (and her husband) built this beautiful custom island as part of her 1960’s ranch kitchen renovation:
A kitchen island can be anything you can dream it to be! Justin and I recently built a kitchen island -slash- dining table for our kitchen:
If you want your island to be a bit more modular for regular use and entertaining, our guest Sweet November revamped a dresser into a colorful kitchen island:
And our guest Stacy from Serene Swede completely made over her builder-grade kitchen island:
And here’s Jenna to show you her custom kitchen island and the rest of her gorgeous kitchen renovation!
1960’s Ranch Kitchen Renovation with Custom Island
by Jenna of Rain on a Tin Roof
Hi, there! I’m Jenna from Rain on a Tin Roof.
Over at my blog, I rant about DIY projects, junk decor, thrifty finds, crafty creations and other decorating dilemmas. When I’m not trying to keep my kid from climbing out of her circus ring or making sure Grunt Labor’s shirts are taken to the dry cleaners, so I get out of ironing, I can be found with a paintbrush in hand. I suppose my specialty is my furniture painting. You can find a round-up of my best furniture makeovers here. My signature colors are navy and kelly green, which I fully admit to using too much of. Those colors can be found on my Ralph Lauren Inspired barstools, as well as multiple other things in my DIY project gallery. Today, I’m sharing one of my biggest DIY projects to date: my kitchen renovation.
A couple years back, Grunt Labor (the husband) and I purchased a 1960s brick rancher. It wasn’t just a rancher. It was a foreclosure. Surprisingly though, most of the house was in good shape. Except for the fact that nothing had been updated since 1969 when it was built. The kitchen was the one room that turned out exactly how I wanted it to. Right now, there isn’t a thing I would change about it. Here is the before: 


What do you think? A pretty decent upgrade? You can see more of the kitchen details here or tour our entire renovated rancher here.
If you liked what you saw, I would love to have you follow me on my blog or connect with me on Bloglovin, Pinterest, Facebook, Twitter, or Google+.
Thanks to Remodelaholic for having me as their guest!
We LOVE your kitchen, Jenna! Can we come over sometime? We promise not to drool… too much.. on your beautiful counters 🙂
Hop over to Rain on a Tin Roof to see Jenna’s other creative projects and more of her gorgeous home.
Lorene has been behind the scenes here at Remodelaholic for more than a decade! She believes that planning projects and actually completing them are two different hobbies, but that doesn't stop her from planning at least a dozen projects at any given time. She spends her free time creating memories with her husband and 5 kids, traveling as far as she can afford, and partaking of books in any form available.


Thanks so much for having me as your guest today!!
You are welcome, Jenna!
I love your kitchen remodel, it is beautiful!!
What was the process used to fill the old hardware holes on the cabinet doors? We are about to embark on a kitchen remodel where the cabinets are very solid, but very outdated like those in your before photos. The handles are right in the middle of the cabinet doors, which will leave two screw holes on each door. Thanks for any advice!