How to Install Board and Batten

Learn how to install a Board and Batten wall. We’re here to help you do it yourself with professional-looking results!
Come see how to build the bright yellow Swedish Mora Clock and the Dutch Barn Door / Baby Gate, too!


DIY Board and Batten Wall Tutorial
Materials for Installing a Board and Batten Wall:
- Boards for Base Molding: We chose 1×8 MDF
- Boards for Crown Molding: We opted for a simple rather than ornate look and chose 1×4 MDF. We ran one on the wall and one on the ceiling to create a wrapped-corner look.
- Battens (vertical boards): In the past we have used 1×4 or 1×2’s that are the same thickness as the upper and lower molding, but this time I wanted the battens to be small and insignificant to create a light texture. At our local Home Depot they had some 3 3/4″ x 1/4″ thick unpainted MDF strips called MDF Bender boards. They were in the lumber isle near the plywood and NOT with the moldings. They were a great price and just wide enough to be ripped (cut length-wise) in half to create the subtle look I was going for.
- Table Saw
- Nail gun and nails
- Caulk and Hole Patching Compound
- Paint
Be sure to check out this tutorial for perfect board and batten spacing!
Board and Batten Step 1: Install Base Molding
Measure, cut, and install the base molding.

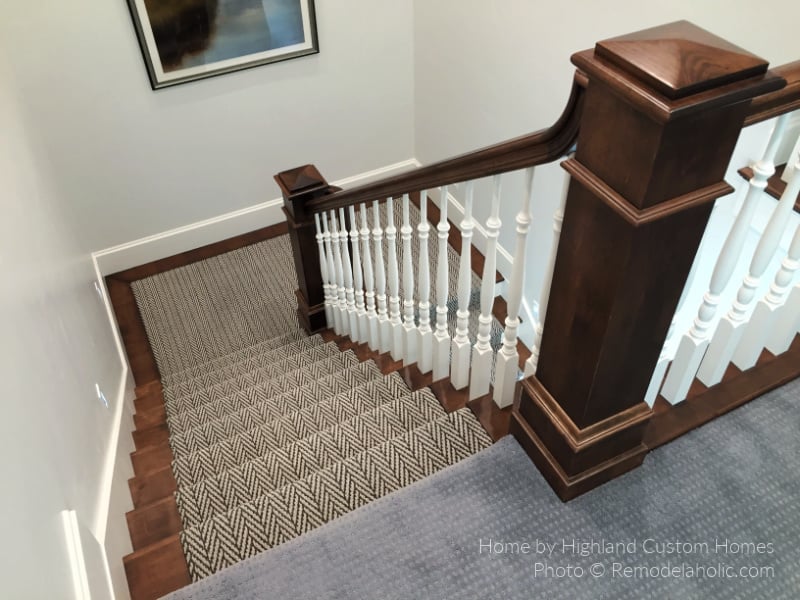
The stair used to be wrapped with carpet, but we wanted to avoid that and clean up the look. We built out the stair a bit and then wrapped it with the MDF. We got lucky and the MDF was the exact same height as the stair!

Board and Batten Step 2: Install Crown Molding
Measure and cut your crown molding pieces. Using the ceiling piece as a spacer, push the wall piece up to the ceiling piece (you will need a helper to do this, which is why we didn’t get any pictures) and nail in place.

Next install your ceiling piece.

*TIP* We didn’t have joists to nail the crown molding to on this portion of the ceiling. You can use anchor bolts for a LOT of extra work or you can do what we did: to keep the board in place, put in 2 nails at a 45 degree angle to the right and then immediately turn your nailer the other direction and add two more in a 45 degree angle to the left. The “v” created by the nails acts like an anchor. I wouldn’t do this with heavy beams, but for a lightweight molding, it works well.

Board and Batten Step 3: Rip the Battens (if needed)
Our battens needed ripped in half, remember.


And because we cut ours, we took the time to sand down the top two edges of the board to ensure that the edges were clean and that all imperfections were sanded down.
*TIP* Cut edges of MDF always need sanding. Because MDF is so smooth, the imperfections will be very apparent once you paint. Don’t skip sanding!
Board and Batten Step 4: Install the Battens
Be sure to make your spacing perfect. Follow this board and batten spacing tutorial and you will end up with the professional-looking results you want!
1. Mark out the spacing.

2. Measure the height you will need for that batten in that place. Cut your batten. (Do this for each batten, as ceilings and floors are not as level as you think!)
3. Place the bottom of the batten at your spacing mark and nail once near the bottom of the board to hold it in place according to your spacing mark.
4. Place a level on the side of the batten board and adjust the board until it is perfectly vertical.

5. Nail once near the top then secure it to the wall with a few more nails in the middle.

6. Repeat the process with each batten.
Board and Batten Step 5: Patch the nail holes and caulk all the seams
Patch the nail holes and caulk between the boards and the wall to fill the gaps.

Board and Batten Step 6: Paint
We chose Sherwin Williams High Reflective White, and, oh, the difference the paint makes! Make sure to inspect your paint job from the left and right to ensure every inch of the battens is covered in paint. It’s easy to miss the thin side next to the wall!

For painting the molding next to the floor, I used heavyweight scrapbook paper as a “drop cloth” of sorts. It moved along easily and slid under the gap of the base molding perfectly with no taping required!

And we’re done! See how the battens just sort of melt into the wall? They offer a slight texture and pattern but they are not the focal point — exactly the subtlety we wanted!

If you’d like to see more of our projects at the Canyon House, browse through them here and follow us on Facebook and Instagram for more inspiration and tutorials.
More DIY wall treatment tutorials:
- How to Build a Pallet Wood Wall
- How to DIY an Elegant Paneled Wall
- How to build a Shiplap Plank Wall
- Installing Trim: A Beginner’s Guide

This post originally published 05.04.2013 // Updated 03.06.2020


Great tutorial. I like the smaller size of the battens. The tip on using scrapbook paper to paint the trim is worth it’s weight in gold; I was dreading having to tape.
I love those two paintings, do you have a source for them?
Mel!
Thanks I am glad the scrap book paper tip was helpful! I HATE taping for projects too!! Anywho, I got the paintings about a month ago at Target. Hope you can find them too! They were about 39.00 bucks I think (each)
Hi. I was wondering. Did you use any back board, to cover the existing wall? Or did you just lay the slats on the existing wall?
We just glued and nailed the batten boards on the existing wall.
So classic. I like how you carried it all the way to the ceiling. I’ve done it about a third of the way up my walls, but really like how this looks. Need to find a room to copy this to.
Thanks! I think it is a nice change too! I’ve done the wainscoting versions too but wanted a slight change! If you try it i would LOVE to see pictures!
I think it’s perfect! Love it!
Thank you Susan!
i love this rustic look, i come from the countryplace and miss these patterns of walls all around me, Great post..
Love the look! It looks so finished and gorgeous now. You two sure are a heck of a team.
Thanks Marianne! I love how if I can dream it he can build it. (I miss the building part a bit too, but with “the littles” running around it is just not my time to build, when they get a bit older! Hopefully I can do more!) Zie je later!
Oh. My. Word. That clock! I want one! Of course, the b&b is beautiful, too. 😉 Saw you have a tutorial for the clock- now I just need to find a friend with heavy duty tools.
I know there are quite a bit of tools involved, but it is SO worth it! i truly LOVE my clock! I am we made it!
Curious, did you wind up using a Brad Nailer or a Finish Nailer for the larger base boards? I’m currently working on my own board & batten project and am using 11/16″ thick boards and not sure if a Brad Nailer will support the boards.
Thanks!
I did use a brad nailer on all of it. I think I used 2 1/2″ brad nails and tried to hit the studs behind the wall. One thing that I also noticed, if you can’s find a stud shoot at an angle one way then the other, and that will help hold the MDF to the wall.
Curious, did you wind up using a Brad Nailer or a Finish Nailer for your trim work? My wife and I are doing this same project for our nursery and I can’t determine which nailer is appropriate. The boards we are using are 11/16″ MDF. I planned on putting a bead of liquid nails on the backs of each piece but am not sure if a 18 gauge brad nail will be sufficient enough to hold the larger base board and top horizontal board.
Thanks!
If you use both liquid nails and brads you should be fine. Just try to hit the studs if you can.
Fantastic walls and awesome barn door = stunning transformation!
I know this tutorial was done several years ago, but I just stumbled across it while searching for board and batten ideas. I love the spacing you used between battens on your living room wall. Do you happen to know the measurement of wall space between battens? Thanks!
Susie! I’m not totally sure because were not living in that house anymore but if you’re asking about the full height board and batten in the living room it was somewhere between 8 to 10 inches we kept it kind of close and tight!
The board and batten is awesome but your door to the left looks kind of out of place next to the barn door style on the right. Just my opinion so feel free to ignore the comment.
Do you sand the wall before painting the white for the board and batten? Ours has an orange peel and I don’t really know what to do with it so it doesn’t look like a white wall with boards on it.
I think the best choice is to put a thin wallboard on the entire wall before applying the board and batten.
Your wall looks beautiful, I’ve installed wainscoting in several rooms. I love the top piece above the crown molding. I can’t tell from the pictures if you calked the space between the MDF and the ceiling. I have textured ceilings and can’t decide what to do with the “space” created by the textures. Thanks in advance.
Caulk the gaps for sure.
We’re about to remodel a small home and was wondering what you think of the idea of floor-to-ceiling board & batten throughout the house … living room, dining room and bedrooms. We’re planning on using lattice strips to keep it as low profile as possible. Is it too much?
If it were my house I would put it in the space that I want it the most and let it be a special feature. If overtime I feel like there are a couple more spots that I can add it to my might but I think I would avoid doing it everywhere because then you’ll get bored of it faster.
I’m thinking of doing this only 5 feet high on two 8-foot adjoining walls in my kitchen where the table and chairs sit, thus leaving the upper 3 feet for hanging artwork. Would this look okay in your opinion?
Yes! Most people typically use board and batten as a type of wainscoting on just one part of the wall — I think that will look great! You can see some examples of where we did just what you are describing in this post: https://www.remodelaholic.com/board-and-batten-spacing-tutorial/
Wow, seemed a little overwhelming at first but this was presented in a really easy to follow way, thanks for the tutorial. The final look is rustic and nice.
Considering doing a board and batten (minus the board) accent wall in out exercise room. Out baseboards are 1/2” thick. Most batten boards I’ve found are 1” thick. The 1/4” lattice boards don’t seem to provide the depth I’m looking for. Where can I get 1/2” x 2-1/2” boards?
Hi Dianne, it sounds like a good time to browse the lumber section and see what you can find! Many stores sell “hobby boards” that 1/2″ thick but those are typically only about 4′ lengths, so that will only work for a chair rail height. Your store also likely stocks 1/2″ sheet lumber you could rip to size, or you can see if your local store stocks these 2 1/2″ x 1/2″ MDF boards that I found at my local Home Depot (affiliate link) –> https://rstyle.me/+xXLNgxrv5GKo9XdKXIxbBQ
Best of luck! We’d love to see pictures when you finish. https://www.remodelaholic.com/share-brag-post/