Who’s the Fairest one of all? Mirror tutorial
I think this mirror from Heather at Straight Stitches, is such a great project. I had to show it all off to you! And thanks to her wonderful instructions, you too can make this!
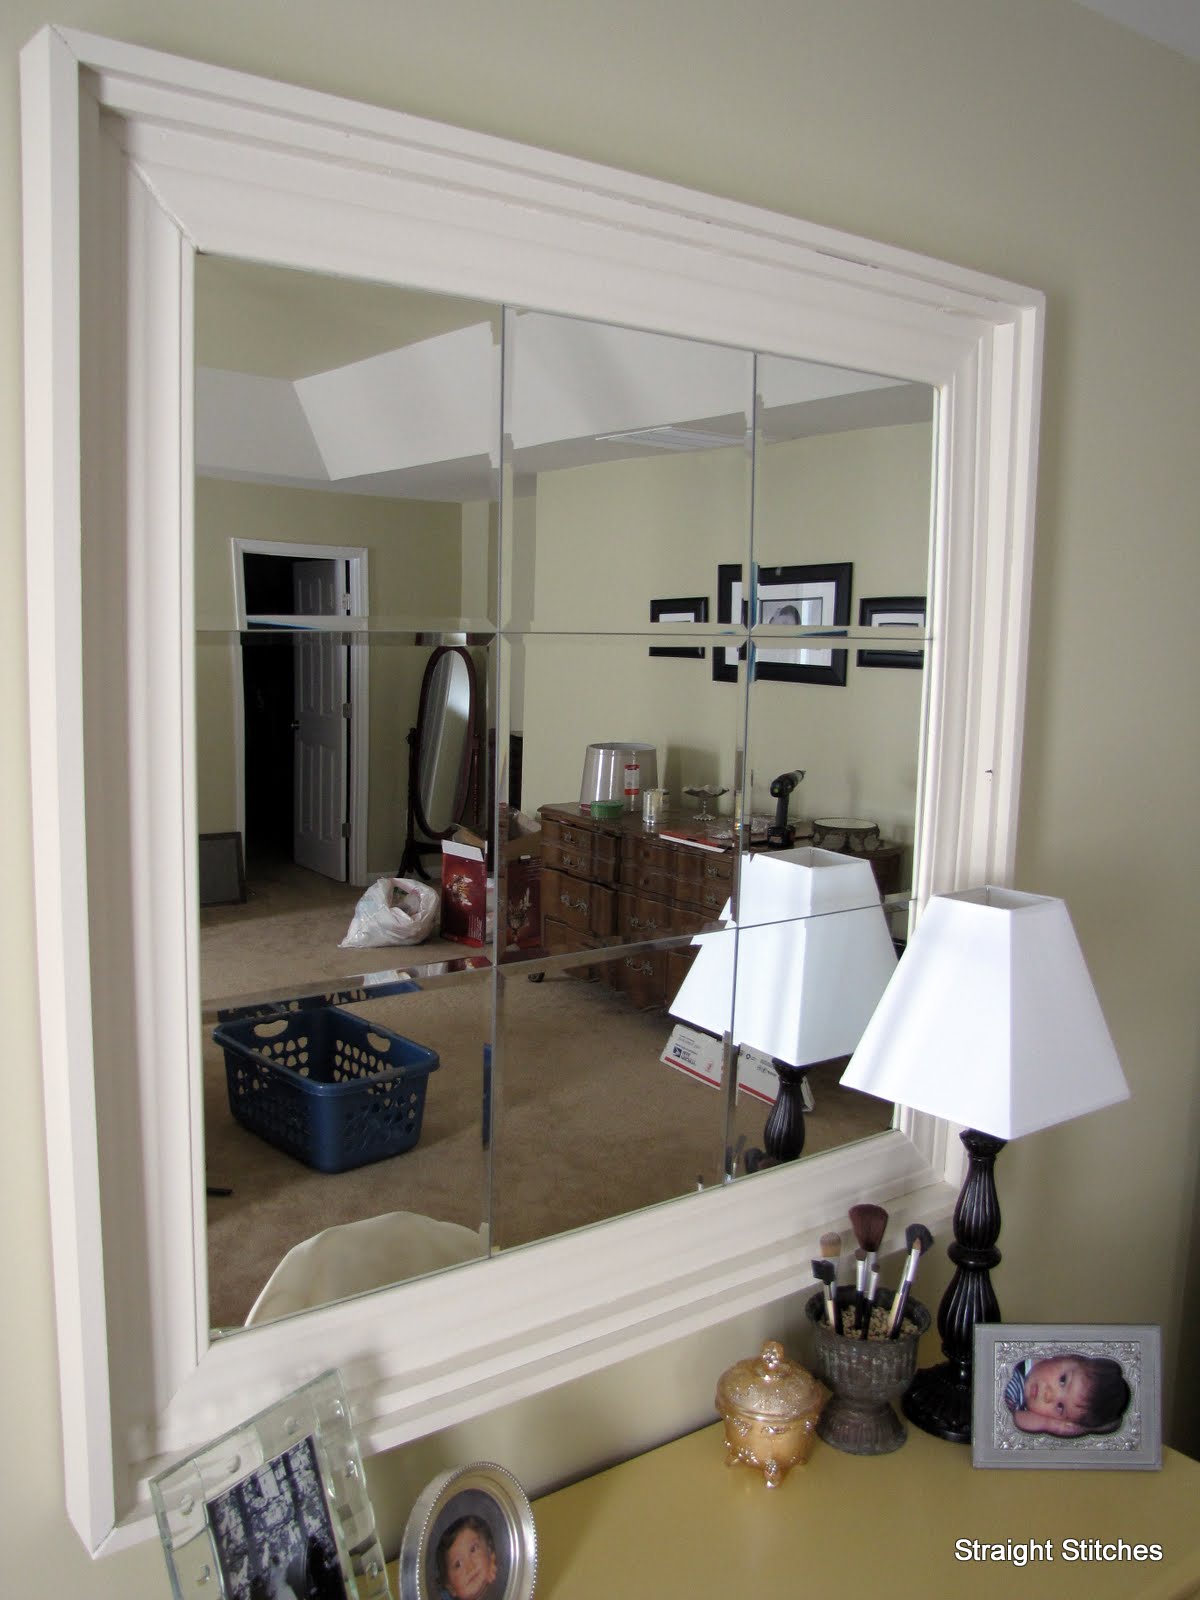
Here’s another project for my master bedroom. The wall space above the vanity needed something spectacular. Its a big space and that poor vanity was being a little overwhelmed, but not any longer! As all of us know, large mirrors are expensive, and I, frankly, did not want to fork out the cash for one. I wanted a mirror that was as big, or almost as big, as the top of the vanity and square. With only an idea in tow, its off to Lowe’s I go. 🙂 So on to the show!
Stuff I used:
9 – 12″ square beveled mirror tiles
4’x4′ sheet of plywood
(I used 1/4″ but I’m thinking 1/2″ or thicker would have been better, certainly less flexible)
Mirror Mastic
Wood Glue
16′ of moulding
16′ of 1×2’s
16′ of 1×3’s
Wood putty
Circular saw
Miter saw
Primer
Paint
Gorilla Tape
Clamps
How I did it:
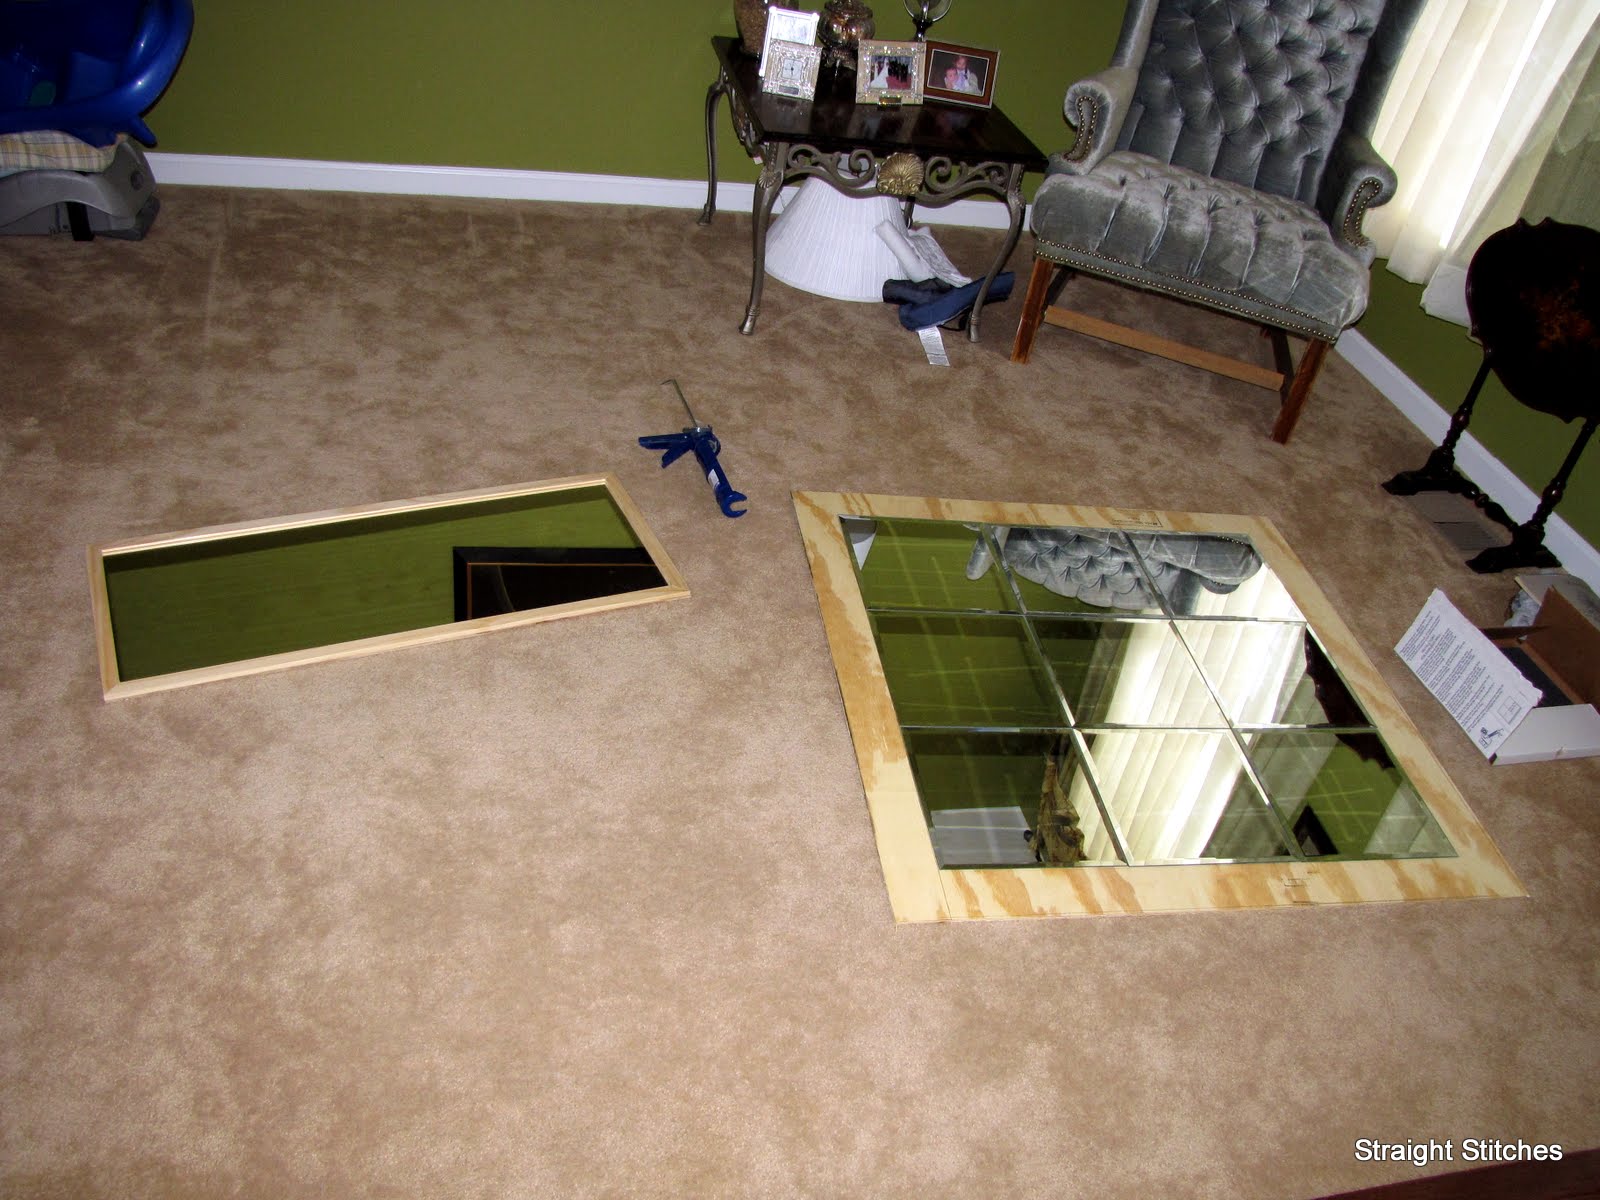
Lay your mirrors out on the plywood, and outline the edges with a pencil. Enlarge the square you drew by 3″ on all sides, then cut it out.
Center your tiles on the plywood and then glue them down with the mastic. Make sure to align each tile against each other, and having each one pressed up against the others.
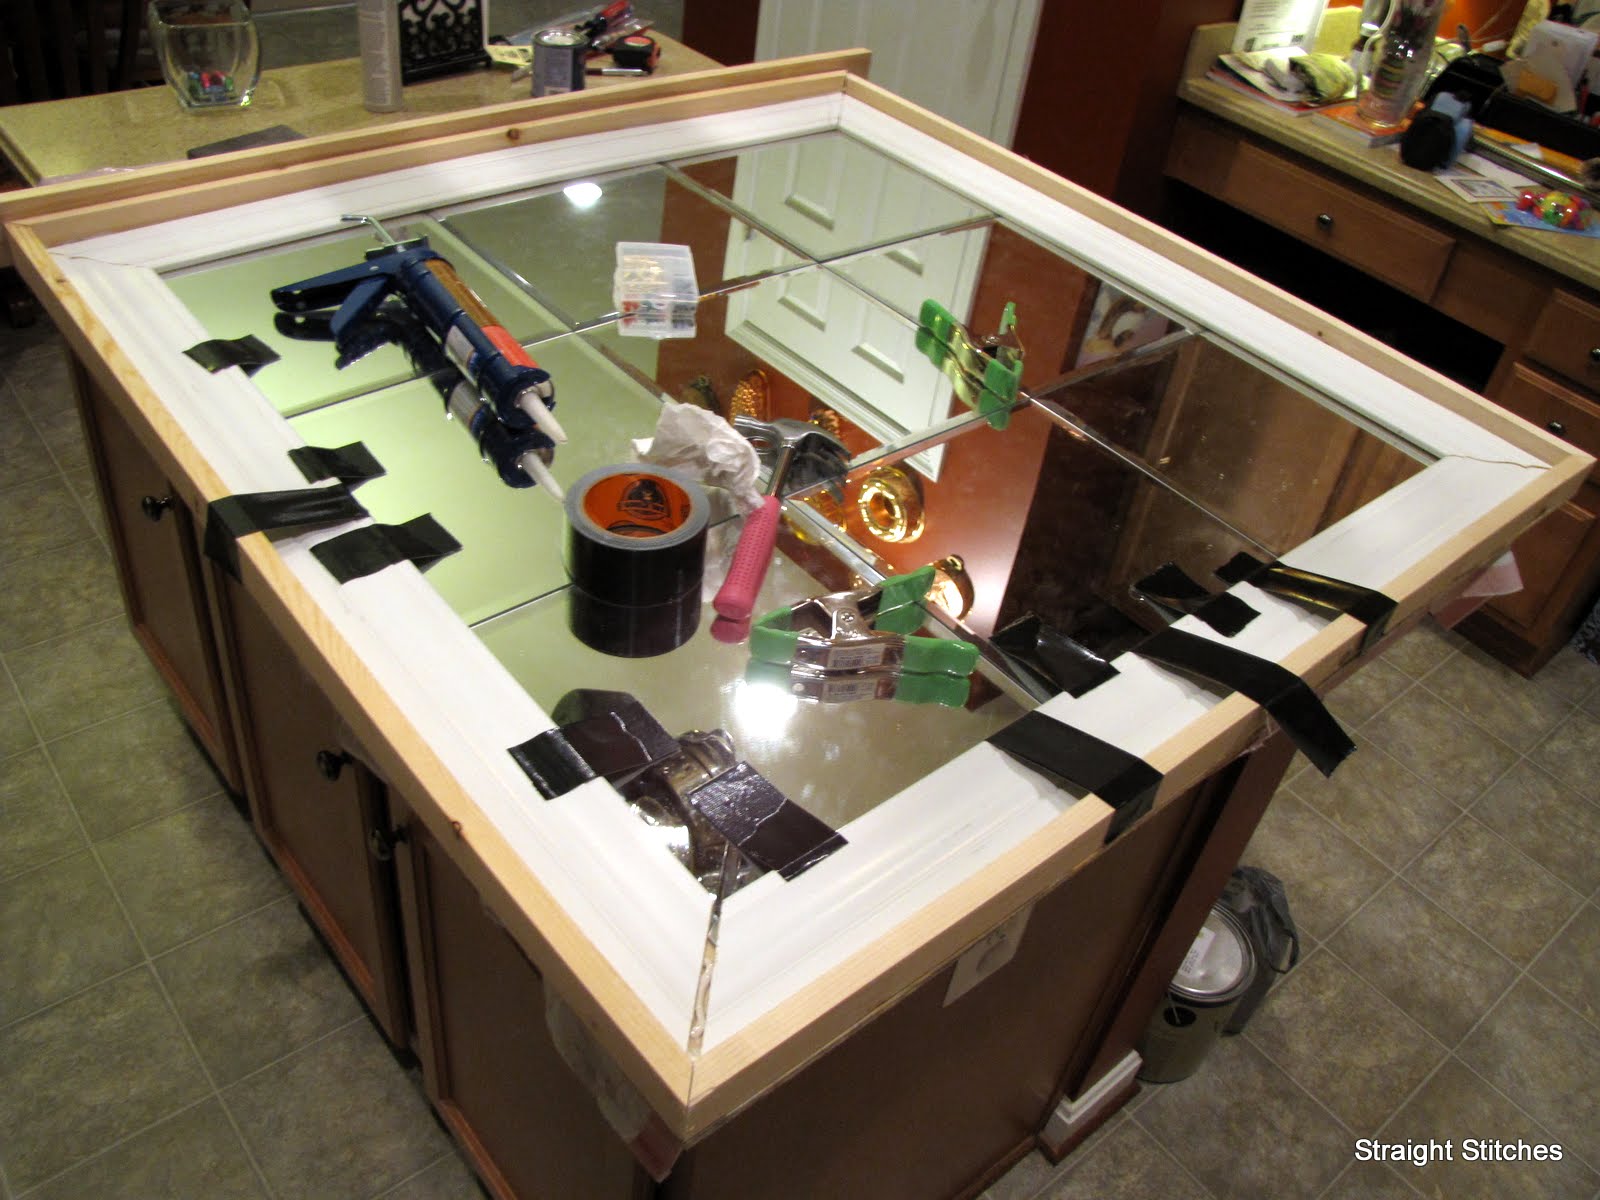
Measure the outside edges of the board. Cut your 1×2’s down to size using the measurements you took, making sure to miter the corners. I cut the 1×2’s so that they would lie on the board with the thinner edge against the plywood, making them taller than the moulding.
Glue the 1×2’s to the plywood, making sure that the edges are all flush. Clamp down.
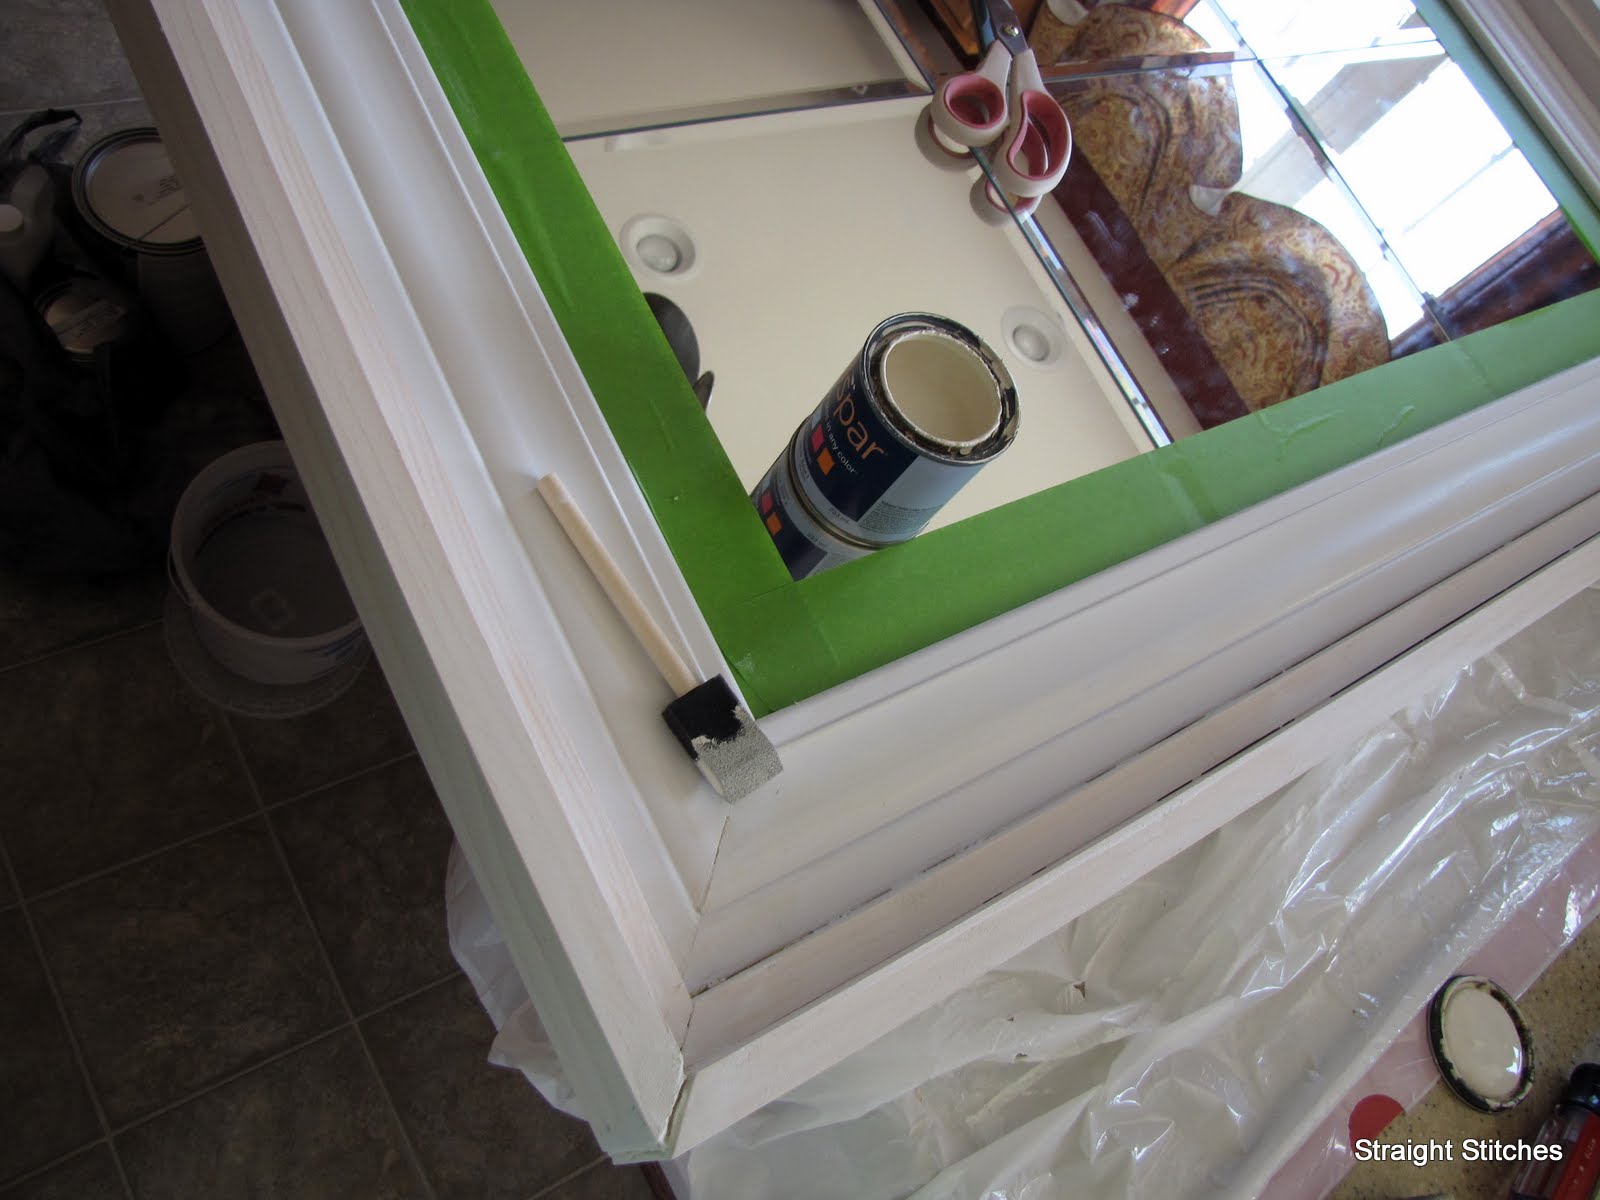
Measure inside of the 1×2’s and cut your moulding, mitering the corners, to those measurements. Your moulding will overlap the mirrors. I did this because the mirrors are not all perfectly square and I wanted to hide the imperfections. Apply glue to the underside of the moulding. I used nails and gorilla tape to clamp the moulding down until the glue set. The gorilla tape did not leave any residue on the mirrors.
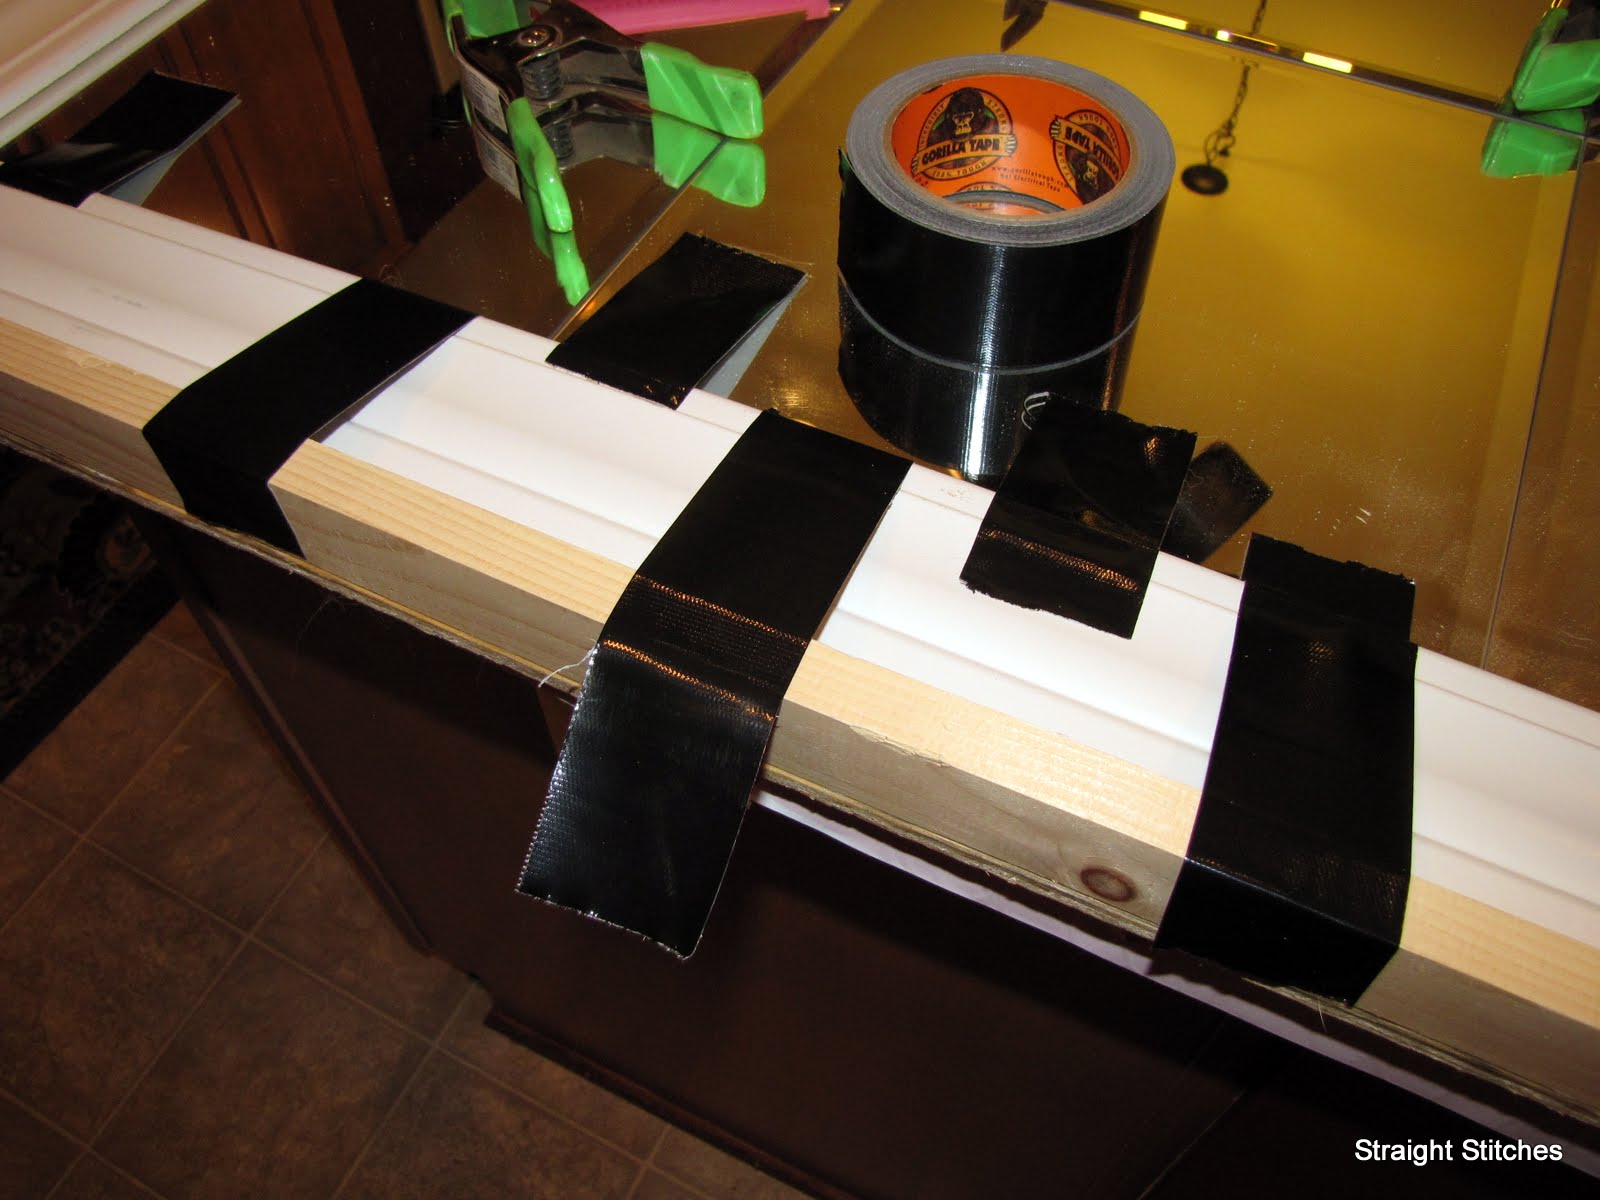 |
| Notice how the 1×2’s are oriented! They’re glued down the edge down. |
 |
| I cut my moulding a little short. Putty will fix it! |
Measure the outside edges of the entire piece, and cut your 1×3’s the same way that you did for the 1×2’s, on the vertical. Glue the 1×3’s to the 1×2’s and the plywood. Making sure that the bottom of the 1×3’s and the plywood are flush. This will hide the edge of your plywood.
After everything is dry, fill any gaps with putty and let dry. Then sand.
Prime and paint the piece. I used some ‘Ooops’ paint from Lowe’s. Got it for .50! Oh, and I love green painter’s tape, instead of the blue stuff…..the green works better IMO.
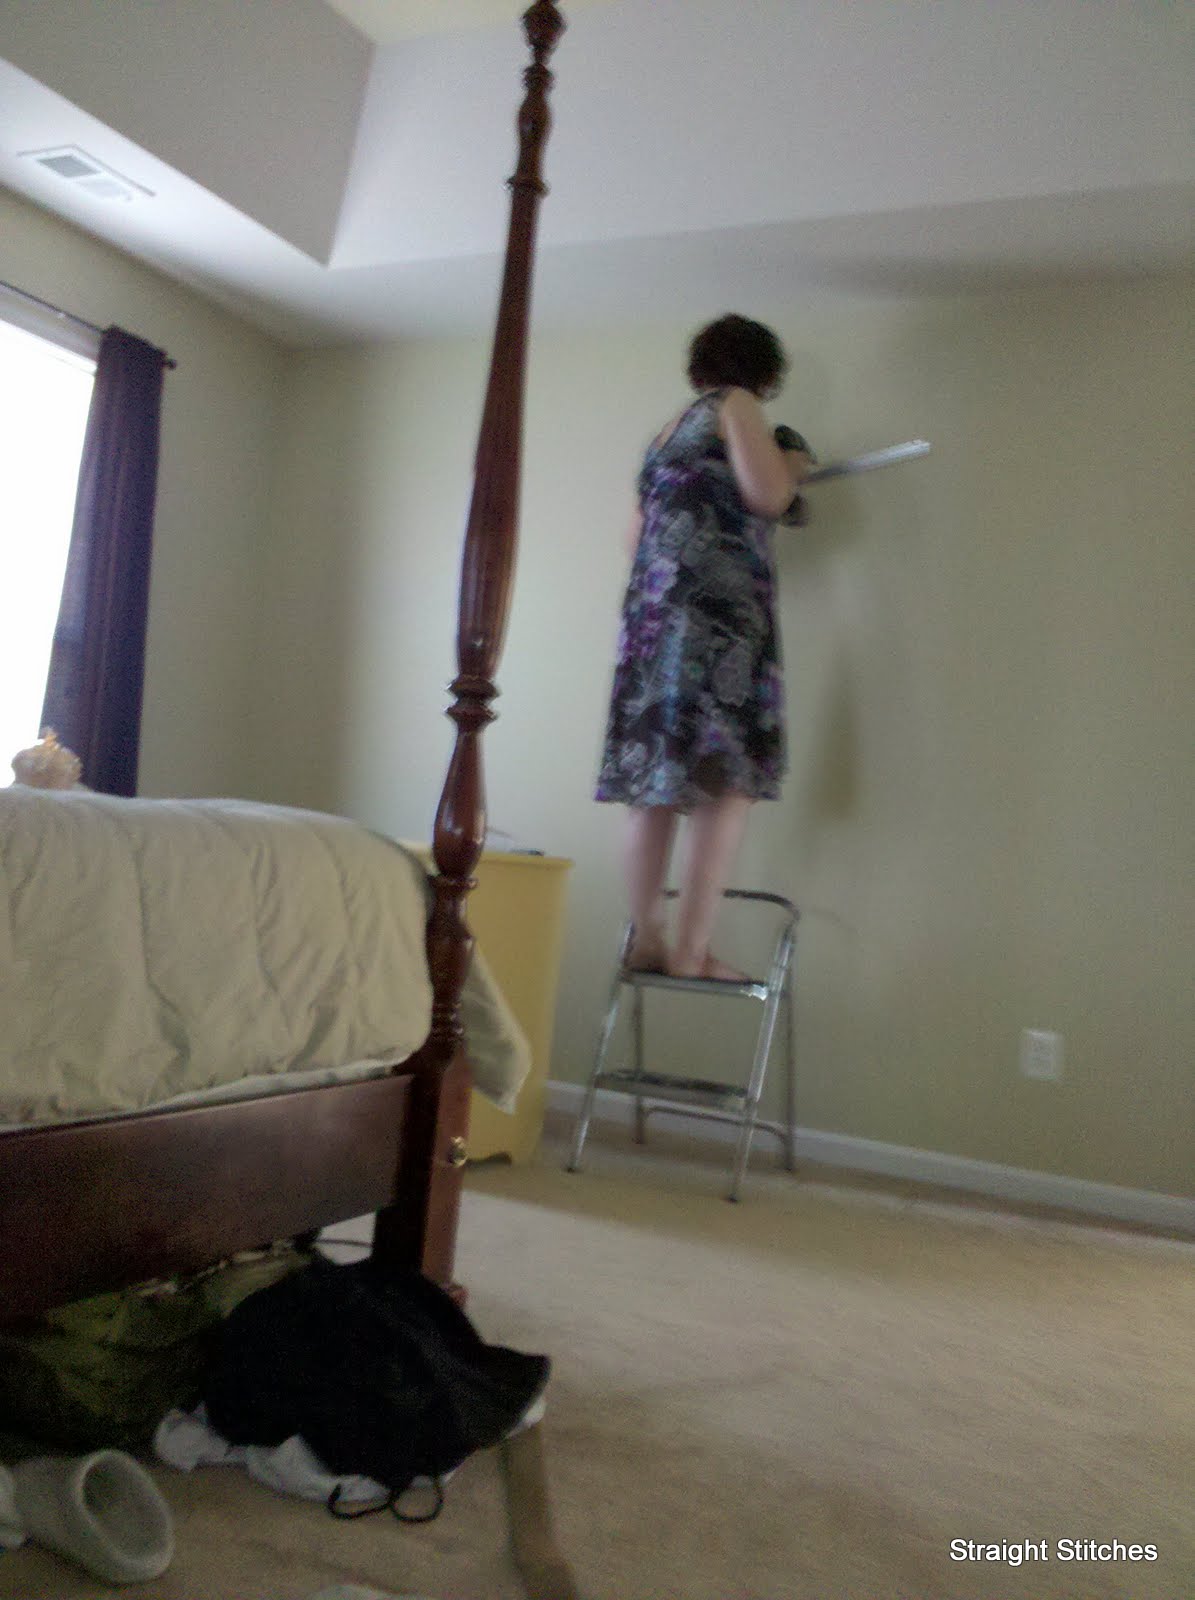
Hang your mirror. I used a heavy duty 18″ picture hanging cleat. It holds up to 200 lbs. My mirror is not that heavy but since it was so large I wanted the larger surface area to distribute the weight.
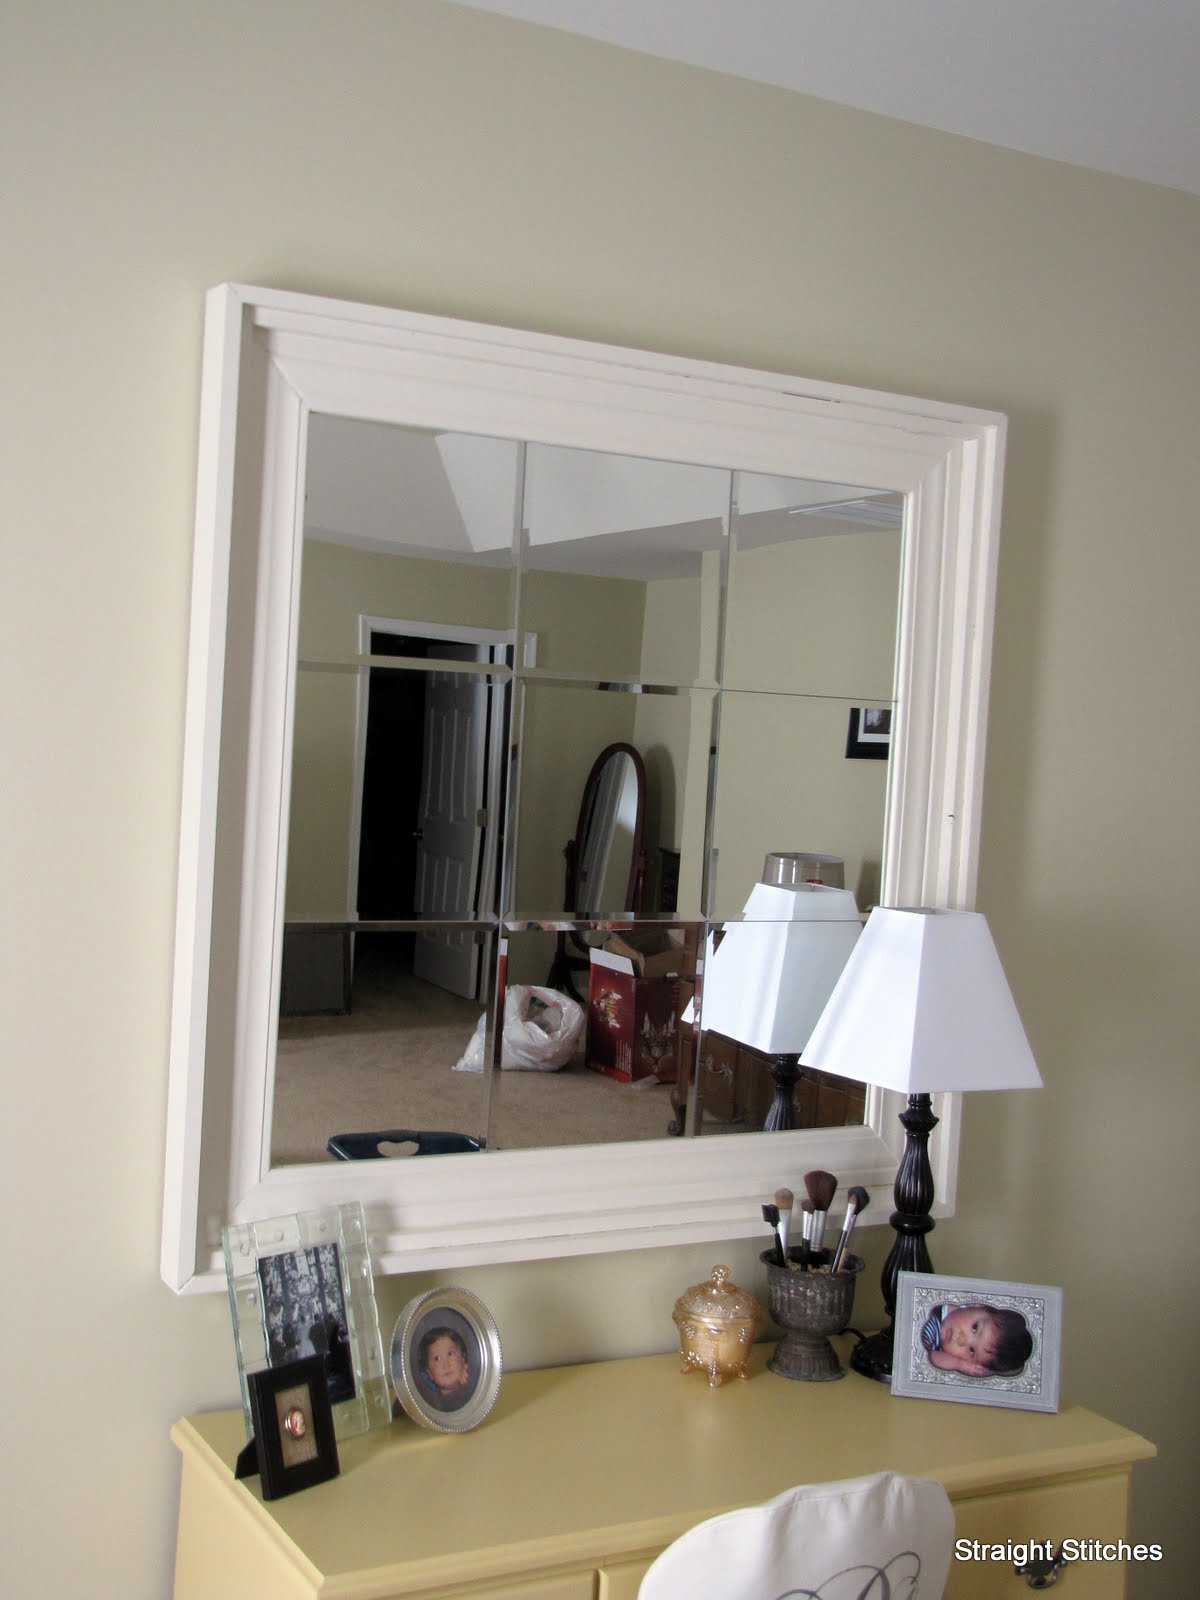
I hope you guys have enjoyed this little tutorial. I am loving the new mirror and the effect it casts around our room. My finished mirror size 43″ and cost me about $50. Such a steal for a mirror this size!

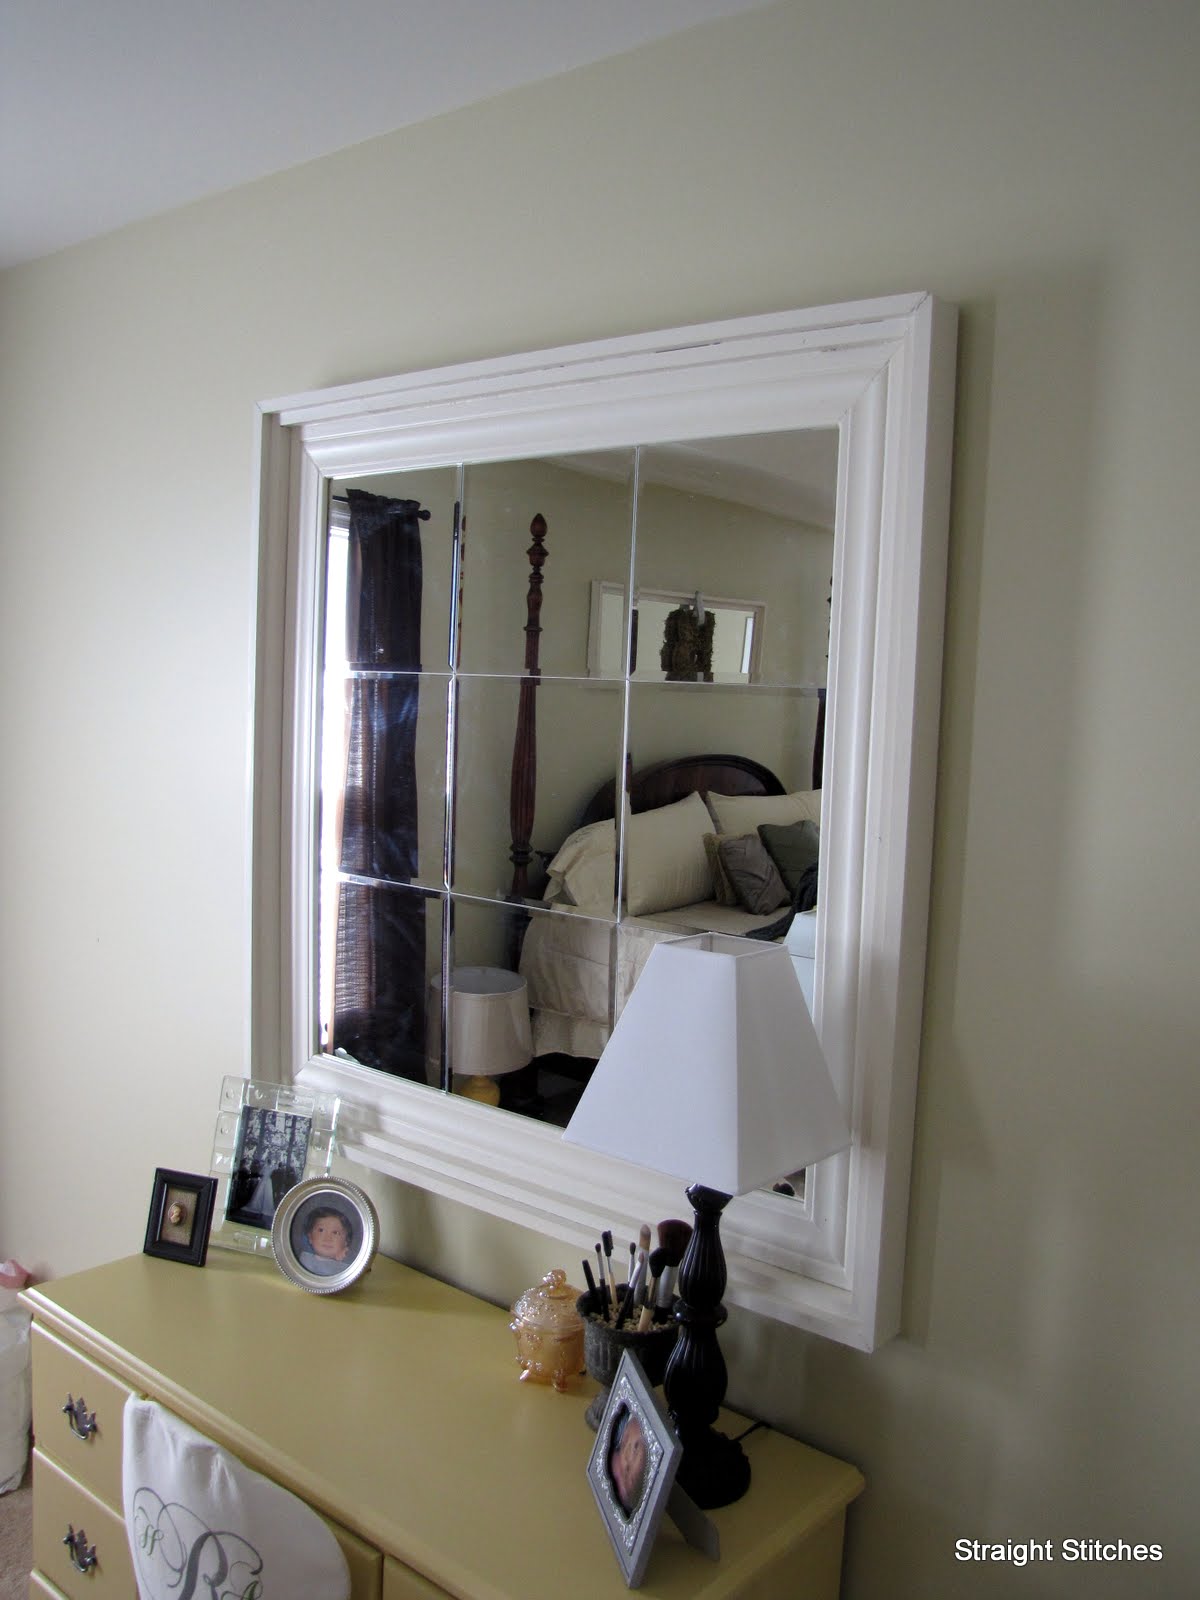
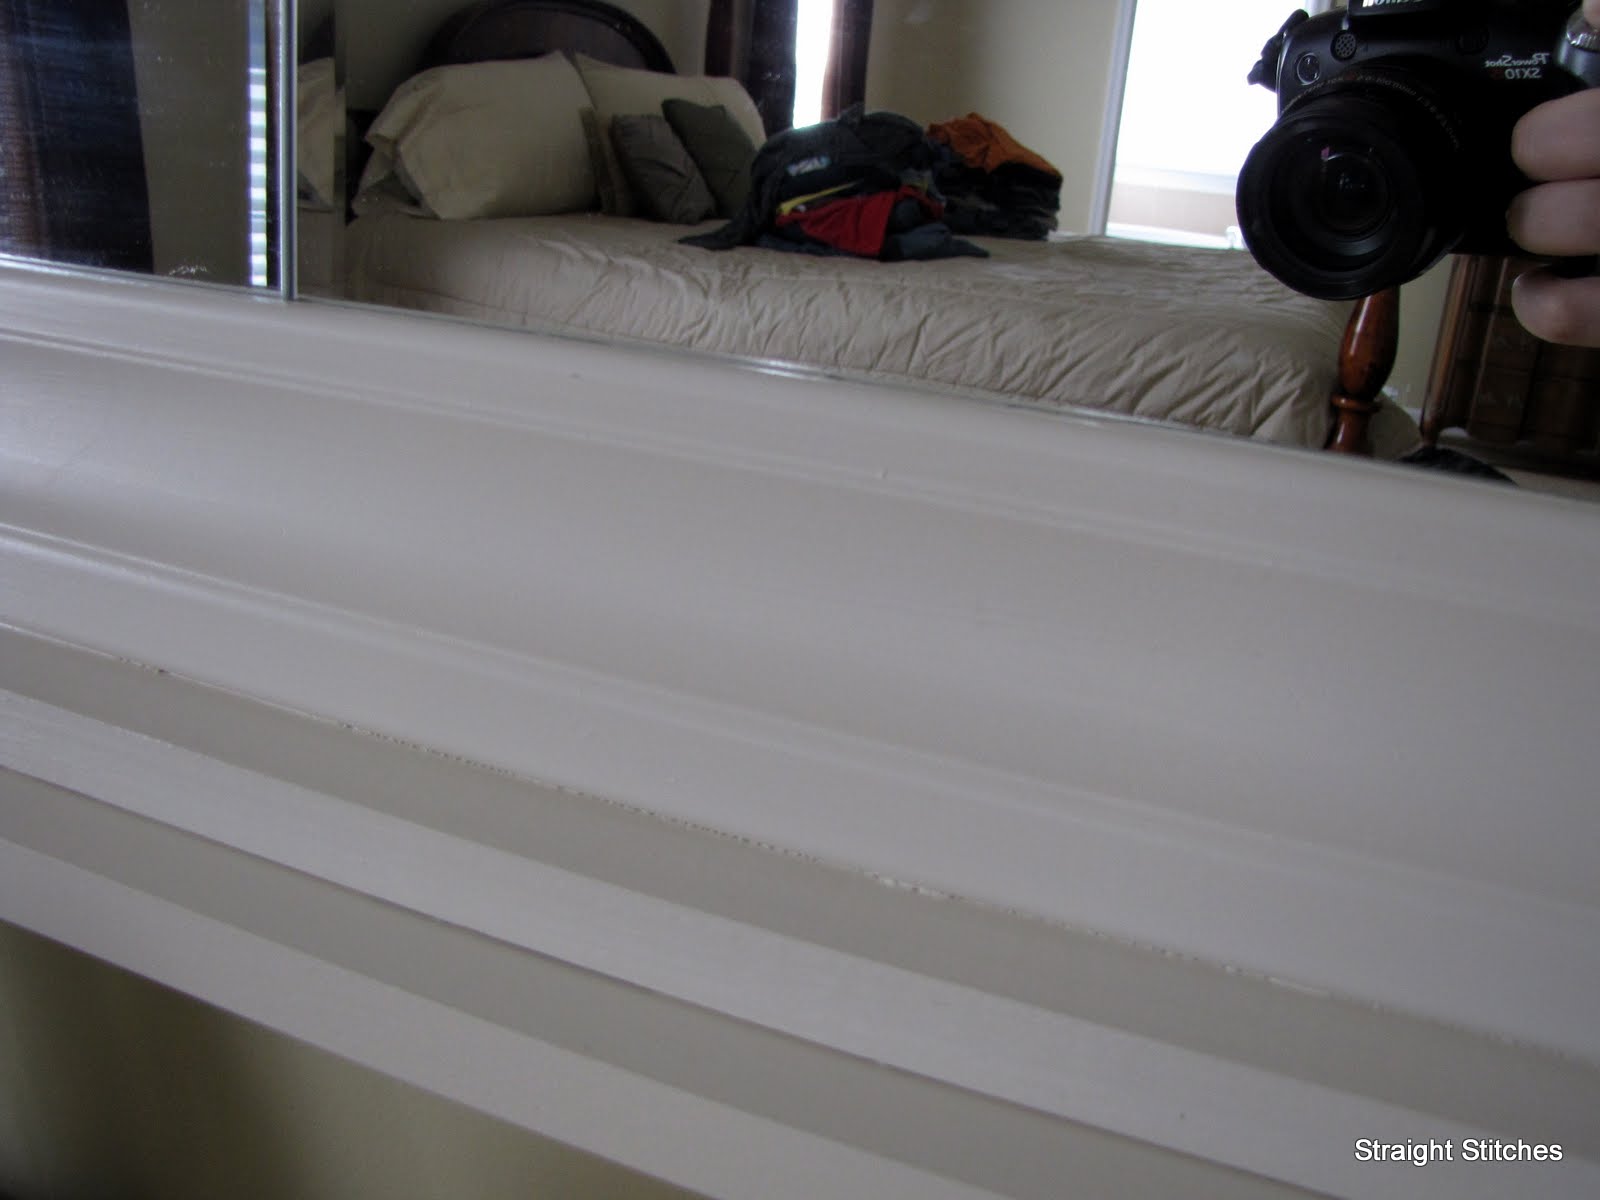 |
| Just a close up of all the moulding and wood pieces together 🙂 Please ignore the laundry on our bed….at least its folded and clean. |


>I did enjoy the tutorial and love the result. What a great idea!! I love the look of framed mirrors but the beveling gives it even more pizazz!!
-heather
>Fantastic! great Idea. I have lots of those mysteriously overwhelming spaces on my walls. This would be a great fit!
>looks great!!