Easy Rolling Wire Baskets for Storage

I love easy and stylish organizing ideas, and today’s easy rolling wire baskets from our guest will take you, oh, about 5 minutes. Everything is better with wheels, am I right? Take for example
underbed storage (build these crates here or put casters on some old dresser drawers)

miscellaneous household storage (see this here)

magazine storage like this simple DIY trolley

or even your kitchen table! This table is perfect for us since we are kinda perpetually remodeling somewhere so we don’t always get to eat in the kitchen…

or you can add wheels and a lower support and make a great rolling island to function as a laundry folding table, craft table, or whatever else you need.

So, now that you’re ready to add wheels to all the things, here’s our lovely guest Heather to show you a quick and easy way to make your own easily portable wire storage bin:
Easy Rolling Wire Baskets
by Heather from The Heathered Nest
Hello DIY’ing ladies, and Remodelaholic gentlemen. Me llamo Heather. My husband Dave and I blog at The Heathered Nest. What I’d like to share with you today is not a new idea…rolling storage bins are very trendy right now. BUT, perhaps this method is a bit of a novel approach to assembling one of these little gems. This project will take you five minutes, and you can do it without a single tool. Not bad, right?!
Let’s Do This!
Supplies
- Wire storage bin/basket…any shape, any size you fancy
- Casters
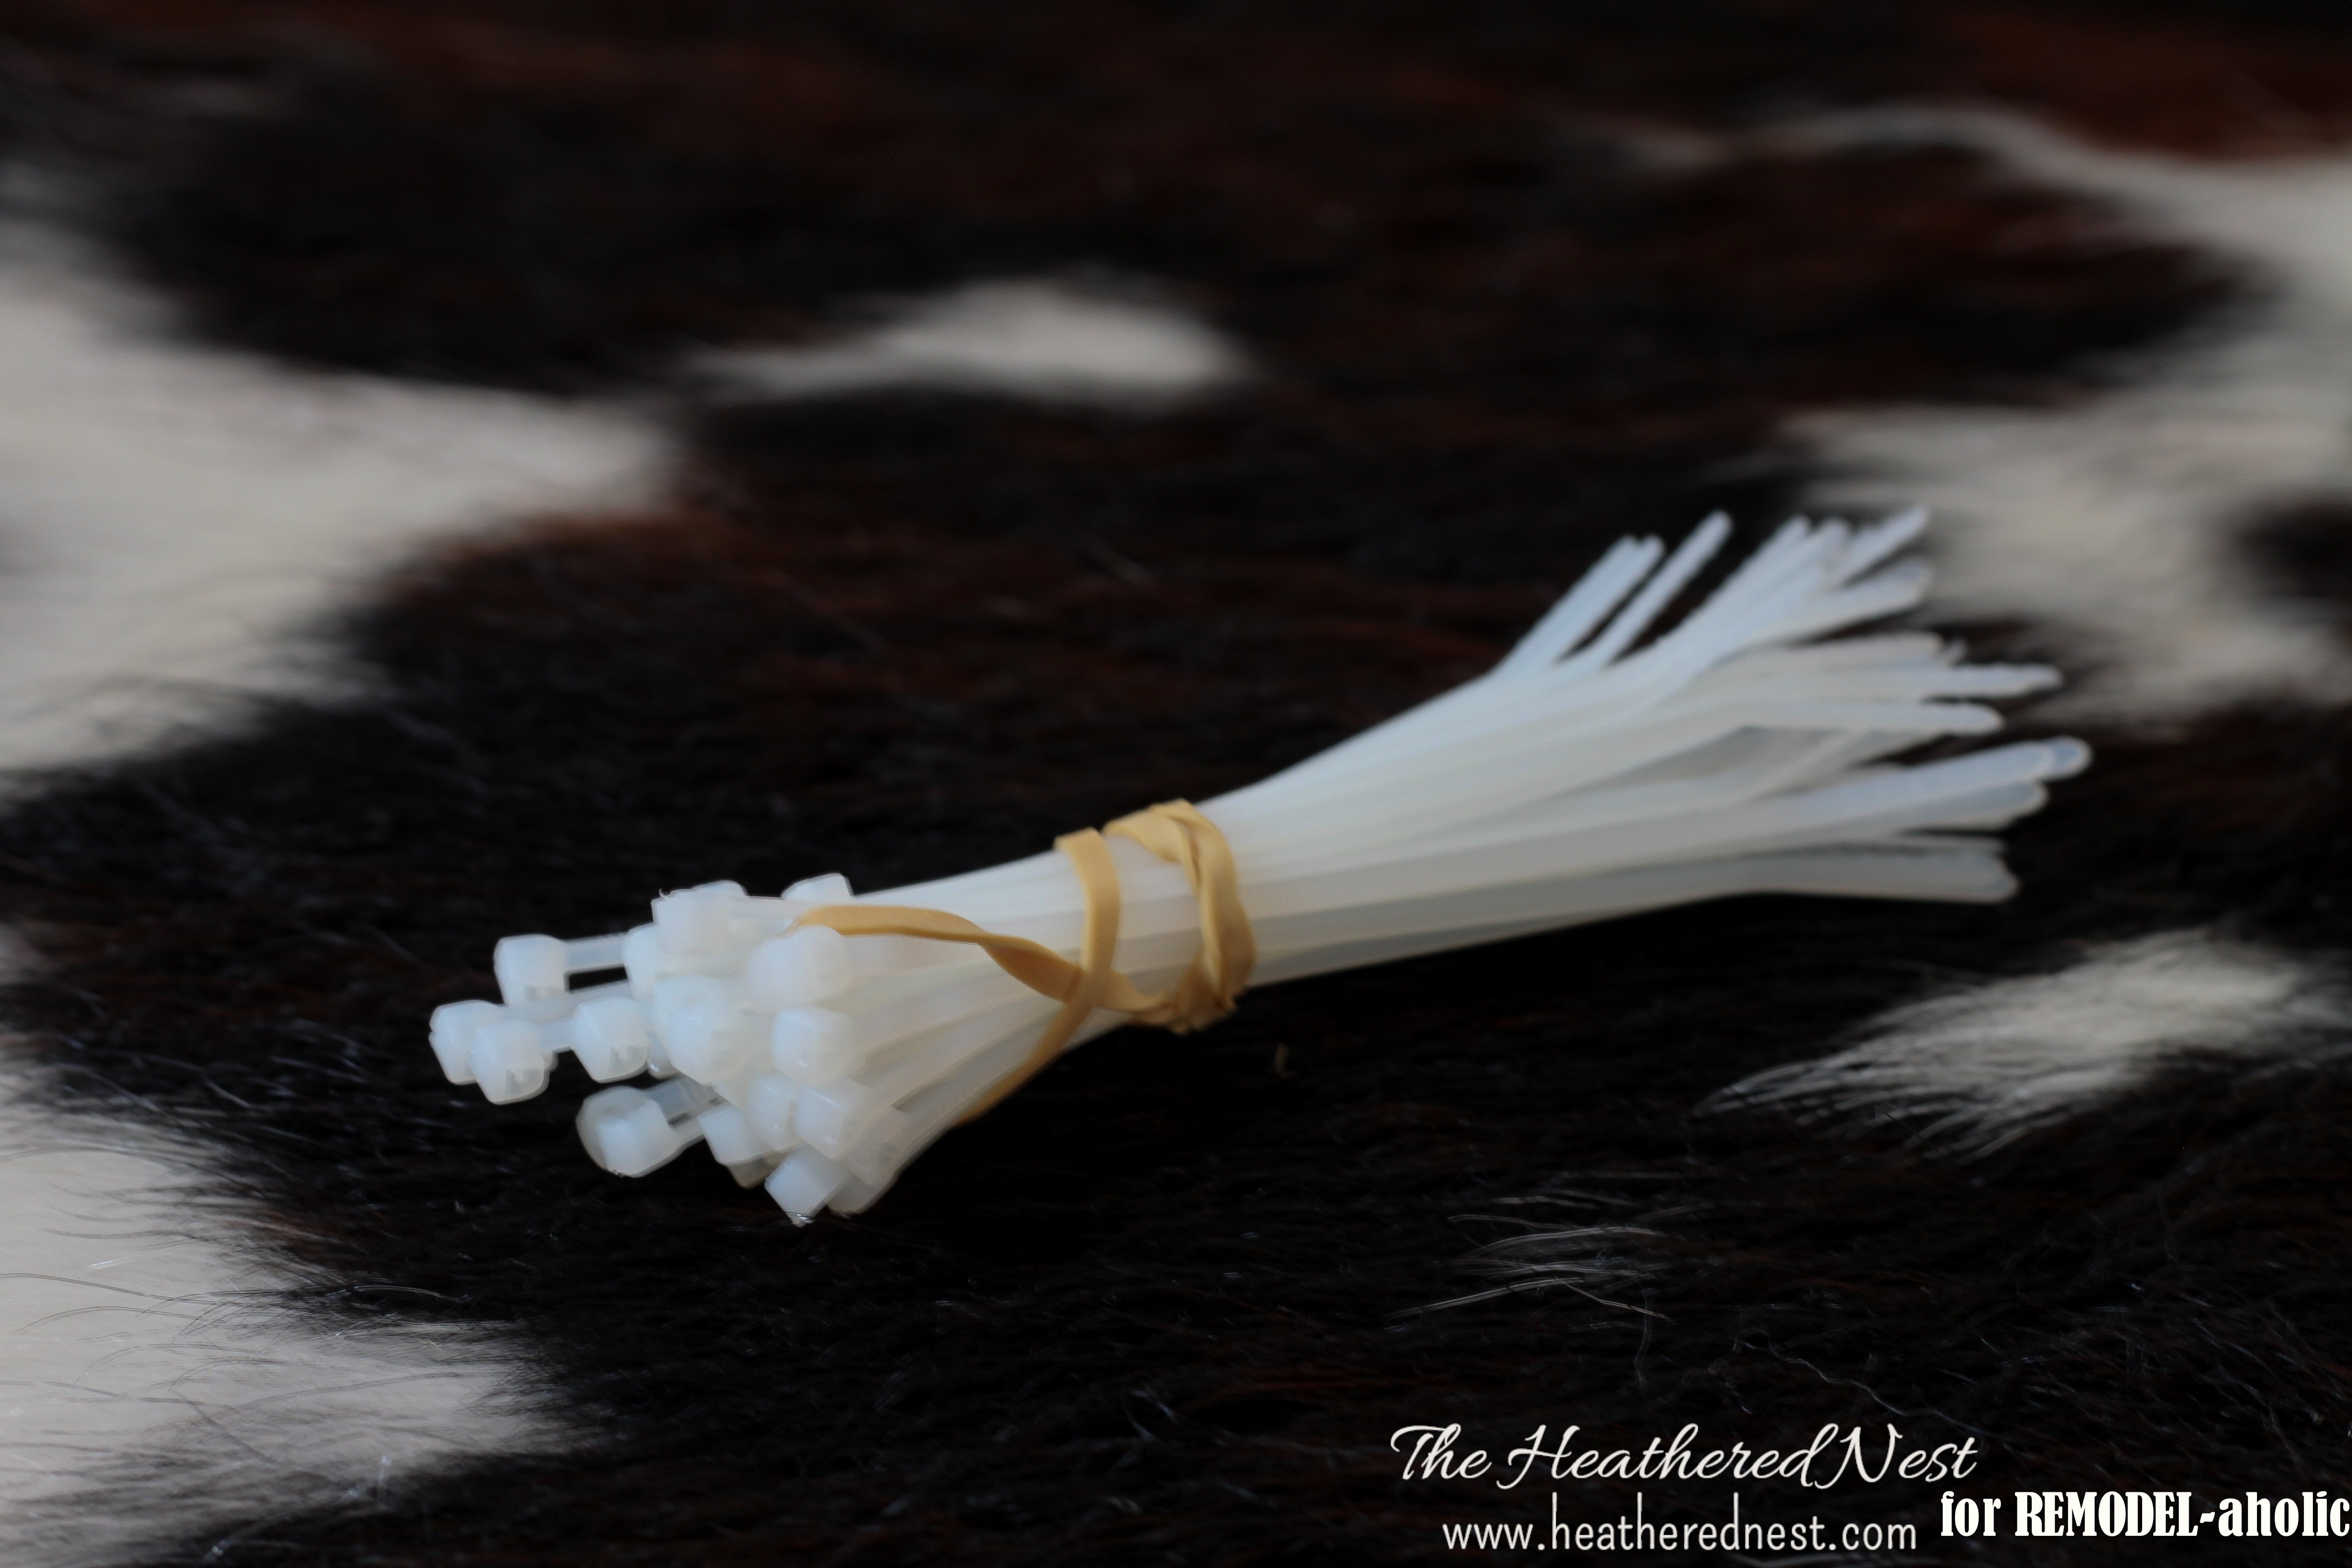
- Zip Ties, AKA Nylon Cable Ties
- Scissors
Assembly

Now that you have your wire bin, grab those zip ties. If you don’t have any, seriously, run, do not walk to the store (Home Depot, Lowes…or if you’re lazy like me, sit on your couch and order on Amazon) and grab some…these things are SO handy for all kinds of stuff!
 Next you’ll need your casters. We used 2″ ones for our extra large bin, but your size may vary depending on how large or small your wire bin is. I highly recommend using swivel casters, which will make rolling these around a lot easier.

Use two zip ties per caster, and make sure when you tighten the zip tie down that it’s not going to interfere with the movement of the swiveling wheel. Once you pull these things tightly, those casters won’t be going anywhere. Use scissors to clip off the excess zip tie material, and…

You’re done!! Literally one minute per caster!


Below is how the frame will look, once installed with the zip tie, from the inside of the basket.


Isn’t organization lovely?

————————————–
Heather, thank you so much for sharing your cute and easy idea with us today!
Remodelaholics, hop over to The Heathered Nest to see more from Heather, like her daughter’s gorgeous room (which used to be smurf blue, no joke!) and be sure to check out the awesome ceiling in her lovely guest room!


Thanks so much for sharing our super easy caster project. Hope that it gives somebody a little more organization in their life! Cheers!
You are so welcome, Heather! Thanks for being our guest!
Fun to see my project from a few years ago featured here! Thank you!! Marcy
Thanks for sharing with us, Marcy!
Nice storage ideas, and easy!!!
Thanks, Ellie!
I would use black ties so that the zip ties would be less noticable. Great idea!!! Thanks.
Great idea, Jennie! Thanks!
I actually did this project. It works great!
Thanks for commenting!
So glad to hear that it worked well for you!
Who doesn’t love wheels?! It means you don’t have to lift! Nice project!
What length do the zip ties need to be?