DIY Wood Beam Doorway
Hi Remodelaholics! I’m Lauren from Bless’er House, and I’m always excited to be back here to share our latest DIY shenanigans.
If you’ve never visited my little corner of the blogosphere, my handy hubby Robert and I have made it our mission to give our “builder blah” house plenty of character. We already managed to bring some personality into our home with our statement-making faux fireplace and our DIY factory window shower door recently.
Today, we’re bringing more rustic style into our living room and kitchen with our DIY wood beam doorway.

This space actually used to look like this a little over a year ago:

It’s thankfully less like a white box now. We started with a plain doorway that had so much potential for some wow factor.

(By the way, I caught our two year-old feeding our dog from the table in that shot right there. Sneaky.)
How to Make a Rustic DIY Wood Beam Doorway
DIY Wood Beam Doorway Materials:
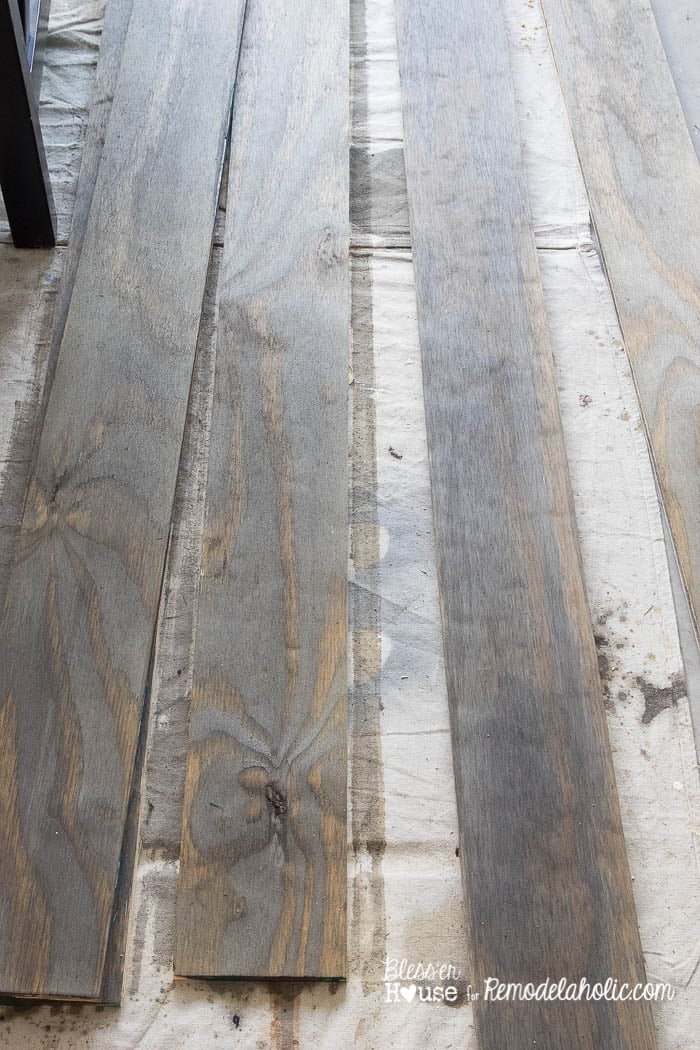
- 3 sheets of 4’x8′ pine sheathing plywood
- Stain of your choice (I used a homemade stain solution using tea, steel wool, and apple cider vinegar.)
- Table saw or circular saw
- Hack saw
- Pneumatic brad nailer gun
- Brad nails
- 6′ length of 1/16″ x 1″ aluminum strip
- Drill
- Wood screws (8 total)
- Small pry bar and mallet/hammer
- Measuring tape and pencil
- Oil Rubbed Bronze spray paint
We had to pry off the baseboard on either side of the doorway first using a small pry bar. We set them aside to cut and reattach later.

At this point, I had an “Ohhh Lordy. What have I done?” kind of moment. Then, we took a deep breath and dove in to the beam part.

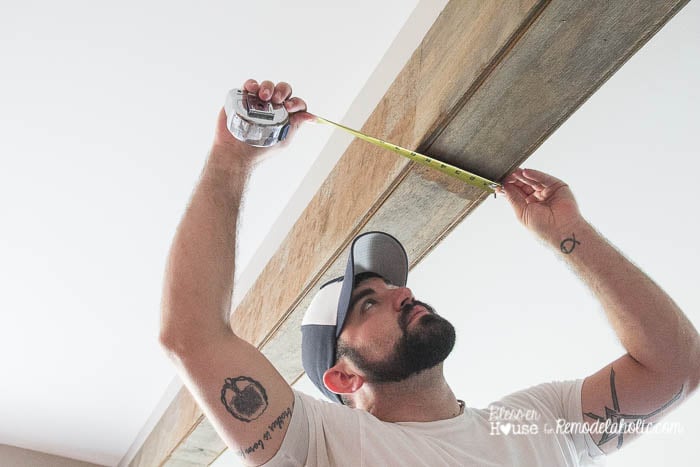
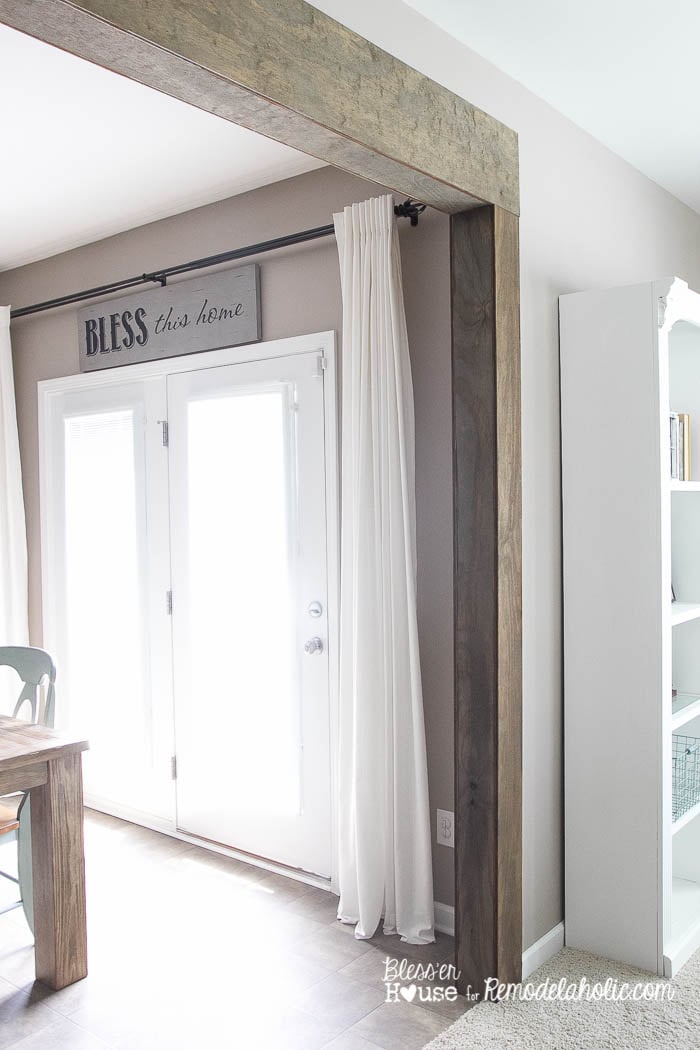
Before we purchased our wood for the beam, we measured our doorway opening for the lengths we needed.
We wanted our header to be 10 inches high, and our posts on the side of the opening to be 6 inches wide. To save time and lots of headaches, we had our plywood cut into the size strips we needed at the hardware store.

Once we got the wood home, I stained all of the pieces using the same DIY stain I used on our locker basket mail organizer.
After all of the wood was stained and dried, we busted out our brad nailer to attach a wood strip on the interior side of the doorway.

(Side note: I promise we didn’t change clothes constantly in one day. We worked a little at a time throughout the week. My husband was still in his office attire for part of the work…we’re fancy around here.)
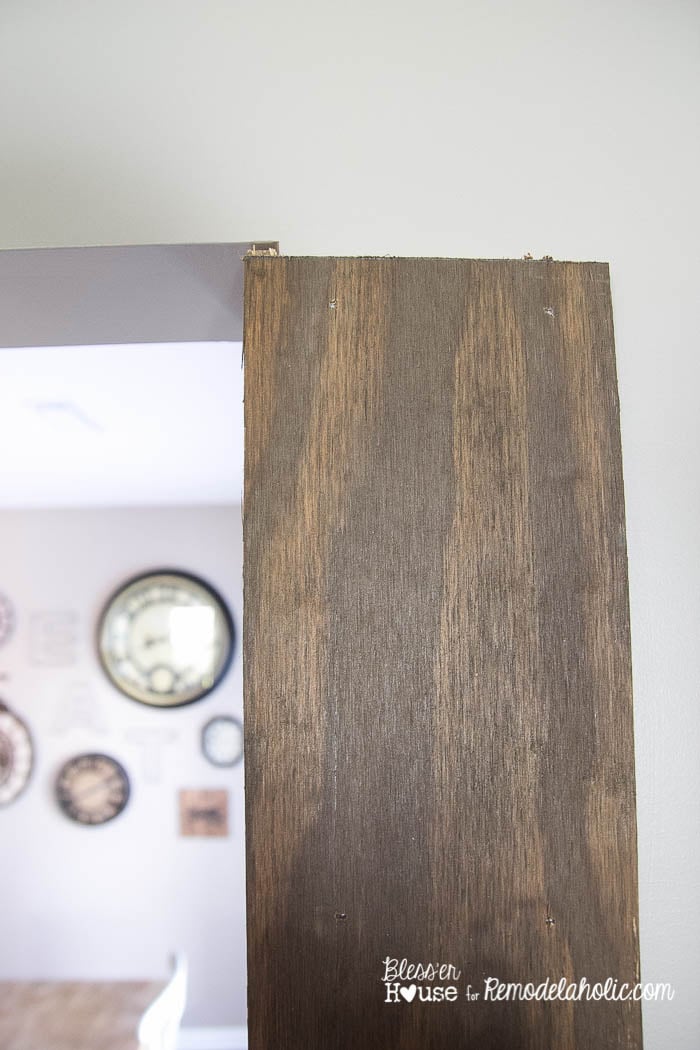
After nailing up both interior side strips, we finished out the posts on the walls for either side.
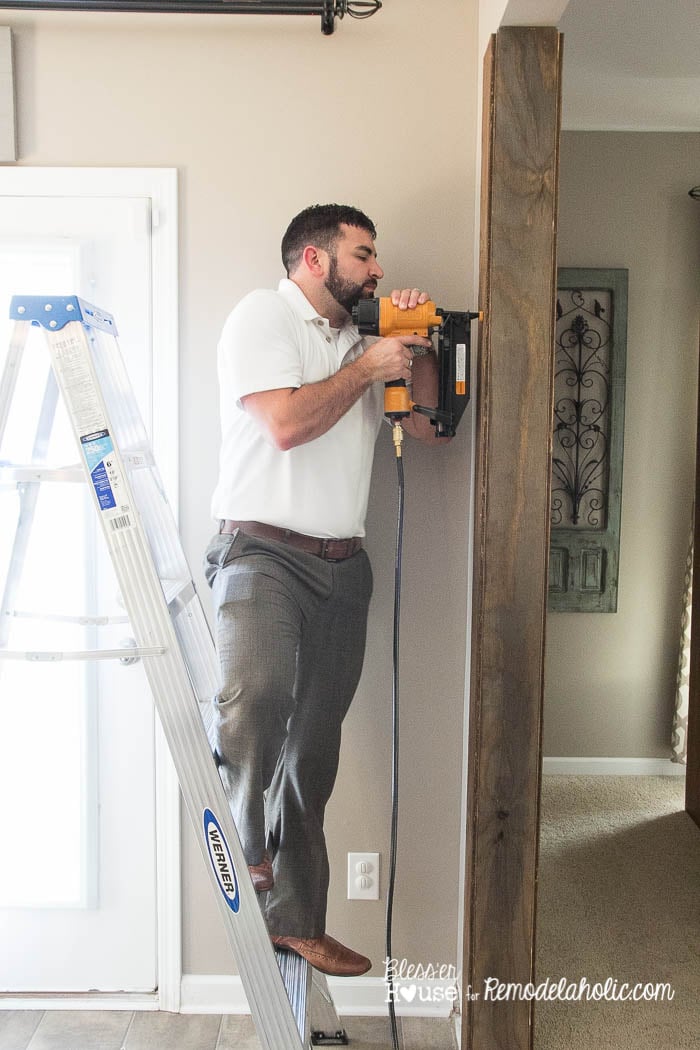
We made sure to cut the length of the strip for the sides just shy of meeting the top of the doorway to leave room for the plywood thickness in the next step.
Once the side posts were up, we measured to find the very center of the doorway and marked it.
Since our doorway is much wider than a length of plywood, we had to work in sections on the header. We chose to segment the header into thirds and cut the wood strip for a third of the width of the doorway.
We used two ladders, one for Robert and one for me, to place the plywood strip at the center we’d marked and attach it with the brad nailer. (I promise, I didn’t just stand around and watch him do all the dirty work. Wink wink.)

Whew! One down… We got an arm workout here.

After the center strip was up, we were able to measure and find the exact length we needed for either side.

Then, we attached the strips we’d cut using those measurements.

For the header, we cut our 10″ wide center strips the exact same length as the one we’d already attached to the middle of the doorway.
We nailed them in on the living room side and kitchen side of the doorway.

We measured the remaining header lengths we needed from the edge of the center strip to the outer edge of the side post.
Then we cut the plywood for the measurement we found and nailed them in.

We repeated the steps for the header on the kitchen side of the doorway.

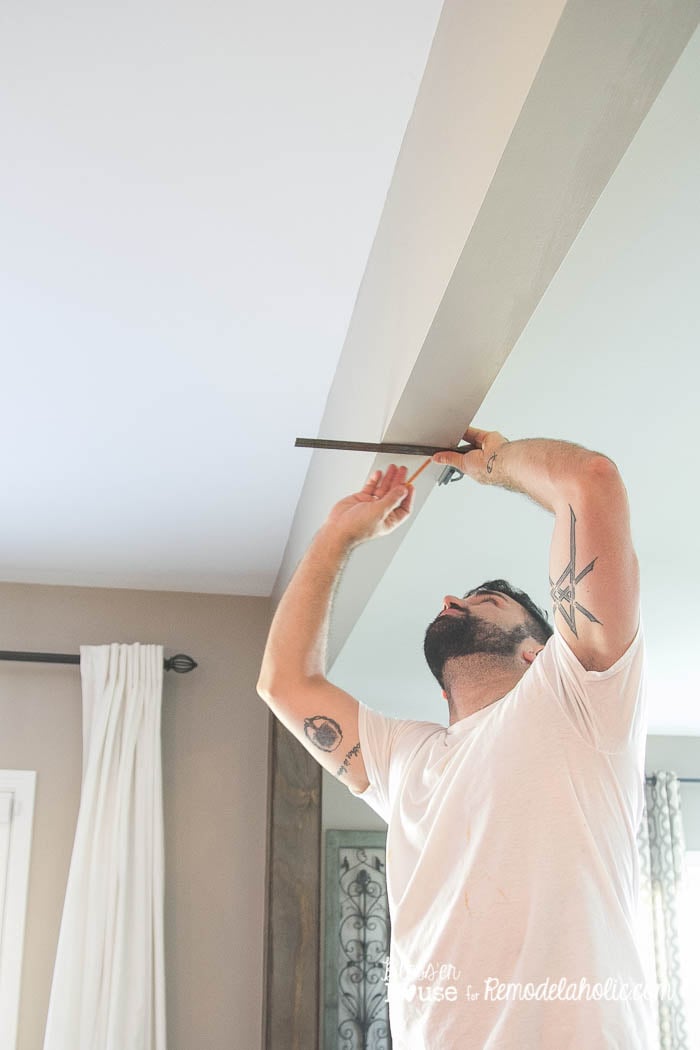
To hide the seams of the “beam” header, I found an idea from Jenna Sue Design to make beam straps using aluminum strips.
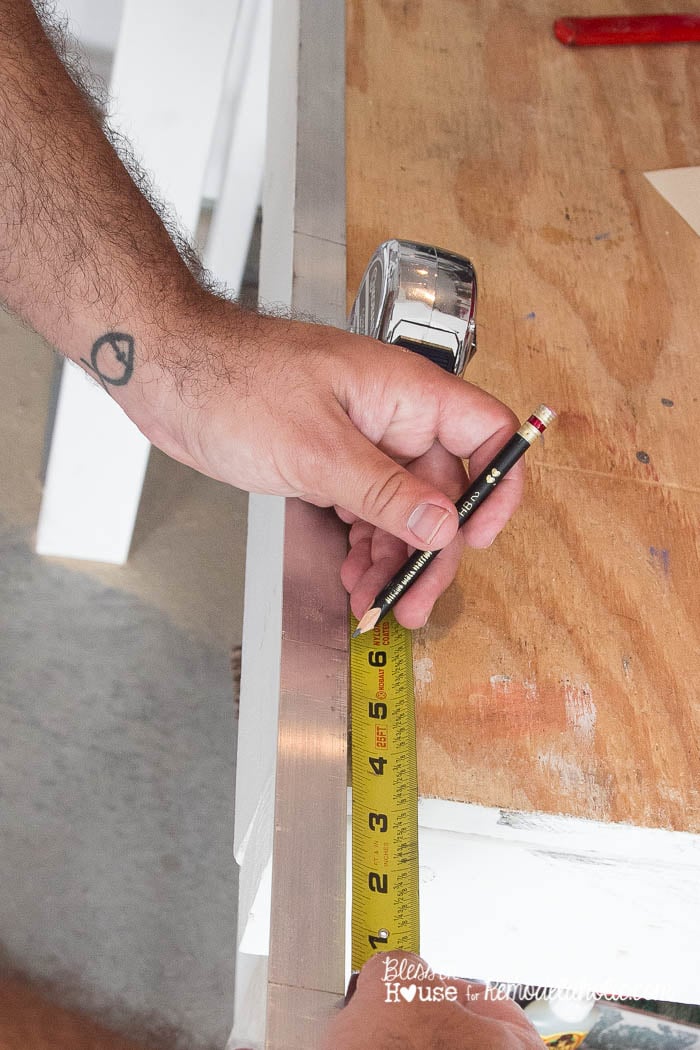
Robert measured the height of the header and width of the beam to make sure our measurement would be exact for the straps.

Then we marked those measurements onto the aluminum strip.
We cut the length we needed using a hack saw.

And we bent the aluminum strip in the places we marked using a hammer.
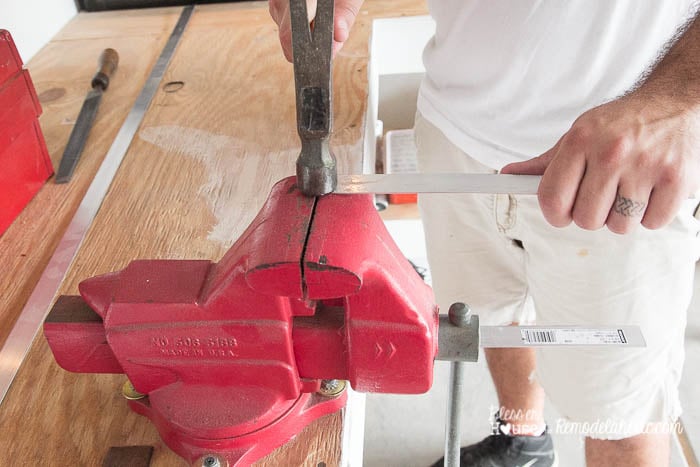
We repeated the metal cutting and bending process on a second strip since we had two seams to cover.
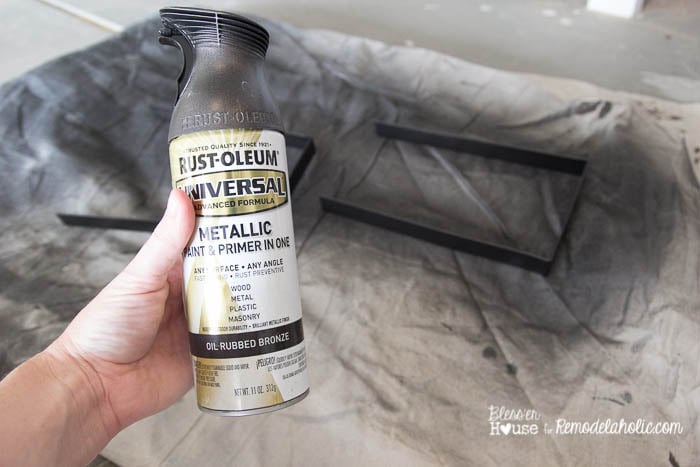
Then, I gave the two metal pieces a couple light coats of oil rubbed bronze spray paint.
Once the paint was dry later, I marked and drilled two holes on either side of the metal strips to help attach to the beam. You could do this step before spray painting too, but I just didn’t think about it until after.

Using a Phillips head bit, I attached the metal straps over the beam seams using wood screws.

I’ll later use wood filler to hide those nails in the beam.

We cut our baseboards we’d removed in the beginning to meet up with the wood beam and reattached them to the wall too.
That was it! We’re SO happy with how it turned out! In hindsight, I maybe would have used actual wood boards than plywood strips, but the plywood was much easier to work with, lighter, and easier on the wallet.
The project total: Approximately $80.00

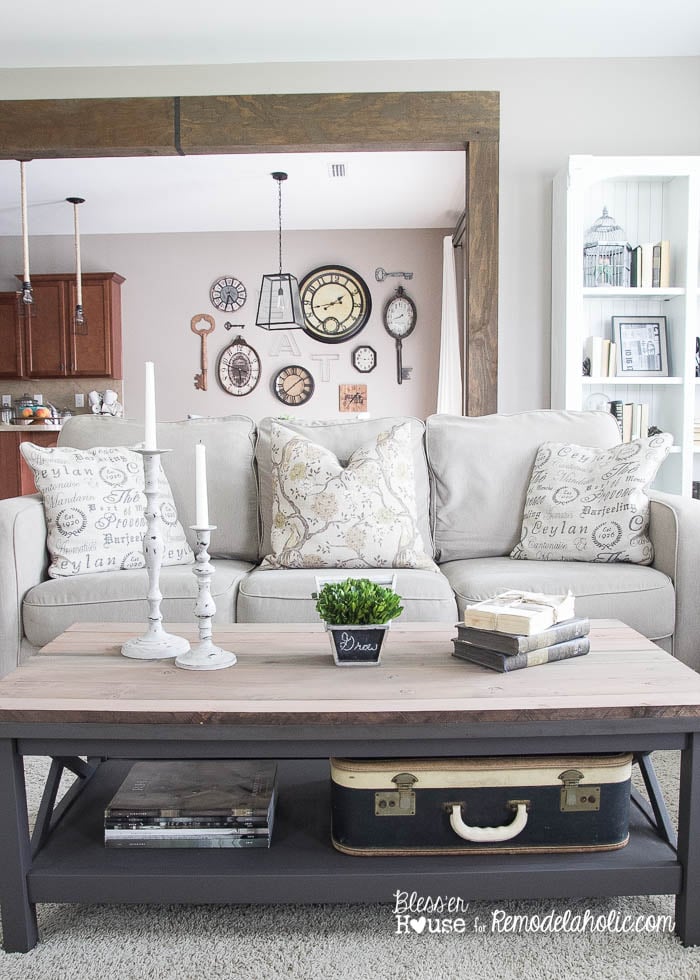
It looks so much like the real deal in person!
Now that the beam is there though, it makes me even more ready to tackle our kitchen. That cherry wood color is nice and all, but it’s not what I would have picked for our cabinets. It was the standard builder package that came with the house though.
I can’t help but dream of creamy white cabinets to contrast with the rough wood doorway…and maybe some dark wood floors. Okay, I’m really diving deeper into dream land over here.

The carpet and vinyl flooring kind of drive me batty at the moment, but we’ll get there eventually. Home wasn’t built in a day.
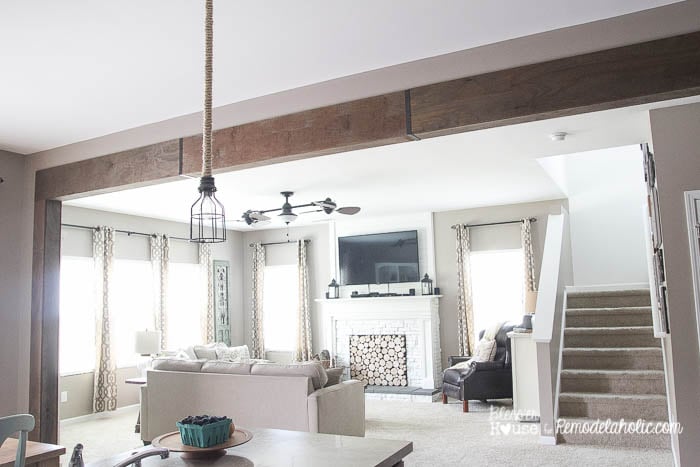

This house is starting to feel more and more like “us” all the time. And after this project, it even feels bigger! (And check out the faux fireplace here)
Are you as hooked on the rustic wood look as we are? Is this project something you think you’d try? Even though it was a bit time consuming, it really was fairly simple. And I have a feeling it won’t be the last time we try it.
Blessings,
Lauren
————————————-
We’re on a mission to banish the builder blah, and we’re so glad that Lauren is on our team!
If your style is less rustic, build a column and arch like we did in our living room:
More budget friendly updates to take you beyond builder grade:
Update the cabinet above the stove to look like an expensive range hood (but with storage!)

or just build your own range hood:

You can also get rid of builder grade bifold doors by turning them into french doors

or by using one of these ideas:


Wow, what a great touch! It looks great without overwhelming the house.
Thank you! We’re really happy how it turned out.
It looks nice. But it could have been a little better if the boards were mitered so the edges of the plywood weren’t showing. OCD?
That’s the best part of DIY, you can change it to fit what you like 😉
They were going for beam look not framed.
I can’t even Lauren…the change this project made is insane! And it’s so simple!
Thanks, Emily! I’m sooo excited how it turned out!
What an awesome detail! Plywood? Genius!
OMG! I am totally doing this! I’ve been looking for a way to add a rustic beam in the area between my dining and living room. I looked at faux beams that are premade but man, they are kinda spendy! I knew there must be an easier DIY way! Thanks for sharing your great tutorial and for having the good looking man showing us the steps!! ;o)
Tania
I am in love with this idea! I will be doing this soon. Let me know why you would use wood instead you could do it again?
Thank you for this. I just had my wall between kitchen and dining rooms removed and have been looking at faux beams, but this is such a great idea for a fraction of the cost
I’m so glad I saw this!! I’ve wanted to do something like this but couldn’t figure out what to do nor how to remove the trim. Once I get a nail gun ….it’s on!!
LOVE THIS! I mean like really love this. Now to convince my hubby to do it! Great job. Would you use the plywood again or another type of wood? I need to follow your blog asap!!!!
Looks totally awesome! I was wondering what you did with the plywood corners? Did you caulk them? Is there caulk that would match the wood stain? Thanks!
I have a similar passage-way between my dining room and my living room. I was thinking that doing a mitre where the woods come together would make it look like it is a solid piece of wood on each side and on the top. It would have to be glued before the nailing. Is something like this ~easily~ doable?
Mark
Love the table in your living room? Did you make it?
Awesome! What a great idea and it upgrades the space beautifully.
I follow many decor and DIY blogs so many times I see the same or similar ideas……but this is one of the best projects I have seen in a long time! What an impact to your house.
I don’t like that you can see the cut sides of the plywood. That makes it obvious that it’s a not a real beam and turns me off to the idea.
I agree, but there’s got to be a way to cover the edges. I love this project enough to figure out how to fix that!
I think this is such a charming idea! I’ve been wanting to do the same thing. I have the side walls, but I don’t have an existing overhead archway to attach the wood to. Could I just attach it to the side walls, or would that not be strong enough?
Any suggestions?
I’m in love with the paint colors around it. What colors did you use?
Found your site through another one. Being a woodworker I found this project to be a very clever way of creating a faux beam from plywood. I also like the metal strapping you used to cover the joints.
I will check out your other projects. Thanks for posting.
Looks like stained plywood. Imo use a slightly better grade wood. The illusion of post and beam just isn’t there for me.